DIY Nursery Decor: Gold-Dipped Feather Mobile

white-feather-mobile-gold-dipped-feathers-diy-baby-nursery

We have a guest post today from Ashley McIntosh, a wonderful mother of 4, who has some amazing DIY talent. We loved her latest feather mobile project so much, we asked her to share all the how-to details here – yay for you {and us}, she agreed! Thanks, Ashley.

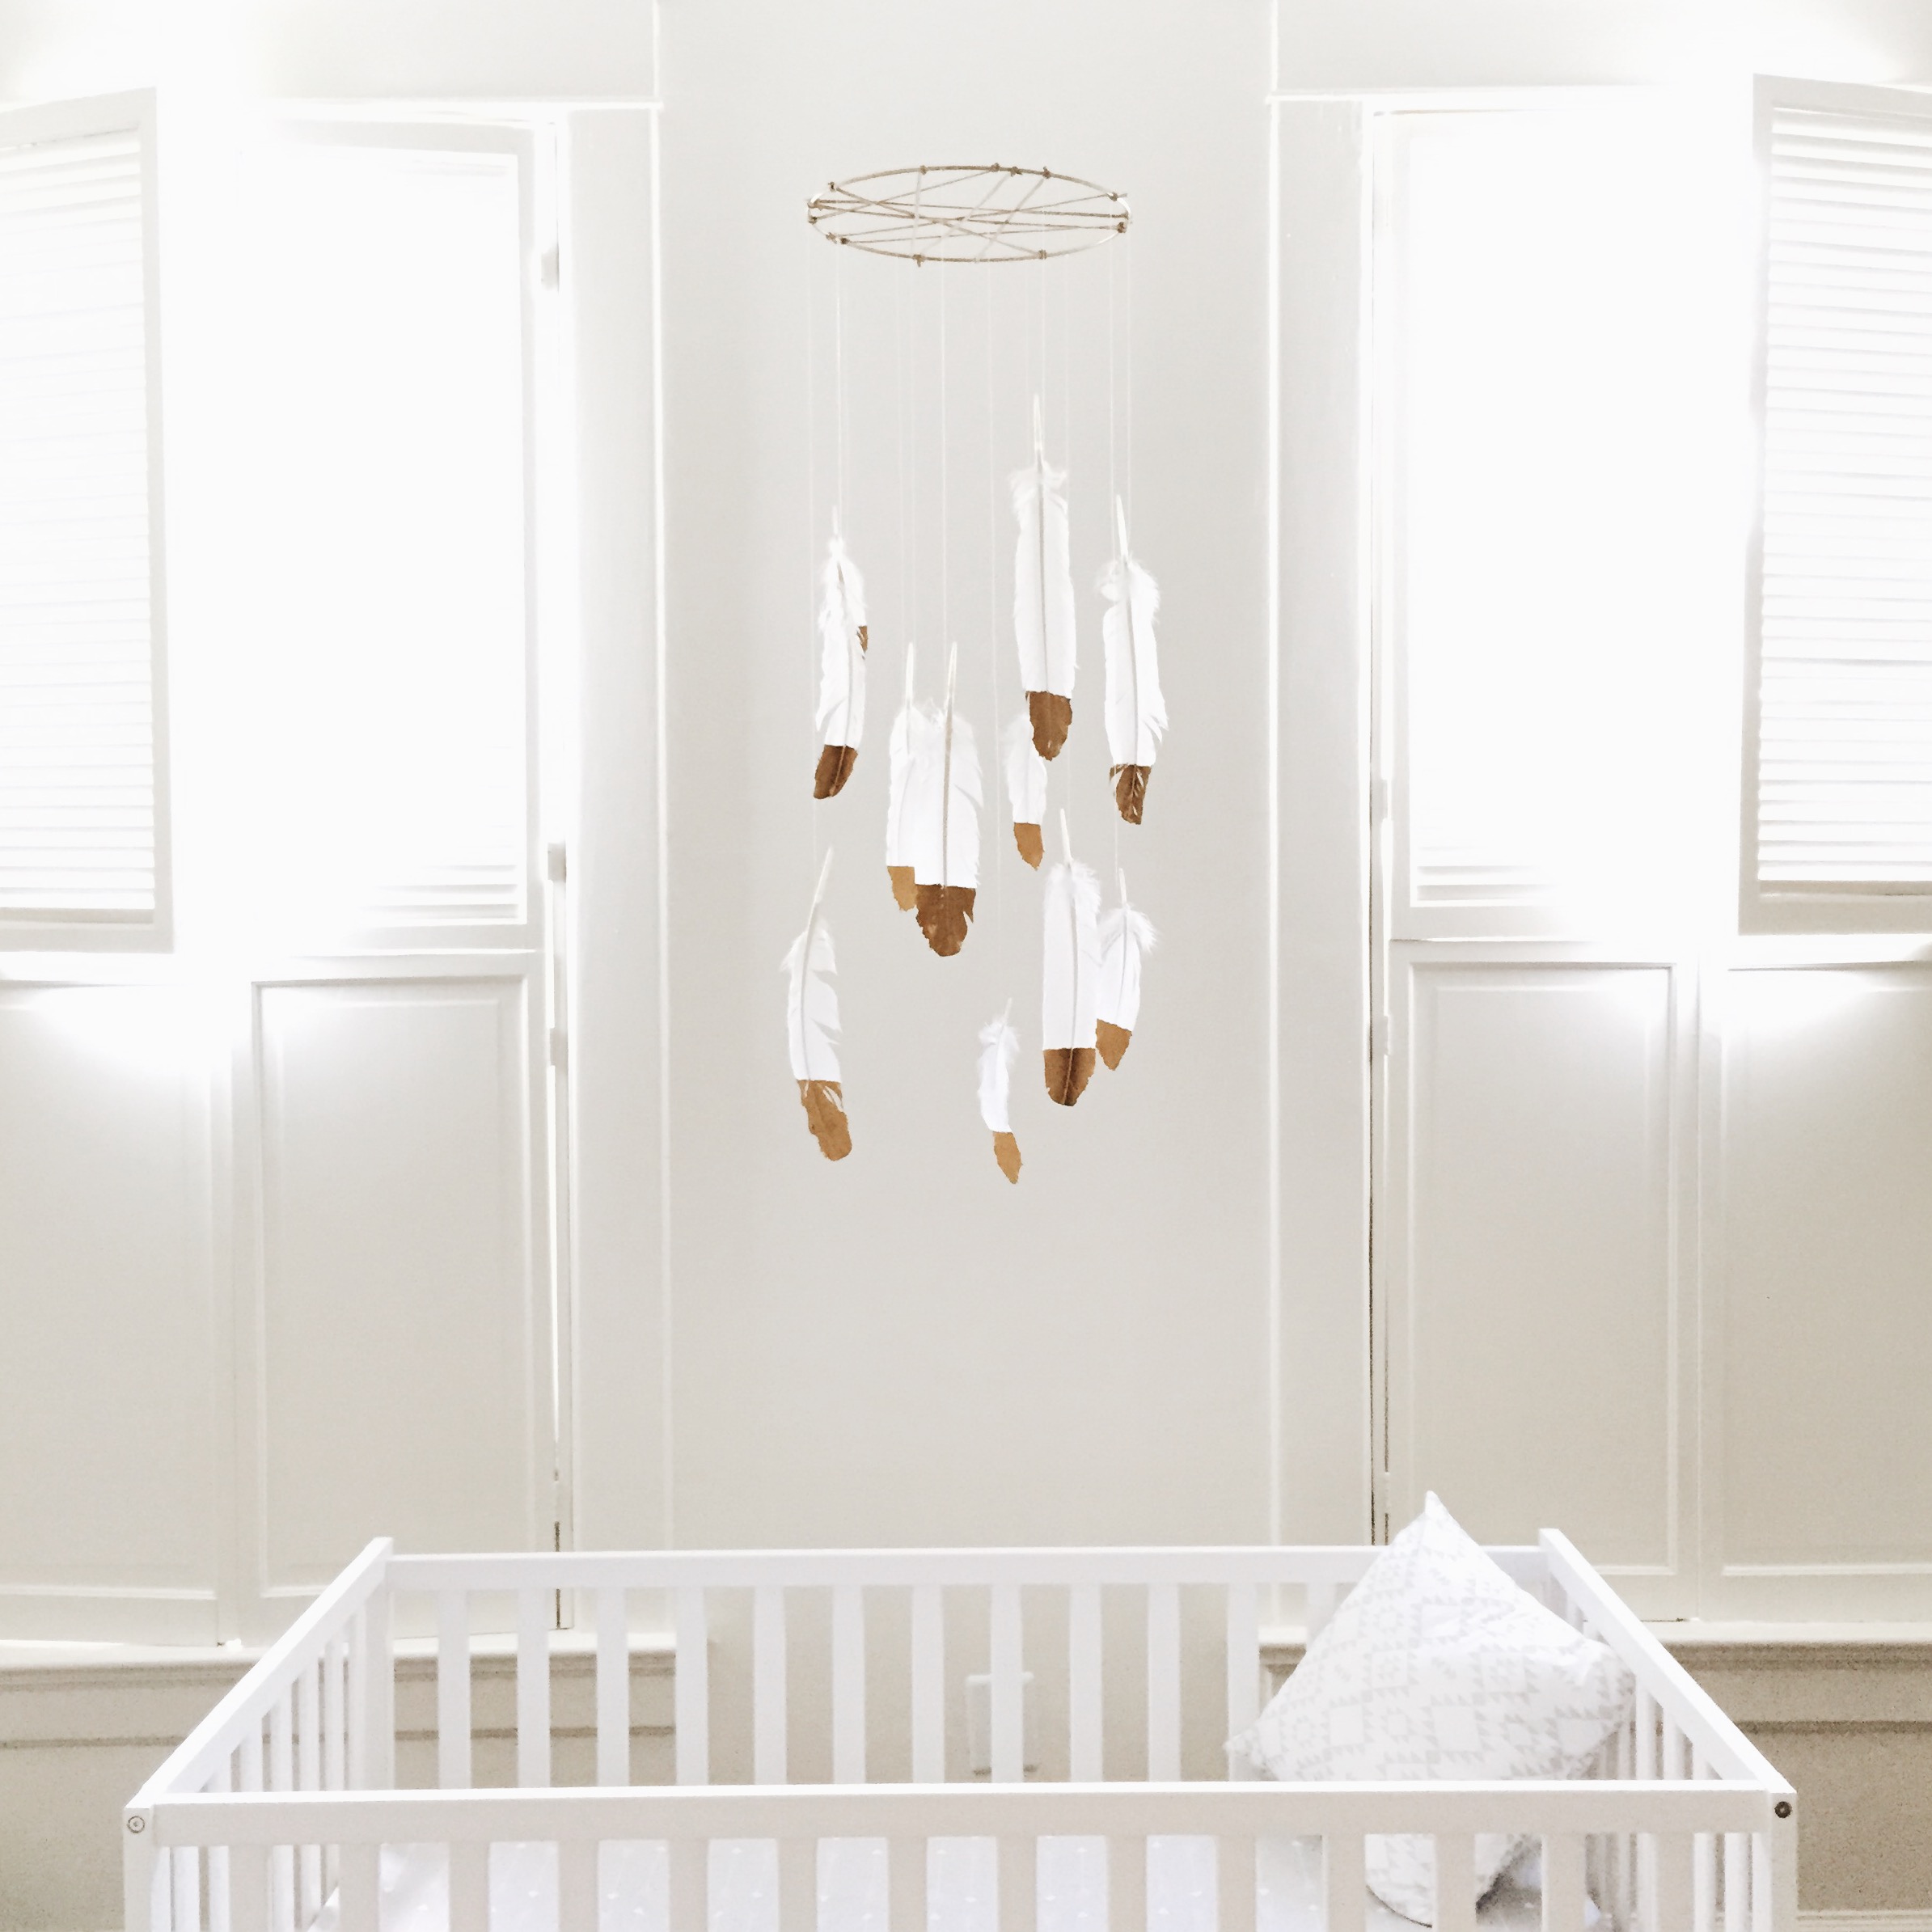
I recently DIYed this gorgeous white and gold feather mobile for my sweet baby boy’s nursery. It’s not complicated to make and I think it turned out quite beautifully!  Hope you enjoy!

To begin, you will need the following things, most of which can be picked up at your local craft store:

white-feather-mobile-gold-dipped-feathers-diy-baby-nursery-paint
  • leather/suede or jute cord – I used “suede lace” in beige 1/8 inches thick
  • white feathers in various sizes (or another color of your choosing)
  • 1 metallic gold acrylic paint
  • paint brush
  • painters tape
  • 10 inch metal ring
  • small gold spray paint (unless you buy a gold ring)
  • transparent string – I used one with 8lb. strength

Directions:

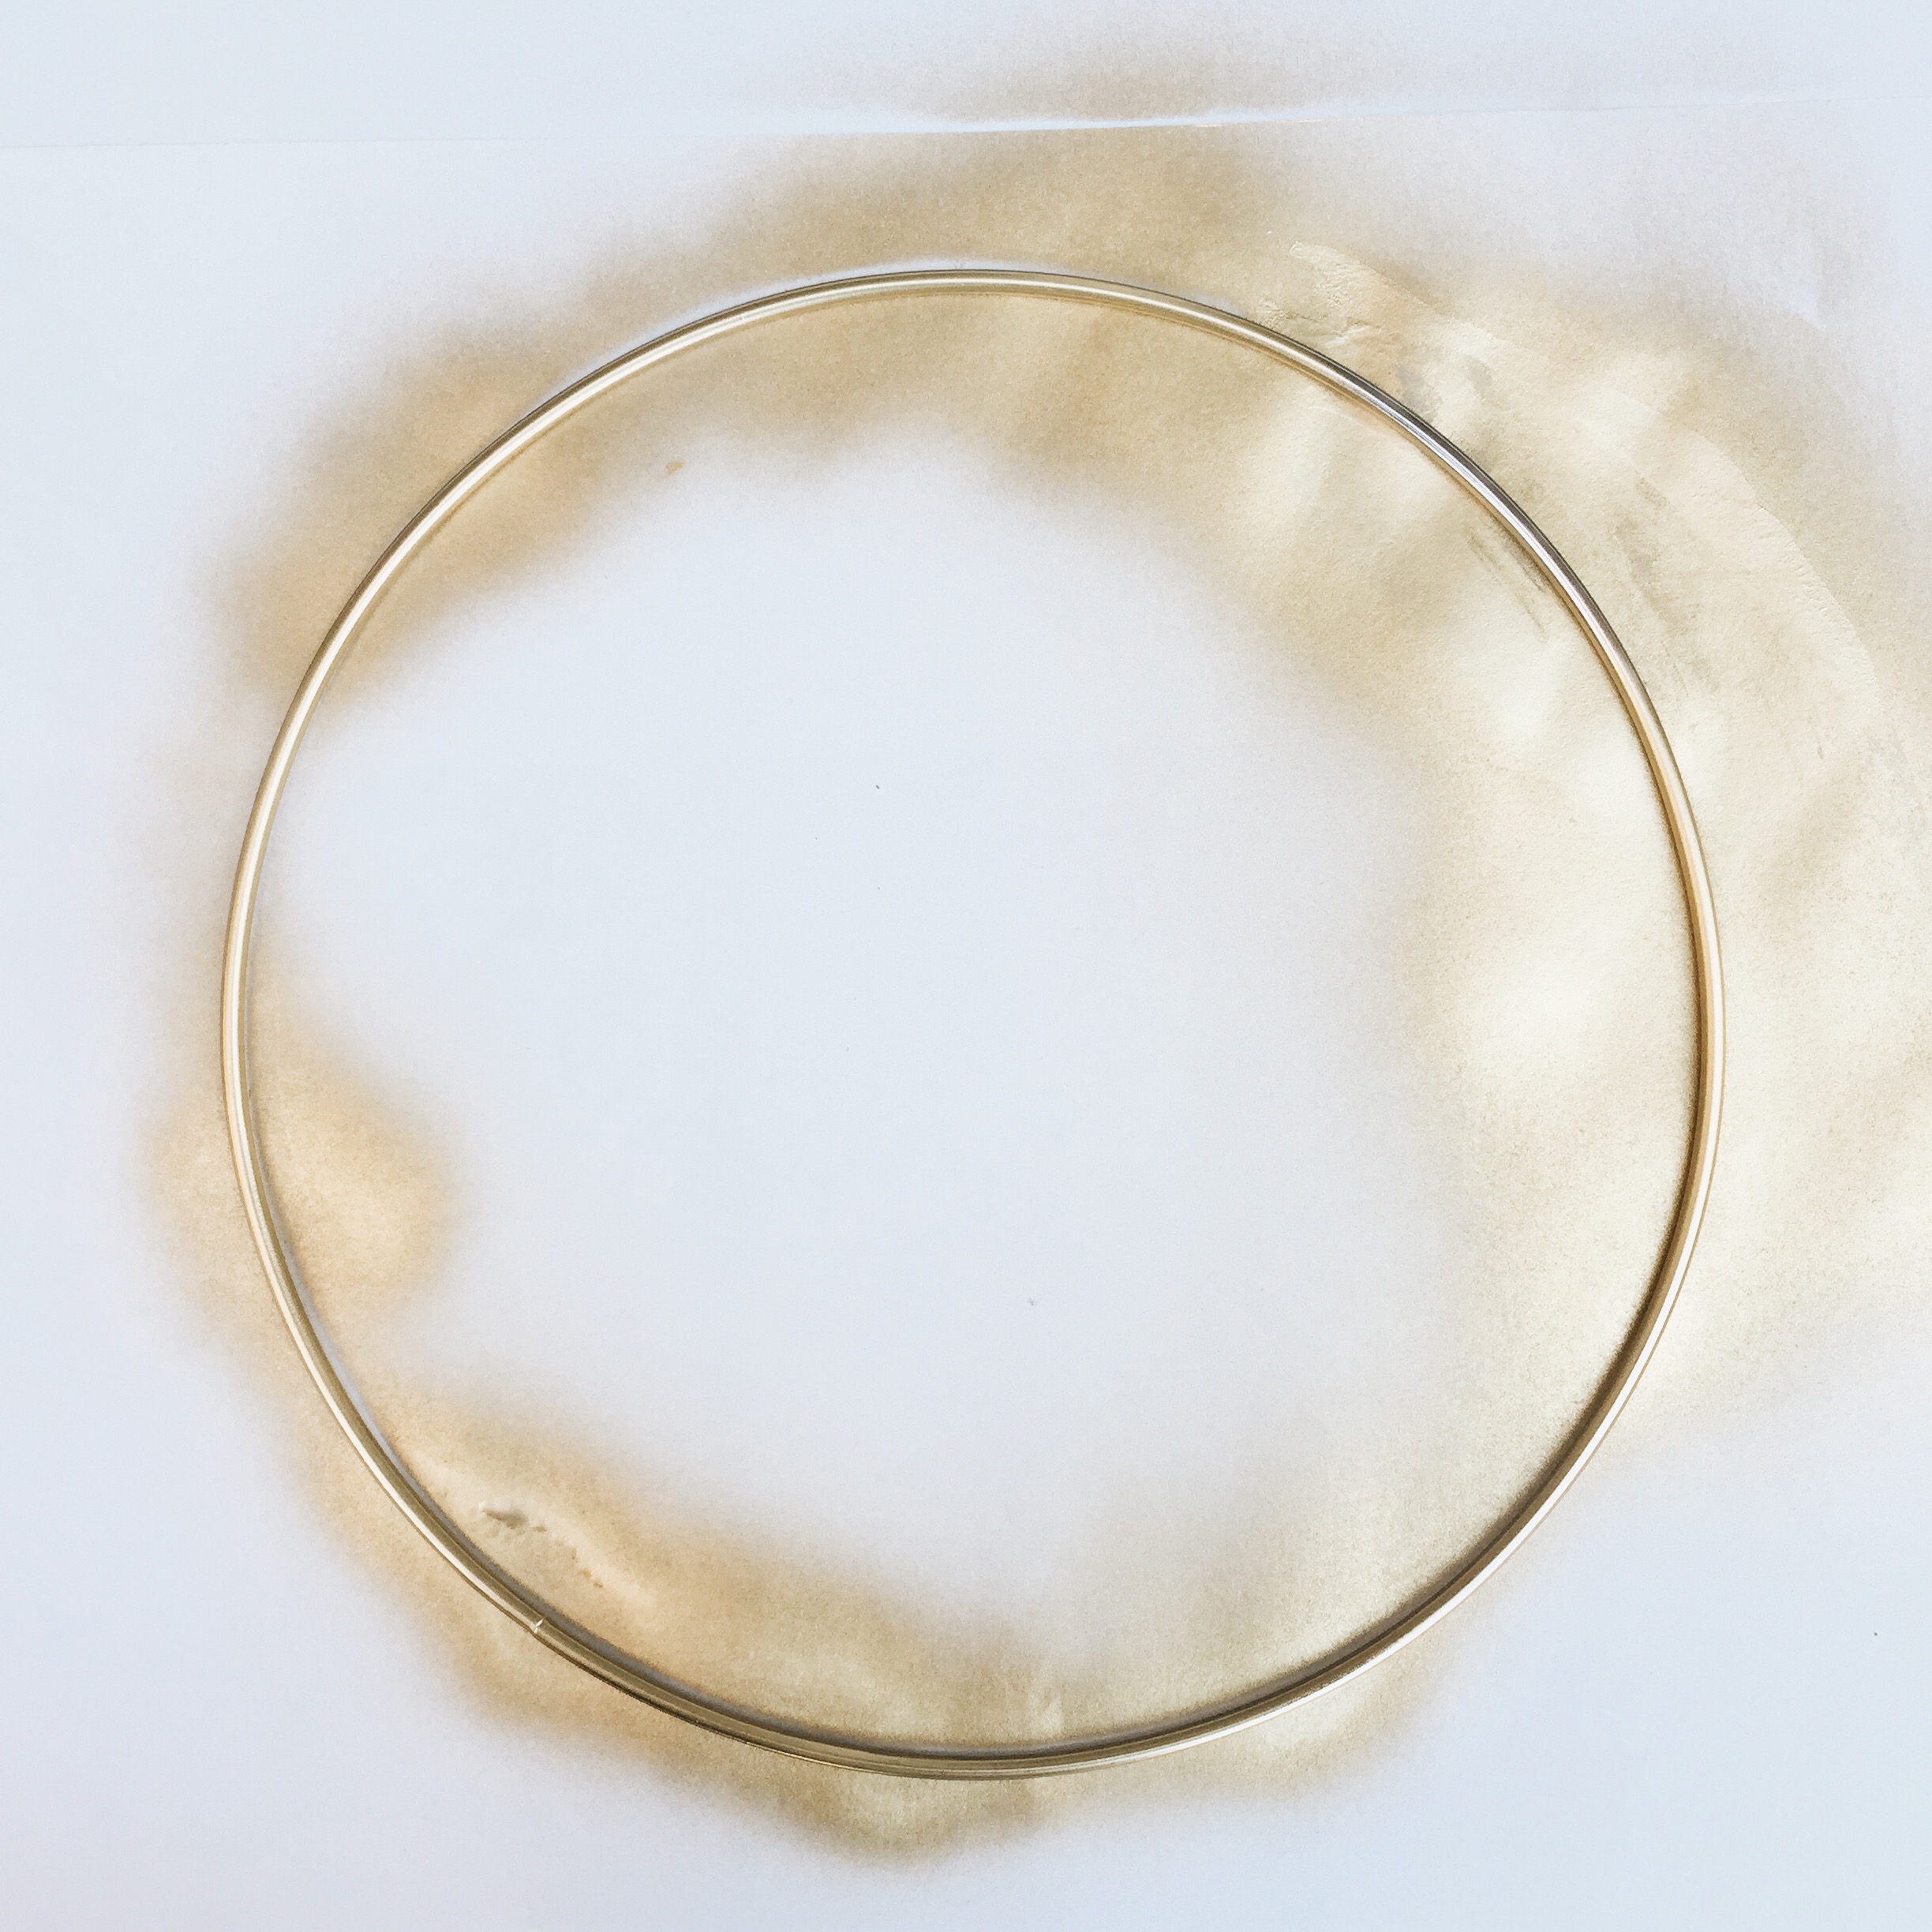
First, spray your metal ring with the gold spray paint on both sides and let dry.
white-feather-mobile-gold-dipped-feathers-diy-baby-nursery
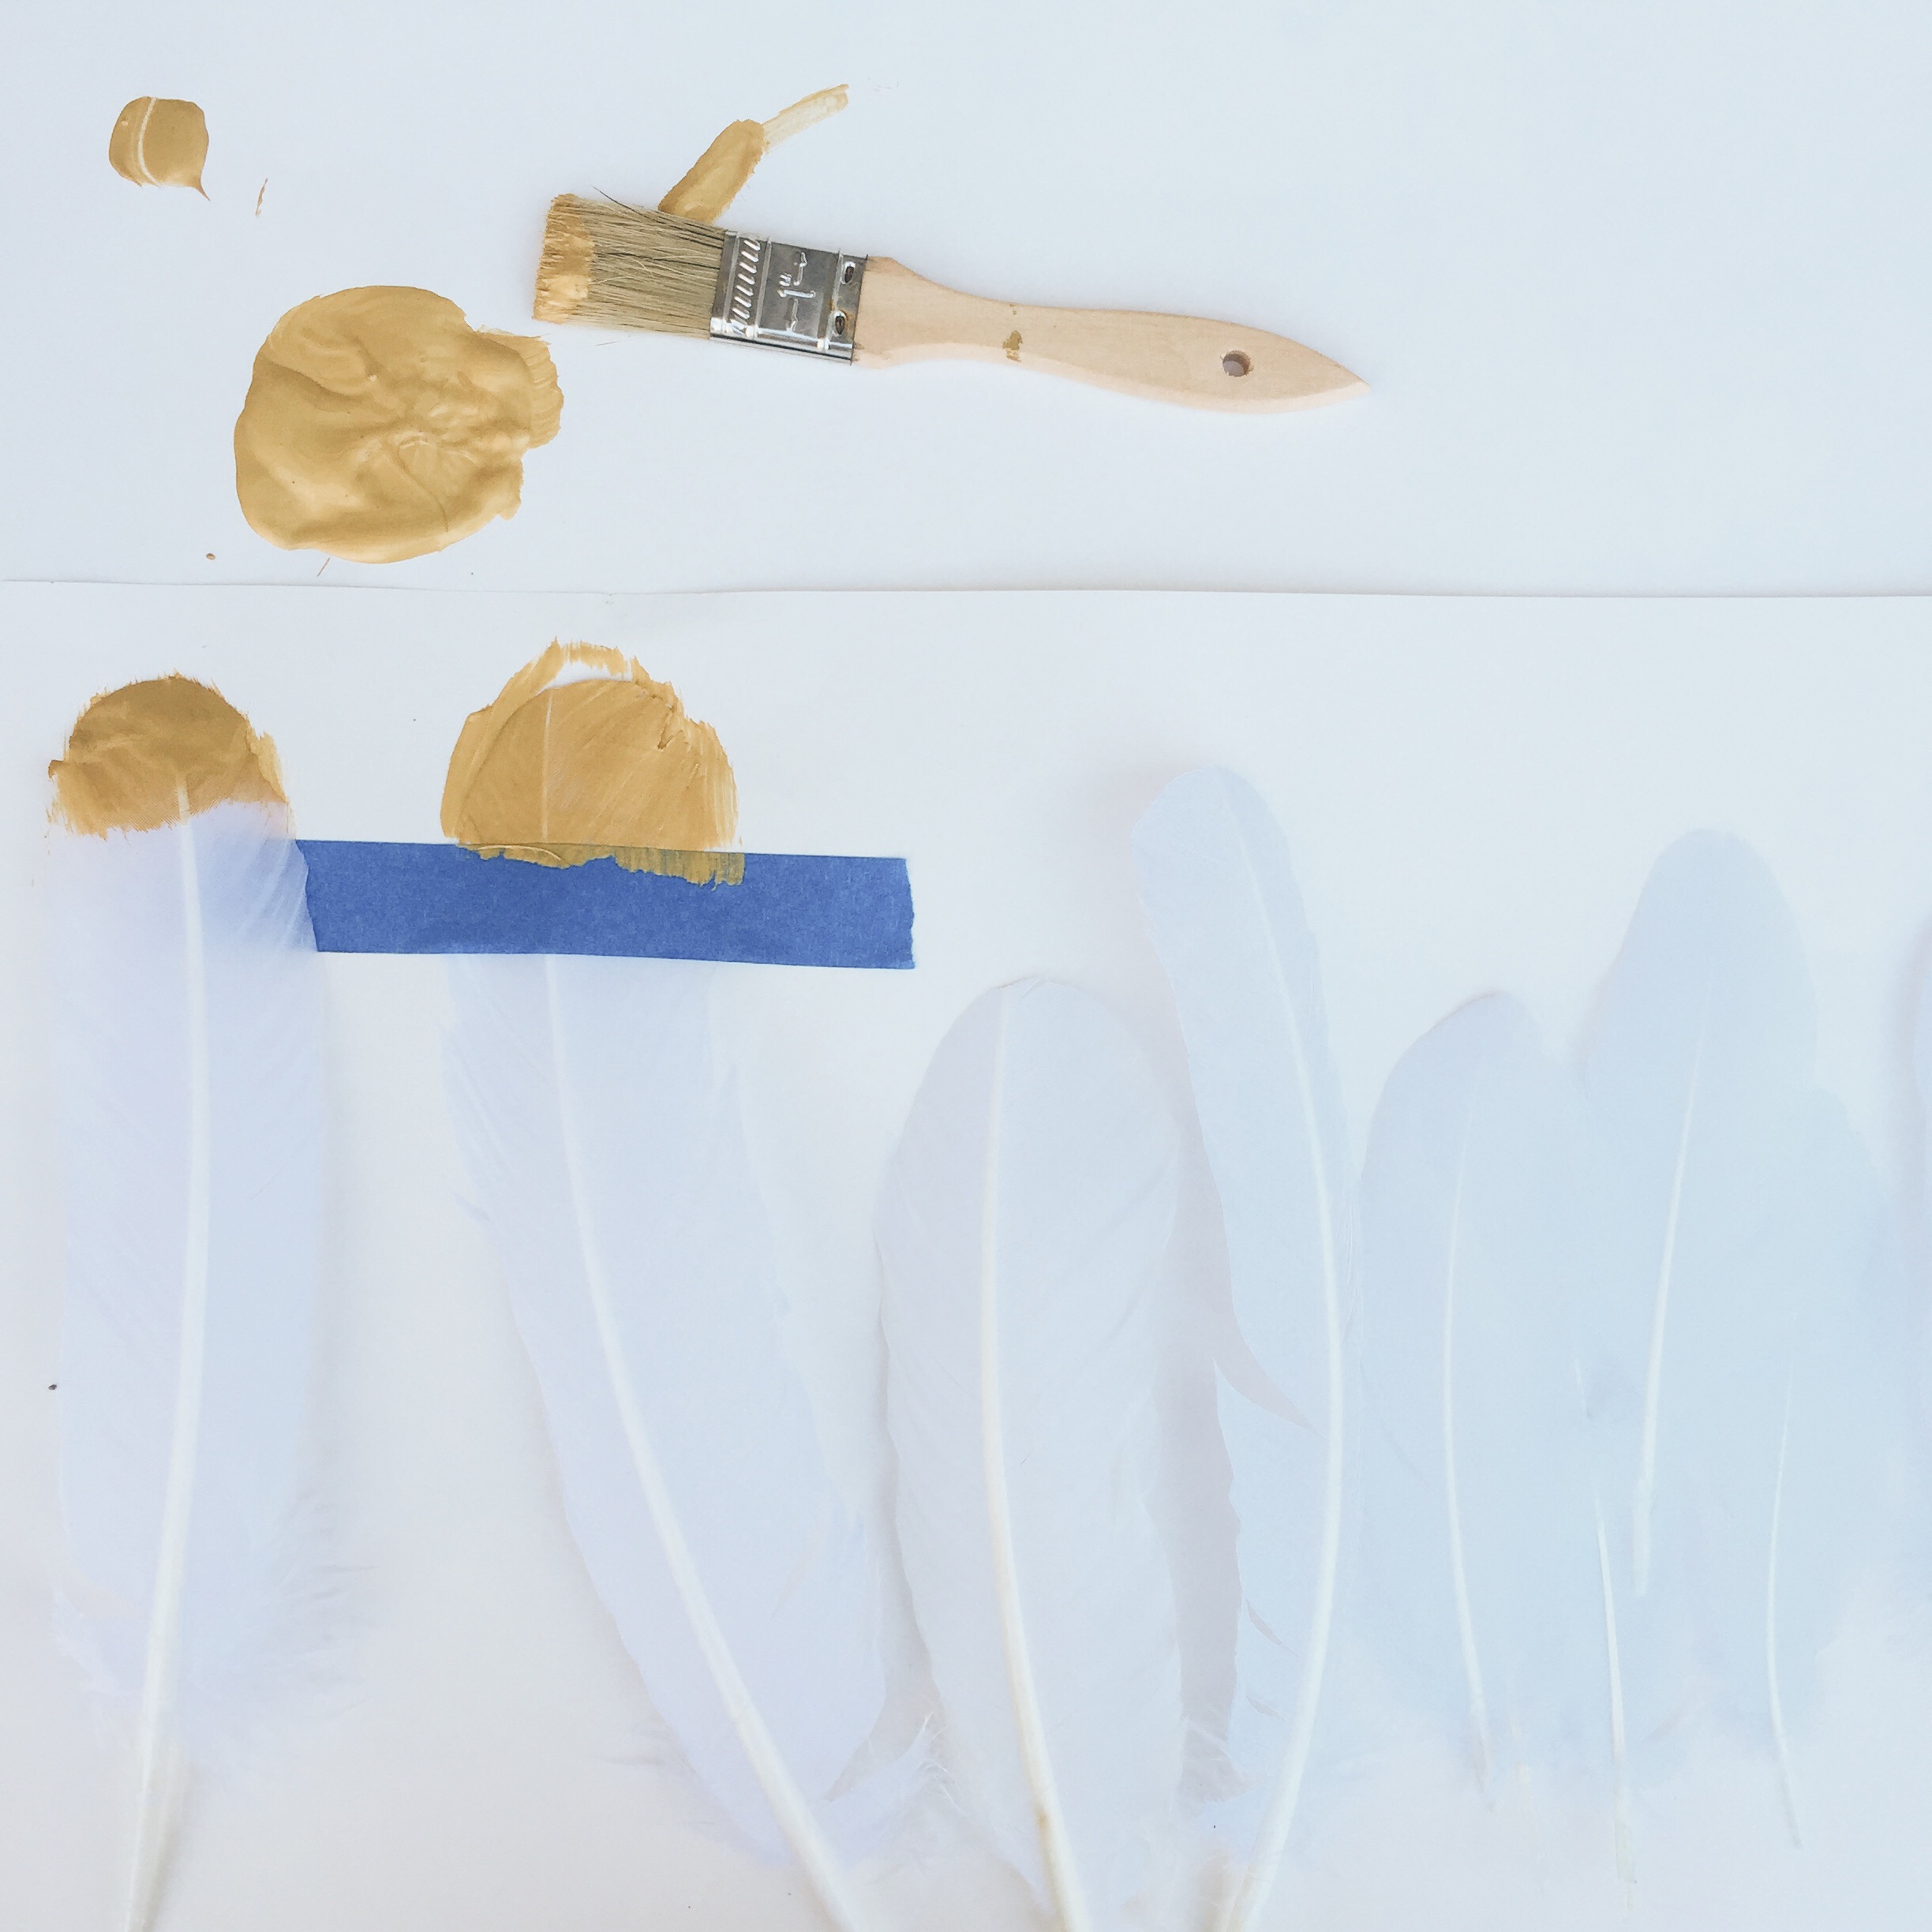
Next, lay out the feathers that you will use and tape down with the painters tape, leaving about 2 inches to paint gold. Paint each end with the gold paint and let dry.
white-feather-mobile-gold-dipped-feathers-diy-baby-nursery

Remove tape, flip over, tape down and paint the other side and let dry. (You don’t have to use the painters tape, but it helps hold the feather in place and provides a nice clean line.)

white-feather-mobile-gold-dipped-feathers-diy-baby-nursery
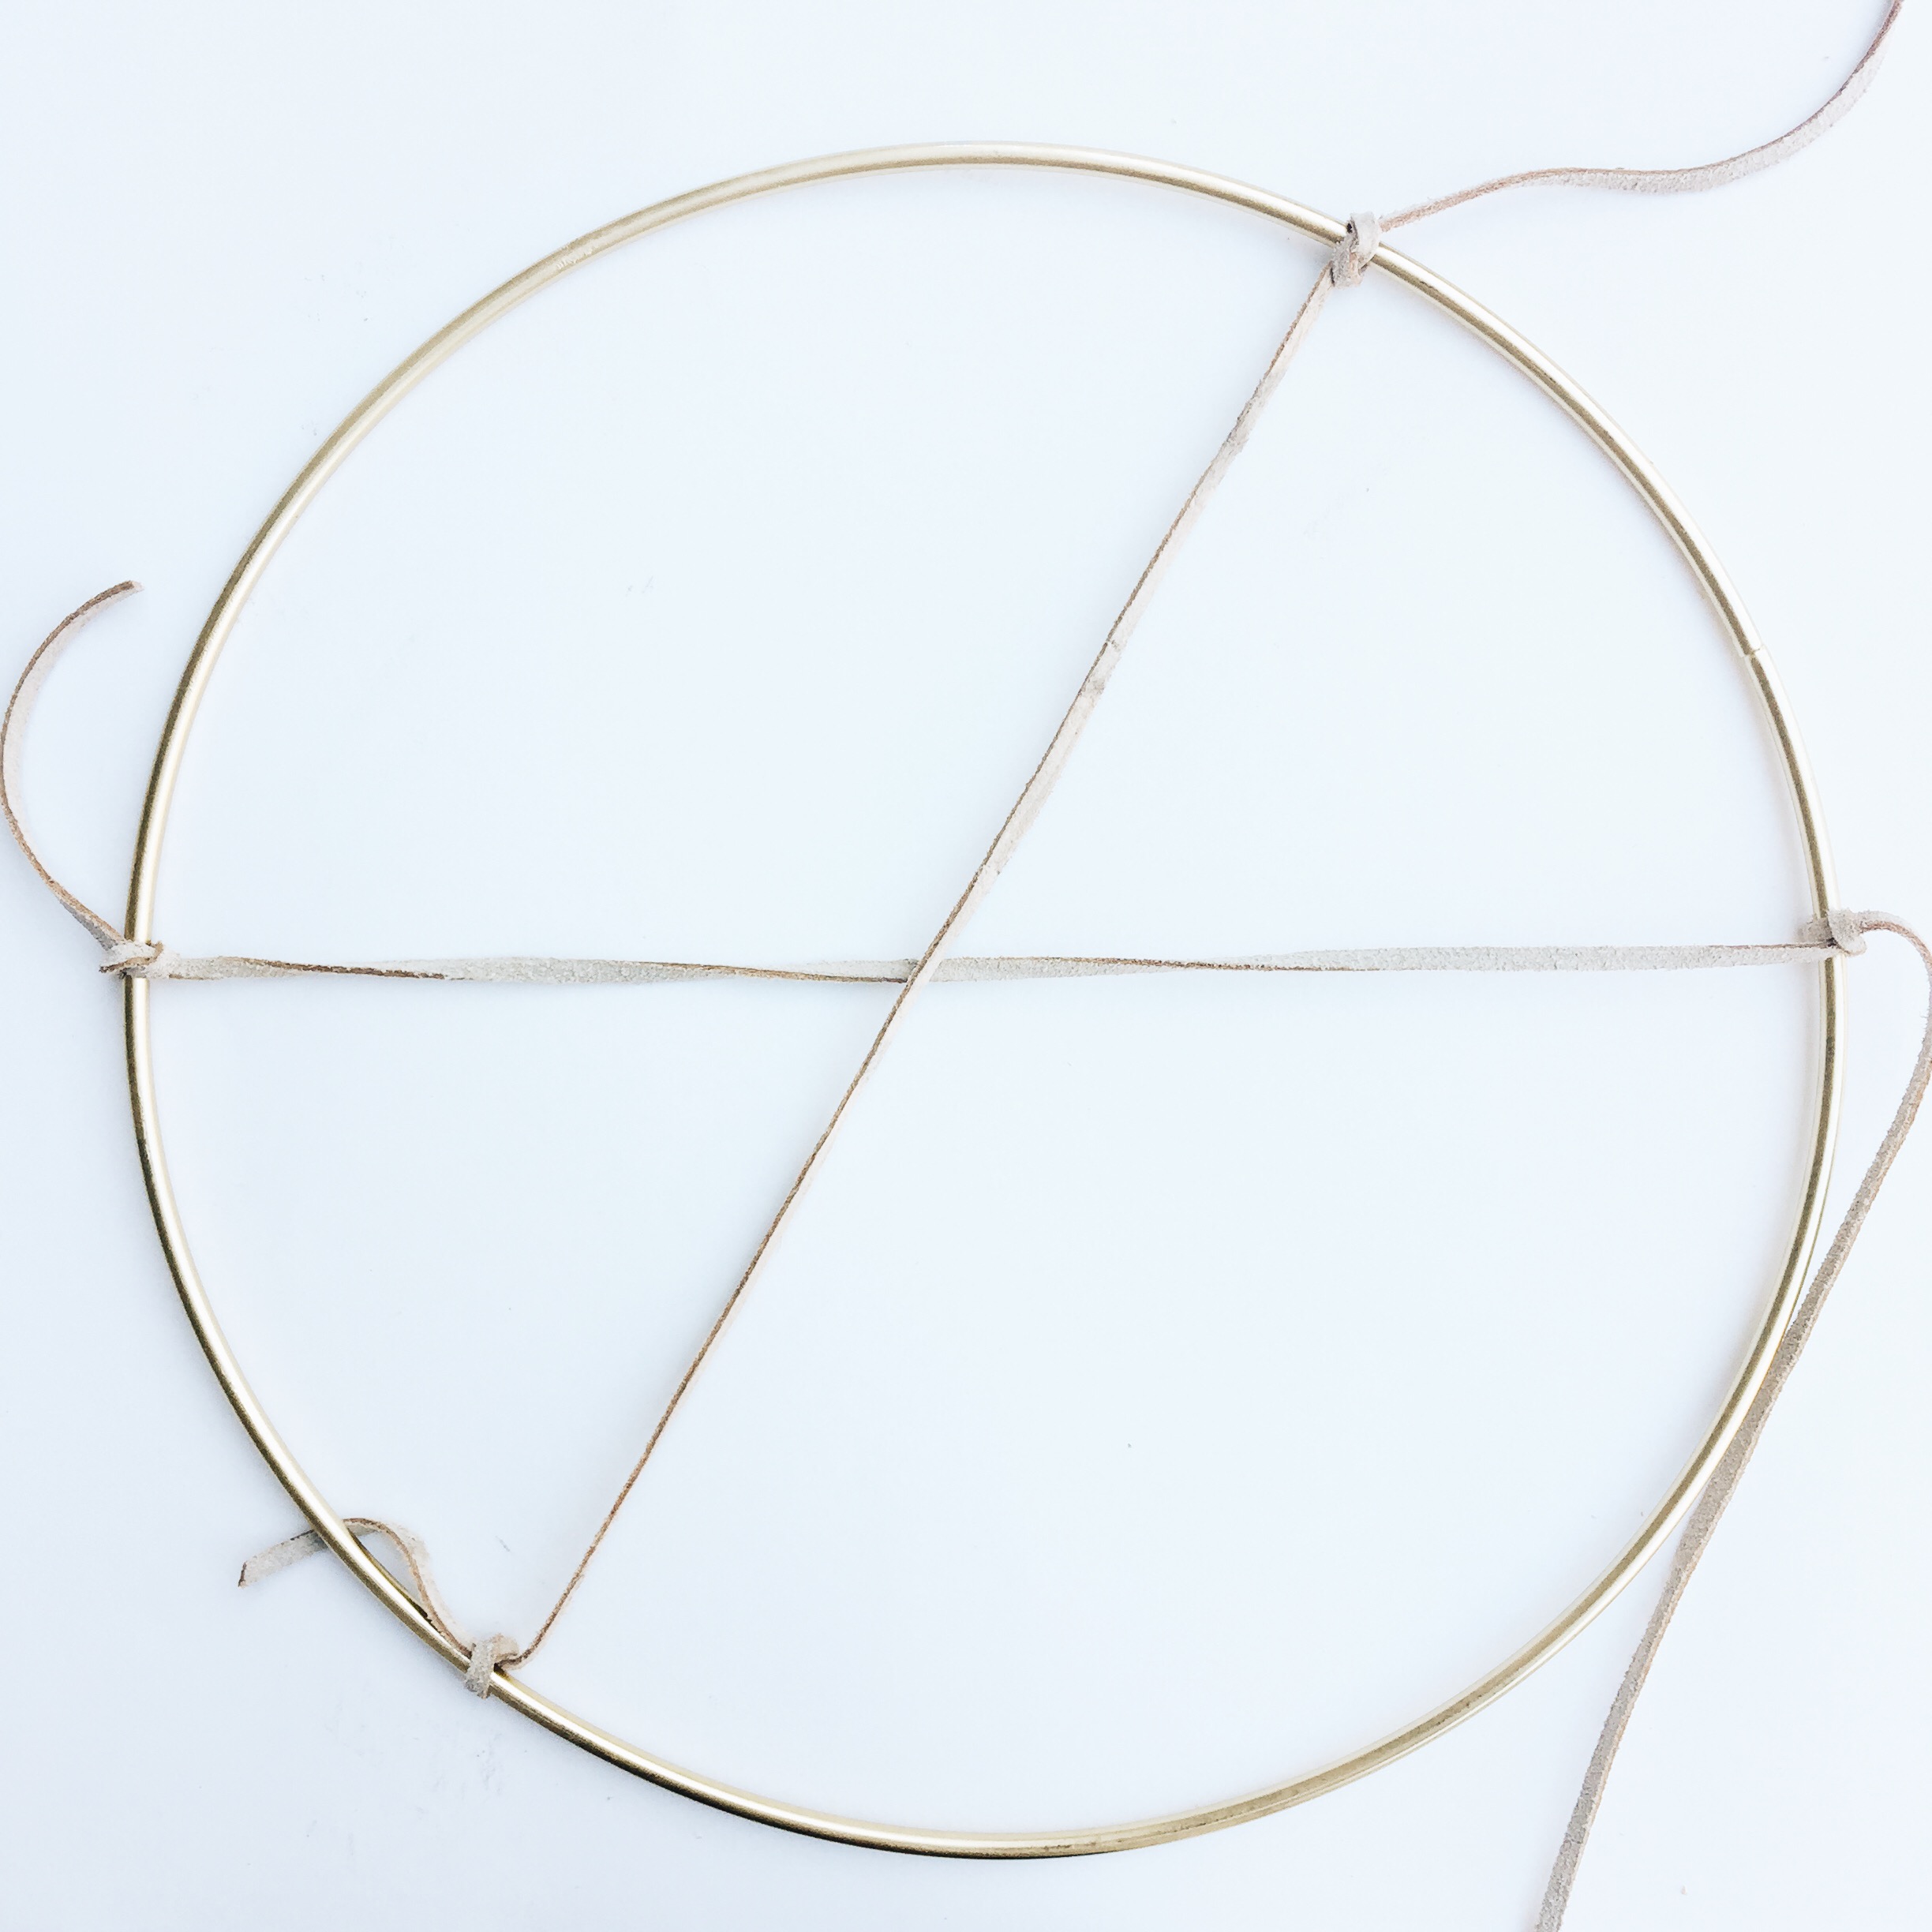
While your feathers are drying, you may start your dream weaving pattern with your leather and ring.  Cut a long strand of your leather and tie in a knot on the ring.  Pull the strand tight and tie across the ring in any spot.  Trim the leather and then repeat this process making any random “dream weaver” design of your choosing.
white-feather-mobile-gold-dipped-feathers-diy-baby-nursery
white-feather-mobile-gold-dipped-feathers-diy-baby-nursery-leather-ring
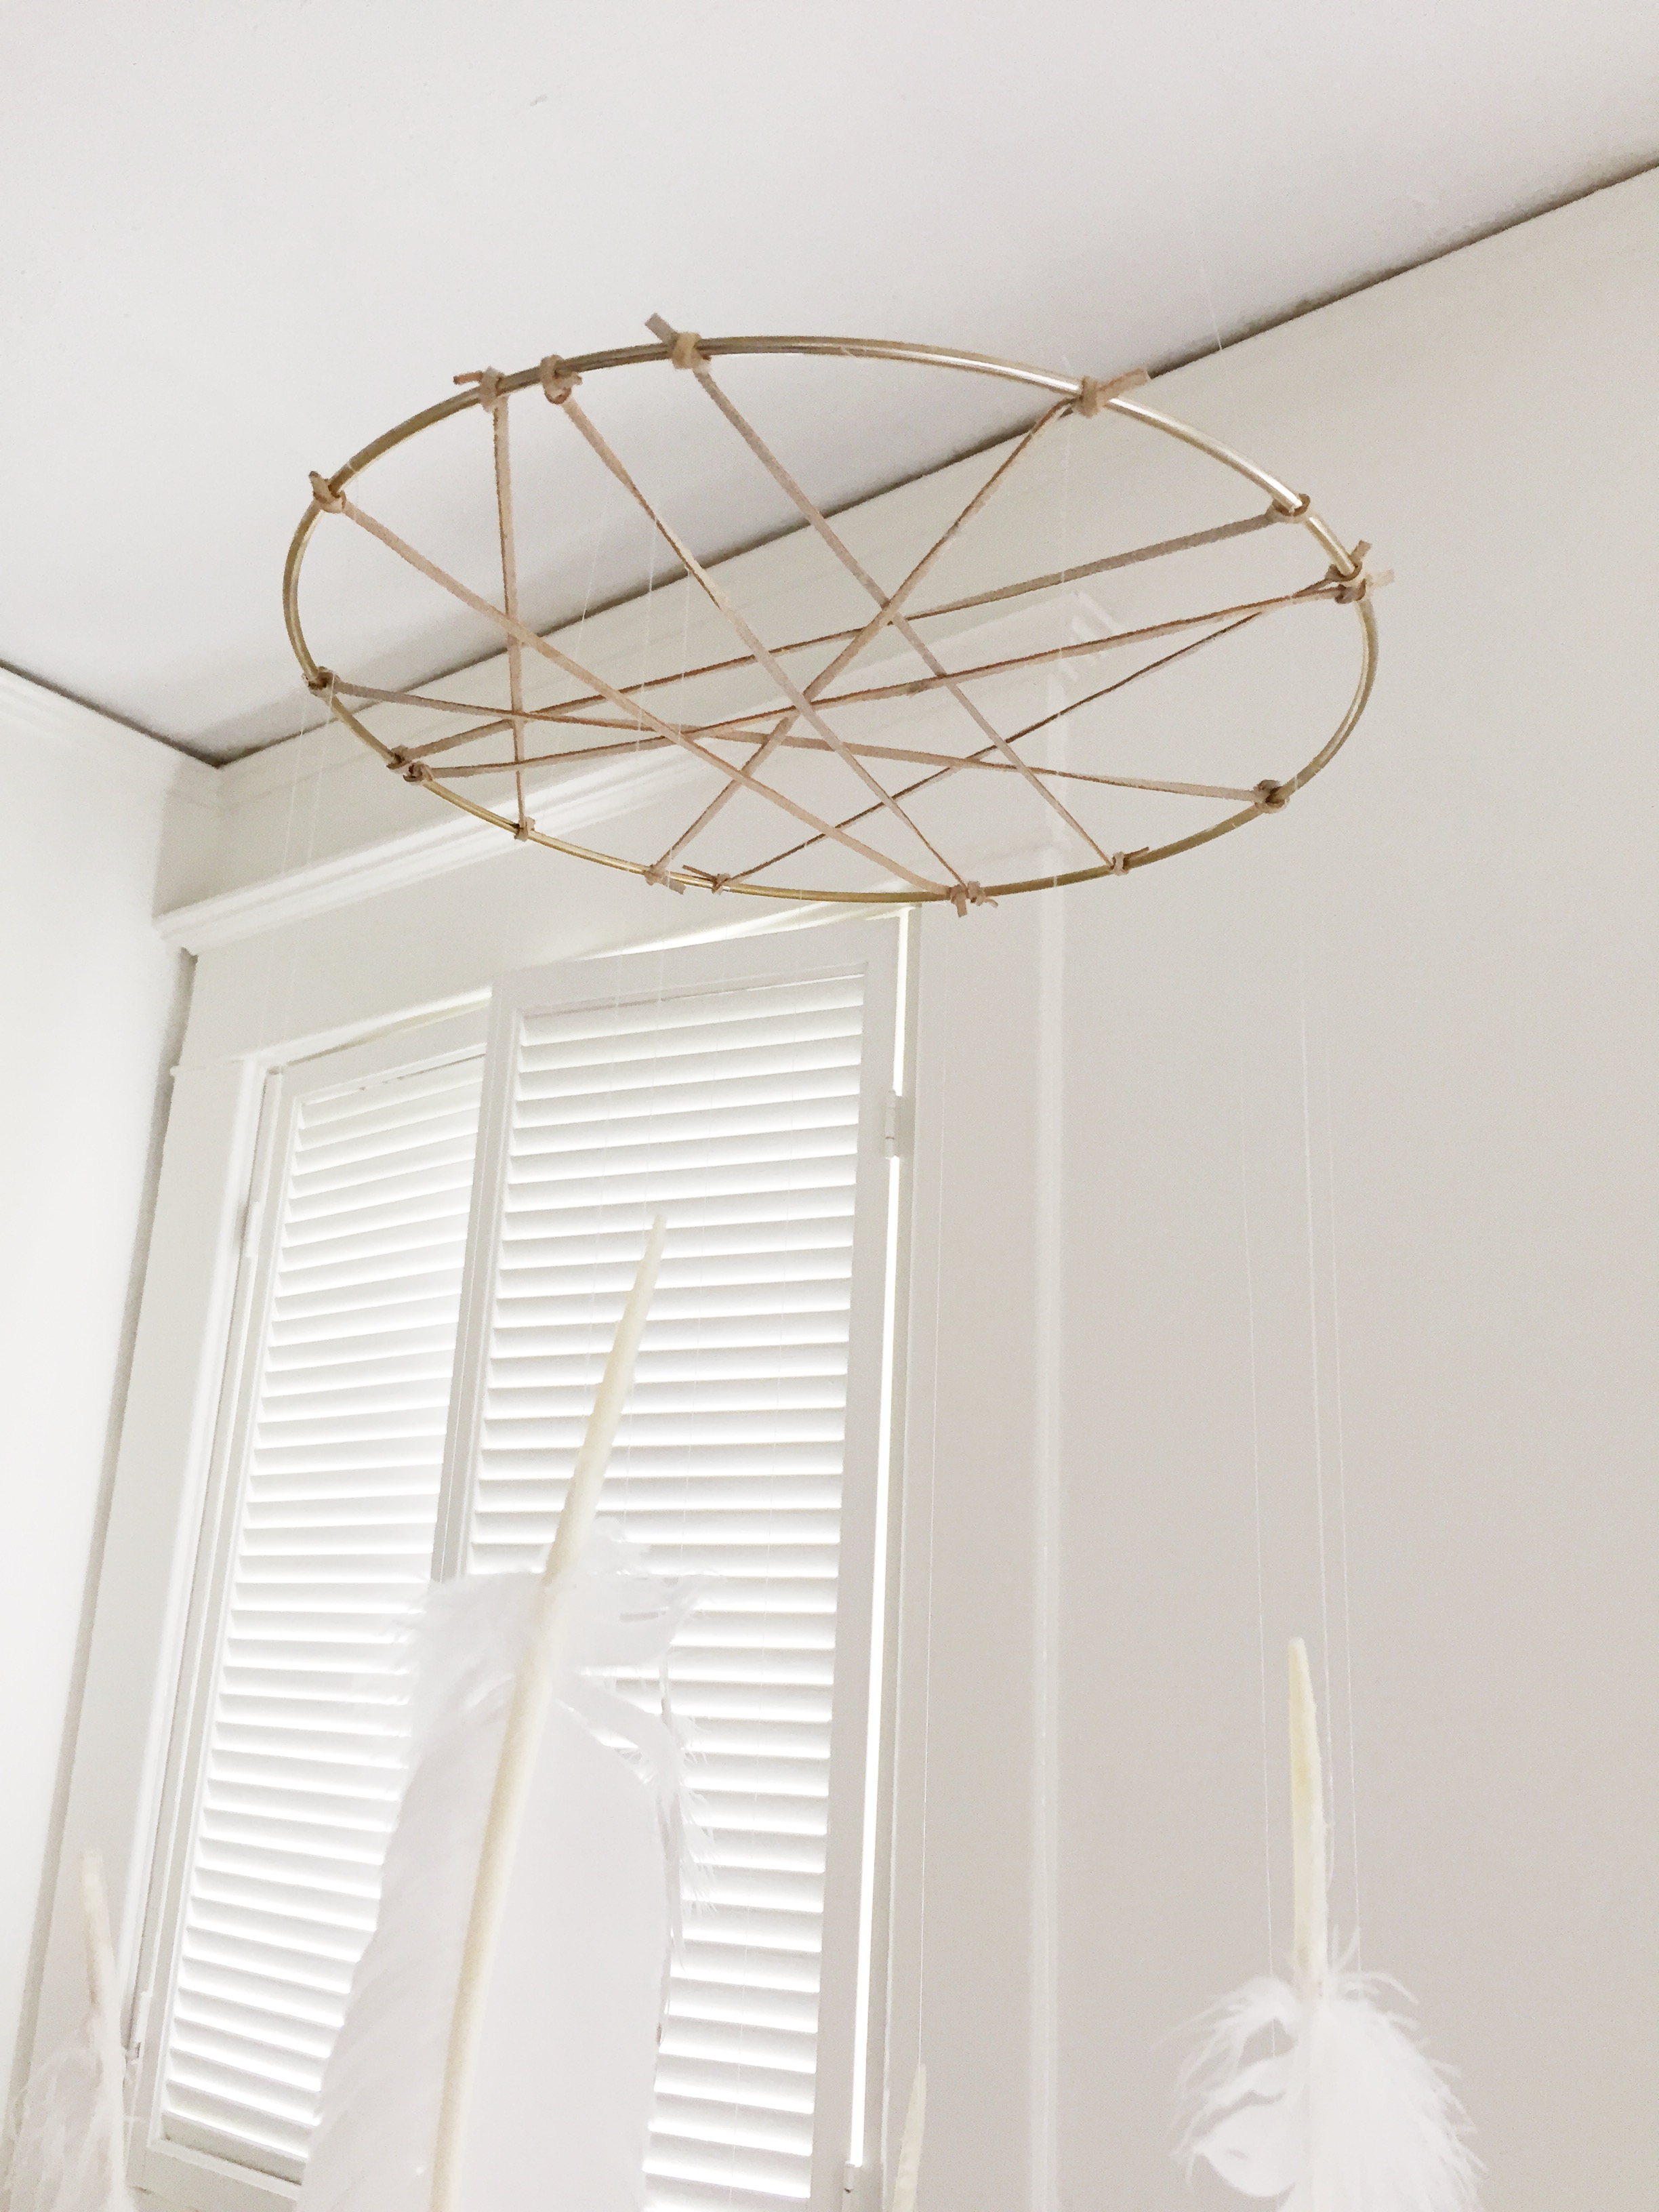
Now you want to tie your transparent string to your ring to make a hanger for the mobile.  This step will make it easier to attach your feathers, and not make a tangled mess that leaves you wishing you’d never started this DIY project. Hind site is 20/20…Ha!  So, attach four strands at your desired length (this will depend on how tall your ceilings are) equal distance apart on your ring, so that it creates a balanced hanger.  Tie all four strands in a knot, trim and use a clear thumb tack to attach to the ceiling.
 white-feather-mobile-gold-dipped-feathers-diy-baby-nursery

Now, your feathers should be dry and you are ready to assemble your mobile!  Tie your transparent string, at various lengths, to the ends of your feathers.  Then tie those strings to various places around the ring and throughout the center of your dream catcher design. I personally used 12 feathers on my mobile.
white-feather-mobile-gold-dipped-feathers-diy-baby-nursery

You are done and should have a gorgeous mobile for your home, nursery or kid’s room!

white-feather-mobile-gold-dipped-feathers-diy-baby-nursery

white-feather-mobile-gold-dipped-feathers-diy-baby-nursery

Photography via Ashley McIntosh
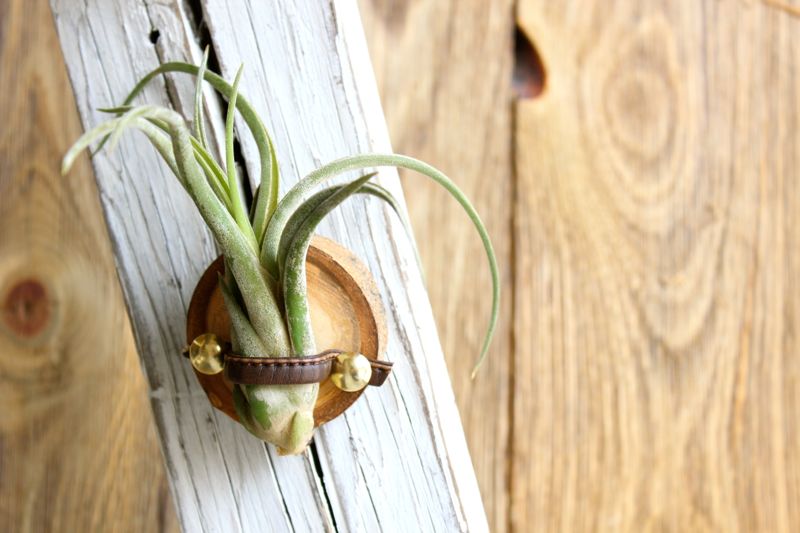
DIY Air Plant Holder

air-plant-holder-wood-slice-diy-gold-push-pin-gift

If you have a real Christmas tree you decorated this year, you’re 1. likely vacuuming pine needles daily like Jessica, and 2. about to recycle your tree.

Before you get rid of the tree forever, if you can, slice the trunk into discs. You can use them for so many crafts projects, but additionally, you can make a DIY air plant holder in less than 5 minutes. It makes for a great gift.

Materials:

  • air plant
  • wood discs/slices
  • gold pushpins
  • leather

Directions:

  • Place the air plant on the wood slice and measure the length the leather needs to be.
  • Cut the leather.
  • Insert the push pins into both ends of the leather into the wood slice.
  • Place the air plant through the leather holder.
  • You can drill a small hole through the top of the wood slice if you want to hang the air pant holder. Or, you can use Command strips on the back for damage-free hanging.

air-plant-holder-wood-slice-diy-gold-push-pin-gift

air-plant-holder-wood-slice-diy-gold-push-pin-gift


DIY NYE Ball Drop with Cheese Balls

new-years-eve-diy-ball-drop-cheese-ball-kid-party

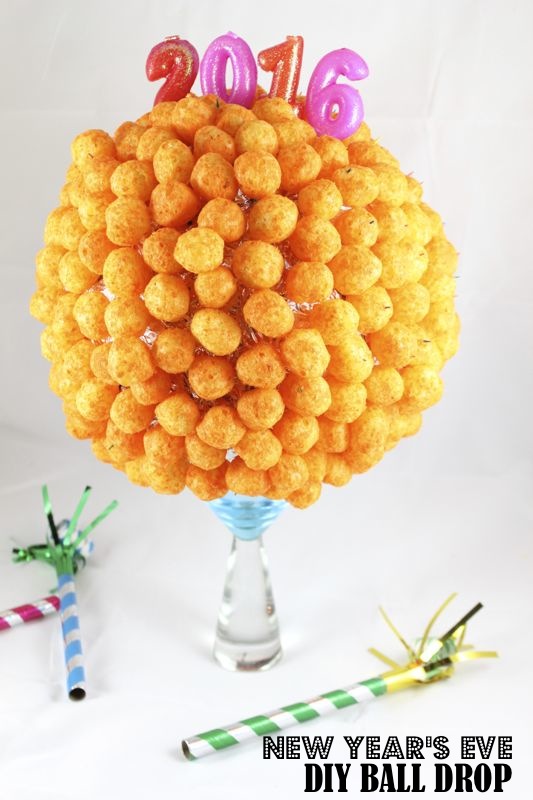
If anyone under the age of 12 made the RSVP list for your NYE party, we have a must-do, last-minute DIY New Year’s Eve Ball Drop for you. Heck, even if kids didn’t make the list, adults will love this DIY Ball Drop, too.

It’s made with cheese, so it’s edible and good, plus it’s easy, which means you can do it in under an hour. It’s not healthy, per say, but it is gluten free, so even the gf folk can enjoy.

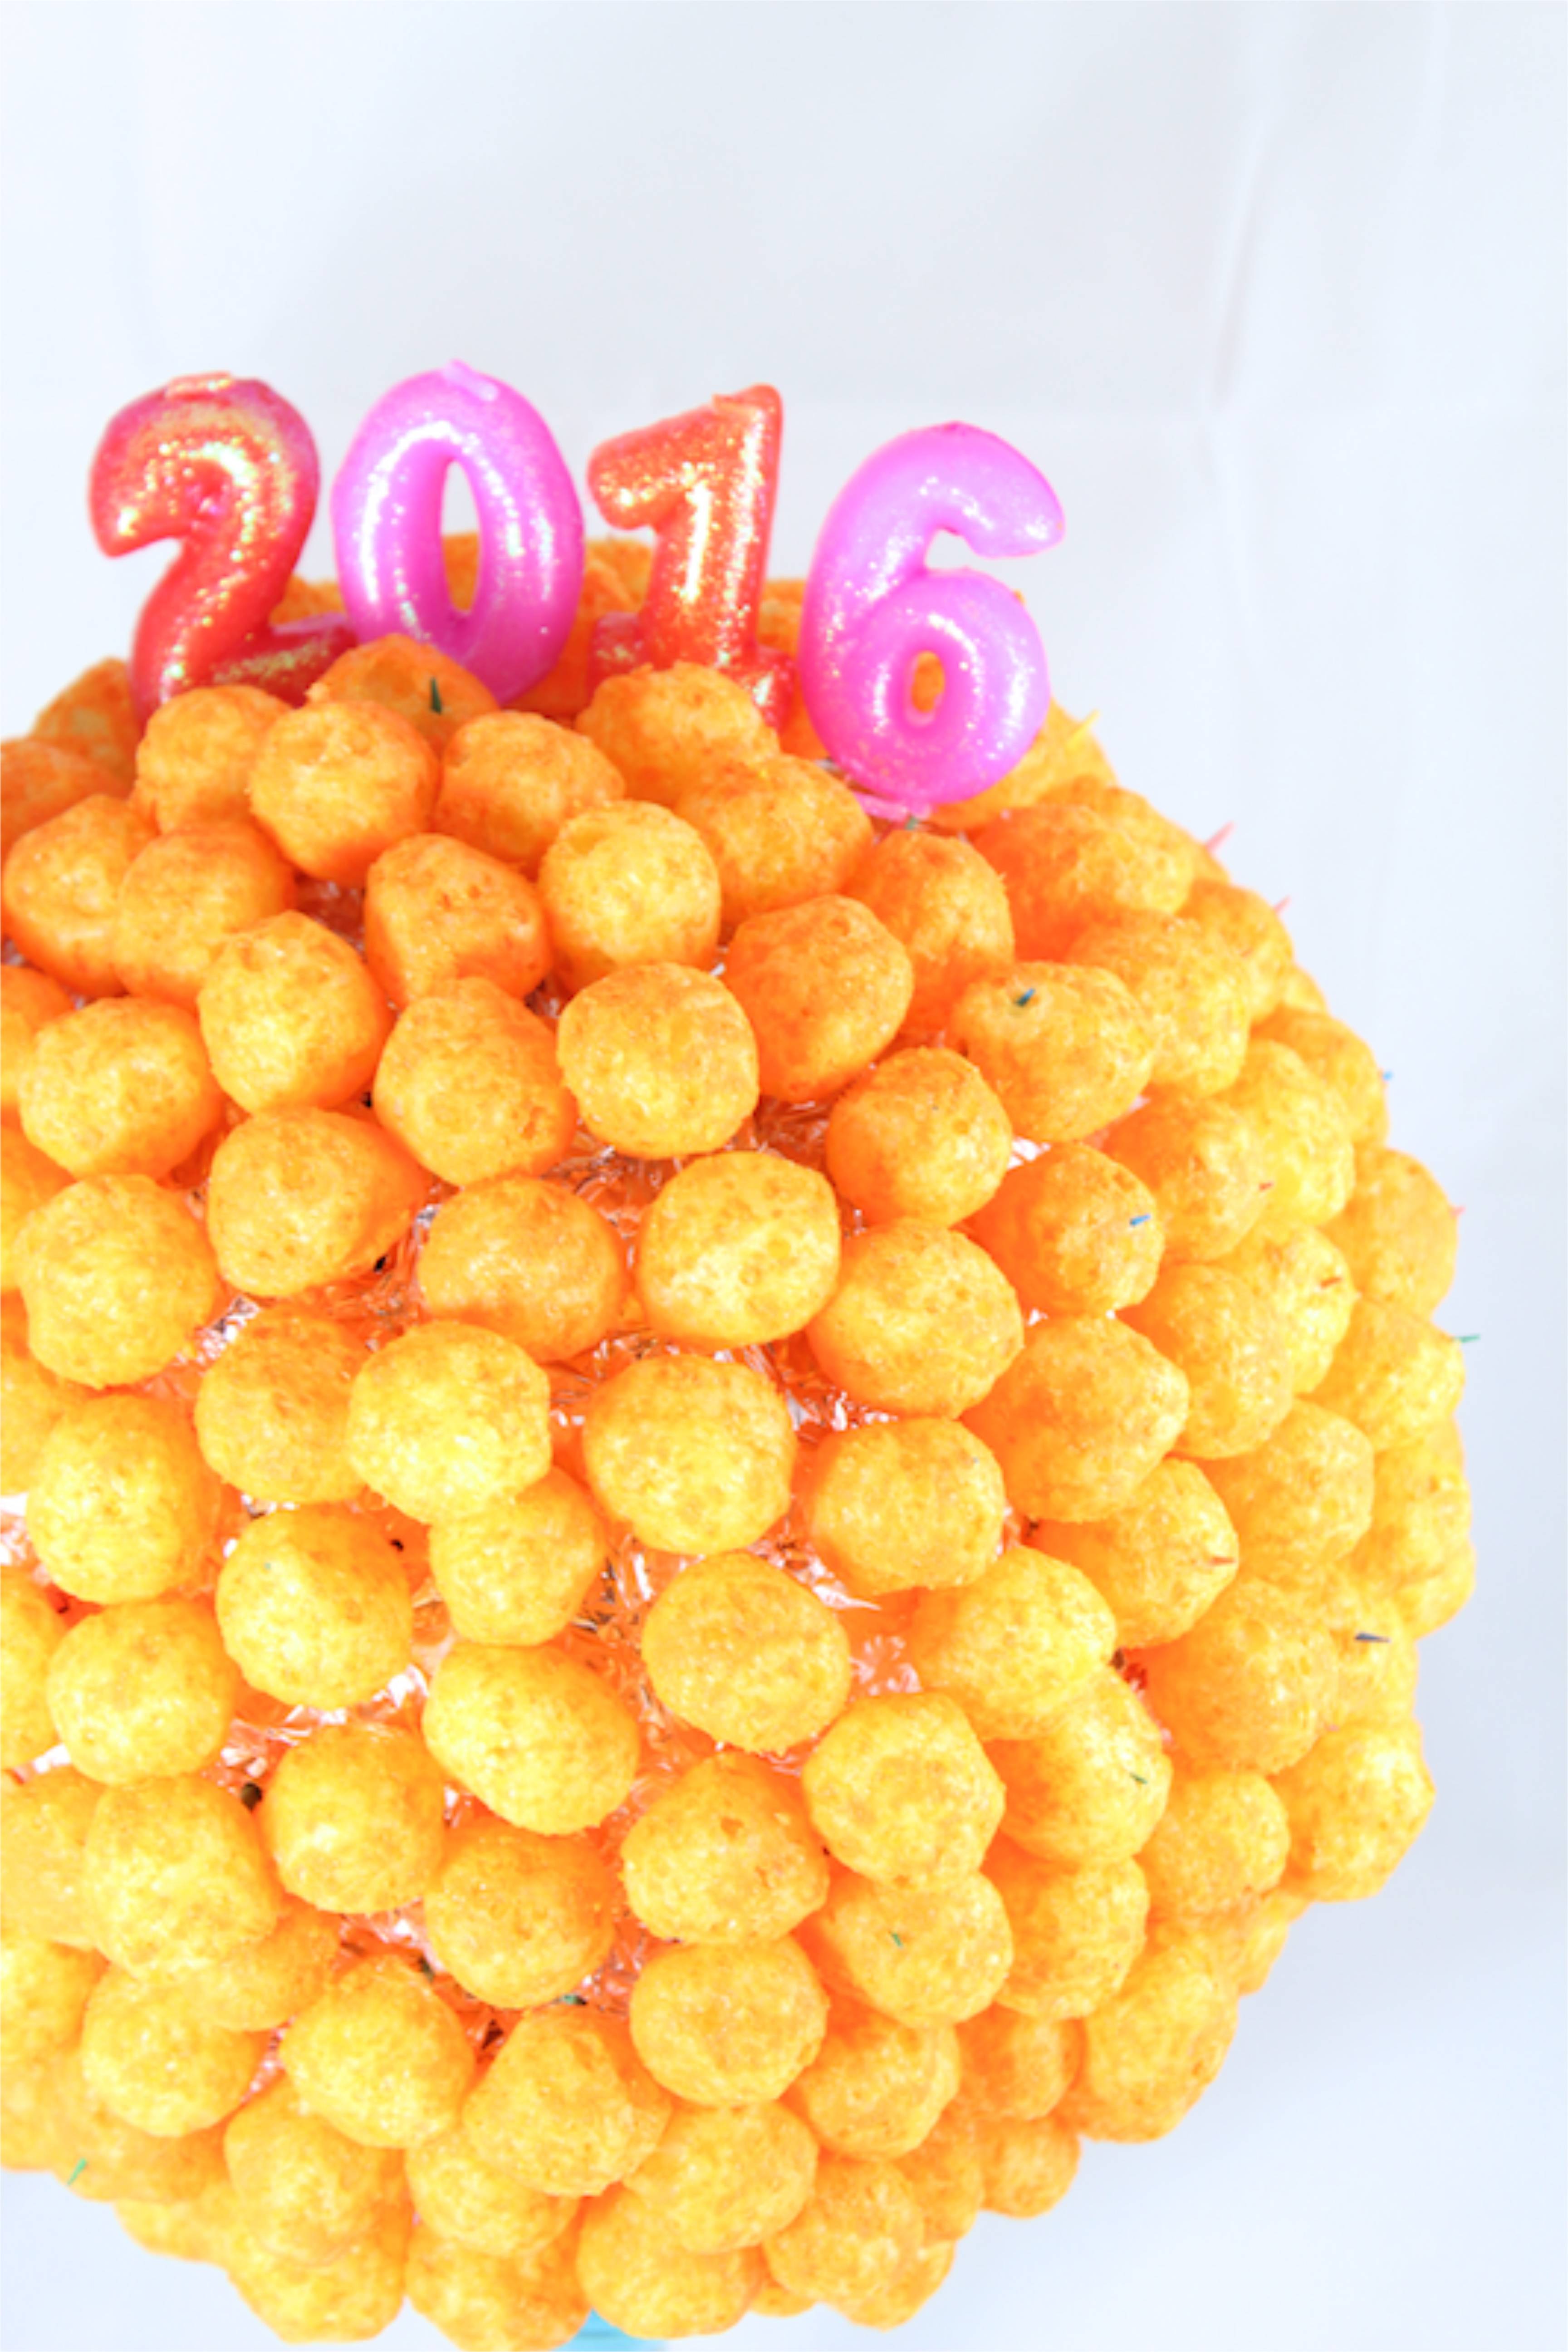
Here’s how to make a DIY New Year’s Eve Ball Drop with Cheese Balls.

new-years-eve-ball-drop-nye-kids-party-cheese-ball-diy

Materials:

  • Cheese balls {$6 at Wal-Mart, Sam’s Club or Target}
  • Styrofoam ball
  • Foil
  • 250-300 toothpicks
  • 2016 candles or cut out letters glued to a toothpick
  • Martini glass or a wood stick with a base

Directions

  • Cover the Styrofoam ball completely with foil.
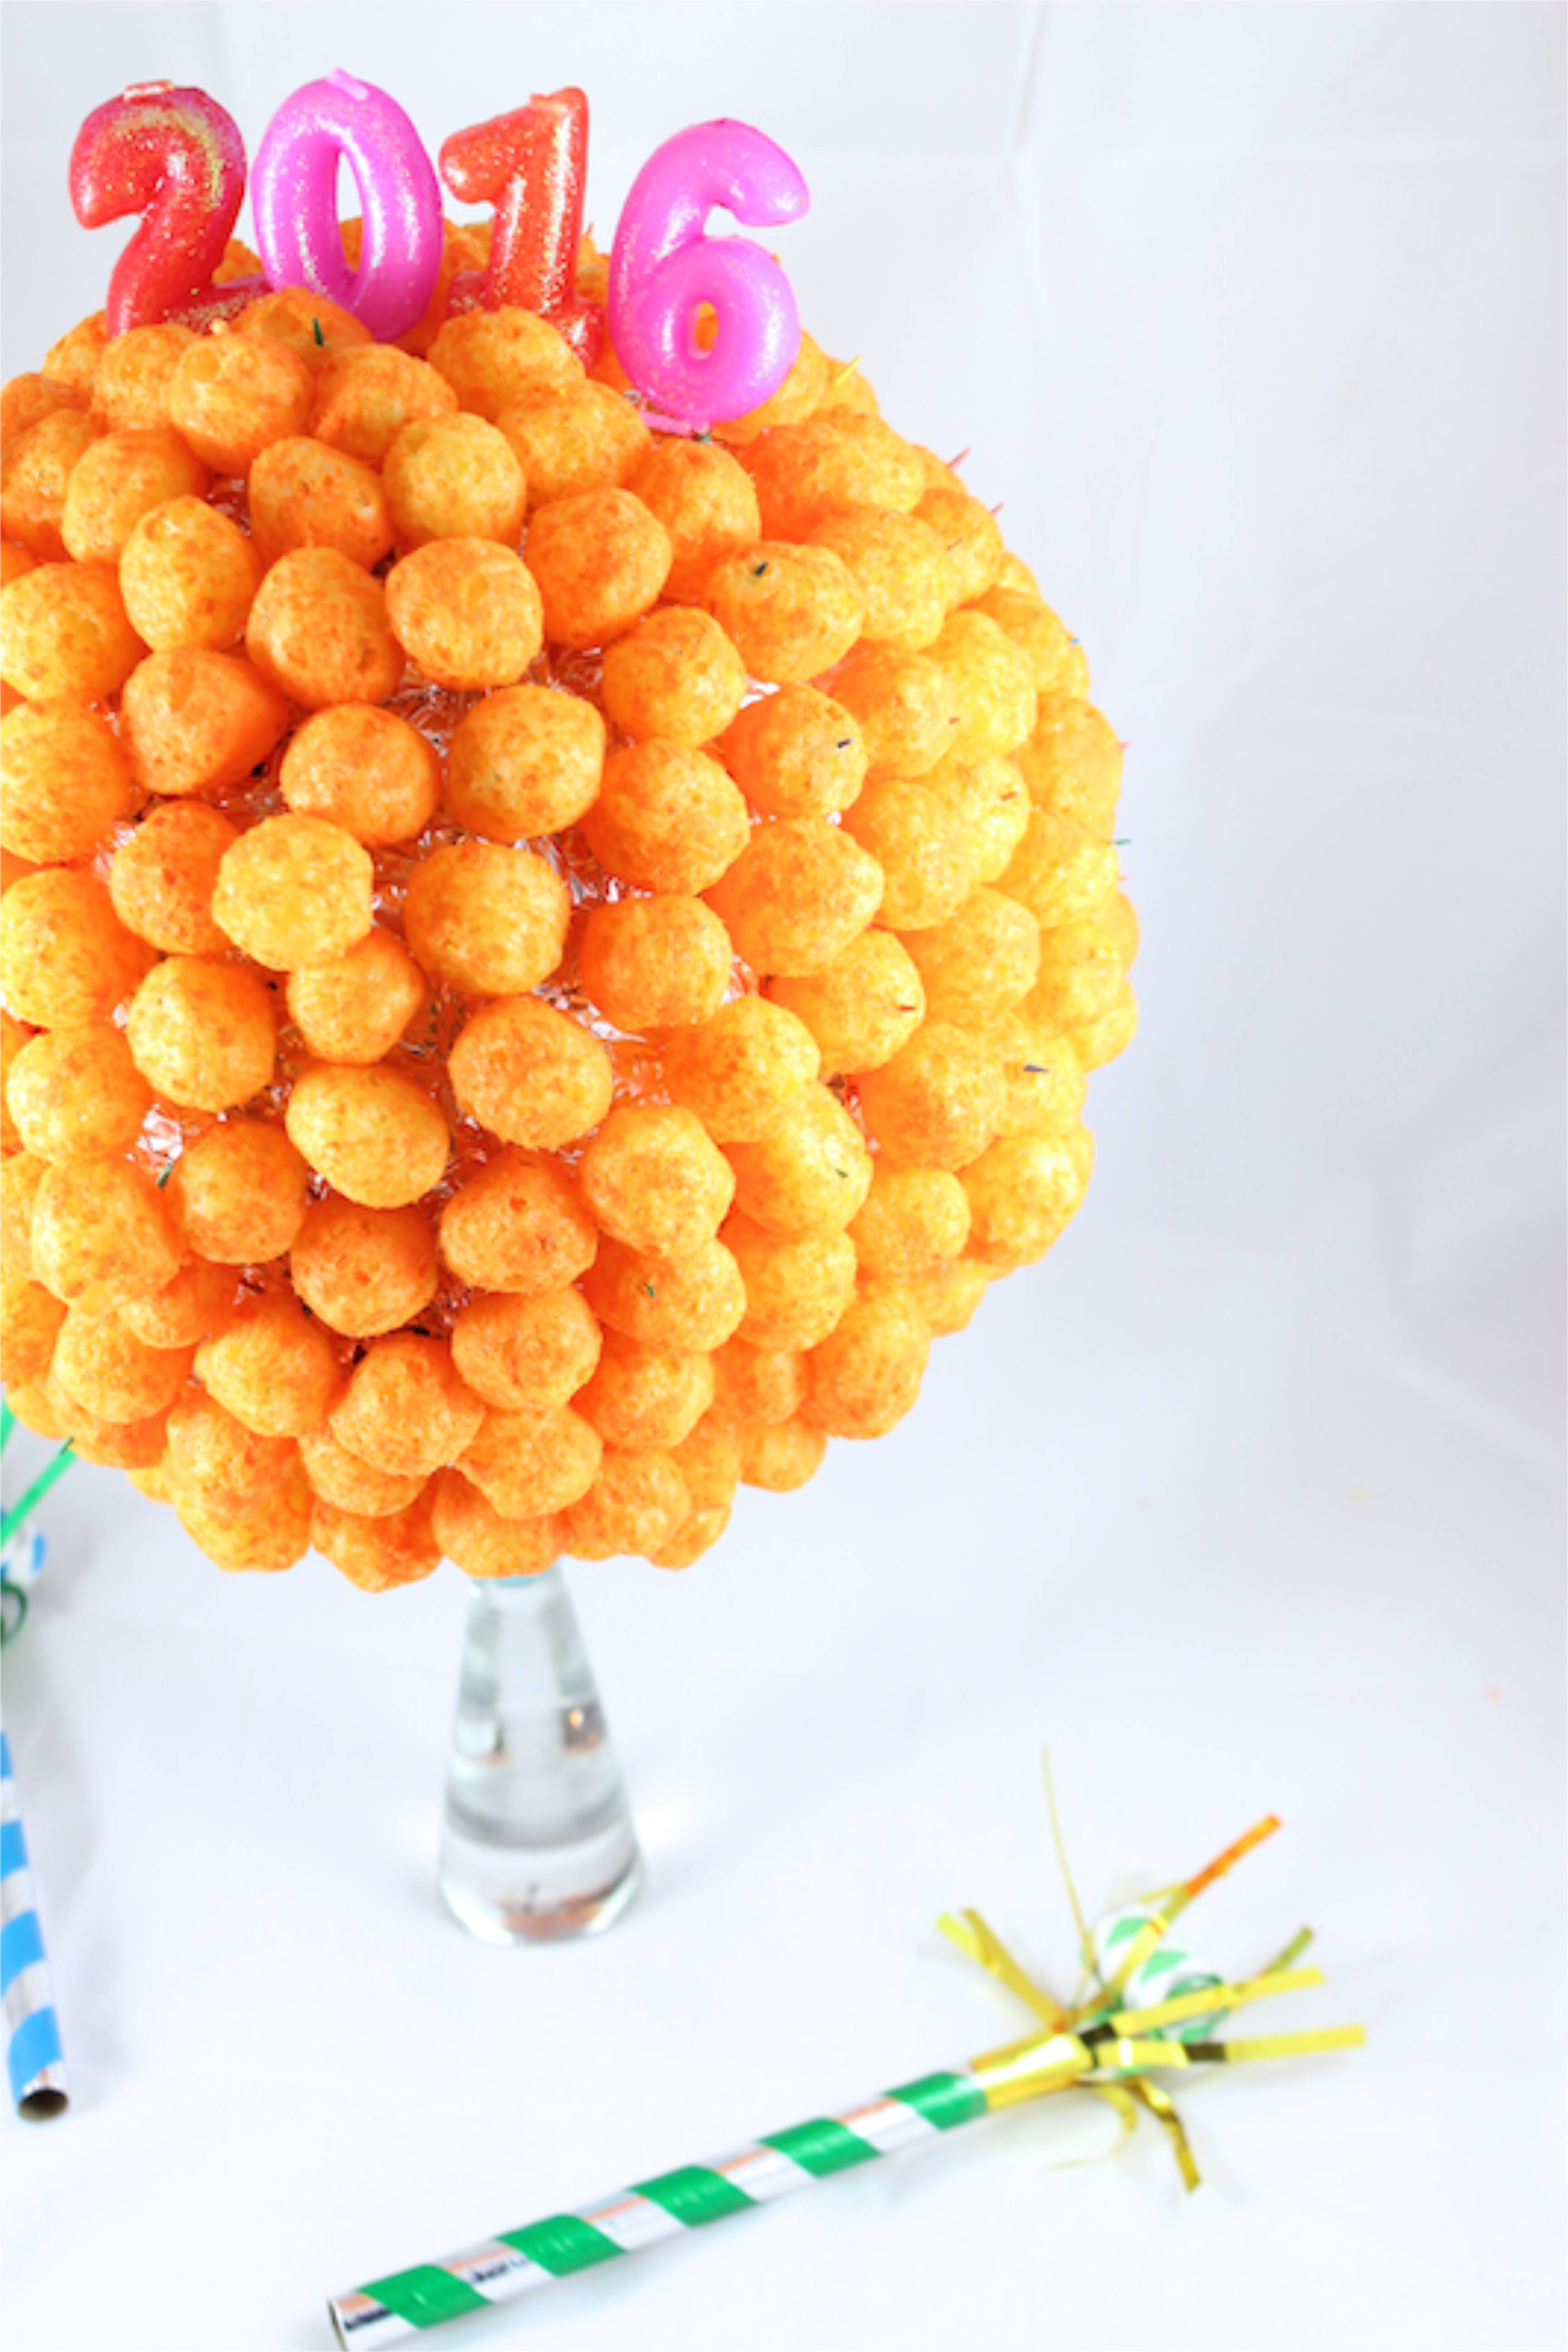
  • Insert toothpicks ¾ deep in the foil, and press a cheese ball onto the end of the toothpick. Do this until the ball is full, or if you plan to place on a martini glass, you can leave the bottom tip empty. The other cool option is to cover the ball completely, insert it onto a wood stick or dowel rod and lower it every hour like the real thing.
  • Save some room at the top of the ball for the 2016 candles or letters. If you need more room, just remove some cheese balls.

nye-diy-ball-drop-new-years-eve-cheese-ball-kids-party

Happy New Year, everyone! 2015 started out rough for us, and it seemed to stay rough most the way through, so 2016, we have high hopes for you. No one sang it better than our dear friend Dana, but Frank Sinatra started it all, and we’re going to sing it and believe it in 2016…

Cause he had high hopes

He had high hopes

He had high apple pie

In the sky hopes

nye-diy-ball-drop-new-years-eve-cheese-ball


New Year’s Eve Photobooth

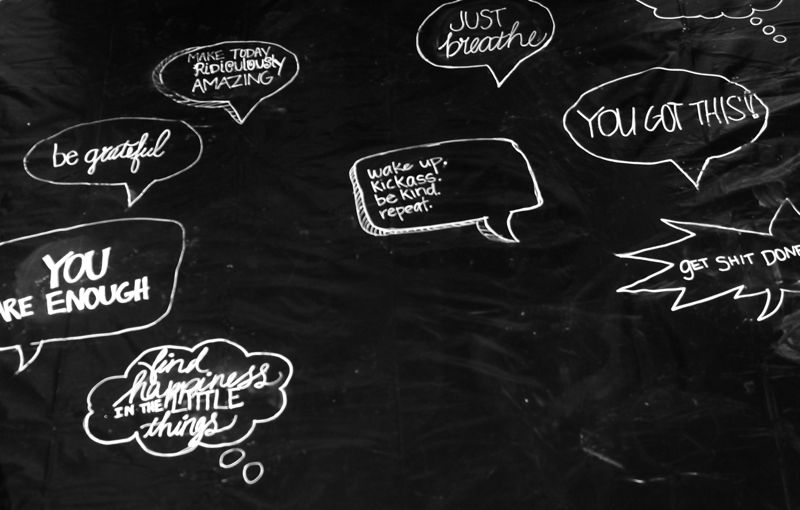
NYE-backdrop-party-photo-booth-black-white-conversation-bubbles

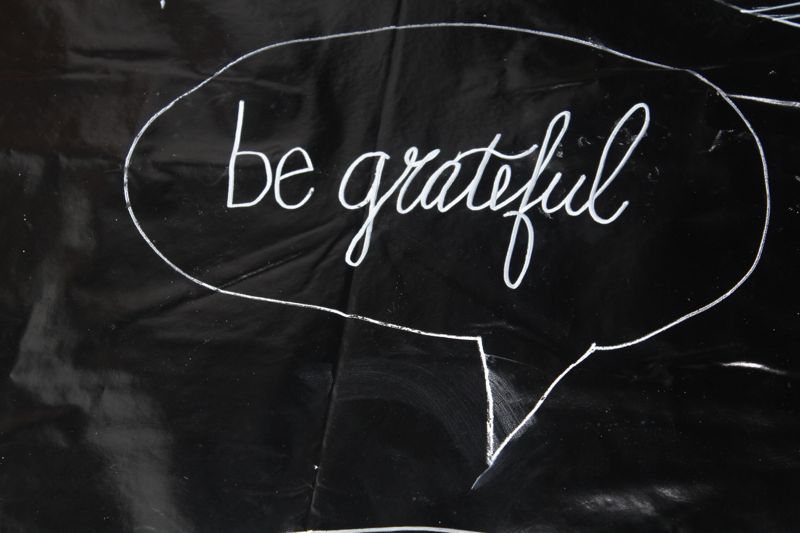
As women, there are 5,000 things that go through our heads every minute, of every day. It’s exhausting. Most of the time, the thoughts are negative and full of judgement. How often do you wake up in the morning, and say to yourself, “Hello, gorgeous!” We know we seldom stand in front of the mirror and say, “Damn, I look good.” Instead, we say, “Ugh, I look so old.” “I have bags under my eyes.” “I’m getting fat.”

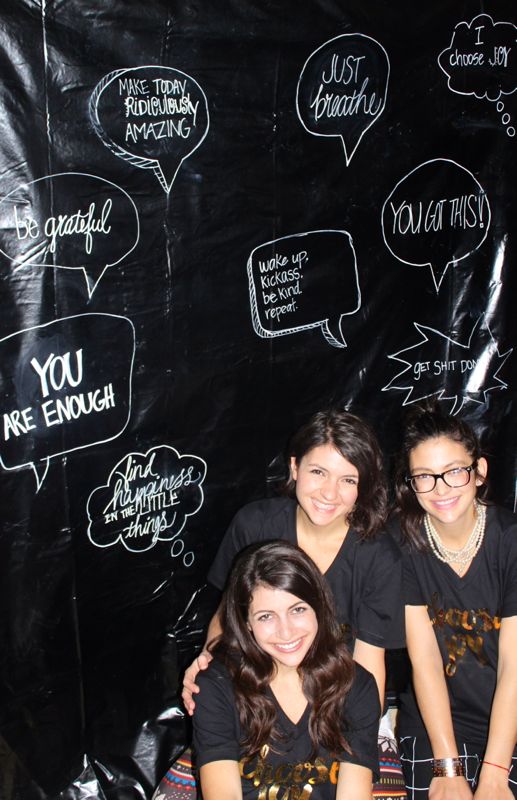
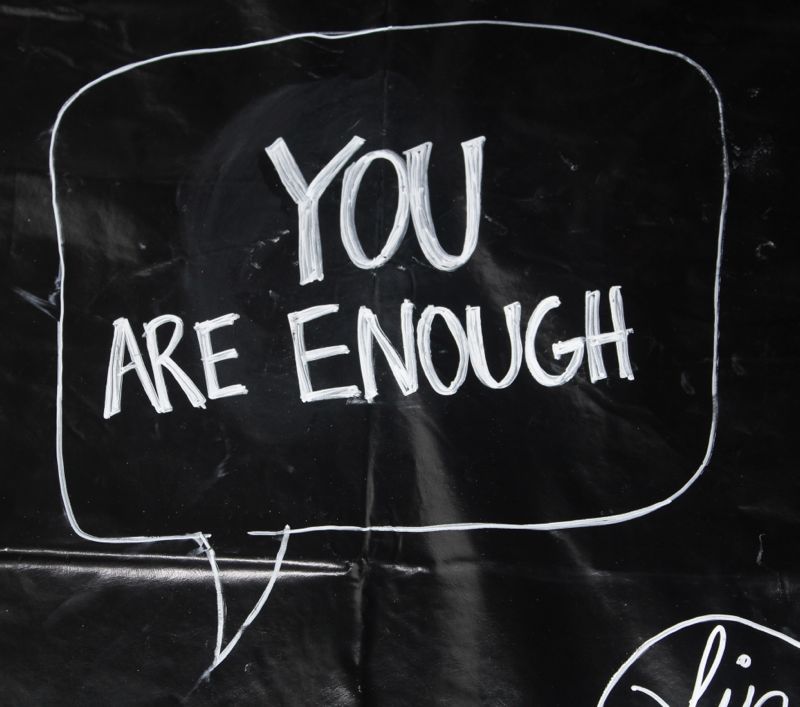
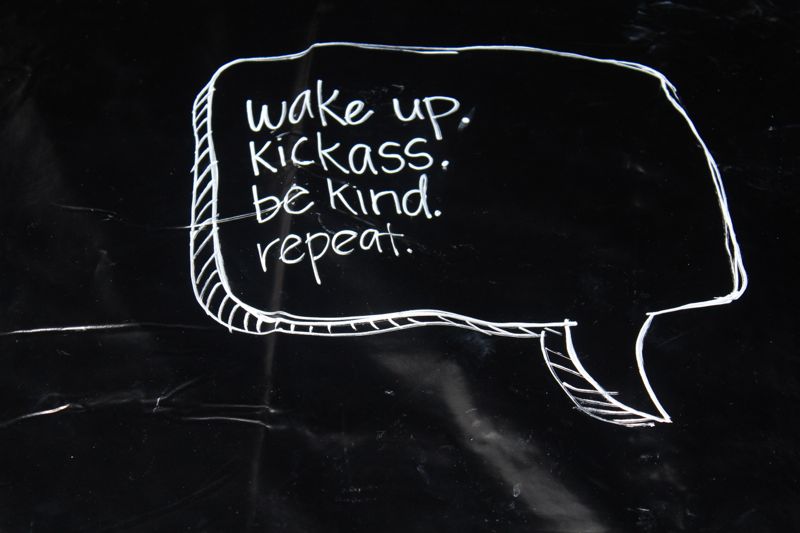
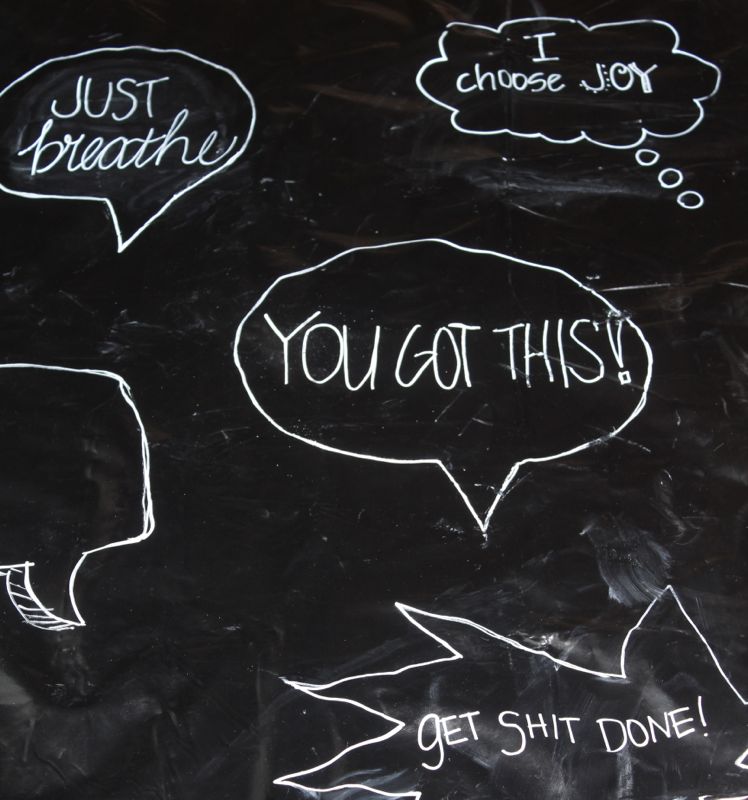
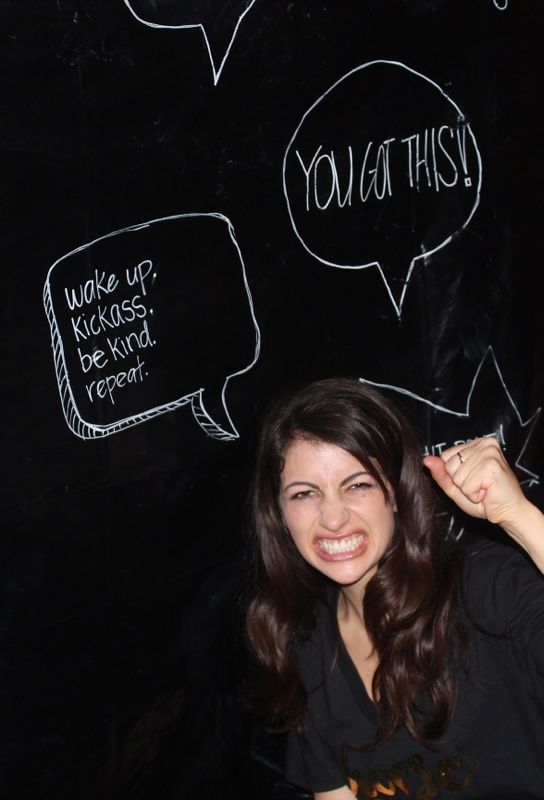
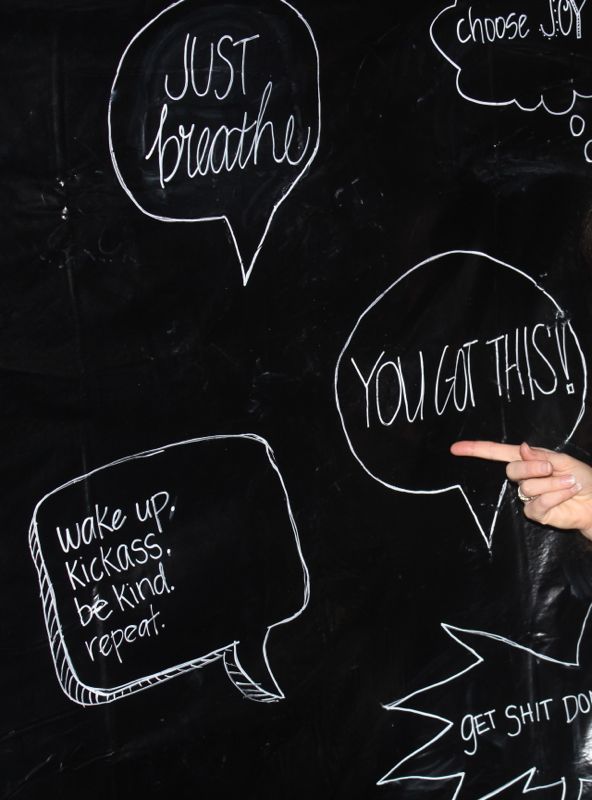
Well, in 2016, that’s going to change. At least we are going to try. If you haven’t tried, you haven’t lived. We made a fun, chalkboard NYE backdrop full of bubble conversations that we are going to tell ourselves everyday. We believe that what we tell ourselves eventually becomes a reality and changes our way of thinking, so let’s make it positive and uplifting.

Note: Our little shoot was mega rushed, which is the story of our lives, so it’s not as full of props and pretty as we would have liked. But, you get the idea. Make sure to buy a non-glare chalkboard backdrop so there’s no glare. We made the mistake. You’re welcome.

black-white-chalkboard-you-are-enough-conversation-bubble

Materials:

  • Chalkboard tablecloth or chalkboard paper sign
  • Chalk Pen
  • Selfie-stick or camera

Directions:

Step One: Hang the chalkboard paper.

Step Two: Write all the positive all fun thoughts you are going to tell yourself in 2016.

you-are-enough-chalkboard-inspiration

make-today-ridiculously-amazing-chalkboard-notes

IMG_1139

IMG_1138

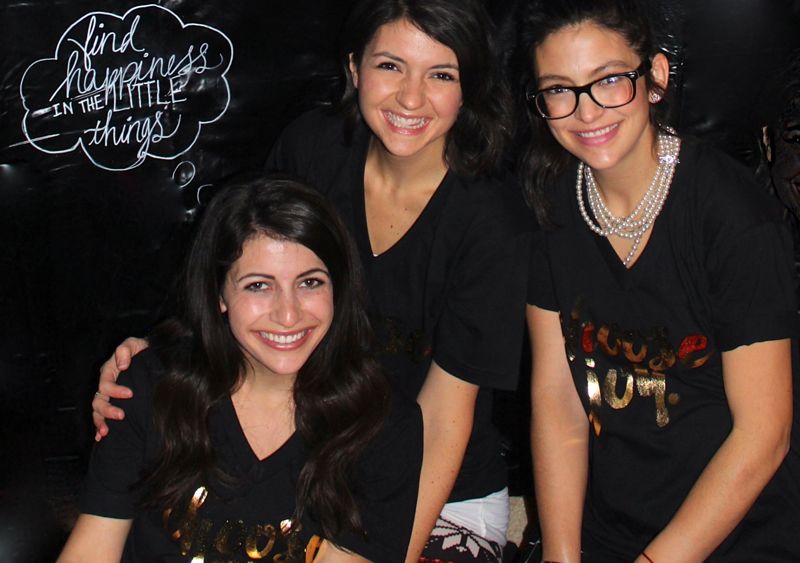
The next one is one of our faves. I choose joy was inspired by t-shirts that make us happy by Oh, Sweet Joy! You will see these shirts on us a lot because, well, we absolutely love them.

IMG_1140

IMG_1133

chalkboard-labels-NYE-photo-booth-inspiration-be-grateful

Step Three: Pose for some photos. Have fun.

IMG_1050

IMG_1044

chalkboard-NYE-backdrop-photo-booth-choose-joy

IMG_1043

chalkboard-conversation-bubble-NYE-photo-booth-you-got-this

enjoy-the-little-things-chalkboard-photobooth-diy-NYE-party-sisters


Holiday Cross-Stitch Cards Workshop at West Elm

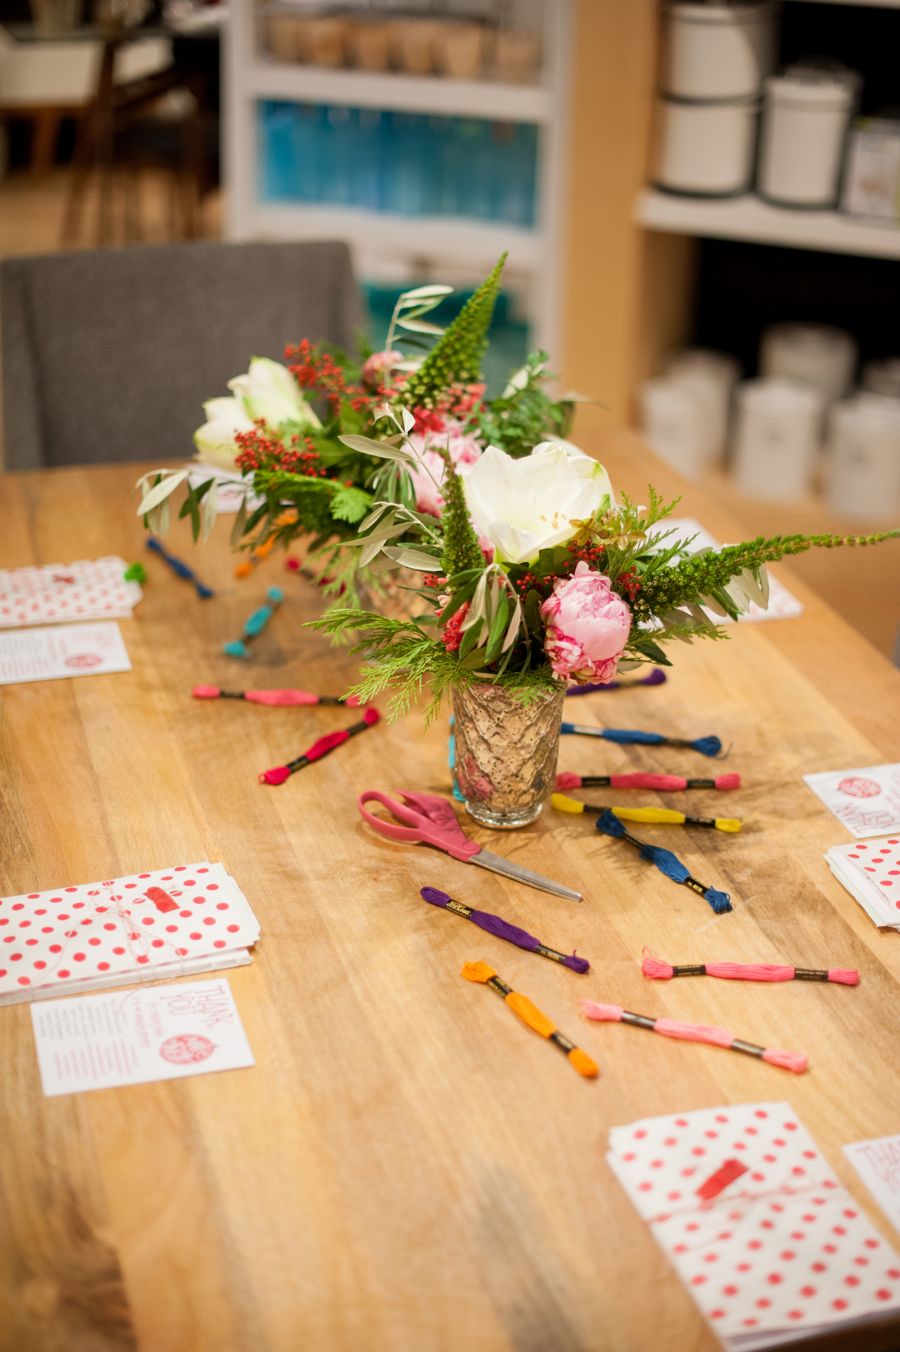
make-and-mingle-embroidery-west-elm-flowers

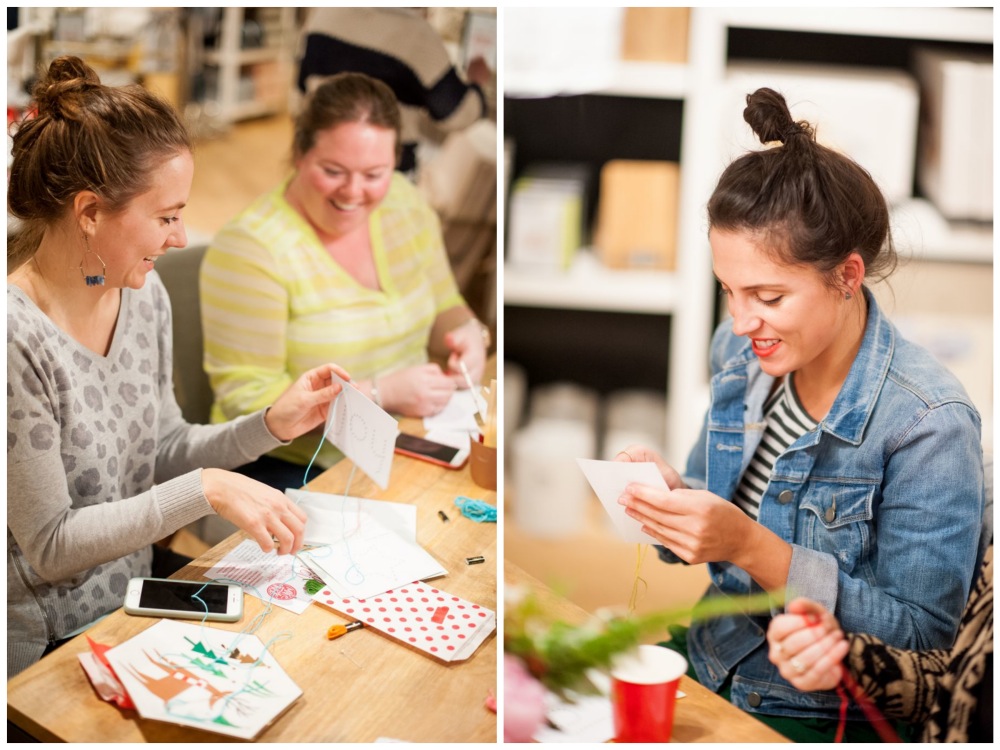
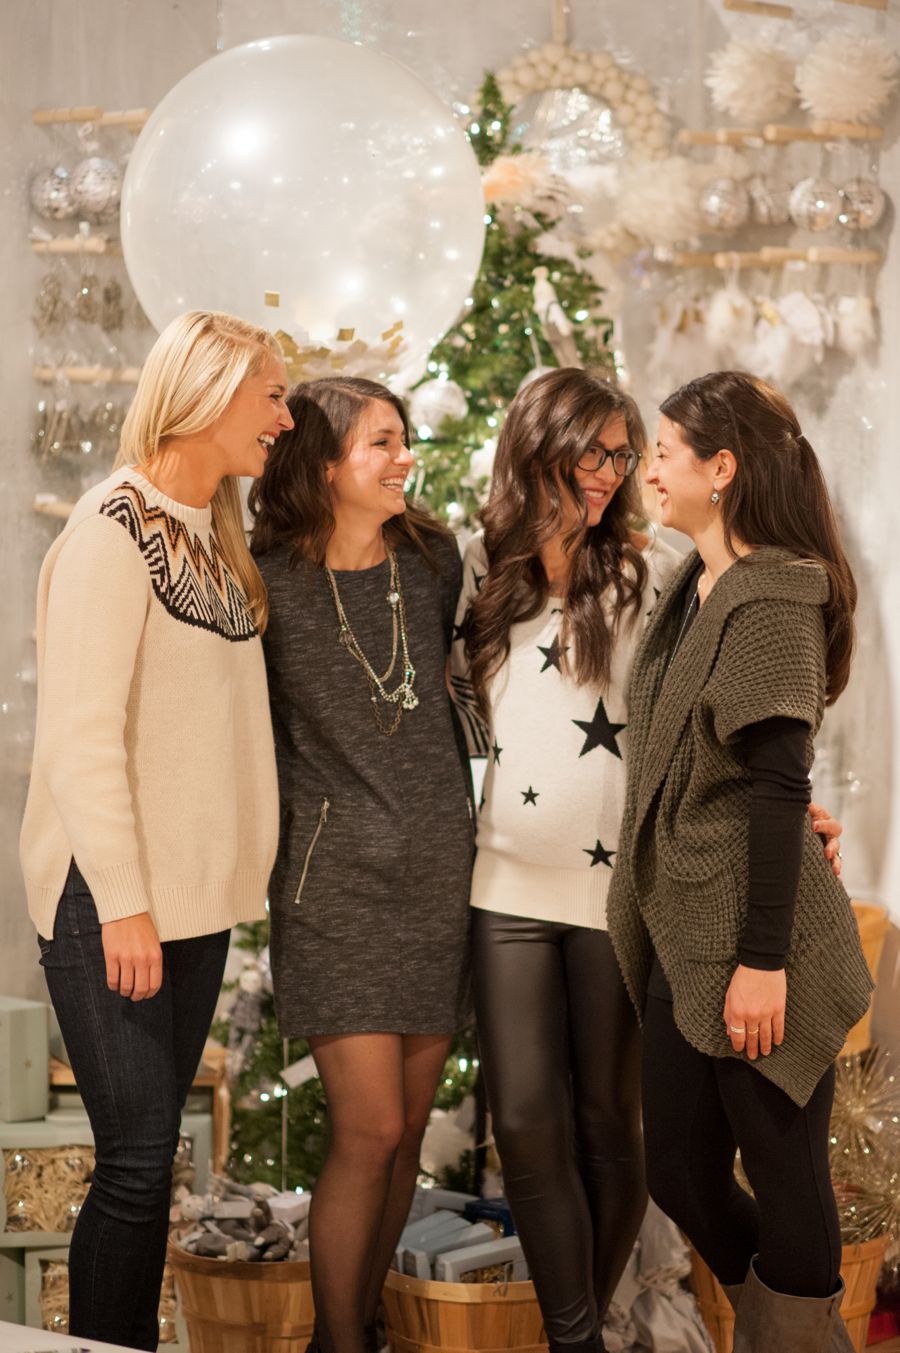
The Every Hostess and your truly hosted a lovely event at West Elm, Denver just in time for the holidays. We gathered to cross-stitch holiday cards, sip coffee and apple cider and snack on cheese, crackers and, of course, cookies! We made wonderful memories with old and new friends, and laughed as we crafted at our 2nd Make & Mingle workshop.

Thanks to everyone who joined us, and to Colby Elizabeth Photography who captured all the cross-stitching fun.

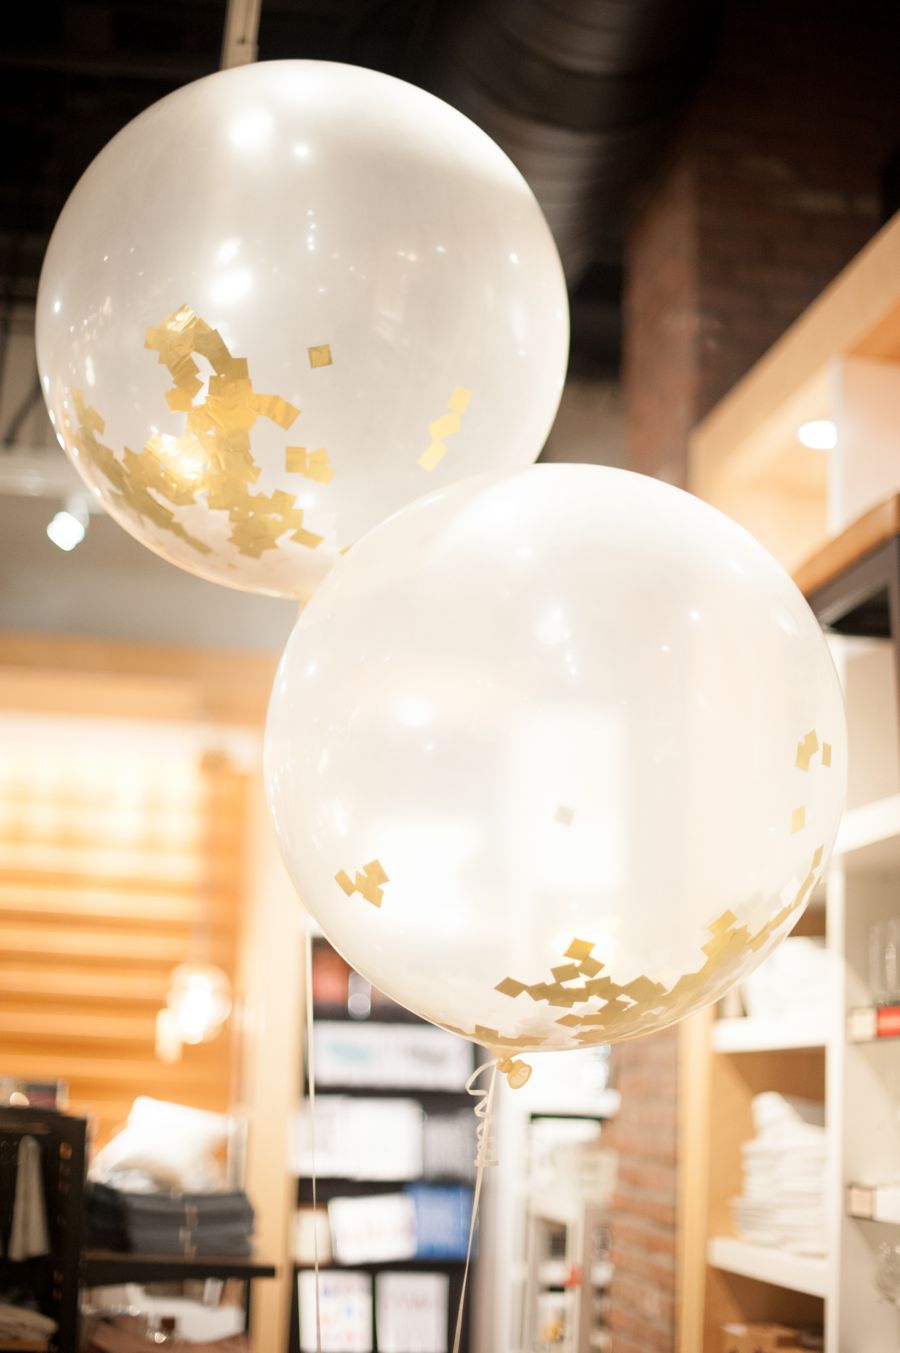
See the beautiful party in its entirety at Couture Colorado. You won’t want to miss all the pretty little details…and the big ass balloons, literally.

joy-holiday-cards-red-polka-dot-embroidery

joy-holiday-cards-red-polka-dot-embroidery-workshop-diy-cards

confetti-balloons-white-west-elm-party


cross-stitch-holiday-cards-west-elm-denver-party-christmas-holiday-joy-card

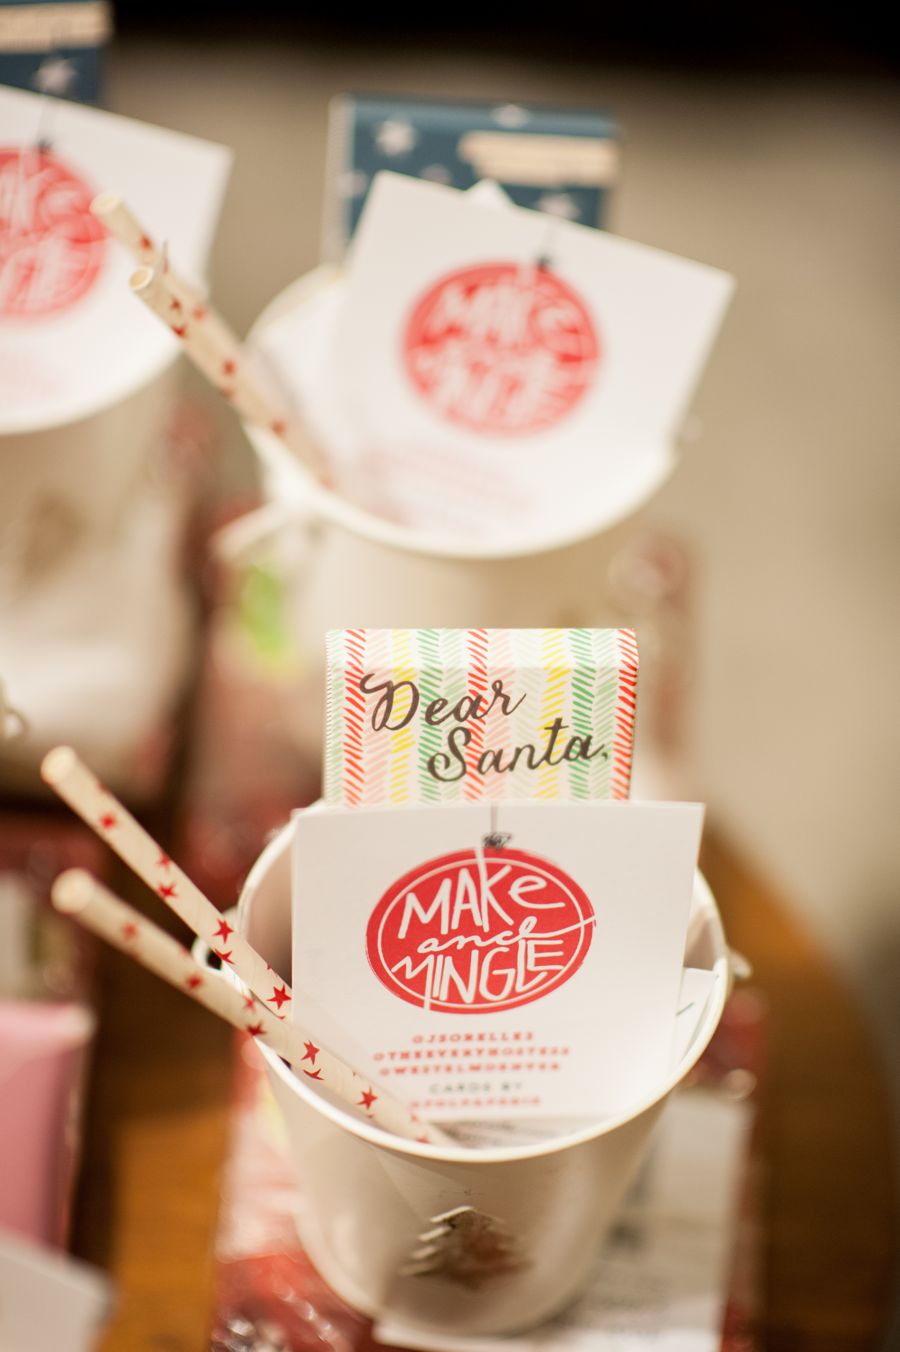
make-and-mingle-santa-chocolate-straws-party-gifts

denver-west-elm-girls-laughing-party-white-balloon

Vendor List

Photographer: Copyright Colby Elizabeth Photography | @colbsta
Location: West Elm, Denver | @westelmdenver
Florist: Ladybird Poppy |@ladybirdpoppy
Stationery: Fleur de lis, a paperie | @fdlpaperie
Balloons: Big Ass Balloons | @bigassballoons
Polka Dot bags and straws: Bake It Pretty | @bakeitpretty
Planning/Styling: The Every Hostess | @theeveryhostess and J. Sorelle | @jsorelle3
Cookies: homemade by J. Sorelle @jsorelle3
Food and Hot Apple Cider: The Every Hostess | @theeveryhostess
Ornaments: Sage 8 Studio | @sage8studio
Chocolate bars and peppermint malt balls: Curly Girl Design | @curlygirldesign
Business card holder: Cory Renee Handcrafted Bags and Clutches
Coffee: Peet’s Coffee & Tea, Cherry Creek North | @peetscoffee