DIY Halloween Costume Contest Award

diy-halloween-best-costume-award-caution-tape-bat

And the best costume goes to……{insert drum roll}

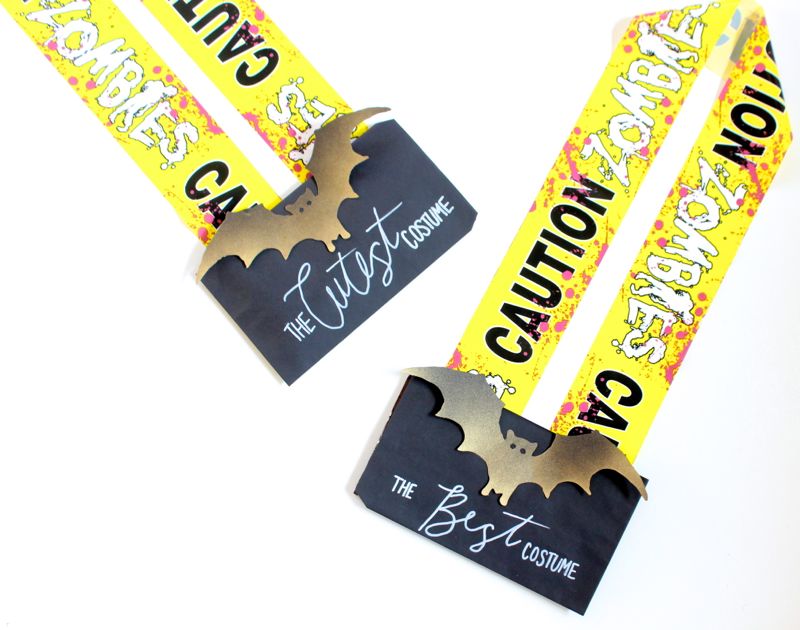
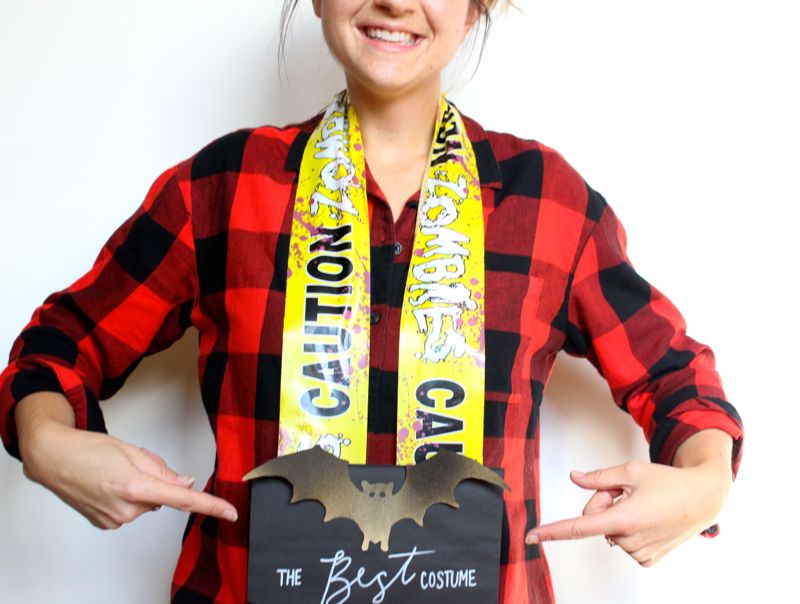
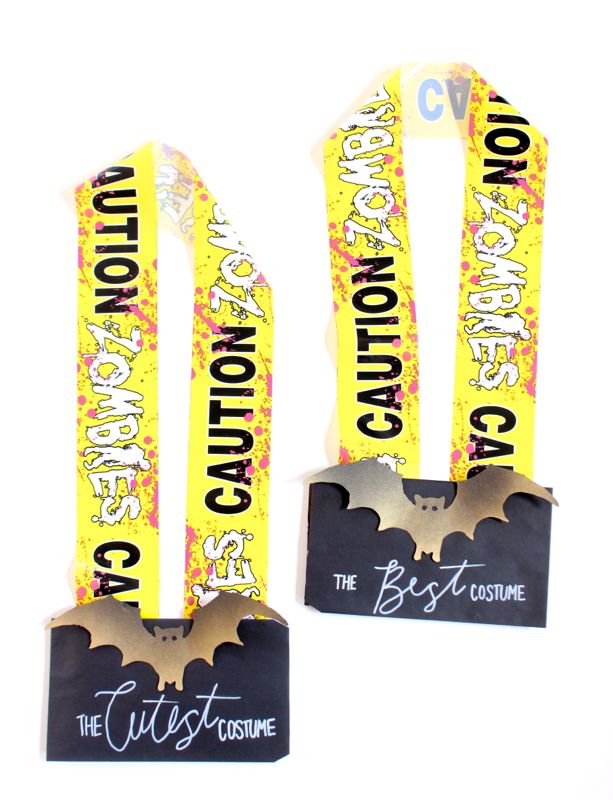
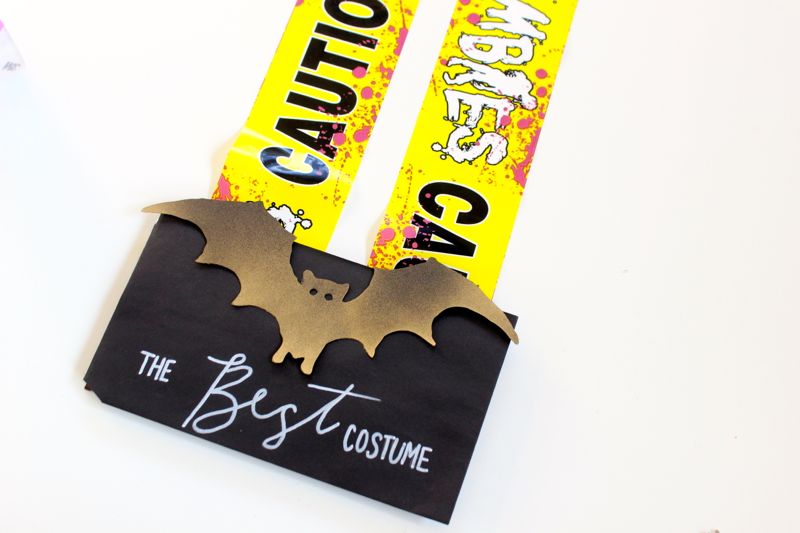
The best Halloween costume award is always a big deal. The friendly competition among our kids and their peers is something they look forward to every year. The best costume, the cutest costume, the scariest costume, the funniest costume and the most original costume are awarded to kids in every grade. To properly reward them, they receive a small gift or acknowledgement. The DIY Halloween award that we are sharing today is not only affordable and adorable, but it is an edible {who doesn’t love a giant Hershey’s chocolate bar} medal that can be worn with pride, it can be customized with names and any costume category, plus it’s a favor bag so gift cards and notes can be easily inserted.

We can’t take full credit for this idea. Jessica’s friend Atlanta introduced us to this idea last year, and we loved it so much, we decided to make our own version. Thanks, girl.

diy-halloween-best-costume-award-caution-tape-bat

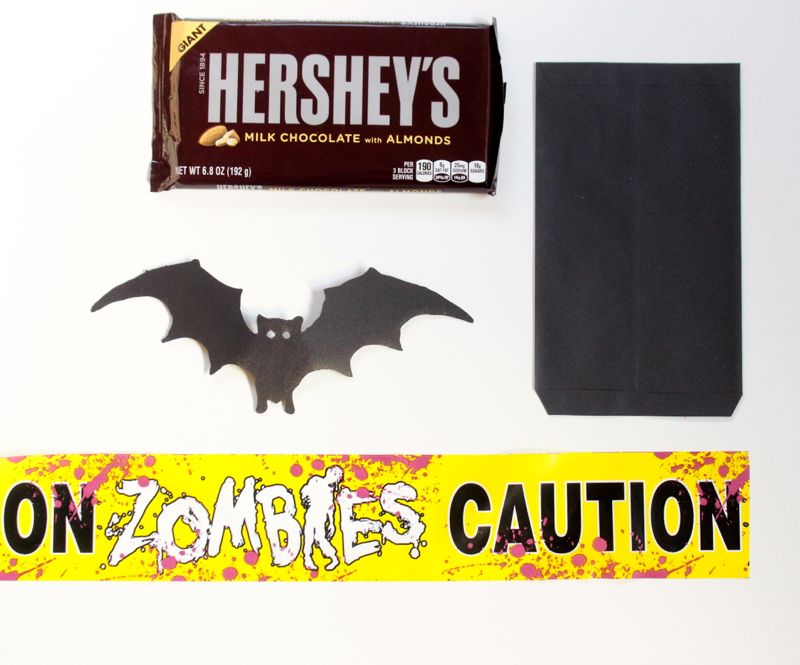
Materials:

  • Caution tape, Oriental Trading
  • Hershey’s Chocolate Bar, giant
  • Masking tape
  • Scissors
  • Double-sided tape
  • Bat cut-outs, we used our Silhouette electronic cutting machine
  • Black card stock {we used Astrobrights Papers} and gold spray paint if you want the bat to be gold
  • Chalkboard favor bag, Target $1 and $3 section
  • Chalkboard marker

Directions:

Step 1: Gather materials.

diy-halloween-best-costume-award-caution-tape-bat-chocolate-bar

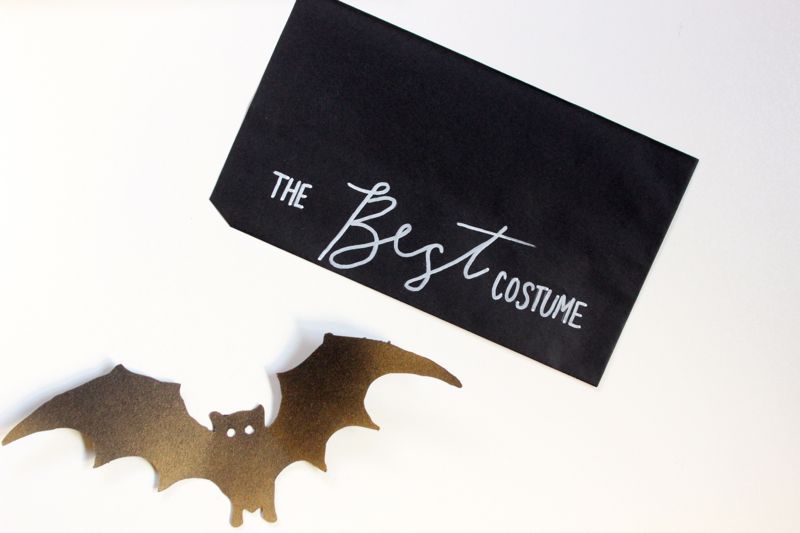
Step 2: Use Silhouette software to design the bat, and then use the machine to cut out the bat, or use a template online. Spray paint the bottom of the bat {optional}.

diy-halloween-best-costume-award-caution-tape-bat-best-costume

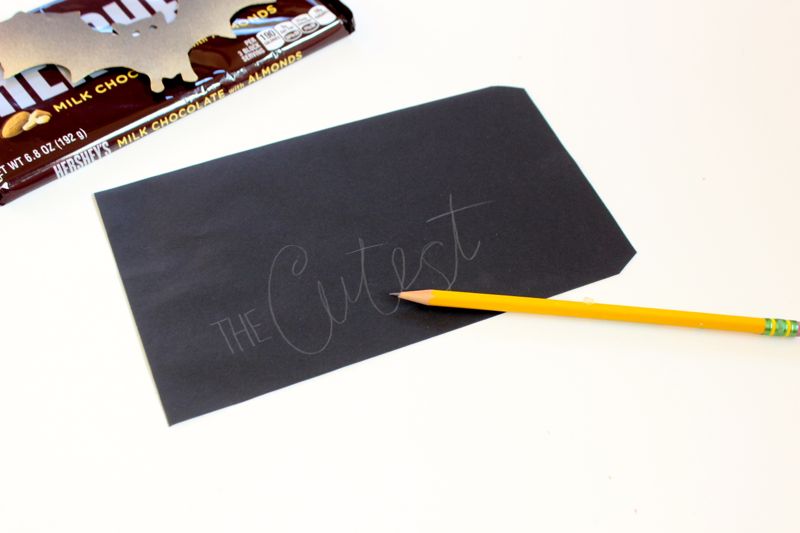
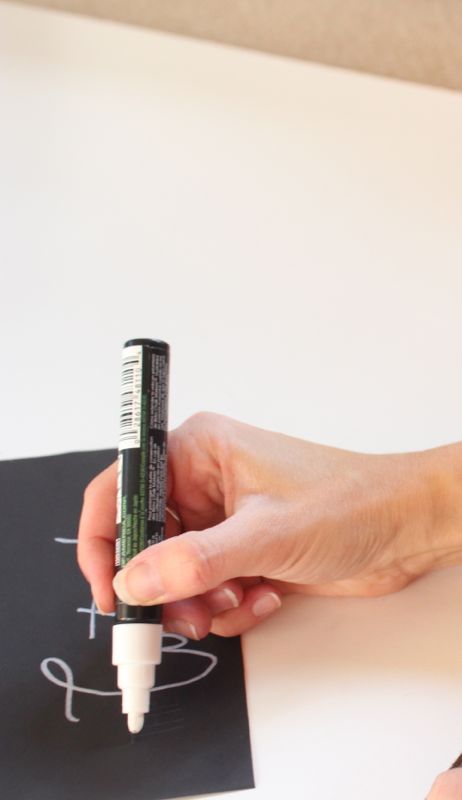
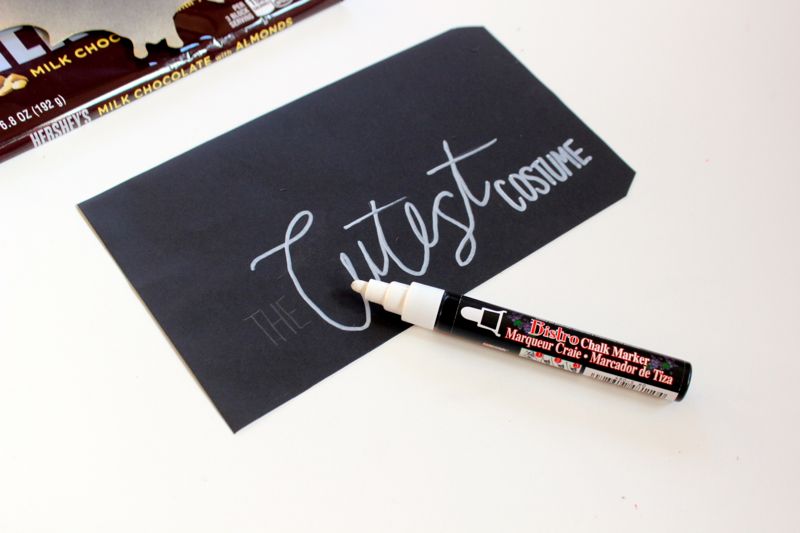
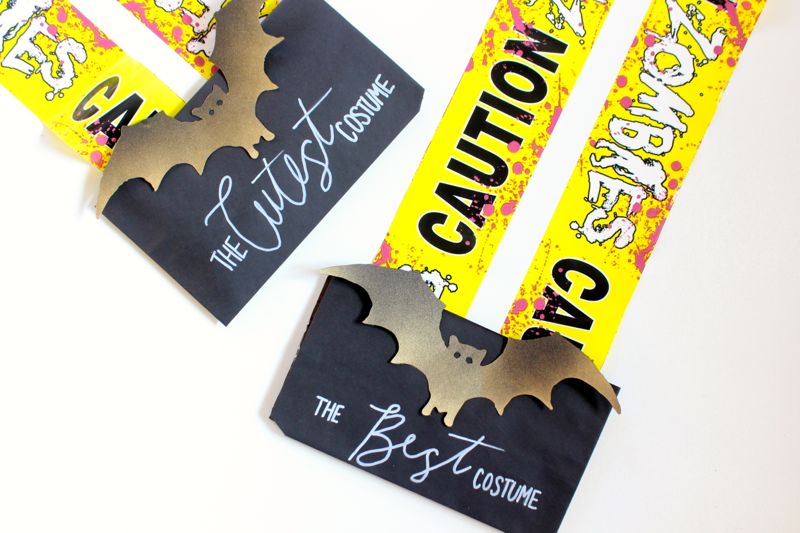
Step 3: Write the award on the envelope with a chalkboard marker.

diy-halloween-best-costume-award-caution-tape-bat-pencil-chocolate-bar

diy-halloween-best-costume-award-caution-tape-bat-marker

diy-halloween-best-costume-award-caution-tape-bat-cutest-costume

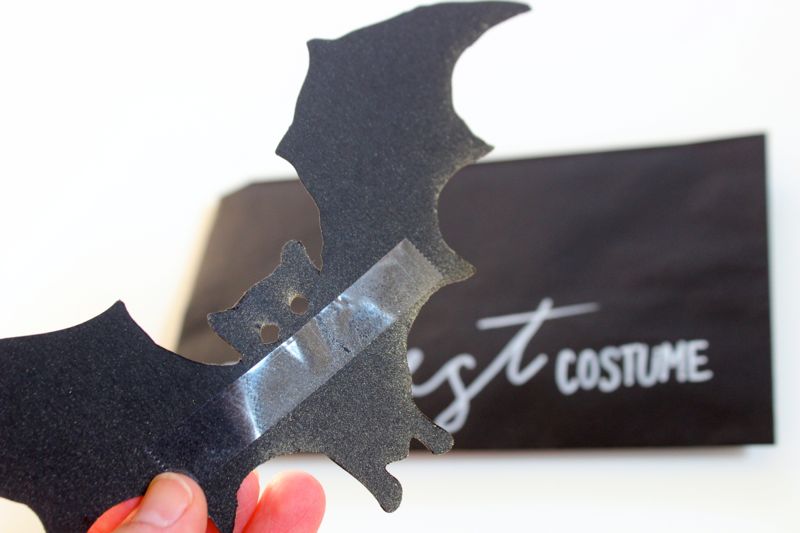
Step 4: Use the double-sided tape to tape the bat to the envelope {above the text}.

tape-bat

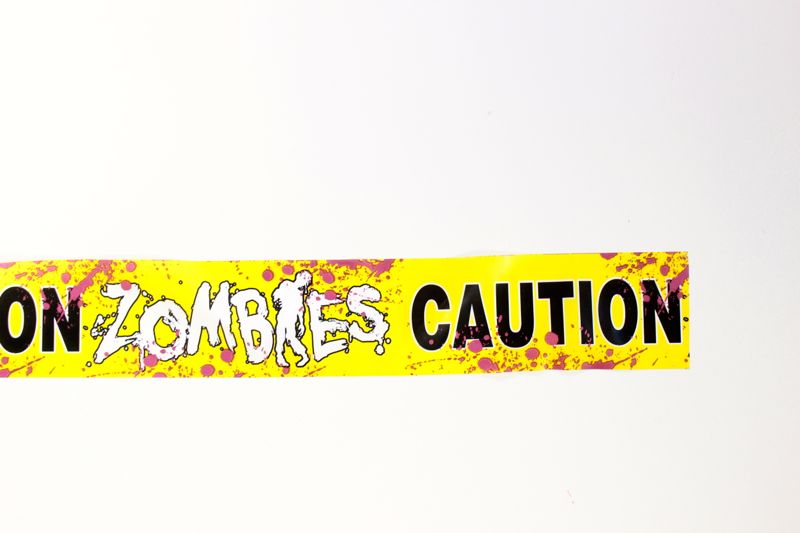
Step 5: Cut the caution tape to the size you want.

zombie-caution-tape

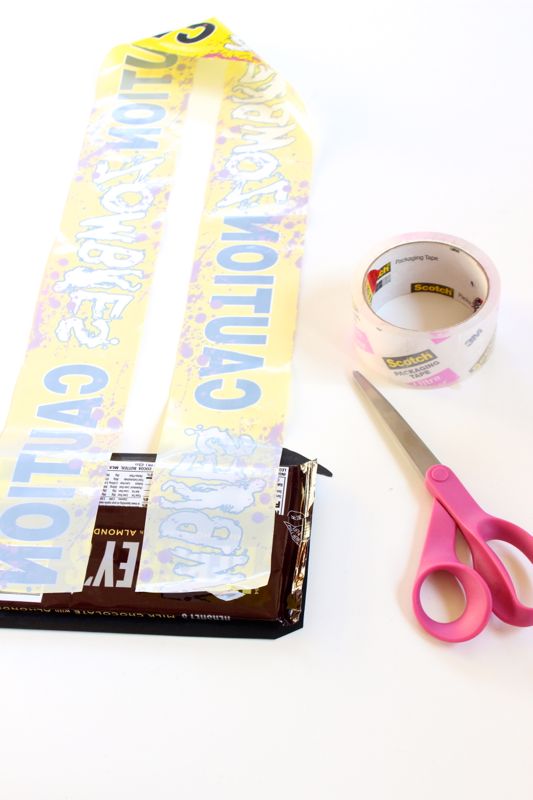
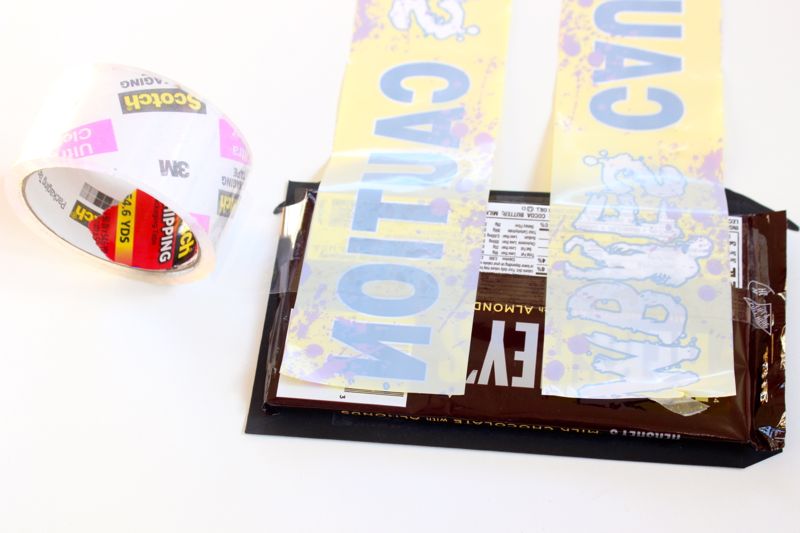
Step 6: Flip the chocolate bar face down. Line up the caution tape evenly on each side. Use masking tape to tape the caution tape to the chocolate bar. We used two strips on each bar.

diy-halloween-best-costume-award-caution-tape-bat-scissors

diy-halloween-best-costume-award-caution-tape-bat-tape-chocolate-bar

Step 7: Insert a gift card to a favorite local spot for kids {optional}. Get a panel of judges, and once all the votes have been tallied, reward the best dressed with their DIY giant chocolate bar medal.

diy-halloween-best-costume-award-caution-tape-bat

diy-halloween-best-costume-award-caution-tape-bat

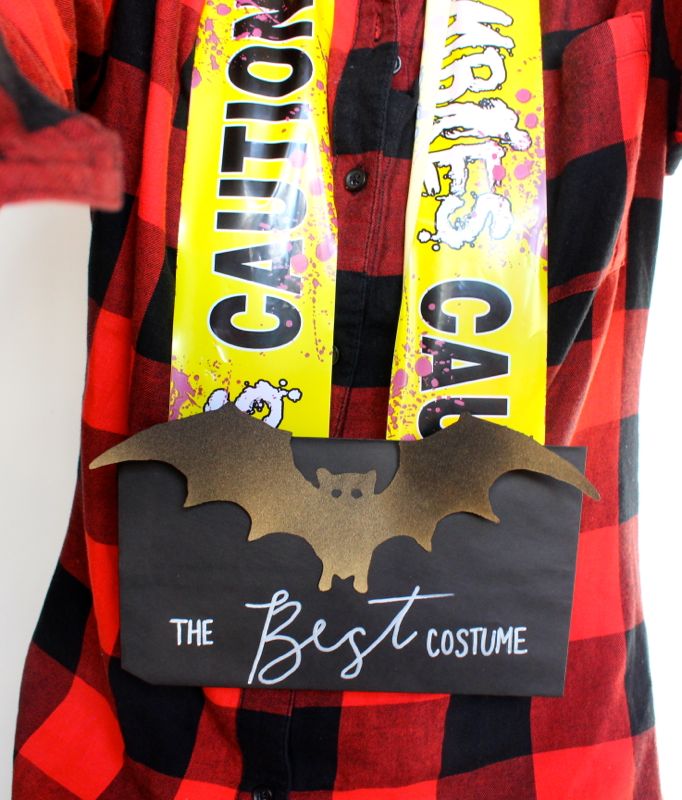
Note: When no one is home but kids during the day, and a project must get done, the kid becomes the photographer. These last two photos are property of Jessica’s youngest, Jackson {age 4}. He loved every second playing ‘photographer’ of the day. And, since no one is around or organized enough to have an actual costume ready, the plaid shirt totally plays off as the best lumberjack ever, right?!
diy-halloween-best-costume-award-caution-tape-bat-medal

diy-halloween-best-costume-award-caution-tape-bat


DIY Hostess Gift: Crayon Candles

DIY crayon candle craft and hostess gift with kids

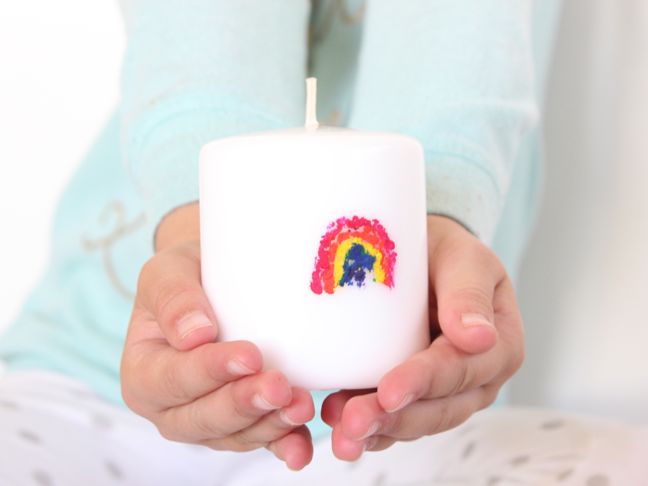
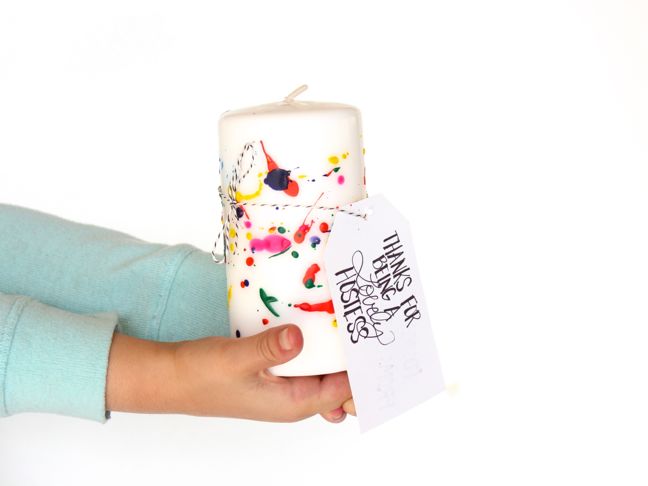
We melted crayon wax a couple weeks ago, and the project we shared with Momtastic quickly became one of our favorite DIY hostess gifts. We haven’t actually given any of the DIY candles away because we love what our kids created so much, they are on display in our homes.

Learn how we made the DIY custom art melted crayon candles here.

img_7233


DIY Halloween Lights

img_7381

We really don’t like spiders. We scream when we see them in our homes, and fear them crawling on us. We have recurring nightmares after a villa experience in Tuscany {which was amazing, and we would do it all over again}. Along with the wonderful grapes, vines, greenery, olive trees and an old villa came spiders…big ones! To this day, we still dream that spiders are crawling on us, or people next to us, and although we seem to be ‘awake’ and we think we really see them, they are just a bad dream.
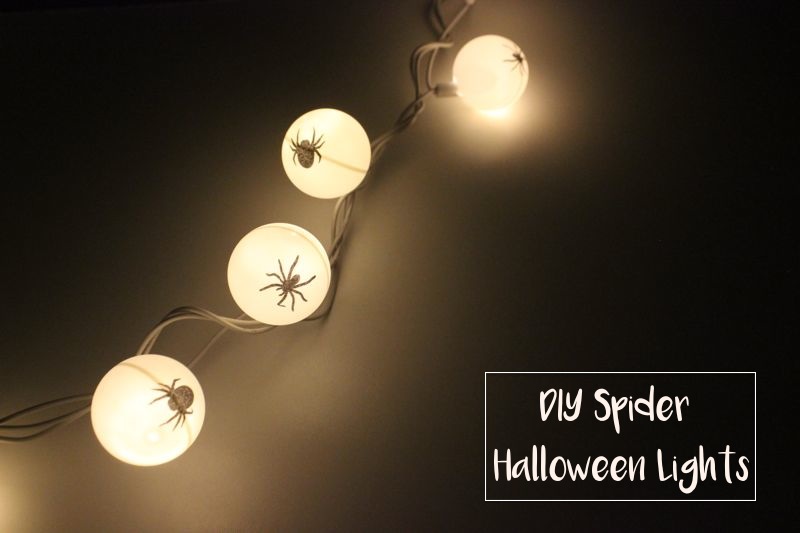
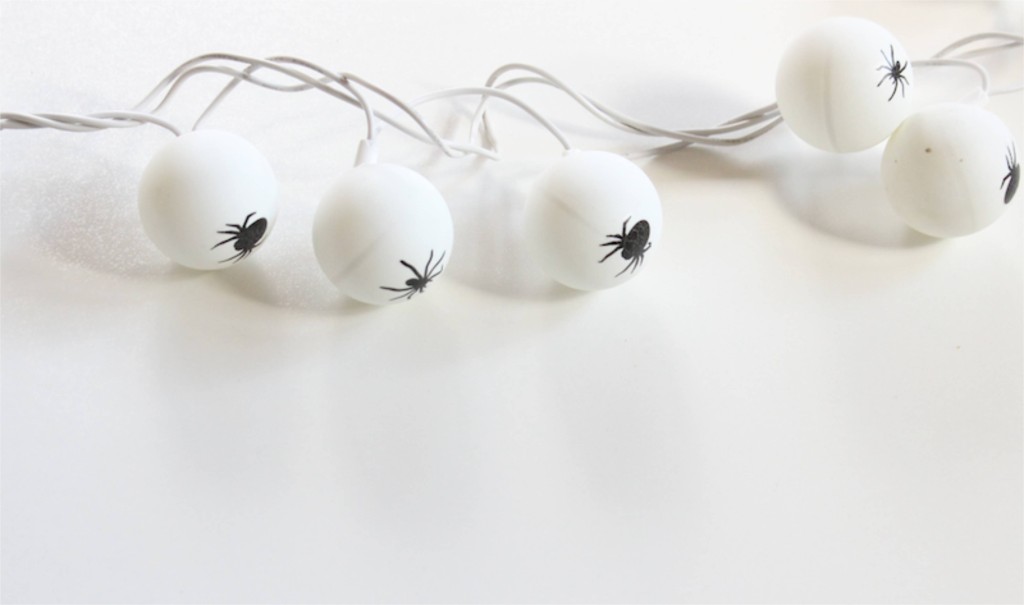
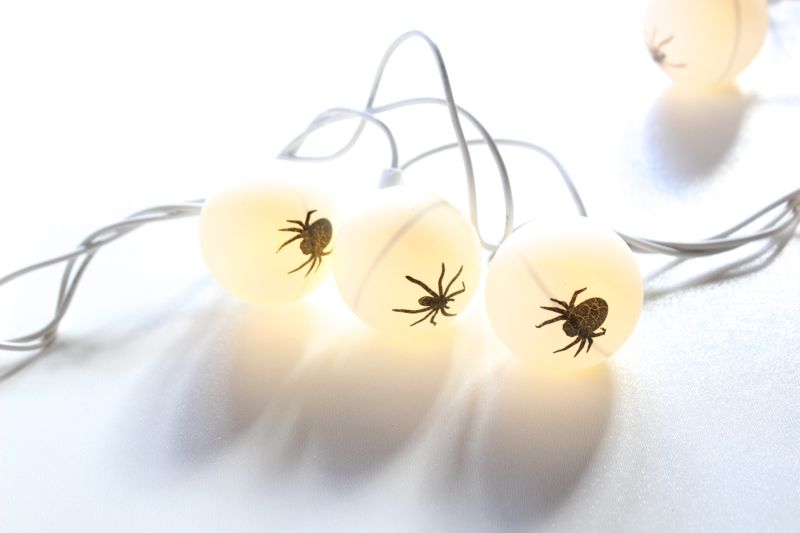
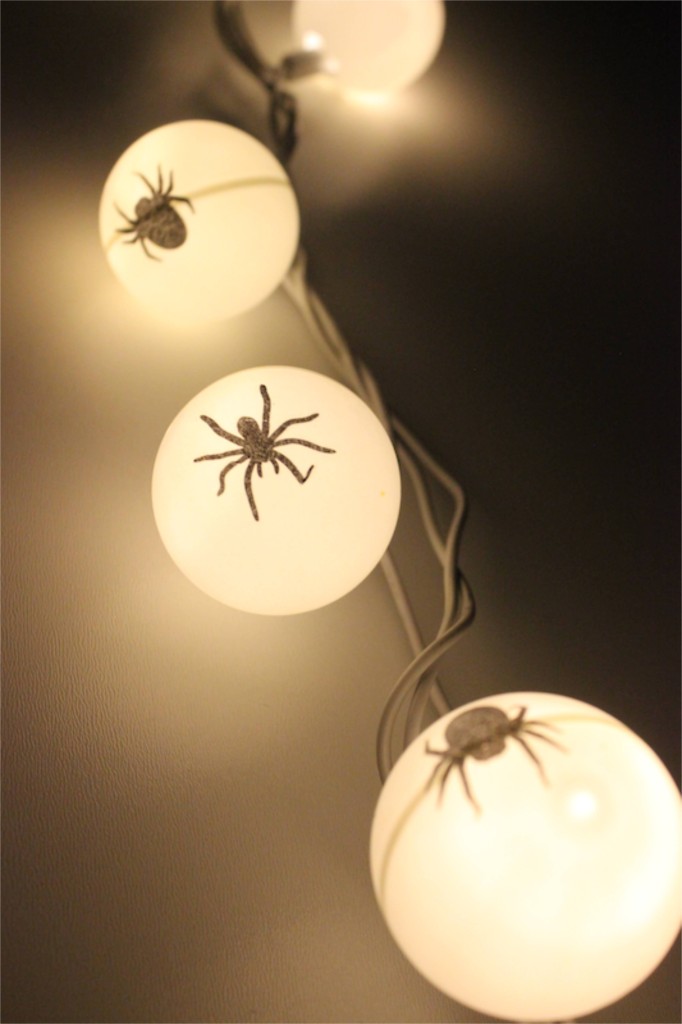
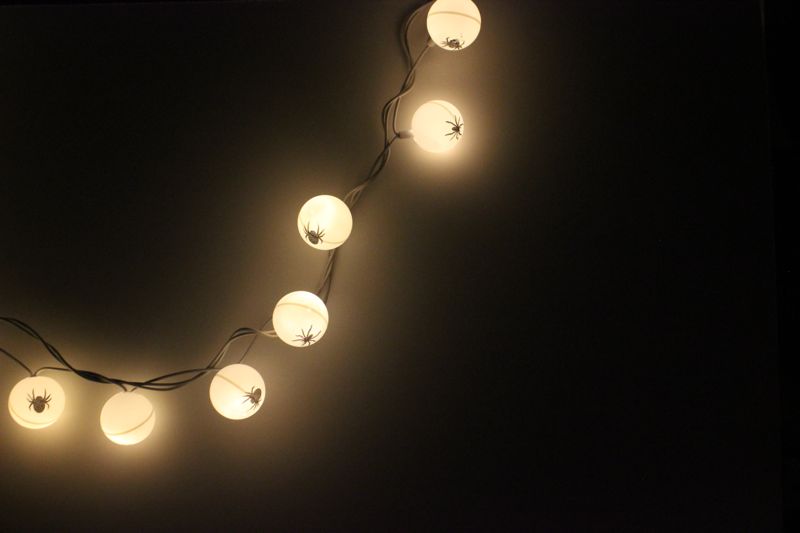
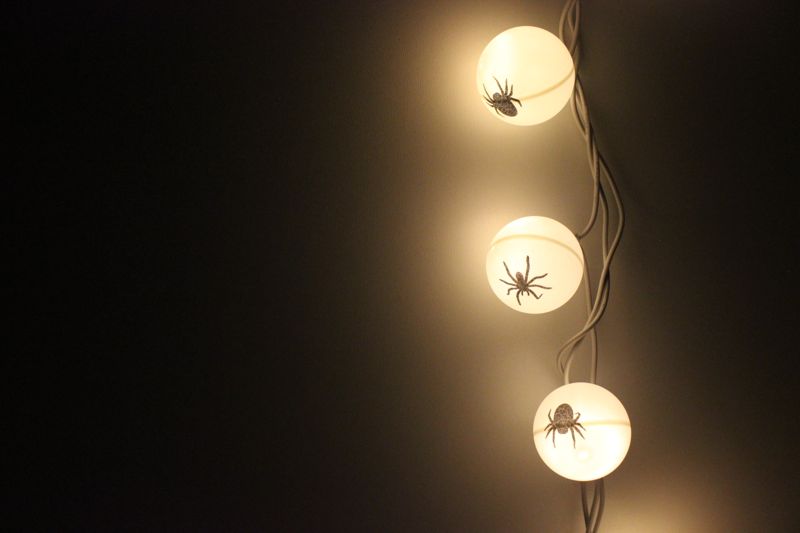
Despite our fears, spiders crawled their way onto our DIY Halloween balloons, and now they are shining bright for our DIY Halloween lights. The creepy spider tattoos from Oriental Trading were our source of inspiration, once again. Tis the season of Halloween.

DIY-ping-pong-ball-diy-halloween-lights-spider

Materials:

Directions:

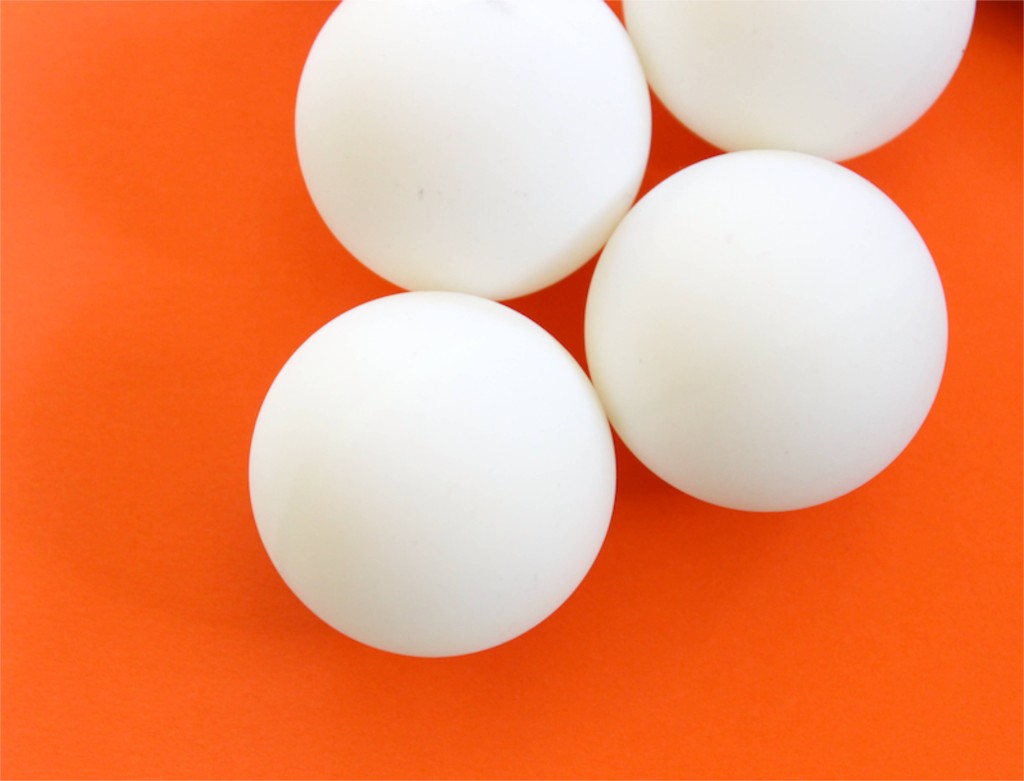
Step 1: Gather ping-pong balls. Remove the piece of plastic from the tattoo and cut the spider tattoos into individuals spiders.

white-ping-pong-balls

halloween-spider-tattoos

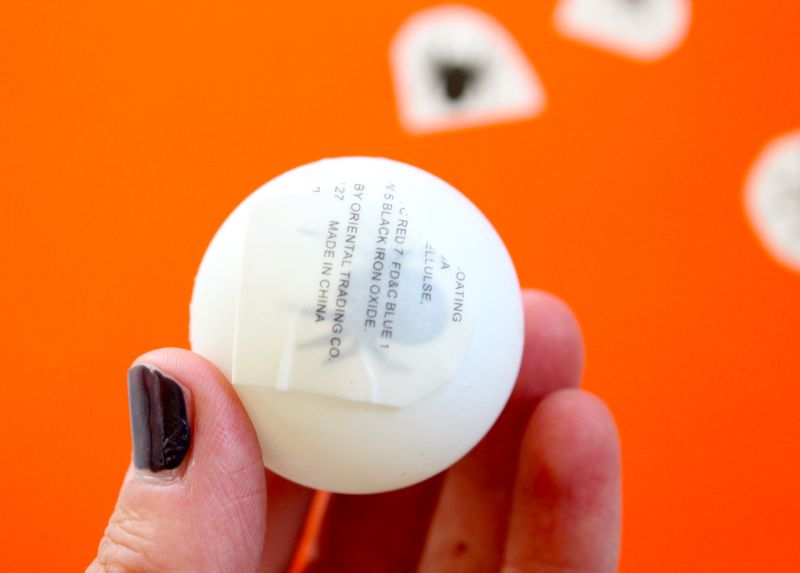
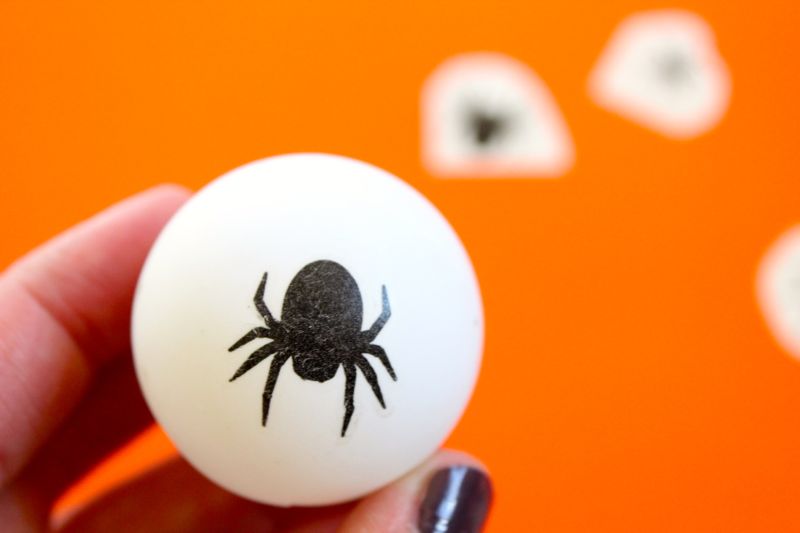
Step 2: Place the spider tattoo face down onto the ping-pong ball, press down and apply water all over the back of the tattoos with a wet sponge or wash cloth. Apply it just the way you would on skin.

halloween-spider-tattoos

halloween-spider-tattoos

halloween-spider-tattoos-ping-pong-balls

halloween-spider-tattoos-ping-pong-balls

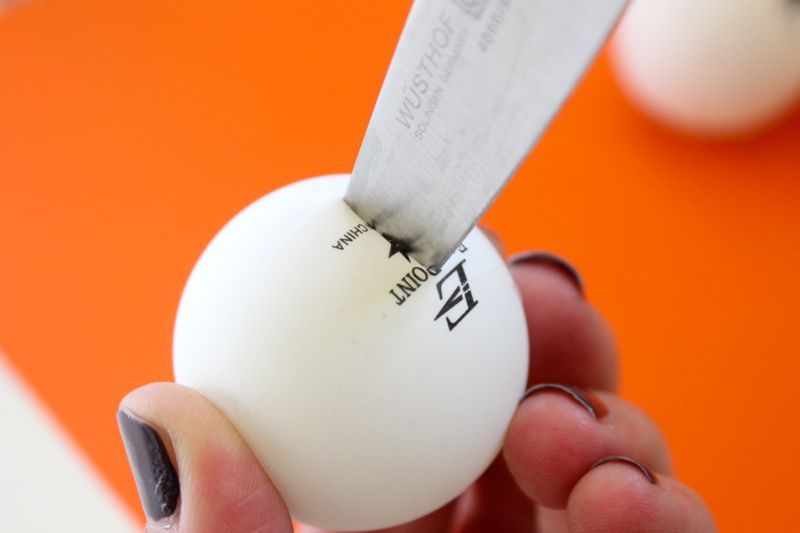
Step 3: Insert a sharp knife into the back-side of the ping-pong ball {opposite of the spider}. Make an X or a T with the knife.

halloween-spider-tattoos-ping-pong-balls

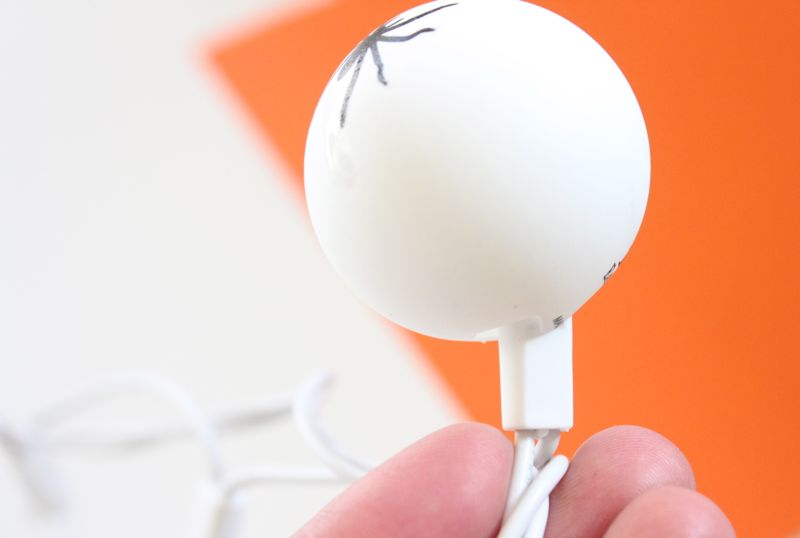
Step 4: Insert the light into each ping-pong balls.

halloween-spider-tattoos-ping-pong-balls

DIY-ping-pong-ball-diy-halloween-lights-spider

DIY-ping-pong-ball-diy-halloween-lights-spider

Step 5: Find the closest outlet, and let the spiders hang.

DIY-ping-pong-ball-diy-halloween-lights-spider

DIY-ping-pong-ball-spider-halloween-lights

DIY-ping-pong-ball-diy-halloween-lights-spider

DIY-ping-pong-ball-diy-halloween-lights-spider

DIY Backyard Jungle Obstacle Course for Momtastic

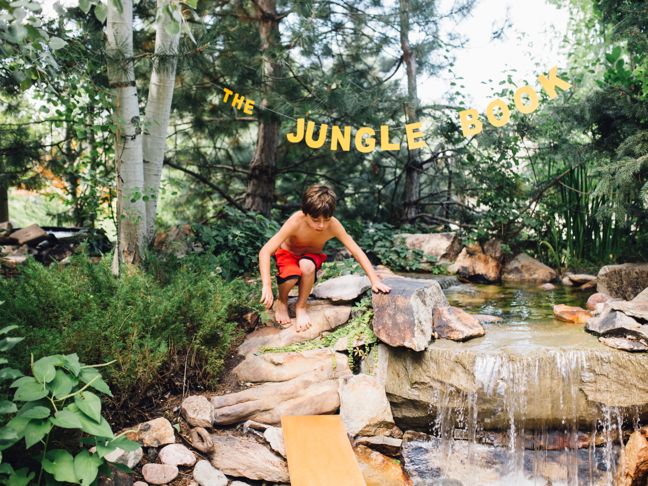
the-jungle-book

Jessica was lucky enough to work with Momtastic for a DIY Jungle Obstacle Course in celebration of Disney’s The Jungle Book release on Blu-Ray Aug. 30. The Jungle Book was one of our kid’s favorite movies this year, so it was really fun to transform our backyard into a jungle adventure.

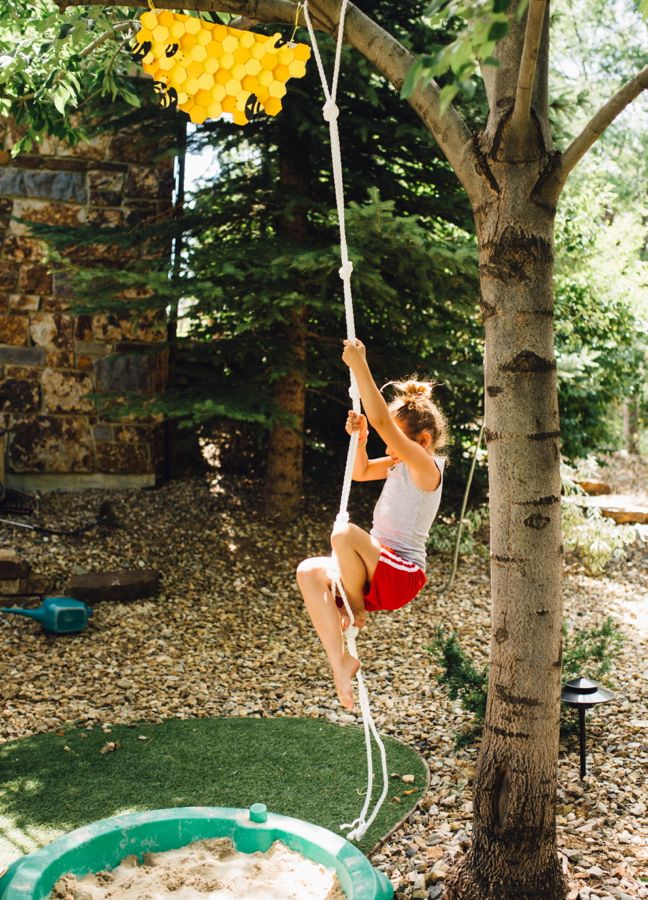
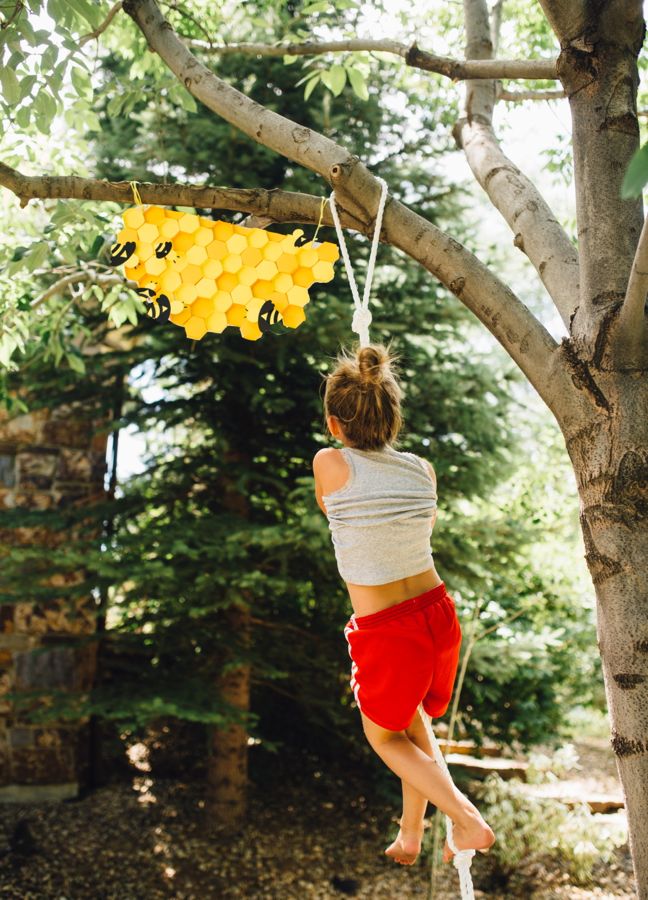
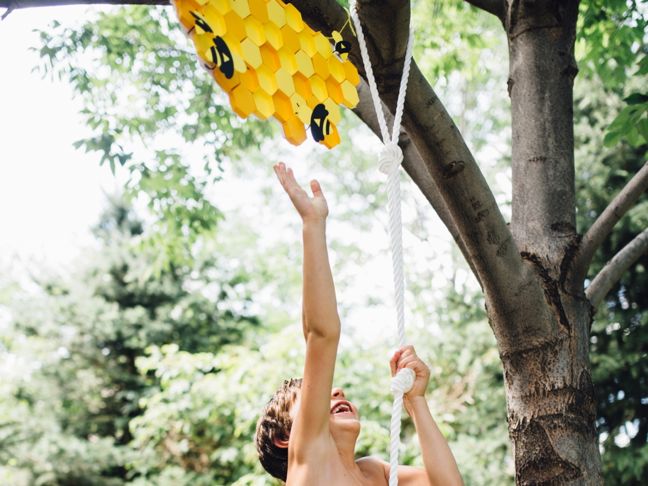
One bonus obstacle (only seen here) for the course was our DIY honeycomb climb. In the movie, Mowgli had to climb a tall cliff side to get honey, nature’s ointment, for Baloo. Since honey is a bear necessity, we made our little man cub’s climb a diy rope to reach our 3D paper hive.

Here’s how we made it.

diy-rope-climb-for-kids-honeycomb-bee-hive-paper-craft

Materials:

Directions:

Step 1: Design and cut 3D honeycombs using a template online, or via Silhouette cutting machine (like we did). If 3D is too labor intensive for you, we get it – just cut standard honeycombs. Use different shades of yellow for texture.

Step 2: Glue all the sides of the hexagon together with a glue stick (if you opted for the 3D design).

Step 3: Draw a honeycomb shape similar to the hives in The Jungle Book on a foam core board and cut it out with an X-acto knife.

Step 4: Glue the honeycombs (hexagons) on the board with a hot glue gun to fit like a puzzle. We glued some facing forward and others flipped for some added texture.

Step 5: Cut out mini bees using a template online or an electronic cutting machine.

Step 6: Glue the bees onto the hive. For an added 3D effect, we glued one end of a small piece of wire onto the foam core and then a bee on the other end of the wire.

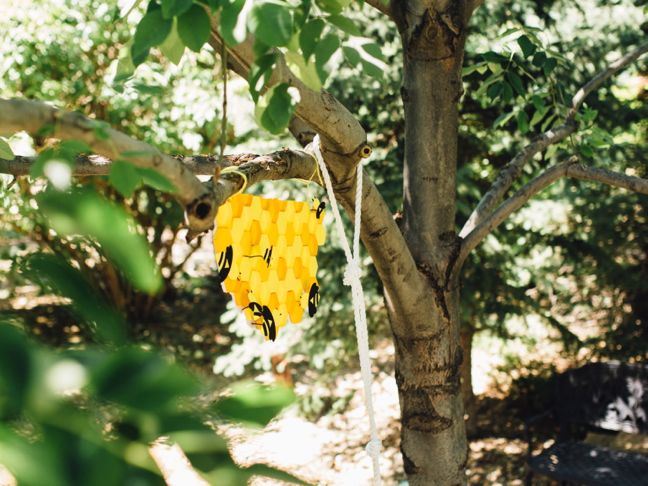
Step 7: Poke two holes on the top corners of the hive and hang with string from a tree.

As we mentioned, this was a bonus obstacle for the course – don’t miss the main DIY Jungle Obstacle Course here.

diy-rope-climb-for-kids-honeycomb-bee-hive-paper-craft

honeycomb-craft-rope-climb-for-kids

honeycomb-craft-rope-climb-for-kids

Photography by Pure Lee Photography

Shark and Mermaid Party

IMG_6597

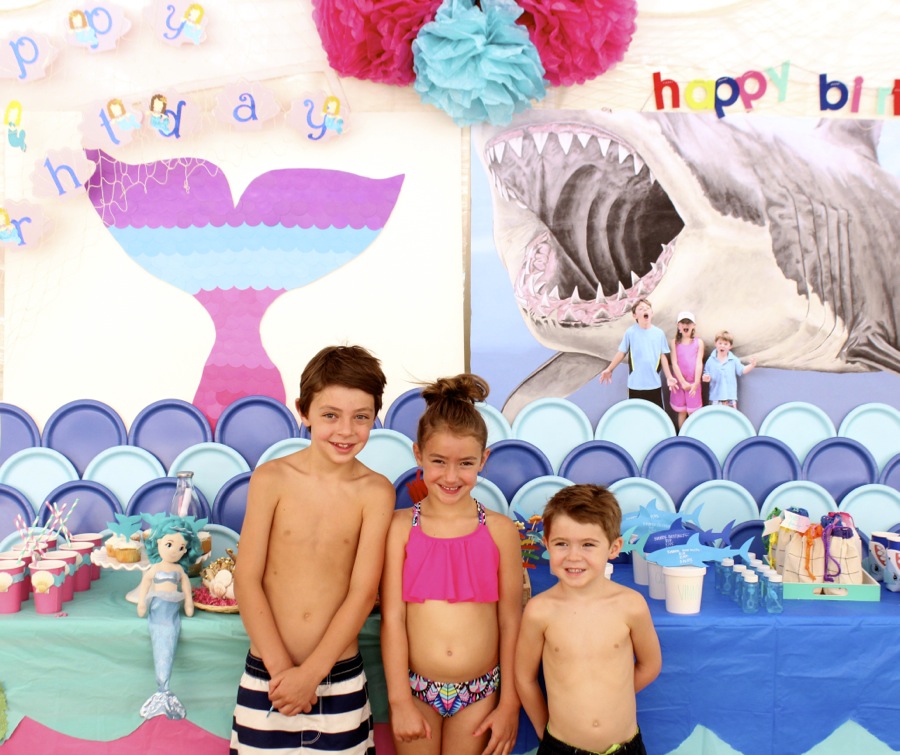
It’s that time of year again for Jessica’s family – that time when it feels like Christmas in July. All three kids celebrate birthdays in July, so not only is the month busy, but it’s really fun. She’s going to take us back to her Shark and Mermaid party, and the details she created…

Every year I to find a theme that will work for boys and girls, and this year, our trip to Florida inspired our fin and tail celebration.

Note: It wasn’t until shortly after we took photos of the party, when we realized the t and h were mixed up in the word birthday on the mermaid side. And, well, when guests arrived, we partied! We were so focused on details, we forgot to spell. The mistake was quickly fixed and the party went on.

Supplies: 

Directions:

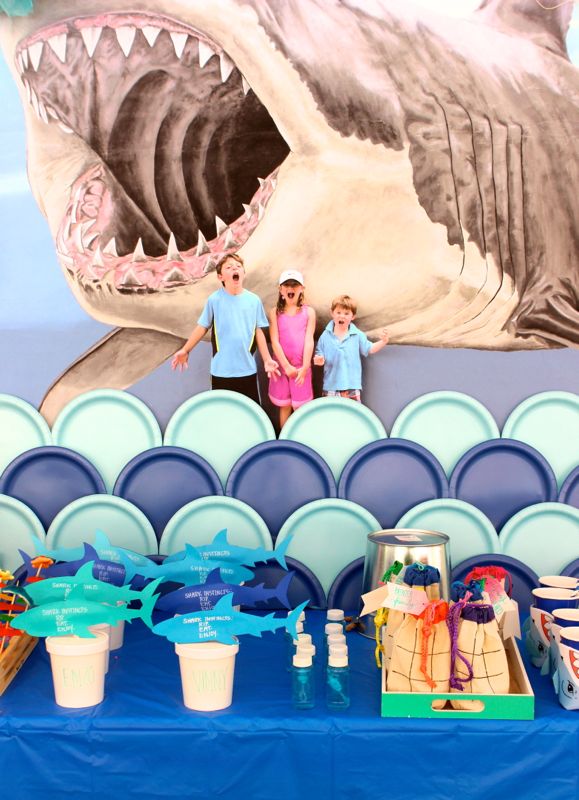
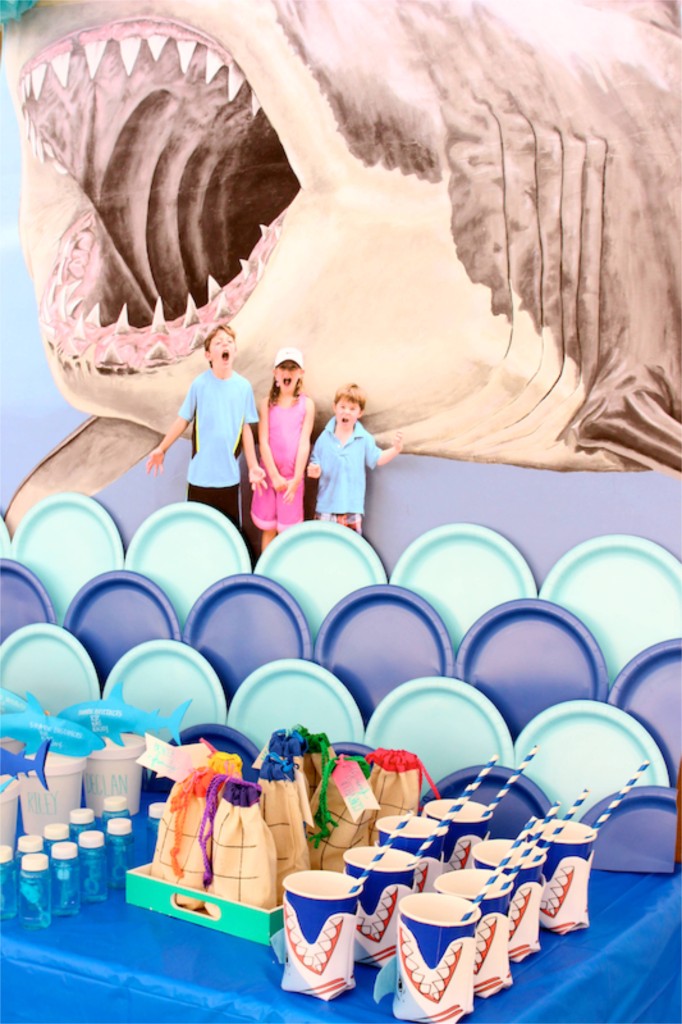
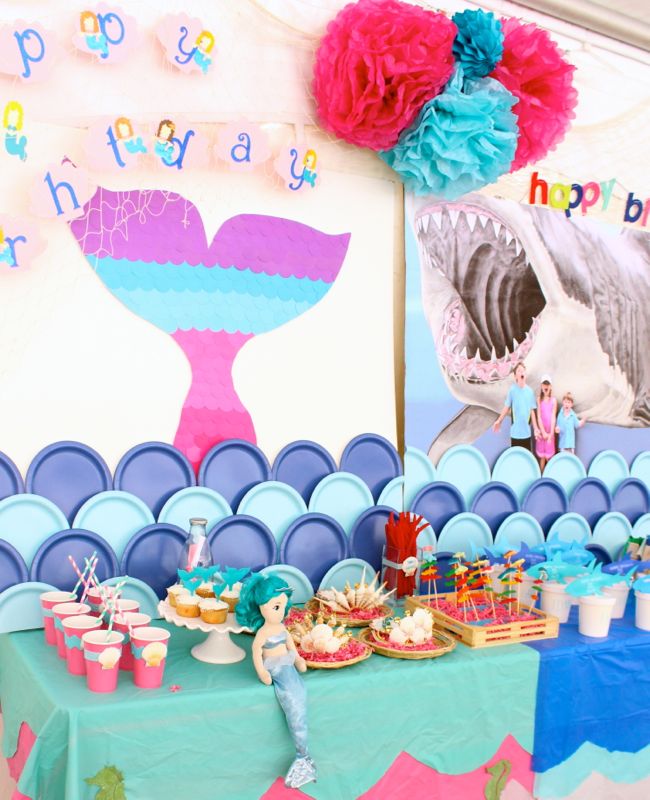
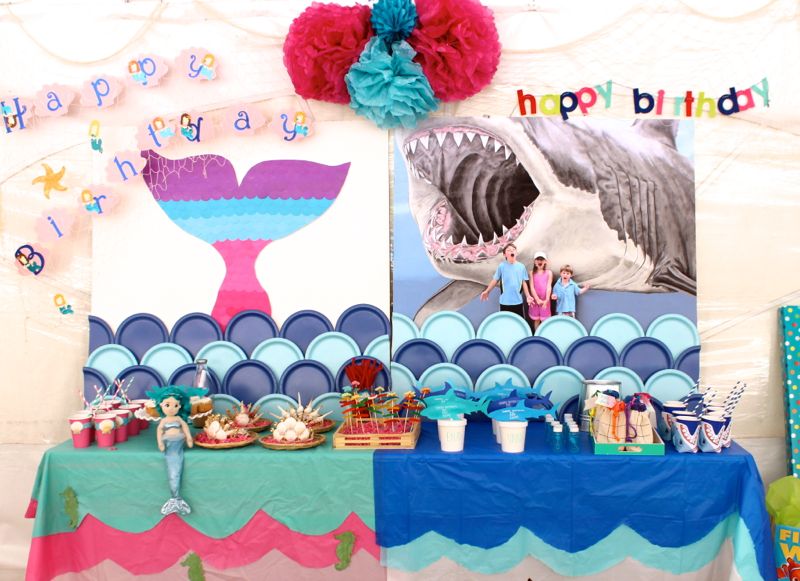
Step 1: Create a shark backdrop. During a recent trip to Florida, the kids took photos in front of a cool Megalodon. Print the photo on an engineering print from Staples. Glue the photo on one of the large wood boards with the multi-purpose spray adhesive.

Think again before you order plates from Oriental Trading for just food, because they make the perfect waves for an ocean backdrop. Use a hot glue gun to glue plates on the bottom of the photo for an ocean wave effect. Start with the dark blue and then glue light blue plates on top of it. Layer until you reach the bottom of the photo.

shark-party-wall-mural-kids-swim-

shark-party-wall-mural-kids-swim-

Step 2: Create a mermaid backdrop. Draw and cut a mermaid tail on foam core, and then cover it with paint chips. I love these paint chips from Oriental Trading because there is a wide variety of colors, and no circle cutter necessary – they are perfect circles when they arrive. Once all the chips are glued in place, flip it over and use an X-acto knife to cut the edges of the paint chips along the fin tail shape. Glue the tail to the other piece of thin white wood board. Just like the shark backdrop, glue paper plates to make waves. Start at the top, and work your way down.

mermaid-tail-colorful-seashell-crowns-doll-girl-party

mermaid-birthday-party-coloful-tail

Step 3: Add tablecloths to each table. Layer three tablecloths on each side. Cut the bottom of each layer in waves, or scallops. Each layer should be visible.

party-mermaid-shark-under-the-sea-boy-girl-party-diy

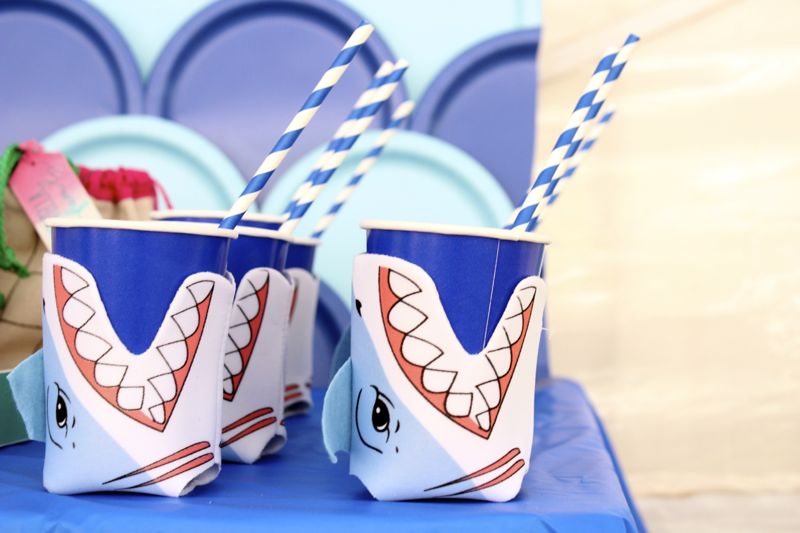
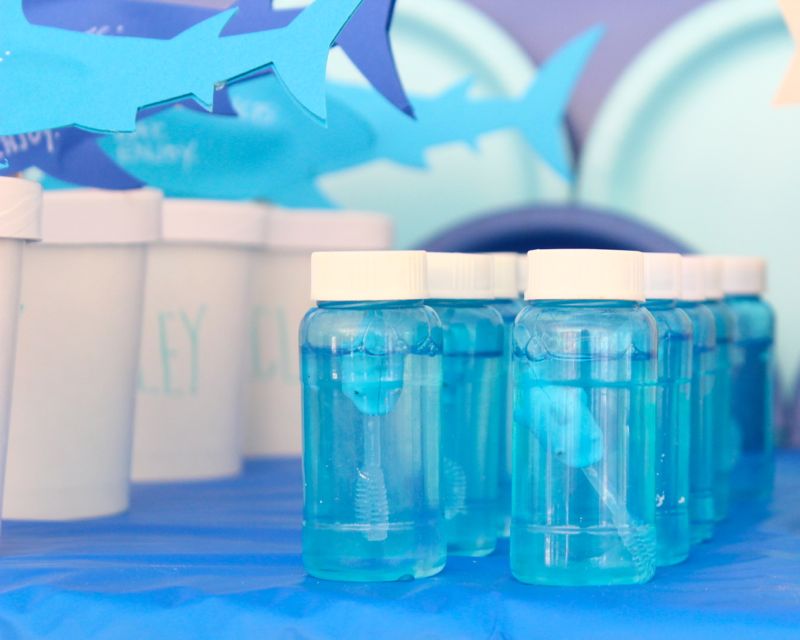
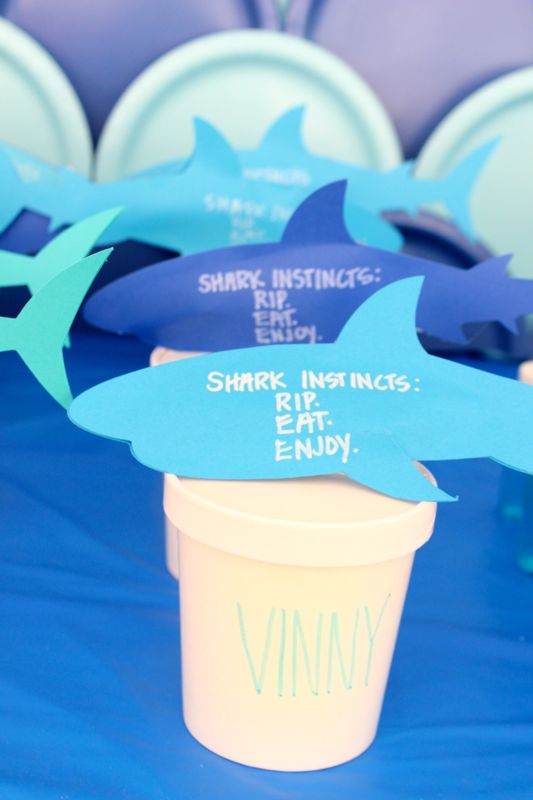
Step 4: Accessorize the tables. Shark koozies and bubbles made for the perfect shark table accessories, plus they doubled as great party favors. Another fun detail on the table was a pint container filled with a t-shirt, and topped with a blue paper shark. The shark’s edges were sealed with hot glue, but before it was totally sealed, it was filled with swedish fish. All boys had to do was rip, eat and enjoy!

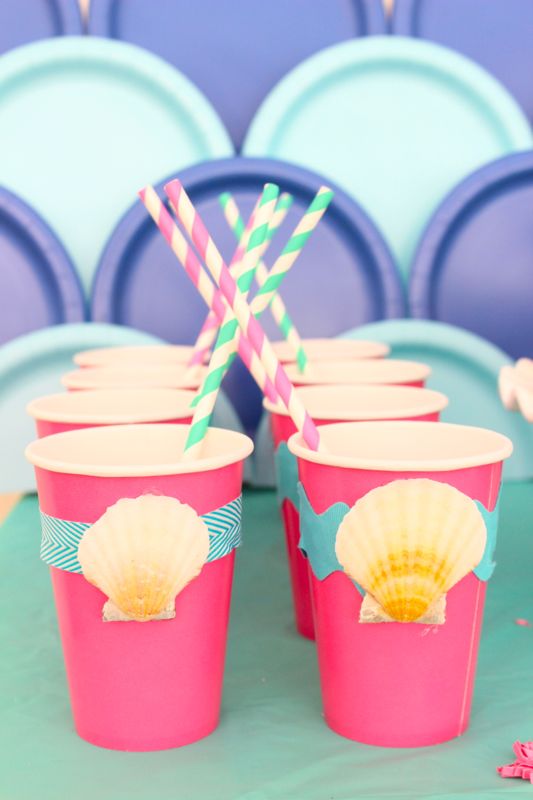
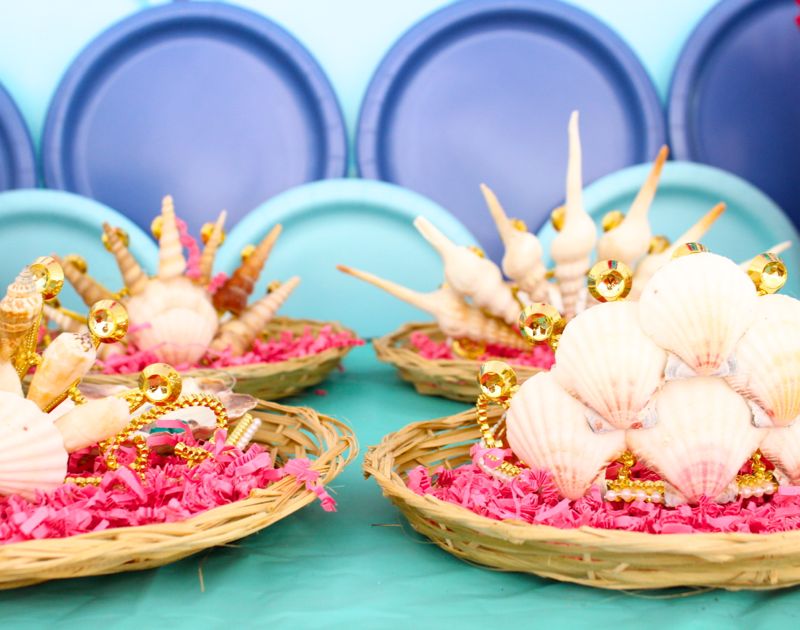
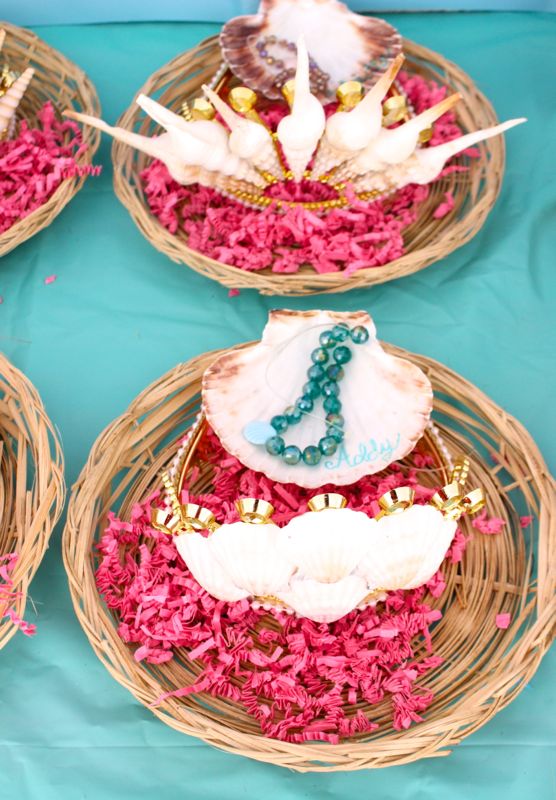
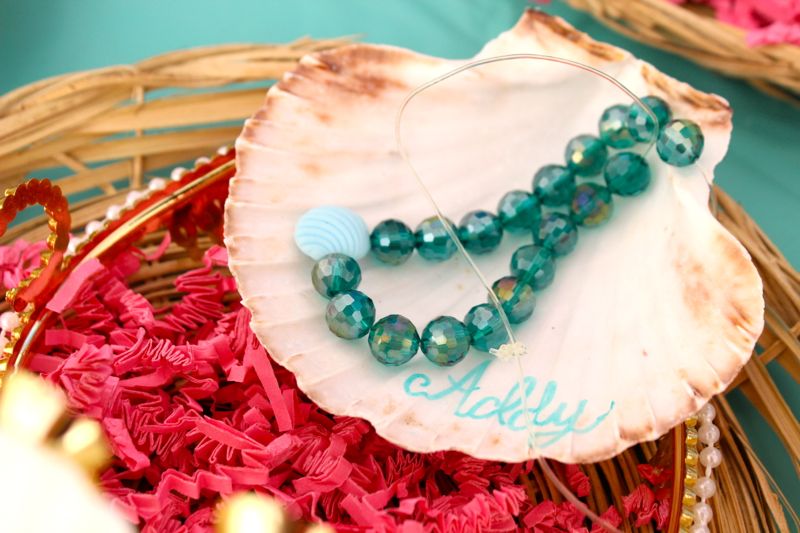
For the mermaids, the table was set with pink cups with shells glued in the center, DIY seashell crowns (also a party favor), DIY shell and bead necklaces, a plush mermaid and cupcakes with tails. To make the DIY seashells crowns, use a hot glue gun to glue shells on crowns from Oriental Trading. Play with the shells and design the crowns of your mermaid dreams.

shark-koozie-blue-striped-straws-cups

shark-bubbles-blue-ocean-party

shark-party-favor

pink-cups-with-shells-striped-straws

seashell-crowns-girls-mermaid-party

seashell-crowns-diy-mermaid-gifts

seashell-necklace-beads

mermaid-party-girl-smiling-diy-crown

Step 5: Decorate the entire party area. Hang pom poms, fish nets and happy birthday banners.

shark-party-mermaid

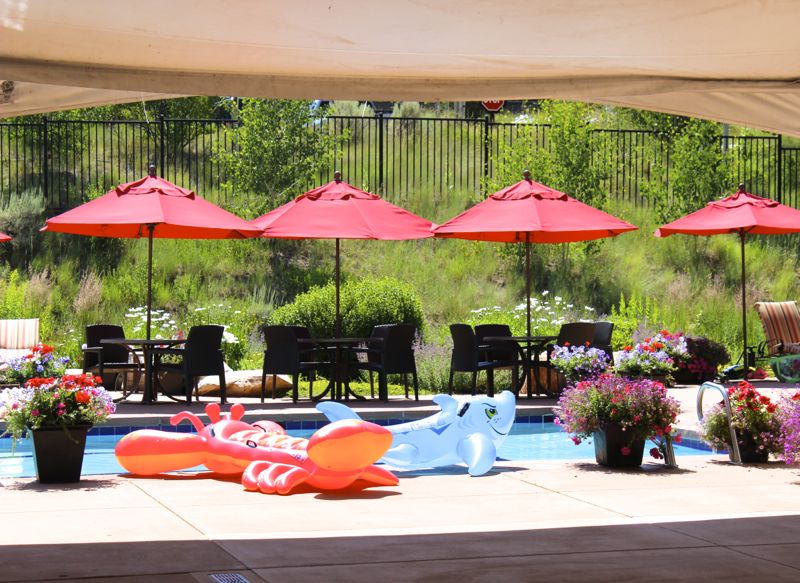
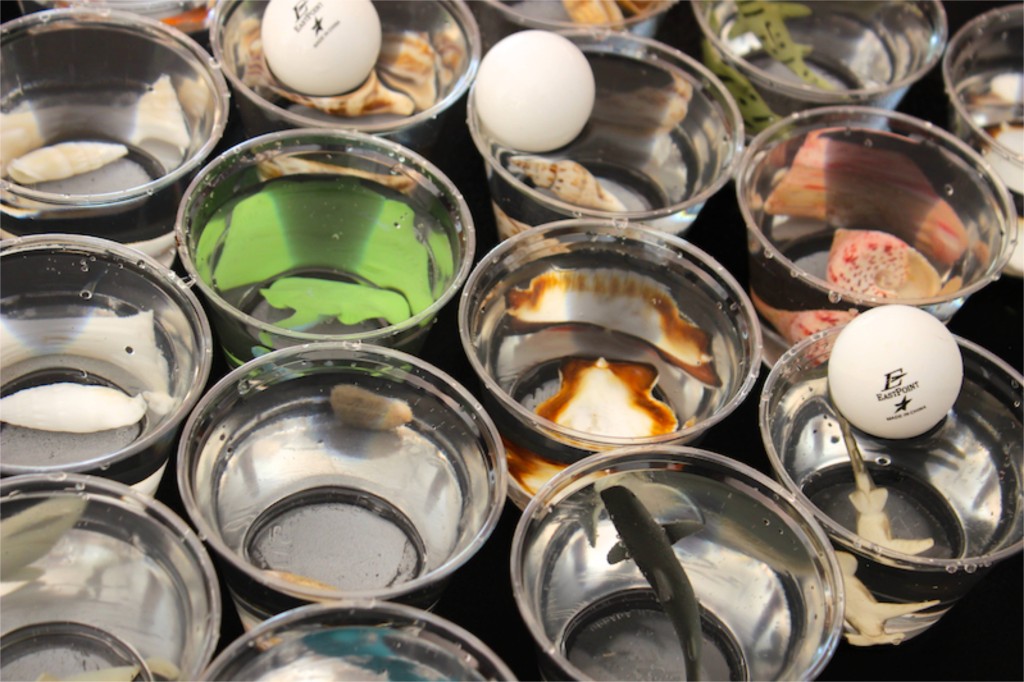
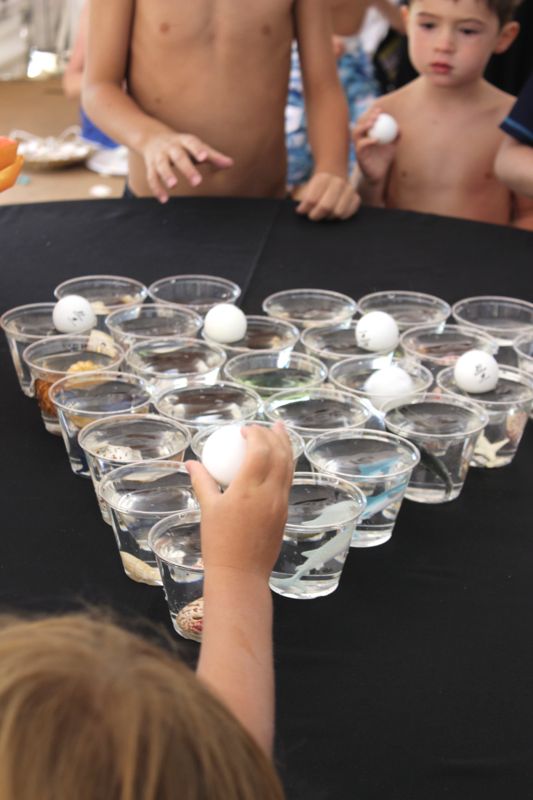
Step 6: Play games. Aside from all the pool fun, set up a fishbowl game. Set up plastic cups in cascading order, 8, 7, 6, 5 and so on. Fill them with water, and then set a prize inside each cup. The cups at our party were filled with seashells and mini shark toys. Draw a line on the ground several feet away from the table, and get the kids throwing for some fun prizes.

pool-party-floatie

game

ping-pong-ball-game

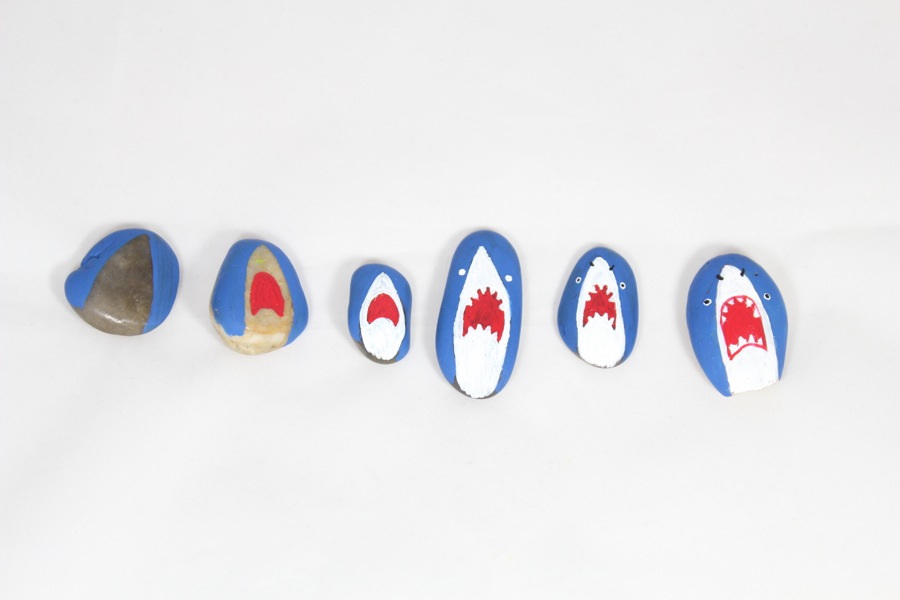
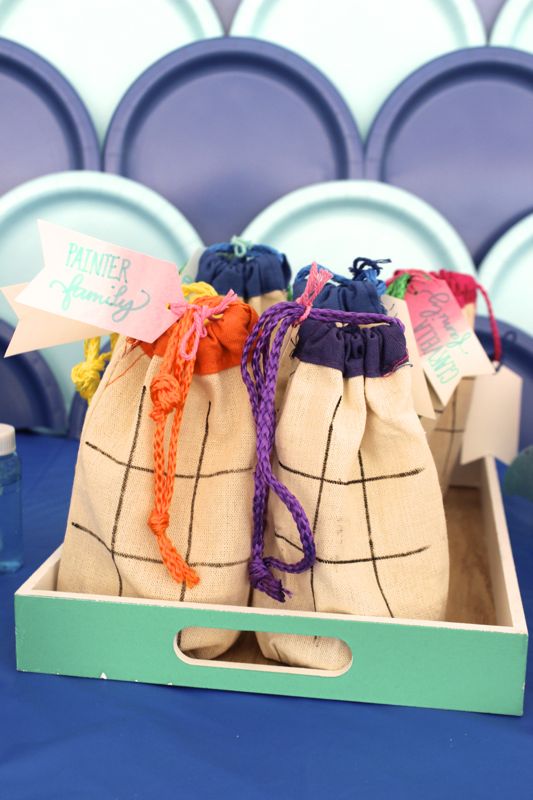
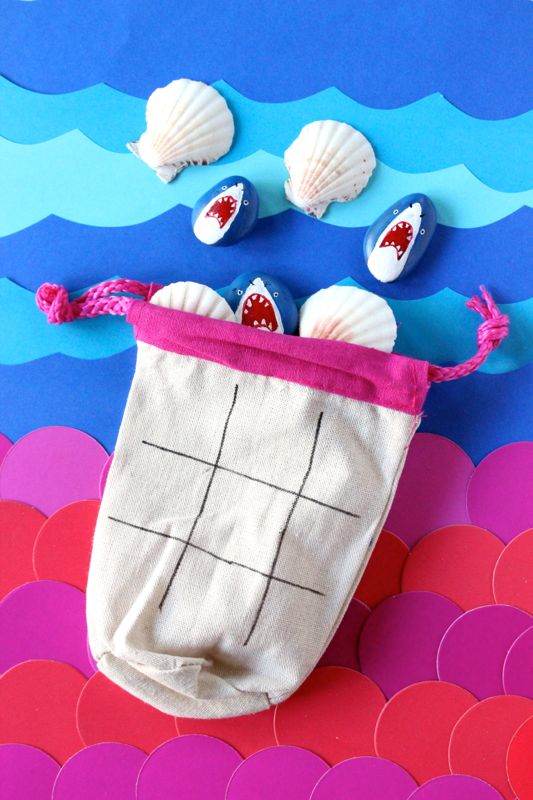
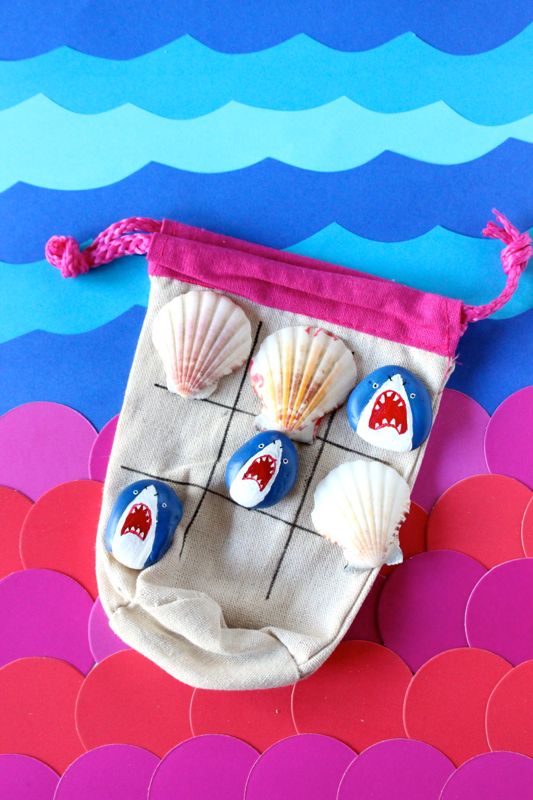
Step 7: Send friends off with favors. Every family went home with a special bag of Shark vs. Mermaid Tic Tac Toe. The shark photo prop at Oriental Trading inspired me to paint DIY shark rocks, and well we didn’t have to paint the shells because they were so pretty. The game packaged in drawstring bags with the Tic Tac Toe lines drawn on top with a Sharpie marker. This game is so much fun, and can be easily brought to church or dinner out to keep the kids occupied.

shark-painted-rocks

shark-mermaid-tic-tac-toe-diy-party-favor

shark-mermaid-tic-tac-toe-seashells-party-favor-drawstring-bag-diy-kids-game

shark-mermaid-tic-tac-toe-diy-party-favor

shark-mermaid-tic-tac-toe-diy-kids-game

Oriental Trading sent us some items of our choosing for this party, free of charge. All opinions are honest, and our own. No other type of compensation was received. Thanks for supporting the companies that support j. sorelle. We love Oriental Trading, even before this post.