DIY Watercolor Mug and Planter

dig-water color-planeter-succulent-pink-turquoise-mug-white-gold-

 This photo hooked me.

The idea was brilliant. The cost was minimal.  The ingredients were already in a drawer upstairs. The impact was bold. Within 10 minutes of seeing the photos, Jessica and her daughter were dipping mugs in their favorite nail polish colors.

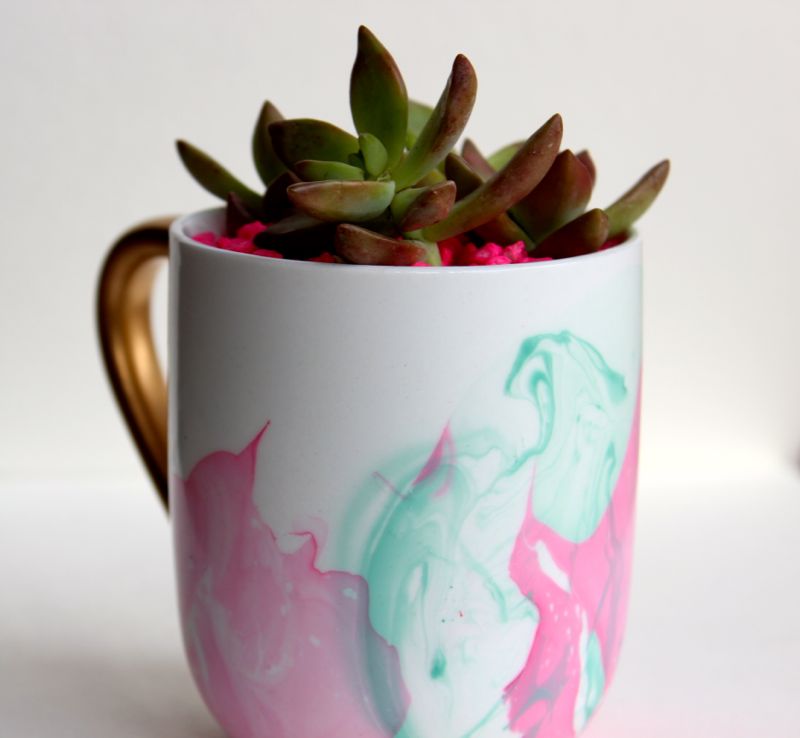
Instead of using it as a mug, Gabriella opted for a succulent planter. And, with that, she is the proud 4-year-old owner of this adorable, trendy succulent planter!

succulent-pink-aqua-planter-mug-water color-nail polish

Warning: this looks easy, and it is; however the nail polish is totally fickle and it took us several tries to get it right {we dipped dispensable products just to see how it worked}. And, the nail polish hardens almost immediately, so you have to drop and dip – quick, quick, quick!

You’ll Need:

  • White ceramic mug. You can find them for $1 at Wal-mart
  • Deep container you want to throw away or use for paint only
  • Nail Polish
  • Warm Water
  • Gold Leaf Paint
  • Pink Aquarium rocks
  • Succulent
  • Dirt and Rocks

How to Make It:

  • Fill the bowl with warm water.
  • Add a drop of nail polish to the water, and it should spread.  You can use a toothpick to help create a ‘swirl’ your looking for. For us, sometimes the nail polish spread like it was supposed to, and other times, the drop sank to the bottom of the bowl. It’s hit or miss.
  • If you want to use an additional color, drain the water, and repeat the steps.
  • If you mess up, or there’s s spot you don’t like, just use a cotton swab or pad soaked with Nail Polish remover to remove the nail polish from the mug.
  • Pat dry with a paper towel and let dry for 2 hours.
  • If you want a gold handle, add painter’s tape on the mug around the handle, and paint the handle gold with Gold Leaf Paint.

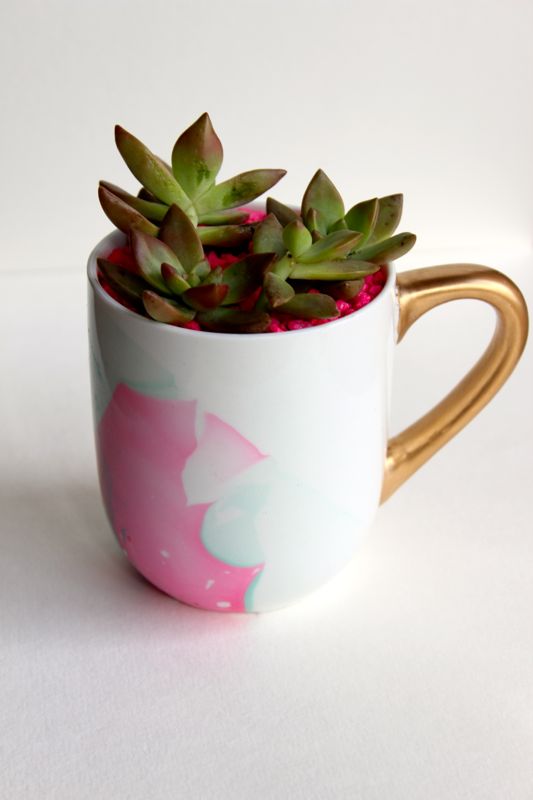
To make the mug a planter, add dirt and rocks to the cup, insert the succulent and top it off with pink rocks.
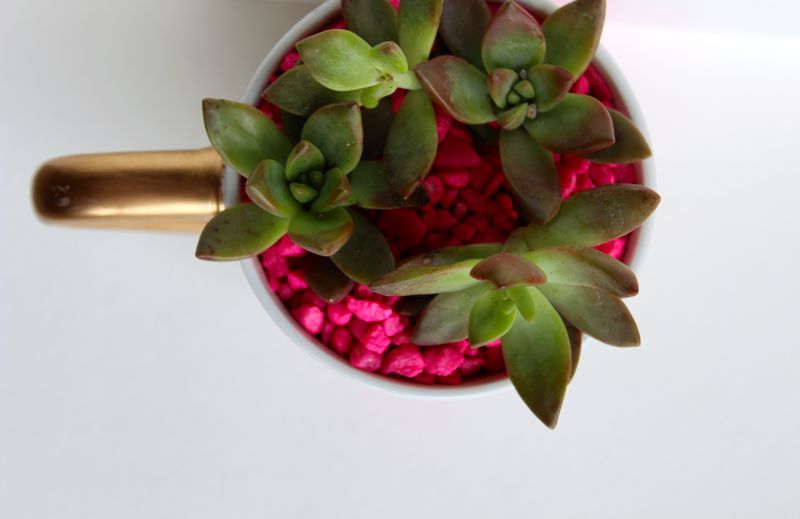
succulent-planter-mug-pink-aqua-rocks-gold-water color

pink-aqua-white-mug-rocks-succulent-planter-gold-water color

{photos via j. sorelle}

St. Patrick’s Day in a Box

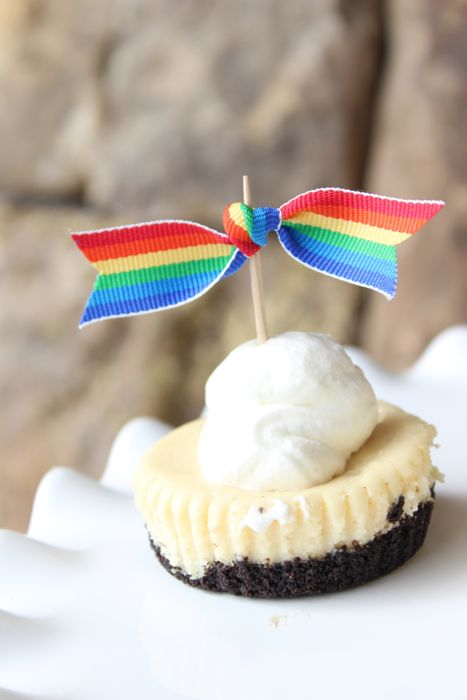
mini cheesecakes-baileys irish cream-gluten free-whipping cream-rainbow

One of our favorites from Alt was Gilit Cooper, lead boss babe at Shoes Off Please and owner of The Bannerie. She recently hosted a Wayfair Homemakers Housewarming Party. Among the many fabulous ideas, our GF mini cheesecakes with Bailey’s Irish Cream made the roundup. Get your lucky on and see all the colorful ideas. If a cookie topped with a rainbow of fruit meets your fancy, you’ll love this.

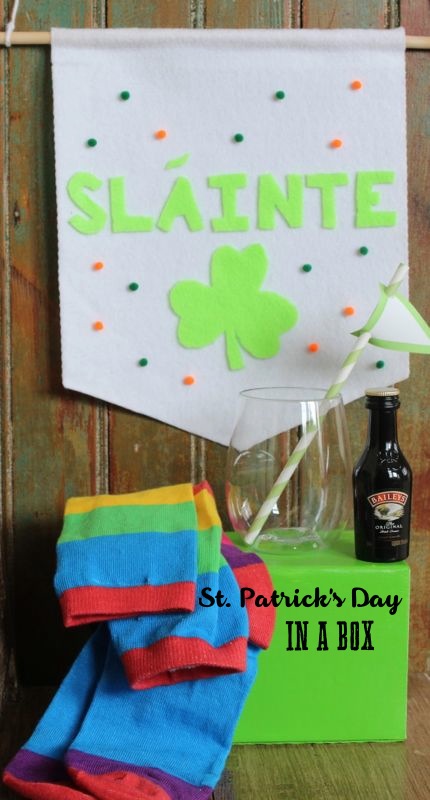
In other St. Patrick’s Day news, we made a St. Patrick’s Day in a Box. I know, it’s semi-lame with no Guinness, Jameson or car bombs, but our husbands will take care of all that for us. We will enjoy our evening wearing tall rainbow socks, sipping on Bailey’s Irish Cream with a green and white striped straw, of course, and a DIY Slainte {an Irish Gaelic word often said during a toast, which translates as ‘good health’} in the background.

IMG_8117

For the banner, all you need is felt, Elmer’s Craft Glue or Beacon Felt Glue, a clover to trace, pom poms, a wood dowel rod and yarn. Cut, glue and hang.

st patricks day-sign-green-polka for-clover-diy-felt-banner-rainbow-socks-baileys irish cream

{images via j. sorelle}

DIY Dr. Seuss Easter Eggs

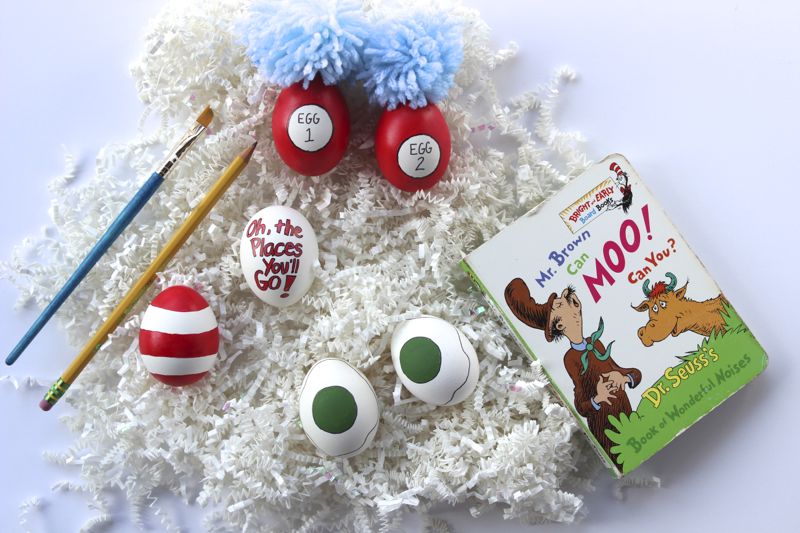
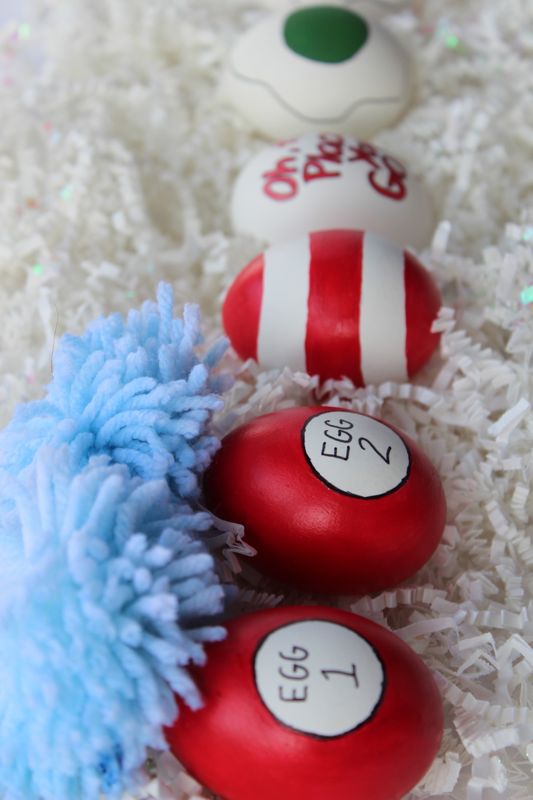
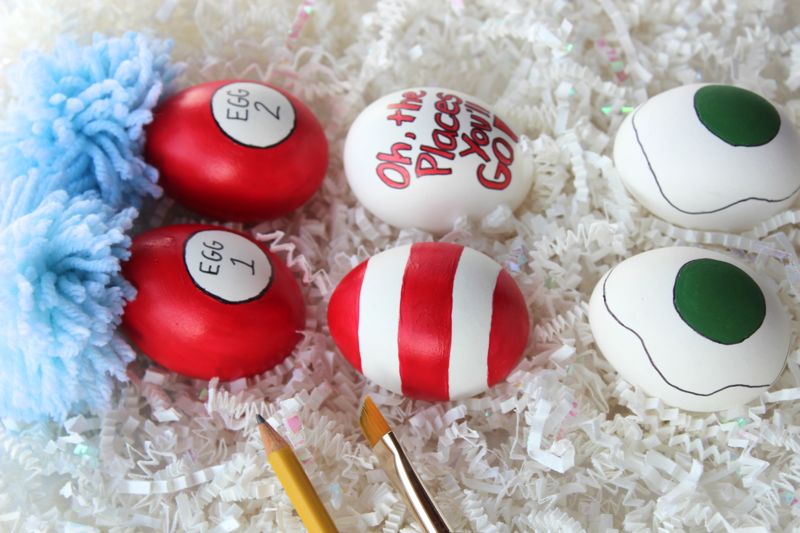
dr seuss-easter-eggs-thing1-thing2-stripes

One Egg
Two Eggs
Red Egg
Striped Egg

We know it’s not even St. Patrick’s Day yet, so we are trying to not get too ahead of ourselves, but we just can’t contain our excitement with these Dr. Seuss eggs. Plus, it’s totally fitting to end the week of Dr. Seuss’ birthday with DIY Dr. Seuss easter eggs, right?

We chose some of our favorite Dr. Seuss books as inspiration, including Green Eggs and Ham, Oh, the Places You’ll Go and The Cat in the Hat. 

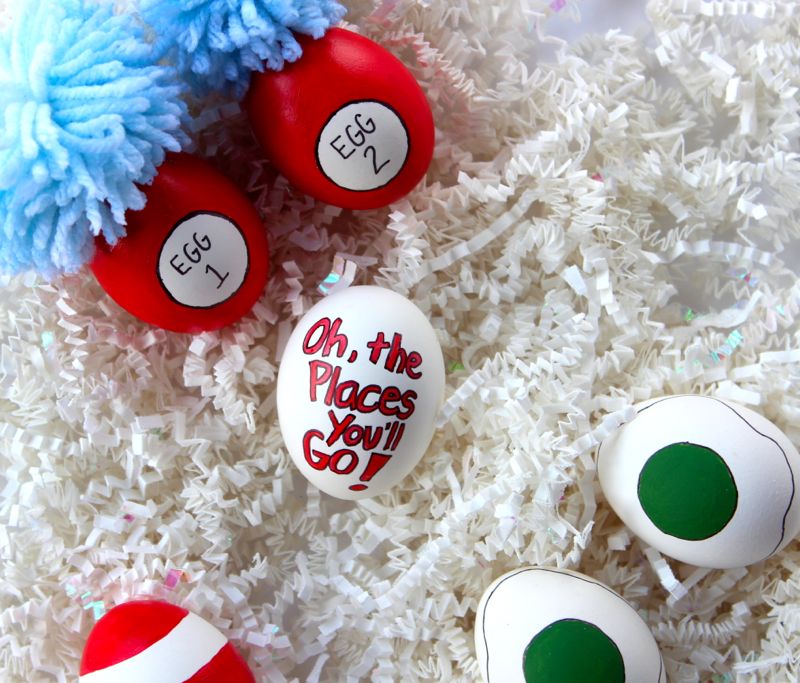
drseuss-easter-egg-oh the places you'll go-stripes-diy-red

dr seuss-easter-eggs-red-blue-thing1-thing2-stripes

You’ll Need

  • Eggs {you can use real, hard-boiled eggs, or if you want them to last forever, buy paper mache eggs}
  • Blue yarn
  • Red and green Acrylic Craft paint
  • Black thin Sharpie and red Sharpie marker

The Cat in the Hat Easter Eggs:

  • Paint red stripes on the ‘hat’ Easter egg.
  • For the Thing 1 and Thing 2 Easter eggs, we used a round circle sticker and traced it with a black thin Sharpie marker.
  • Remove the sticker, then write Egg 1 and Egg 2 inside the round circle in each egg.
  • Paint around the circle with red paint.
  • Create blue DIY pom poms and use a hot glue gun to glue it to the top of the eggs.

dr seuss-eggs-easter-thing1-thing2-red-pompom

drseuss-easter-eggs-thing1-thing2-red-stripes-diy-paint

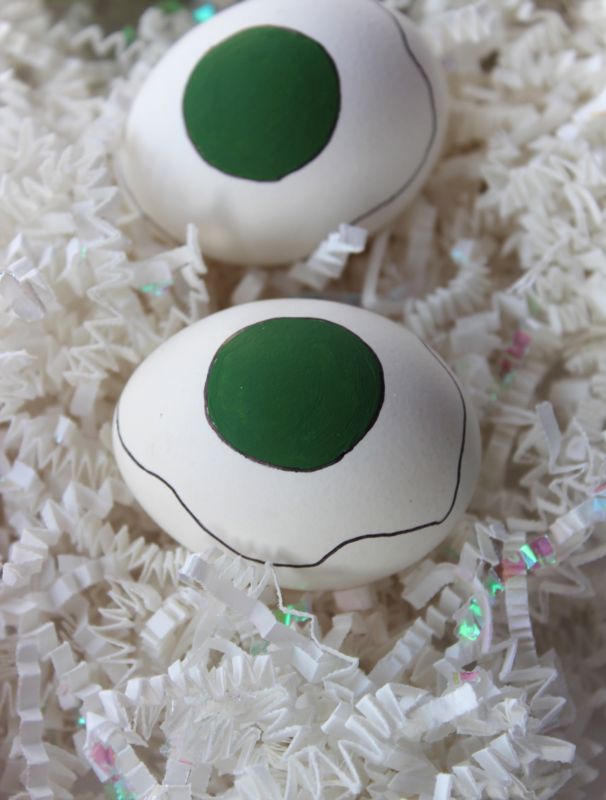
Green Eggs and Ham Easter Eggs:

  • Place and then trace a round sticker on the egg with a pencil.
  • Paint the inside of the circle green.
  • Use a black Sharpie to draw a fried egg outline around the green circle.

easter-eggs-diy-green eggs and ham-drseuss

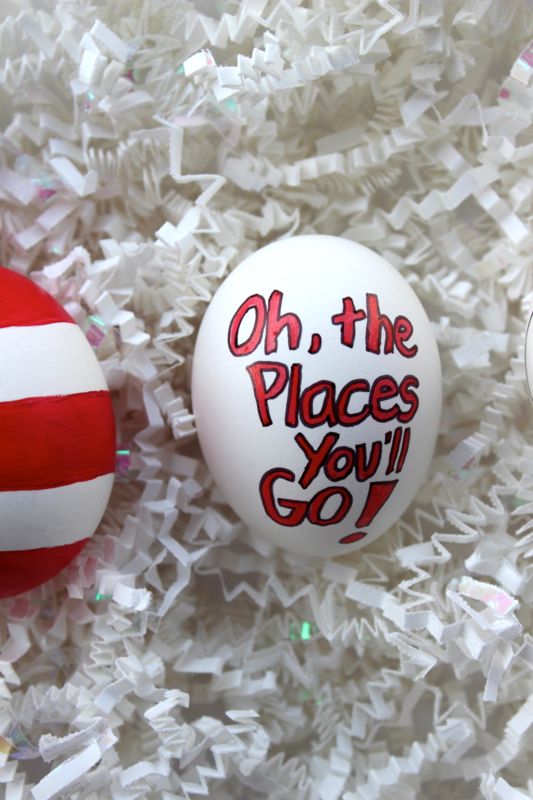
Oh, the Places You’ll Go Easter Eggs:

  • Use a red Sharpie to write the words Oh, the Places You’ll Go on the egg.
  • Trace the red letters with a thin black Sharpie.

oh the places you'll go-drseuss-easter-eggs-diy-kid

drseuss-easter-eggs-diy-stripes-red-paint

Have fun rhyming, reading, painting and creating. Happy Birthday Dr. Seuss.

{images via j. sorelle}

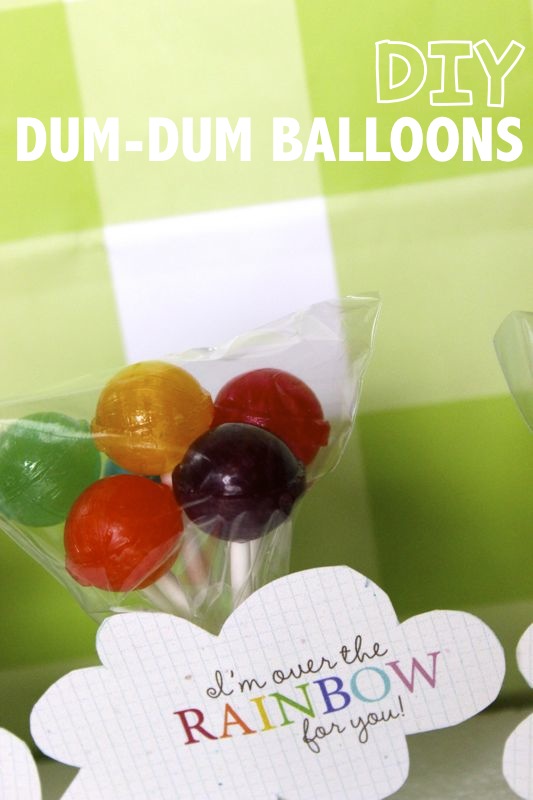
DIY Dum-Dum Pop Balloons

pops-rainbow-stpattysday-dumdum-red-yellow-green-balloons-diy

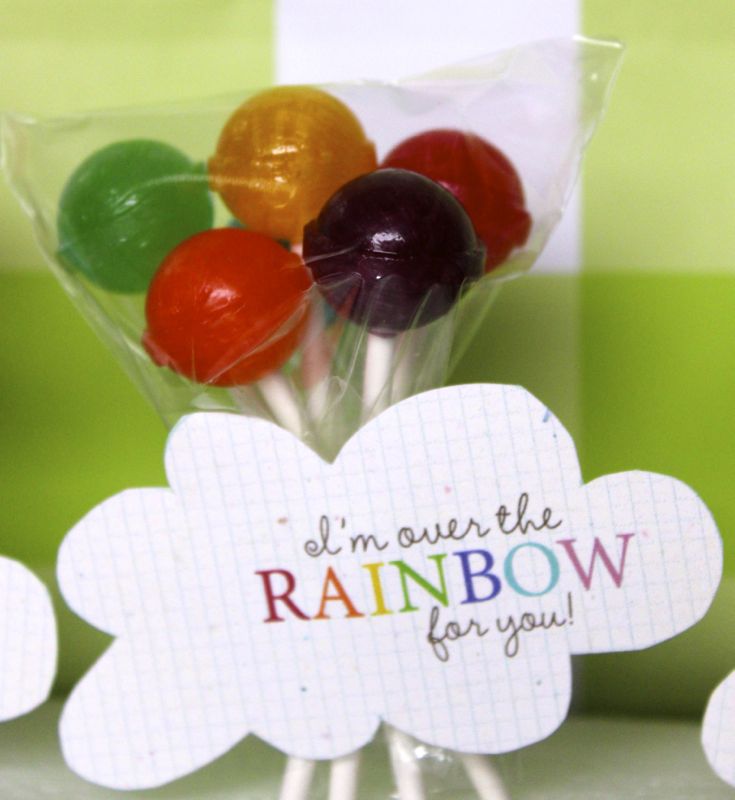
Somewhere over the rainbow, Dum-Dum Pops are floating away. Catch the yummy balloons before they get too high, so you can savor all the flavor. And, do it before St. Patrick’s Day…or your next rainbow party!

diy-balloons-rainbow-dumdum-pops-stpattysday

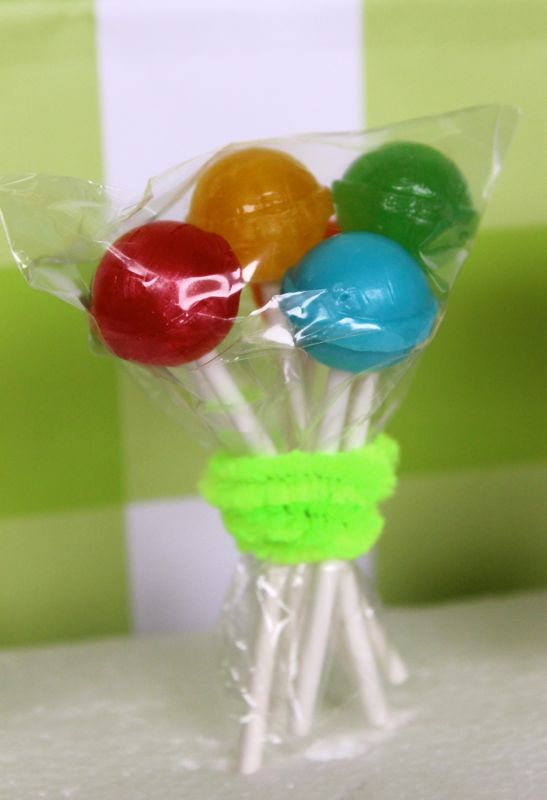
Step 1: Remove wrappers from most of the 300 ct. Spangler Dum-Dum Pops bag.

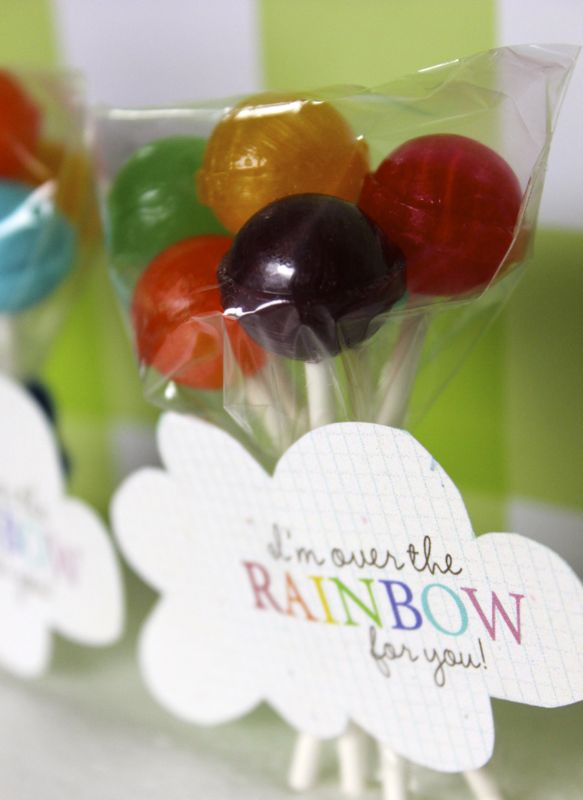
Step 2: Bundle the colors of the rainbow together, cover with a tiny cellophane bag, and then wrap the ‘balloons’ with a pipe cleaner.

diy-dumdumpops-balloons-toddler-stpattysday

Step 3: Print, cut and glue the free printable via Simple as That to the pipe cleaner.

diy-rainbow-dumdumpops-color-red-blue-green-balloons-stpattysday

rainbow-stpatricksday-diy-balloon-pops-dumdumpops

{images via j. sorelle}

DIY Horseshoe Coasters

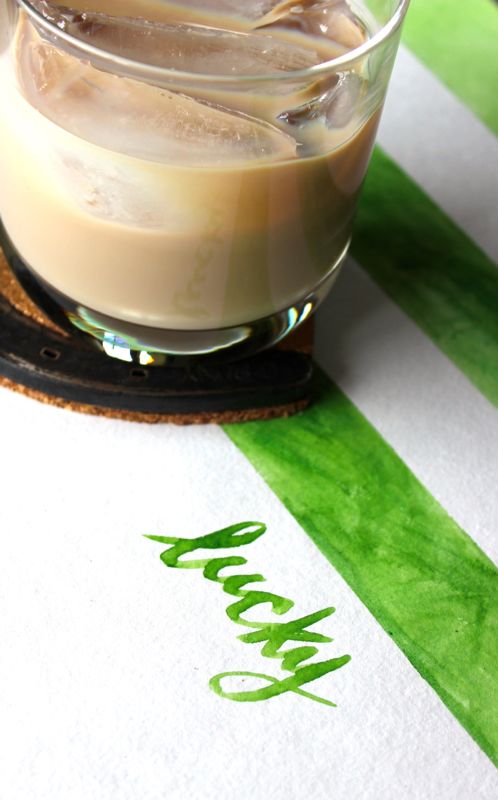
green-horseshoe-corkboard-lucky-stpatricksday-stripes-baileys-cocktail

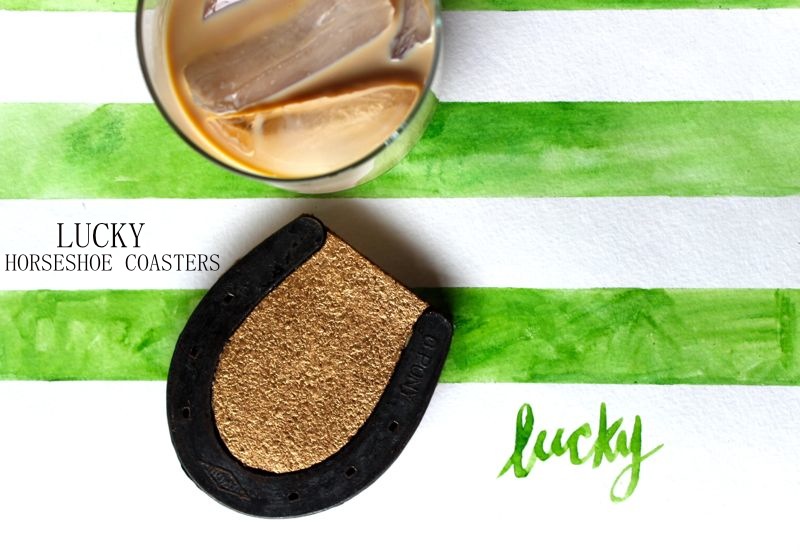
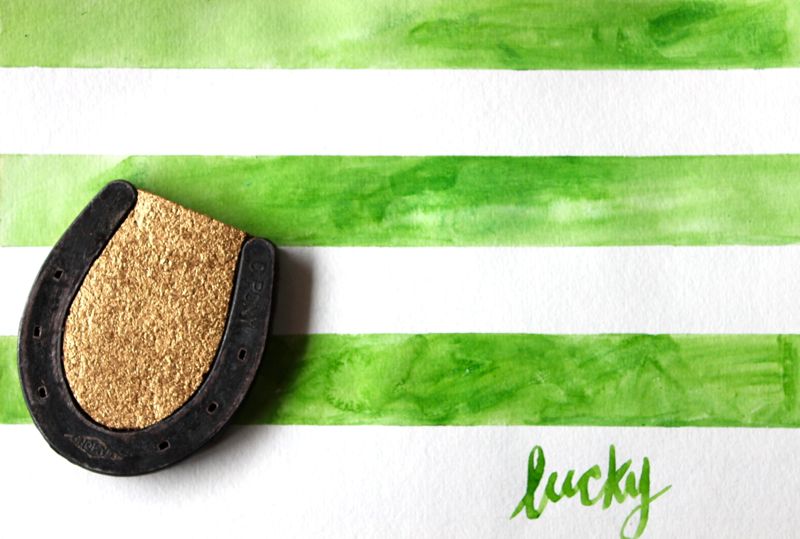
We had some extra Pony horseshoes from Jodi’s wedding, and since they are considered very lucky and a lucky holiday is coming up {March 17}, we made DIY St. Patrick’s Day coasters out of horseshoes. Luck and a cocktail – the perfect combo for St. Patrick’s Day! The DIY horseshoe coasters will be a staple in your home long after the green holiday…and make a great housewarming gift.

lucky-green-stripes-horseshoe-coaster-diy-corkboard-gold

You’ll Need:

  • Cork board
  • Liquid Gold paint
  • Horseshoes. We used Pony horseshoes, and found them at a local farm/ranch at a very affordable price, but you can find them online.
  • Gorilla Glue
  • Scissors
  • Clear, waterproof sealant
  • A cocktail. Our choice was Bailey’s Irish Cream. Yummy.

How To:

  • Trace the entire outer part of the horseshoe onto the cork board, then cut.
  • Trace the inside of the horseshoe 2 times, then cut.
  • Paint the top layer of cork the color/pattern of your choice. We chose gold.
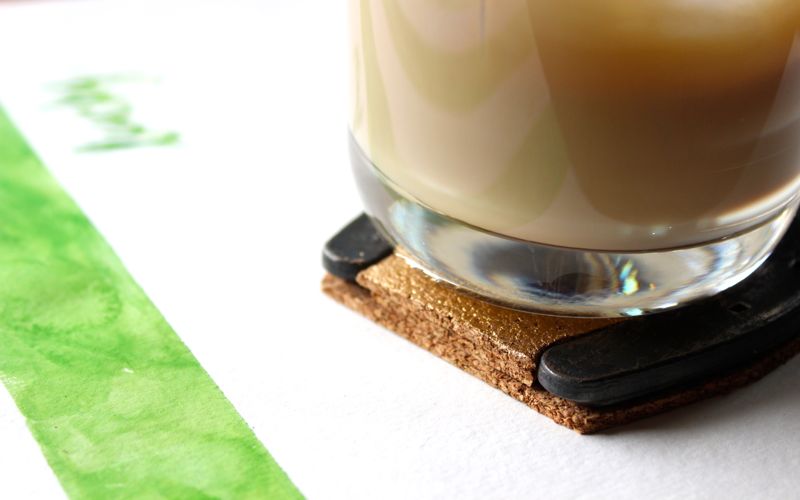
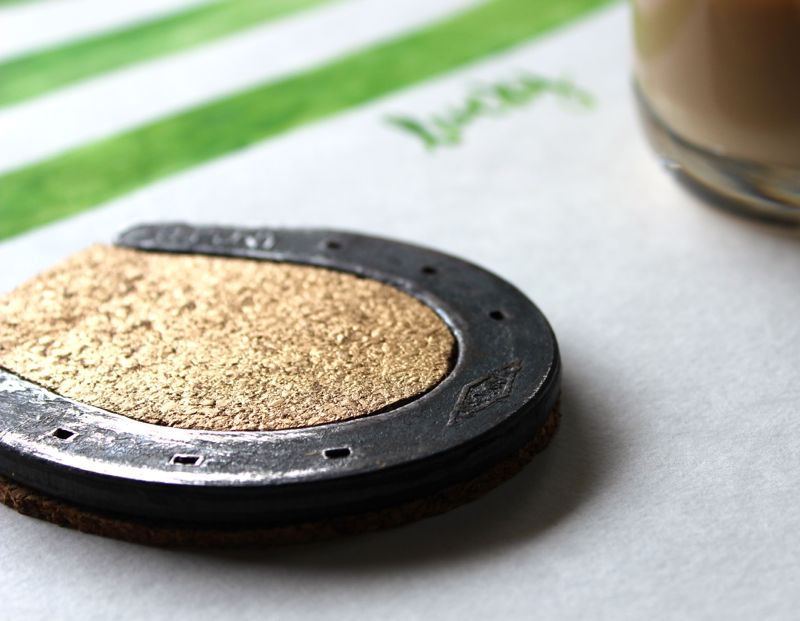
  • Place the horseshoe on the large piece of cork board {which should fully cover the bottom of the horseshoe} then stack the two pieces of cork board in the middle of the horseshoe. The coaster should be completely level with the three layers of cork board.
  • Once all pieces are in place, add Gorilla glue to each layer. Be careful because Gorilla Glue expands 3-4 times as it dries. Stack books on top of the coasters, then let dry overnight.
  • Apply a clear, waterproof sealant.
  • Pour a cocktail and enjoy.

diy-coasters-stpattysday-corkboard-gold-green-baileys

gold-lucky-horseshoe-coasters-green-diy-lucky

green-stripes-dig-coasters-corkboard-horseshoe-stpattysday-gold

{images via j. sorelle}