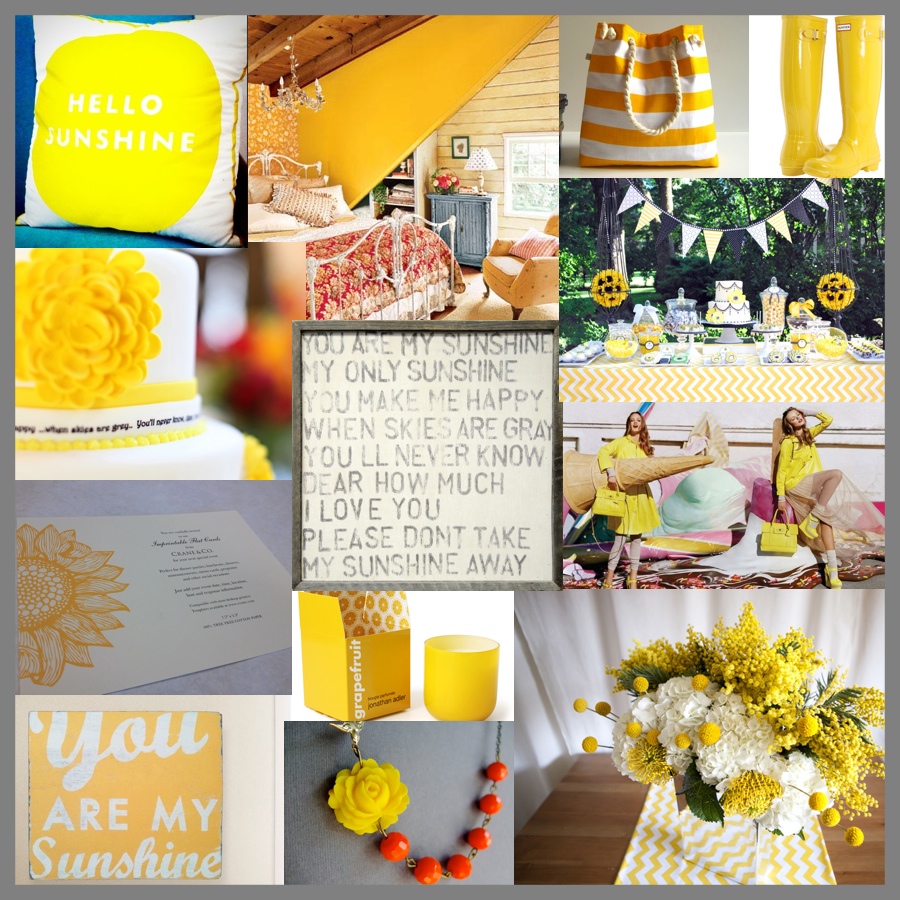
you are my sunshine

You are my sunshine, my only sunshine
You make me happy when skies are gray
You’ll never know dear, how much I love you
Please don’t take my sunshine away

My mom and I sing this to my kids all the time. My daughter particularly loves it ~ her eyes light up when she hears it, and when the song is over she always asks for more.

It’s a meaningful song to me, so I brought it to life with my inspiration board today. Hope it brings a little sunshine to your winter day…and I think it’s a sweet spin on Valentine’s Day for your loved one {make your Valentine feel like he/she is the sunshine of your life}.

I’ll leave you with a cupcake recipe that looks like it tastes as refreshing, yummy and sweet as sunshine. It makes me wish summer was here.

Strawberry Lemonade Cupcakes by Half Baked, The Cake Blog

images via:
Zappos Hunter Original High Gloss Rain Boot | Sugarboo Designs You Are My Sunshine Art Print |  Country Living Yellow Painted Bedroom | Yellow Centerpiece with Chevron Runner from Oh So Beautiful Paper | You Are My Sunshine Sign by Etsy seller Go Jump in the Lake | Flower Necklace by etsy seller RachelleD | Yellow and White Sailor Tote Bag found at Damsel in Dior and sold by Etsy seller Bayan HippoJonathan Adler Grapefruit Pop Candle |  You are my Sunshine Cake found at P is for Party | Pinterest Hello Sunshine pillow | Mulberry Fashion Ad from Damsel in Dior | Half Baked, The Cake Blog | Sunflower Soiree Party by The Party Dress | Invitation by Fleur de Lis, a paperie
diy vase

I’ve seen people make beautiful handmade centerpieces with just about anything – bark, photos, candles, mason jars and of course vases. Today, we broaden our vase database with these adorable and chic ideas!

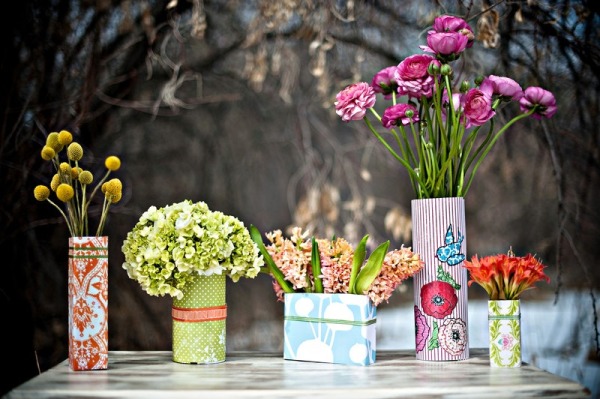
Cori Cook Floral Design, a sweet and creative Denver-based floral designer we ADORE, designed some cute DIY vases that would work for any party, especially a bridal shower or baby shower. I can’t wait to do this! Find her tutorial here.

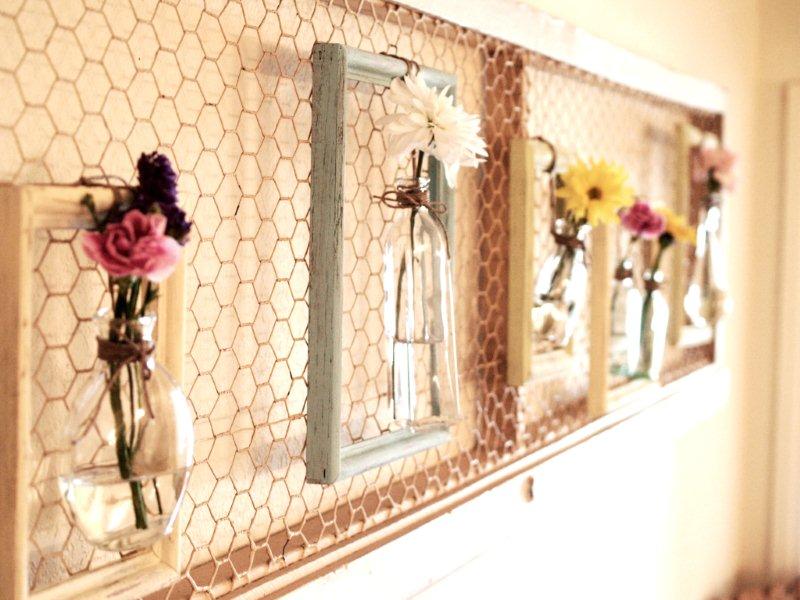
The talented Beverly at Flamingo Toes made some cottage chic single-bud framed vases, and shares her fabulous how-to here.

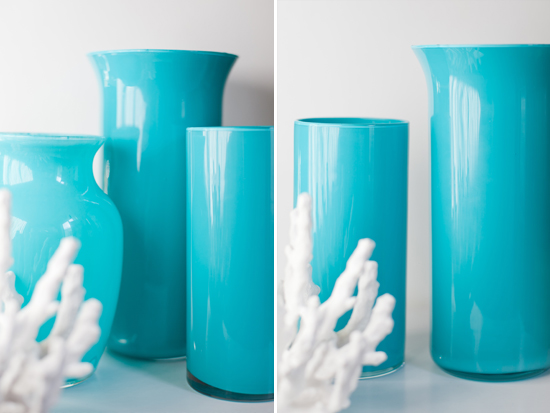
Eden from Sugar and Charm shares her bright, DIY enamel-painted vases that is sure to impress, and easy to make. Visit her site for how-to instructions.

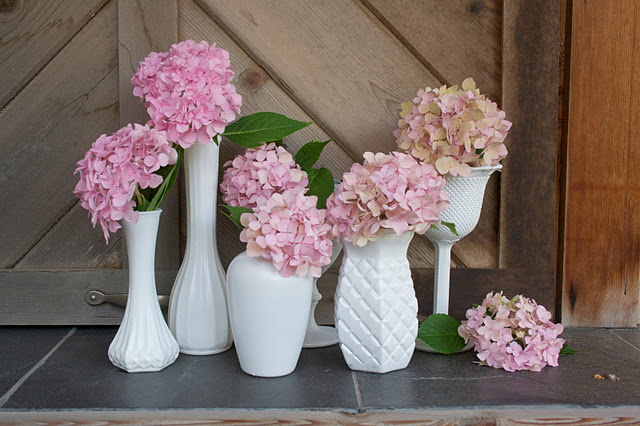
Hey Gorgeous transforms various-shaped milk bottles into a beautiful display of white vases with spray paint. Here directions here.

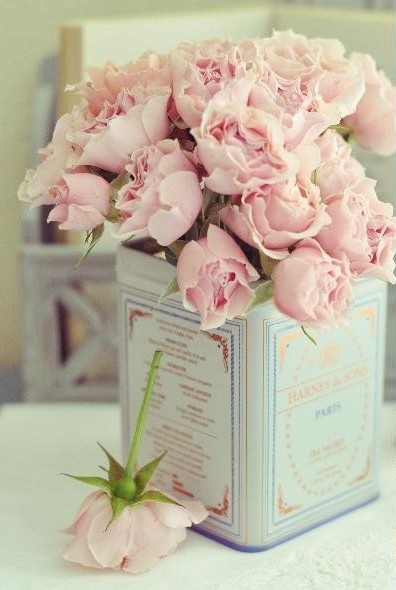
Add an antique touch to your table setting by using vintage tea tin cans as a vase. I love this look. The tea tins at Pearl River Mart would be perfect for this project.

{images via Cori Cook Floral Design, Flamingo Toes, Sugar and Charm, Hey Gorgeous, The Sweetest Occasion}

time to tango

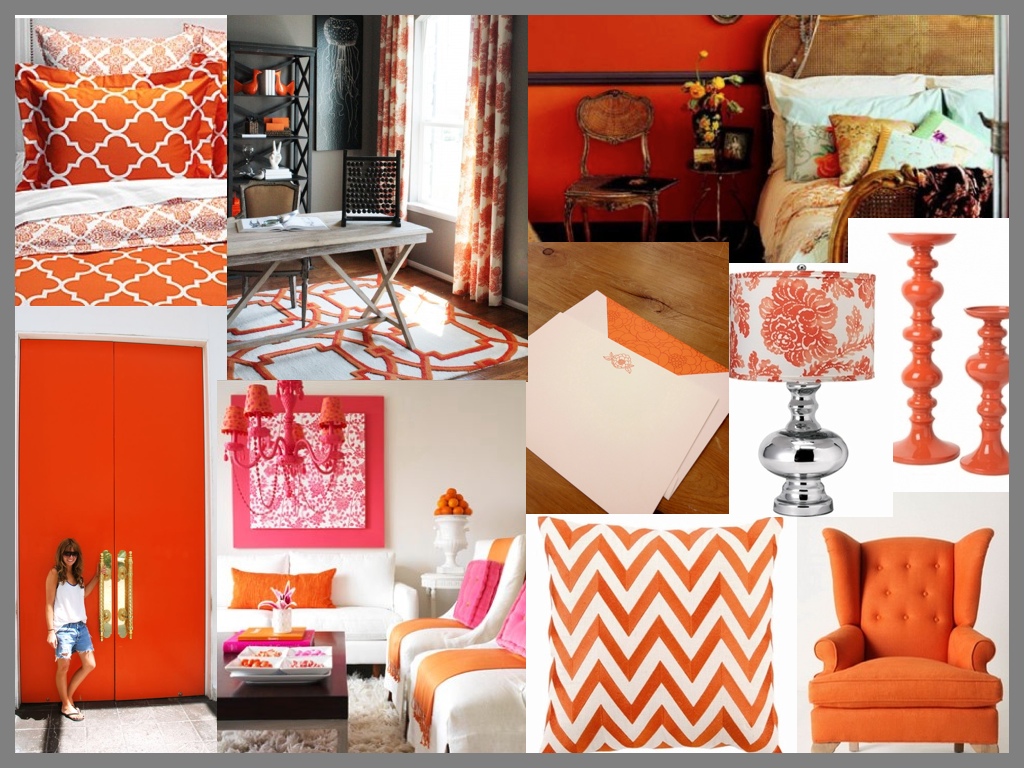
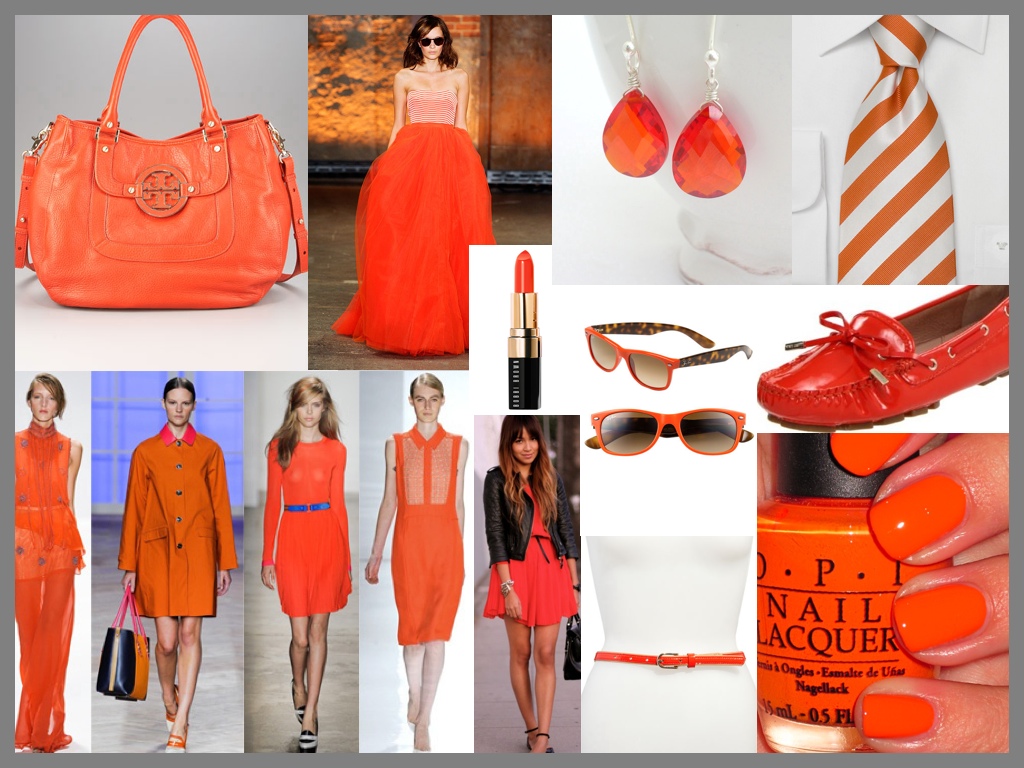
Exciting news in the world of color…The Pantone 2012 Color of the Year is Pantone 17-1463 Tangerine Tango.

So, what’s our take on Tangerine Tango…it’s bold, but we like it and after creating these inspiration boards, we are on the verge of loving it. Though orange is not our favorite color, splashes of it are bold and dramatic, and beautiful. And, this spirited reddish-orange can inspire and uplift all areas of your life – home, fashion and your walk down the aisle.

Just like Leatrice Eiseman, executive director of the Pantone Color Institute® said, “Reminiscent of the radiant shadings of a sunset, Tangerine Tango marries the vivaciousness and adrenaline rush of red with the friendliness and warmth of yellow, to form a high-visibility, magnetic hue that emanates heat and energy.”

Tangerine Tango in the HOME

Vibrant Painted Wall: The Green Tree | Bedding: The Green Tree | Anthropologie Howell Wingback Chair: Washingtonian | Maren Orange Candlesticks: Washingtonian | Jamie Young Coral Lamp Shade: Washingtonian | DL Rhein Zigzag Pillow: Washingtonian | Orange/Pink Room: Houzz |  Orange Accent Study: Houzz | Orange Lacquer Doors: Ascot Friday | Vera Wang Stationery: sold at Fleur de Lis, a paperie
Tangerine Tango FASHION

Christian Siriano dress: Simply Smitten | Ray Ban Sunglasses: Nordstrom | Vince Camuto Loafers: Amazon | Vince Camuto Belt: Nordstrom | Carole Enameled Diamond Chandeliers: Nordstrom |  Tory Burch Purse: Bergdorf Goodman |  Tangerine Dress with Leather Jacket: Pinterest |  Bobbi Brown Lip Color: Nordstrom | Bright Orange/Red Earrings: Bluebirdss on Etsy | Orange/White Striped Tie: The Perfect Palette | Runway Models: Glamour | OPI Tangerine Nail Polish: Pinterest

Tangerine Tango DOWN THE AISLE

Orange Floral Cake: Accidental Chic | Custom Rubber Stamps: Martha Stewart | Pillows in Lounge Area: Bridal Bliss | Moroccan Style Wedding with Umbrella: Style Me Pretty | Orange Chiavari Chairs and Table Setting: Snippet and Ink | Orange Bouquet with Teal Base: Bella Grace Floral | Protea Centerpiece: Bella Grace Floral | Spiky Protea Orange and Green Table Setting: Weddingdress Online Shop | Orange and White Menu: Simply Posh Design | Orange Drinks: Jet Fete | Orange Flower Balls: Bliss and That…

Do you plan to tango in 2012? Hope so.

For more information on this bold color choice, visit Pantone.

{images via Canadian Home Trends}

oh the places you’ll go

Maybe you’re a world traveler. Maybe you want to log the locations you’ve visited in a creative way. Maybe you have an entire list of places to visit and explore. Maybe you hold a special place in your heart for a particular spot in this great big world. Maybe you and your fiance want to incorporate the places you’ve traveled together on your wedding day. Or maybe you just love maps, or have some lying around that need a new purpose.

Whatever the reason, with these map/globe projects you can feel like a world traveler…without the jet lag.

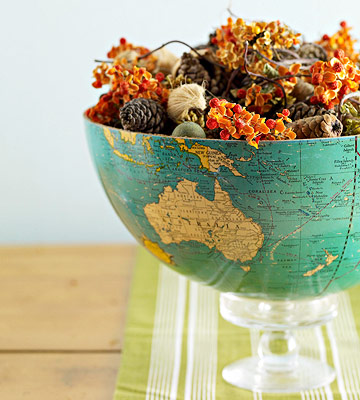
Globe Bowl, Better Homes and Gardens

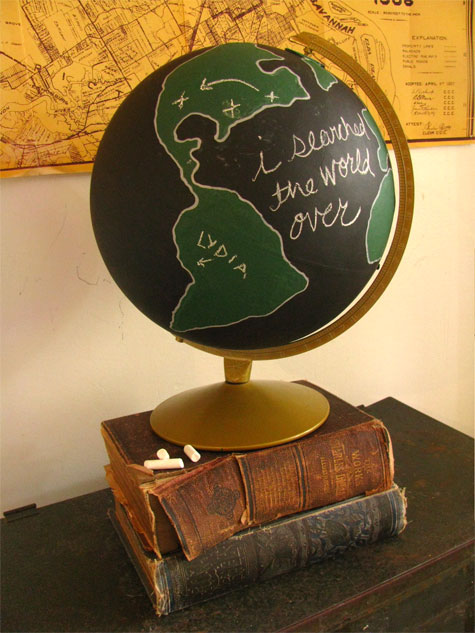
Chalkboard Globe, Design Sponge {I love this project for kids too}

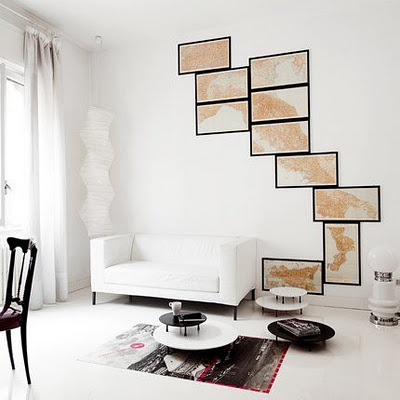
Large Map of Italy, A Cup of Joe

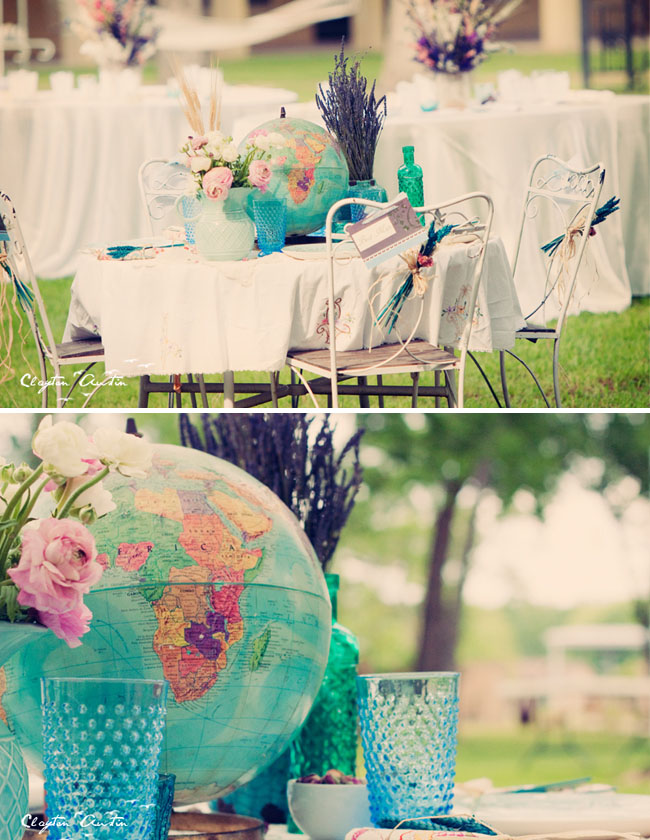
Centerpiece, Green Wedding Shoes

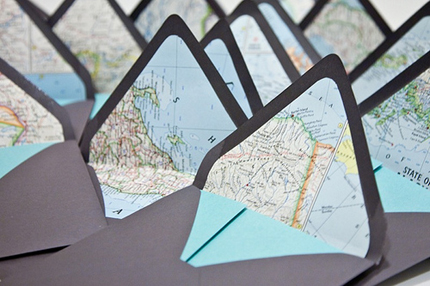
Map Envelope Liners,  iDiY

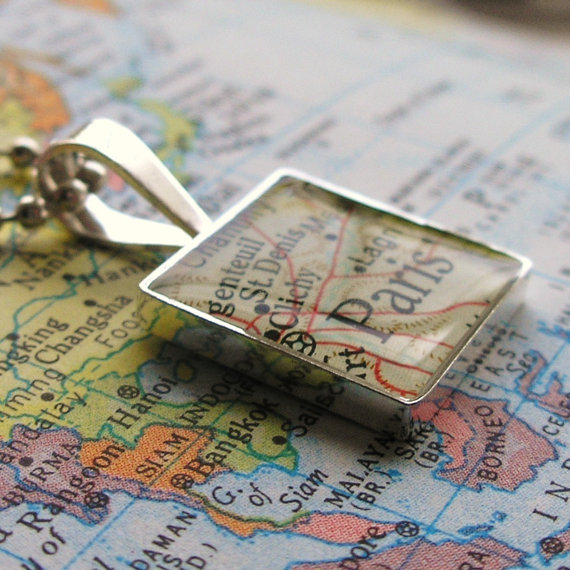
Vintage Map Necklace, dlkdesigns on Etsy

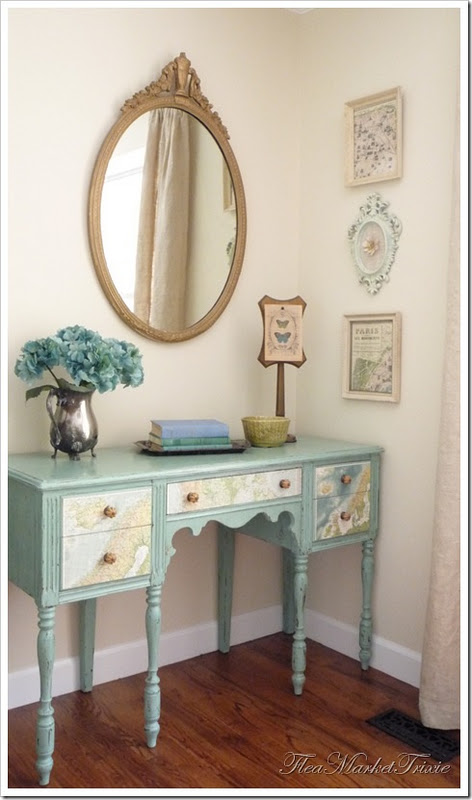
Map Decoupage Furniture, Flea Market Trixie

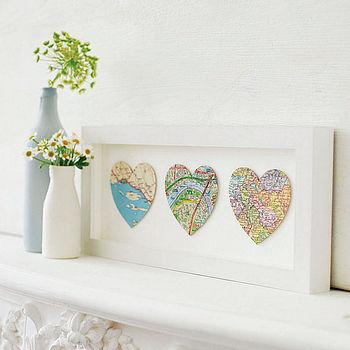
Map Art, Whimsical Wonderland Weddings

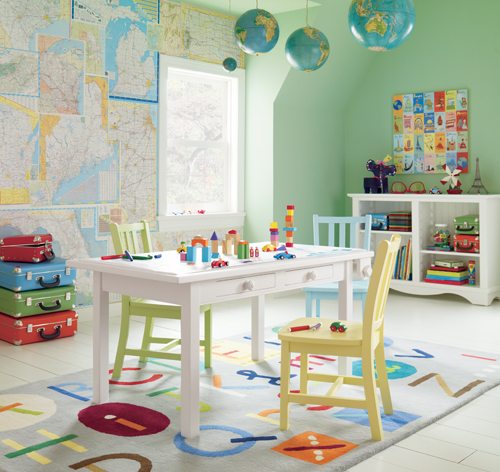
Playroom Map Decor, A Perfect Playroom

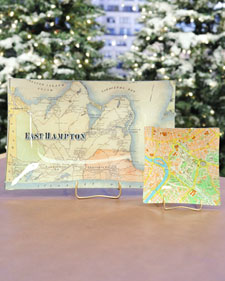
Decoupage Map Tray, Martha Stewart

{images via Better Home and GardensDesign SpongeA Cup of JoeGreen Wedding Shoes iDiYdlkdesigns Flea Market TrixieWhimsical Wonderland WeddingsA Perfect PlayroomMartha Stewart}

’tis wreath season

My holiday DIY projects are ongoing here at my house. I think it’s beginning to drive my husband crazy when he comes home to craft projects every night, but the kids and I have had fun inside making gingerbread houses, wreaths and cookies during the freezing, arctic cold temperatures outside.

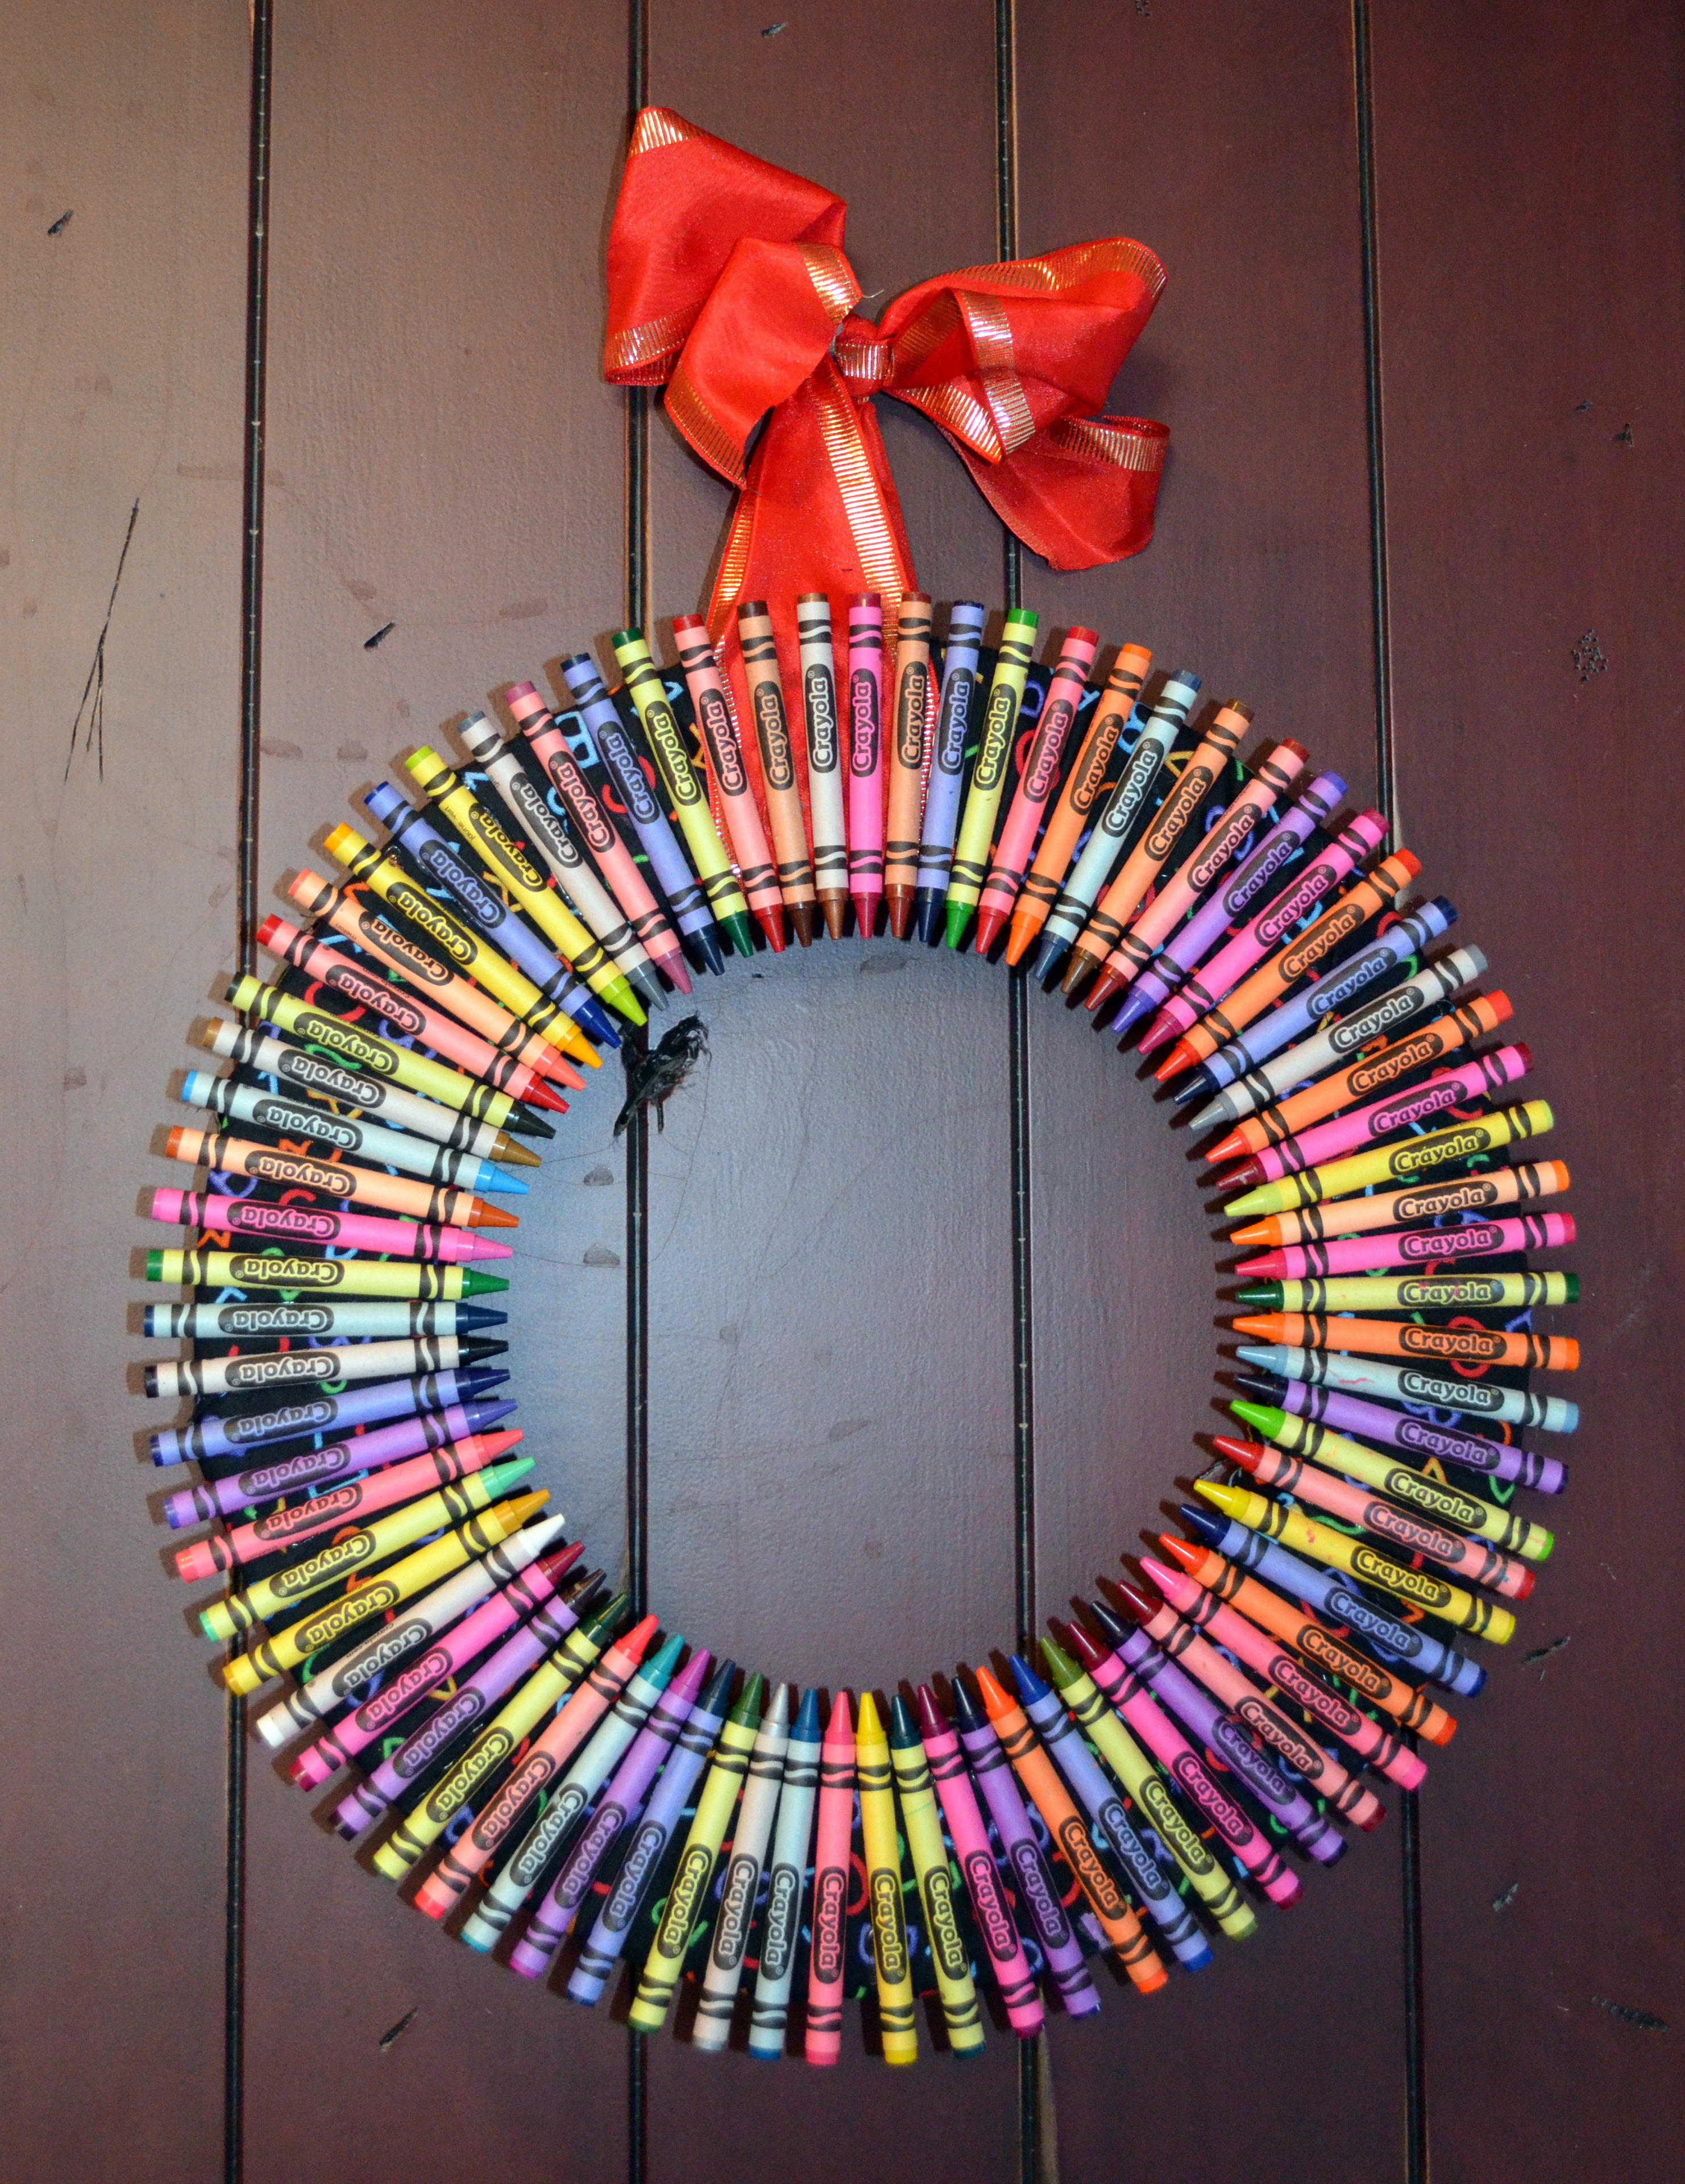
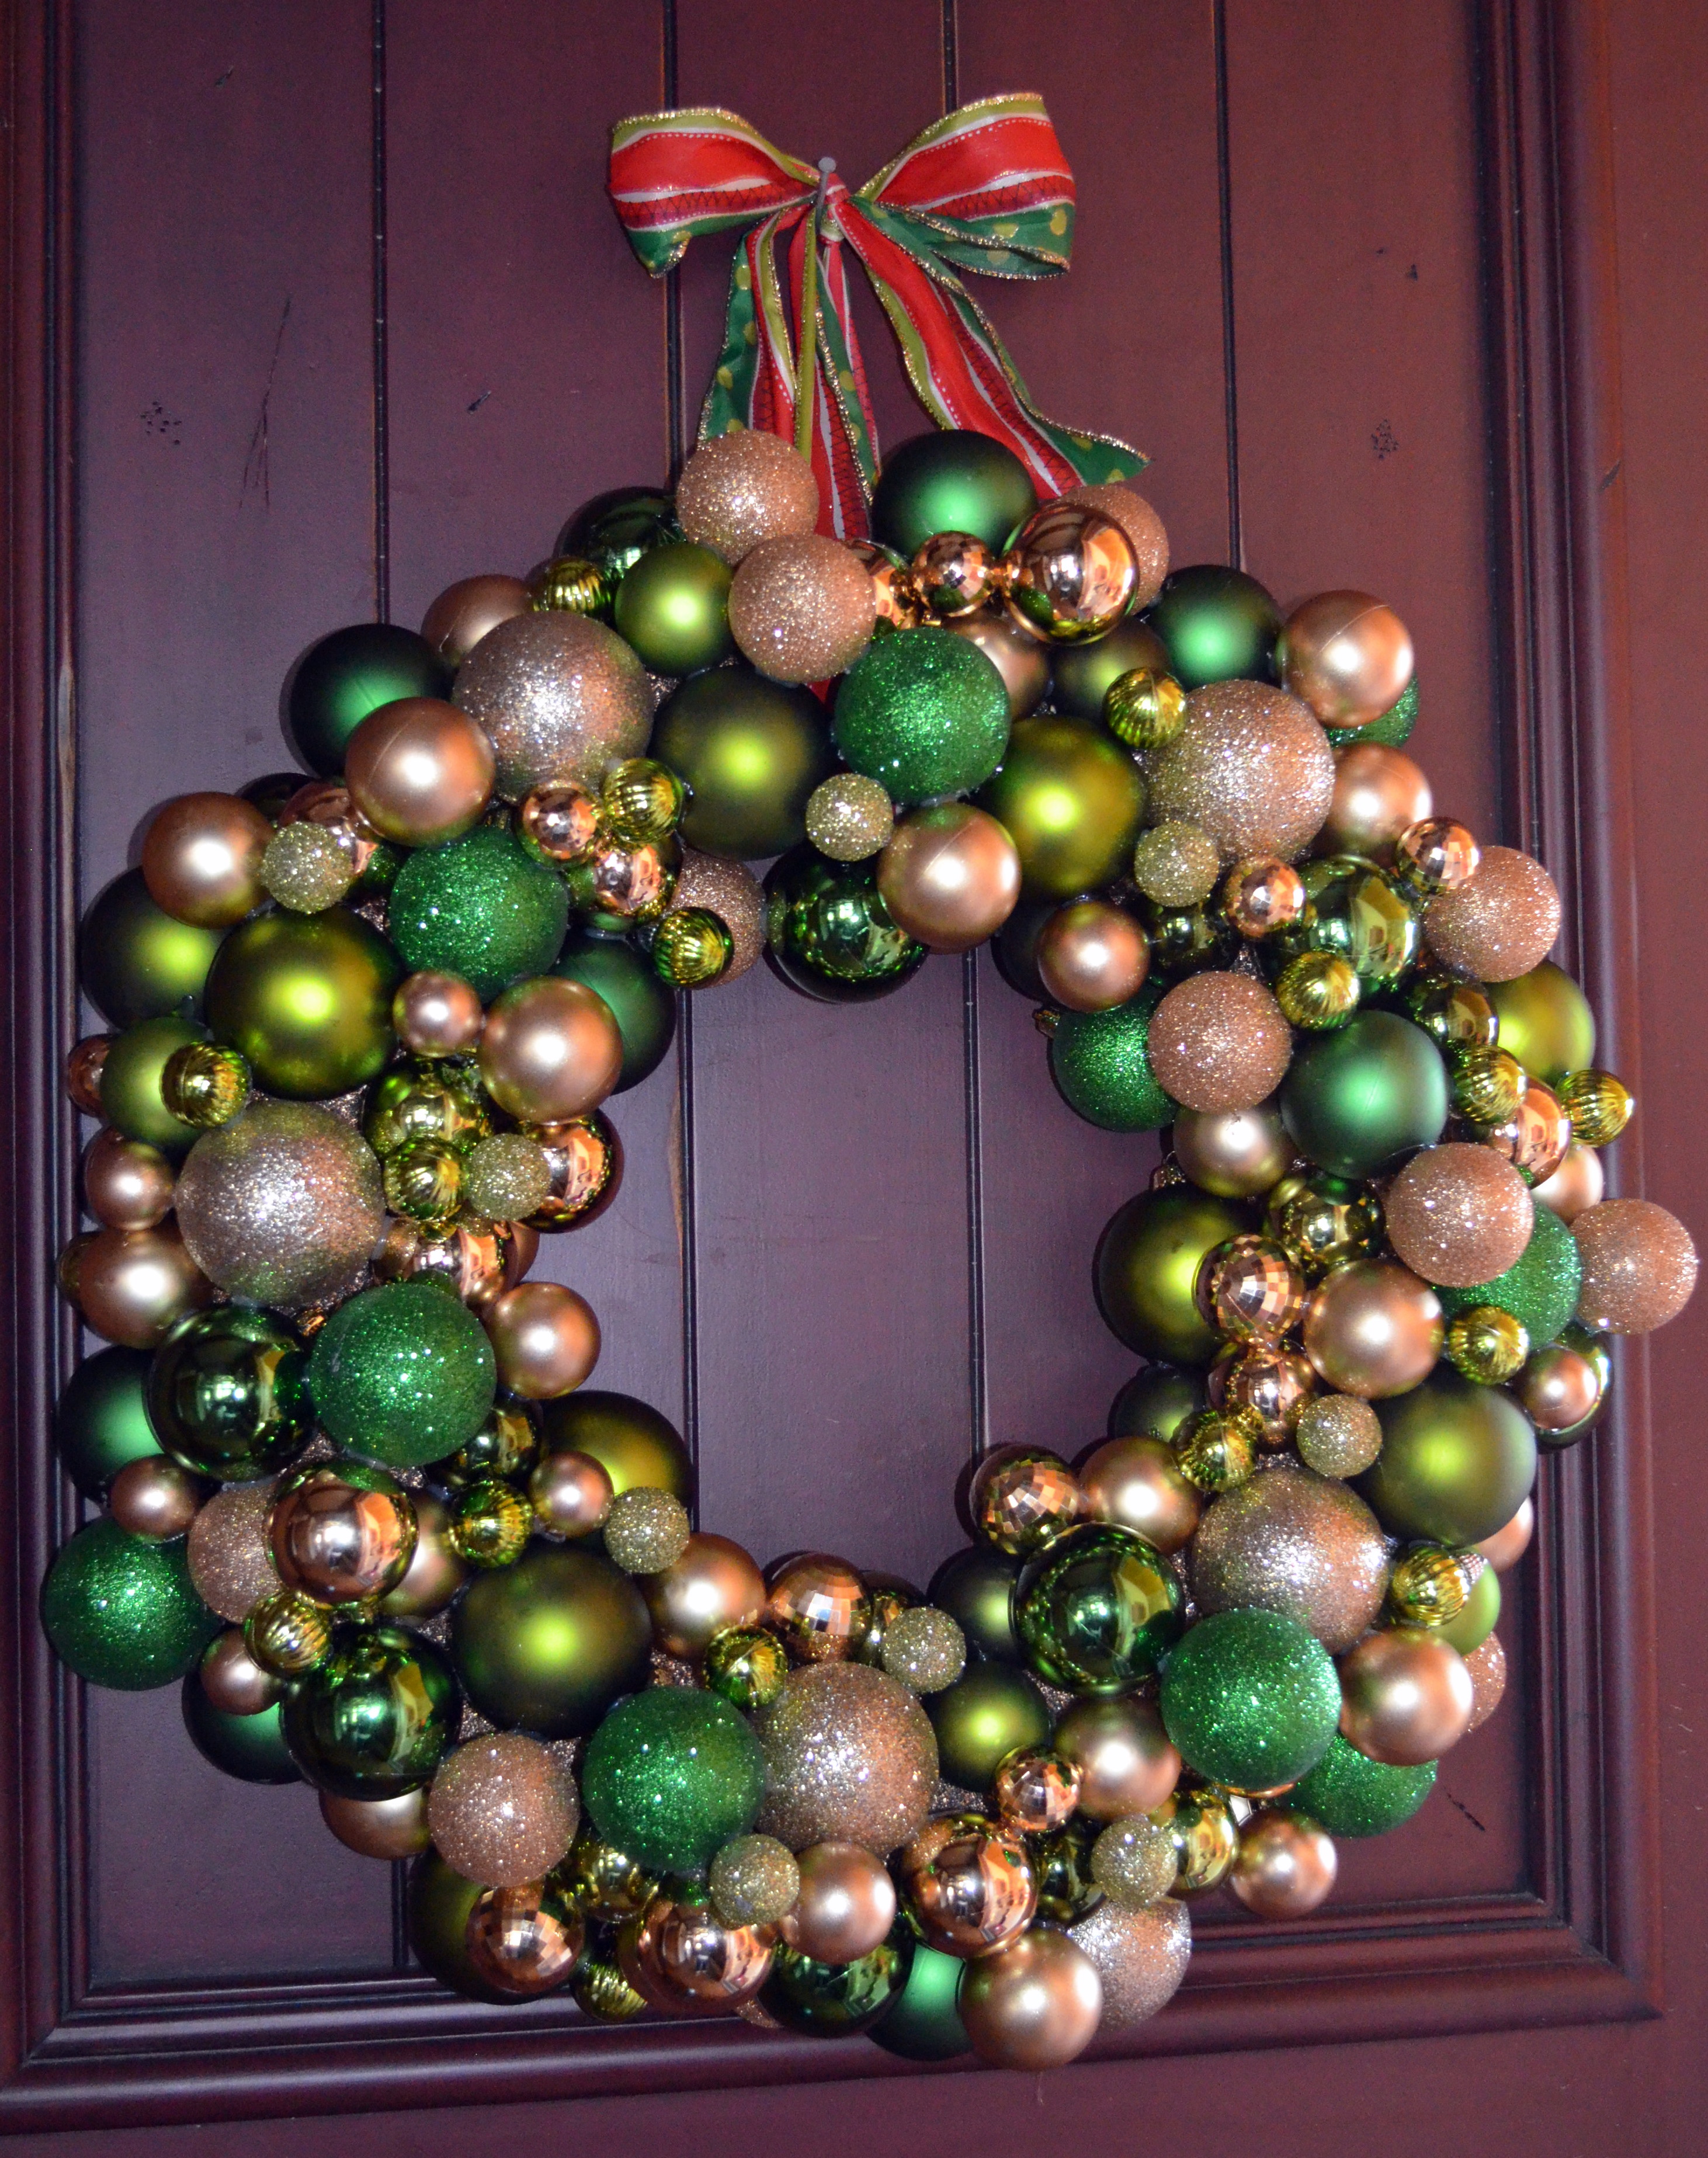
Yesterday we completed two wreaths ~ one for my son’s teacher, appropriately a crayon wreath and the other one for me, an ornament wreath. Both were enjoyable, affordable and quite easy.

Crayon Wreath


You’ll Need:
Styrofoam wreath {I bought a 12-inch from Hobby Lobby}
Box of 96 crayons {I used Crayola}
Hot glue gun and hot glue
Ribbon {to hang it}
Fabric {a little less than 1 yard} to cover the wreath {I found adorable and teacher-friendly fabric for less than $5 at Hobby Lobby with ABC’s and 123’s printed all over it}

How To: 
Cut the fabric into 6 inch strips.
Glue the end of the first strip of fabric to the back of the wreath, and begin to wrap it. Glue the end of the strip onto the wreath before you begin your next one. Repeat until wreath is covered.
Find a wide ribbon, cut to the length desired and glue the ‘base’ of it to the wreath so you can glue crayons over it.
Place a bowl in the middle of the wreath that is small enough to fit in the hole, but large enough to leave room for only the tips of the crayons to fit into the center of the wreath {this will ensure a perfect circle with your crayon tips in the center of the wreath}.
Begin to glue the crayons one by one.
{Tip: The tips of the crayons will be really close to one another, if not touching. However the rest of the crayon needs to be spaced appropriately to ’round the corners’ evenly}.

Ornament Wreath
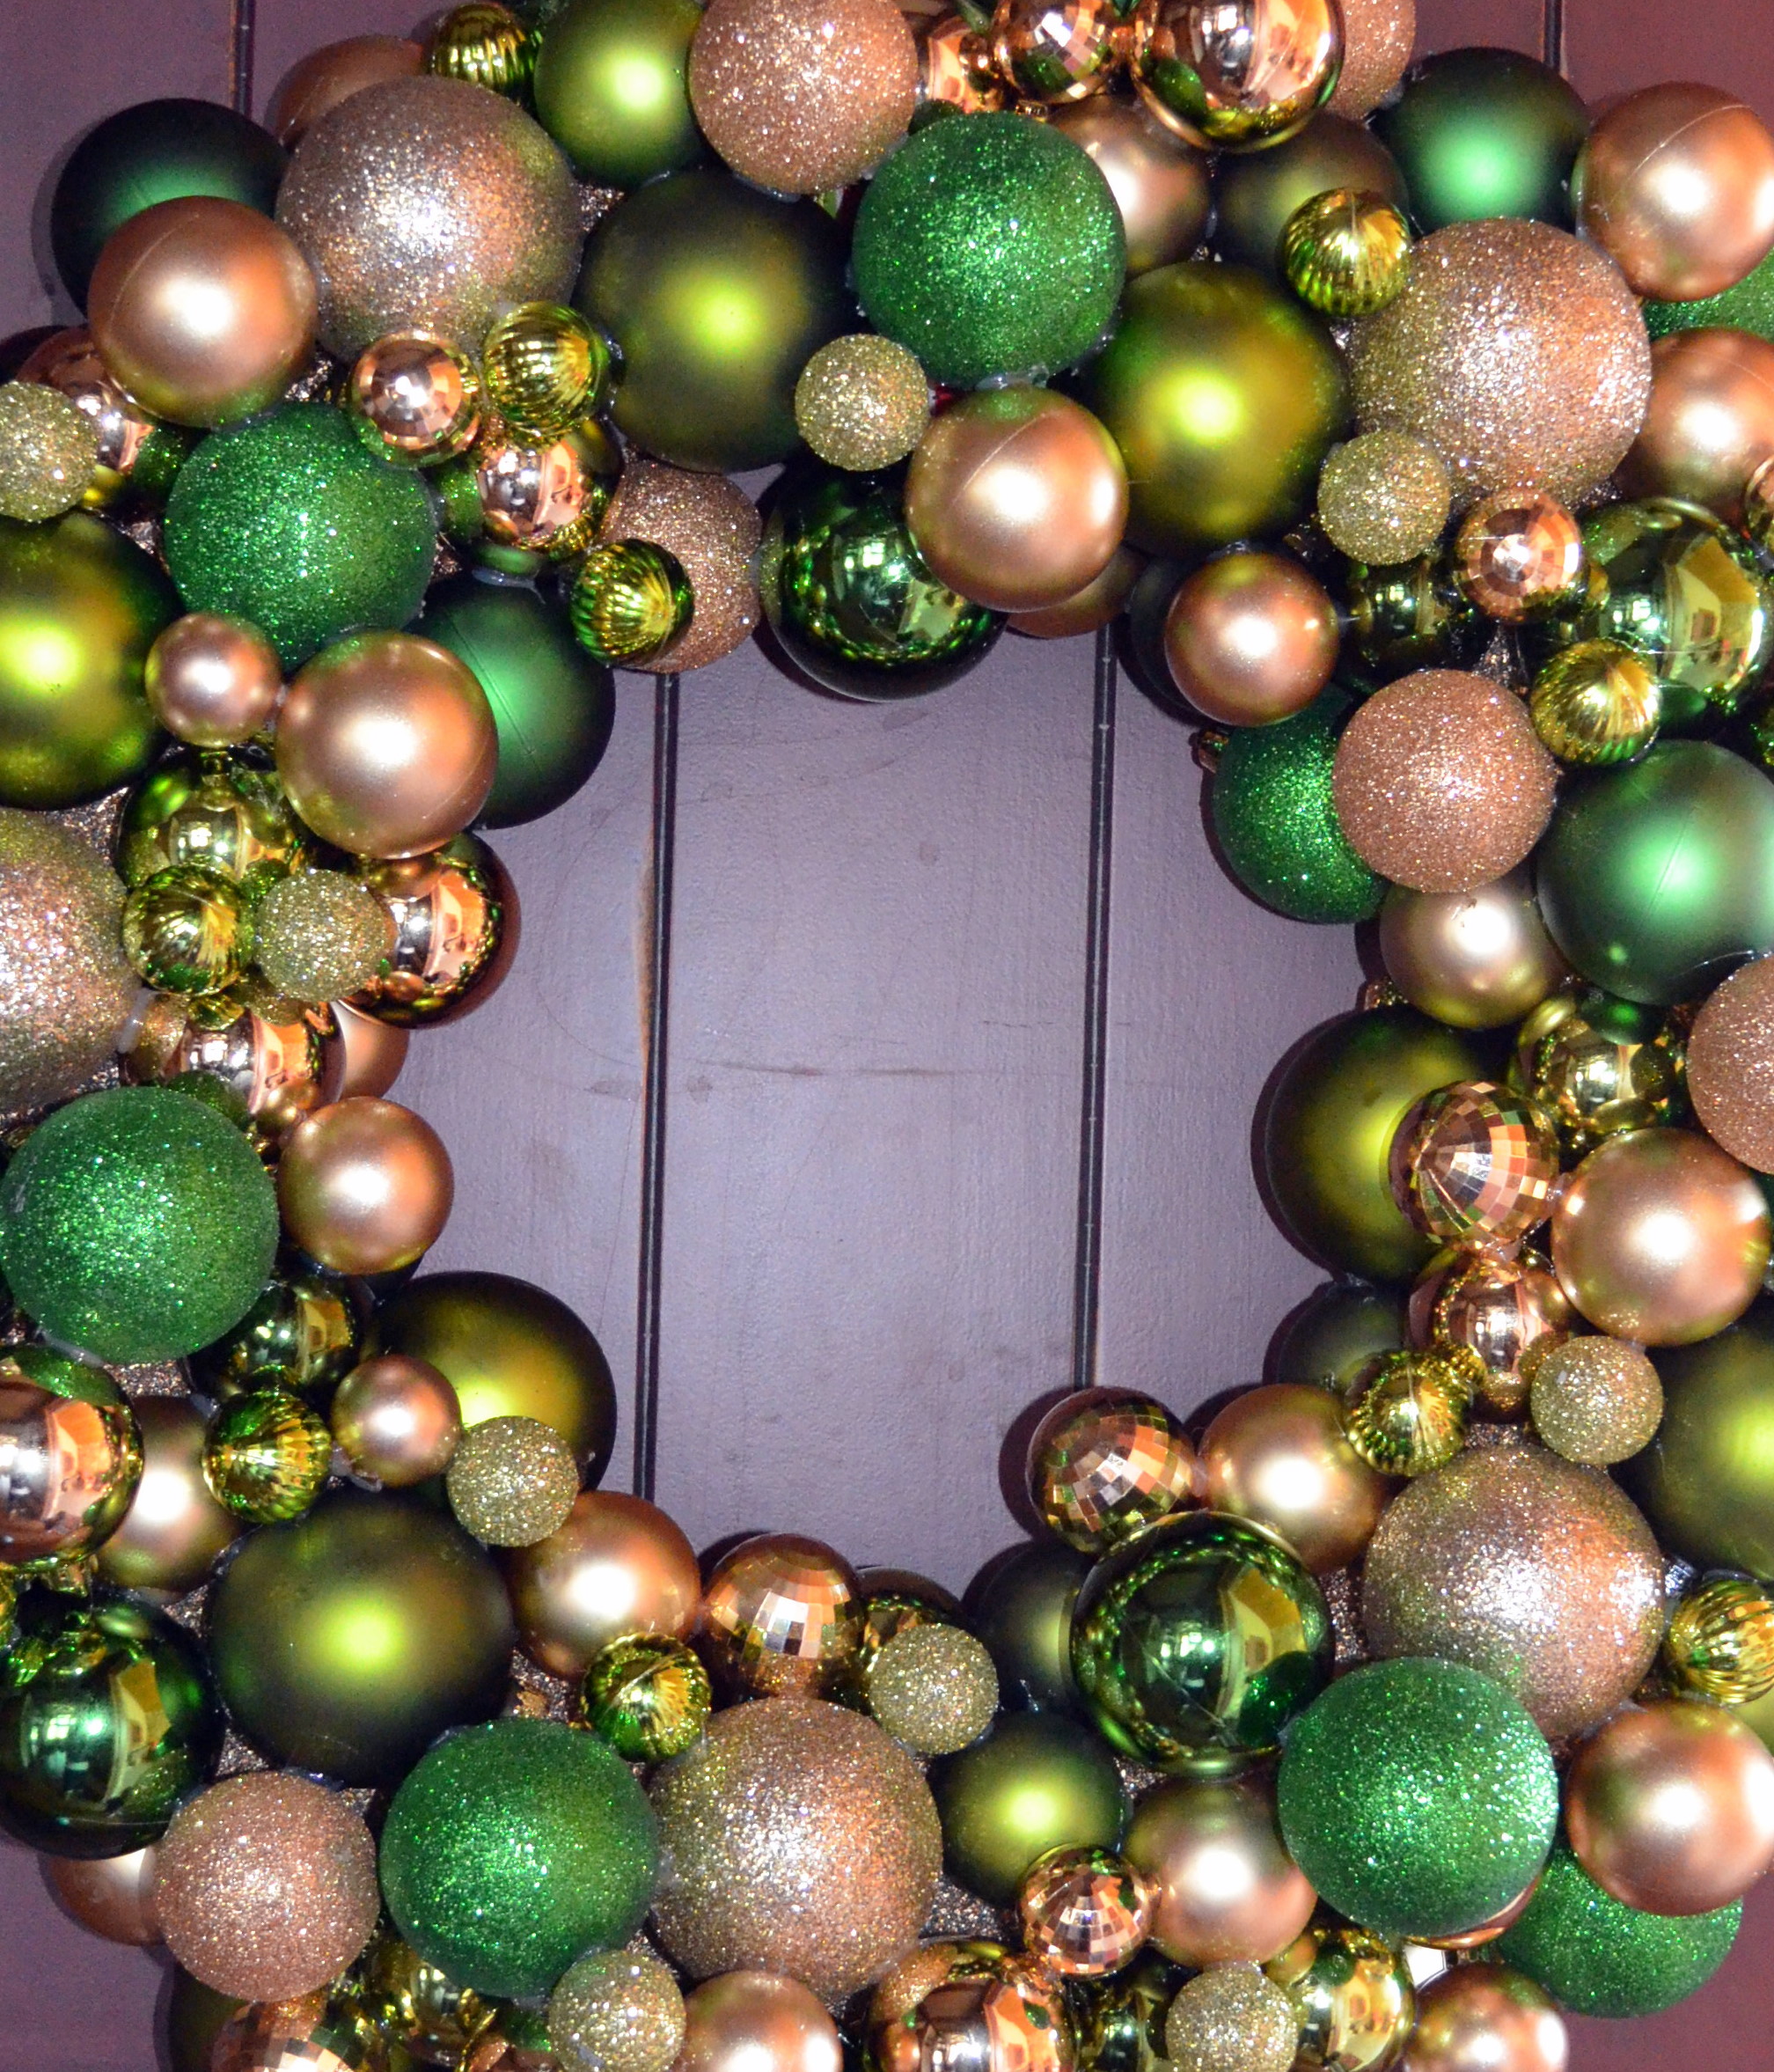
I saw a version of an ornament wreath on Pinterest several weeks ago and was inspired to make one for my front door, or for the inside of my home during the holidays. I decided to go with a green and gold color scheme.

You’ll Need: 
Styrofoam wreath {I bought an 18-inch wreath from Hobby Lobby}
Spray paint {I used gold}
150 ornaments of all different sizes {I probably used 25 large, 75 medium and 50 small}.
A glue gun and A LOT of hot glue
Ribbon {to hang it}

How To:
Spray paint the wreath your desired color. Because my ornaments were green and gold, I spray painted the styrofoam wreath gold.
Find a wide ribbon, cut to the length desired and glue the ‘base’ of it to the wreath so you can glue ornaments over it.
Begin to glue the ornaments. Start with the large ornaments and work your way to the small ornaments. It’s like a puzzle ~ just fill in and add on top of and next to one another to cover all the gaps.
Voila ~ you have a new, festive decor piece to hang in your home for the holidays.

Here’s more holiday wreath inspiration I’m swooning over {and tutorials for all you DIYers}
This burlap wreath from P is for Party is lovely and would be a fantastic holiday card display with push pins.

A vintage music lover would adore this beautiful sheet music DIY wreath with a full tutorial at Double Take Event Styling.

Bring the ring of sleigh bells into your living room or front door with this jingle bell wreath from Martha Stewart.

A delicate-looking wreath made of paper doilies that creates the magical effect of candles flickering in the snow would delight all.

Stun your guests with this gorgeous pearl wreath. I’m in love…

{images via Tutto Bella}