Homemade Cleaner with Essential Oils

homemade-cleaners-made-with-essential-oils

We were raised in a home with a more homeopathic approach to healing when we were sick, and it’s something that we (especially since becoming moms) have become increasingly grateful for. We have some knowledge (there’s still so much more to learn) about natural ways of healing the body. A recent switch has been swapping out cleaners with harsh ingredients and toxic chemicals for healthier, natural ones that clean just as good, and are much healthier for our bodies. We love Norwex (thanks to Jodi), and homemade products with doTERRA essential oils.

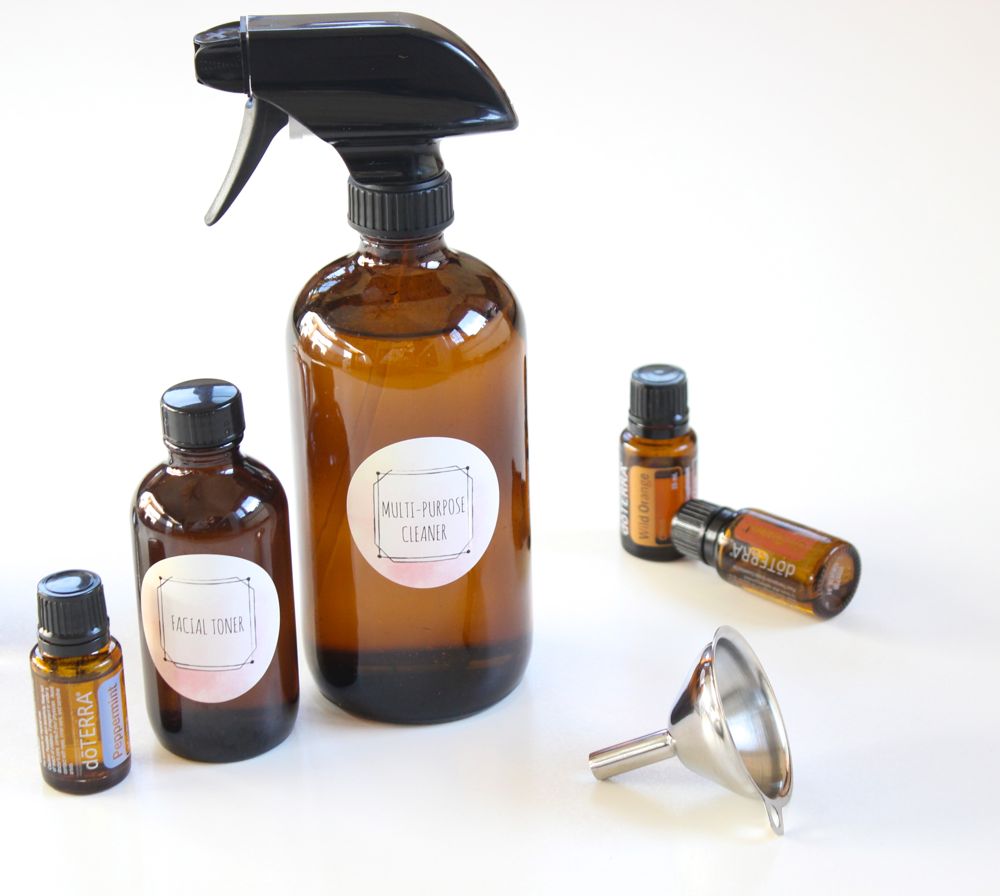
First, Jessica tackled homemade lip balm (omg, it’s a favorite around here). Second, she made a multi-purpose cleaner. Third we were gifted a homemade facial toner. We can’t take credit for the amazing recipe for the toner, but Cara shared it. Yay…and it’s all perfect timing for spring cleaning!
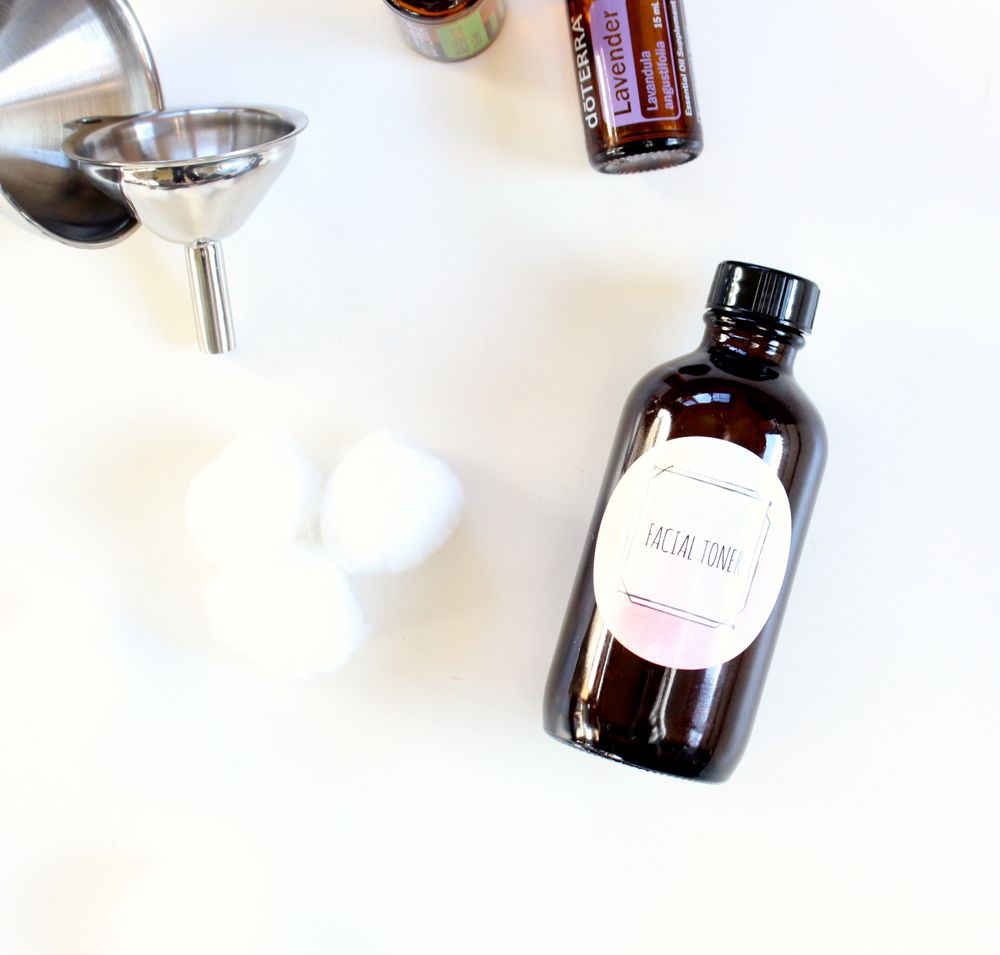
homemade-facial-toner-with-essential-oils

Facial Toner
recipe from Jessica’s awesome neighbor Cara

Materials:

Directions:

Pour the ingredients into the amber glass jar (this is important – do not use plastic, and make sure the glass is tinted). Use a funnel for a spill-free experience. Store in a shaded spot.

Now onto an amazing homemade multi-purpose cleaner…

homemade-multi-purpose-cleaner-with-essential-oil

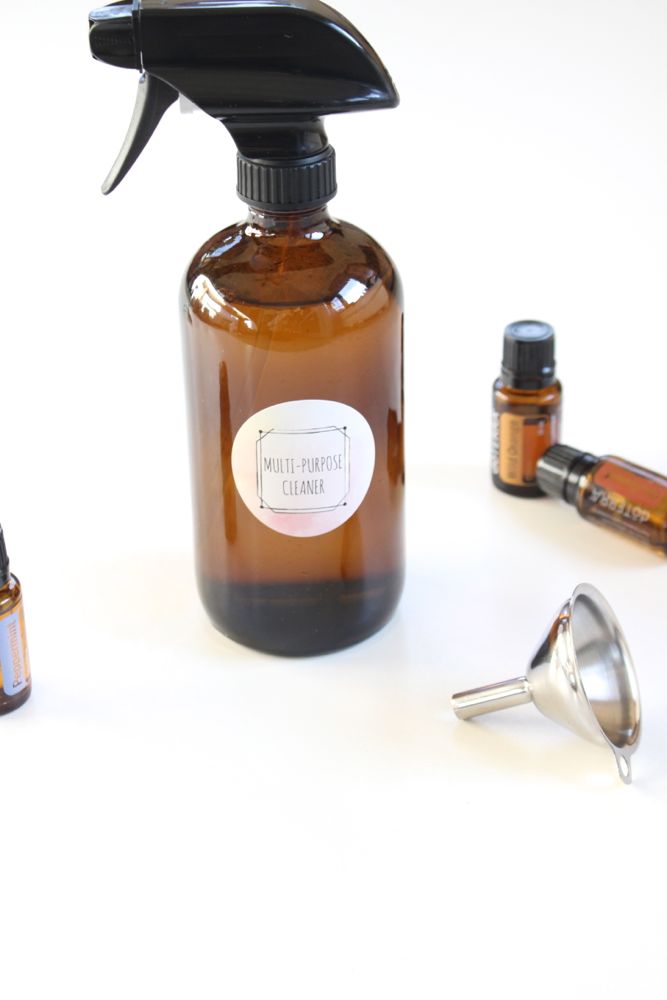
Multi-Purpose Cleaner
adapted from doTERRA
Materials:

Directions:

Pour the ingredients into the amber glass jar (this is important – do not use plastic, and make sure the glass is tinted). Use a funnel for a spill-free experience. Store in a shaded spot, and shake before using.

If you’re interested in buying or selling doTERRA essential oils or Norwex, email Jessica and Jodi at hello@jsorelle.com with questions on how to order or how to sell them.

Labels were made with Avery.

Note: Skin irritations can occur with essential oils. Avoid contact with eyes. Ask a doctor about the ingredients in the toner, especially if you have sensitive skin. We love these products, but we are by no means a professional, and these were not endorsed by the FDA. We are simply bloggers who share products we love, and things we love to make. 

[show_shopthepost_widget id=”2651725″]

DIY Pineapple Fingerprint Easter Eggs

easter-eggs-in-a-basket-with-colorful-pineapples-and-green-grass

We’ve feeling the Easter vibes today with a recent DIY Easter egg craft. These cuties were inspired by a pattern we saw in Target’s Bullseye’s Playground. You will literally make your mark with these eggs because the adorable pineapples on the eggs are made with fingerprints. Yes, adult or child fingerprints are all you need to make these colorful eggs. They are easy and quick, adorable, family-friendly and cute as can be.

easter-eggs-in-a-basket-with-colorful-pineapples-and-green-grass

Materials:

  • Acrylic paint, Michaels
  • Sharpie marker, black and green
  • Eggs, we prefer the faux eggs that can be used year after year, but real, hard-boiled ones work too

Directions:

Step 1: Dab your (or your kids) pointer finger in paint, and then press firmly on the egg. Your fingerprints will make the perfect shaped pineapple.

easter-eggs-in-a-basket-with-colorful-pineapples-and-green-grass

Step 2: Repeat step 1 until the eggs is covered in fingerprints. Let dry.

easter-eggs-in-a-basket-with-colorful-pineapples-and-green-grass

Step 3: With a Sharpie, add black lines on the pineapples – diagonals, waves and small v’s all work for pineapples marks. Don’t forget to draw the top of the pineapple. Fill in the leaves with a green Sharpie.

easter-eggs-in-a-basket-with-colorful-pineapples-and-green-grass

All this pineapple talk has us in the mood for a cocktail. Who’s ready for a pina colada?

easter-eggs-in-a-basket-with-colorful-pineapples-and-green-grass

DIY Sand Craft and Mod Podge Frame

DIY-frame-ikea-craft-sand-seashells-tropical-plant

It’s almost Spring Break time, and we don’t know about you, but we’re dreaming about sand between our toes, salty beach hair and cocktails at sunset. We’re also like our mom on most vacations, and try to get all those special moments on film, or in our case, digital jpg files. But, when we return home most of our photos remain on our computer, and the sand remains far away on the beach.

This DIY Mod Podge and sand frame merges those wonderful photo memories with colorful sand, so it’s one happy and colorful display. Plus, with the base of the frame being an Ikea GRUNTDAL, it can be displayed on anything metal or magnetic.

Get all the how-to details at Momtastic.

And, if you’re headed somewhere warm for vacay, have fun (and stop to take those photos that you will always cherish…no matter how much your children whine).

diy-sand-art-and-ikea-magnet-photo-frames

DIY String Art: Bright Red Balloon

let-it-go-diy-balloon-art-red-string-and-black-and-white-letter-beads

Let It Go.

Those are three short words that make up a powerful phrase. There are so many different things that come to mind when we hear or say those words;

Disney’s Frozen
parenting
grieving a loved one
holding on to the past
living a life of fear
anger/resentment for a person (or people)
holding on to what could have been
expectations that others put on us
trying to control situations and outcomes
our plan for our lives (because God has a better one)

Oh my goodness, we could go on and on. One thing we know for sure is that it’s easier to say Let It Go than to actually do it, but we’re working on it. Now that we have our own DIY string art with a bright red balloon and those three little words under it, it’s top of mind. If we can practice letting go a little bit everyday, my will we soar!

Read the tutorial at Momtastic. It’s awesome DIY art because you don’t need a hammer or nails!

DIY Mason Jar Night Light That Glows Bright

mason-jar-night-light-with-a-white-unicorn-on-top-rainbow-twinkle-lights-inside

If you have kids who are afraid of the dark (like we do), add this DIY night light to your DIY list. It’s ridiculously easy with a mason jar and twinkle lights. Plus, it has magical unicorn powers during the day, and then at night, all will be calm and bright (not too bright, but bright enough to put your little ones at ease).

See the full tutorial at Momtastic.

IMG_9171