Our kids love to read. But, we know those days of reminding them to read over and over again can be frustrating at times. Summer can be especially difficult, and we understand; they spend all year learning in the classroom, and they just want to play. At the same time, it’s important they read. So, we have a few tricks up our sleeve to get our kids reading in the summer.
First, we find good books. No one likes to read a boring book. So, it’s important to pinpoint our child’s interests, and then find books with that subject matter to keep their nose in a book.
Second, make a nook where they are comfortable and feel cozy. This doesn’t have to be an expensive thing. Our kids love their Blankie Tails, and a stuffed animal on the couch when they read. We try to keep the reading environment calm, too.
Third, make crafts related to their books. It’s always fun to read a book with interesting characters, and imaginary worlds. So, we try to incorporate crafts/art with the book they are reading.
Finally, entice them. We haven’t figured out what the reward will be after they read a certain number of books, but kids love a challenge. It can be an ice cream date, or a treat from a store!
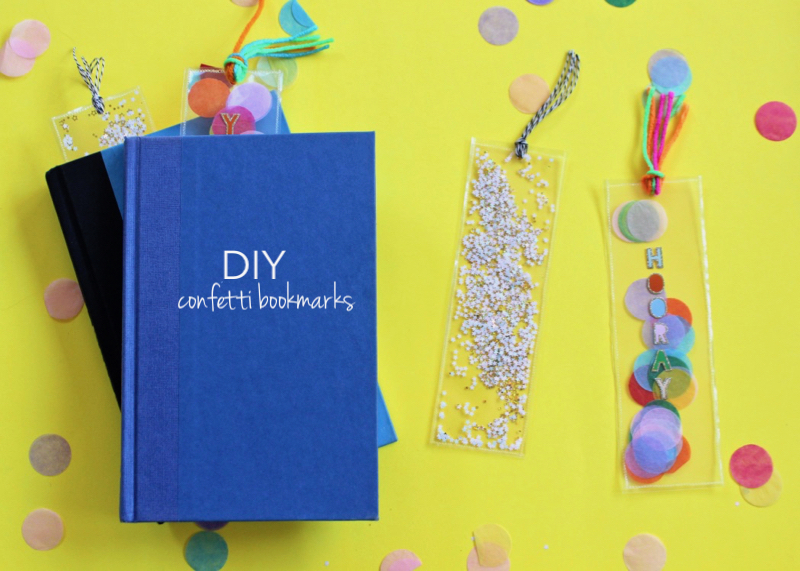
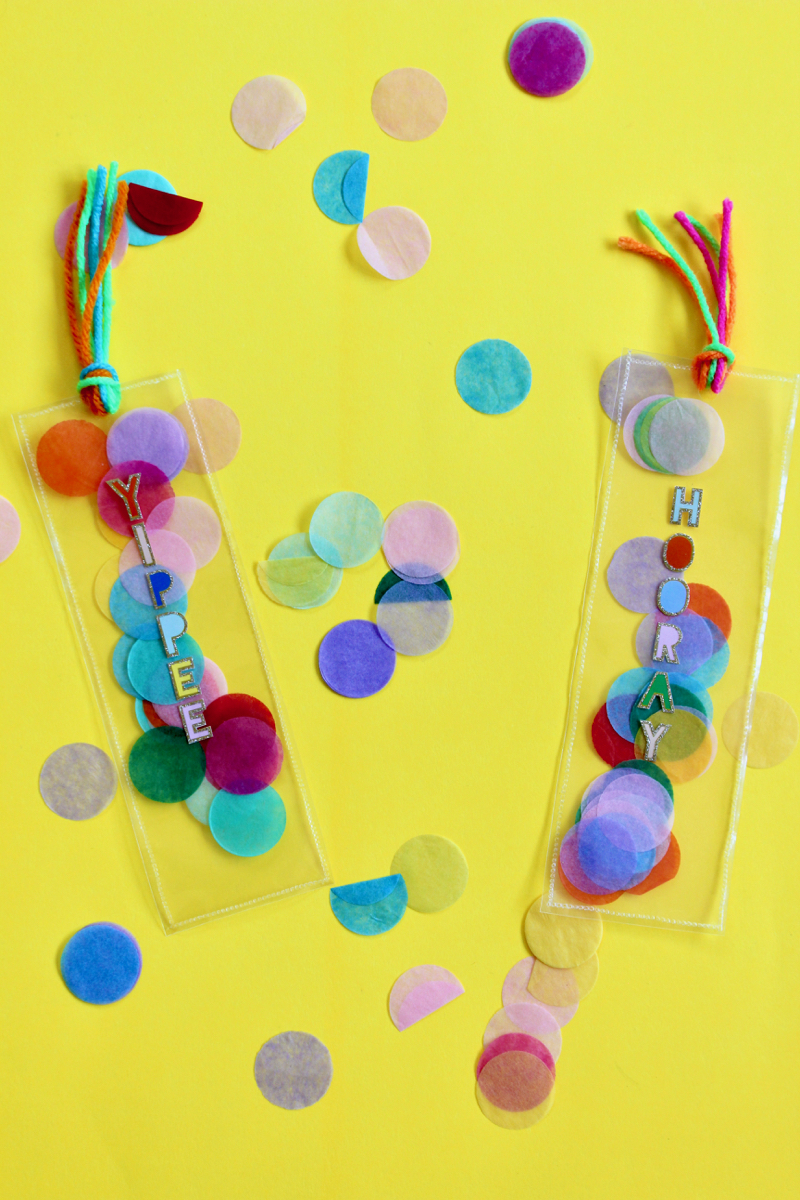
Today, we have a project for all the reading we plan to do this summer – DIY confetti bookmarks.
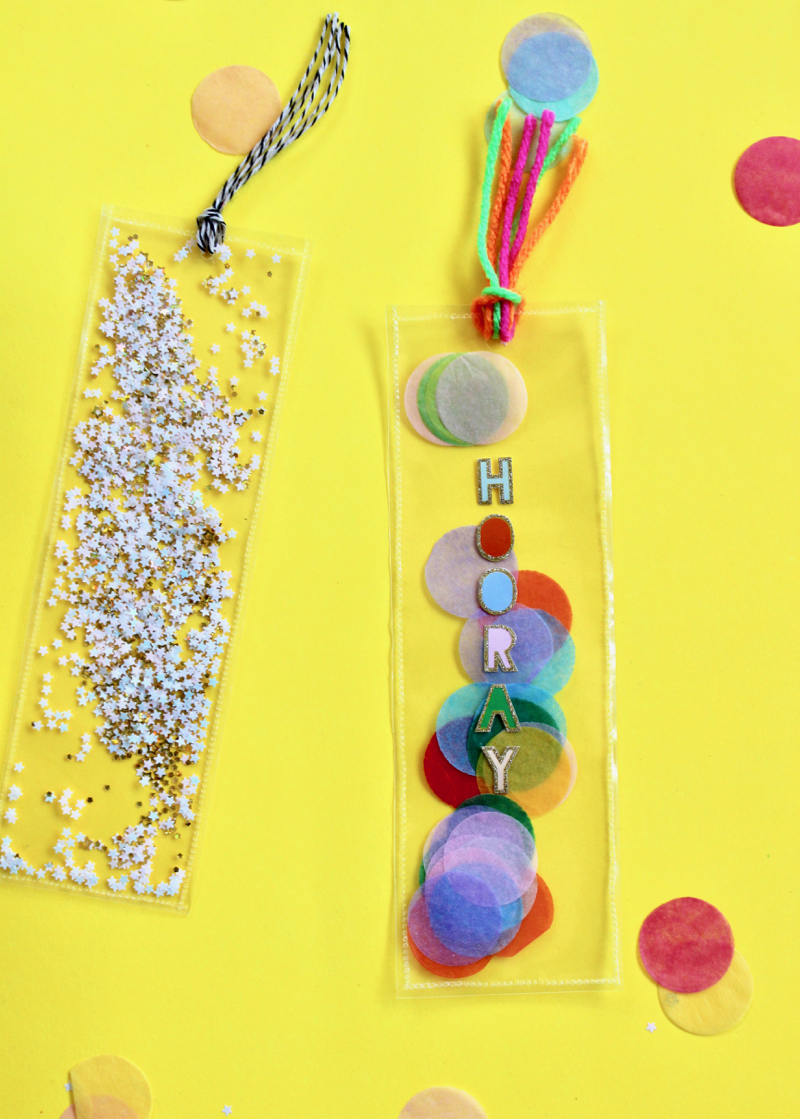
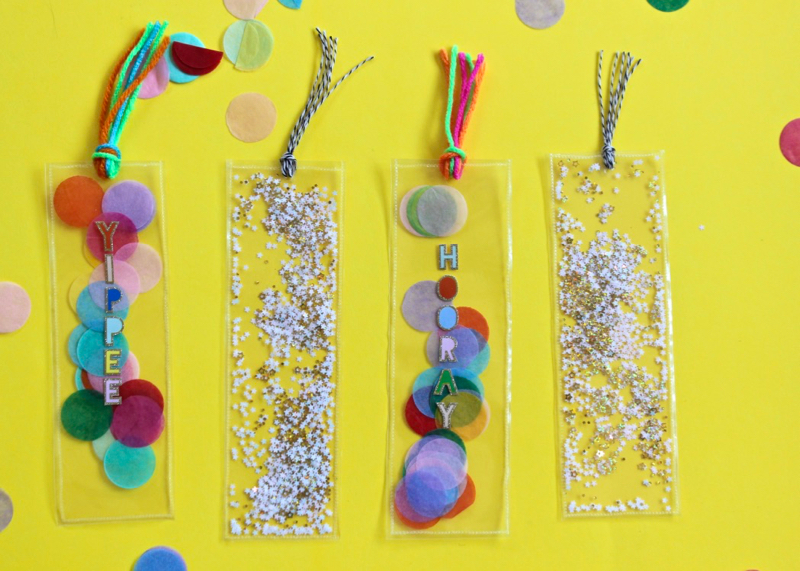
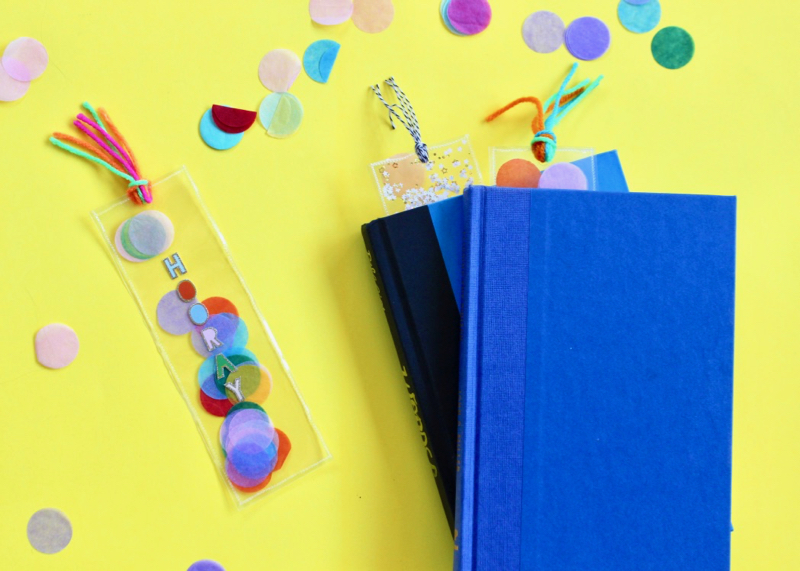
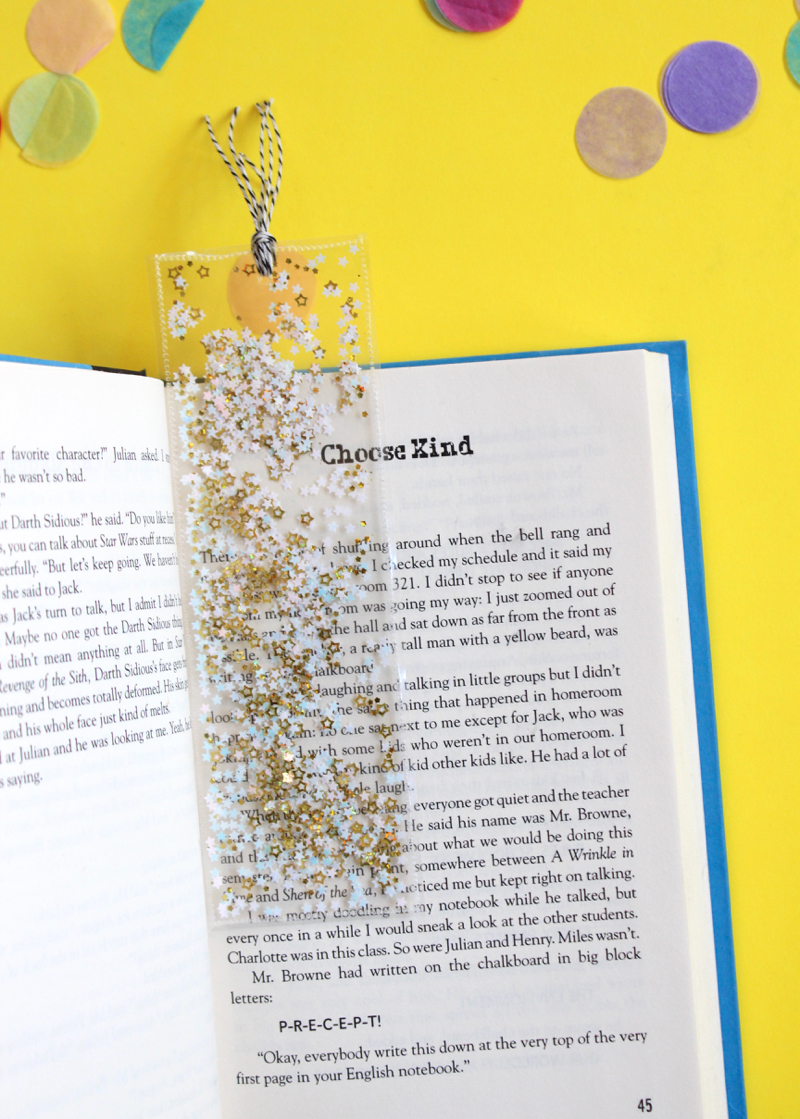
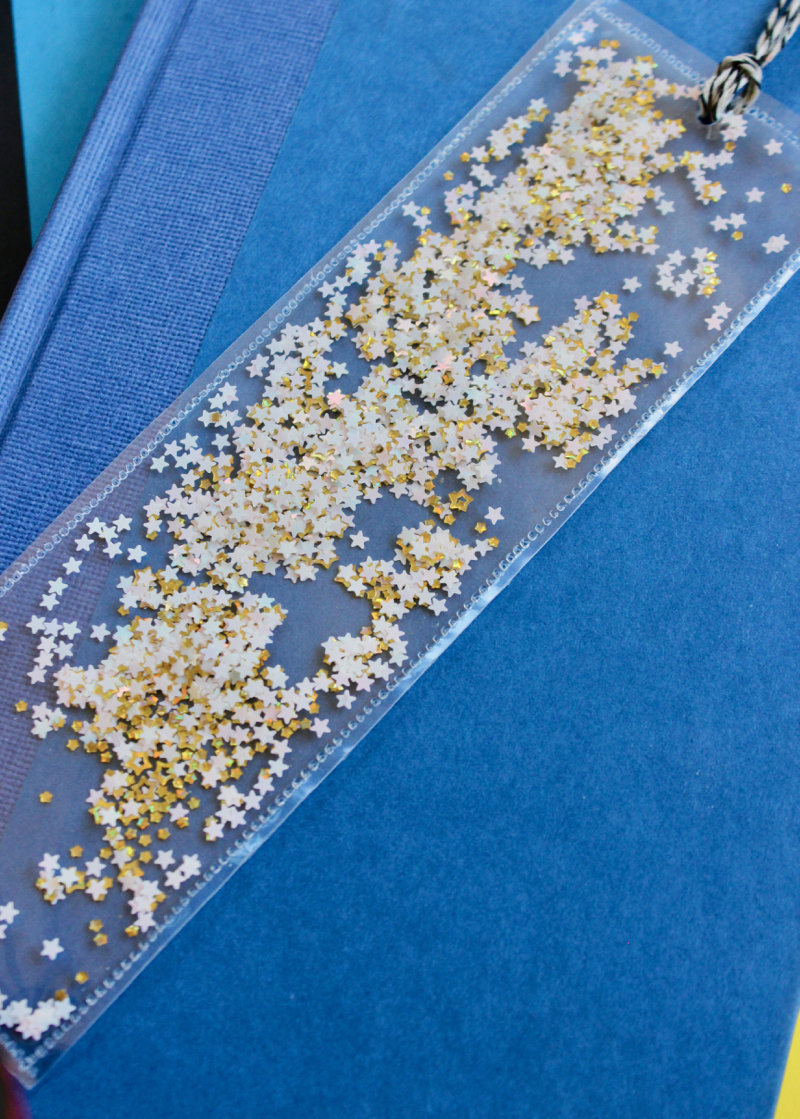
We like our kids to read from actual books. We know the days of a Kindle are in our near future, but before our kids get electronic with their reading, they need bookmarks to keep their spot on a page. One of Jessica’s kids went on a field trip of his dreams this year, so this idea stemmed from his end of year gift to his friends. He developed wallet size photos of his entire class at the field trip, and made DIY bookmarks with the same method we’re showing you today. For my daughter’s class, we added a lot of sparkle and glitter. It’s a party in a book! Gotta love that!
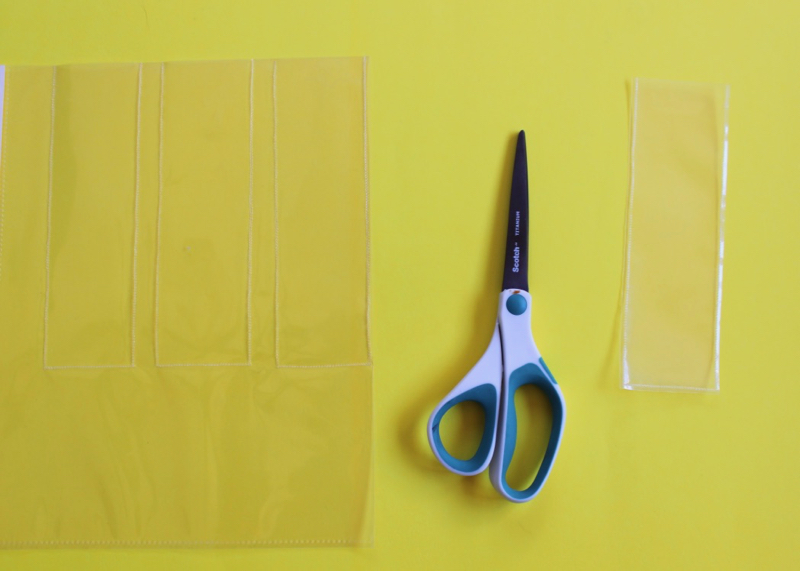
Materials:
- Sheet protectors, heavy gauge
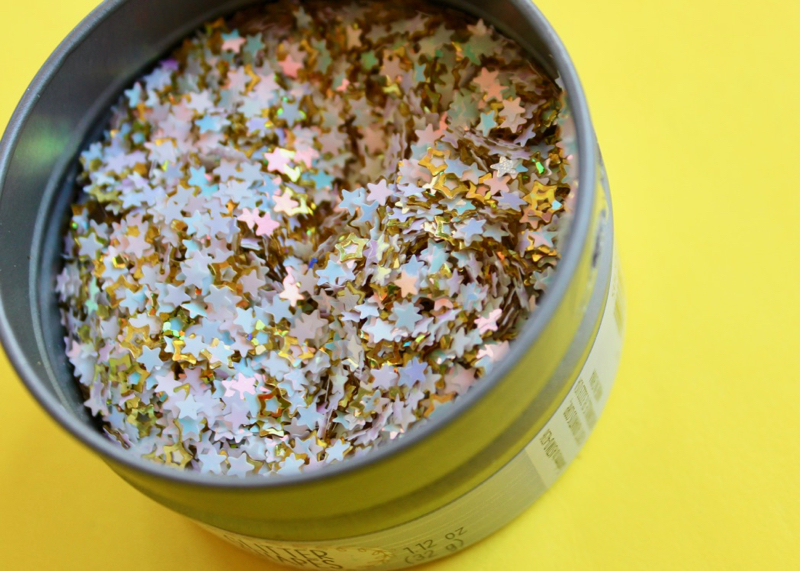
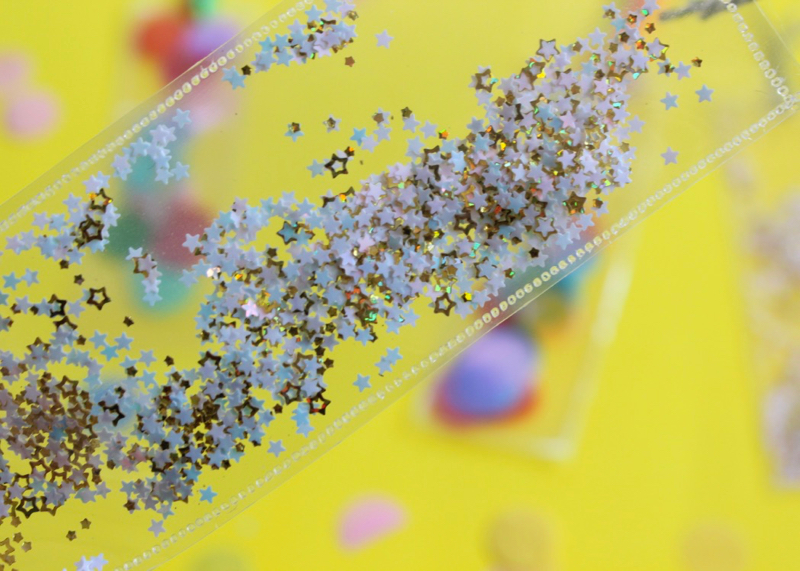
- confetti, sequins, or photos
- yarn
- Photo Sleeve Tool Kit
Directions:
Step 1: Cut the size of the bookmark you want with a piece of cardstock.
Step 2: Once the tool is hot (about 10 minutes), set the sheet protector on top of the bookmark and begin to press down with the tool along the edges of the paper bookmark. Don’t press directly onto the bookmark, but make a tight outline of it, along the edges. Remember to leave the top of the bookmark free from any fusing because you need to insert confetti.

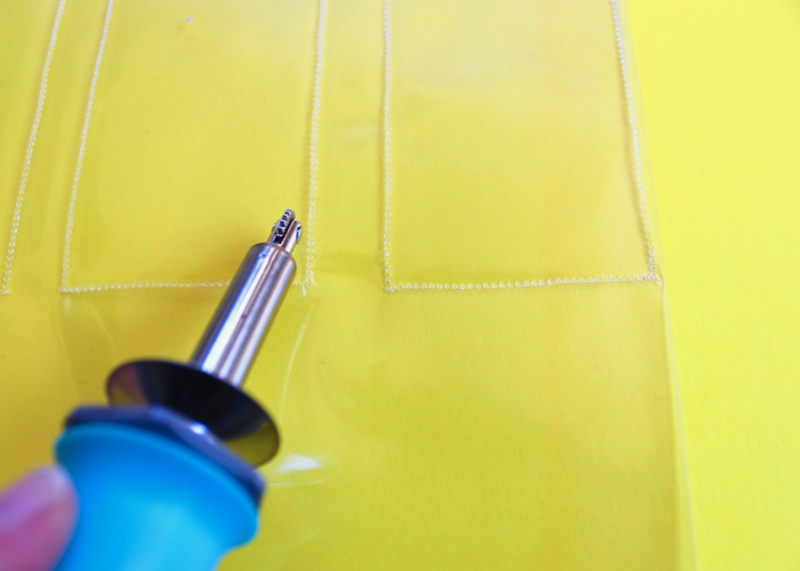
Step 3: Now, you should have shapes of bookmarks on the sheet protectors. We were able to make 4 bookmarks per sheet. Next, cut the bookmarks out. Cut close to the edging, but not along the fused “dots.”
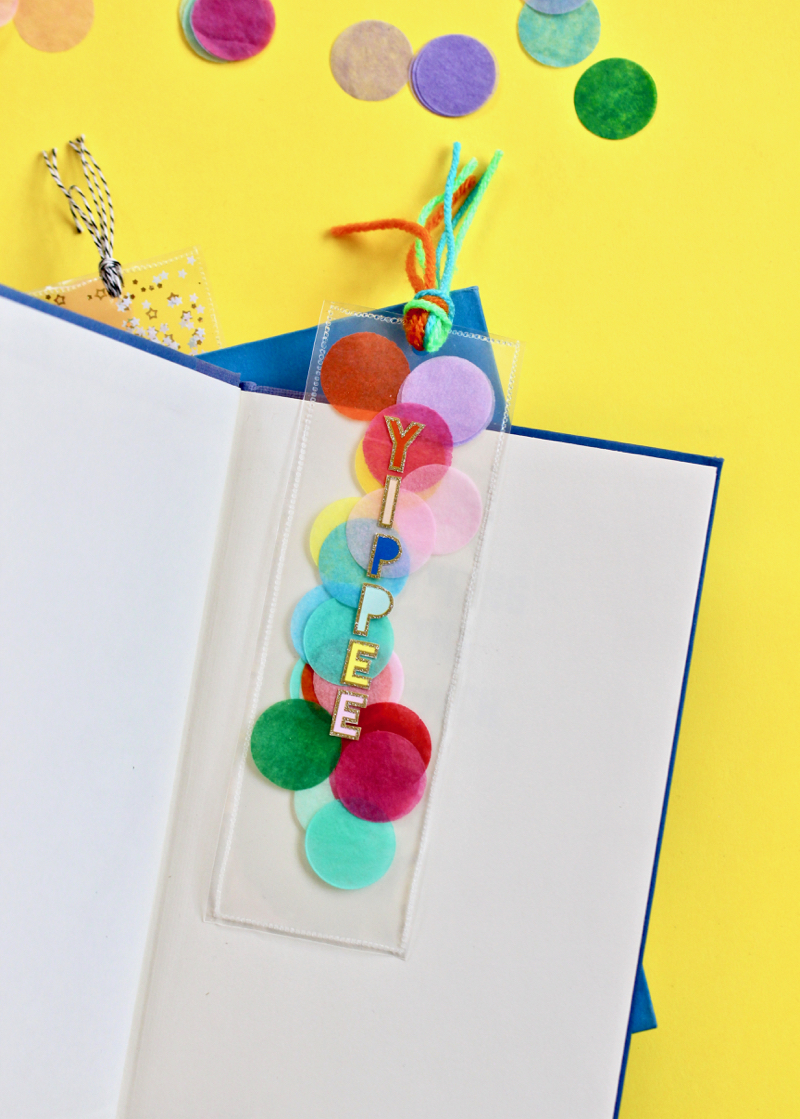
Step 4: Fill the bookmark with confetti. Leave the top open for a hole punch and yarn tassel.
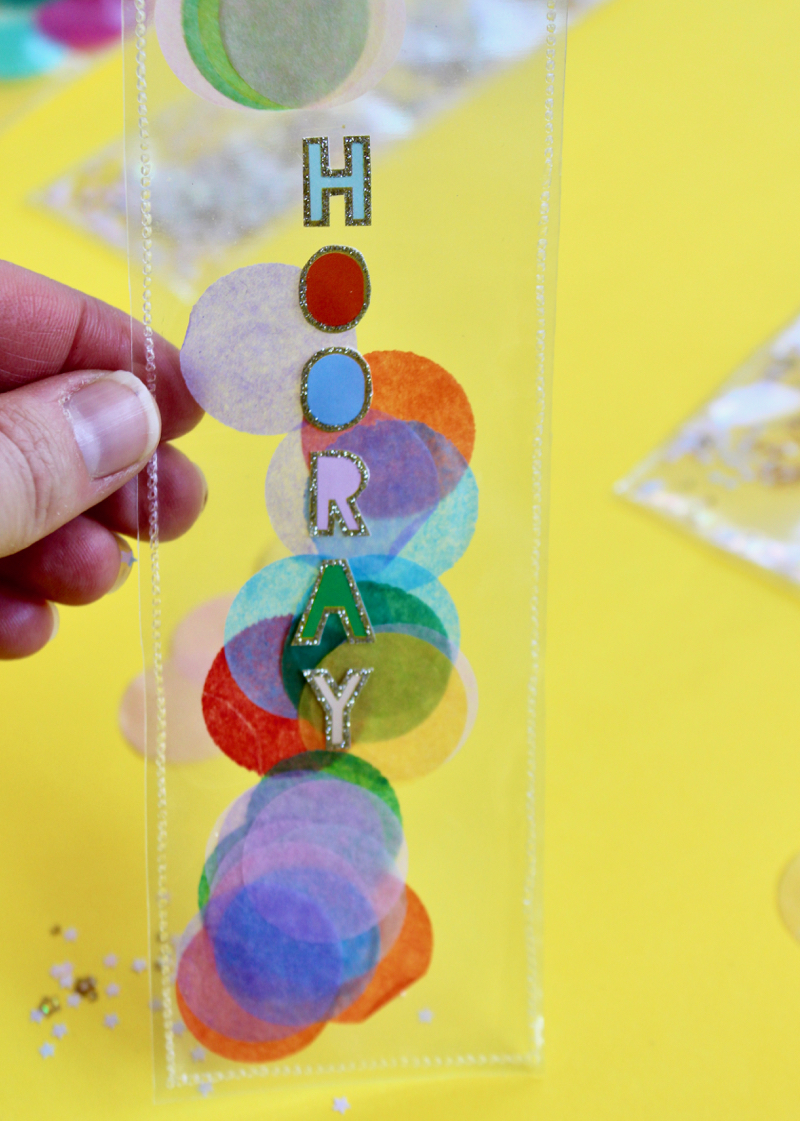
Step 5: Fuse the top of the bookmark, and then use a hole punch to punch a hole on the top. For small confetti, you will need a smaller hole punch.
Step 6: Cut yarn, and add a cute and colorful yarn tassel.
Now, all you have to do is find a good book, and read, read, read!
SHOP THE POST:
[show_shopthepost_widget id=”3156587″]