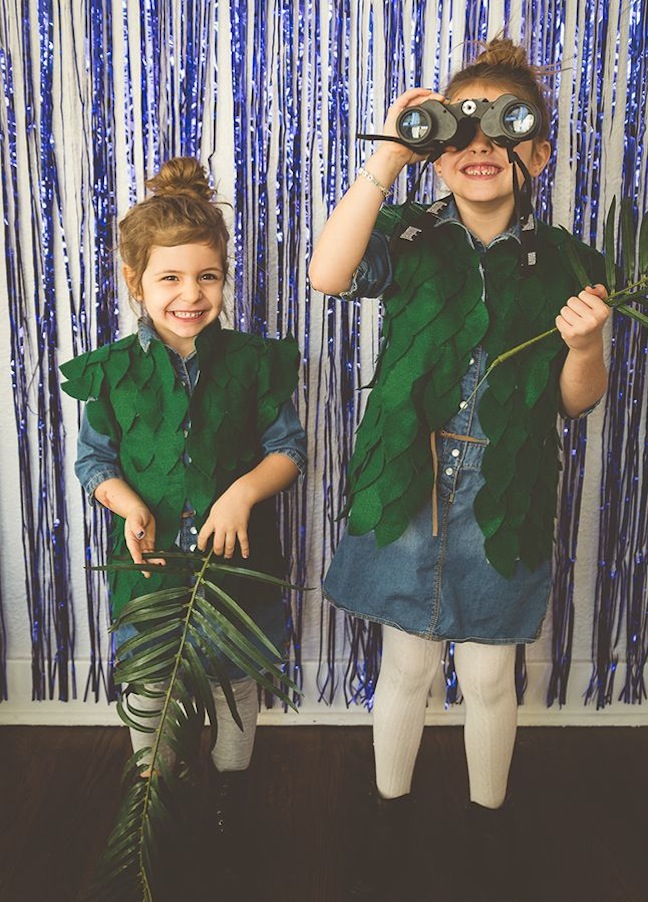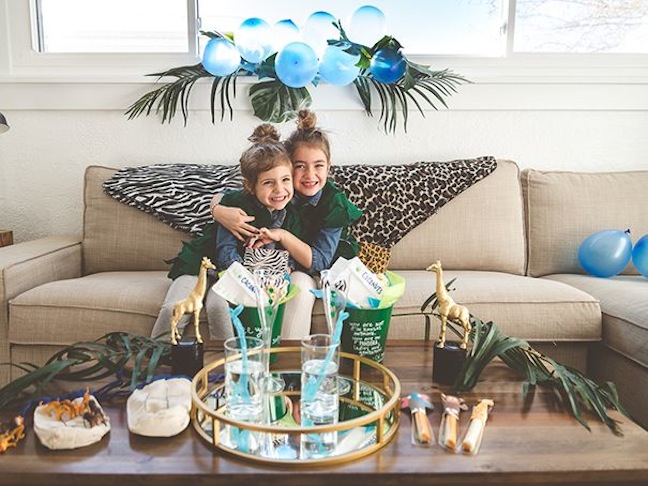
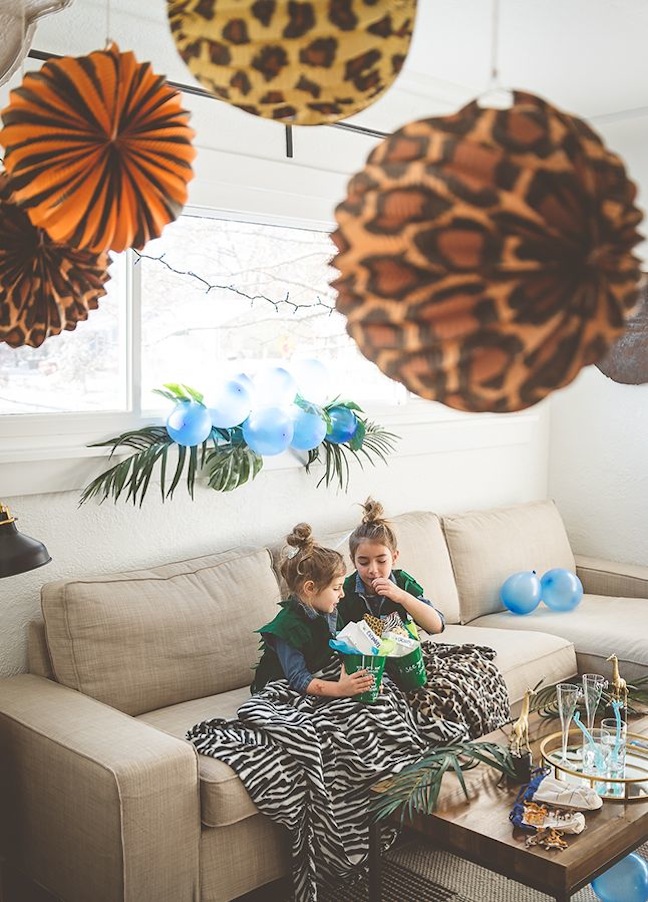
Hollywood’s award season is upon us. Although our kids have only seen some of the animated nominees, this year we wanted to include our kids in the celebration of all things movies. So, we created a DIY Oscar party fit for our jungle kings and queens. Those of you who are Avatar fans will rejoice in this party too, because flashes of bright blue have been incorporated in celebration of Pandora, the World of Avatar, a new, magical world set to debut at Disney’s Animal Kingdom Park in summer 2017.
Momtastic has the party, and all the cute details here. It’s a must see.
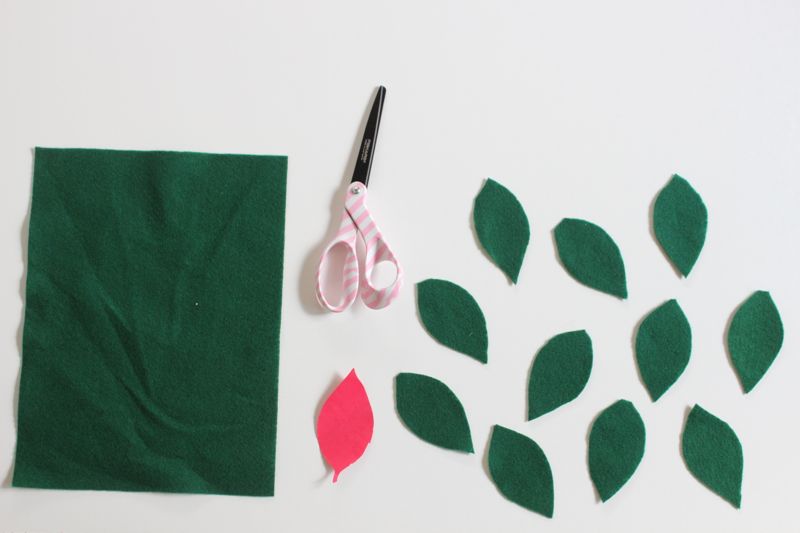
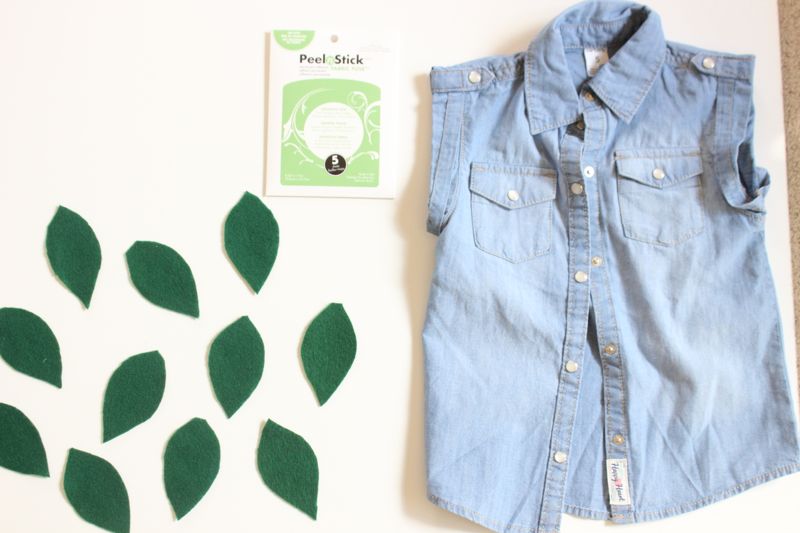
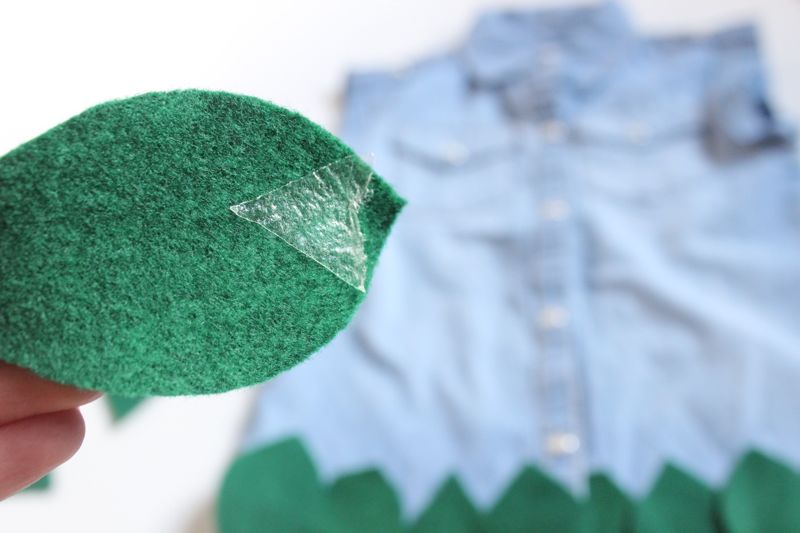
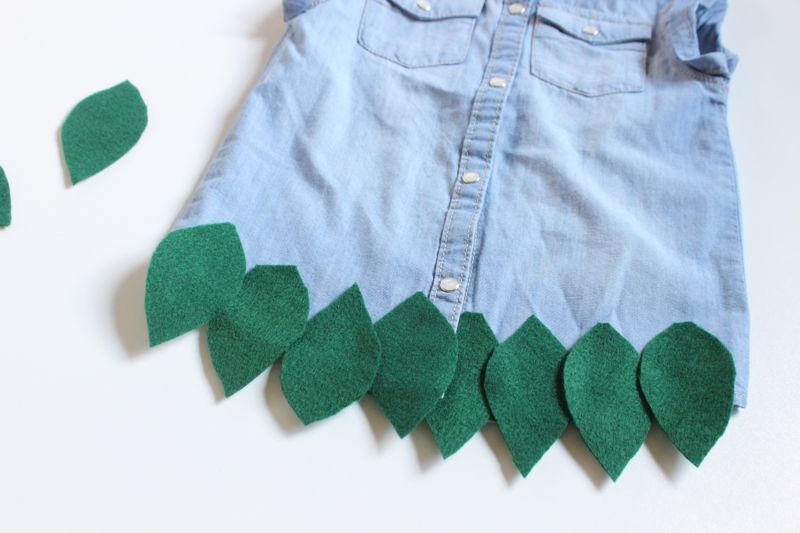
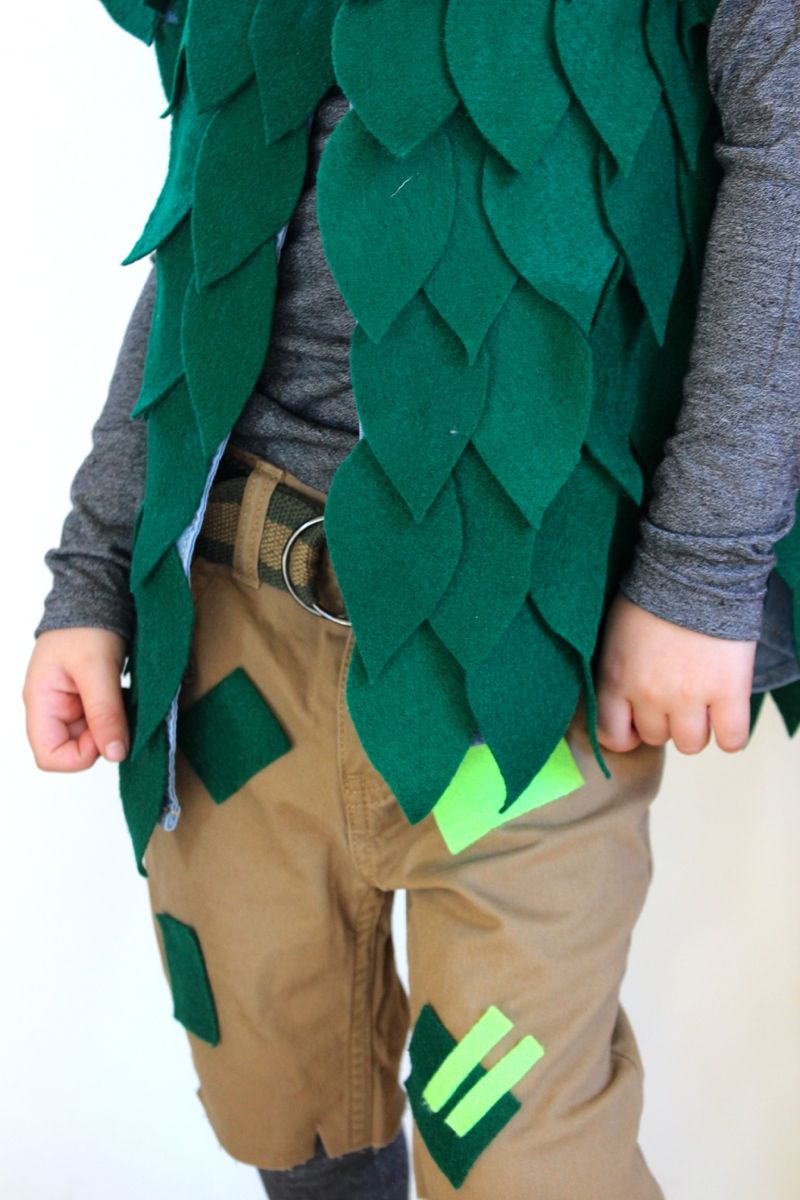
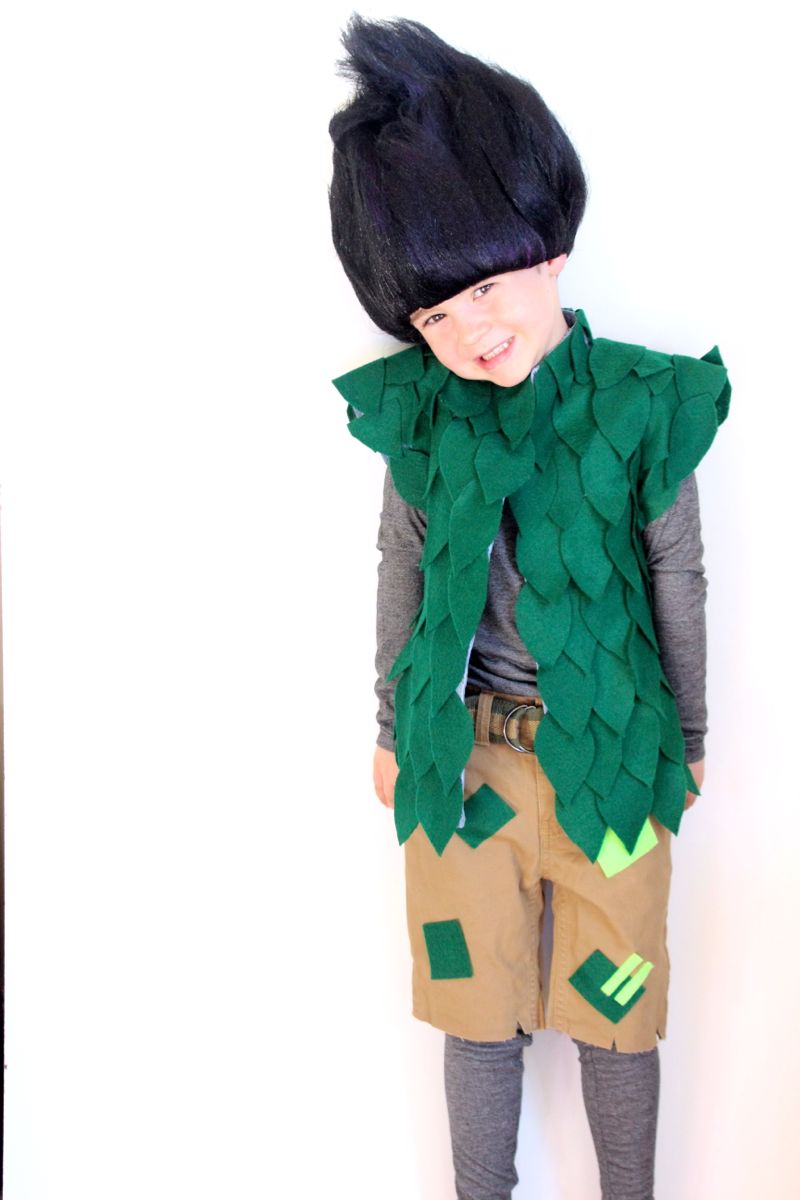
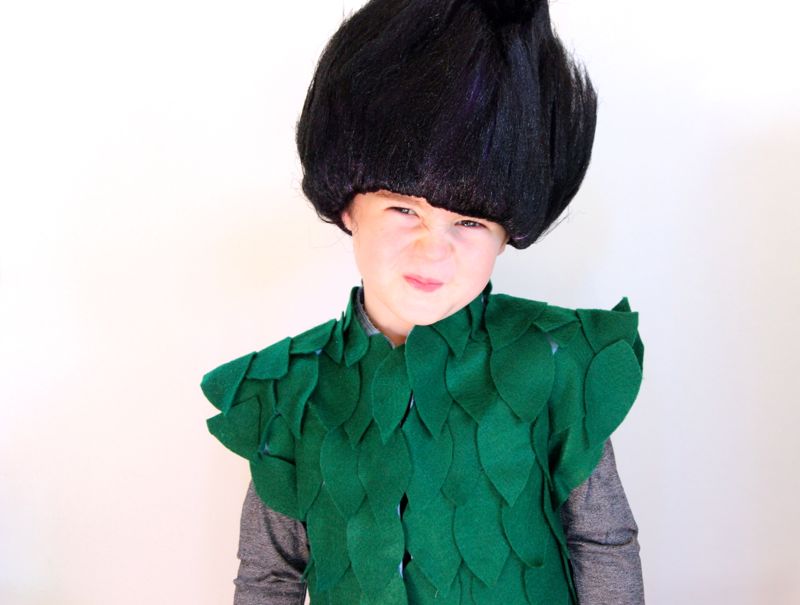
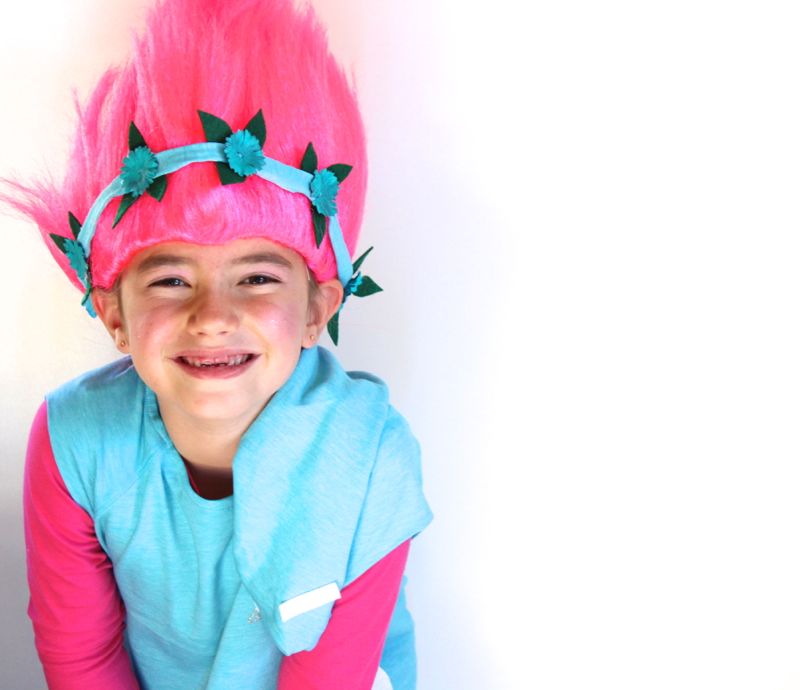
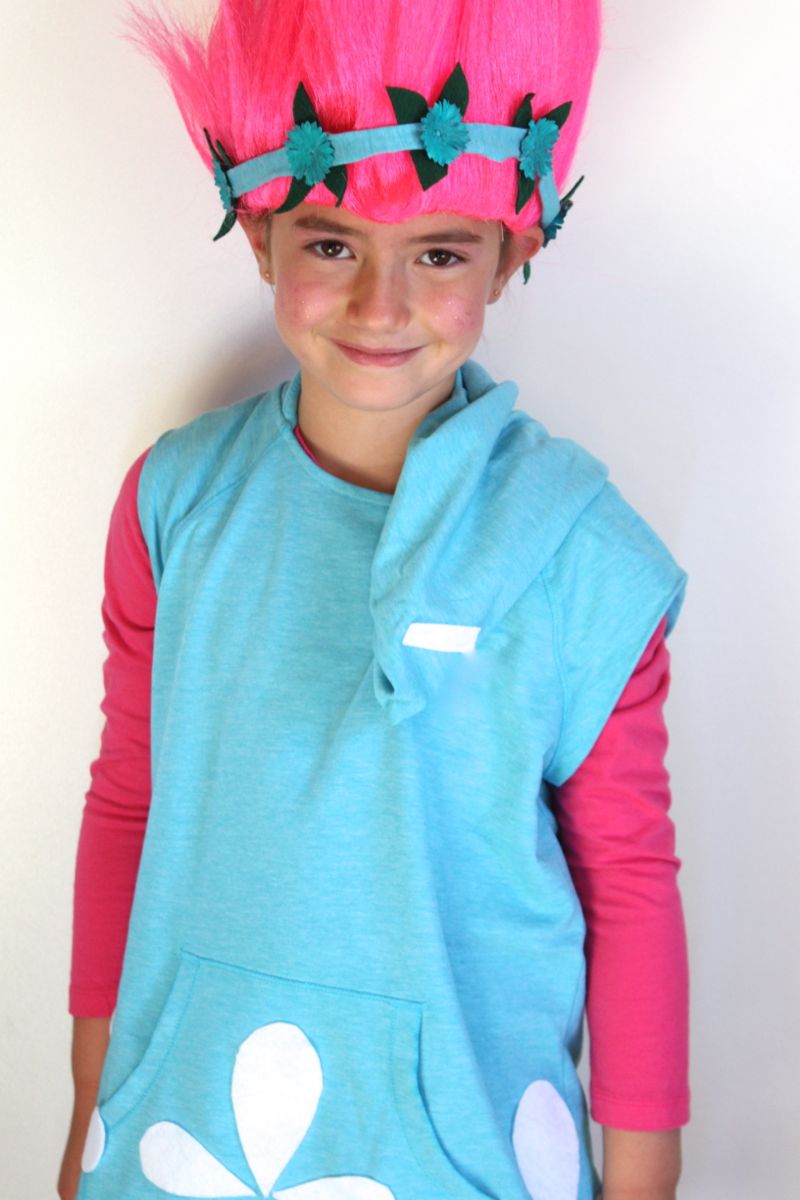
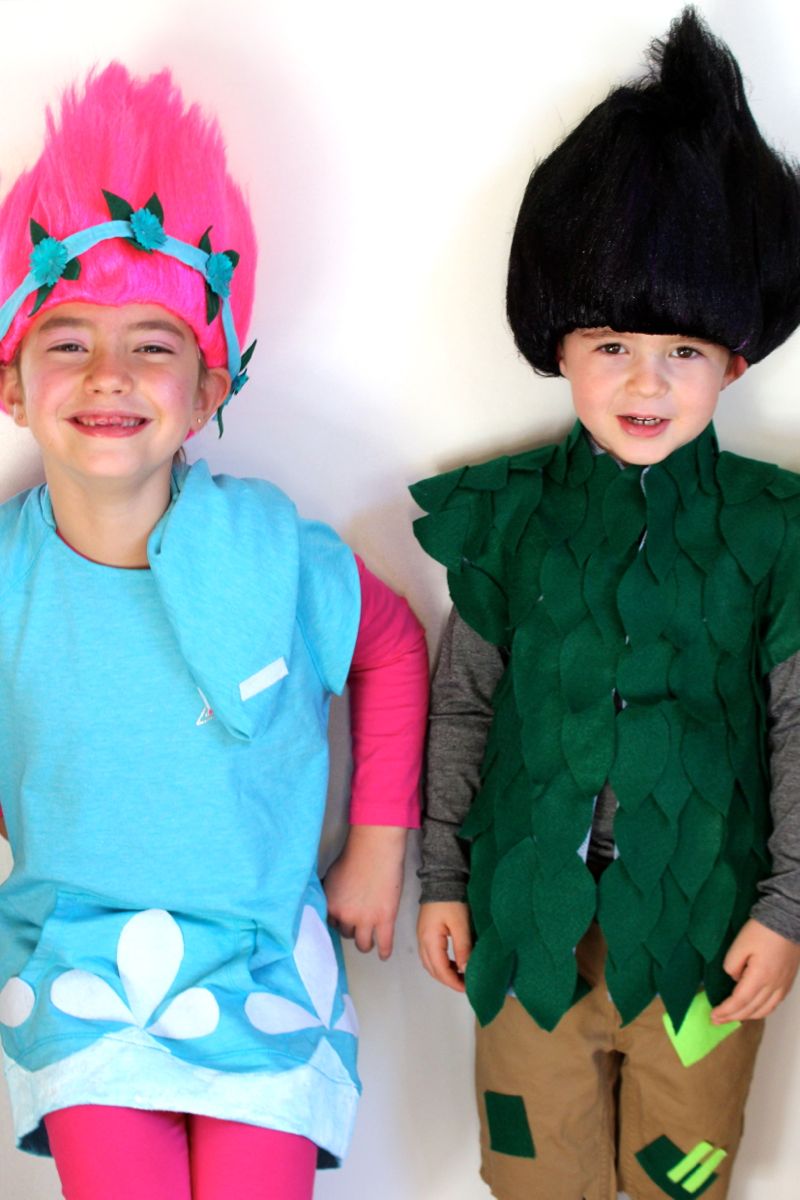
We were able to work with a bestie, Meredith of Meredith Moran Photography, which is always a good time. Gabriella and Stella had so much fun, and would totally rock the red carpet. Our DIY leaf vests from our Trolls Halloween costume made an appearance, too!