Tutto Bella is getting a makeover. Kind of like the kind all us ladies need…A new pair of heels, an afternoon at the nail salon, a new wardrobe and a visit to the stylist, just to name a few. So, please excuse us while we add a little pizzazz, more organization and even more fabulousness here at Tutto Bella.

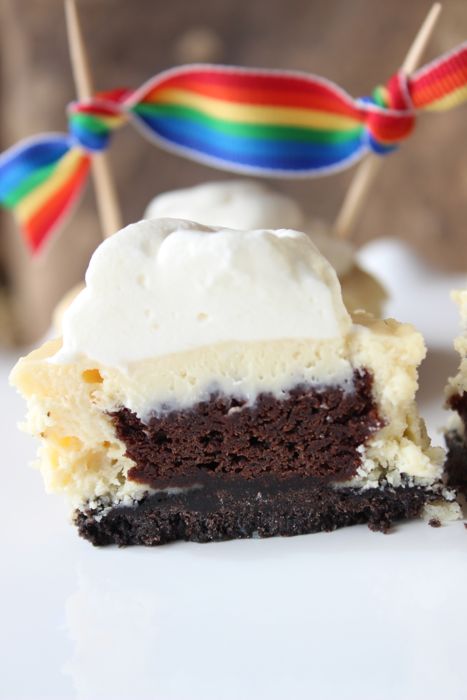
Crust
1.5 cups Glutino chocolate and vanilla crème oreo-style cookies
3 tablespoons melted butter
Filling
12 oz cream cheese, softened
½ cup sugar
½ tsp vanilla
1/8 tsp salt
2 tablespoons Bailey’s Irish Cream
1 egg
Topping
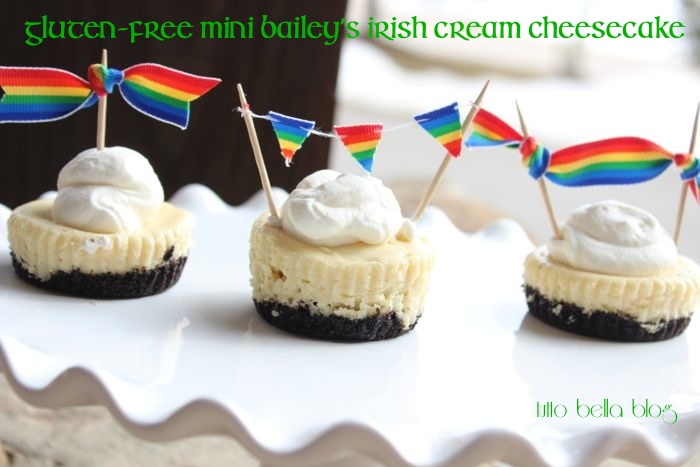
Preheat oven to 350 degrees. Fill muffin tin with cupcake liners.
Mix crust ingredients together in a food processor or blender. Add a full spoonful to each liner and then press down to create a packed bottom layer. Cook for 5 minutes.
In a medium bowl, beat together the cream cheese, vanilla and sugar until fully mixed. Add salt, Bailey’s, and an egg until the batter is smooth.
Add less than a ¼ cup to each cavity for an even layer of cheesecake on top of the cookie crust. Bake for 15-17 minutes. Once cool, place in refrigerator and chill for at least 4 hours or overnight.
Once you are ready to serve, or a couple of hours before you serve, it’s time to make the whipping cream. In a medium bowl, add the topping ingredients for whipped cream, blend until soft peaks form.
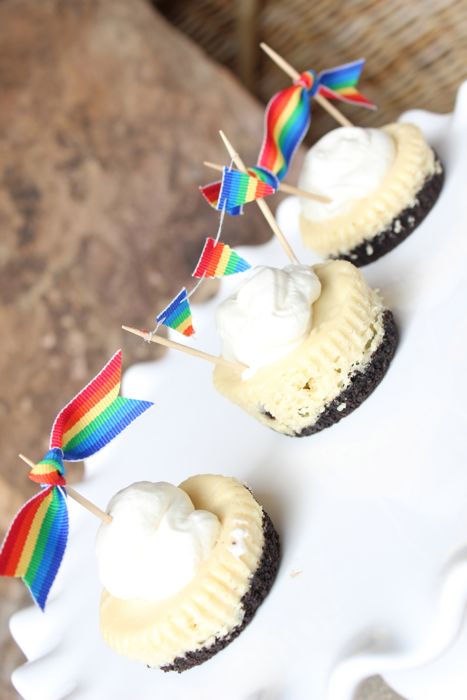
Take out of fridge before you serve, be generous with the whipping cream topping and serve! .
Devour!!
 {images via Tutto Bella Blog}