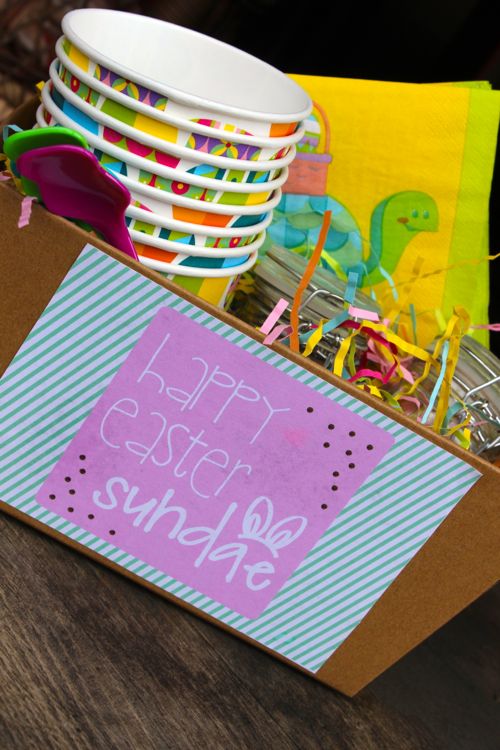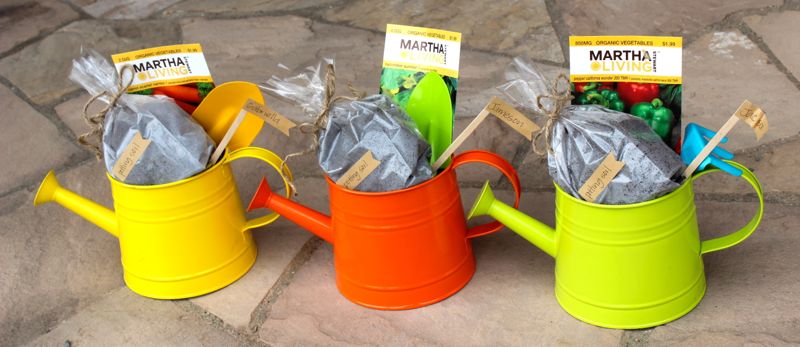
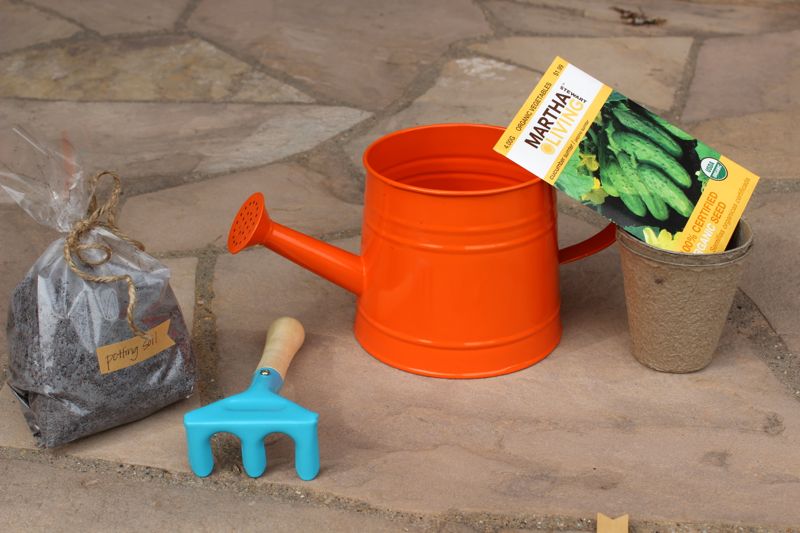
Nani and Mimi have the Easter baskets filled with goodies, accessories and clothes, so instead of a typical Easter Basket this year, we bought the kids their own gardening essentials to grow their favorite vegetables. My fave, Target’s dollar section, had colorful watering cans for just $3 each and gardening tools, and good ‘ole Home Depot supplied the organic cucumber, carrot and pepper seed packets, as well as the Transplant Peat Pots.
You’ll Need:
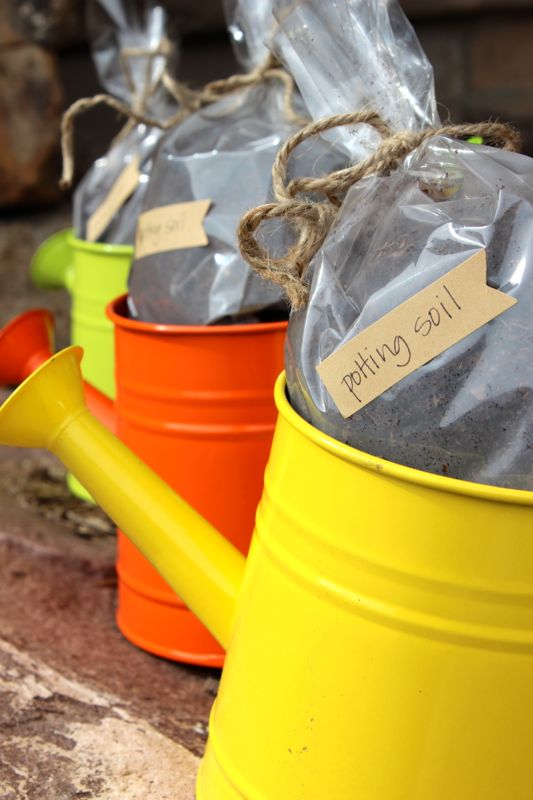
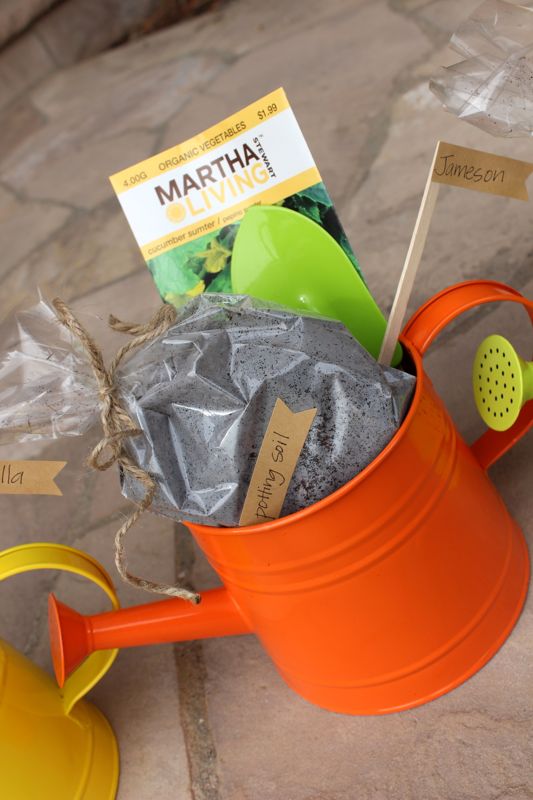
organic potting soil
biodegradable peat pots
cellophane bags
seeds packets
tools
watering can
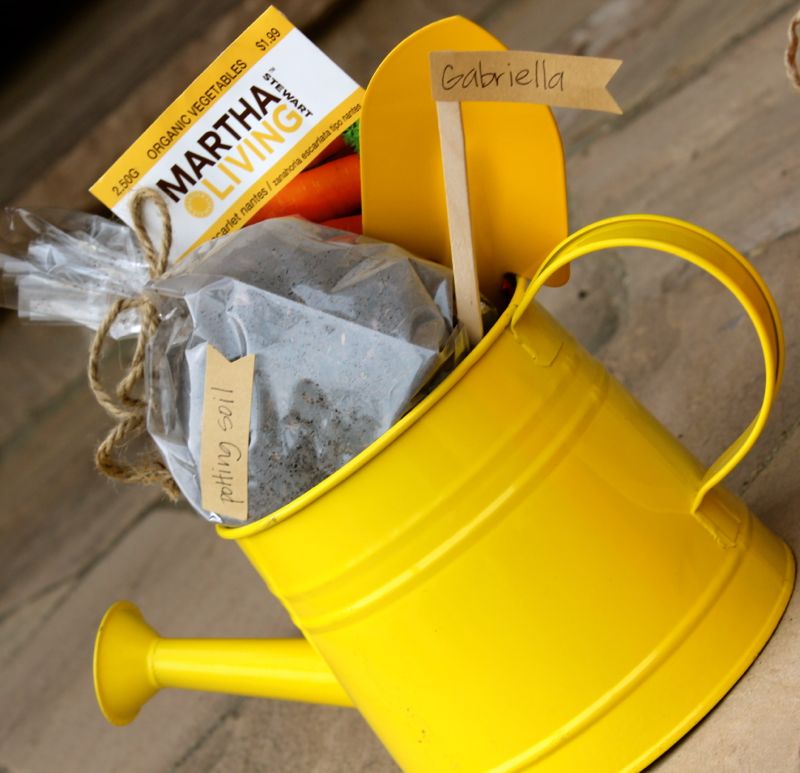
name labels
How To:
Fill the cellophane bags with potting soil and tie a bow, then just fill the watering cans with the gardening goods. All the kids need to do is plant, water, find a sunny spot…and watch them grow. Once the weather gets warm, we will transplant the biodegradable pots into pots or the garden.

It’s a fun project for the kids {especially on Monday, April 22 – Earth Day}, teaches them the responsibility necessary to take care of something, and they will have the opportunity to watch and eat what they sow.
NOTE: The potting soil bags look slightly foggy – seems the soil was somewhat wet, and when I took the watering cans outside, the outside cold temps ‘frosted’ the bags.
{images via j. sorelle}