We are planning to celebrate the upcoming Easter Sunday by first, spending time in prayer and reverence at church in our finest spring pastels, devouring a delicious brunch with family and friends {accompanied with a mimosa or bloody mary}, participating in an Easter Egg Hunt with the kiddos and then topping the Holy Day off with an Easter Sundae {beautifully and cleverly packaged, of course}.
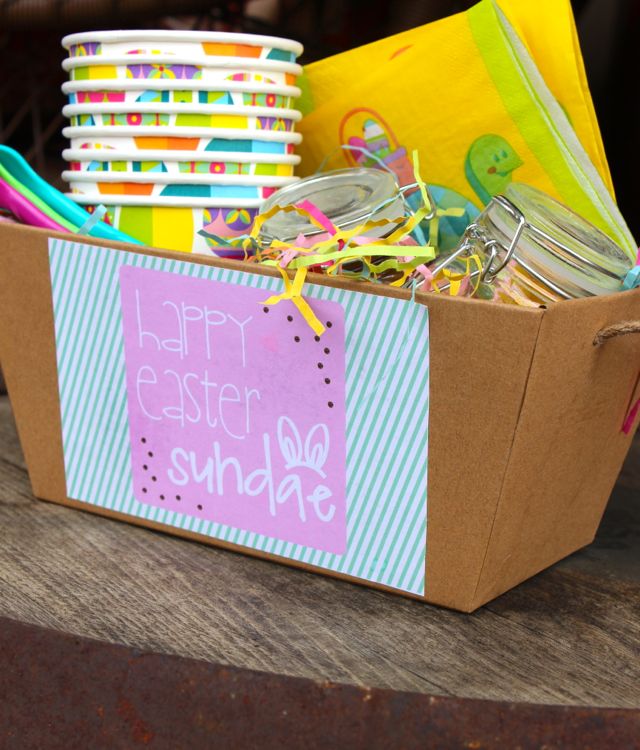
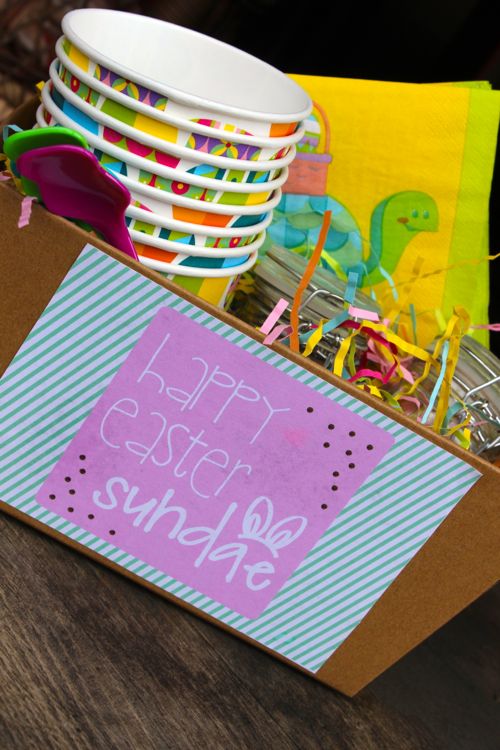
Our FREE Happy Easter Sundae printable is available now. All you have to do is download and print the free printable here, find a cute box or bag, and get to the store to buy ice cream and all the yummy sundae fixin’s. This makes for a lovely hostess gift on Easter, and also a fun end {or beginning if you want} to the day. Vanilla ice cream covered in torn pieces of a Reese’s Peanut Butter Egg sounds so amazing right now!

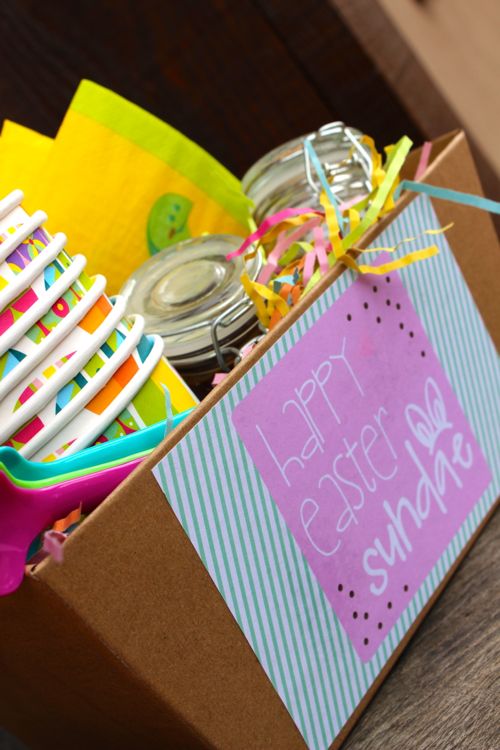
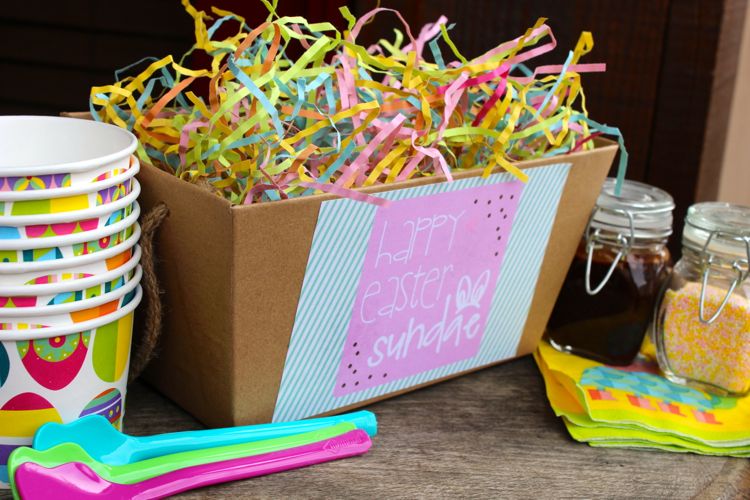
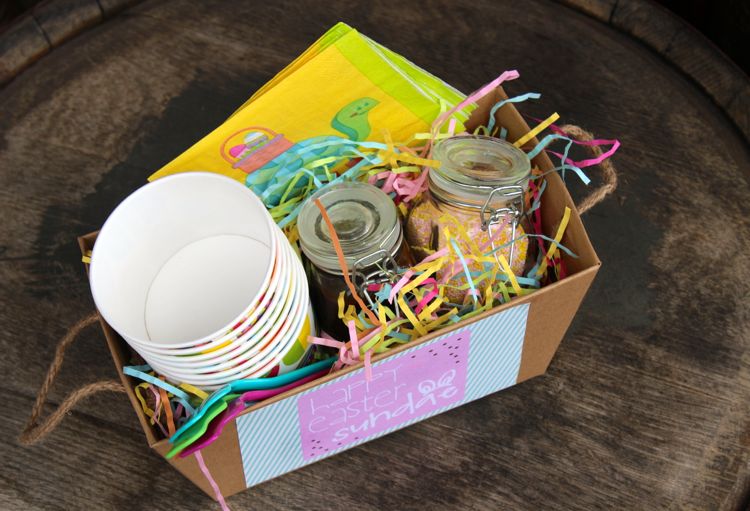
I bought my Kraft box at Target {$3 in dollar bins…omg, I LOVE and crave the dollar bins at Target}, and filled it with pastel paper shreds, treat bowls, colorful spoons and napkins, and chocolate syrup and sprinkle toppings conveniently stored in adorable $1 glass jars {also from the Target dollar bins}.
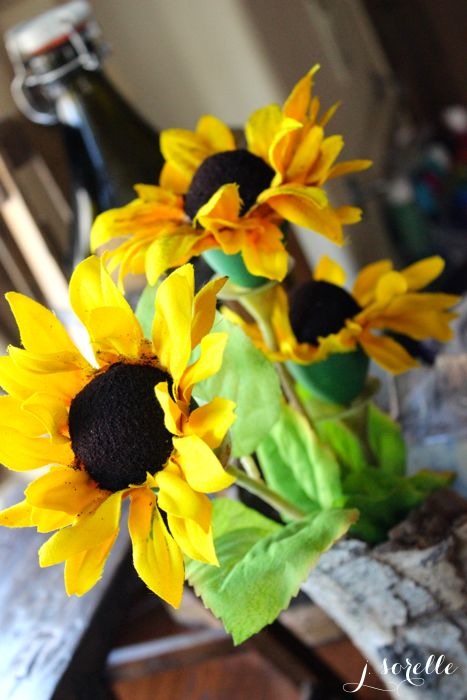
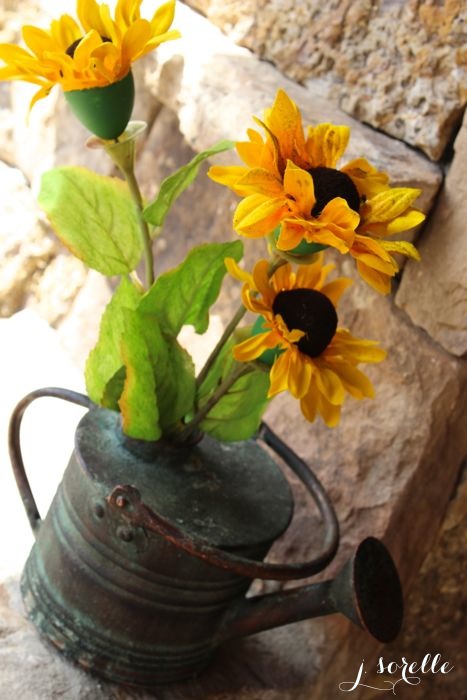
{images via j. sorelle}