Recipe: Gluten Free Peach and Blueberry Crisp

peach-blueberry-crumble-summer-dessert-gluten-free

Jenna has been eating gluten-free for many years; Jodi and I have joined our sister in the fight against gluten on our bodies in recent years/months. So, sometimes we think our palette is somewhat jaded. Are we so accustomed to eating GF that we think a pizza that resembles the taste of cardboard is actually good? Many gluten-free items are good now, and there are so many options, but at times it’s hard to get some of our favorites to taste like the real thing.

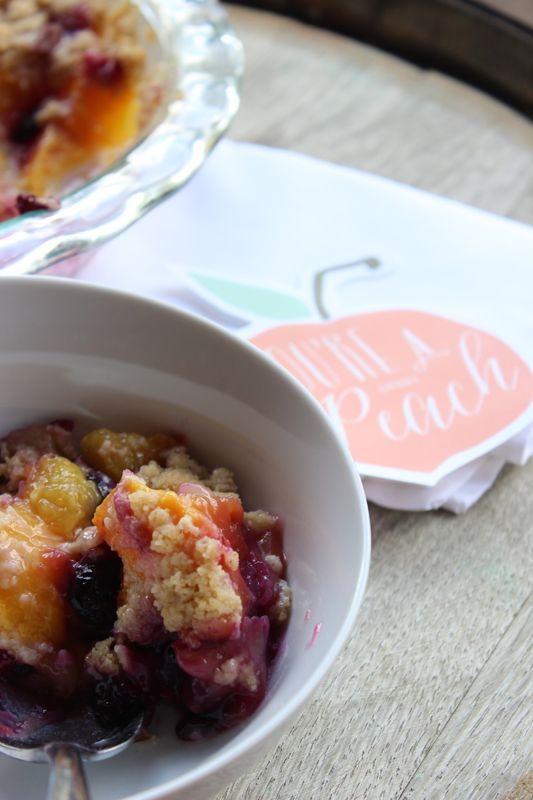
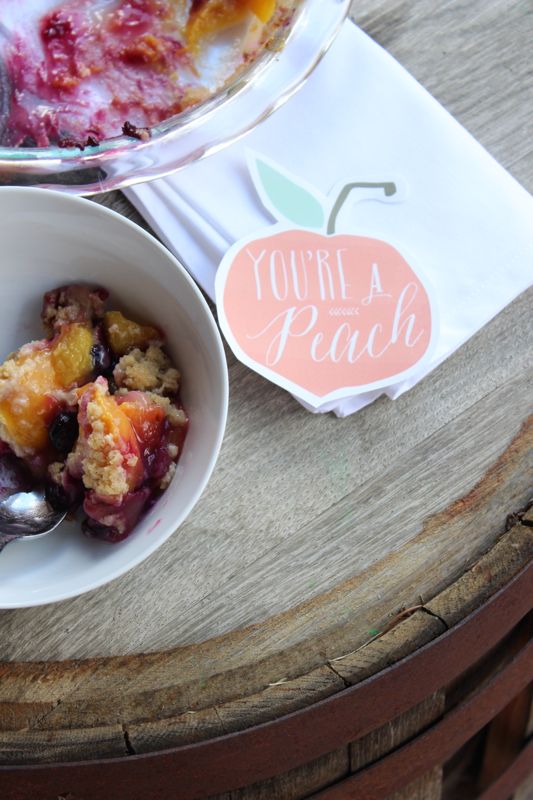
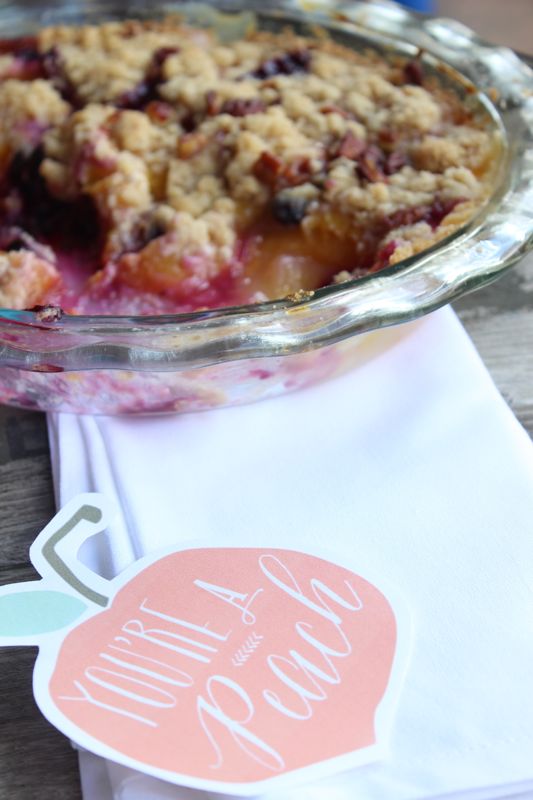
This past weekend was not only a success because we were all together {which is our most favorite times}, but also because we shared laughter and tears over a delicious, homemade gluten-free Peach and Blueberry Crisp. Whatever you want to call it – Peach and Blueberry Crisp or a Peach and Blueberry Crumble – it was a good one.

It’s sad to see summer near an end – so celebrate what’s left of it – and what’s left of summer’s ripe peaches.

IMG_1240

Gluten Free Peach and Blueberry Crisp
recipe adapted from Ina Garten

For the fruit:

  • 6 ripe peaches
  • 2 tablespoons freshly squeezed lemon juice
  • 1/2 cup granulated sugar
  • 1/4 cup gluten free all-purpose flour
  • 3/4 cup fresh blueberries

For the crumble:

  • 3/4 cup gluten free oats, ground
  • 1/4 cup gluten free all-purpose flour
  • 1/3 cup granulated sugar
  • 1/4 cup light brown sugar
  • 1/2 teaspoon salt
  • 1/4 teaspoon ground cinnamon
  • 1/2 cup (1 stick) cold unsalted butter
  • 1/4 cup pecans, broken into small pieces

Directions:

  • Immerse the peaches in a medium saucepan with boiling water for 30 seconds to 1 minute.
  • Remove them and immediately set in cold water.
  • Peel the peaches, slice them into small wedges, and place them in a large bowl.
  • Add the lemon juice, sugar and flour. Toss well.
  • Mix in the blueberries.
  • Spoon the mixture into a pie dish.
  • For the topping, combine the flour, granulated sugar, brown sugar, salt, cinnamon, and the butter in a large bowl. With clean hands, gently break the butter apart and mix with the dry ingredients. Continue to blend the ingredients together with your fingertips to form pea-size crumbles.
  • Sprinkle the crumble topping over the fruit in the pie dish.
  • Top with pecans.
  • Place the pie dish on a baking sheet and bake for 40-45 minutes, or until the top is brown and the crisp is bubbling.
  • Serve warm with vanilla ice cream….or plain! So yummy.

peach-blueberry-crumble-summer-dessert-gluten-free

DIY Honeycomb Napkins Are All The Buzz

honeycomb-napkins-pink-gold-white-honey-bee-summer-diy


The kids are learning their geometric shapes…and we are painting our favorite geometric shapes. The hexagons on these DIY honeybee napkins are sweeter than tupelo honey!

See the full tutorial on Wayfair. 

Jenna’s got you covered if you need the hexagon invite.

honeycomb-napkins-pink-gold-white-honey-bee-summer-diy


DIY Bouquet Wrap for the Hostess

diy-flower-bouquet-wrap-sunflower-art-twine-pink-orange-summer-diy-hostess-gift

Art is therapeutic. Flowers are beautiful. Kids love activities. Combine all three for a DIY hostess gift that is both personal and memorable. Whether the booms are fresh from the garden, or store-bought, they are even prettier when they are wrapped in a custom, DIY flower wrap.

Jessica shared details of her sunny afternoon painting on the porch, and how she created the DIY bouquet wraps with her kids on Momtastic. After you read it, make sure you find time in your day to stop and smell the roses!

diy-hostess-gift-bouquet-flower-wrap-watercolor-art


Make DIY String Light Poles with Concrete Stands for Outdoor Entertaining

concrete-globe-lights-aspen-trunk-picnic-table-wood-alfresco-dining-outdoor-entertaining-the-home-depot-diy-challenge

When we started this little blog years ago, we dreamt of working with large and reputable corporations – one of the companies at the top of our list was The Home Depot. So, needless to say, we were giddy with excitement to join the DIY concrete challenge at The Home Depot Blog.

We hadn’t worked with concrete before, and honestly, we can’t wait to work with it again. After happily spending hours in The Home Depot, we stayed in a semi-comfortable DIY zone and opted for a somewhat simple project to add outdoor lighting to Jessica’s patio.

We created rustic string light poles with a concrete base.

concrete-globe-lights-aspen-trunk-picnic-table-wood-alfresco-dining-outdoor-entertaining-the-home-depot-diy-challenge

Our mom was the first to see the DIY concrete project; in fact, she helped mix the concrete. She loved it so much, she requested a DIY concrete stand to string lights in her backyard, too.

concrete-globe-lights-aspen-trunk-picnic-table-wood-alfresco-dining-outdoor-entertaining-the-home-depot-diy-concrete-challenge

Whether you’re experienced with concrete or beginners like us, you can easily make this DIY concrete stand. It’s a high impact DIY project on a low-budget. Plus, you will take your outdoor summer entertaining to a whole new level of ambiance and warmth.

Check out the full tutorial at The Home Depot Blog.

concrete-globe-lights-aspen-trunk-picnic-table-wood-alfresco-dining-outdoor-entertaining-the-home-depot-diy-concrete-challenge

DIY Lemonade Stand with Balloons

balloon-arch-helium-lemonade-stand-diy-big-hero-6-party-lemon-pink-purple-yellow

The fact that Jessica only has to plan one party per year {yes, all three of her kids were born in July} saves all of us, especially her husband, a lot of sanity. She tends to over think everything, and loses lots of zzz’s trying to fine tune every detail. One of our favorite creative details from this year’s party was the DIY lemonade stand.

Nothing symbolizes a party more than balloons. We haven’t seen a lemonade stand made with a balloon arch before, and we think it’s sure to boost this summer’s lemonade sales!

Thanks to our friends at Balloon Time, we created a balloon arch for our Big Hero 6 Honey Lemon-ade Stand, and it was the coolest lemonade stand on the block!

balloon-arch-helium-lemonade-stand-diy-big-hero-6-party-lemon-pink-purple-yellow

We made the arch for our DIY lemonade stand the morning of the party in about 45 minutes. We have never built a balloon arch before, nor had we inflated our own helium balloons. The Balloon Time helium tank was incredibly easy to use, and before long, our amateur arch status bumped up to experienced.

We will share more details and photos from the party soon. However, the DIY lemonade stand can be seen on Momtastic, where Jessica shared all the easy-to-follow details on how to set up the balloon stand using a Balloon Time helium tank, as well as the benefits of hosting a balloon stand with your kiddos. It’s a must read, y’all.

Cheers!

lemonade-pink-cup-red-straw-balloons

 j. sorelle received a gift card from Balloon Time, however we’d love Balloon Time, even if they didn’t send us any form of payment, and all opinions are ours, we promise. Thanks for supporting the companies that make j. sorelle possible.