We have a guest post today from Ashley McIntosh, a wonderful mother of 4, who has some amazing DIY talent. We loved her latest feather mobile project so much, we asked her to share all the how-to details here – yay for you {and us}, she agreed! Thanks, Ashley.
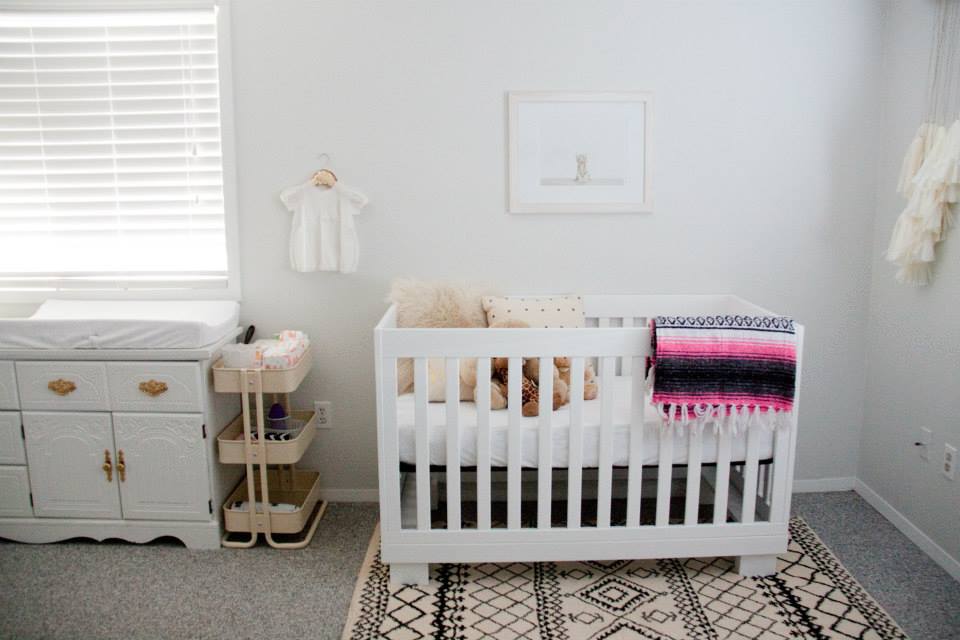
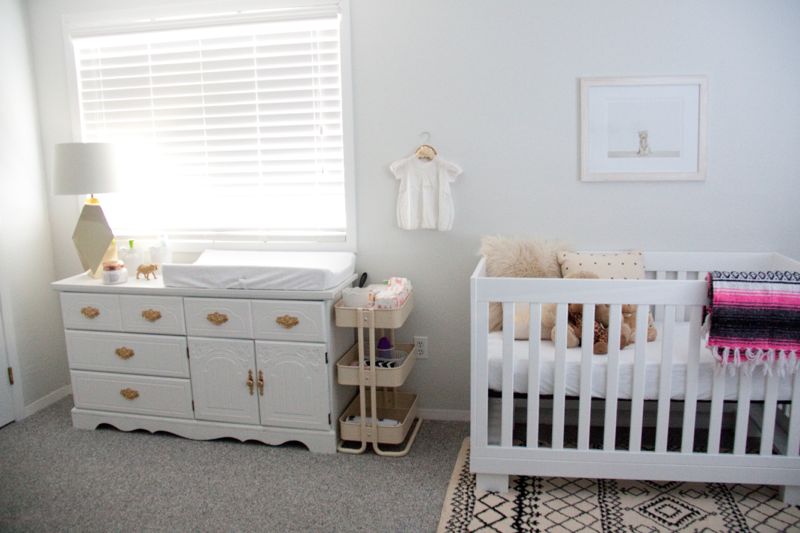
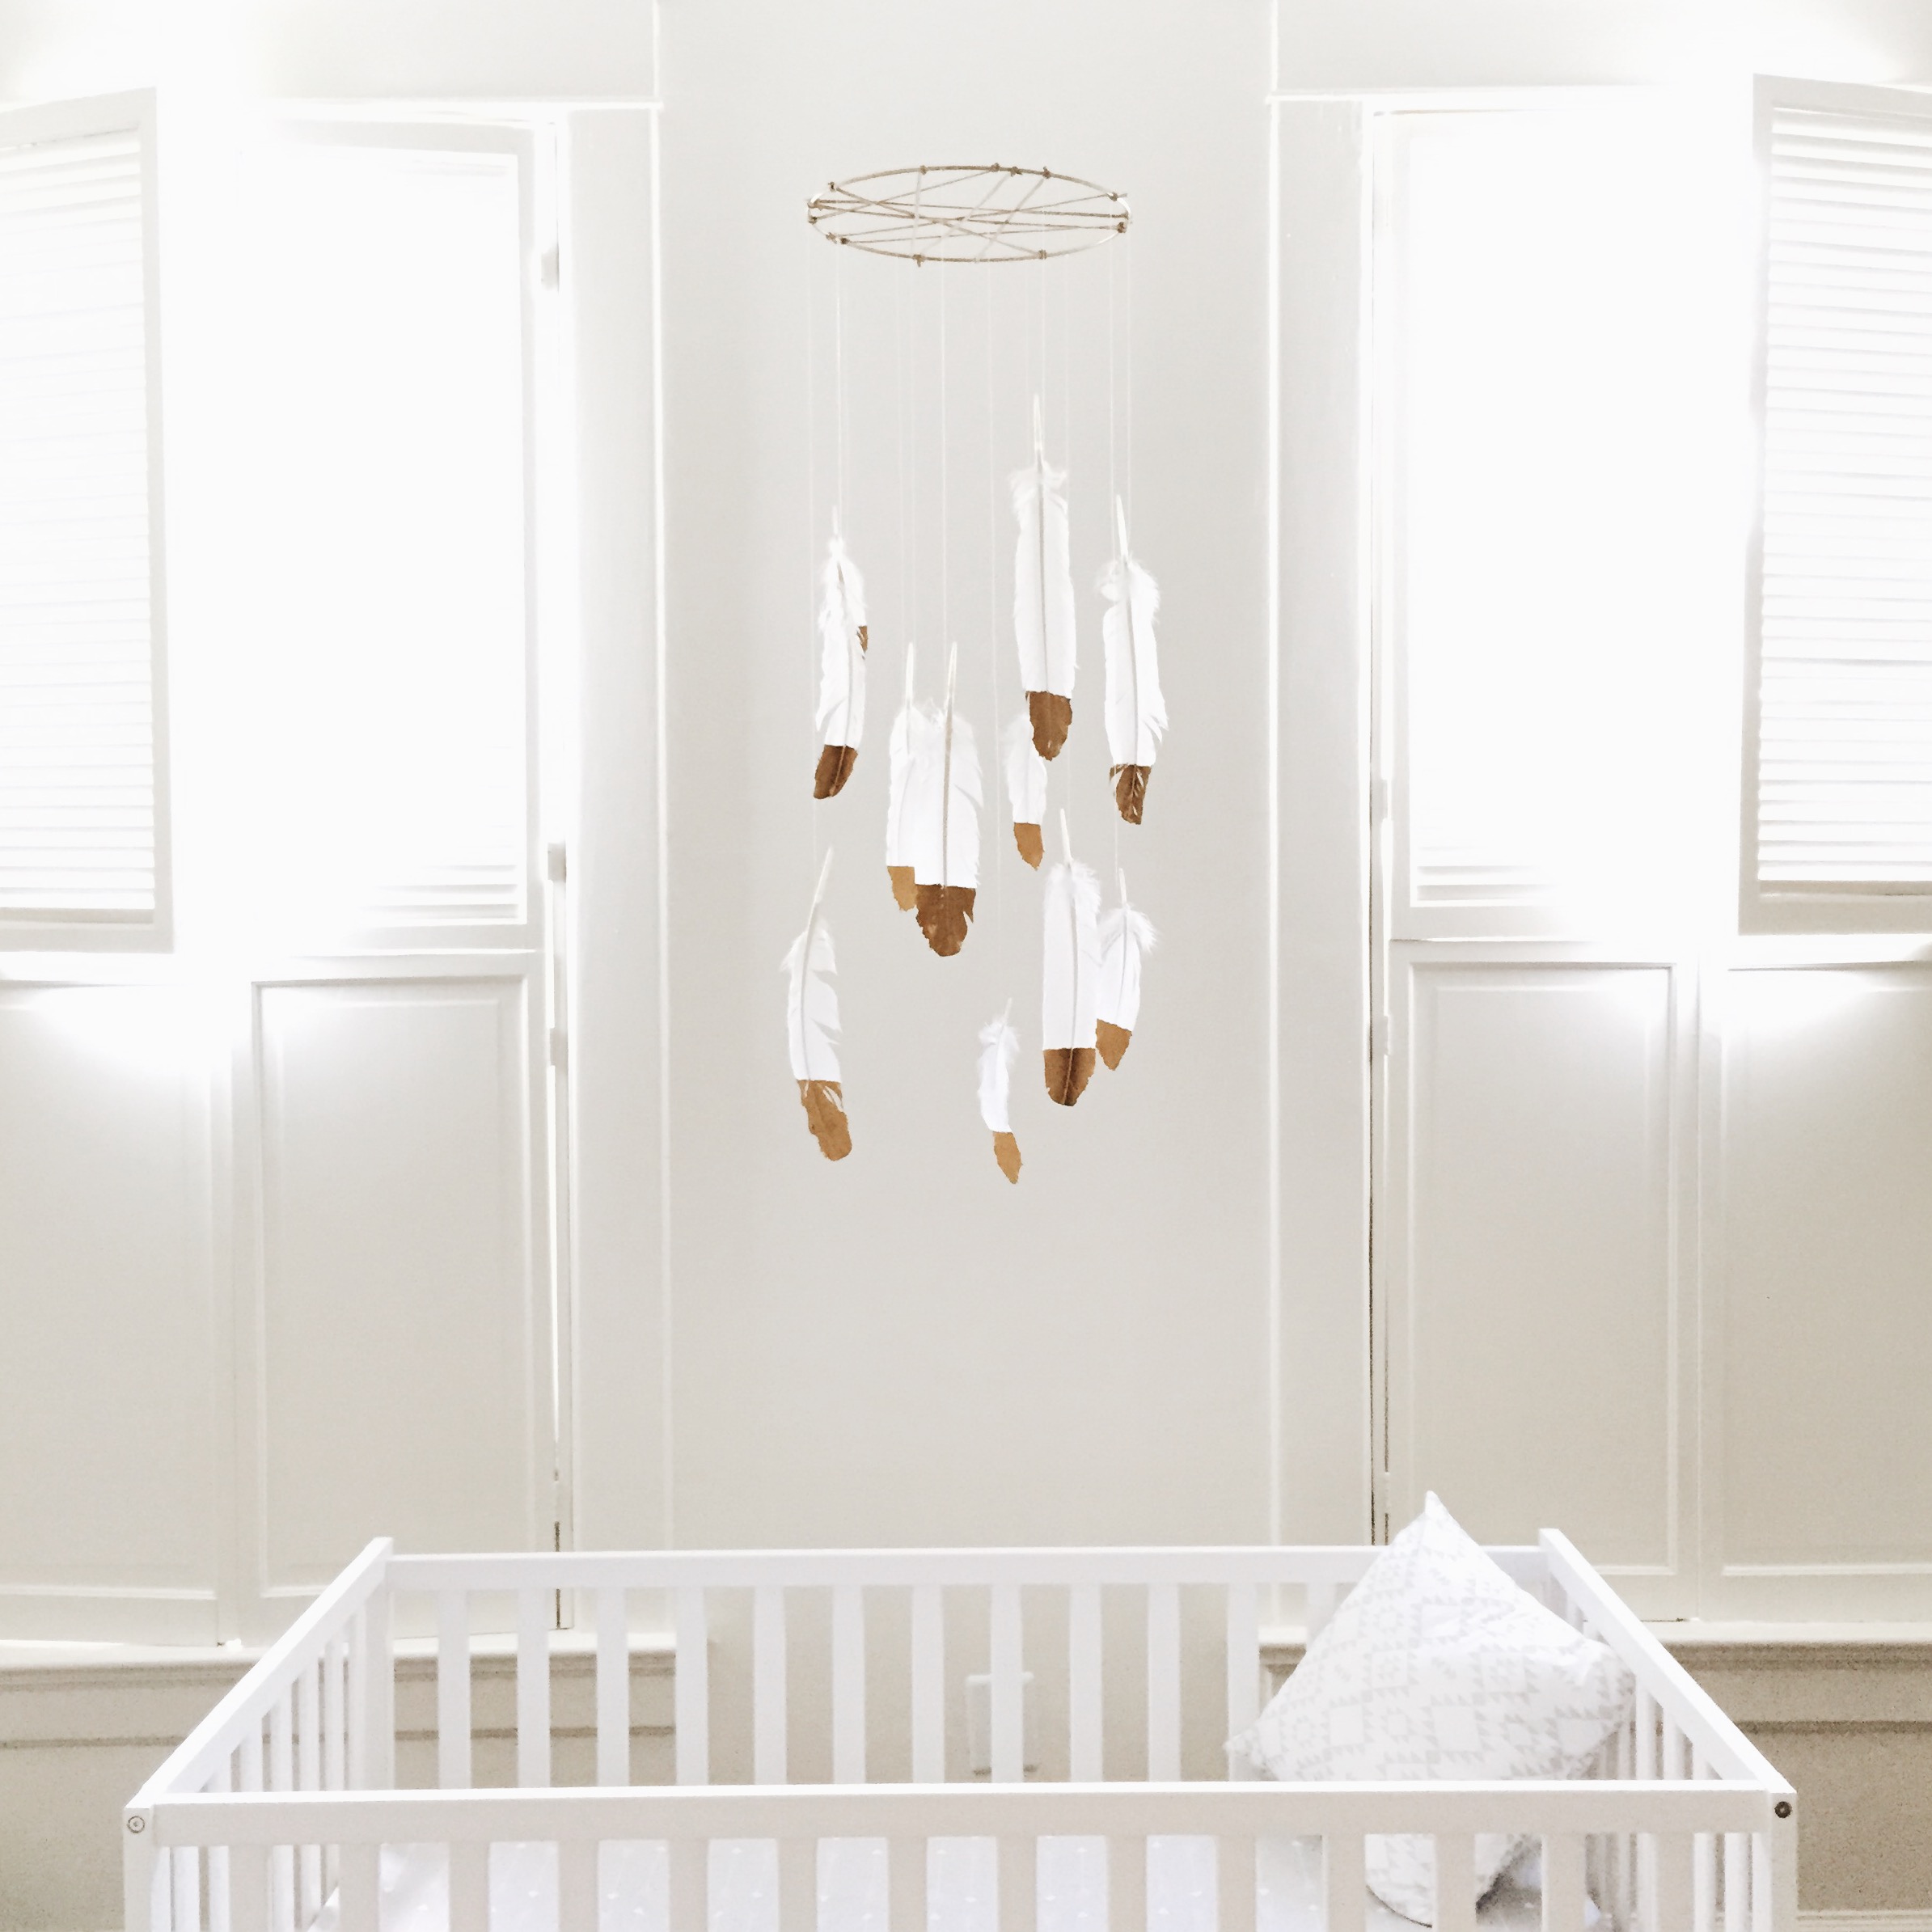
I recently DIYed this gorgeous white and gold feather mobile for my sweet baby boy’s nursery. It’s not complicated to make and I think it turned out quite beautifully! Hope you enjoy!
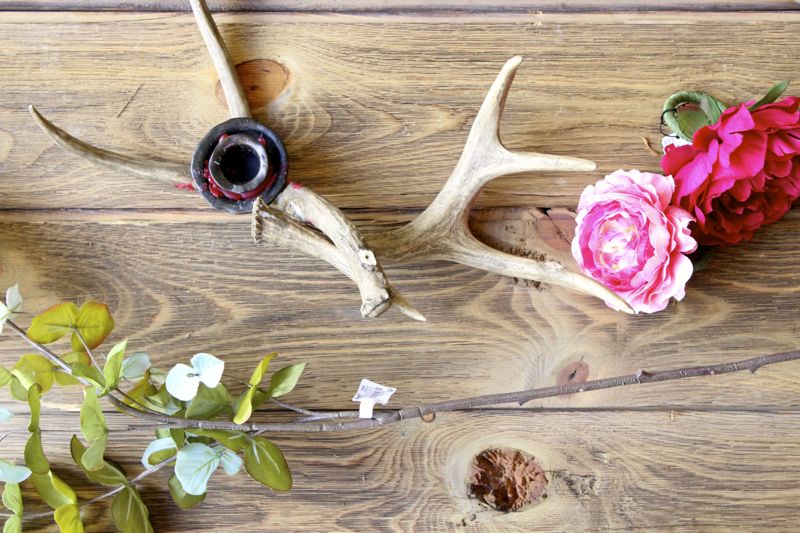
To begin, you will need the following things, most of which can be picked up at your local craft store:

- leather/suede or jute cord – I used “suede lace” in beige 1/8 inches thick
- white feathers in various sizes (or another color of your choosing)
- 1 metallic gold acrylic paint
- paint brush
- painters tape
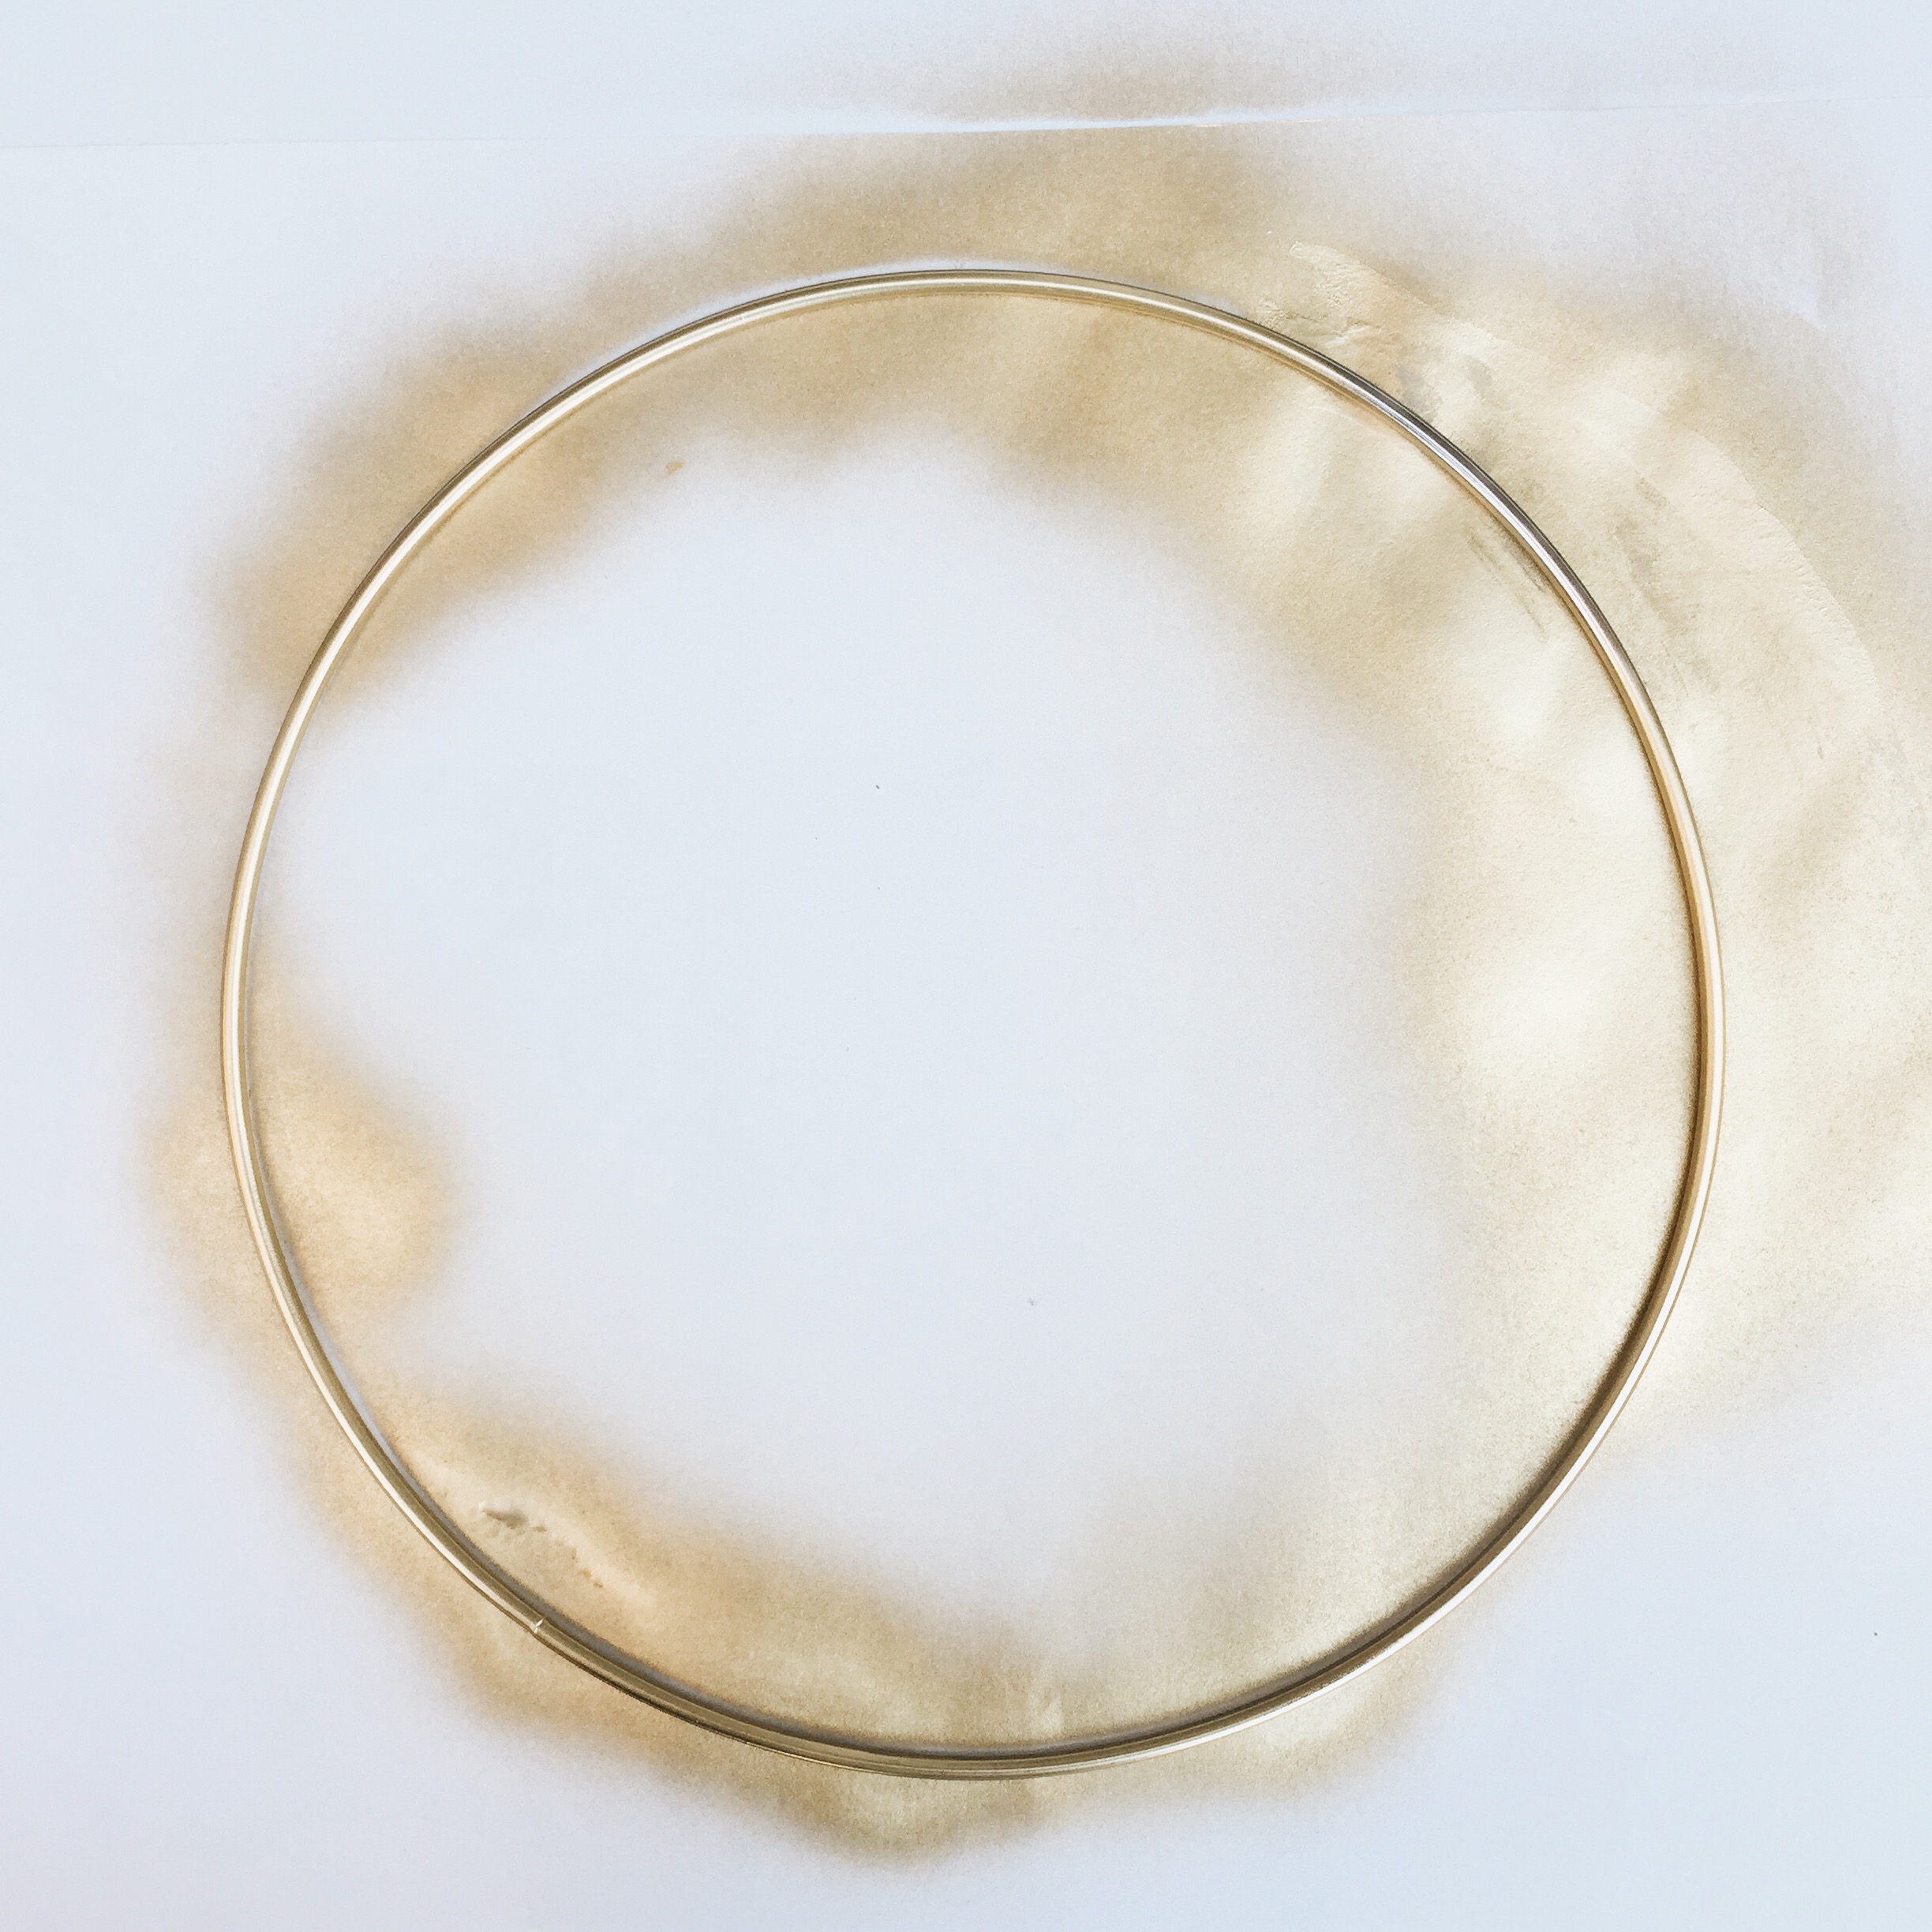
- 10 inch metal ring
- small gold spray paint (unless you buy a gold ring)
- transparent string – I used one with 8lb. strength
Directions:
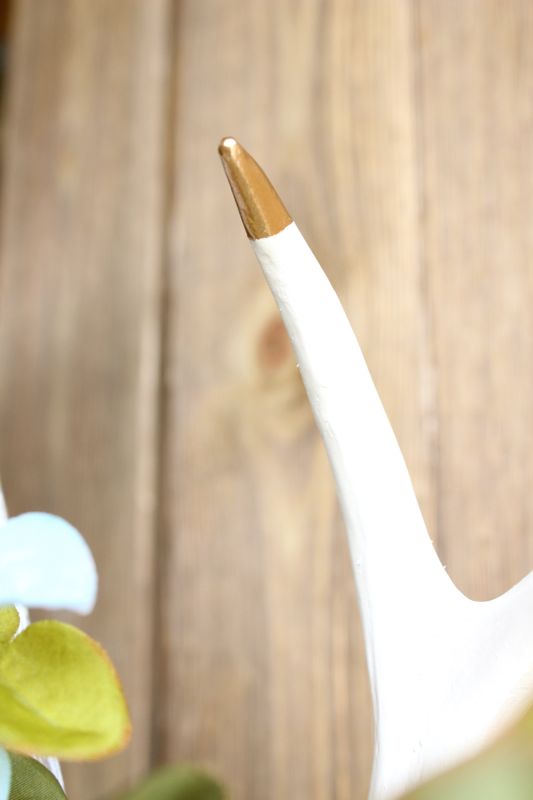
First, spray your metal ring with the gold spray paint on both sides and let dry.
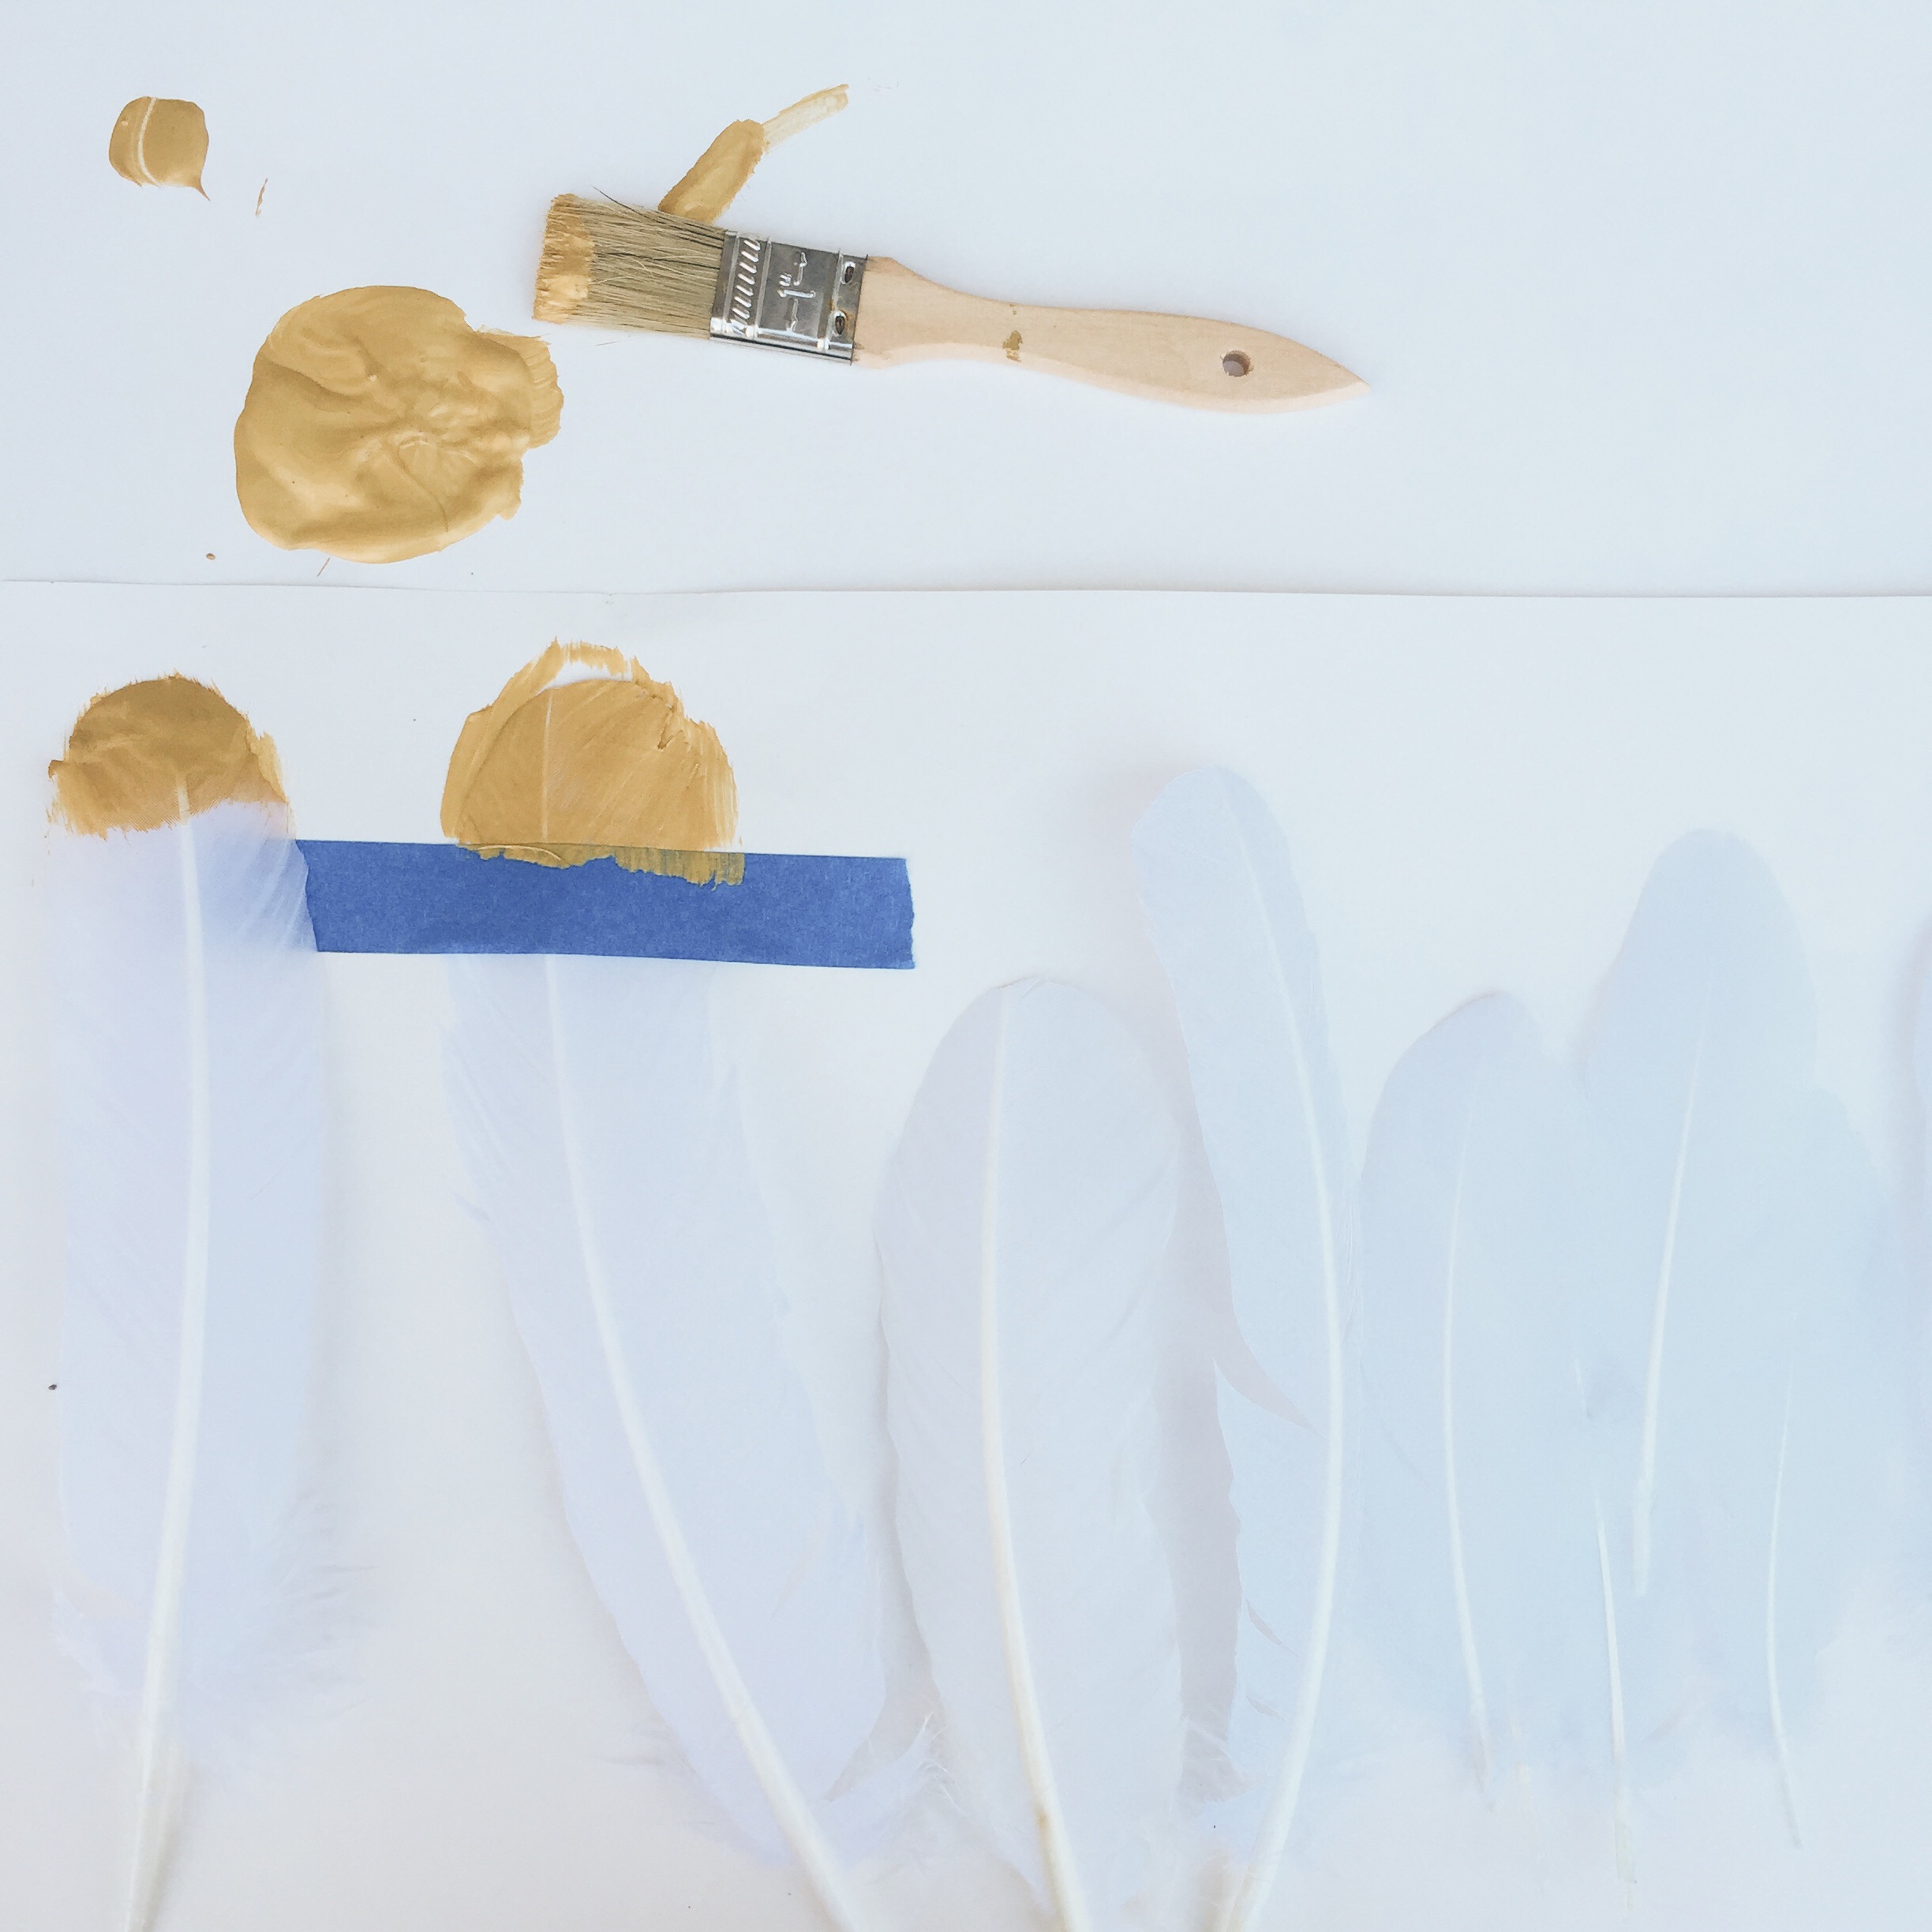
Remove tape, flip over, tape down and paint the other side and let dry. (You don’t have to use the painters tape, but it helps hold the feather in place and provides a nice clean line.)


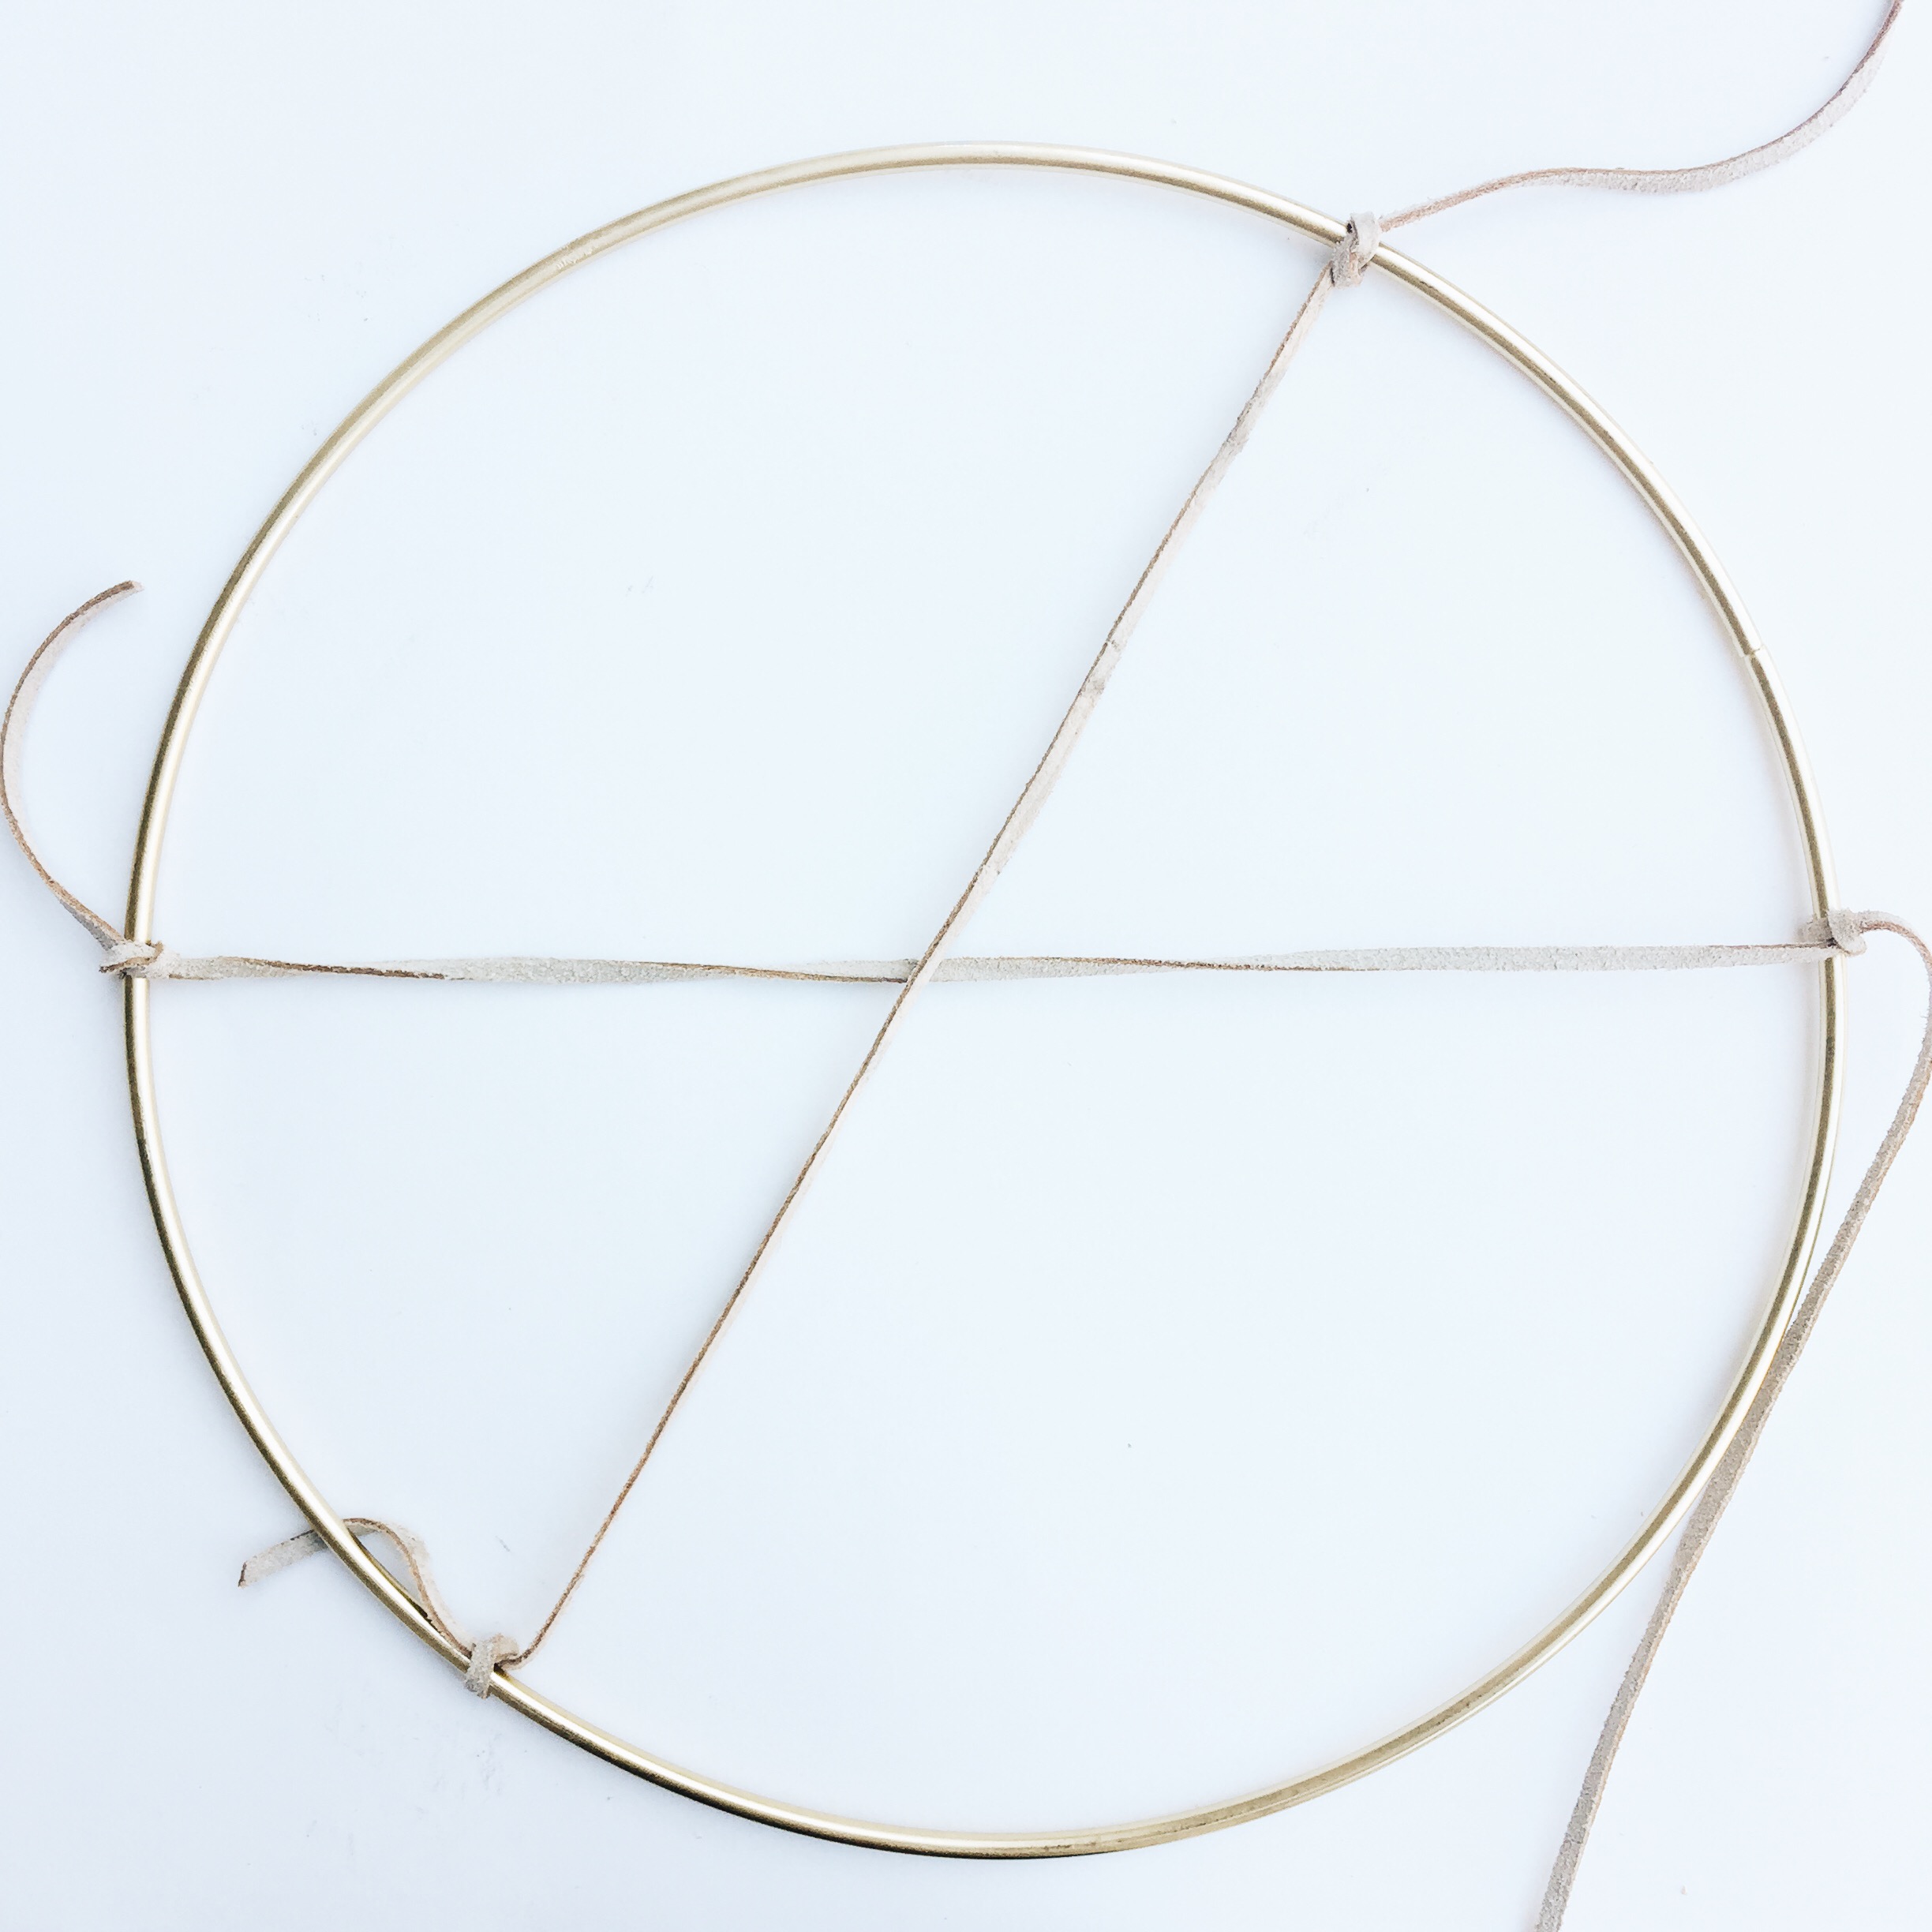

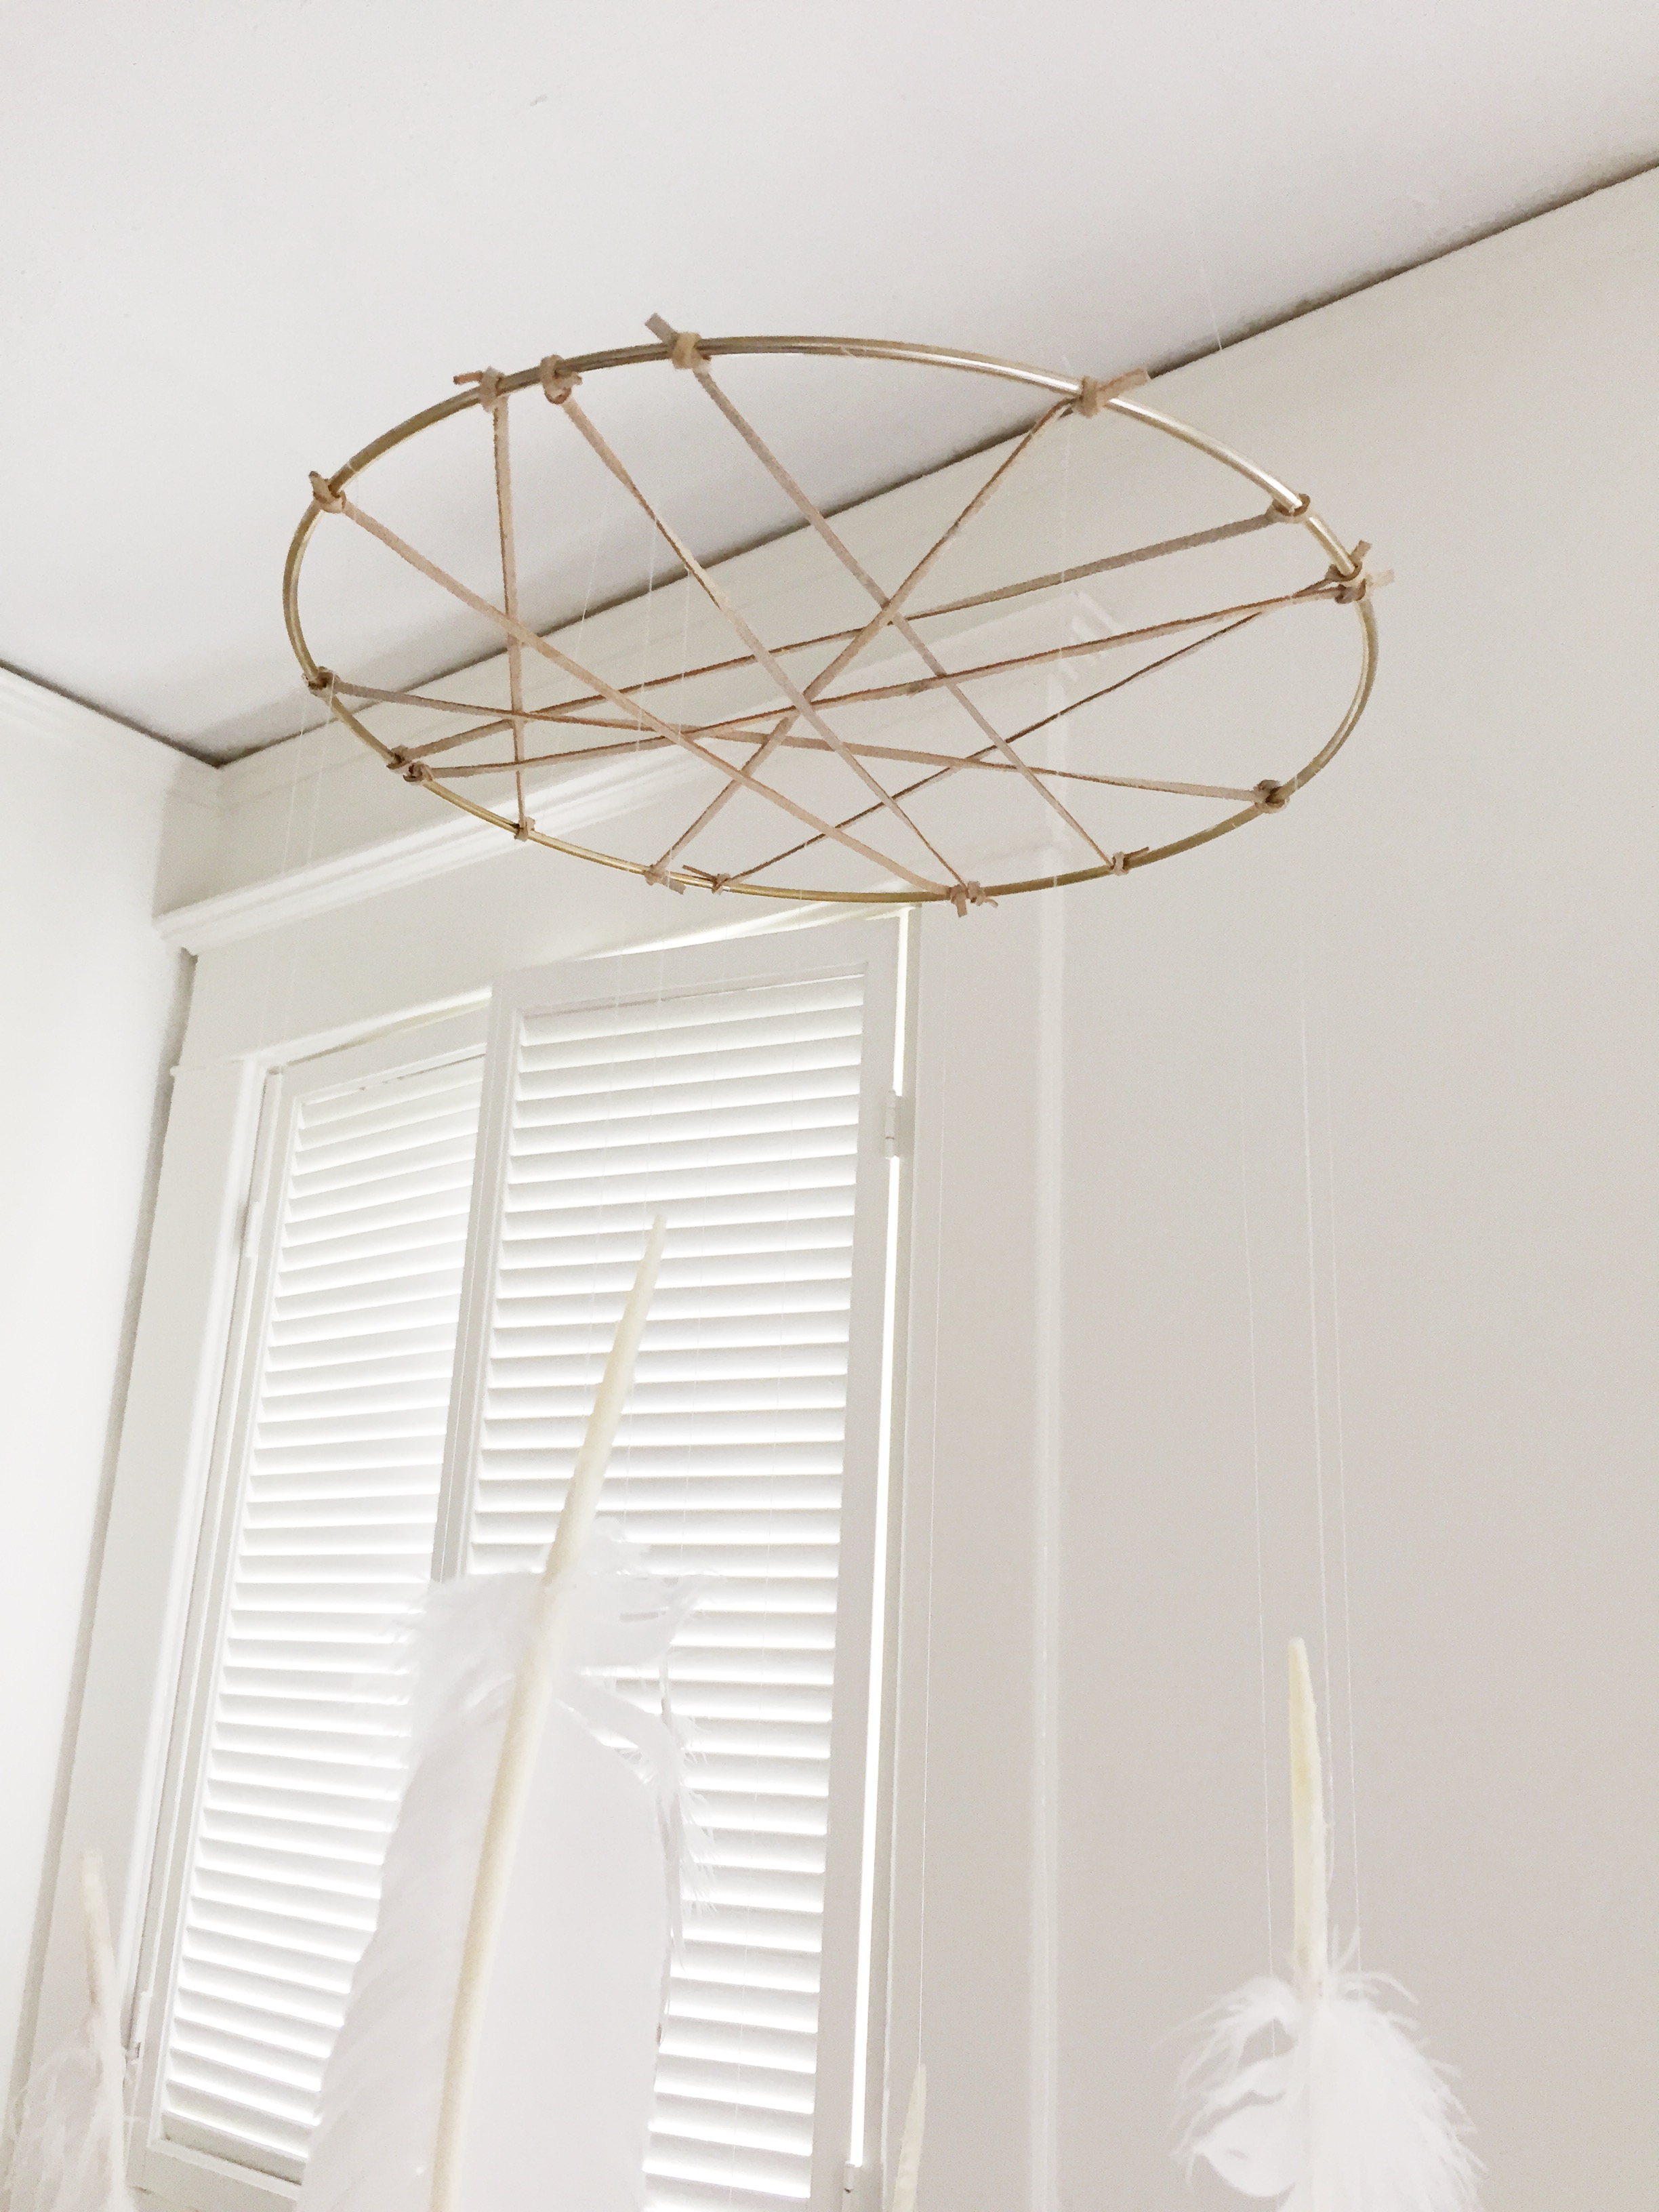
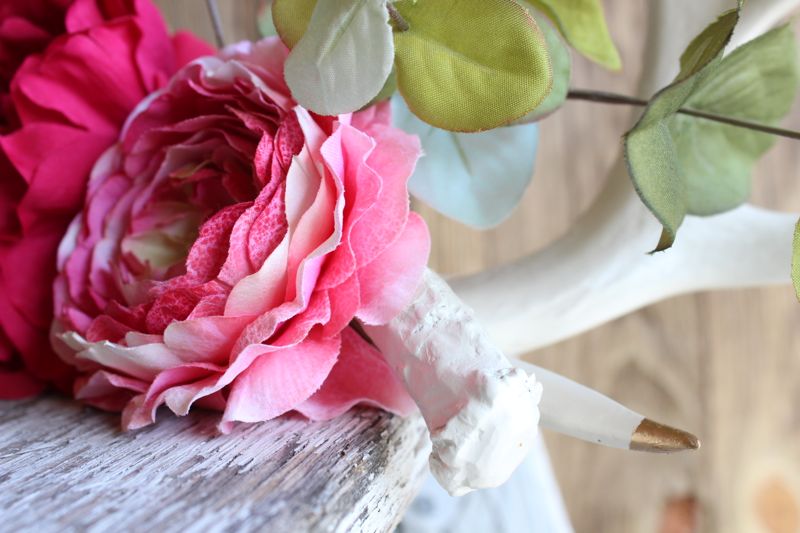
Now, your feathers should be dry and you are ready to assemble your mobile! Tie your transparent string, at various lengths, to the ends of your feathers. Then tie those strings to various places around the ring and throughout the center of your dream catcher design. I personally used 12 feathers on my mobile.

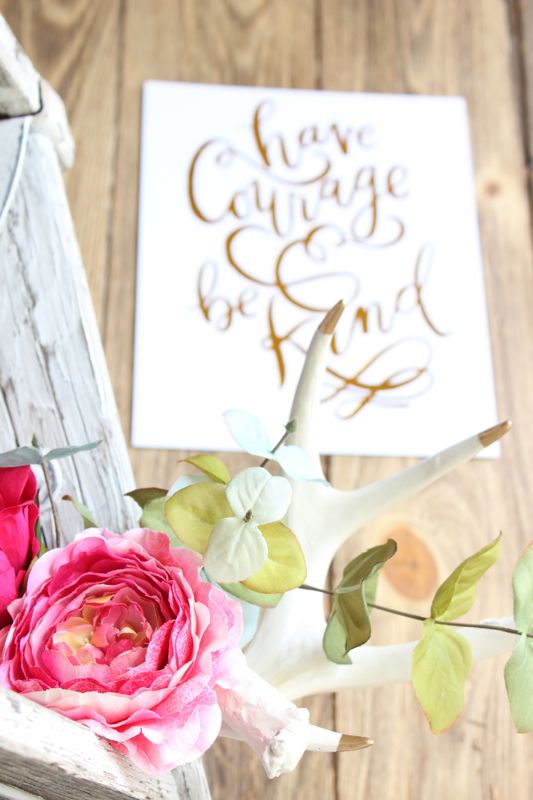
You are done and should have a gorgeous mobile for your home, nursery or kid’s room!


Photography via Ashley McIntosh