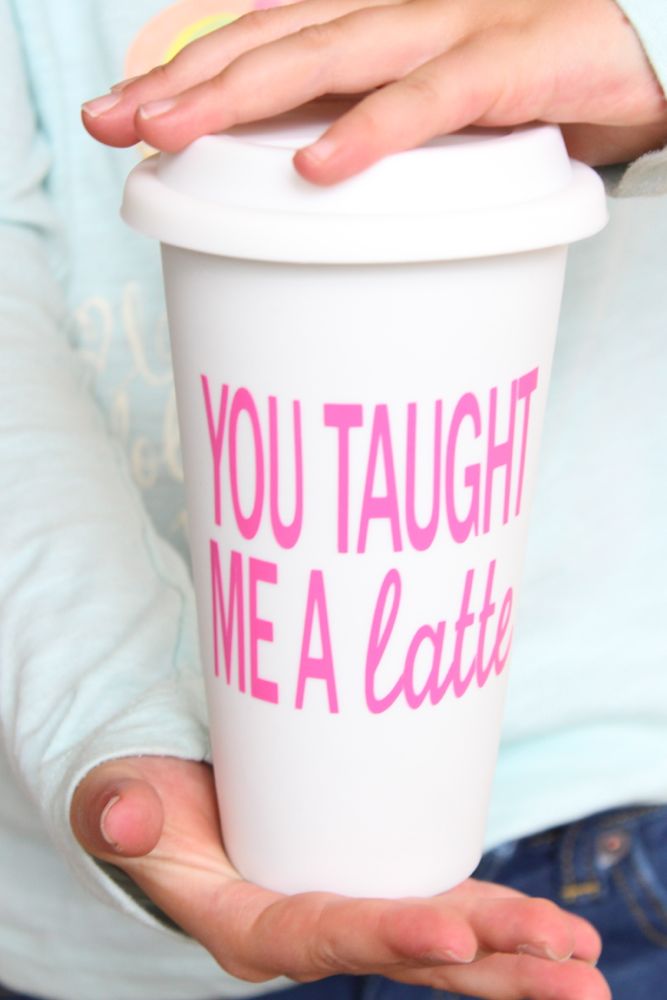
We run out the door every morning with a coffee in hand, so a good travel mug is a worthy investment. Teachers who choose to nurture, teach and discipline our children on a daily basis also deserve a good travel mug. Whether its tea or coffee, we want to make sure our teachers are fueled throughout the day with a memorable mug in hand. In the summer, when they are not in the classroom, they will be reminded of the difference they made in our children’s lives.
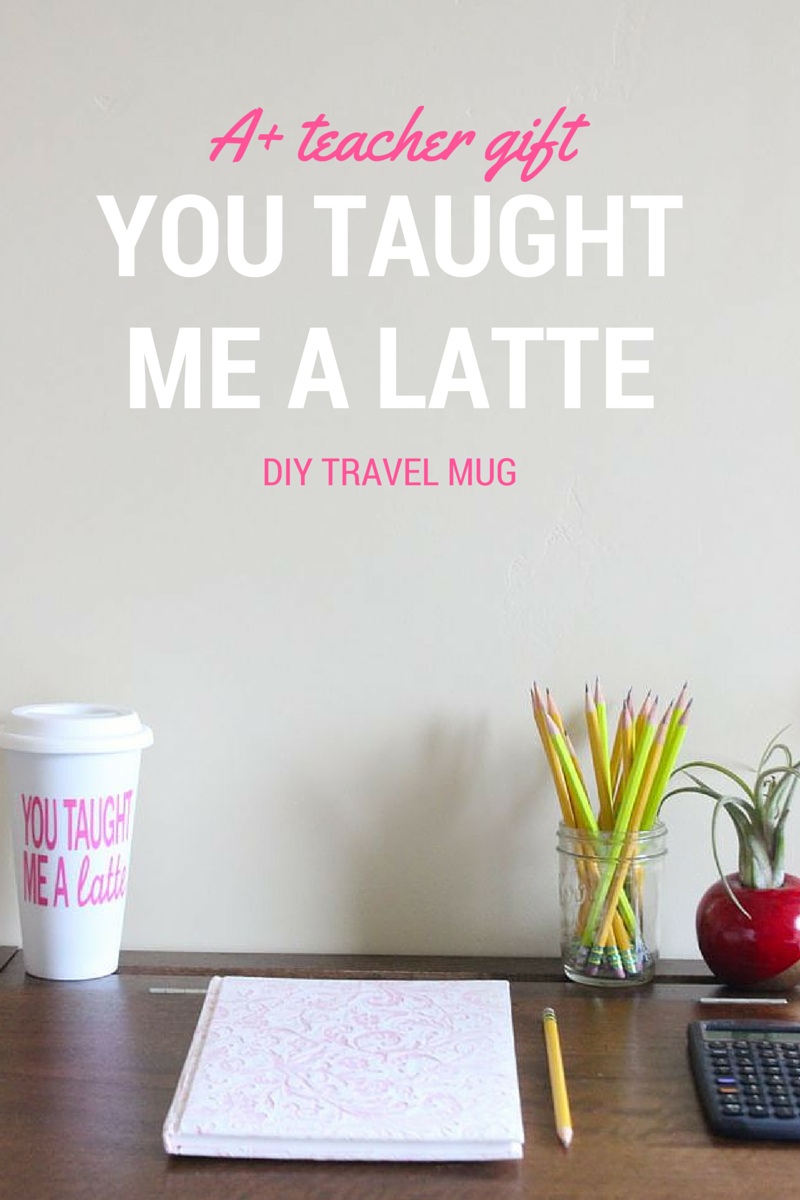
Instead of, “You taught me a lot,” we played with fun coffee lingo and turned it into, “You taught me a latte.”
Materials:
- Mug
- Vinyl
- Silhouette America cutting machine
- gift card
- painter’s tape
Directions:
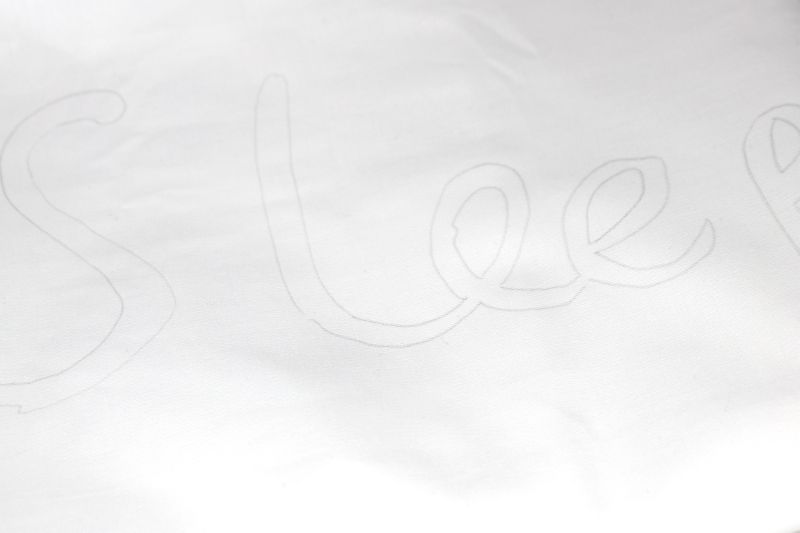
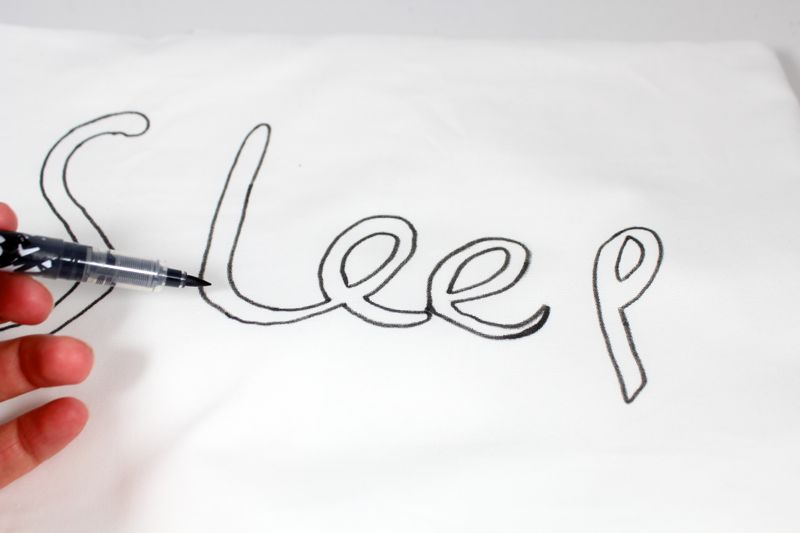
Design and print your words on Silhouette software and print according to package instructions.

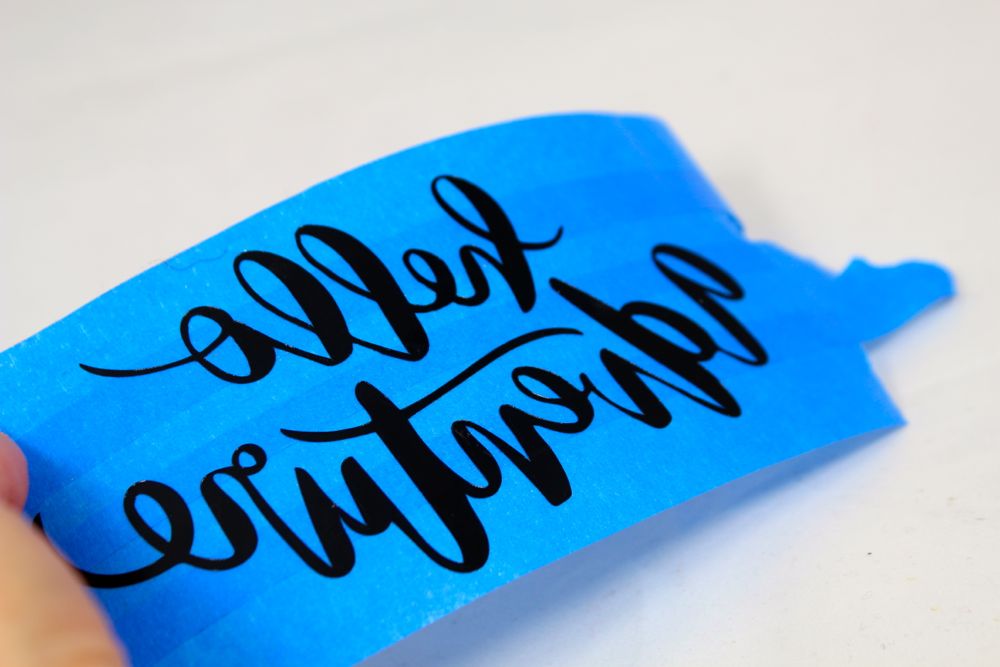
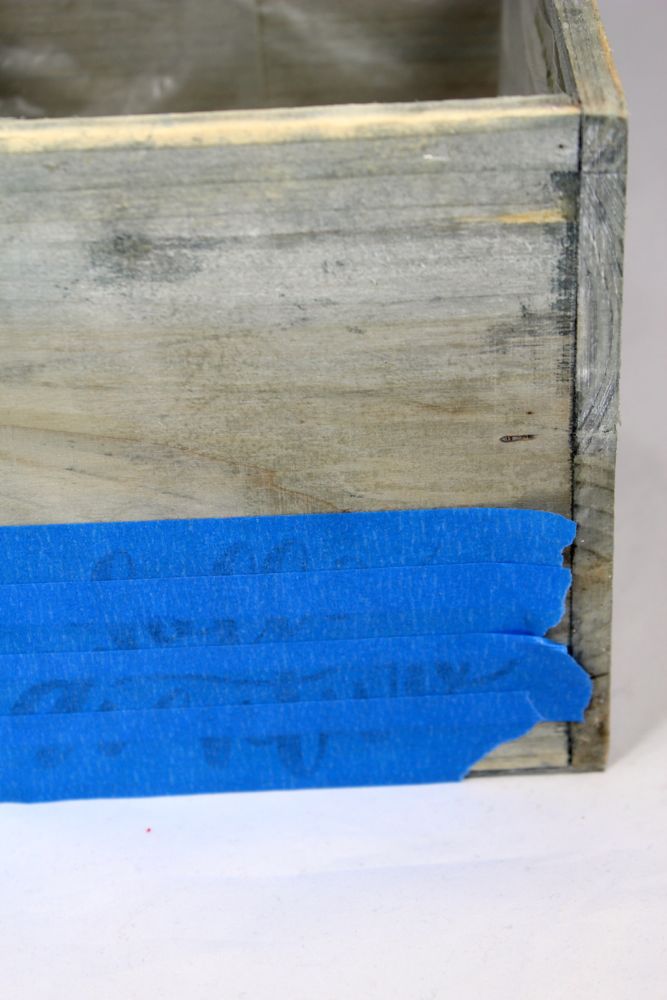
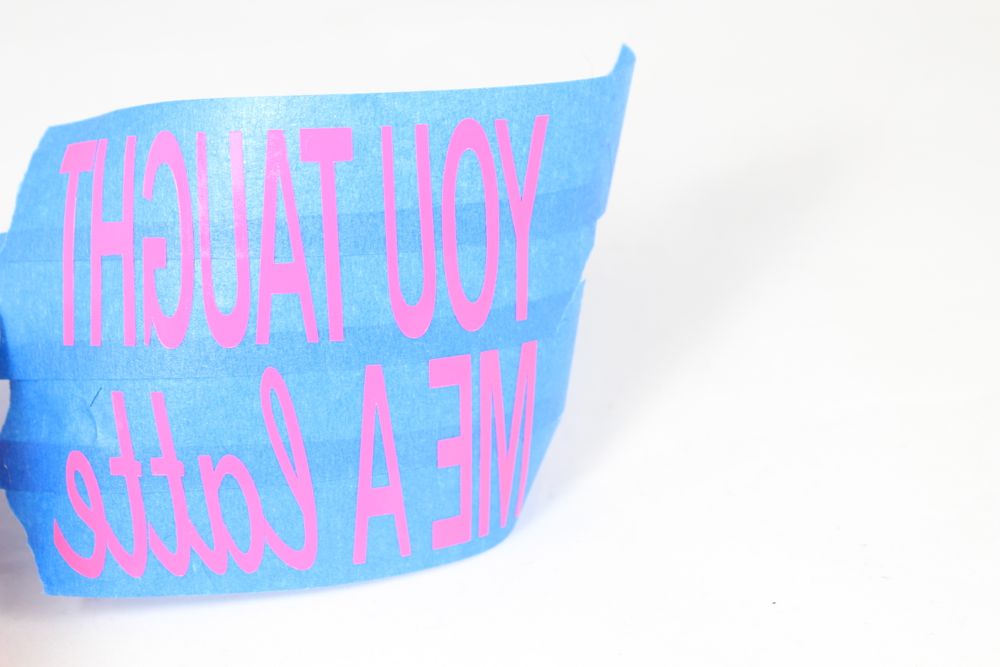
Place painter’s tape over the design, and pull it up. The words should now be on the tape.
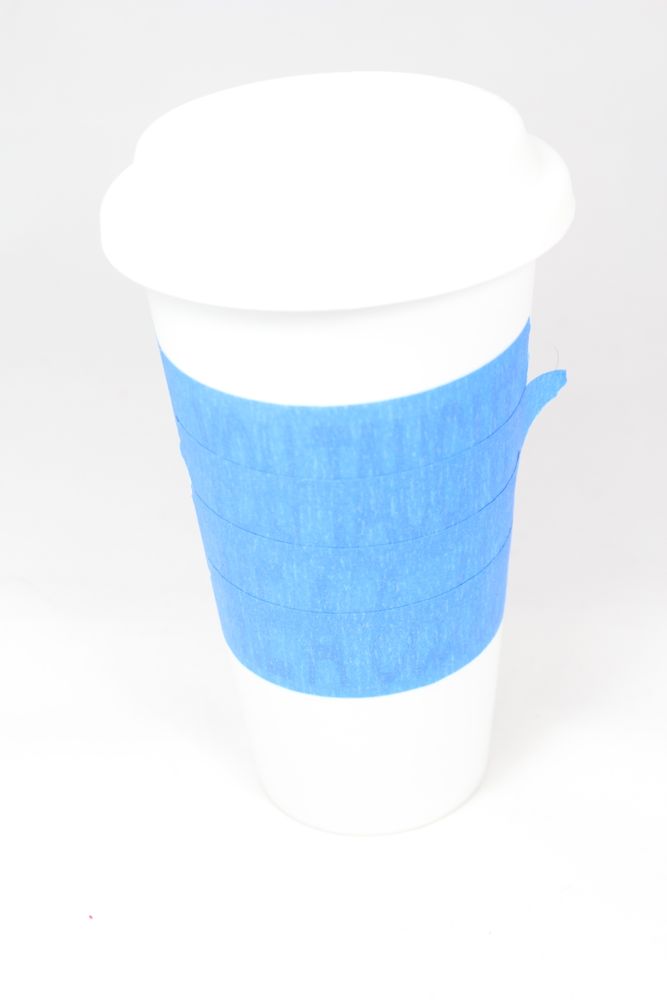
Press the tape {with the words} onto the mug and use a straight-edge to smooth out any bubbles.
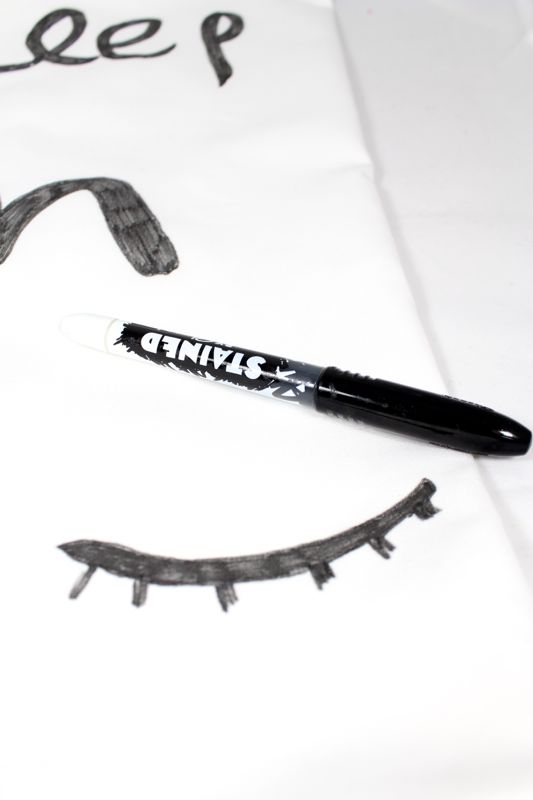
Remove the tape, strip by strip, to reveal your design.
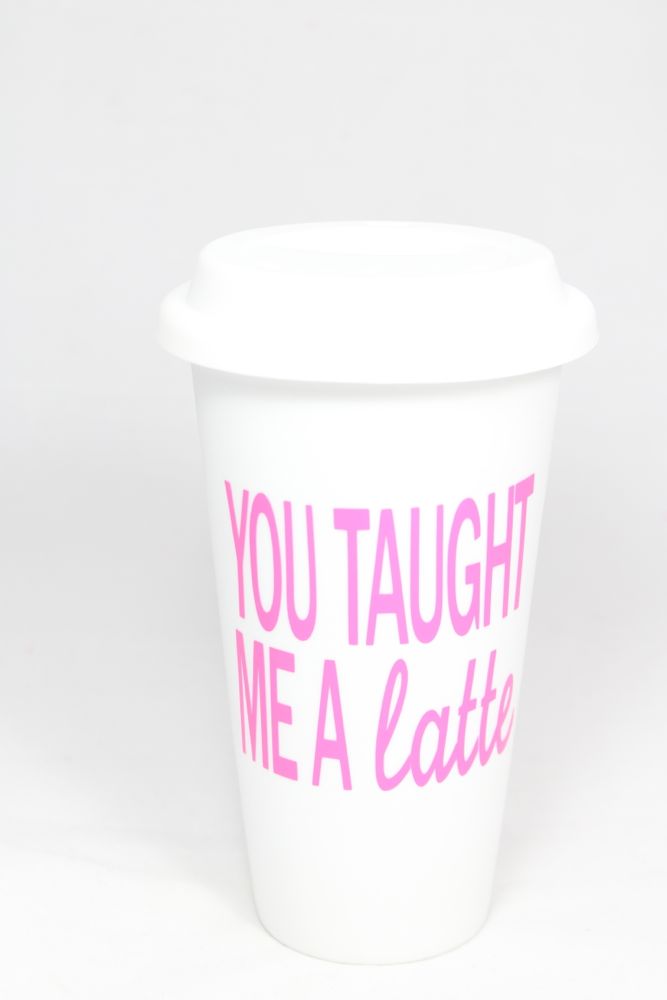
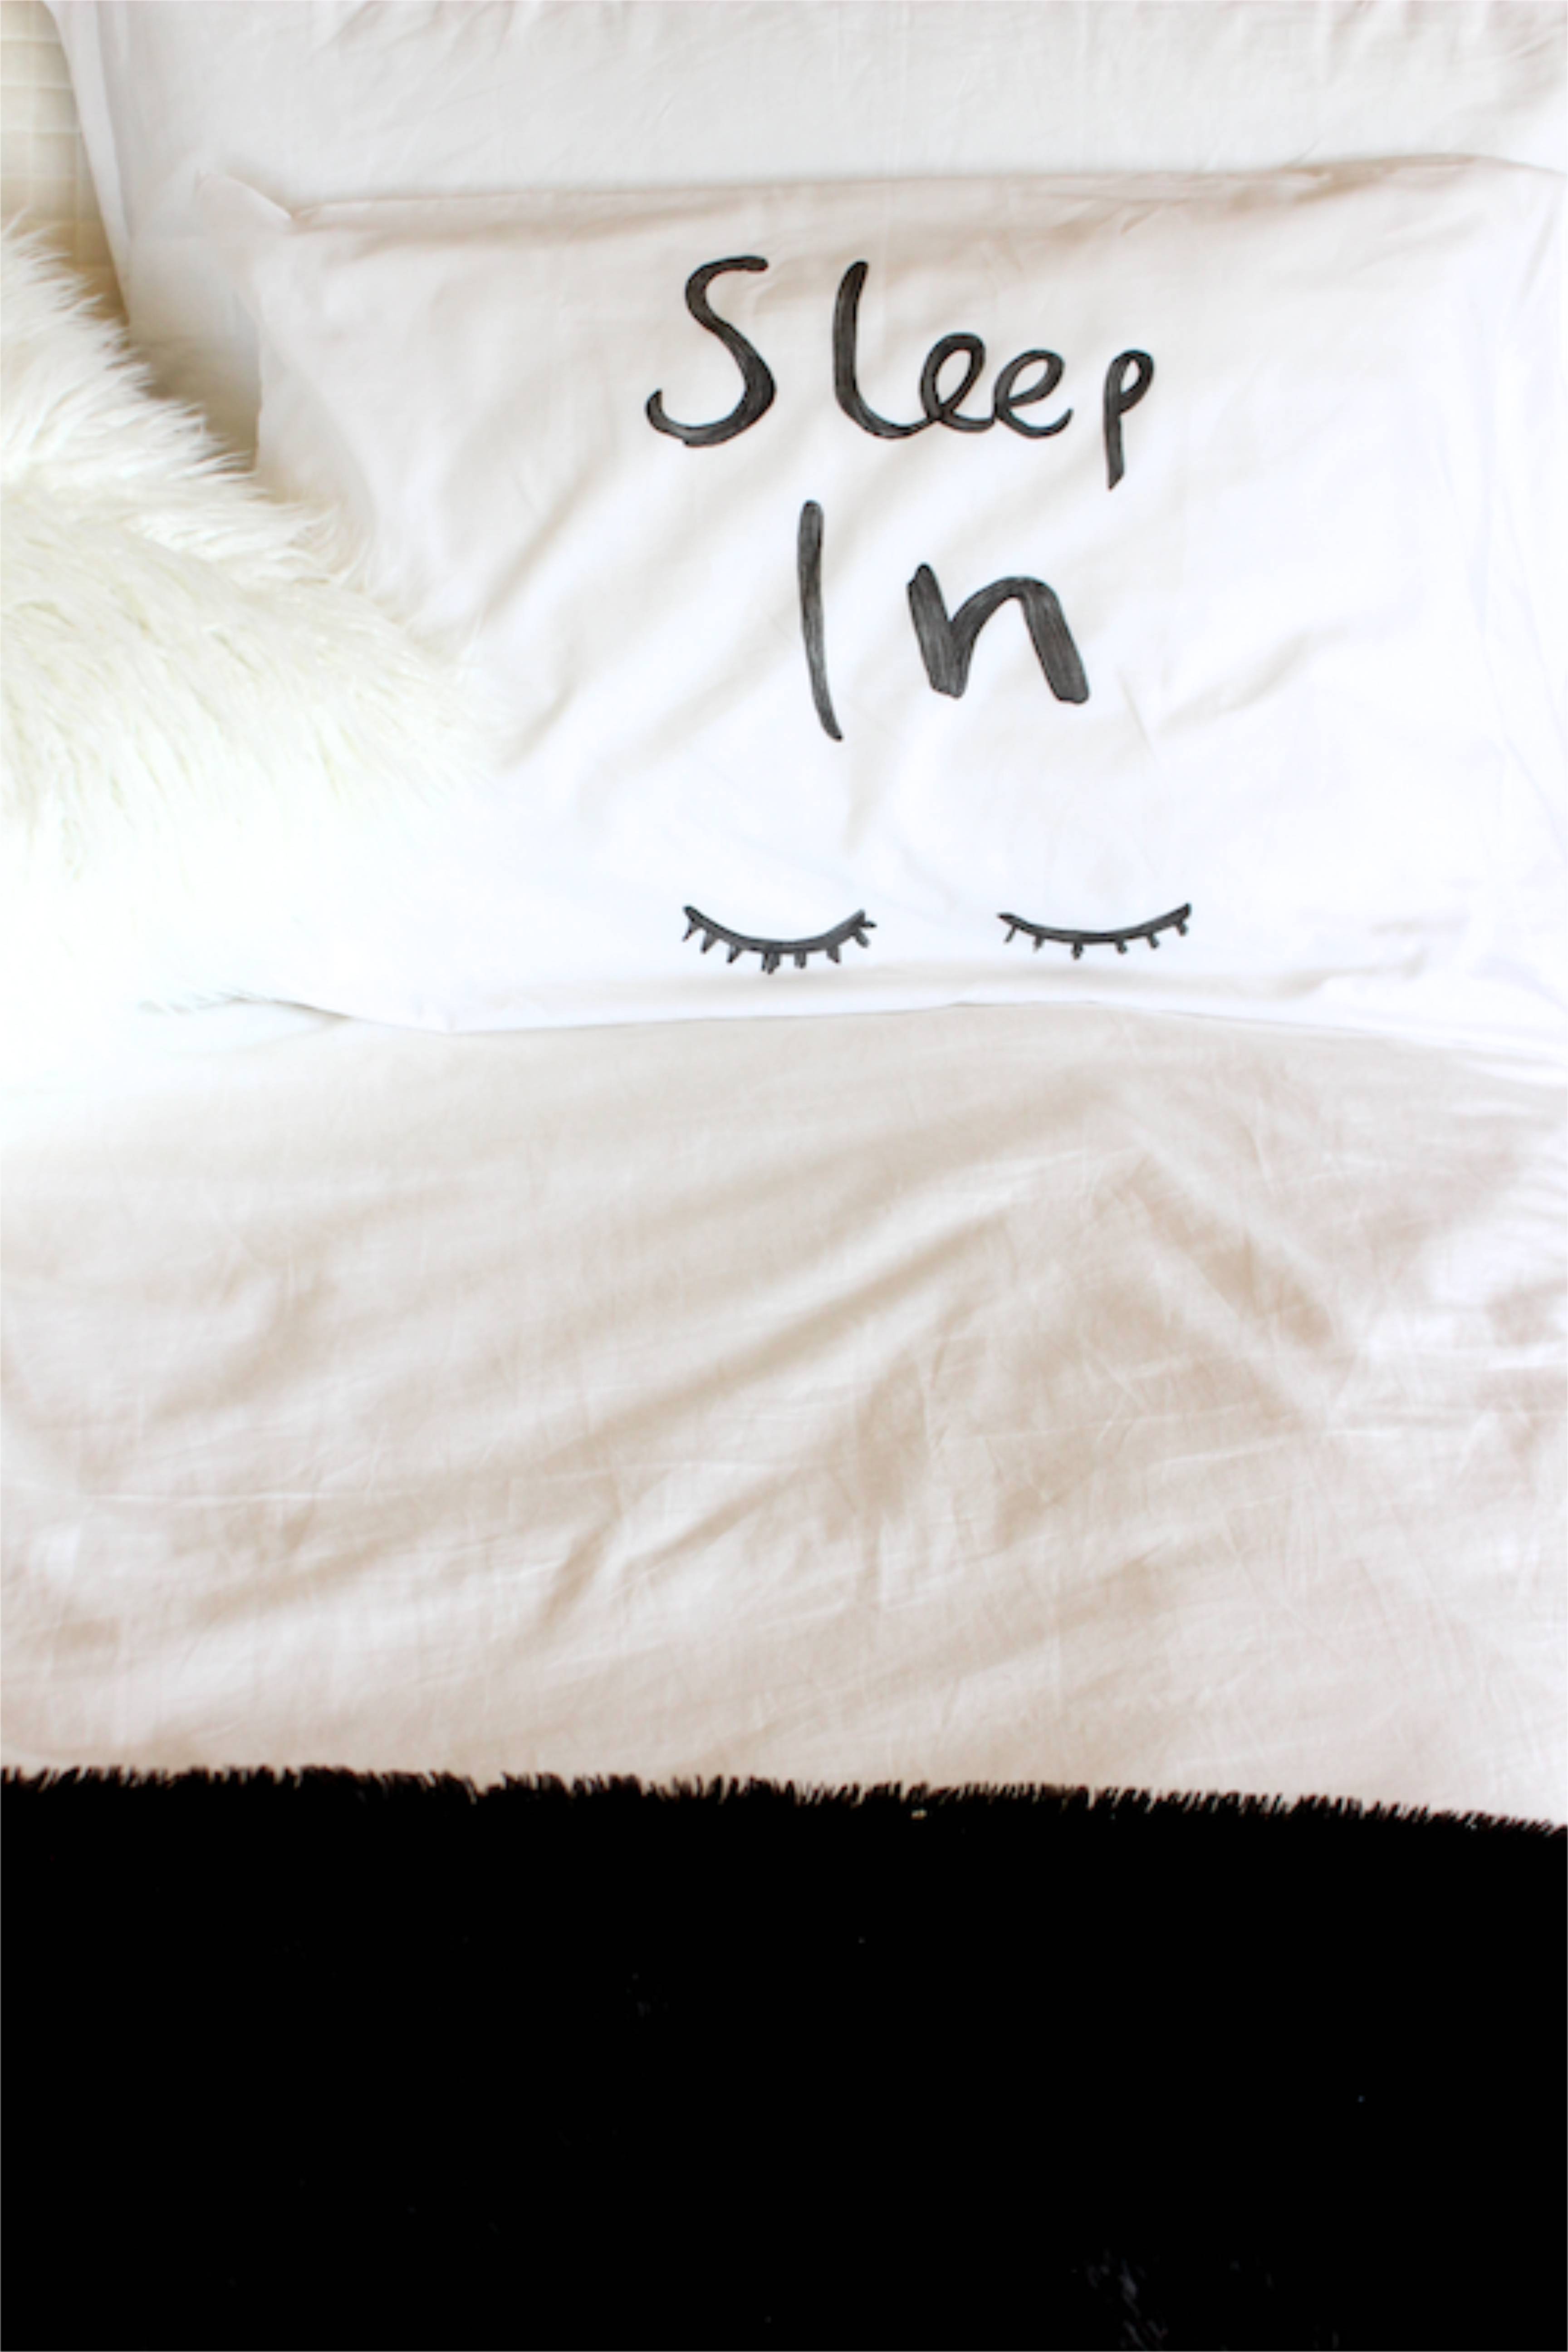
Insert a gift card to Starbucks or a local coffee shop and voila.
Thanks to Silhouette America for providing the vinyl for this DIY project. We would love them even if they didn’t. Thank you for supporting the companies that support us.
[show_shopthepost_widget id=”1617295″]