DIY Glitter Menu

sequin menu

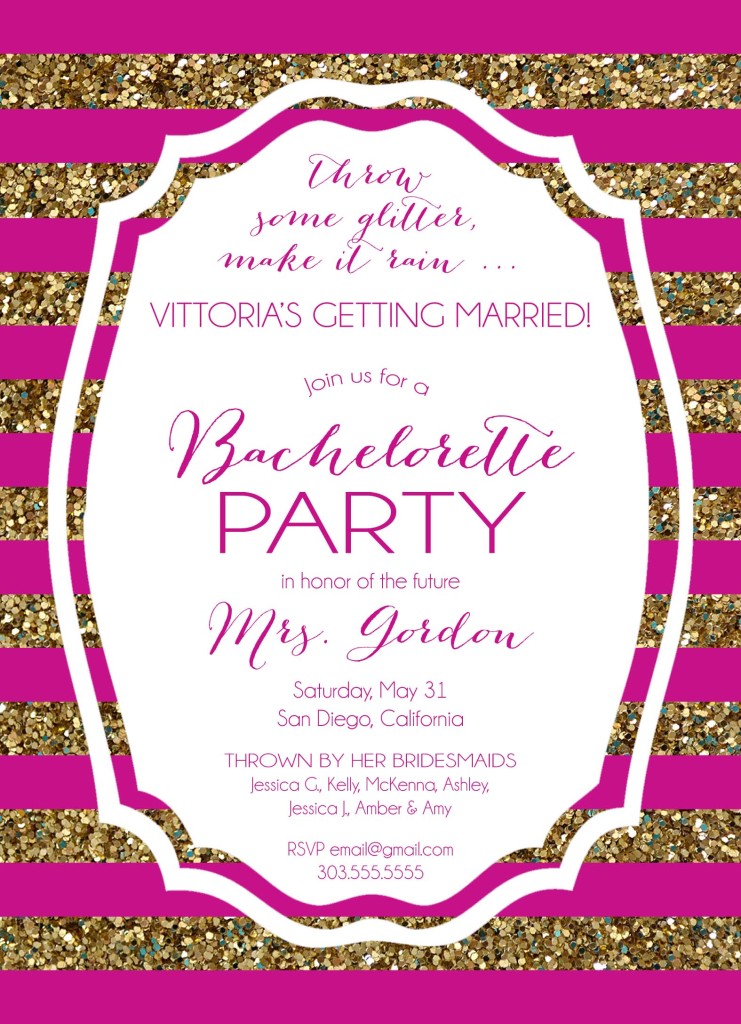
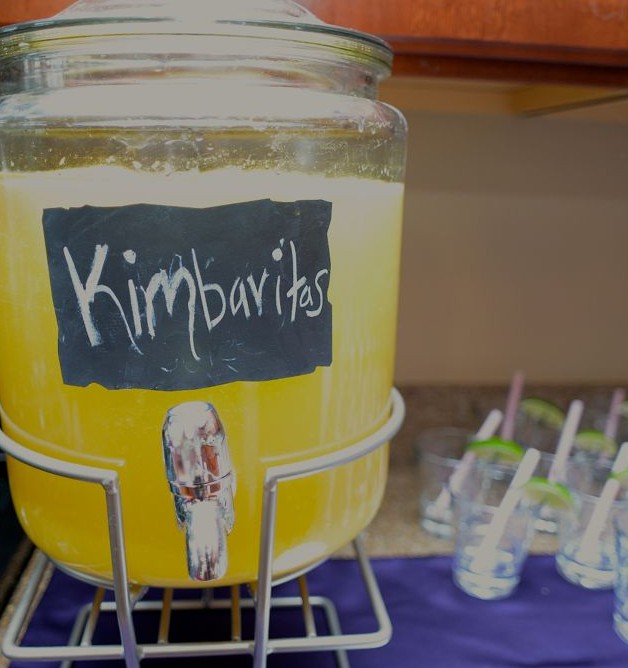
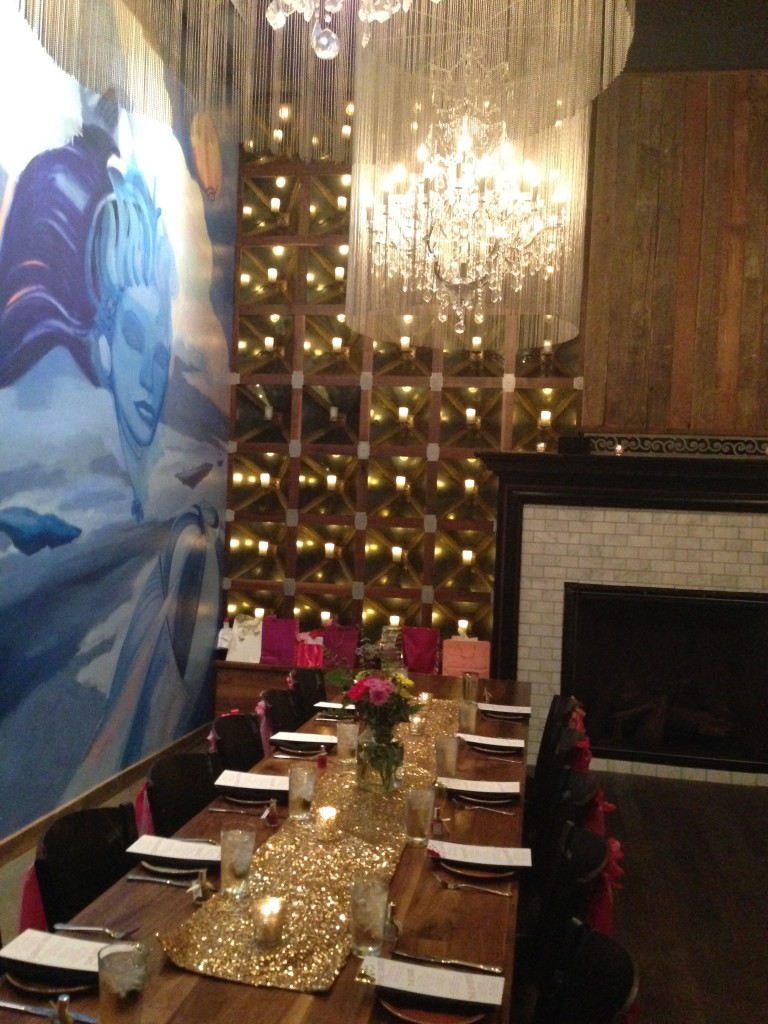
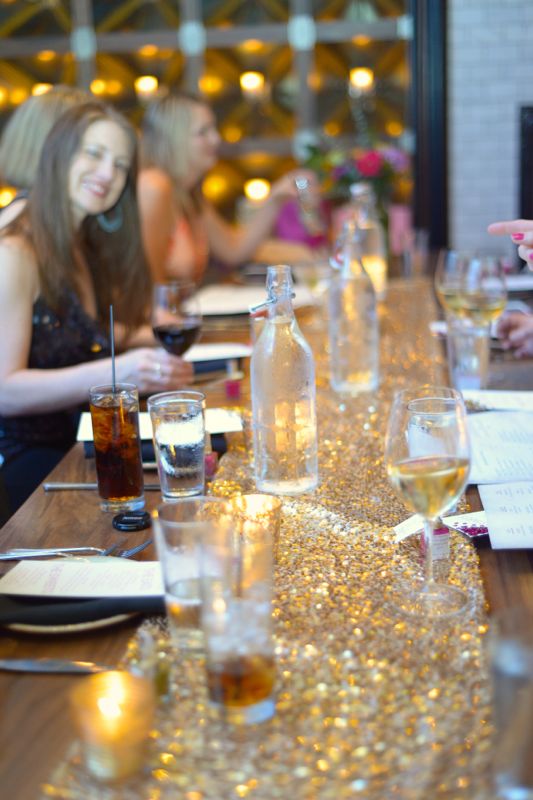
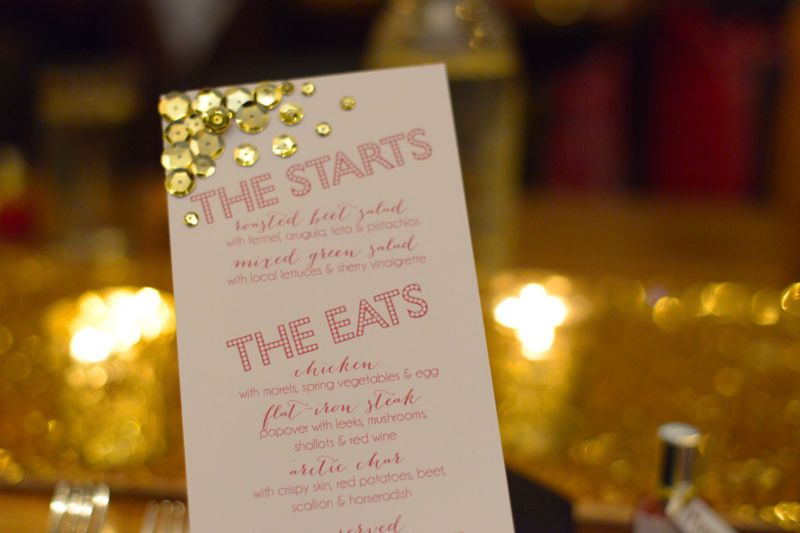
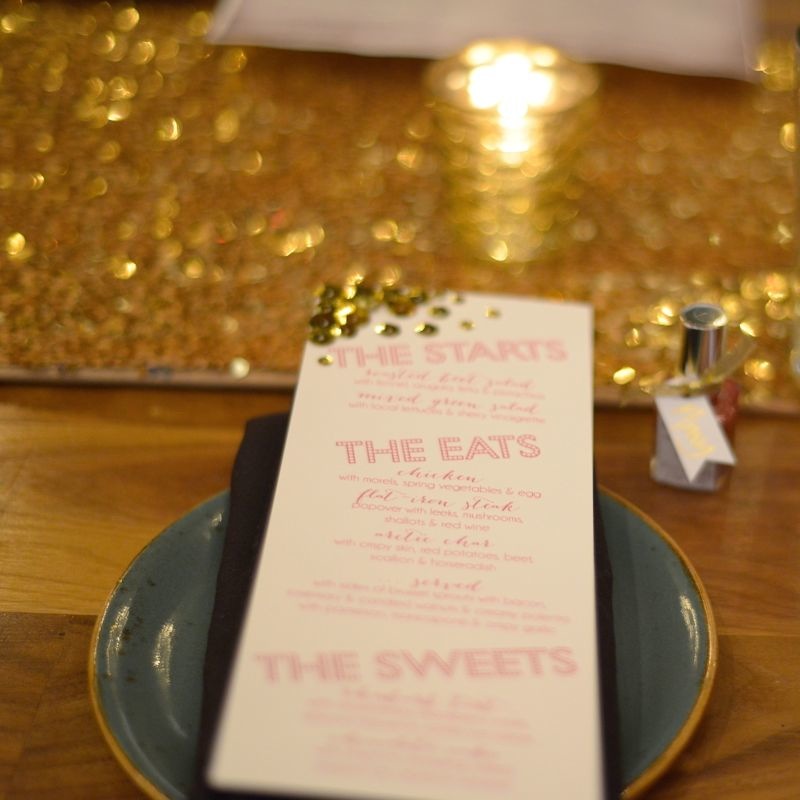
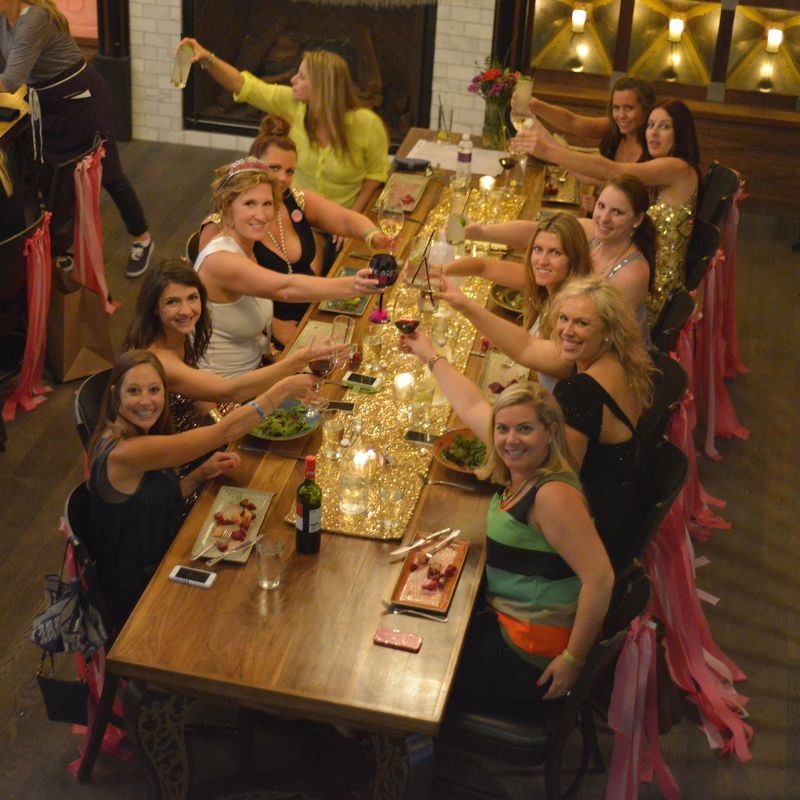
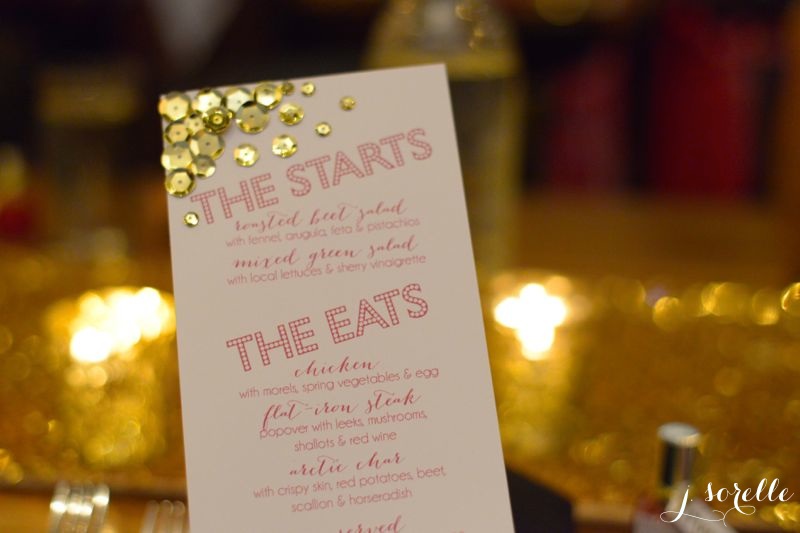
I am just in love with this menu Jenna from Fleur de Lis made for our recent Bachelorette Bash for Kimi. All photos of the party {thanks to the talented photographer and bridesmaid Amy Forness Photo} to come. Wouldn’t eating be more fun and just overall fabulous if we all had sequins menus like this for every meal?

Jenna printed the menus, then I used Elmer’s Craft Glue to glue sequins to each menu…sequins starting heavy in the corner, then scattered. If you need a menu like this in the future, e-mail us at hello@jsorelle.com. We can do it for you.

diy sequin menu

DIY sequin menu

DIY sequin menu

DIY glitter menu

{top and bottom images via Amy Forness Photo, and images in the middle from my cell phone}

DIY Cosmetic Bag Party Favor

DIY cosmetic bag

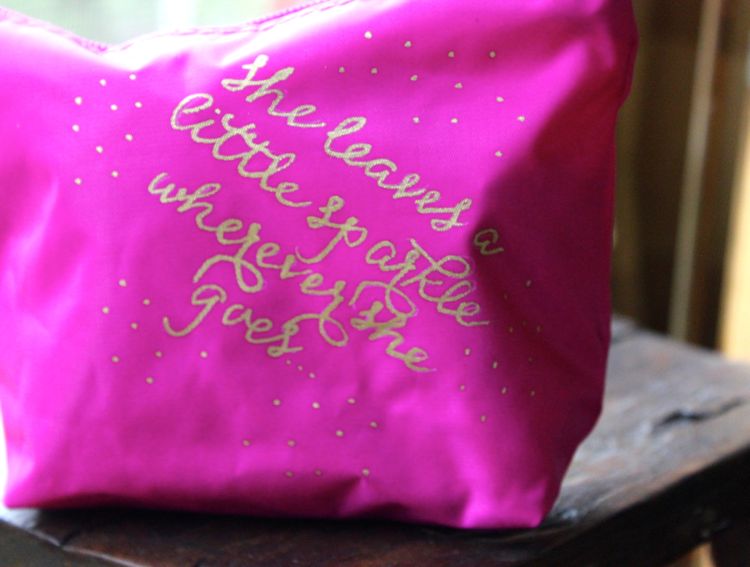
How do you leave a little sparkle?

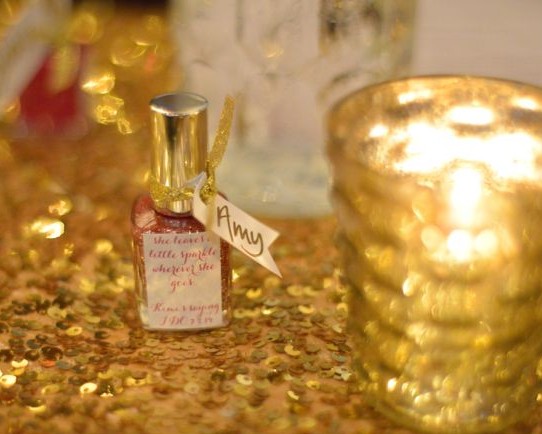
Maybe its your personality? Smile? Random, simple acts of kindness? A charming accent? Whatever it is, find it and do it because I love people who enter a room and own it, and leave me with a good feeling, or a memory when they walk out the door. I’m talking about the people I don’t forget, and leave a trace of their optimism behind with me. I have friends like this, who are special and simply amazing, and I believe they “leave a little sparkle wherever they go.” So, for a recent Bachelorette celebration for one of my bestie’s, I made cosmetic bags with this quote to go along with our Sparkle theme for the weekend. More photos of that extravaganza to come, but for now, a DIY.

You’ll Need
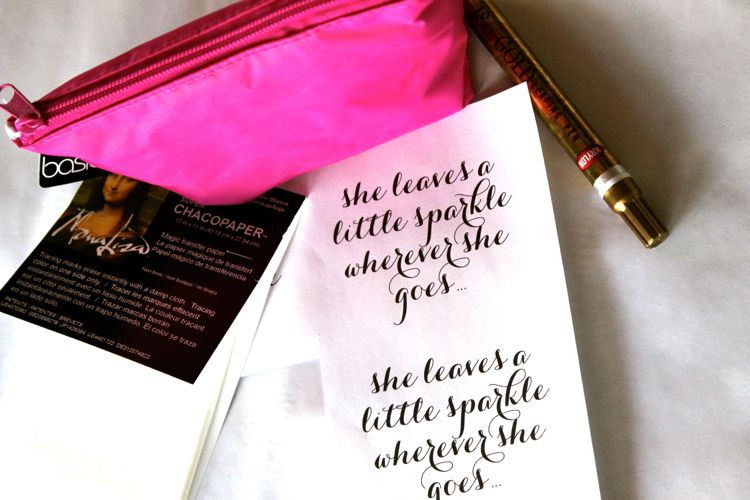
$3 cosmetic bags from Target {in the travel cosmetics section}
Chacopaper from Michaels
A printed quote
pen
Krylon Gold Leaf Pen from Michaels

DIY cosmetic bag

How To
Use Microsoft Word to create your quote in a favorite font.
Print your quote on a regular piece of printer paper.
Cut the quote and a piece of the Chacopaper the same size as the quote.
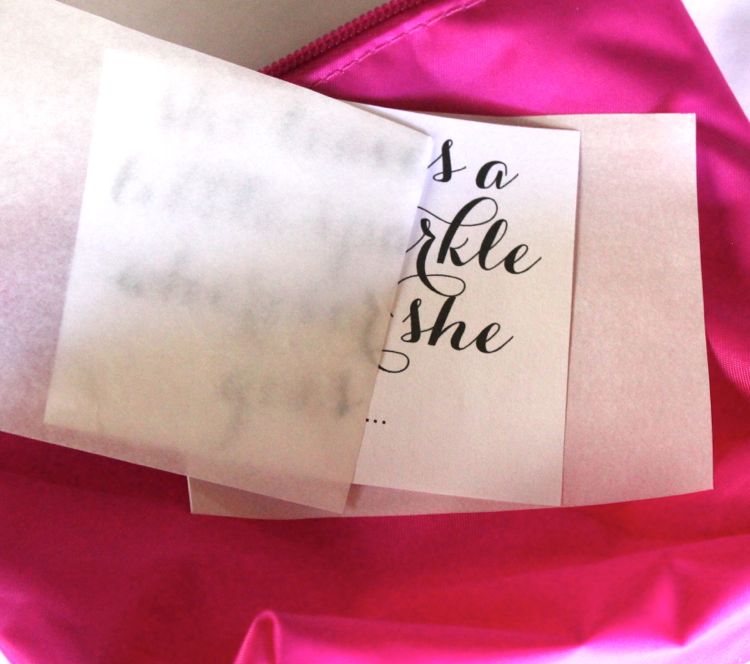
Layer the paper, bottom-up, starting with the ‘chalky side’ face down on the cosmetic bag {you can feel the ‘chalky’ side}, your quote and then top it off with the ‘tracing’ paper.
DIY cosmetic bag party favor
Use a black pen to firmly {without tearing} trace the quote on the tracing paper.
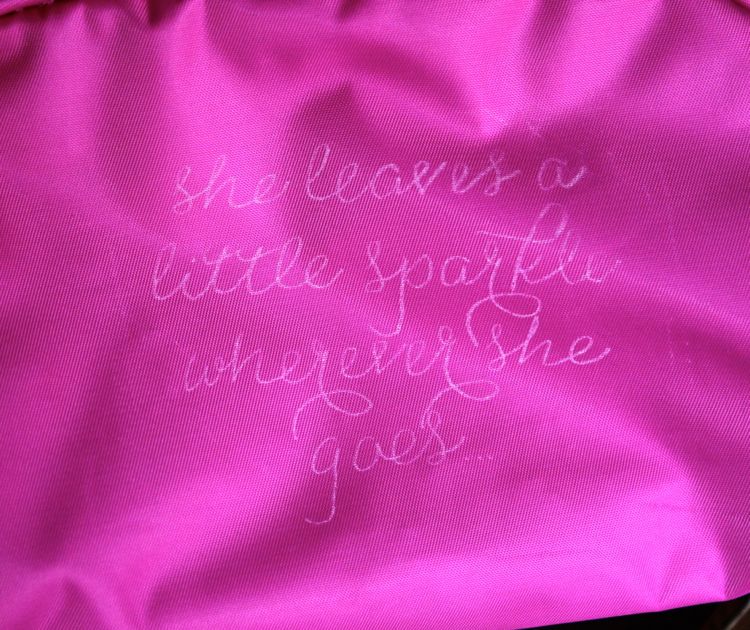
Once finished {or you can even get a sneak peek to see if its working if you can lift the edge without moving the paper} lift the 3 sheets of paper from your cosmetic bag and you will see a traced image of your quote. I used the white Chacopaper, so it appeared white like the photo below.
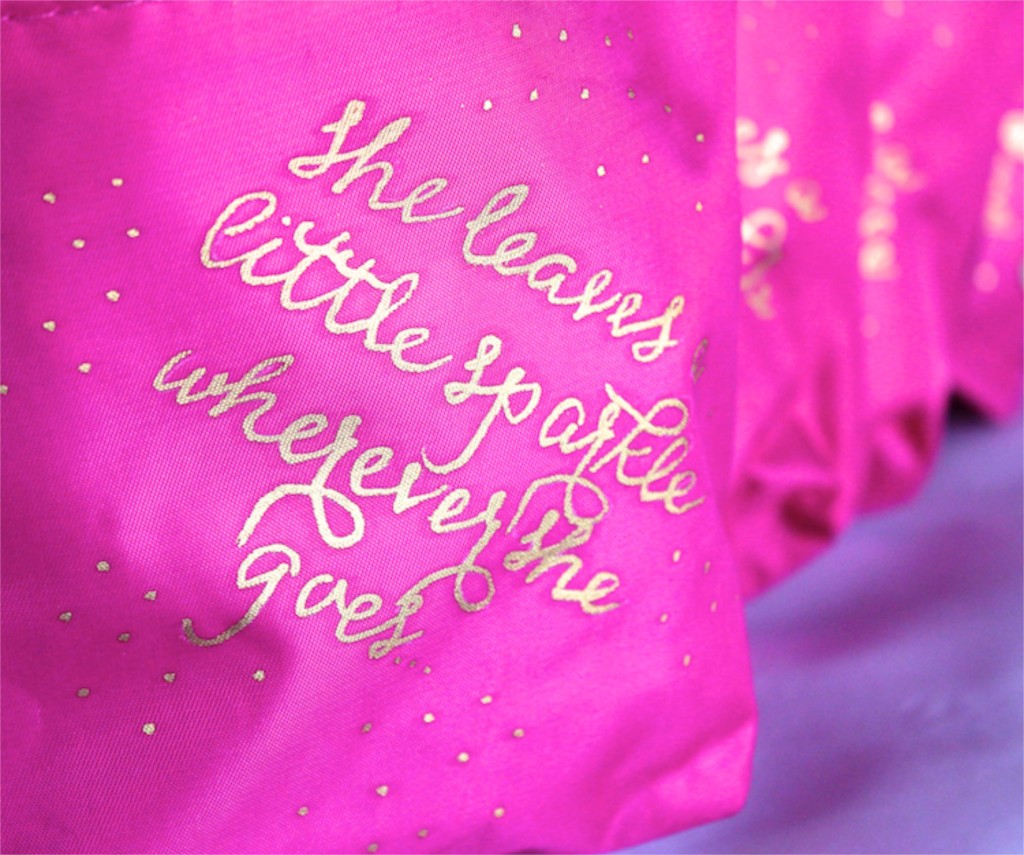
Use the Gold Leaf pen to carefully trace your ‘image’
Voila.
DIY cosmetic bag party favor

DIY cosmetic bag party favor{images via j. sorelle}

How to Turn a Frame into a Sparkly Tray

diy frame to tray_jsorelle

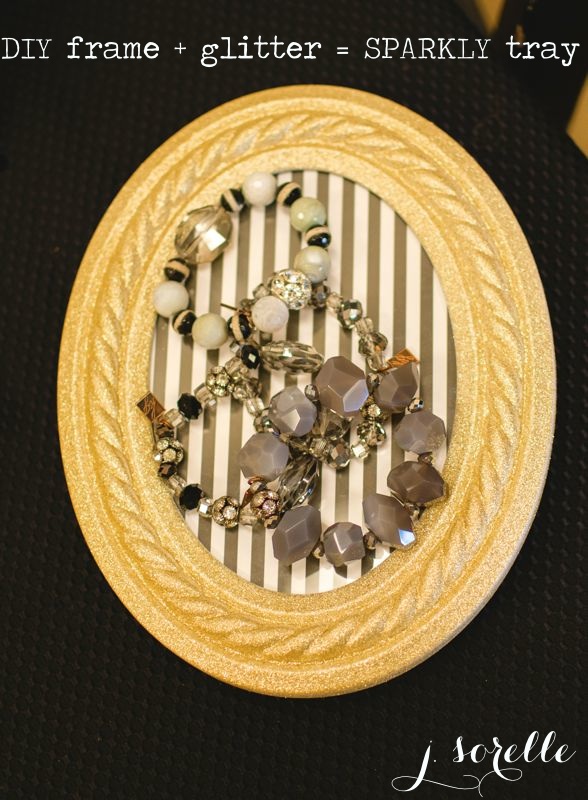
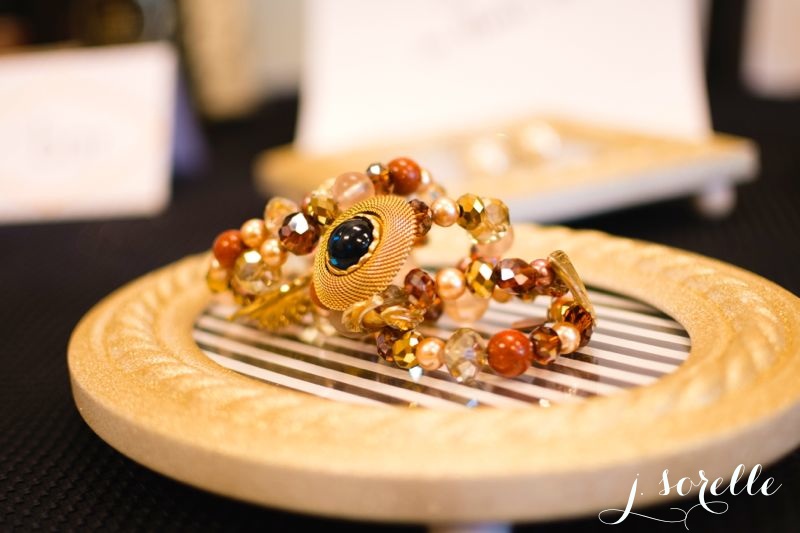
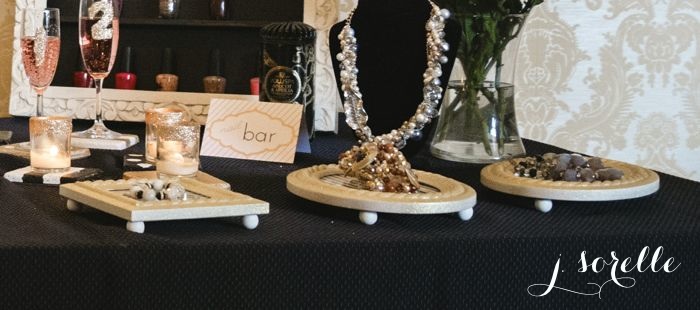
I see lots of sparkles around the winter holiday season, but I love sparkles year-round. Bring on the glam! We have a DIY project for you today from our Sparkle from Head to Toe photo shoot {featured on Hostess with the Mostess here…and soon to be featured right here at J. Sorelle}. We took $5 frames, and turned them into trays and party favors. Thanks to Kathryn Giarratano for making our trays shine even more with her gorgeous handmade jewelry.

diy sparkle tray_jsorelle

DIY frame trays

You’ll Need
Frames
Black and white striped paper {or patterned paper}
Paint
Primer
Doll heads – you will need either 3 or 4 per frame, depending on the size of the frame

How To
Remove the glass from the frame.
Spray paint the frame with primer, then your desired color or glitter. For my frames, I used one coat of Krylon White Primer and Krylon Glitter Paint.
If using glitter, cover with glitter sealer.
Paint doll heads white with spray paint or use a brush to paint, which are going to be your tray ‘legs.’
Once dry, use a hot glue gun to glue doll heads to the bottom of the frame.
Use the glass insert from the frame to trace the perimeter of the shape/size onto your patterned paper, and then cut.
Insert the glass, the paper, and then the back of the frame.
Voila, you have yourself a cute little tray for perfume, jewelry or nail polish…and a very cute gift for a girlfriend!

IMG_0464diy sparkle frames_jsorelle

{images via meredith moran photography and j. sorelle}

Rainbow Fruit Sugar Cookies

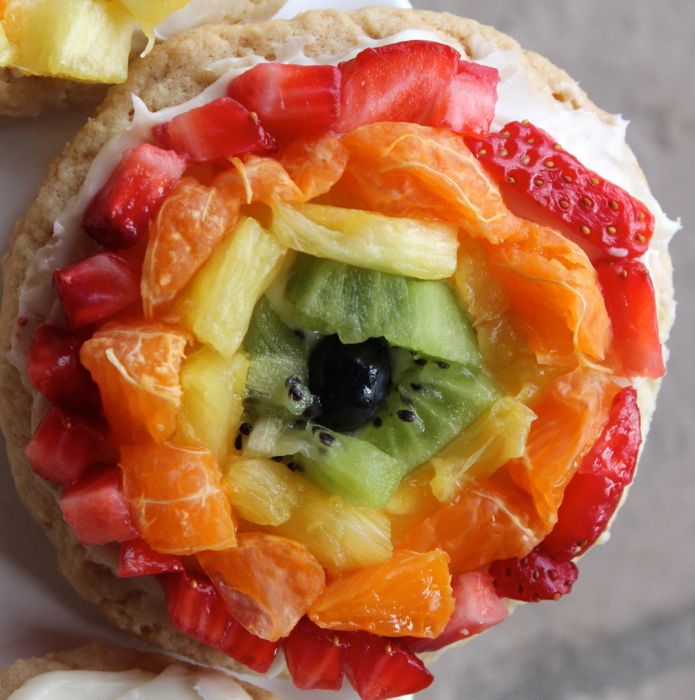
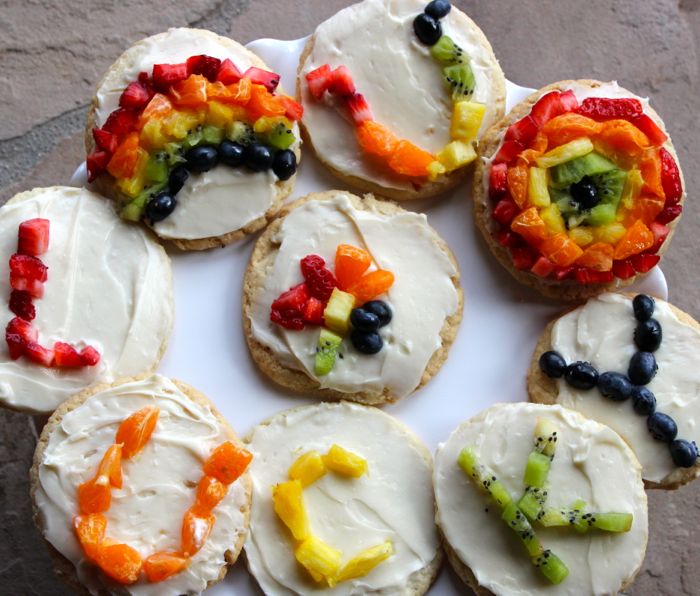
rainbow-sugar-cookie-with-fruit

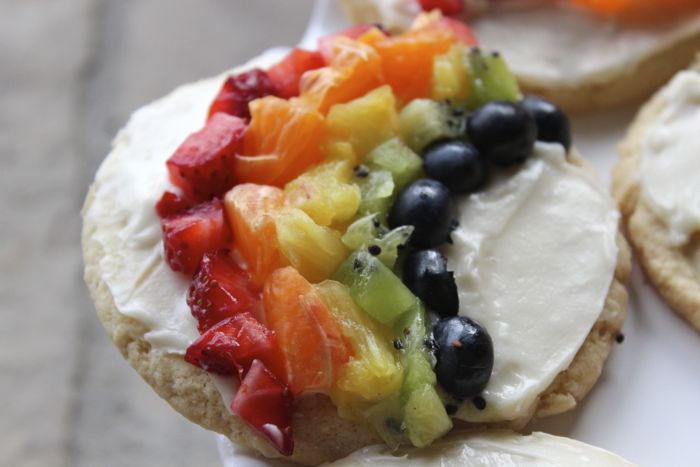
The colors of the rainbow are so pretty in the sky…and they are so pretty on a cookie too.

Instead of a giant sugar cookie covered in fruit like my mom use to make; this St. Patty’s Day, the kids and I made mini sugar cookies and decorated with rainbows and all things Irish. They are so yummy – anything with a cream cheese frosting is delicious in my book – and an adorable treat to celebrate the Irish in all of us.

Taste the Rainbow Sugar Cookies
family recipe
makes 12-13 cookies

Ingredients
Strawberries, 2 to 3
Blueberries, 5 to 10
Clementines aka Cuties, 1 to 2
Pineapple, not even half of one
Kiwi, 1
Pillsbury Sugar Cookie Dough or homemade recipe or make them gluten-free with this recipe.

Cream Cheese Frosting
1 tsp. vanilla
½ cup sugar
8 oz. bar of cream cheese, softened

How To:
Bake cookies according to package instructions. Allow them to cool.
Add all frosting ingredients in a bowl and blend with a mixer.
Slice all fruit into small pieces.
Use a knife to smooth frosting on the cookie, and then decorate.

rainbow-sugar-cookie-with-fruit

IMG_4212

{images via Tutto Bella}

Mini Bailey’s Irish Cream Cheesecakes Recipe

Tutto Bella is getting a makeover. Kind of like the kind all us ladies need…A new pair of heels, an afternoon at the nail salon, a new wardrobe and a visit to the stylist, just to name a few. So, please excuse us while we add a little pizzazz, more organization and even more fabulousness here at Tutto Bella.

WARNING: Colors, and design of site will change during this time.

Really exciting things to come, but while we do some behind the scenes work, we have some great posts that we just couldn’t help sharing.
With St. Patty’s day approaching, we have some rainbow and Irish love this week…and first up is Mini GF Bailey’s Cheesecakes.
We love Bailey’s Irish Cream. Love it in coffee, chilled over ice at the end of a long day and now in our cheesecakes. For all you gluten-free folk, this is a treat you can enjoy too, because we made it gluten-free. This is easy and so yummy. Make it for your friends and family as you celebrate the Irish in you on St. Patty’s Day, or just make it for yourself.
gf mini cheesecakes_tuttobellablog
gf baileys cheesecake_tuttobellablog
gf mini baileys irish cream cheesecakes_tuttobellablog
Gluten Free Mini Bailey’s Irish Cream Cheesecakes
serves 12

Crust
1.5 cups Glutino chocolate and vanilla crème oreo-style cookies
3 tablespoons melted butter

Filling
12 oz cream cheese, softened
½ cup sugar
½ tsp vanilla
1/8 tsp salt
2 tablespoons Bailey’s Irish Cream
1 egg

Topping
Preheat oven to 350 degrees. Fill muffin tin with cupcake liners.
Mix crust ingredients together in a food processor or blender. Add a full spoonful to each liner and then press down to create a packed bottom layer. Cook for 5 minutes.
In a medium bowl, beat together the cream cheese, vanilla and sugar until fully mixed. Add salt, Bailey’s, and an egg until the batter is smooth.
Add less than a ¼ cup to each cavity for an even layer of cheesecake on top of the cookie crust. Bake for 15-17 minutes. Once cool, place in refrigerator and chill for at least 4 hours or overnight.

Once you are ready to serve, or a couple of hours before you serve, it’s time to make the whipping cream. In a medium bowl, add the topping ingredients for whipped cream, blend until soft peaks form.

Take out of fridge before you serve, be generous with the whipping cream topping and serve! .

Devour!!

If your a chocolate lover like me, you’ll want to add an Udi’s Gluten Free Brownie in the middle. Follow all directions above, except add a tiny brownie {they are made and you can find in your local grocery store} on top of the cooked crust, and add cheesecake mixture around/on top of it. Cook for the same time, closer to just 15 minutes. It was also a delicious treat.
gf bailey's cheesecake with brownie_tuttobellabloggf baileys cheesecakes_tuttobellablog{images via Tutto Bella Blog}