Good Vibes

good-vibes-white-shoes-pink-floor

We believe that what you put out into the world, you get back.

If you think and radiate happiness and good thoughts, it invites goodness and positivity into your life.

When a good friend, or a stranger in line at the grocery store exudes joy and good energy a magical thing that happens – he/she lifts our spirits. Good vibes just feel good. It feels good to give them, and it feels good to be the recipient of them. Plus, good energy is contagious, so we have the power to shift the vibrations of a room. It’s an invisible force, but it is felt, and can also be brought to life by smiles, laughter and acts of kindness.

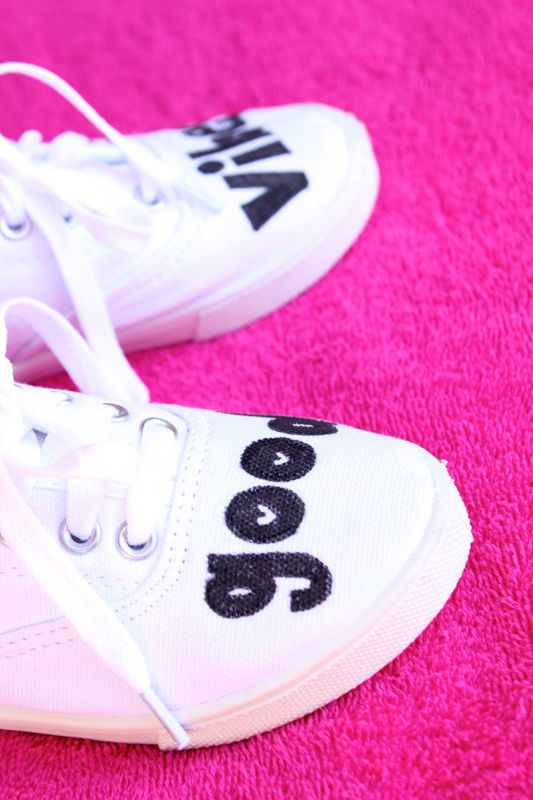
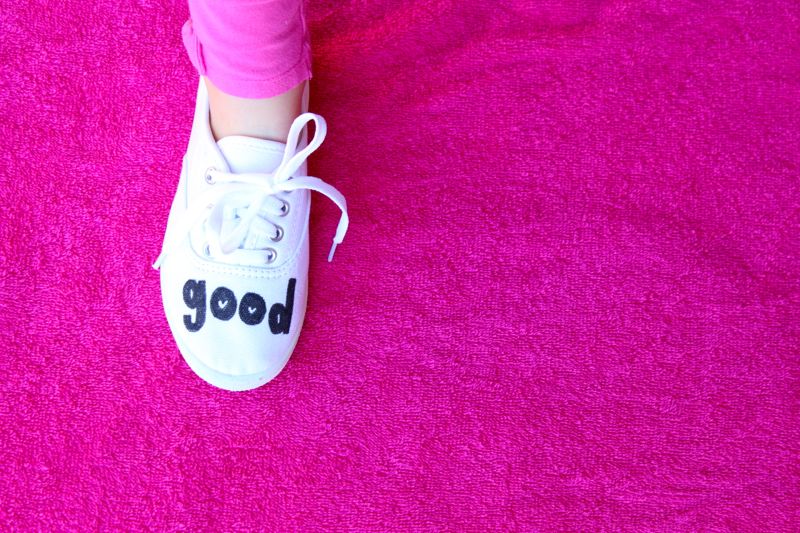
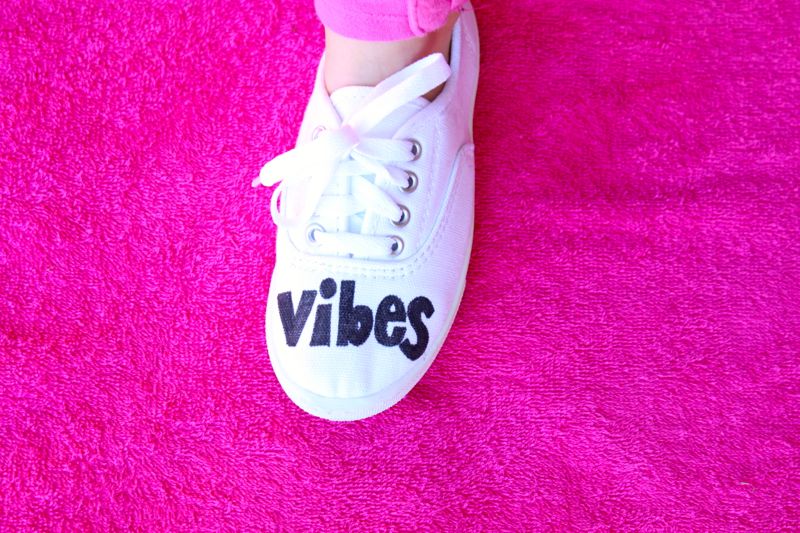
We are going to make a conscious effort to practice good energy in our own lives, and set positive intentions. We are going to be responsible for the energy we bring into a room. In fact, Jessica’s daughter is literally going to step into the room with good vibes because we made her DIY good vibes shoes. And, she is going to rock them!
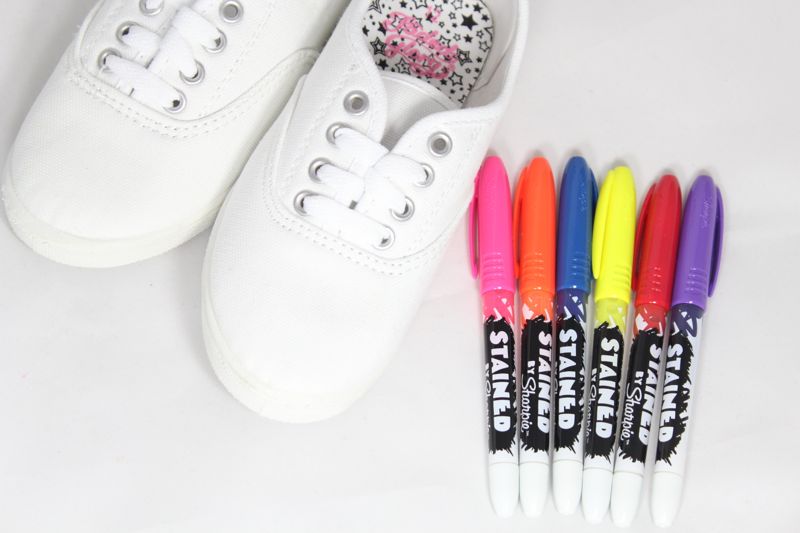
good-vibes-white-shoes-black-typography-pink

Materials:

Instructions:

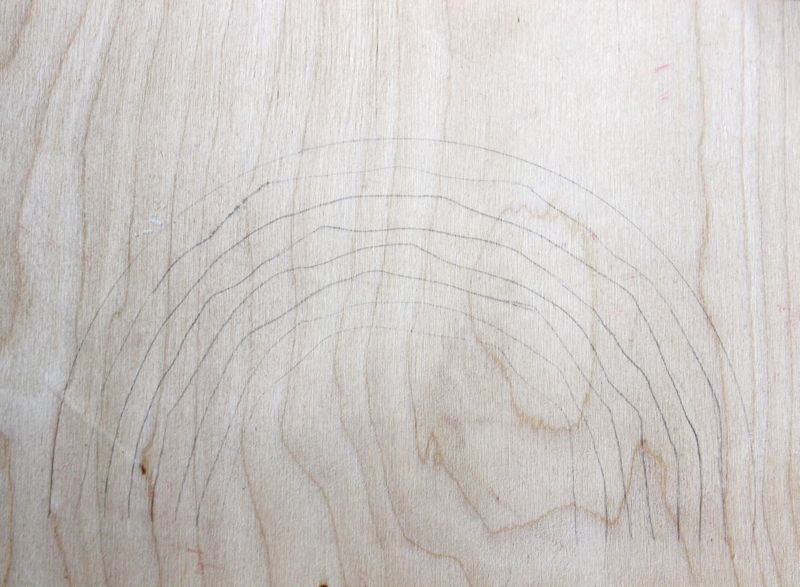
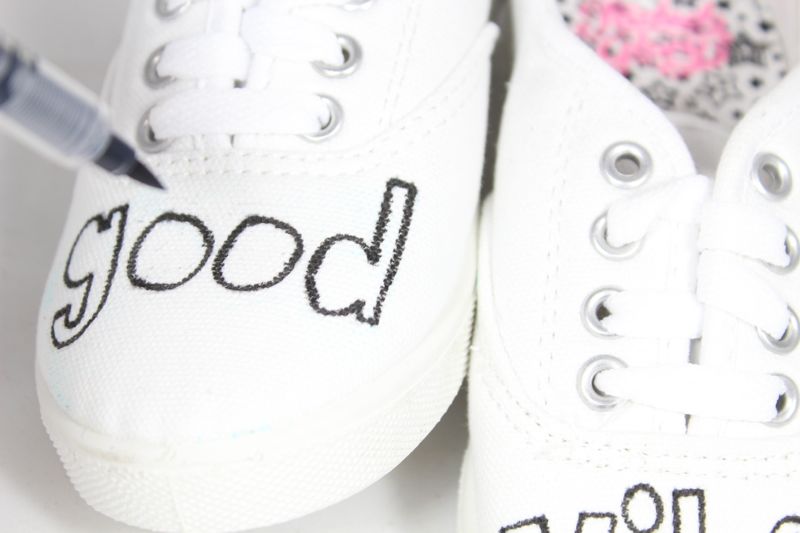
Step 1: Use a pencil to draft your words or design on your shoes.

white-shoes-colorful-fabric-pens

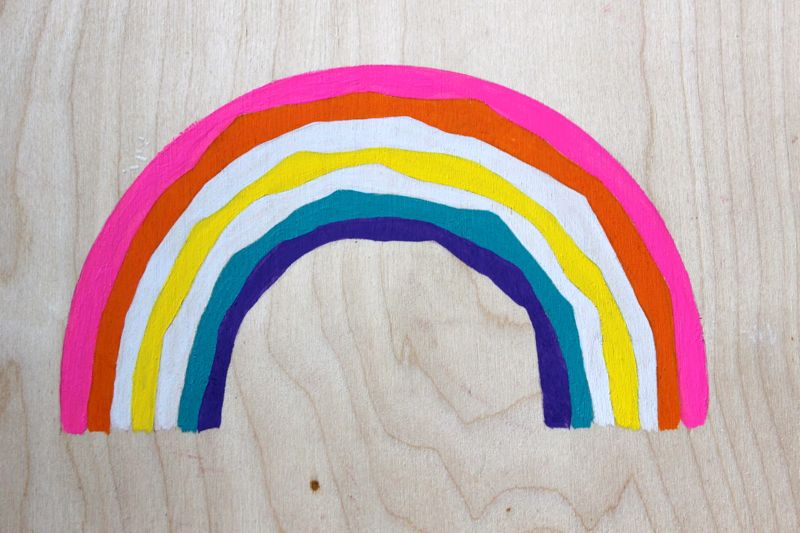
Step 2: Color, color, color. We kept it a classic black and white shoe, but make it as colorful as you want.

white-shoes-black-words-good

white-shoes-good-pink

white-shoes-diy-for-kids-good-vibes-pink

Step 3: Go spread some goodness.

Rainy Day in a Box

rainbow-rainy-day-in-a-box-kids

Kids, just like adults, have good days and bad. At our house, we call the bad days rainy days because they are the days when you have to open the umbrella, and wait for the storm to pass. Rainy days happen, we talk about it, and then we try to turn it into something positive.

While talking to my cousin, Mary, she told us about a tradition one of her friends started with her kids. We wish we thought of this because we loved it so much. We made our own version of Rainy Day in a Box. It’s a DIY box we made, and filled with trinkets and goodies to lift our kids spirits on days when they need an extra bit of love and distraction.

Our kids know it’s not an everyday treat, but on those rough days, they can reach their hands in the box for a special treat. We find that it has become a good opportunity to talk to our children about those tough days, and find simple ways to make them smile.

rainy-day-in-a-box-for-kids-toys-rainbow

Materials:

  • Wood box
  • Small gifts that will make your kids smile
  • Acrylic paint, Plaid Crafts

Directions:

Use a pencil to draw your design on the box. We traced 1/2 a bowl for the top arch, and then free-handed the rest. As you can see, it is somewhat wavy, and that’s the look we were going for. We used a PIEBOX. It’s sturdy, pretty enough to be on a shelf and large.

wood-pencil-rainbow

Paint the design. We choose to paint a rainbow because rainbows represent the hope after a storm, and rainbows make us happy.

rainbow-pink-orange-yellow-white

rainbow-pink-orange-yellow-white-blue-purple

paint-rainbow-colors

rainbow-pink-orange-yellow-green-blaick-polka-dots

Fill the box with goodies that will cheer up your son and daughter.

kids-toys-box-bubbles

rainbow-kids-gifts-rainy-day-in-a-box-bubbles

Coloring Outside the Lines

color-outside-the-lines-diy-coffee-mug-marbled-cup-pink-rainbow

We are big fans of Sex and the City. We remember so many lines and favorites scenes from the sexual and charming sitcom. One in particular made us laugh, and inspired today’s DIY project.

In the first Sex and the City movie, while at lunch, the ladies were talking about sex, as a result of Miranda’s dry spell with Steve. Charlotte’s daughter was at lunch, so the ladies had to use code for the word sex. Remember this scene?

It went a little something like this…

Miranda: How often do you guys…
Carrie: “color”?
Samantha: Well, I can’t color enough. I would color all day, everyday if I had my way. I’d use every crayon in my box. 
Carrie: We get it, you love to color. 

When asked how often she and Big colors, Carrie replied: But I will tell you this. When Big colors, he rarely stays inside the lines.

So, naturally we made translated this scene into a DIY project. An ordinary white mug was transformed into a DIY black and white heart mug with a colorful, marbled handle, and filled with bright markers!

The message here is either a PG-13/R rated version about sex and coloring outside the lines in bed. If this is your goal, this DIY black and white heart mug is a funny gift to give girlfriends about “coloring” with their man, in a #howoftendoyoucolor kind of way.

sex-and-the-city-black-white-heart-mug-diy-marbled-cup-gift

sex-and-the-city-how-often-do-you-color-black-white-heart-mug

The G rated message of this DIY black and white heart mug can be more inspirational – in a black and white world, be the person who adds color. Be bold. Be yourself. Color the world with bright colors, happiness and kindness. Color the world pretty.

diy-black-white-heart-vinyl-marbled-mug-markers-color-outside-the-lines

Even if you’re not a Sex and the City fan, coloring is all the rage for kids and adults these days, so this would make for a great Valentine’s Day gift, birthday gift, or overall fun gift for a friend. Combine it with a pretty notebook, and write your message inside the notebook. #coloroutsidethelines #howoftendoyoucolor #sexandthecityforever #takethetimetocolor #colortheworldpretty #nevertoooldtocolor

Materials:

Directions:

Design a small heart with the Silhouette editing software. Print the mini hearts on the vinyl, following instructions provided by Silhouette.

Cut the hearts individually while they are still on the Silhouette vinyl backing. Use a small strip of Frog’s Tape on top of each heart to remove it from the vinyl backing. Place it on the mug. Use a credit card or straight-edge to smooth it out.

diy-white-black-heart-mug

Remove the tape. The heart should stay in place on the mug.

black-white-heart-mug-diy-vinyl

IMG_3991

Continue to add all the hearts in a scattered or organized manner on the mug.

black-white-heart-diy-mug-gift

Tape off the handle of the mug with Frog Tape.

white-black-heart-mug-diy-project-vinyl

Pour really warm water into your disposable container. Drop 4 drops of each nail color inside the water. Swirl the colors around quickly {really quickly} with a toothpick. Insert the handle of the mug inside the water till its fully covered and then lift it out. Let the handle dry. Once dry, remove the Frog Tape. If the nail polish gets on the mug, remove it immediately with nail polish remover.

marbled-diy-mug-black-white-hearts-markers

Fill the mug with markers.

diy-black-white-heart-mug-markers-marbled-nail-polish