Day 12: How to Make a DIY No-Sew Felt Crown

NYE no sew felt crowns

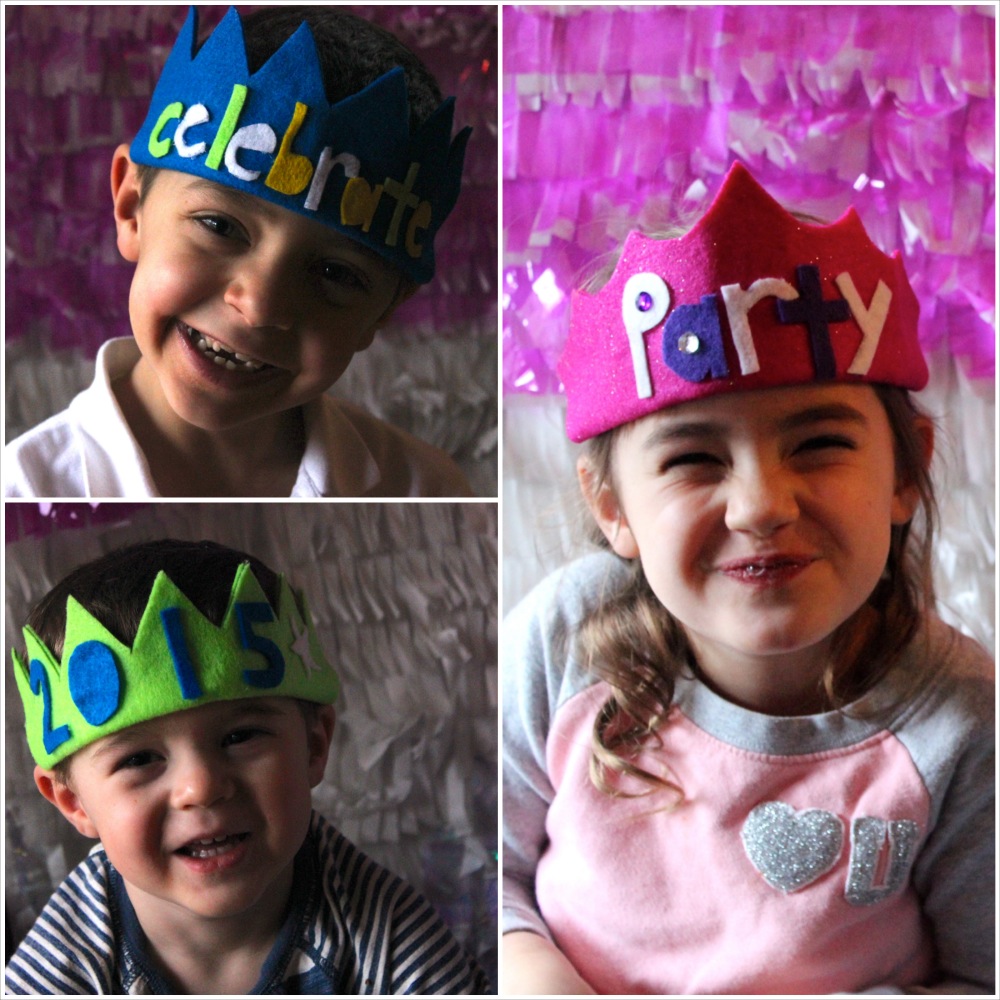
On the 12th day of Christmas, j. sorelle gave to you…DIY no-sew felt crowns for New Year’s Eve.

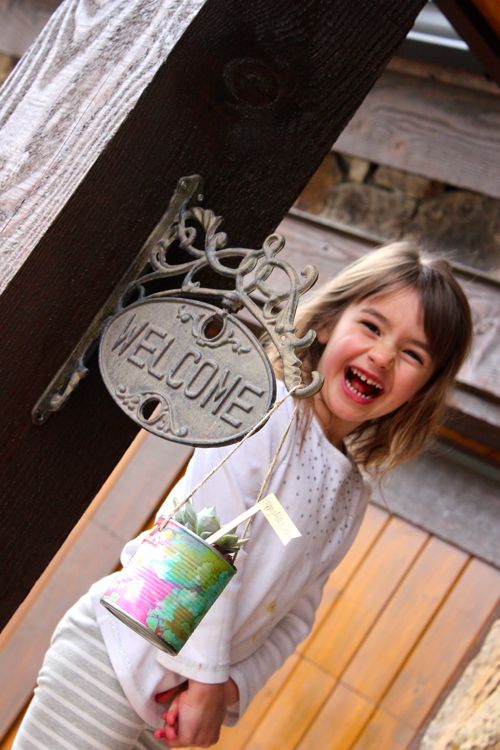
Our children love creative play, and Jessica’s daughter LOVES to wear crowns. And, we have NO idea how to sew. So, for our Dec. 31 New Year’s Eve celebration, we made no-sew felt crowns for the kids to wear until midnight {or their 9 o’clock midnight celebration}.

It’s an activity and party favor all in one, and it can be duplicated for future birthday parties.

how to make a no sew felt crown

No Sew Felt Crown Tips:

  • You can find the templates for the crowns here. Our inspiration came from Scattered Thoughts of a Crafty Mom and she has a template too.
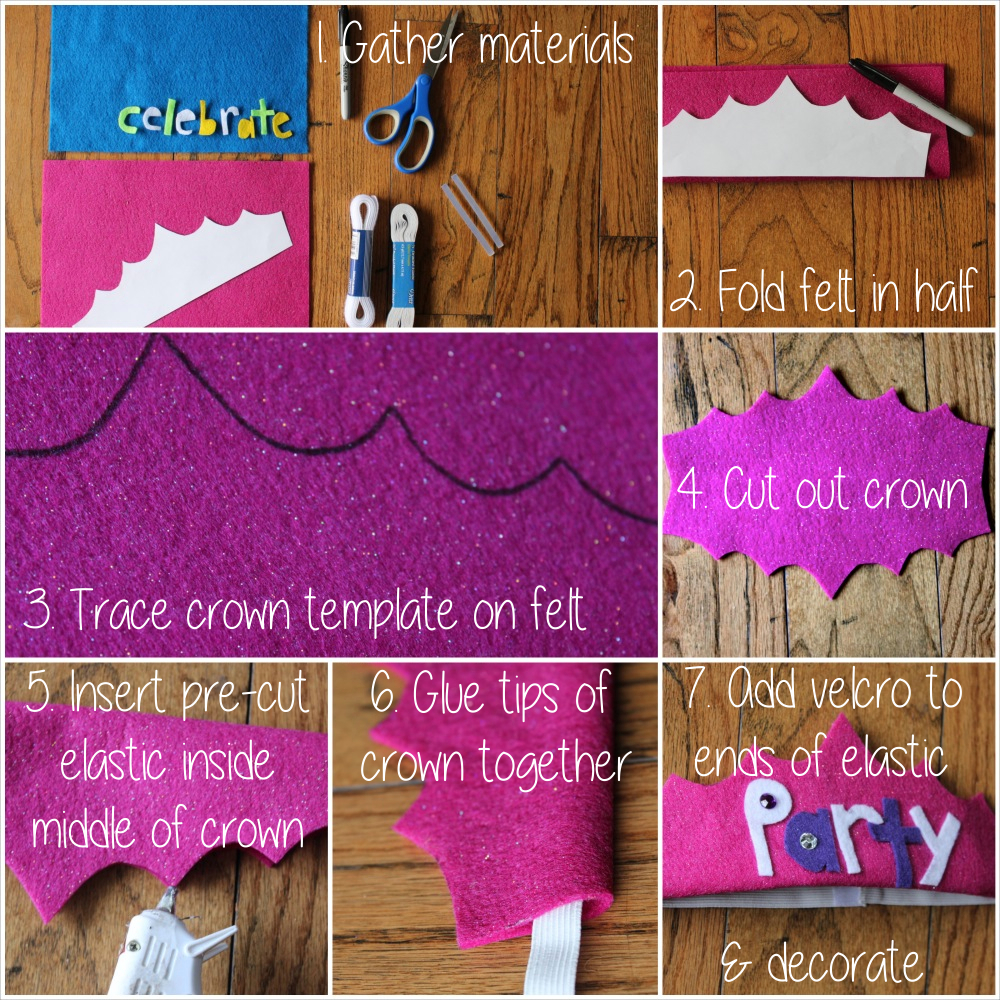
  • We used a Sharpie to free-hand bubble letters and numbers on felt {CELEBRATE, PARTY and 2015}, then we cut them out with scissors, and used a hot glue gun to glue them to the hats.
  • We learned the hard way that it’s best to measure your child’s head and place the pre-cut elastic in the middle of the crown before gluing the tips of the crown together. It’s easier than inserting it once the tips of the crown are glued together.
  • Hot glue pieces of velcro to each end of the elastic, so the crown is easily removable.

{images via j. sorelle}

Day 11: Custom Lip Balm Label Favor

smooch me on NYE

On the 11th day of Christmas, j. sorelle gave to you…Smooch Me on NYE and Every Day After lip balm labels.

We know, how can we possibly talk about New Year’s Eve when we are totally overwhelmed with Christmas just one week away? Because one can never be too prepared with small details for a holiday…especially when it comes to kissing.

Whether you are hoping and praying for that perfect, magical NYE kiss, or you plan to snooze your way through the new year and dream about the year ahead, make sure your lips feel soft and smooth with custom Smooch Me on NYE and Every Day After lip balm labels.

New Years Eve lip balm labels


Get the labels here, download instantly, print on white sticker paper, cut and wrap around lip balm. The label fits most shape and size lip balms.

These make a perfect NYE party favor too!

We hope you make a little midnight magic this NYE with soft, touchable lips.

If you want custom labels with different colors or custom text, reach out to Jenna. Labels made by Fleur de Lis.

xoxo

lip balm New Years Eve custom labels

New Years Eve lip balm party favors

{images via j. sorelle}

DIY Cosmetic Bag Party Favor

DIY cosmetic bag

How do you leave a little sparkle?

Maybe its your personality? Smile? Random, simple acts of kindness? A charming accent? Whatever it is, find it and do it because I love people who enter a room and own it, and leave me with a good feeling, or a memory when they walk out the door. I’m talking about the people I don’t forget, and leave a trace of their optimism behind with me. I have friends like this, who are special and simply amazing, and I believe they “leave a little sparkle wherever they go.” So, for a recent Bachelorette celebration for one of my bestie’s, I made cosmetic bags with this quote to go along with our Sparkle theme for the weekend. More photos of that extravaganza to come, but for now, a DIY.

You’ll Need
$3 cosmetic bags from Target {in the travel cosmetics section}
Chacopaper from Michaels
A printed quote
pen
Krylon Gold Leaf Pen from Michaels

DIY cosmetic bag

How To
Use Microsoft Word to create your quote in a favorite font.
Print your quote on a regular piece of printer paper.
Cut the quote and a piece of the Chacopaper the same size as the quote.
Layer the paper, bottom-up, starting with the ‘chalky side’ face down on the cosmetic bag {you can feel the ‘chalky’ side}, your quote and then top it off with the ‘tracing’ paper.
DIY cosmetic bag party favor
Use a black pen to firmly {without tearing} trace the quote on the tracing paper.
Once finished {or you can even get a sneak peek to see if its working if you can lift the edge without moving the paper} lift the 3 sheets of paper from your cosmetic bag and you will see a traced image of your quote. I used the white Chacopaper, so it appeared white like the photo below.
Use the Gold Leaf pen to carefully trace your ‘image’
Voila.
DIY cosmetic bag party favor

DIY cosmetic bag party favor{images via j. sorelle}

DIY Succulent Planter to Celebrate Happy May Day

diy succulent_mayday_jsorelle On May 1, countries around the world celebrate a traditional springtime festival called May Day. In honor of May Day, and blooming buds and bright colors, I created a DIY Succulent gift to hang from my neighbor’s front door. I bought one for myself. I’m hoping I can keep it alive – I don’t have the best track record with indoor plants.

You’ll Need:
a small can {I used an old corn can}
a piece of fabric
modge podge
a drill
rope or twine

How To:
Remove the wrapper from the can.
Cut a small piece of fabric you can add to the can, leaving some space on the bottom for cutting with a sharp razor.
Apply Modge Podge all around the can.
Add the fabric to the can.
Once dry, use a sharp razor to carefully cut the extra fabric on the bottom of the can.
Apply Modge Podge to the entire outside of the can on top of the fabric to seal it.
Use a drill to drill two holes on the sides of the can for the rope, and one hole on the bottom for adequate drainage.
Add twine or rope into the holes and tie a knot on the inside so it stays in place.
Add porous soil and the succulent.

celebrated in many countries as a traditional springtime festival

celebrated in many countries as a traditional springtime festival

diy succulent_mayday_jsorelle

diy succulent_mayday_jsorelle

celebrated in many countries as a traditional springtime festival

celebrated in many countries as a traditional springtime festival

celebrated in many countries as a traditional springtime festival

celebrated in many countries as a traditional springtime festival

{images via j. sorelle}

DIY Twig Cupid’s Arrow on Valentine’s Day

twig cupids arrow
I just couldn’t help myself with this post today – this project was too darn cute not to share. Today, my kids shared their Valentine’s with friends at school and I LOVED what their wonderful, amazing teacher created – twig arrow’s {she also attached pencils to the twigs for each of the kids}. So, I know it’s last-minute with Valentine’s Day being 2 days away, but it’s TOTALLY doable and adorable. Your kids will love to make and their friends will love to receive. Hope you, or someone you love, gets hit by Cupid’s {DIY} arrow this Valentine’s Day.

Thanks, Dee Dee!
diy cupids arrow

All You Need Is:
twigs {free from outside}
felt scraps
scissors
craft glue or hot glue
twine or ribbon to hang a tag

Cut the felt into two triangles for the tip of the arrow. Cut the other felt pieces in the shape of the feathers.
For the tip, place one piece of felt on the bottom, add the twig in the middle of the felt and add some glue around the twig. Press down on the top piece of felt, so it adheres to the bottom piece of felt and keeps the twig tightly in between.
Repeat for the ‘feathers’.
Once the feathers are glued, use a pair of scissors to cut diagonal lines to create the ‘feather’ effect.

diy cupids arrow made by twigs

{project done by Dee Dee, photos via Tutto Bella}