DIY Cross Stitch Coffee Sleeve

red-coffee-cup-star-coffee-sleeve-holiday-cheer-star

As we bundle up and head outside this winter, we like to keep a to-go mug of coffee or tea between our hands. It’s a habitual thing. Sure, we need to caffeine most days {okay, everyday}, and we like the taste of tea, but it really comes down to the fact that we like to have something warm in our hands. It feels comfortable and cozy.

Well, we’ve made our comfy habit a bit cuter with our latest DIY featured at our Make & Mingle last week – a DIY cross-stitch coffee sleeve. Anyone can do it…even with no sewing experience.

Thanks to Peet’s Coffee & Tea in Cherry Creek North for the cups and hot coffee, and Colby Elizabeth Photography for the photos.

Materials:

Directions:

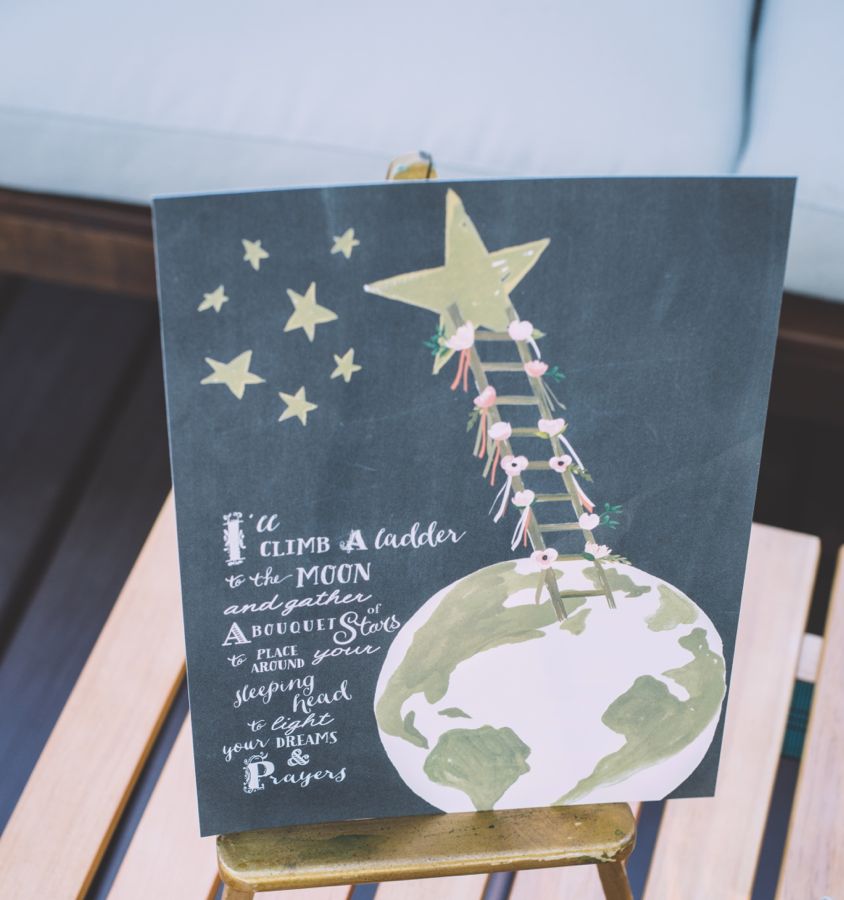
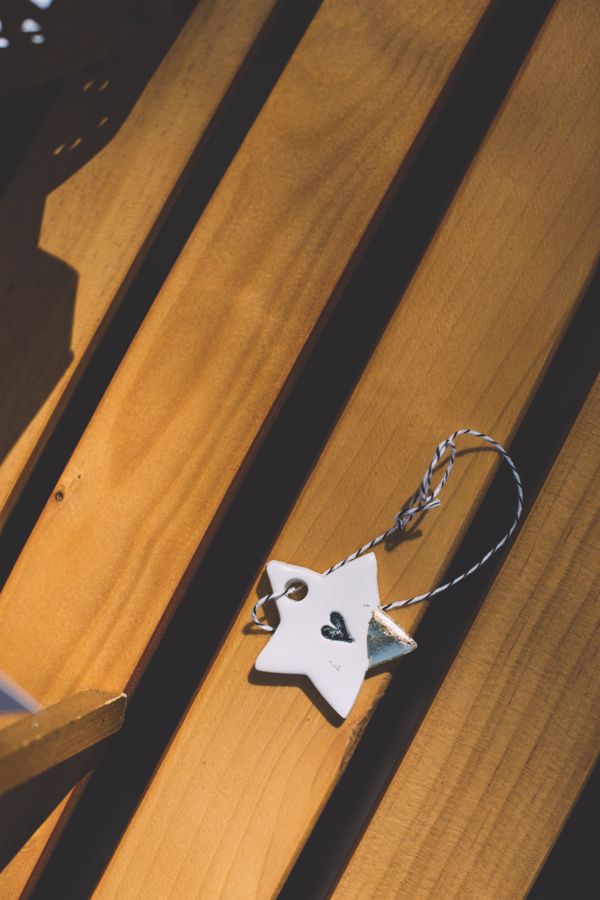
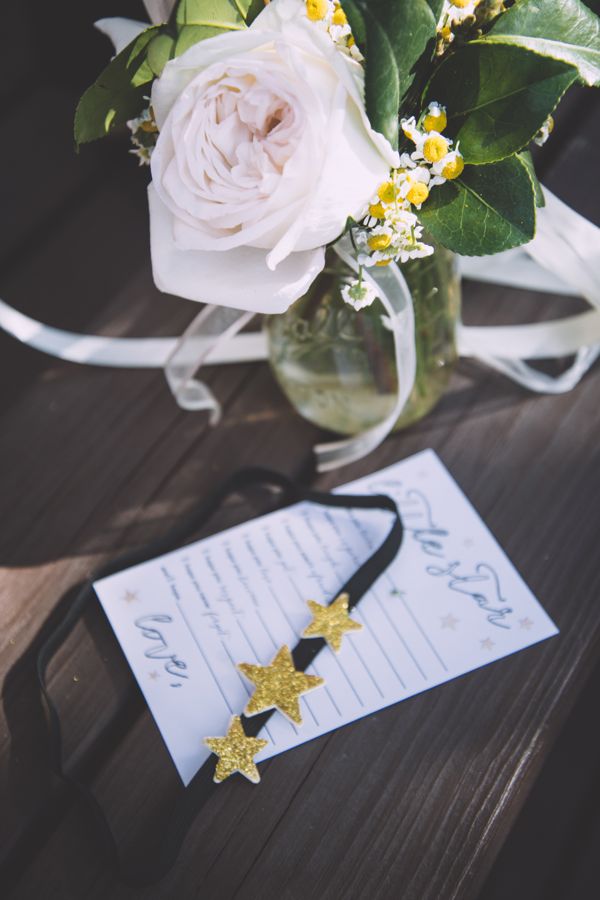
  • Find a pattern or shape to cross-stitch. We used this file from Fleur de Lis, a paperie, and printed them at 30% or 40%, so the stars were small enough to fit on our coffee sleeves.
  • Set the print out of the shape on the coffee sleeve, and with your pearl pin in hand, punch small holes on the ends of every line where you will stitch. When you remove the paper, you should see the shape that you want to design on your coffee sleeve. If you need to make the holes more visible, punch them again once the paper is removed.
  • Cut the embroidery string, insert one end through the needle loop, and tie a knot on the other end of the string.
  • Insert the needle from inside the coffee sleeve up through the top of the coffee sleeve. Then go back down through the next hole. Continue going up and down through each hole until you have completed the shape.
  • Once you stitch the last line, tie a knot inside the coffee sleeve with the original knot.

Warm wishes to you this winter!

red-coffee-cup-star-coffee-sleeve-holiday-cheer-star

Photography: Copyright Colby Elizabeth Photography

Joyful Holiday Photo Shoot

peppermint-diy-tray-red-white-joy-holiday-party-christmas-table-silver-tree

We just realized we never shared one of our first and favorite photo shoots on the blog. It’s a favorite because we were able to work with our friend and photographer, Meredith Moran Photography, and because amongst all the pretty red and white details, our children were running around in the background at our parents house. It was a lot of chaos, but also a lot of laughter, and if you can laugh in the midst of the chaos, that can be a good thing.

We hope you make the DIY peppermint tray this Christmas season and find the time experience pure joy, just like the marquee lights by Saddleshoe Designs reminds us to do.

peppermint-diy-tray-red-white-joy-holiday-party-christmas-table-silver-tree

peppermint-diy-tray-red-white-joy-holiday-party-christmas-table-silver-tree

peppermint-diy-tray-red-white-joy-holiday-party-christmas-table-silver-tree

peppermint-diy-tray-red-white-joy-holiday-party-christmas-table-silver-tree

peppermint-diy-tray-red-white-joy-holiday-party-christmas-table-silver-tree

peppermint-diy-tray-red-white-joy-holiday-party-christmas-table-silver-tree

peppermint-diy-tray-red-white-joy-holiday-party-christmas-table-silver-tree

peppermint-diy-tray-red-white-joy-holiday-party-christmas-table-silver-tree

hot-cocoa-to-go-mason-jar-candy-cane

peppermint-diy-tray-red-white-joy-holiday-party-christmas-table-silver-tree

peppermint-diy-tray-red-white-joy-holiday-party-christmas-table-silver-tree

joy-marquee-light-red-white-christmas-party

Vendor Love:
Photography: Meredith Moran Photography | Marquee Lights: Saddleshoe Signs | Tabletop Accessories and Stationery: Fleur de Lis, a paperie 

Make and Mingle Event at West Elm in Denver

make-and-mingle-workshop-west-elm-holiday-event-cross-stitch-cards-colorado

Thanks for all the amazing comments and supportive words after our most recent ‘keeping it real’ post. We feel all the love. It felt good to keep it real on the computer screen – we’re real behind the screen, so may as well be real on it, huh? We know y’all have joys and struggles, too, so now let’s get together to stitch n’ bitch…and have fun, of course! Join us, will you?

We’re at it again. Kaitlin at The Every Hostess and us are hosting our 2nd Make & Mingle event at West Elm in Denver, CO. We are going to make DIY cross-stitch holiday cards. No sewing experience required – seriously, none – if we can do it, you can too! Buy your tickets here.

We’ll provide everything to make the cards look a little something like this…

joy-be-merry-diy-cross-stitch-card-gold-ornament-tree

tree-green-diy-tree-honeycomb-tree

Thanks to amazing sponsors like Curly Girl Design, Fleur de Lis a paperieCory Renee, Bake it Pretty, and Sage 8 Studio you will go home with some wonderful swag. You can sip cups of decaf or caffeinated cheer thanks to Peet’s Coffee & Tea. Plus, Ladybird Poppy will lift your spirits with her gorgeous floral arrangements, too. It’s going to be pretty. Colby Elizabeth Photography will be there to snap all the memories.

Help us keep the lost art of hand-written cards and old-fashioned mail alive, and join us for a night of crafting fun! Plus, who doesn’t want to spend the evening in a gorgeous store like West Elm? Spread the good cheer, and invite friends!

A Little Star Baby Shower

little-star-custom-button-pregnancy-belly

When one of my besties is in town for the inaugural Reintoberfest, and she is preggers, a baby shower is certainly in order. My girlfriends and I hosted a small, fabulous group of women for a Little Star baby shower. It was a surprise…and I think we pulled if off, even with a few slips.

© 2015 Meredith Moran Photography

The shower was designed after one of my most favorite art prints by The First Snow. Beautiful, isn’t it?

© 2015 Meredith Moran Photography

© 2015 Meredith Moran Photography

We re-created the art print with an antique ladder, ribbons and fresh flowers by Vail Vintage Magnolia and DIY hanging stars that were spray painted gold and white. It worked our perfectly because it’s a gender-neutral theme, and the nursery is also star themed.

white-ladder-baby-shower-flowers

© 2015 Meredith Moran Photography

baby-shower-ladder-star-lights-white-gold-flowers

© 2015 Meredith Moran Photography

Our menu consisted of homemade French Toast casserole, egg casserole, yogurt bar with fruit and granola, fresh spinach salad and for dessert we devoured mini bundt cakes. The backdrop for our Champagne and Bundt bar was a DIY Kimi’s Little Star sign. We sipped on mimosas with DIY star gummy drink stirrer and oh my goodness they were good!

© 2015 Meredith Moran Photography

© 2015 Meredith Moran Photography

© 2015 Meredith Moran Photography

I made DIY star napkin rings that also served as ornament favors guests could take home. DIY tutorial to come.

© 2015 Meredith Moran Photography

© 2015 Meredith Moran Photography

Meredith made DIY star headbands we all adorned on our heads to represent the “bouquet of stars to place around your sleeping heads” like the art print said.

© 2015 Meredith Moran Photography

© 2015 Meredith Moran Photography

© 2015 Meredith Moran Photography

© 2015 Meredith Moran Photography

© 2015 Meredith Moran Photography

© 2015 Meredith Moran Photography

In our family, we say Aunt, pronounced ‘ant.’ In MN, Kimi says Auntie, pronounced ‘on-tee,’ with a bit of a flair, of course. For the shower, we wanted to emphasize her auntie ‘thing’ with custom buttons for each guest. When baby G is born, we will all be proud aunties with gifts of our own to offer him/her. It was a good laugh for everyone. I gave myself the title of auntie of crafts. Jenna was crowned the auntie of shoes. And, Jodi proudly accepted her role of auntie of reality tv. We will take our roles seriously, Kimi!

© 2015 Meredith Moran Photography

We played a fun, non-cheesy game that I highly recommend for a smaller sized baby shower – Who’s That Baby? I asked guests to send me a baby photo under 6 months old prior to the shower, and I had the photos printed for a photo display. Everyone had to guess each sweet baby face, and the winner was awarded a prize.

© 2015 Meredith Moran Photography

© 2015 Meredith Moran Photography

Another ‘activity’ and decoration was the DIY Due Date Chalkboard. Everyone had a chance to guess baby G’s due date, and whether it was a boy or girl. If you really want to make it a game, bet $ to get a pool going. To learn how to make the DIY chalkboard, read this.

© 2015 Meredith Moran Photography

© 2015 Meredith Moran Photography

We sent the beautiful mama home with Dear Baby, often called Wishes for Baby cards. We all wrote down our hopes and dreams for baby G, which was a great baby shower activity and keepsake for Kimi. You can purchase the Little Star cards and here and the Little Star invitation here.

© 2015 Meredith Moran Photography

© 2015 Meredith Moran Photography

star baby shower-invitation

Finally, what’s a shower without a posed shot, and a tassel banner?!

© 2015 Meredith Moran Photography

© 2015 Meredith Moran Photography

Thanks to all the Vendors We Love from this Shower
Photographer: Meredith Moran Photography
Flowers: Vail Vintage Magnolia
Invitation and Dear Baby Cards: Fleur de Lis, a paperie
Mini Bundt Cakes: The Bundt Shoppe
Art Print: The First Snow
Auntie Buttons: Share Denver


DIY Bubble Gum Cake Stand

bubble-gum-cake-stand-diy-donut-birthday-rainbow-of-colors

Who can resist colorful bubble gum? Not us….or our kids.

Who can resist powdered sugar donuts? Definitely not us….and most definitely not our kids.

bubble-gum-cake-stand-diy-donut-birthday-rainbow-of-colors


We’ve seen many ways to make a DIY cake stand, but we haven’t seen one like this. A DIY bubble gum cake stand is so colorful and fun for a party any time of year. Plus, you can twist off the plate and blow some bubbles when you need a gum fix.

bubble-gum-cake-stand-diy-donut-birthday-rainbow-of-colors


It’s really simple.

  • Find a jar.
  • Fill it with Dubble Bubble bubblegum.
  • Glue a small plate on top of the jar with gorilla glue or E-600.
  • Top with cake, cookies or donuts.

bubble-gum-cake-stand-diy-donut-birthday-rainbow-of-colors


bubble-gum-cake-stand-diy-donut-birthday-rainbow-of-colors