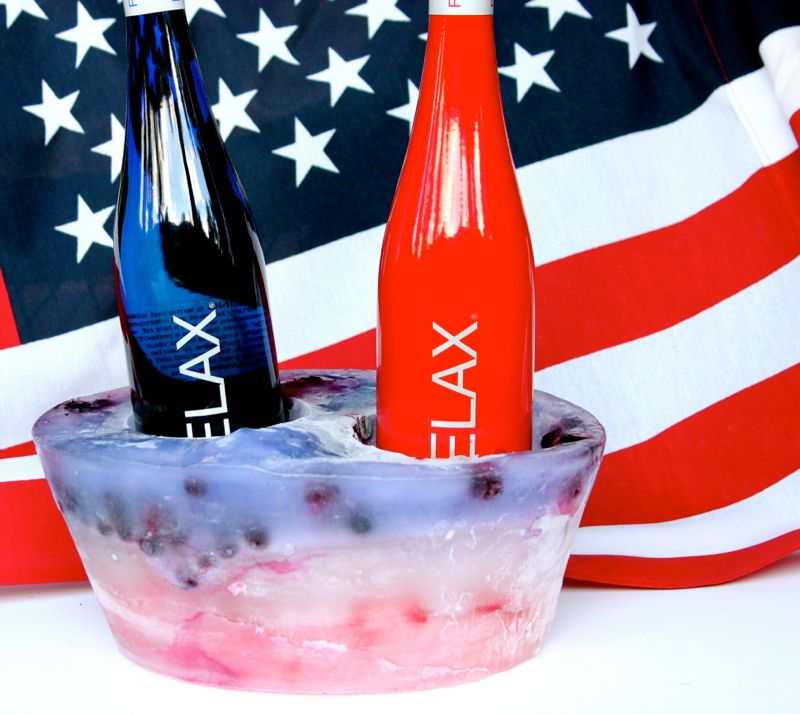
DIY Red, White and Blue Ice Bucket

red-white-blue-ice-bucket-july-4th-wine-cooler

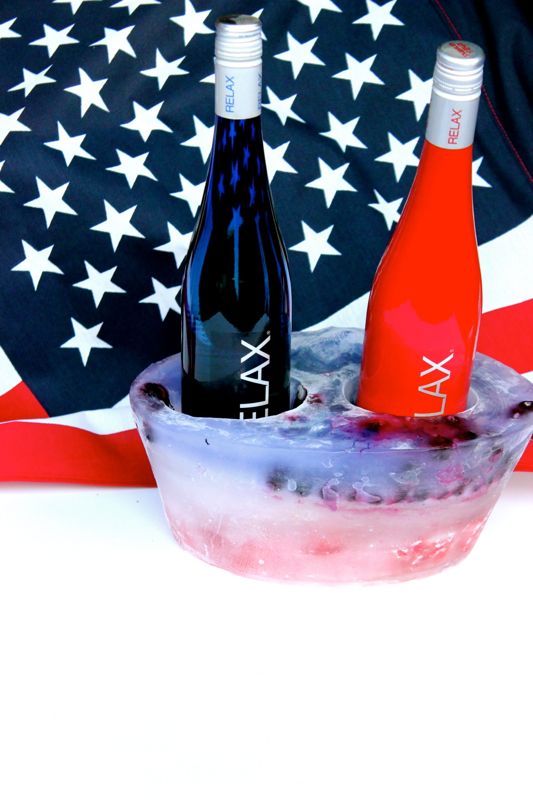
It’s about that time when red, white and blue are just about the only colors on our minds. Yes, one of our favorite holidays, July 4th, is coming up, and this year we’re adding a DIY fruit ice bucket to our party to do’s.

A DIY patriotic ice bucket is the perfect July 4th accessory, and it’s so easy and cheap to do. Guests will love the extra touch of red, white and blue, and they will enjoy their chilled beverage.

red-white-blue-diy-ice-bucket-fruit-diy-july-fourth-wine-cooler

red-white-blue-ice-bucket-july-4th-wine-cooler

Materials:

  • water
  • large bucket, we used a plastic one from Party City
  • small buckets {small enough to fit inside large bucket and large enough to fit a wine bottle or beer can}
  • blueberries, fresh or frozen, at least 2 cups
  • strawberries, fresh or frozen, sliced, 2-3 cups
  • weight, such as a rock
  • wine or beer

Directions:

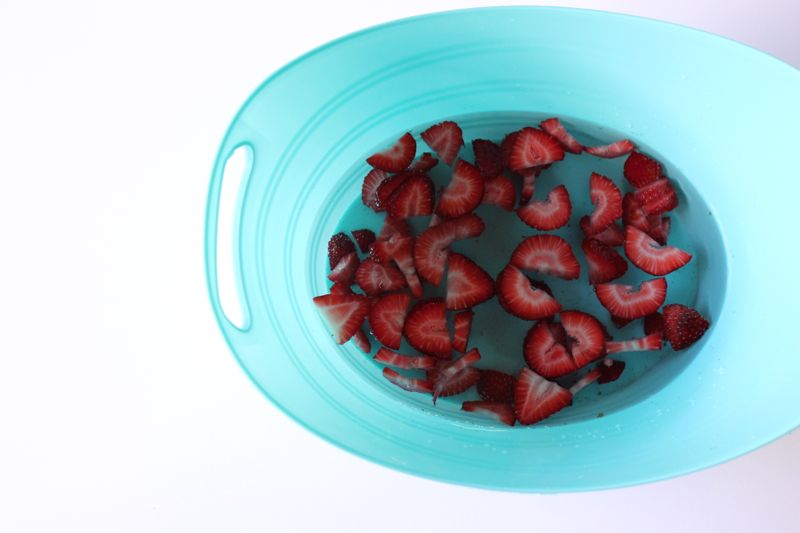
Fill about 1/3 of the large bucket full of water, then drop in all the strawberries. Freeze for at least 5-8 hours.

strawberries-in-a-bucket

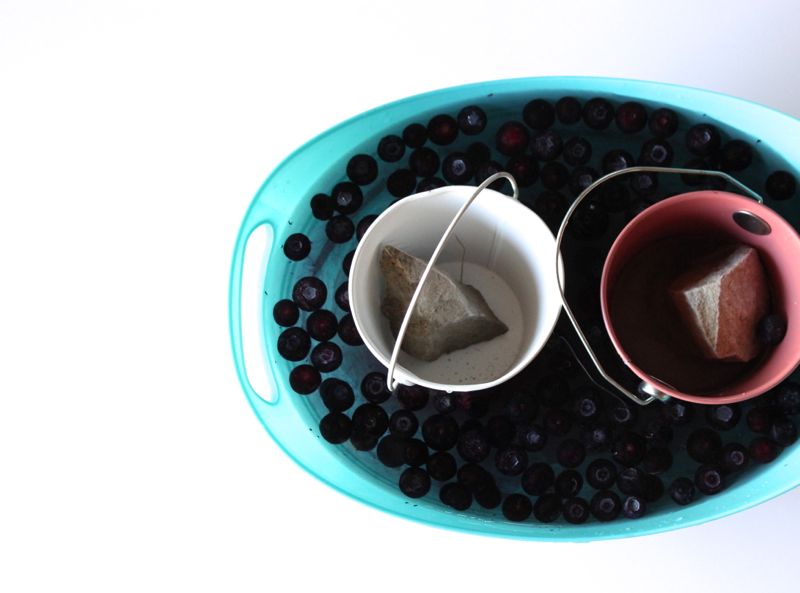
Place 2 small buckets on top of first layer of ice, add weight inside {we used a rock}, and fill another 1/3 of the bucket with water. Do not get water inside the small bucket because it will be more difficult to remove the buckets from the ice. Freeze for about 5-8 hours.

buckets

For the final layer, fill the remaining 1/3 of the container fill of water, and then drop in blueberries. Freeze for 8 hours.

blueberries-in-a-bucket

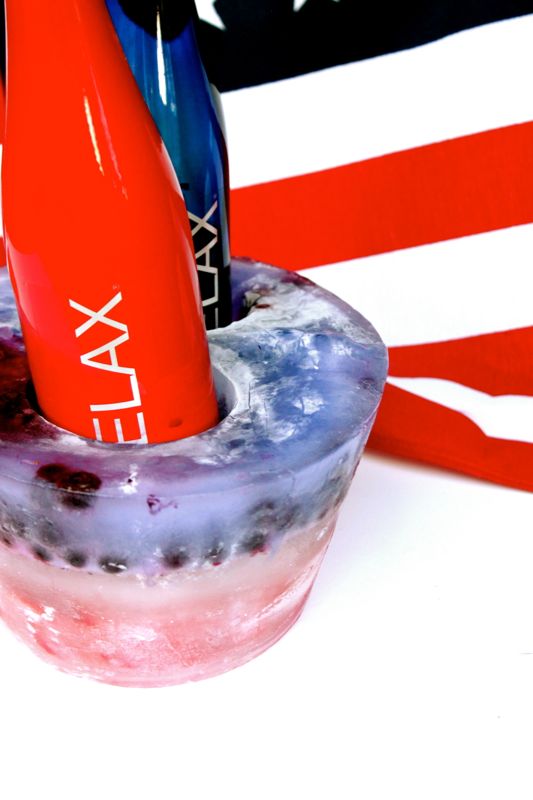
Remove from the freezer. Pour boiling water inside the small buckets and gently twist to remove from the ice. Additionally, run the outside of the large bucket with  hot water from the sink faucet. After about 15 seconds on each side, the ice cooler will be easily removed, and the layers should look like this.

red-white-blue-diy-ice-bucket-july-fourth-party

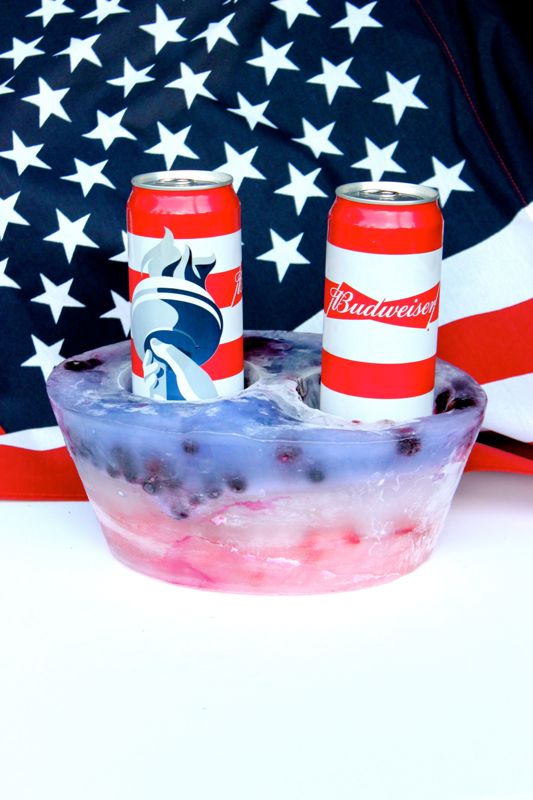
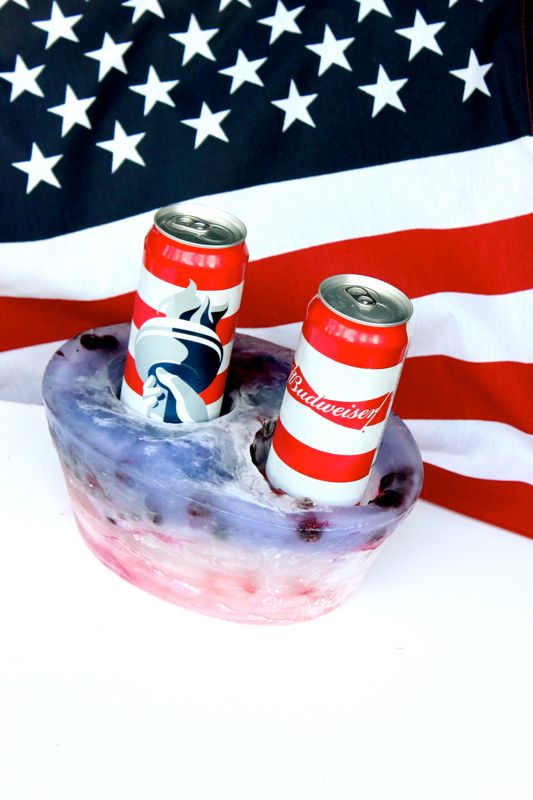
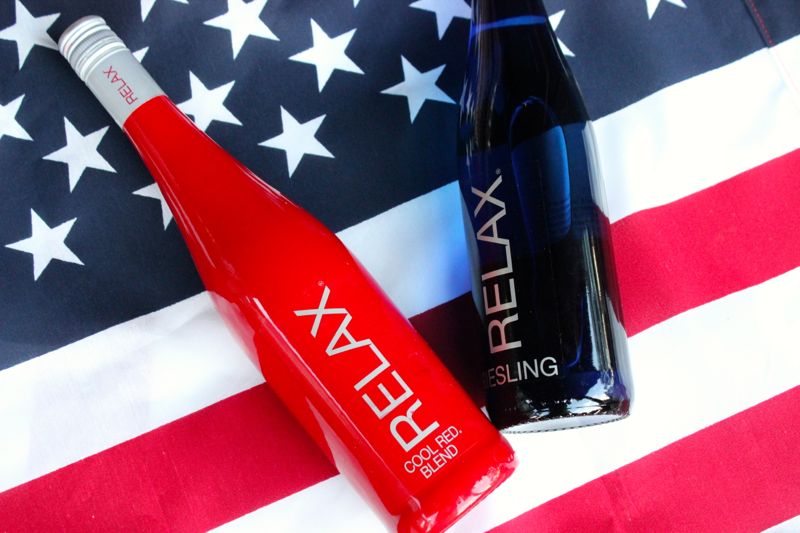
Carefully flip the ice cooler out from the bucket with your hands and set on a tray. Fill the holes with wine or beer. We couldn’t decide because beer, well, it’s all-American and those Budweiser cans are so patriotic and awesome. But, the vino lovers that we are couldn’t resist the taste and look of the red and blue Relax Wine bottles of wine.

budweiser-beer-red-white-blue-ice-bucket-diy-fourth-of-july-beer-cooler


relax-wines-red-white-blue-ice-bucket-wine-cooler

red-white-blue-ice-bucket-budweiser-beer-diy-cooler


relax-wines-red-white-blue

Cheers!

Important Note: We took photos of this DIY ice bucket with wine we had in the liquor cabinet, and after review of photos, while the wine was good, for the ultimate patriotic post, the wine bottle {and beer} needed to be more festive in color. Enter, Relax Wines and Budweiser beer! However, the ice bucket had to be re-frozen during a several hour photo shoot intermission, and a thin ‘film’ of ice formed over every layer, so the color of the DIY ice bucket was dulled, and the lines of the red, white and blue blurred. You win some, you lose some. Either way, we love our bucket, but honestly, it will be more vibrant than our photos if you have the right alcohol the first time around. 
DIY Let Love Grow Plant

let-love-grow-plant

Dolly Parton said it best, Let Love Grow.

When we really look around, in spite of the horrific hatred we see daily on the news, we find that love still exists. In fact, love is all around. But, sometimes we need a little reminder. To us, the heart shape, whether big or small, signifies love. Inside of us, it represents this beautiful life with every heart-pumping beat; but outside of us, the shape represents love, goodness and kindness. When we open our eyes, minds and hearts, we find that not only is love everywhere, but hearts are, too. And, with every heart we spy with our eyes, it’s an opportunity to reflect on the love in our lives, and how we can share it with others.
Last week, we saw a heart designed on the top of our latte. Everyday, as our children learn to draw hearts, we pause to think about the love and joy that lives in their hearts {and the role we play in shaping what love looks like in their world}. Every time we send and receive a handwritten note from a loved one, it’s signed with a heart. And, just the other day, one of our kids saw a heart-shaped cloud in the sky.

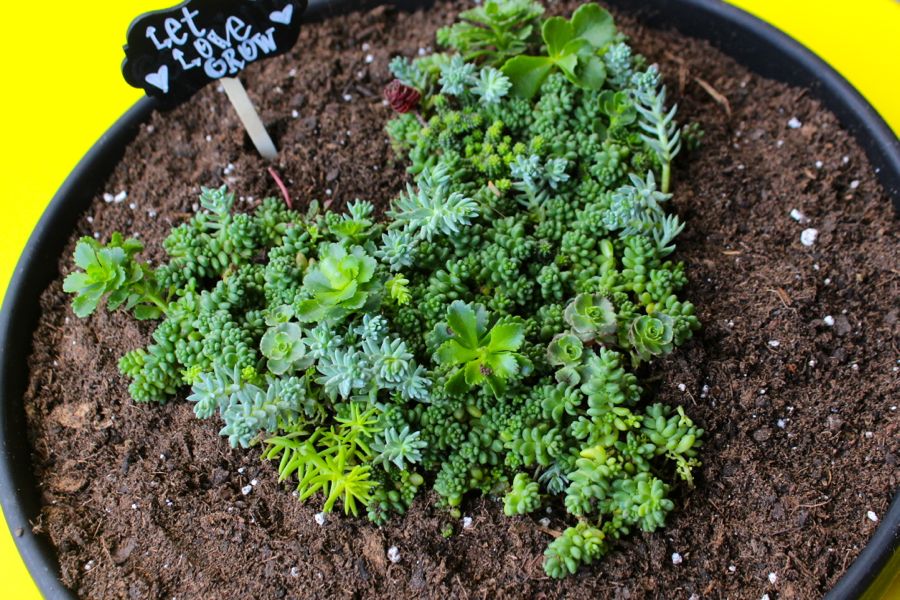
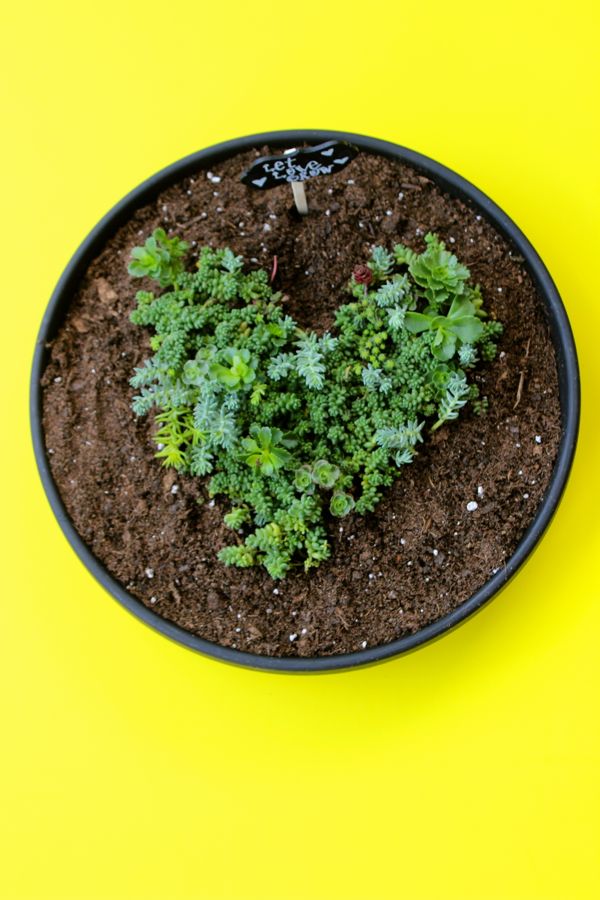
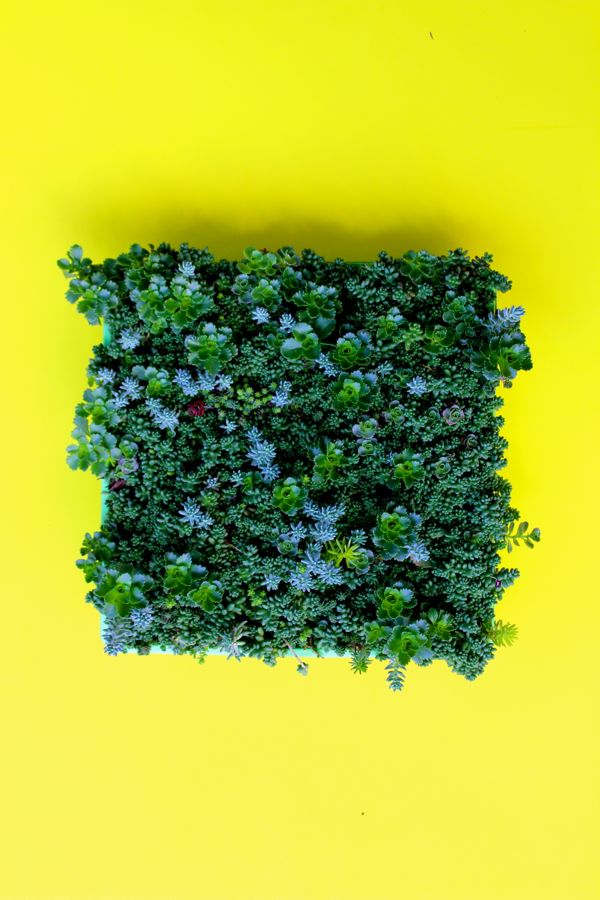
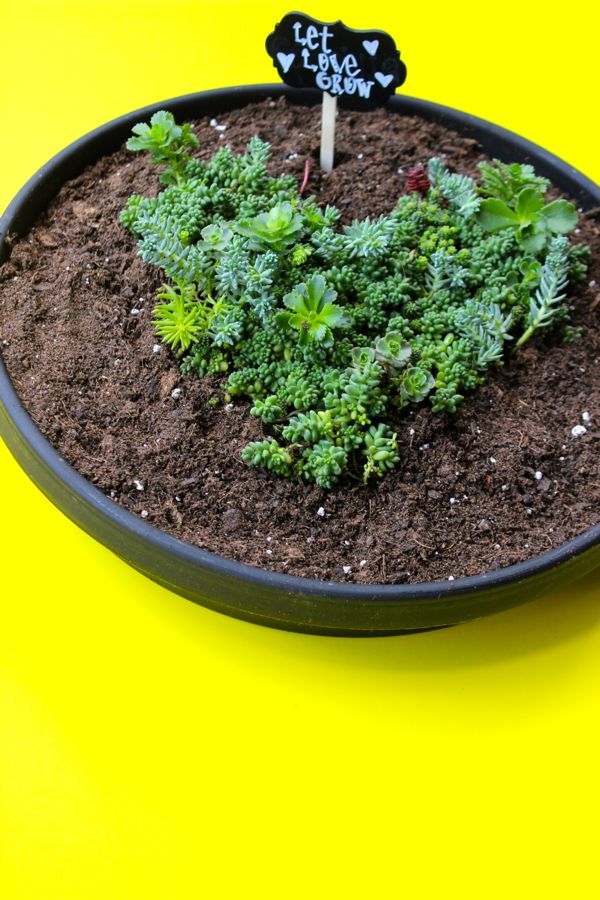
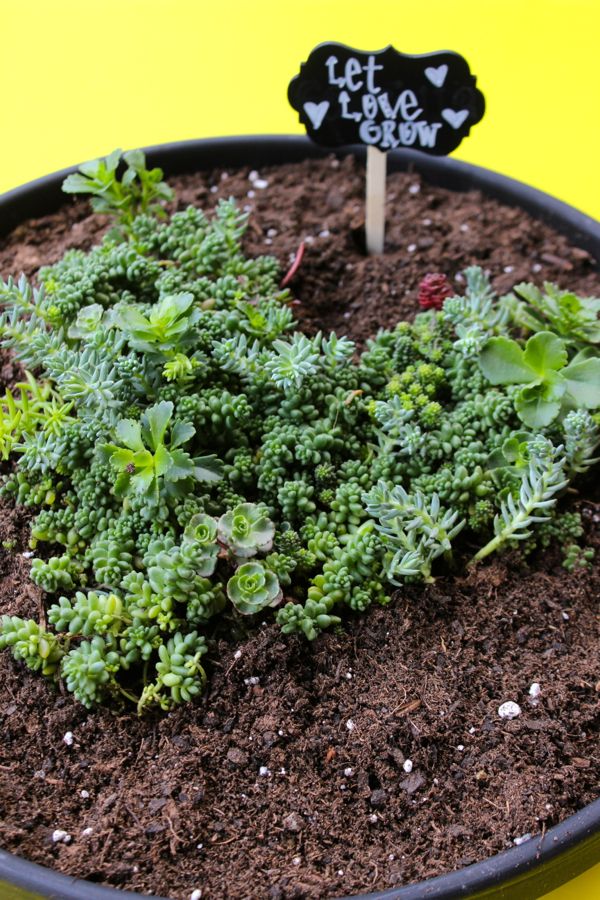
Recently, we used our green thumbs to create a green heart to remind us to let love grow. The plant can be transplanted outdoors if it outgrows the container, and good news – it’s a perennial – so it will come back year after year.

let-love-grow-plant-yellow

Materials:

  • Plastic Pot Saucer, Home Depot
  • Sedum Tile Ground Cover
  • Scissors, sharp {garden scissors}
  • Potting Soil
  • Chalkboard sign, small stick and pen

Directions:

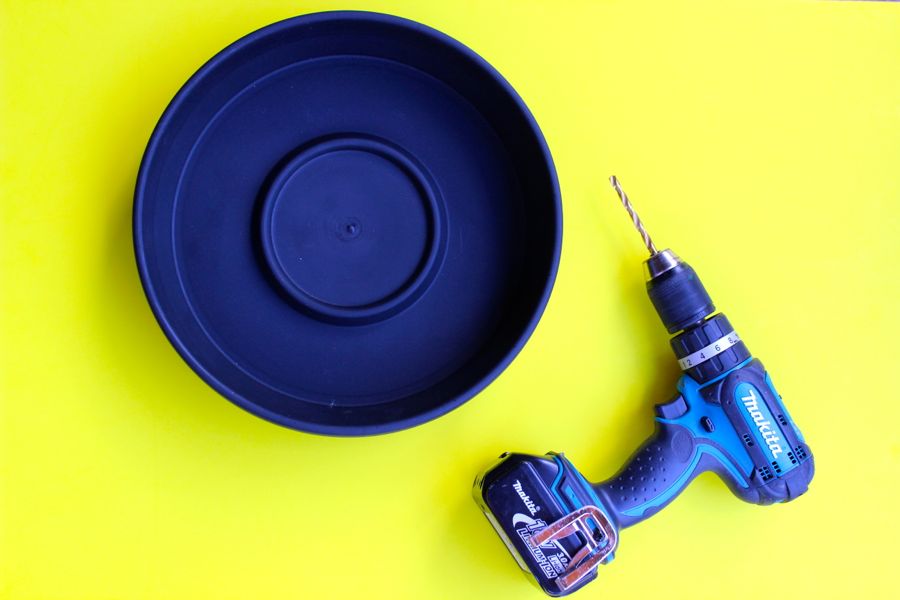
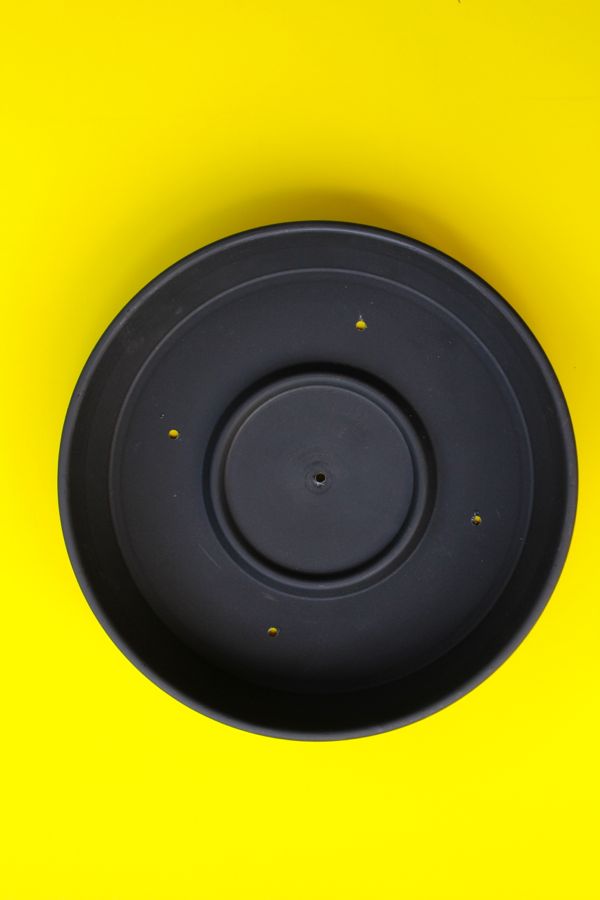
Drill several holes into the plastic saucer. We drilled one in the center and four evenly spaced around the saucer.

planter-drill-yellow

planter-yellow

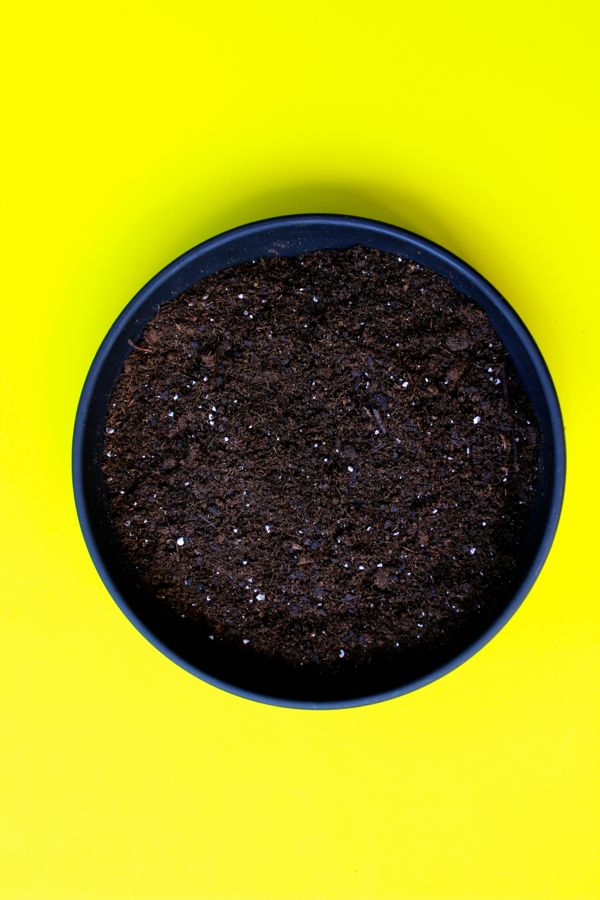
Fill the planter 1/2-3/4 full with dirt.

planter-with-dirt

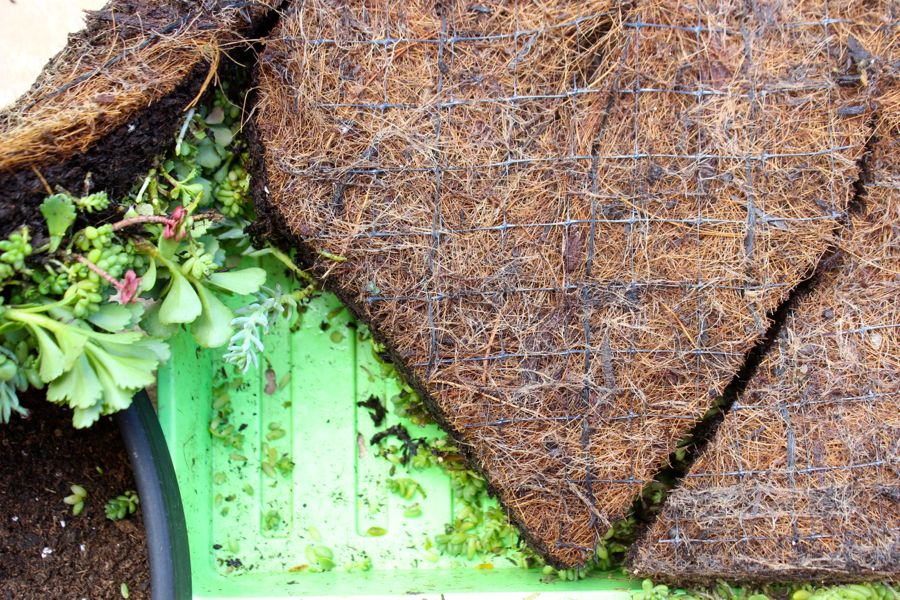
Remove the entire square tile of Sedum from the container and flip it over. Use chalk to draw your design, or eye-ball it. We chose a heart, and without lines to follow, we began to cut.

greenery-ground-cover-plants

plants

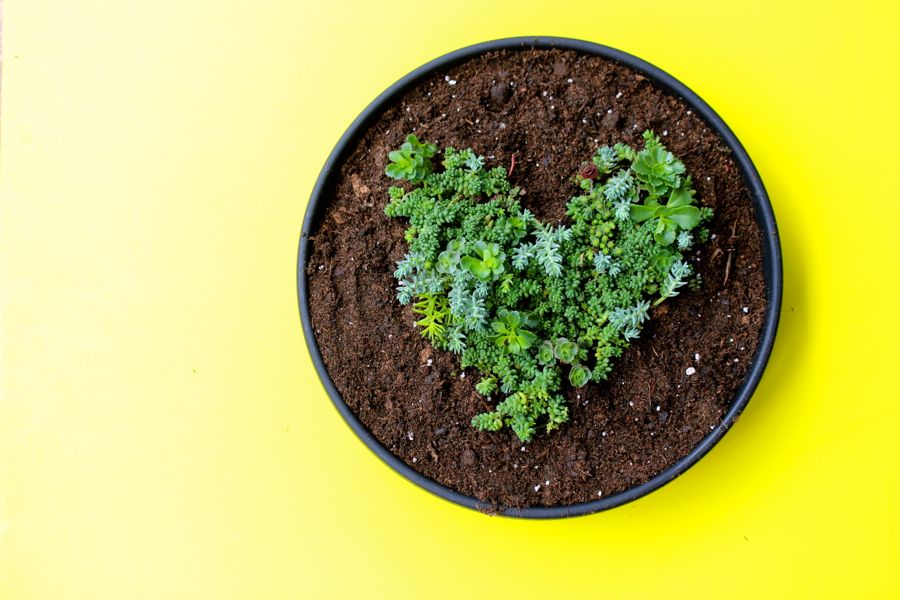
Place the heart in the center of the saucer with dirt, and then fill in all the surrounding space with dirt.

heart-plant-greenery-yellow-ombre

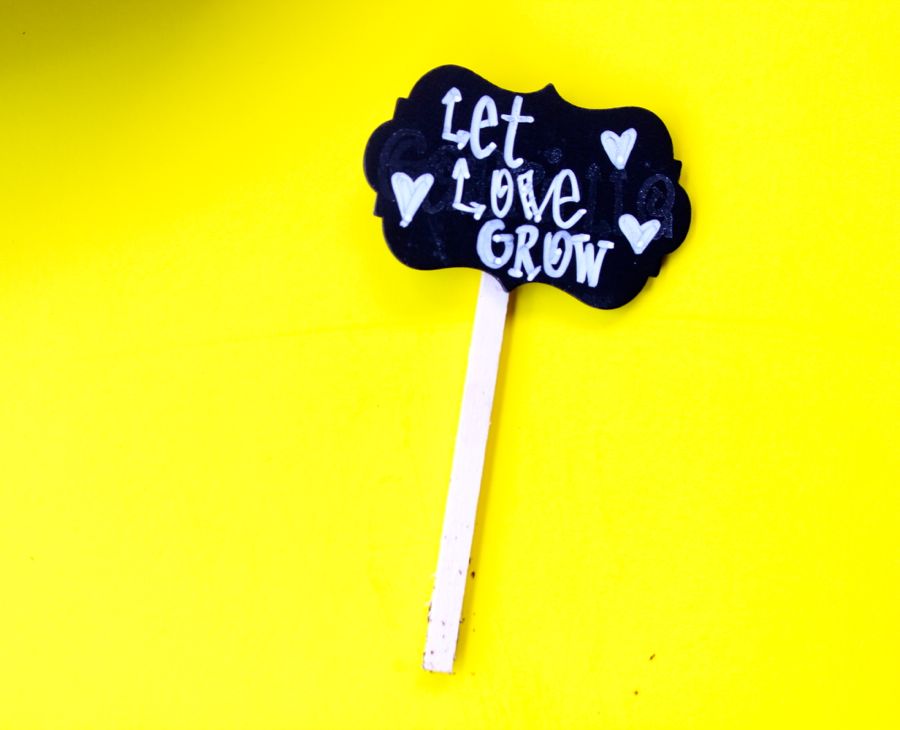
Make a sign – Let Love Grow or Love Lives Here – and insert it in the dirt.

let-love-grow-chalkboard-sign

let-love-grow-planter-yellow

let-love-grow-greenery-planter


DIY Hourglass Rope Planter

diy-rope-white-stripes-planter-succulents-patio-lights

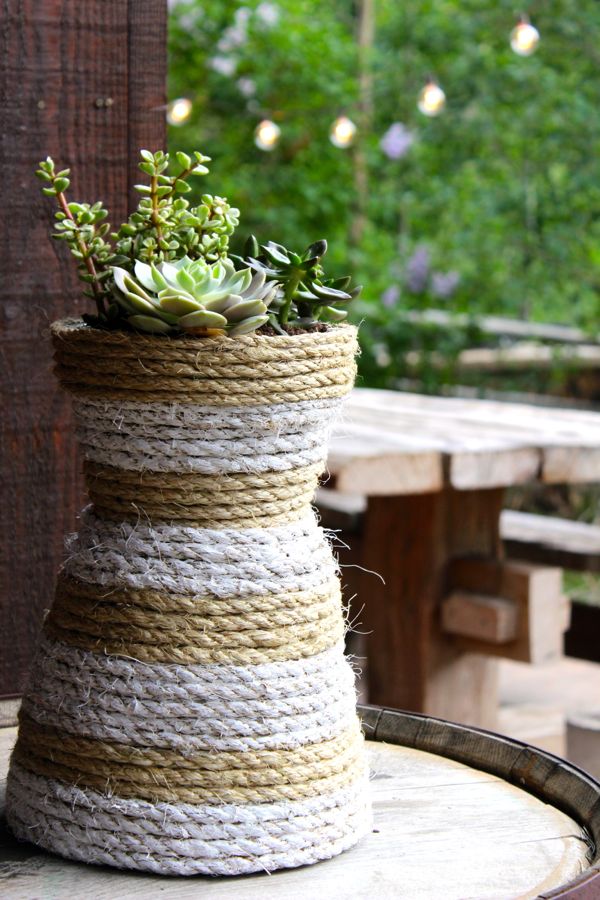
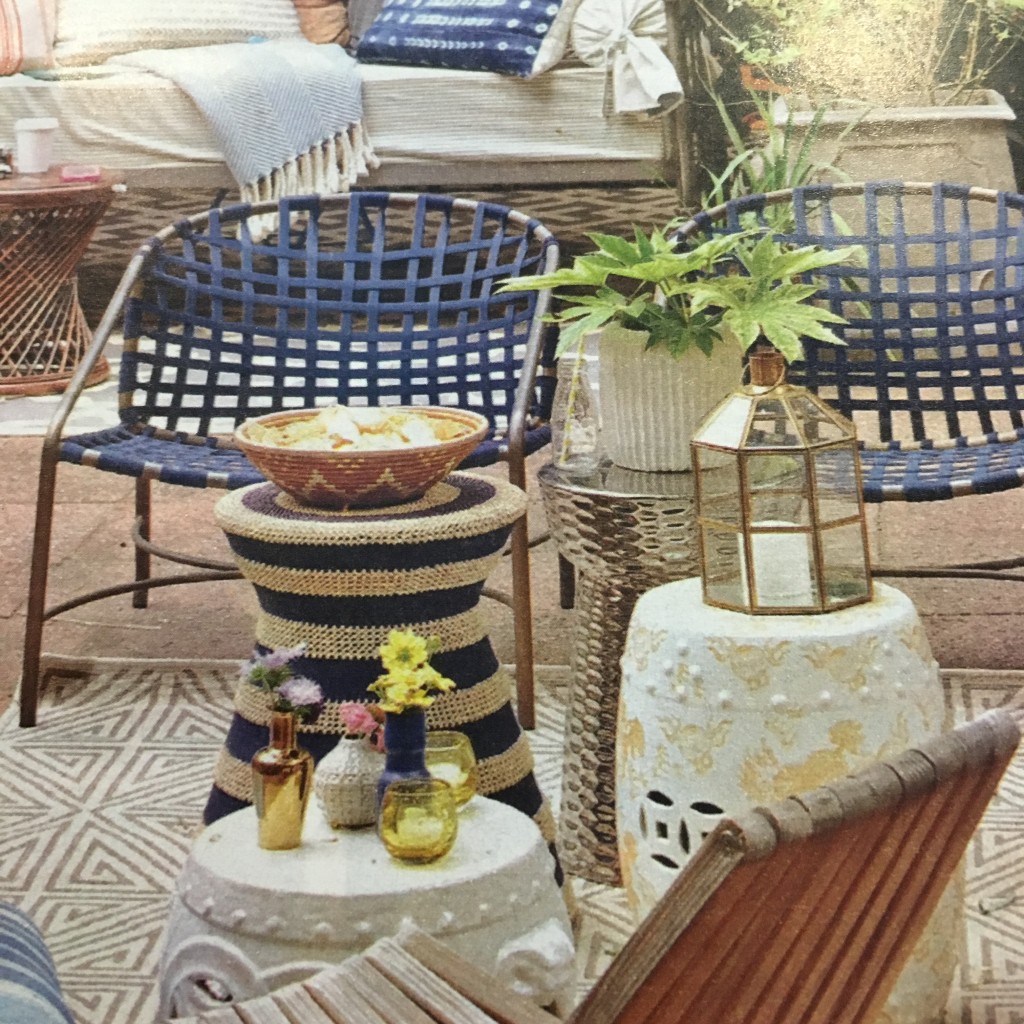
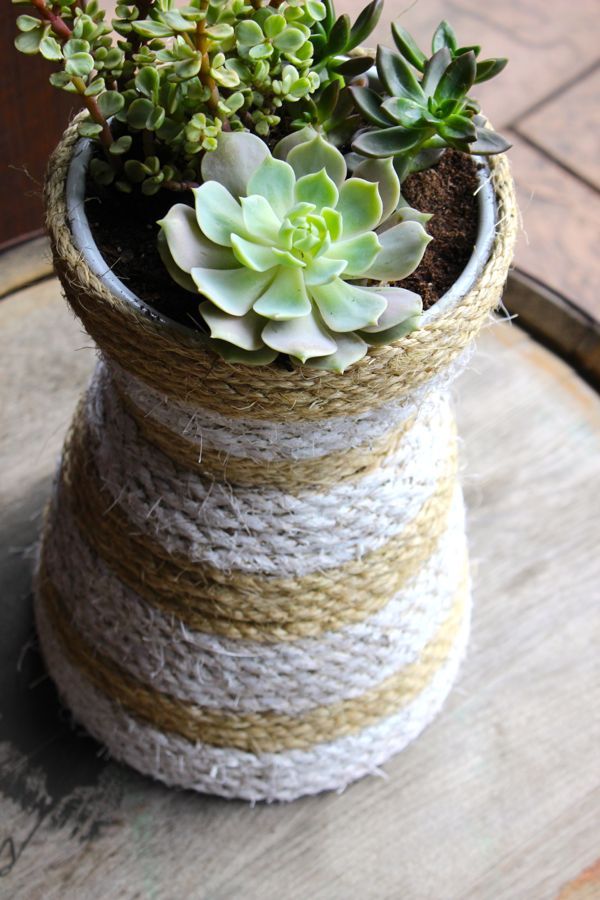
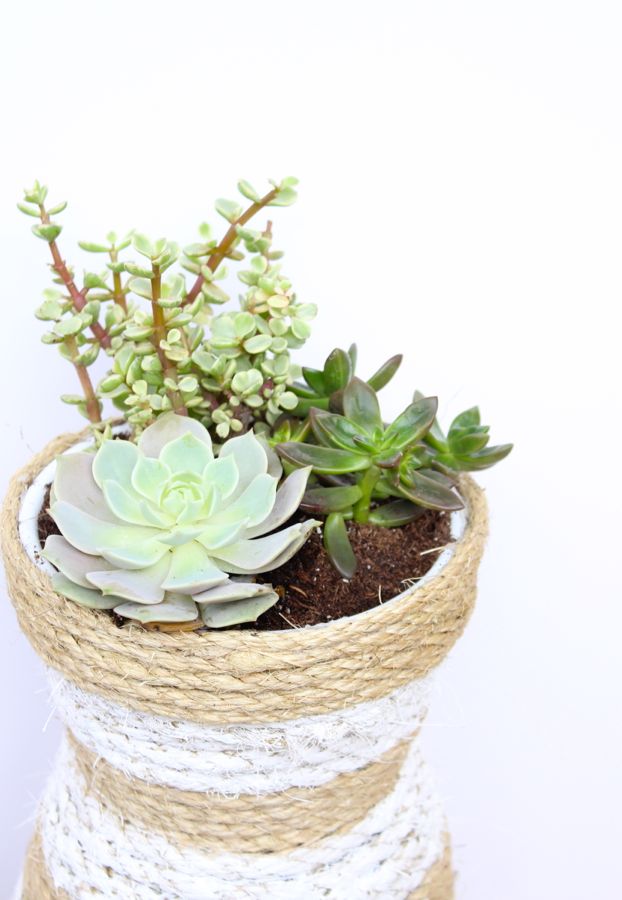
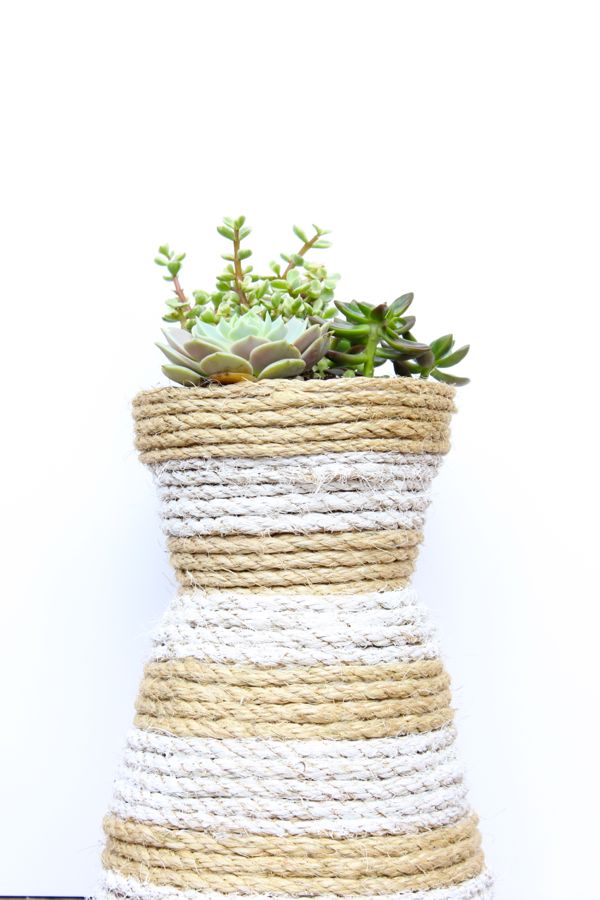
We’re obsessed with modern hourglass accent side tables. We stumbled across the photo below in a Better Homes and Gardens magazine {or something similar}, and snapped a photo for future inspiration. Until we can find a way to make a DIY, chic hourglass side table, we settled for a DIY hourglass rope planter. Our thumb was sore from pressing the glue gun, but that was the only tiny hard thing about this whole project.

blue-striped-planter-nautical-hourglass-patio-side-table

diy-rope-stripes-planter-succulents

Materials:

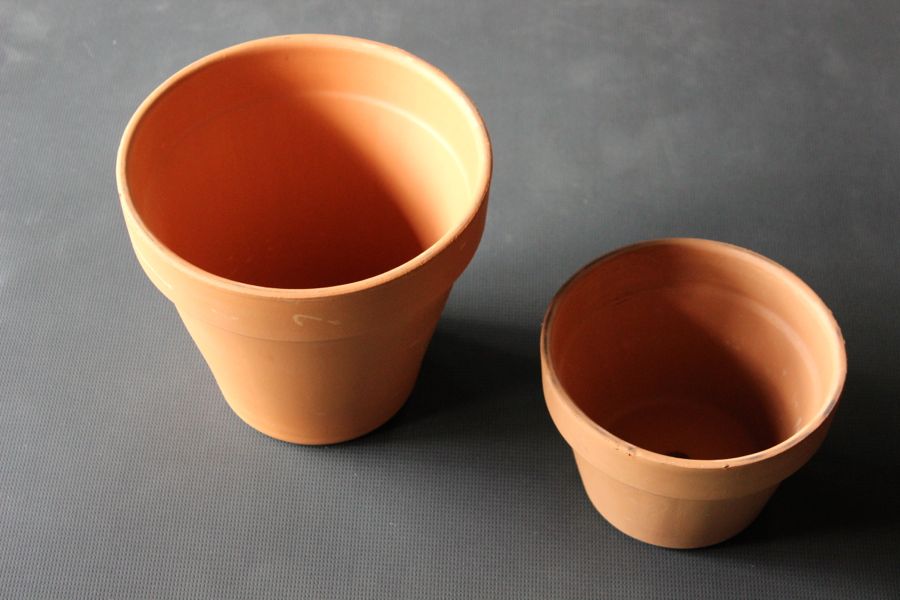
  • 2 Terra cotta pots, one larger and the other smaller, The Home Depot
  • White spray paint
  • Rope, 3/8 inch Sisal Rope {we used 1.5 rolls from Home Depot}
  • Glue gun and glue
  • Gorilla Super Glue
  • Paint brush
  • White acrylic paint
  • Succulents or plants, The Home Depot

Directions:

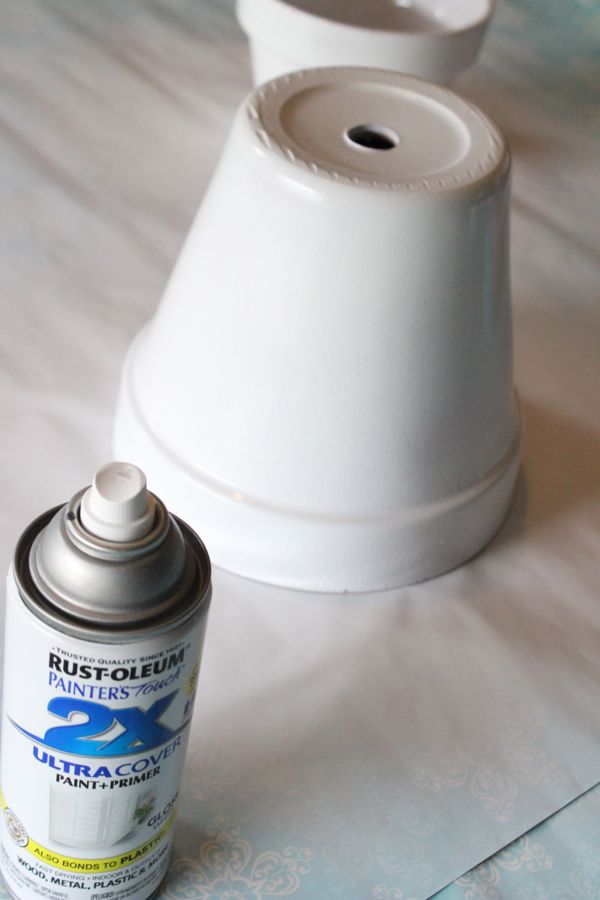
Step 1: Spray paint the terra cotta pots white. One coat will work just fine. It doesn’t need to be perfect – it’s just to keep the background neutral in case there is a tiny opening through the rope.

terra-cotta-pots

white-terra-cotta-pot-spray-paint

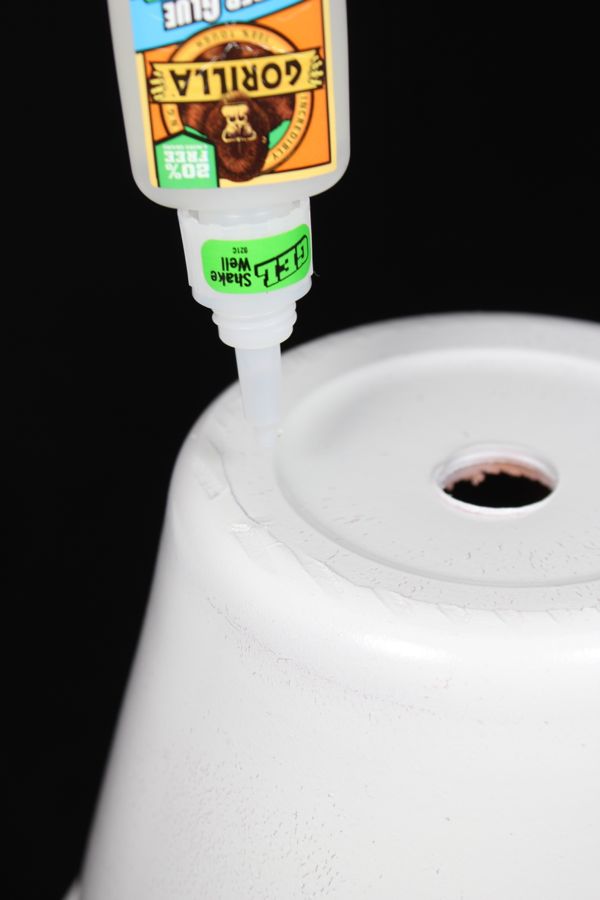
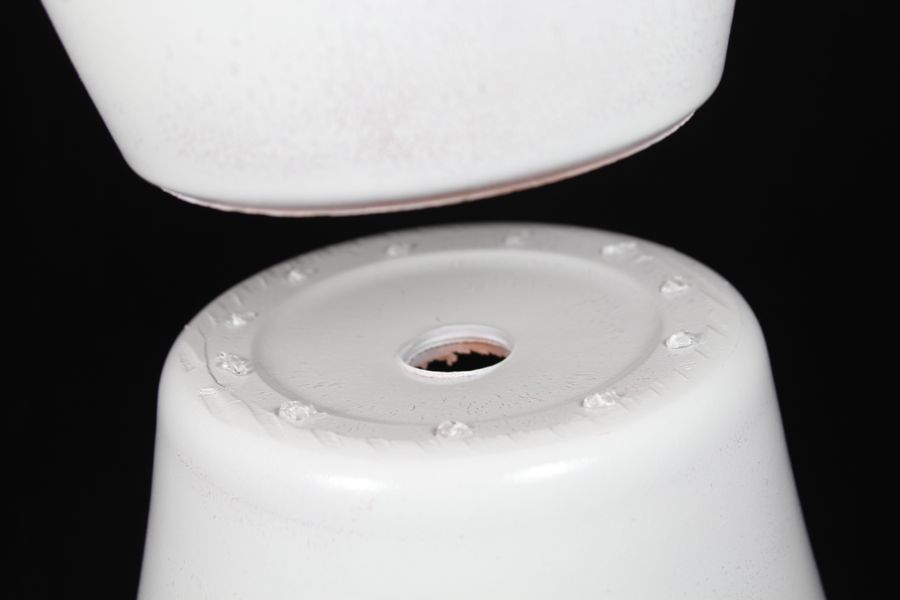
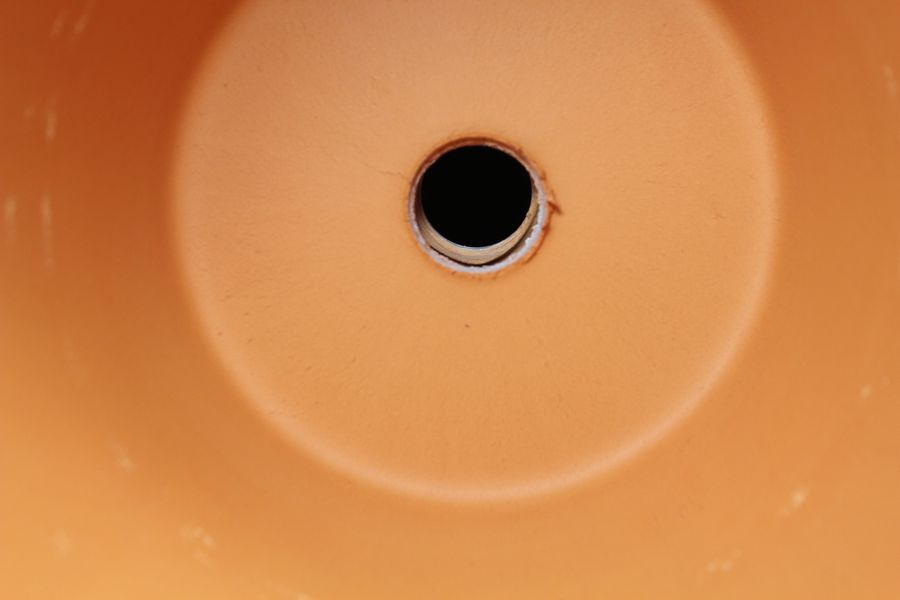
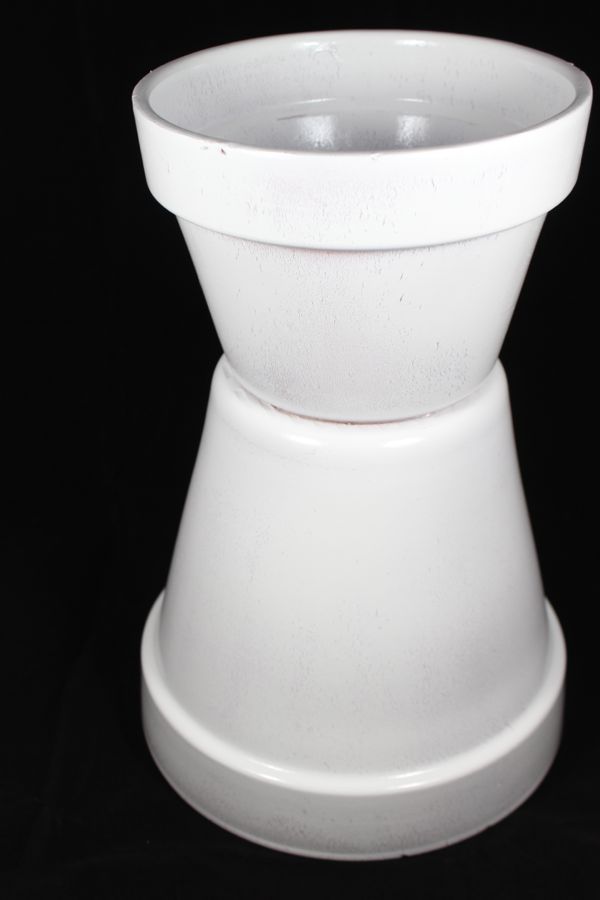
Step 2: Flip the large terra cotta pot upside down and dab super glue around the base. Place the smaller terra cotta pot on top in the center {the holes should be lined up} and press down firmly.

super-glue-terra-cotta-pot

terra-cotta-pot-glue

terra-cotta-pot

white-planters

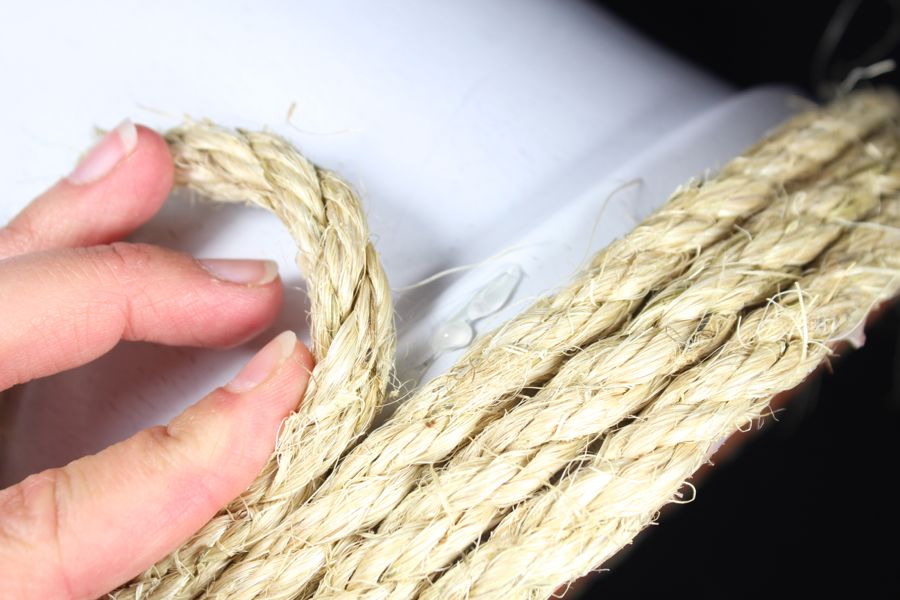
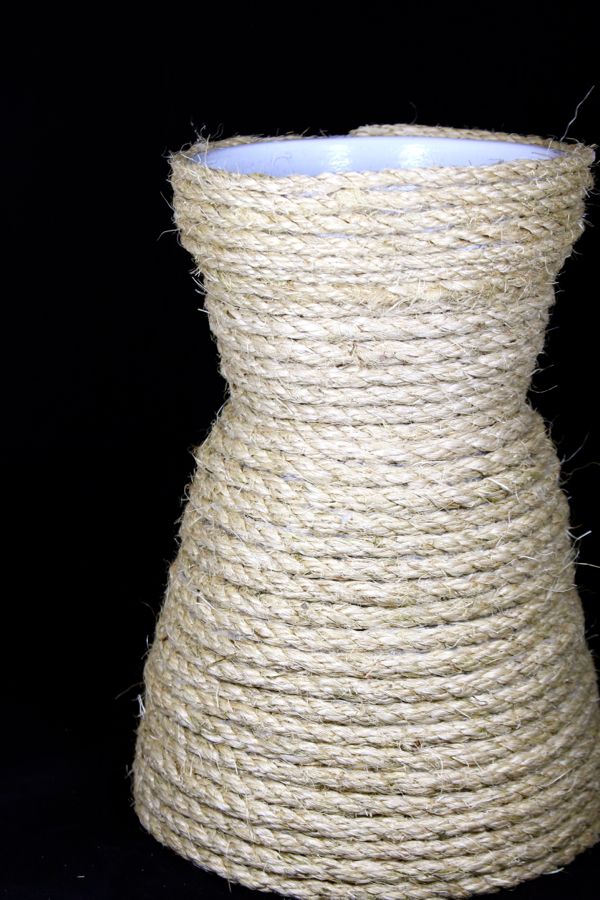
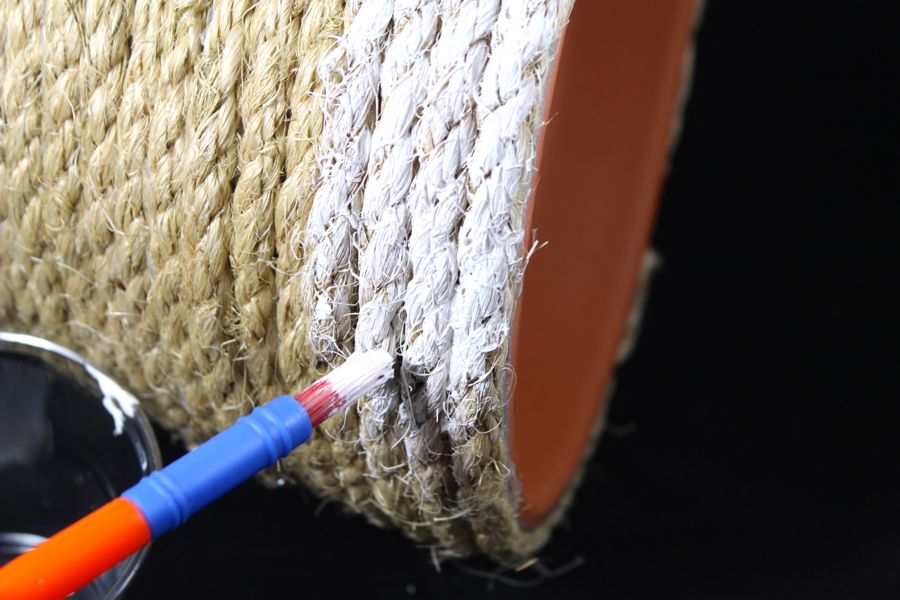
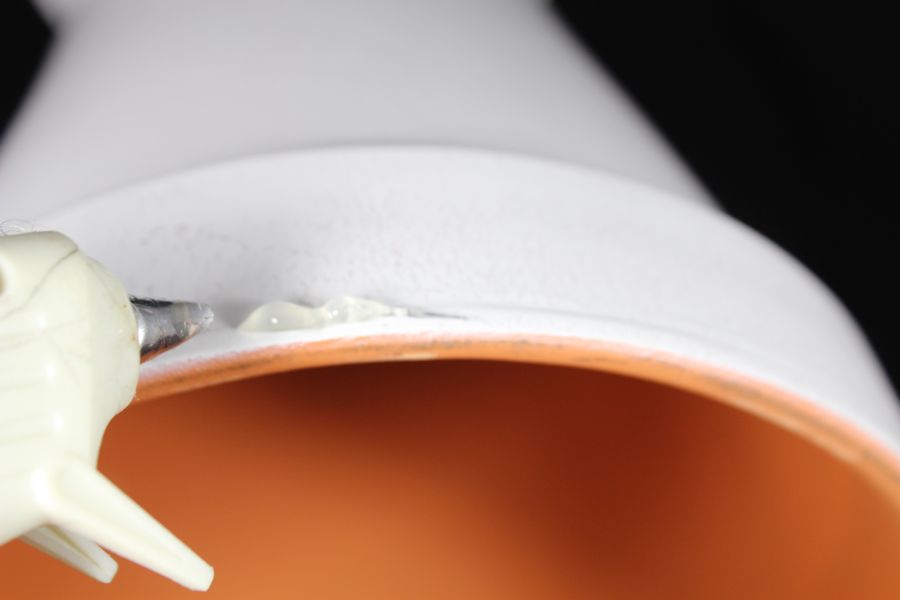
Step 3: Once dry, it’s time to cover it with rope. Start at the bottom by placing a strip of hot glue along the bottom edge, and press the rope onto the glue. Continue to wrap the rope around the pot row after row until the entire pot is covered.
white-terra-cotta-pot-hot-glue

rope-craft-project

diy-rope-planter

diy-rope-planter-white-terra-cotta-pot

rope-hourglass-planter

Step 4: Paint stripes on the planter. We didn’t use painter’s tape – we just eye-balled it.
paint-rope-planter

Step 5: Plant succulents, or the plant of your choice, in the top part of the planter.

succulents-rope-white-stripes-hourglass-planter

diy-rope-hourglass-striped-planter

diy-succulent-hourglass-planter-rope-white-stripes

10 Graphic Tees for Summer

We’re going BOLDLY where no J. Sorelle lady has gone before…wearing graphic tees! We’re going to proudly wear our words on our chest this summer. Here’s some of our faves.

[show_ms_widget id=”35481500″ image_id=”41328351″ width=”720″ height=”540″]

{always feeling the good vibes} Good Vibes T-Shirt, Urban Outfitters | {great song} Easy Like Sunday Morning, Nordstrom | {yep, that sounds about right} More Issues Than Vogue, OpenSky | {proud to be an American} National Leisure Top, ModCloth | {Matthew McConaughey, this one’s for you} Alright, Alright, Alright, Urban Outfitters | {once a whiskey girl. always a whiskey girl} Whiskey is Always, Urban Outfitters | {hell, yeah} Fun Brunette, Zappos | {amen, sista} Broke Up with Gym, Express | {we all have our moments} The Hottest Mess, Asos | {let’s get our zen on} Namaste Y’all, Urban Outfitters

[show_shopthepost_widget id=”1653043″]

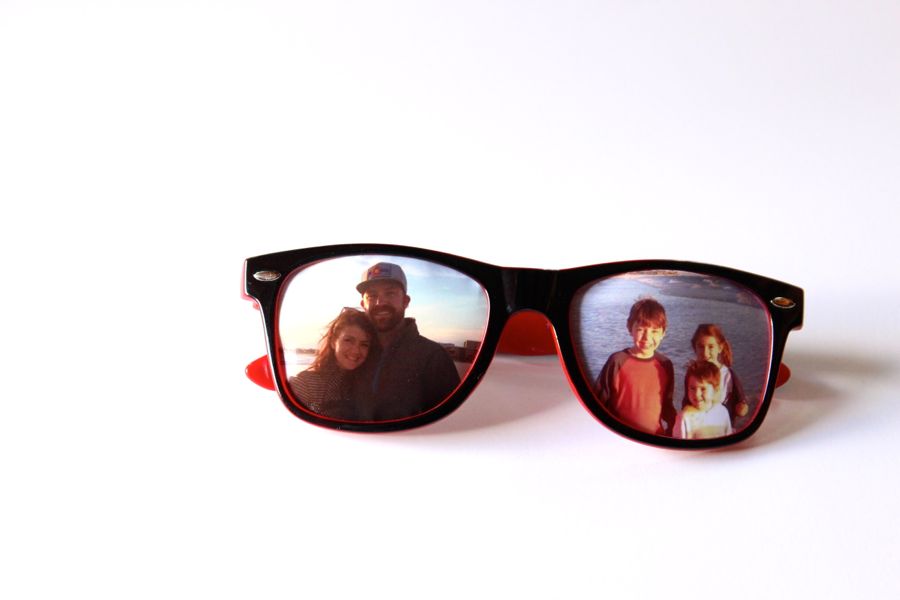
DIY Sunglasses Picture Frame

one-cool-dad-sunglasses-photo-frame

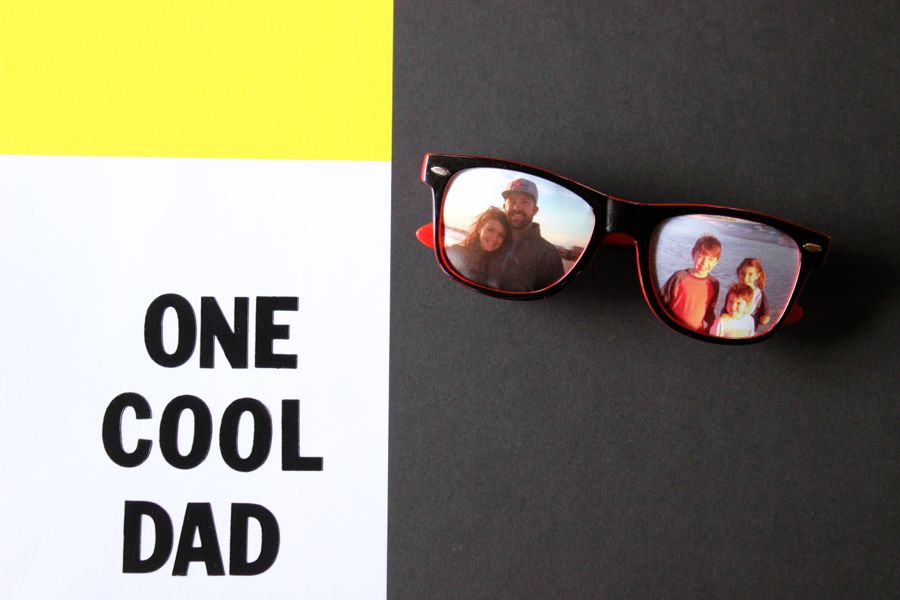
We have one cool Dad. He’s more than that – he’s honorable, loving, admirable and extraordinary. We have been so incredibly blessed. Tommy and Will are amazing father’s, too, that astound us everyday with their love and dedication. On Father’s Day, as we celebrate the men who rise up to the occasion to be not only a good father’s, but also good men, we have a DIY in mind for their all around cool vibes and picture perfect memories.

DIY Sunglasses Picture Frame

Materials:

  • Sunglasses {a pair from Target’s Dollar section would work great}
  • Photos
  • Scissors
  • Pen

Directions:

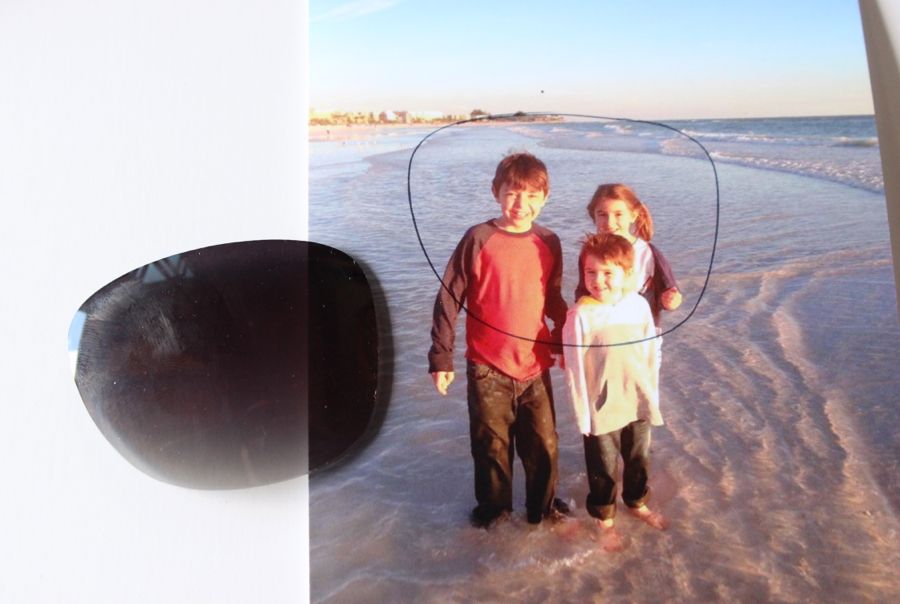
Punch out the glasses from the frame.

sunglasses-photo-pen

Trace the frame on the photo.

sunglasses-frame-photo

Cut out the photo.

sunglasses-frame-photo

Insert the photo in the sunglasses frame, and the image should fit right where the glass was {in between the ridges}.

sunglasses-photos-gift

Place on Dad’s favorite shelf or bring them to his office for an extra cool accessory.

one-cool-dad-sunglasses-photo-frame

diy-sunglasses-photo-frame