DIY Watercolor Mug and Planter

dig-water color-planeter-succulent-pink-turquoise-mug-white-gold-

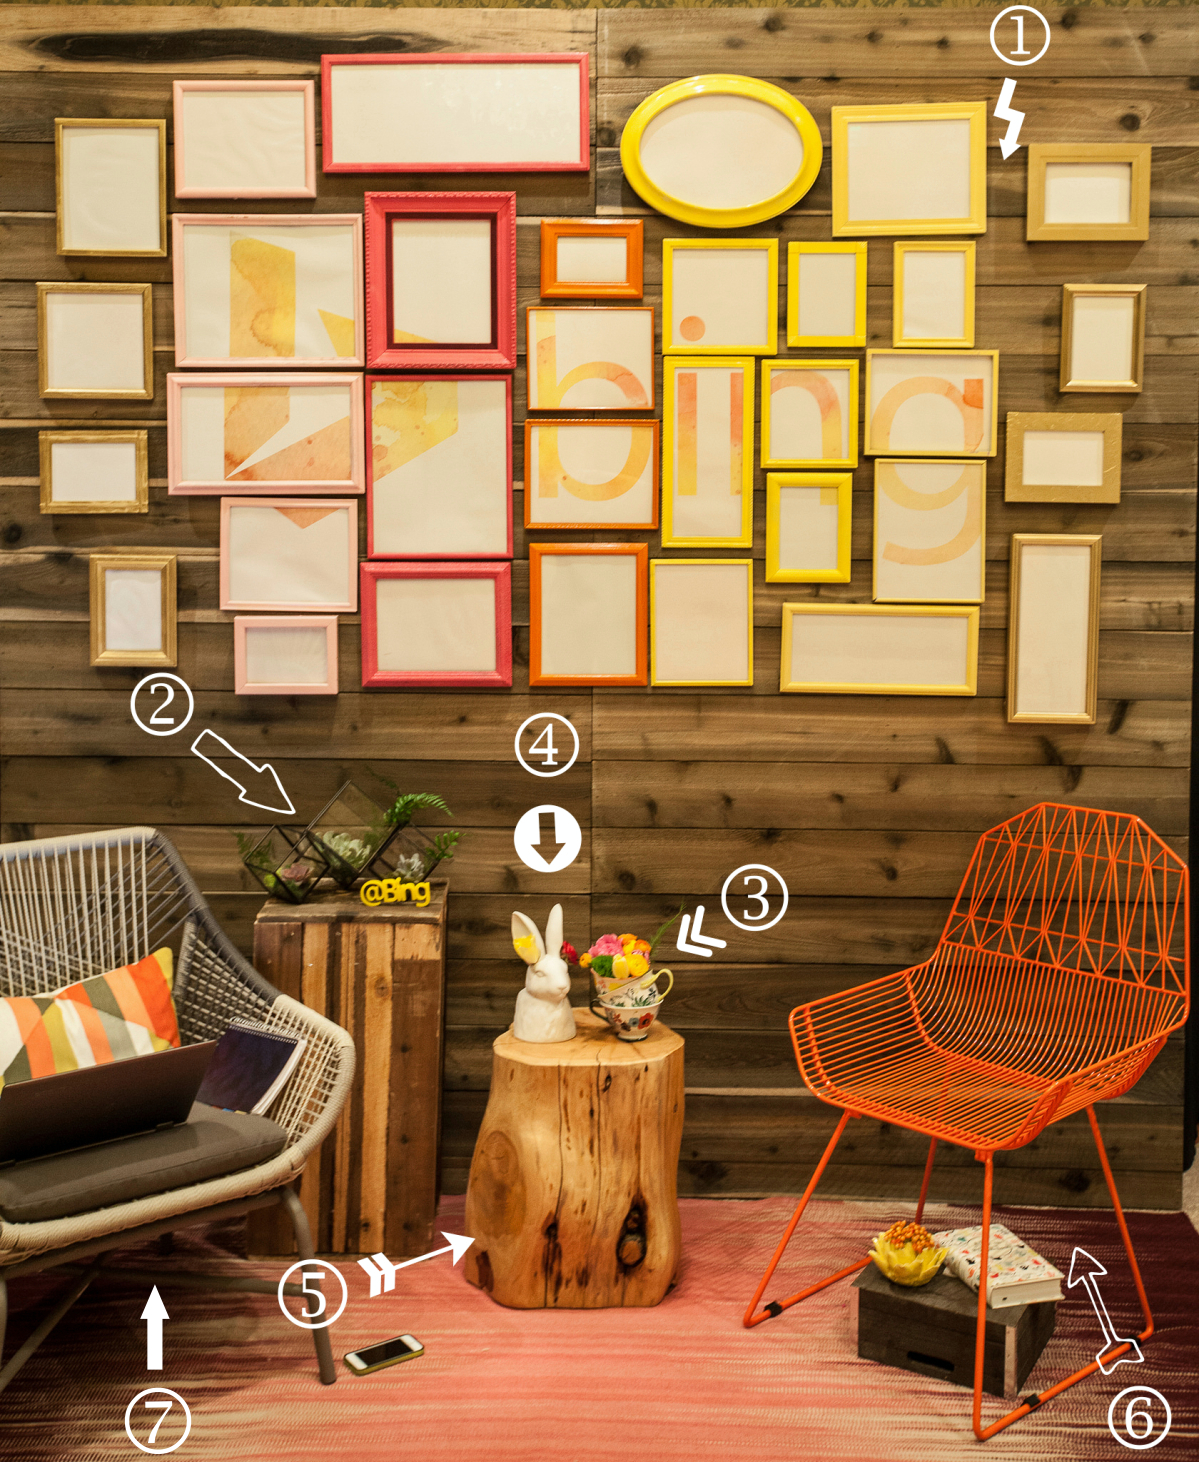
 This photo hooked me.

The idea was brilliant. The cost was minimal.  The ingredients were already in a drawer upstairs. The impact was bold. Within 10 minutes of seeing the photos, Jessica and her daughter were dipping mugs in their favorite nail polish colors.

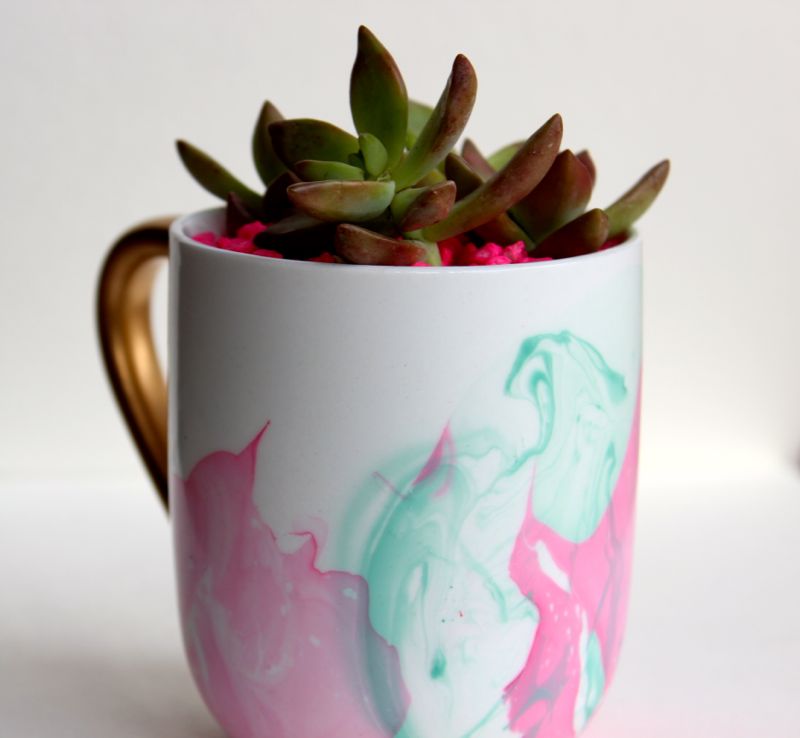
Instead of using it as a mug, Gabriella opted for a succulent planter. And, with that, she is the proud 4-year-old owner of this adorable, trendy succulent planter!

succulent-pink-aqua-planter-mug-water color-nail polish

Warning: this looks easy, and it is; however the nail polish is totally fickle and it took us several tries to get it right {we dipped dispensable products just to see how it worked}. And, the nail polish hardens almost immediately, so you have to drop and dip – quick, quick, quick!

You’ll Need:

  • White ceramic mug. You can find them for $1 at Wal-mart
  • Deep container you want to throw away or use for paint only
  • Nail Polish
  • Warm Water
  • Gold Leaf Paint
  • Pink Aquarium rocks
  • Succulent
  • Dirt and Rocks

How to Make It:

  • Fill the bowl with warm water.
  • Add a drop of nail polish to the water, and it should spread.  You can use a toothpick to help create a ‘swirl’ your looking for. For us, sometimes the nail polish spread like it was supposed to, and other times, the drop sank to the bottom of the bowl. It’s hit or miss.
  • If you want to use an additional color, drain the water, and repeat the steps.
  • If you mess up, or there’s s spot you don’t like, just use a cotton swab or pad soaked with Nail Polish remover to remove the nail polish from the mug.
  • Pat dry with a paper towel and let dry for 2 hours.
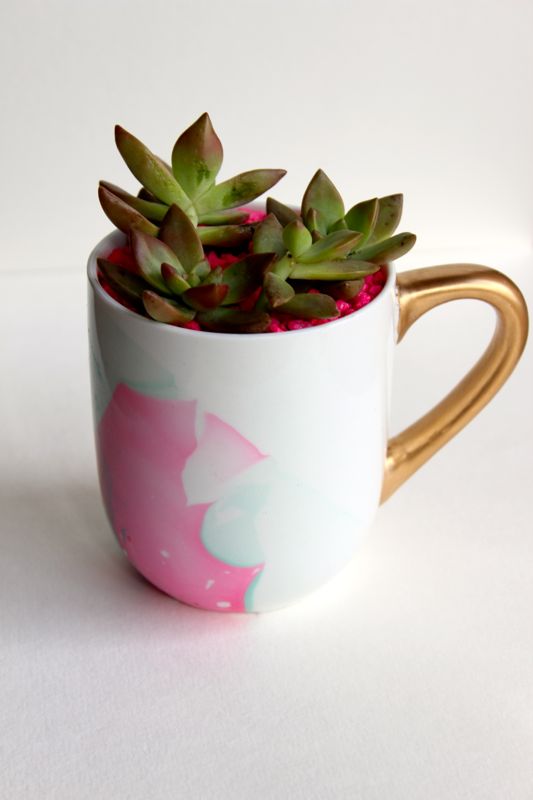
  • If you want a gold handle, add painter’s tape on the mug around the handle, and paint the handle gold with Gold Leaf Paint.

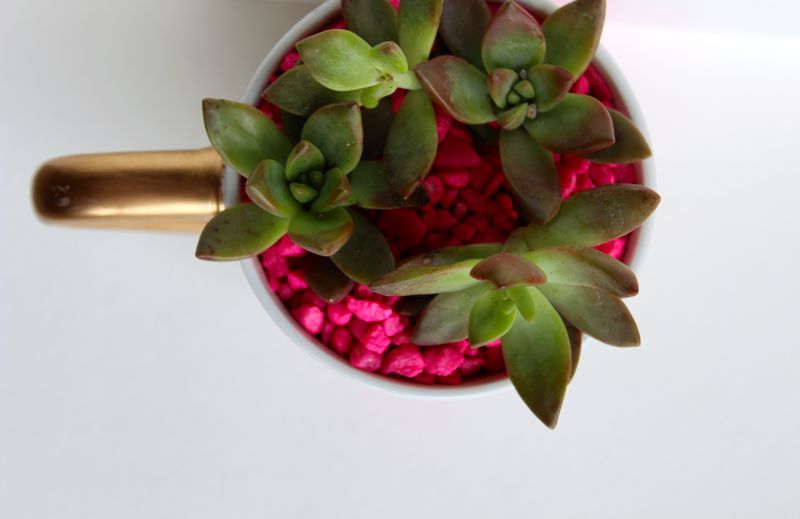
To make the mug a planter, add dirt and rocks to the cup, insert the succulent and top it off with pink rocks.

succulent-planter-mug-pink-aqua-rocks-gold-water color

pink-aqua-white-mug-rocks-succulent-planter-gold-water color

{photos via j. sorelle}

How to Create a Chalkboard Wall

chalkboard-wall-kids-room-diy-chalk-yellow-grey-room

We saw a glimpse of Amy’s chalkboard wall in her kids room while looking through beautiful photos by the talented Sally Mae. We loved the wood nightstand, the bright yellow bedding, the antler hung on the wall…and of course, the chalkboard wall.

Amy was so kind to share how she created the wall, where she found the adorable accessories and also 10 very good reasons why every child should have a chalkboard wall {or board} in their room. Jessica shared it on Momtastic.

{images via Amy, Design Lotus}

How To Create a DIY Book Page Wall

Kerri Cole entry_DIY book wall

from guest contributor: Kerri Cole

My inspiration came from the blog, Jones Design Company. Like me, Emily is willing to pick up a paint brush, rip up carpet, and change up the feel of her home on a whim. I love the freedom of being able to create and try new things knowing that if I don’t like it, I can change it back. Emily’s book page wall looks something like this…

JDC book-page-wall

JDC book-page-wall-close

My book page wall was created the day before the crew from 5280 Home Magazine came for a photo shoot – as if there wasn’t enough to do to get ready!  Our home was featured in the summer 2014 issue, and you can see it here. It was so exciting to see the finished product! I created my book page wall so that it could come down easily – kind of a temporary art exhibition, but we loved it so much it has remained up even though the pages have begun to yellow from sunlight and the corners have begun to curl.

I’d love to take you through the process so you can create your own book page wall.

  1. PICK YOUR SPACE – I chose an entry stair wall to make a big first impression for my guests. You could choose a powder room (but not near any plumbing fixtures), a kitchen nook, a boring hall, etc. Even using children’s book pages with wonderful drawings in your child’s room would be great!
  2. GATHER YOUR MATERIALS – You will need four things: books, drafting dots, an exacto knife and an adhesive tape runner.  Select a book you don’t mind tearing pages out of, it can be hardcover or paperback depending upon the page size you want to use. Since we are a family of four, we each chose our favorite books in paperback to give our wall a more personal feel and then we also had a great story to share!  (These were: Romeo and Juliet, Anna Karenina, Catcher in the Rye and To Kill a Mockingbird) I used round drafting dots because, one, I had them available since I’m an interior designer and need them for my drafting floor plans, and two, they are easy to use and removable.  You can find these at any art, office, or craft/hobby store along with an adhesive tape runner.
  3. PREPARE YOUR SUPPLIES – Open the books and break the spine of the book in a couple of places, this helps to make a clean cut with your exacto knife near the spine. Once you have a decent stack of loose pages you are ready to begin. You might consider if you want just text, or if you want to have as many pictures or chapter start pages as you can.  I used a little of both. This adds even more character to your wall by adding these in.
  4.  BEGIN! – Starting along the base of the wall, begin by lining up the bottom of the page with the top of the base. Attach each page with a drafting dot at the top. Finish the bottom line and then start on the row above.

Book Wall Page start_kerricole_theentertainingshoppe

You can either line them up so the bottoms are aligned (this works best if your book pages are the same size) or you can stagger the bottoms of the pages as I did. Remember to stand back every once in a while to make sure you are covering your wall and that your book page sides are remaining vertical and not wonky (this is where those removable drafting dots come in handy!)  Keep working up the wall, row by row.

Book Wall Page_kerricole_theentertainingshoppe

When you get to the top of the wall attach the top of these pages with a strip of the tape from the tape runner on the backside of the page so that you cannot see it.

          5. ENJOY THE OOHS AND AAHS – because that is what your friends will do when they come over and see your amazing handiwork!

Many many thanks to Jessica, Jenna and Jodi for inviting me to be a guest on their fabulous blog! Thinking about doing a book page wall in your home?  We would love to see it!

guest author kerri col

{images via Jones Design Company and 5280 Home Magazine,  Kerri Cole with The Entertaining Shoppe.com}

Modern and Chic Baby Girl Nursery

nursery_jsorelle

Star light , star bright,
First star I see tonight,
I wish I may, I wish I might,
Have THIS NURSERY I wish tonight.

We are in love with this nursery of our dear friend, Shannon, and her beautiful baby girl. We oohed and ahhed at the sight of the feather light, the white poof, the animal prints and then we looked up and were delighted to see a striped ceiling! It’s a lovely nursery, and a beautiful space that will remain a classic, soft and modern chic room for years to come. Thanks for sharing it with us, Shannon. And, for those of you lusting after the space and wondering where you can buy the items – Shannon shared all her shopping stops with us below. The light made my daughter’s Christmas list…and it’s definitely a gift to me! 🙂

nursery_jsorelle

baby girl nursery_jsorelle

baby girl nursery_jsorelle

baby girl nursery_jsorelle

SHOPPING LOVE

Classic Crib & Merlin (Rhea) Dresser (plus Changing Station accessory): Oeuf, giggle
Sheepskin Rug: Safavieh, Overstock.com
Book shelf: Dwell Studio 
Como Glider: Monte Design
Ottoman: Serena & Lily
Pink Plastic Elephant: Eames, Design Within Reach
Animal Prints: The Animal Print Shop by Sharon Montrose
Geese Mobile: blabla
Ceiling Light:  VITA

{photos via friend of beautiful baby girl}

colorful bing lounge, part 2

You already saw 10 beautiful finds for your home. So, here’s part 2 of our Create Your Own Bing-Inspired Lounge at home.

bing lounge part 2_jsorelle1. Colorful Frames, DIY or Etsy
2. Terrarium 1 and Terrarium 2, Urban Outfitters
3. Vintage Tea Cups, Etsy
4. Porcelain Rabbit Head, Pure Home
5. Natural Tree Stump Side Table, West Elm
6. Orange Chair, Wayfair
7. White Chair, Ikea

  {image via Justin Hackworth and Brooke Dennis for Alt Summit}