We are big fans of Project Runway. It’s a show we can’t get enough. The creativity, the talent, the challenges, the designers, Tim and Heidi – we love it all! Well, Project Runway has some major competition…from the small resort town of Vail, Colorado.
Moms, dads, architects, teachers and everyday amazing people enter into Project Funway to raise money for EFEC, Education for Eagle County. The non-profit organization helps to provide funding for tools, technology and staff that supports an excellent learning environment for the kids of Eagle County.
What started as a small event has grown into a large, must-see runway show. The lights, camera and action are exciting, but the fashion is unbelievable.
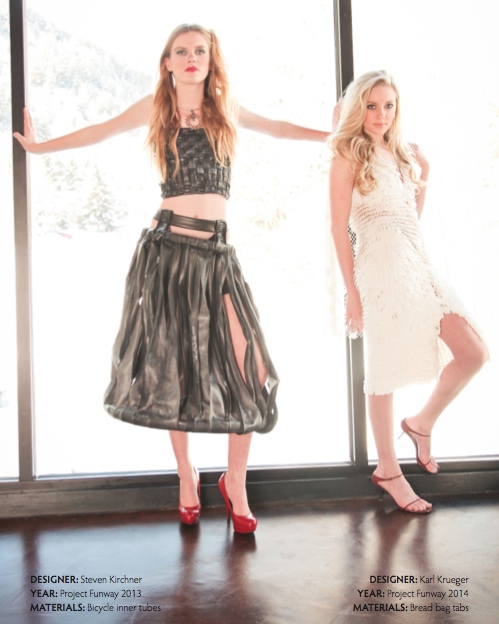
The more unconventional the materials, the better. I will never look at a construction fence zone, plastic bread tags, plastic containers, bicycle tires or medical gloves the same way I did before.
Last year, Jessica’s daughter Gabriella, competed. Her theme was Summer, so she walked the runway as a watermelon. Her top was made of window screen, the skirt was constructed with plastic tablecloths and held up with a duct tape belt, she adorned a flower headpiece made from a plastic cup, and she was accessorized with a a bubblegum necklace and a purse made from a watering can.

Turns out, inspiration is all around us – we just have to use our brains to brainstorm and our hands to mold, sew, glue or design it into a work of art, or runway piece.
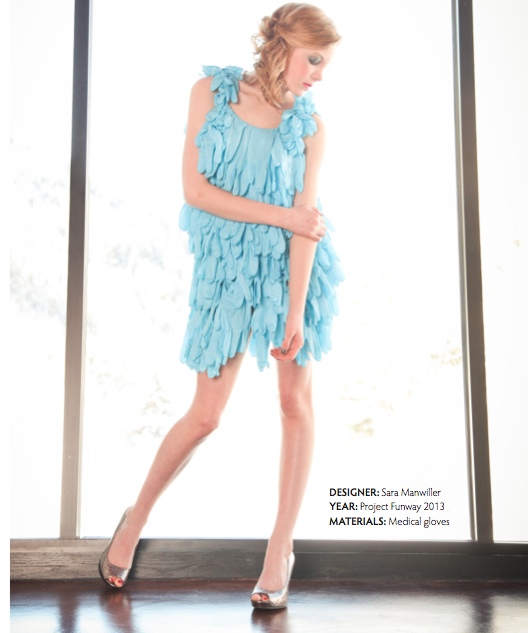
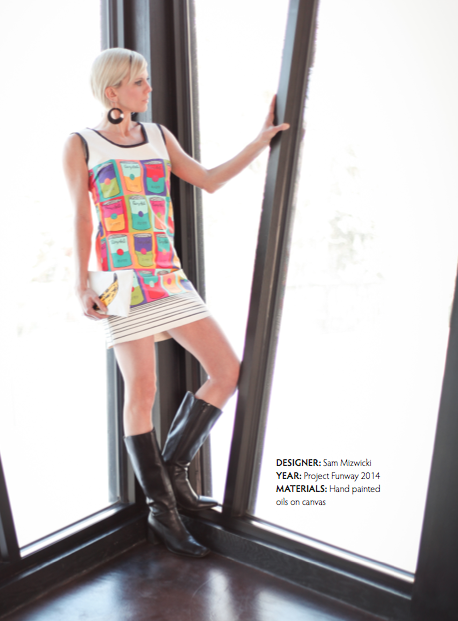
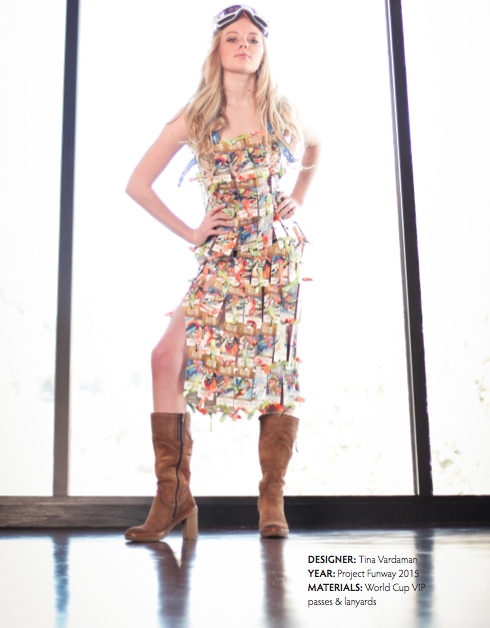
Our personal favorite was the construction fence dress. Who knew the orange fencing could be so couture?

This year’s show is Saturady, April 9. It’s sure to be a show-stopper. Read more about the event, and how to buy tickets here.
Photography by Sherri Innis
Photo of Jessica’s daughter {and lead designer of her watermleon dress} by Meredith Moran Photography