DIY No-Sew Mini Football Pennant

blue-orange-bronco-football-pennant-diy-drink-stirrer-yay-go-helmet-banner-utensil

I been waitin’ all day for Sunday night

The tough get rough in a primetime fight

The last one standin’ gets to turn out the lights

‘Cause I been waitin’ all day for Sunday night

Yea, yea, yeah

Recognize that song {and the foxy lady that sings it} on NBC primetime Sunday night? Well, if your husband/boyfriend/dad/brother/son/friend is like ours, it’s more like, been waiting all day for Thursday, Saturday, Sunday and Monday because we’re pretty certain between college and the NFL, there are big, must-see games every one of those nights!

Yes, it’s that football time of year. Whether you like it or not, it’s here. Might as well make something cute to go along with it!

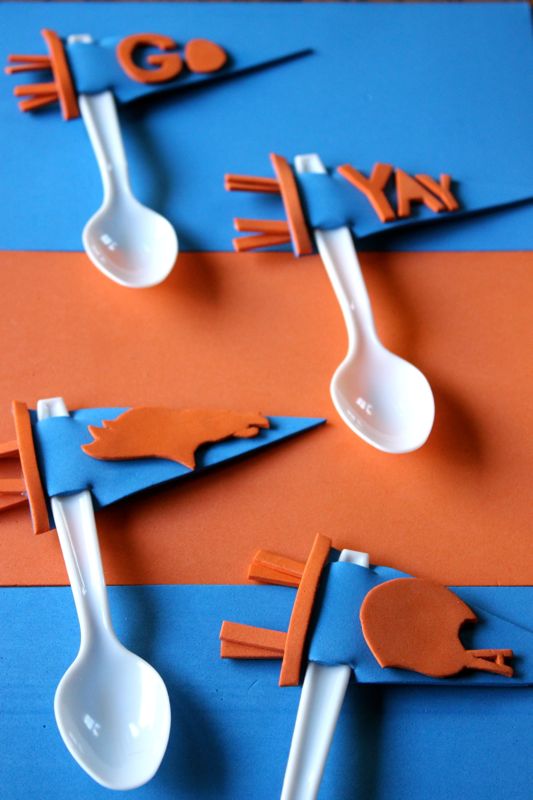
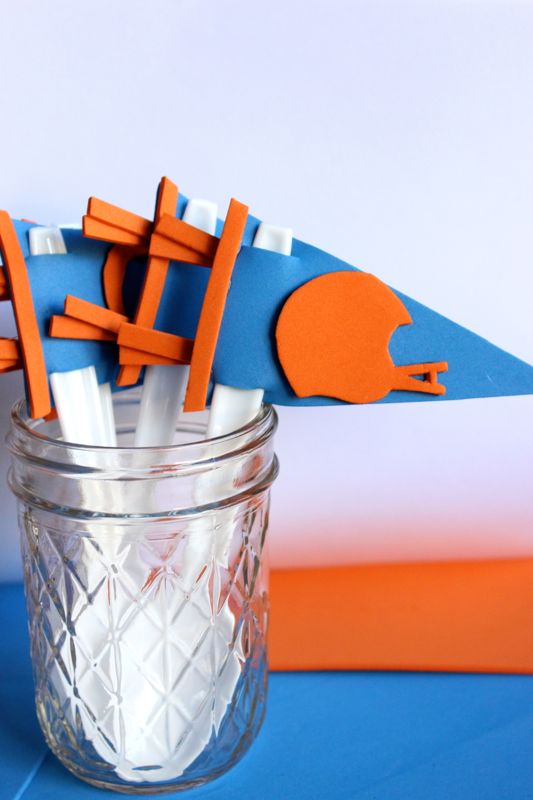
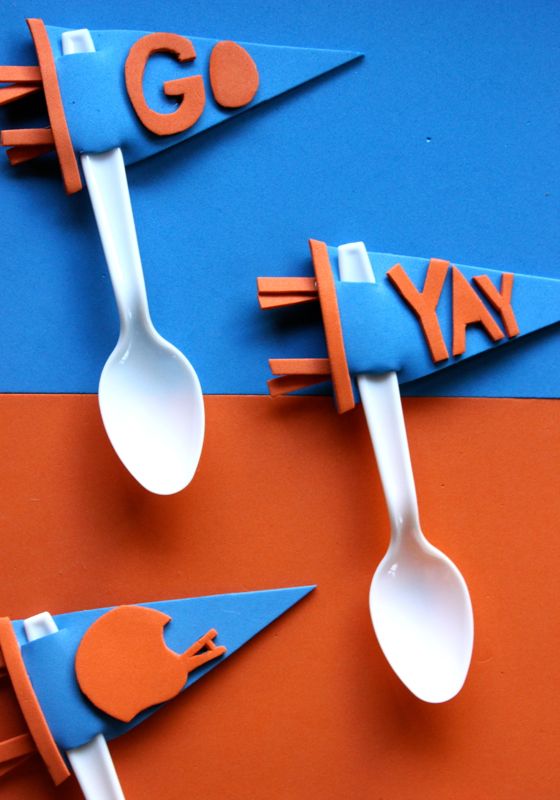
We made DIY mini pennants that can be used as a DIY pennant drink stirrer, or DIY mini pennant utensils for pre-game tailgate madness or a fun football party.

Can you guess what team we’re rooting for? CO born and raised, baby!

DIY Mini Football Pennant
blue-orange-bronco-football-pennant-diy-drink-stirrer-yay-go-helmet-banner-utensil

You’ll Need:

  • Colorful craft foam sheets
  • Pencil
  • X-acto knife
  • Hot glue gun
  • Plastic forks or spoons

Directions:

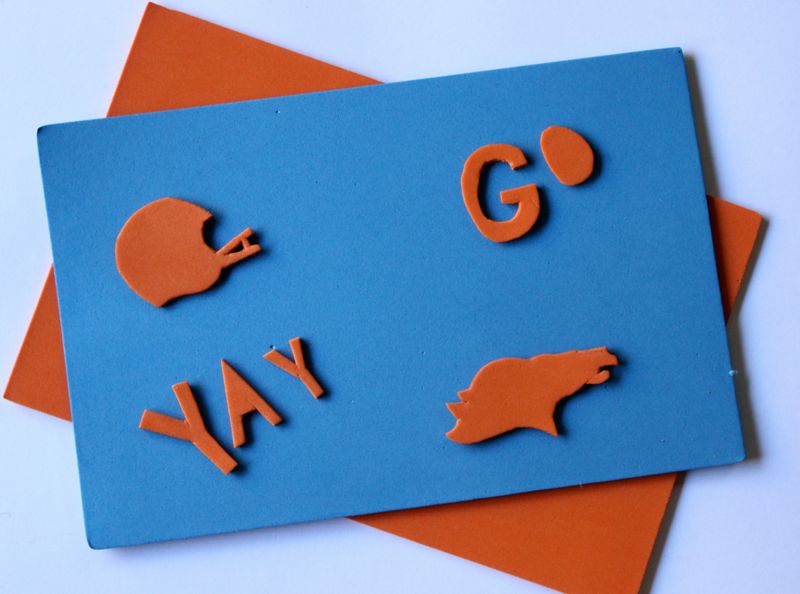
  • Step 1: Hand draw or trace your designs with a pencil onto the craft foam sheets. We created a pennant shape in Microsoft word, and found the Bronco logo, as well as the helmet online. For all the letters, they were hand drawn.
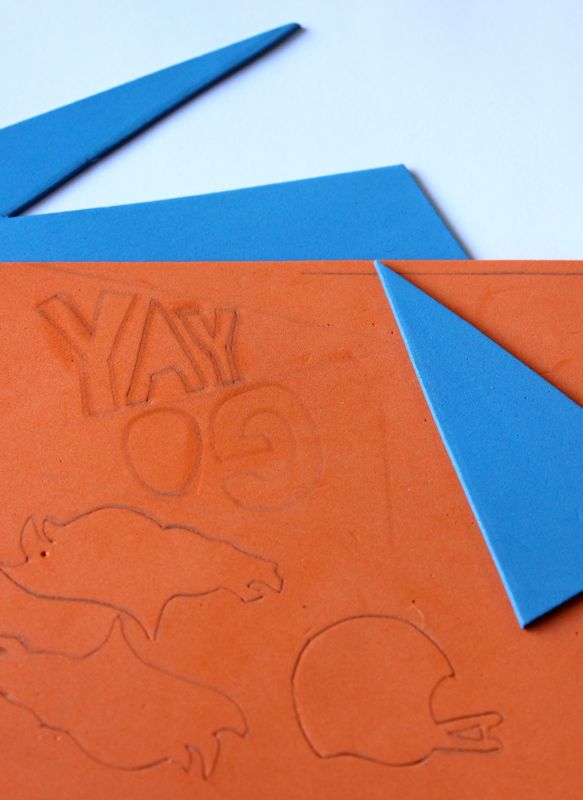
blue-orange-bronco-football-pennant-diy-drink-stirrer-yay-go-helmet-banner-utensil

  • Step 2: Cut out your shapes.

blue-orange-bronco-football-pennant-diy-drink-stirrer-yay-go-helmet-banner-utensil

  • Step 3: Glue the letters or shapes onto the pennants. Remember to leave a small space on the left side of the pennant for a small slip to insert a fork, spoon or stick.
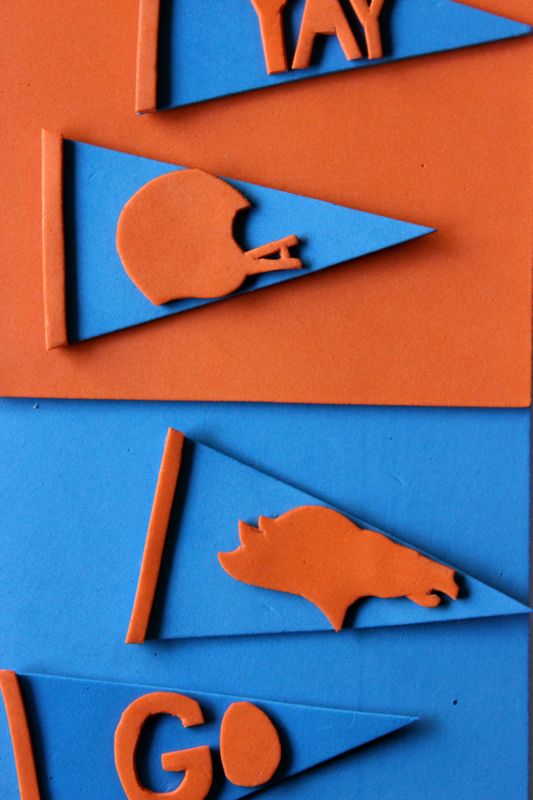
blue-orange-bronco-football-pennant-diy-drink-stirrer-yay-go-helmet-banner-utensil

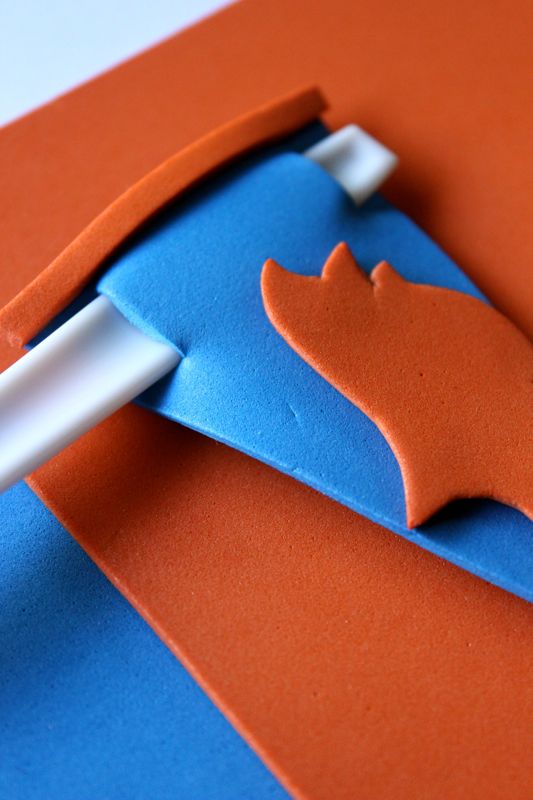
  • Step 4: Use an X-acto knife to cut a slit at the top and bottom of the pennant, on the left side of the letters/shapes.
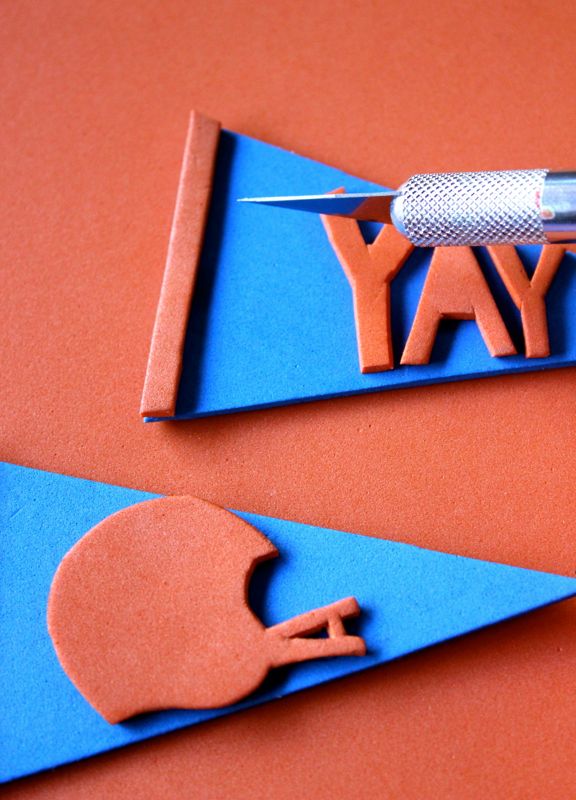
blue-orange-bronco-football-pennant-diy-drink-stirrer-yay-go-helmet-banner-utensil

  • Step 5: Insert a spoon, fork or stick into the slits.

blue-orange-bronco-football-pennant-diy-drink-stirrer-yay-go-helmet-banner-utensil


blue-orange-bronco-football-pennant-diy-drink-stirrer-yay-go-helmet-banner-utensil

  • Step 6: Glue the little tags/strips on the back of the flag, next to the back of the spoon.
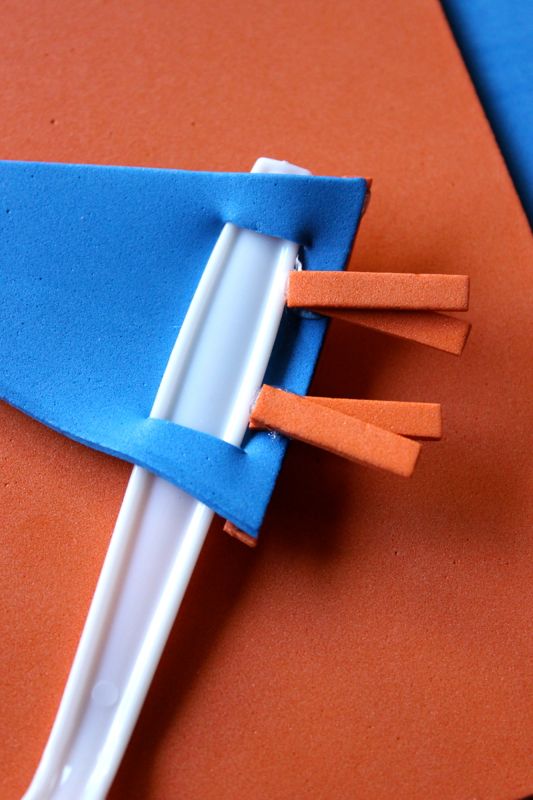
blue-orange-bronco-football-pennant-diy-drink-stirrer-yay-go-helmet-banner-utensil

blue-orange-bronco-football-pennant-diy-drink-stirrer-yay-go-helmet-banner-utensil

  •  Step 7: Place in a mason jar because you’re done, and everyone has the cutest DIY pennant utensil ever!
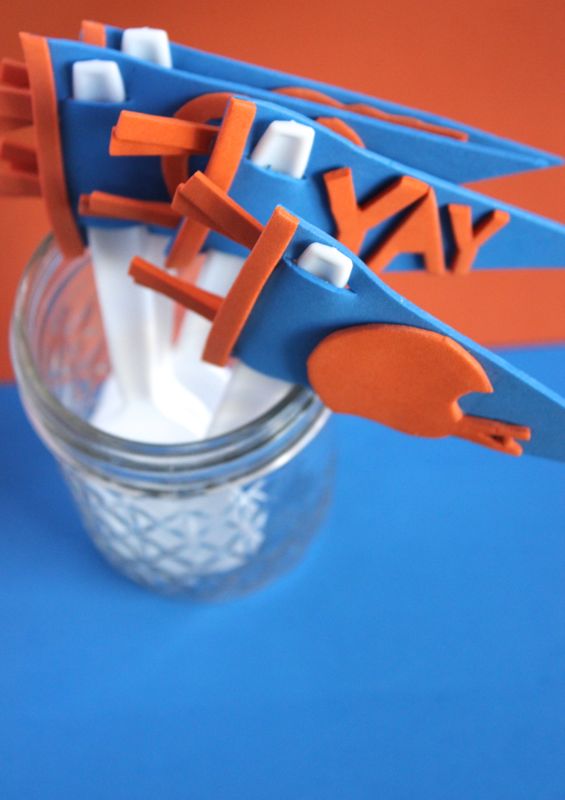
blue-orange-bronco-football-pennant-diy-drink-stirrer-yay-go-helmet-banner-utensil


Make & Mingle: A Macaron Workshop

make-mingle-macaron-workshop-flowers-pastry-kitchen

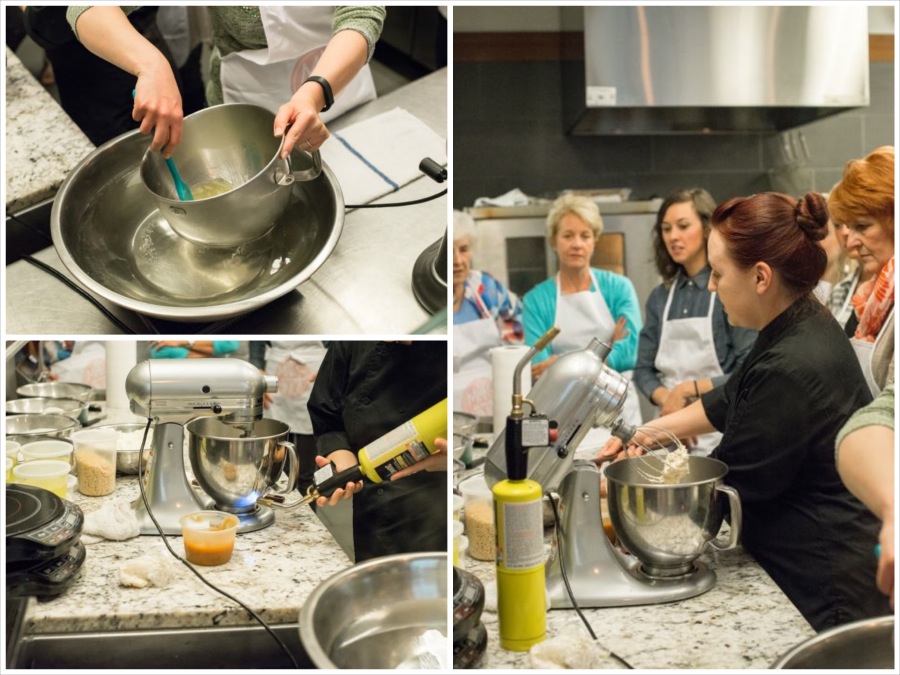
Macarons are a trendy dessert sweeping the blogging and sweet tooth nation. They are not just pretty, dainty desserts lining the pastry shops in Paris. They are everywhere! The idea of making the macarons can be daunting, so along with Kaitlin of The Every Hostess, we created a hands-on opportunity for women in Colorado to bake macarons in a real pastry kitchen…and sip champagne while doing it.

It was the inaugural event for our new Make & Mingle Workshops, a series of workshops where the creative and social community of Colorado have an opportunity to gather together to make and mingle with one another.

make-and-mingle-macaron-event-flowers-colorado-workshop

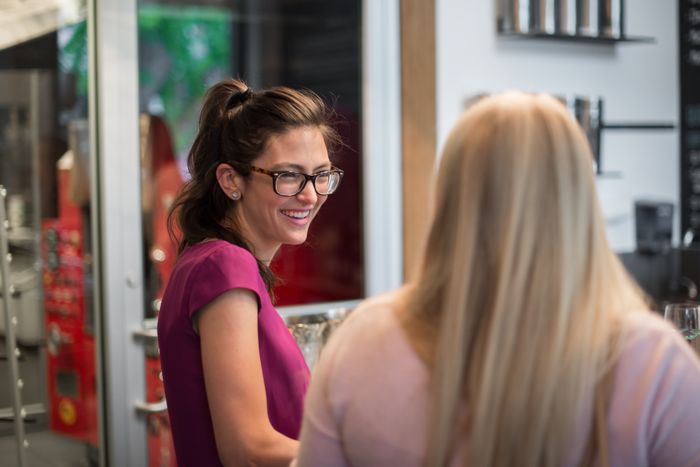
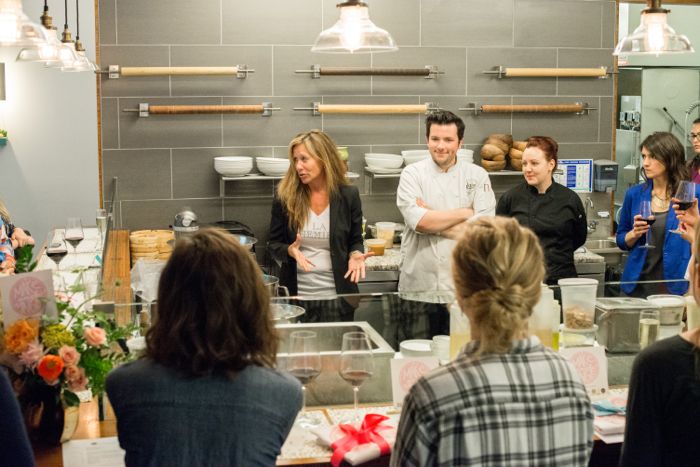
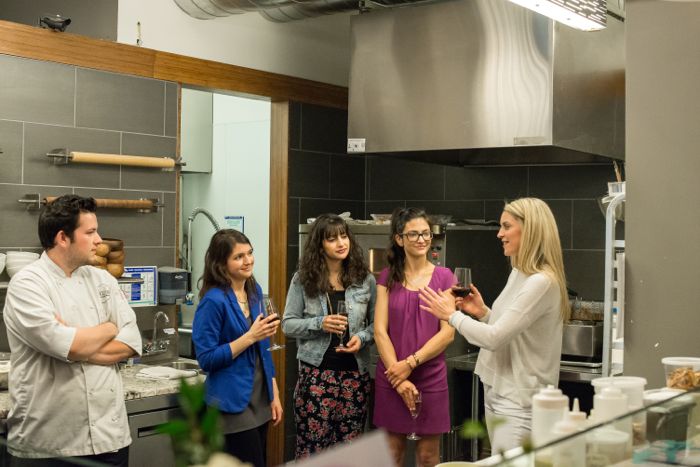
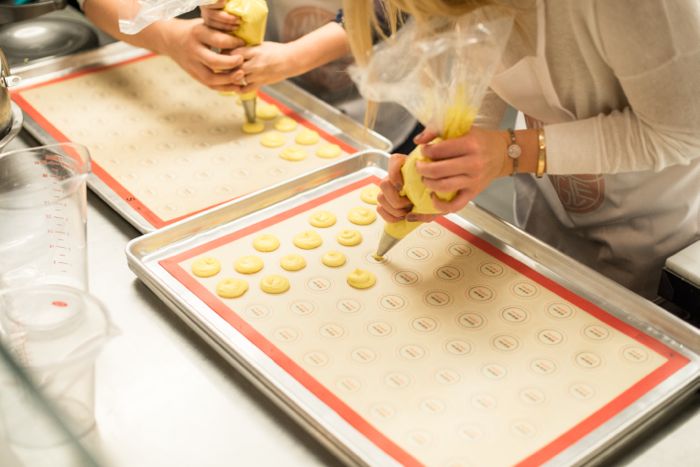
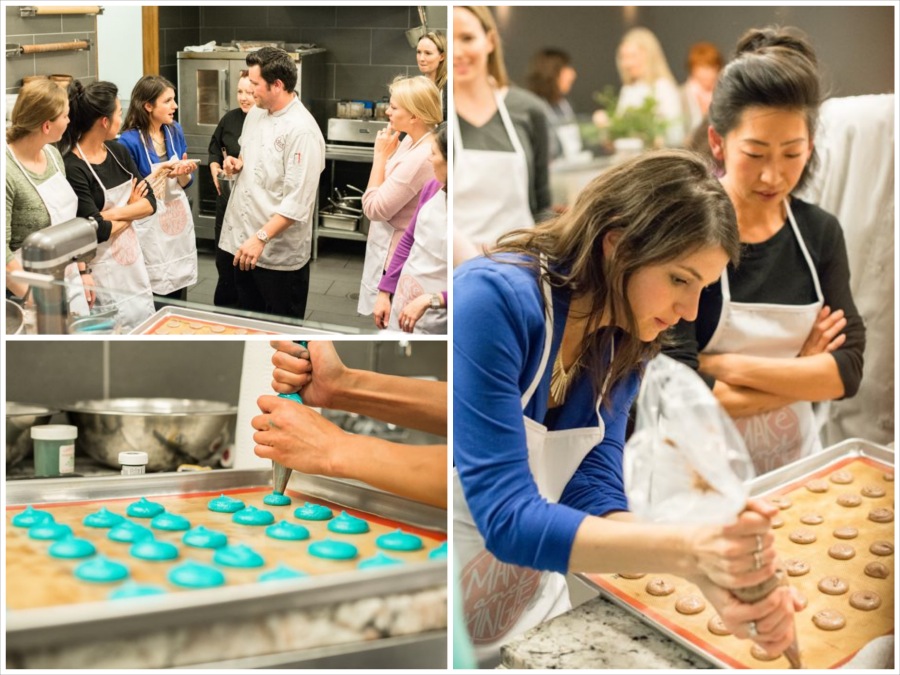
Twenty fellow creatives, local entrepreneurs and just overall fabulous women gathered together to get their hands dirty in almond flour and sugar at a favorite Denver, Colorado pastry shop, Glaze Baum Cakes.

glaze-make-and-mingle-macaron-workshop

glaze-make-and-mingle-macaron-workshop

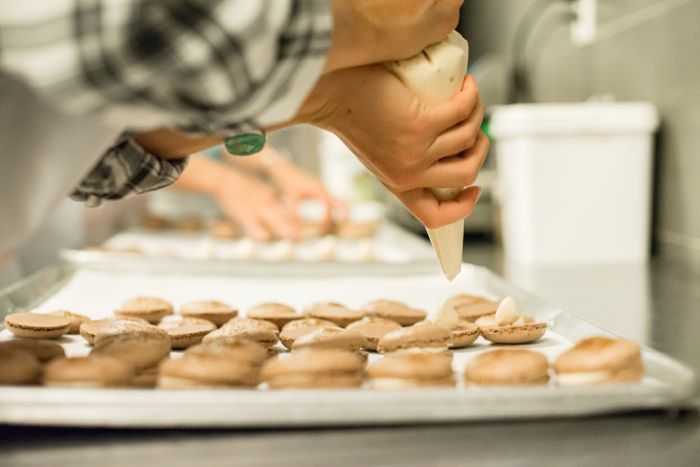
Two amazing {and patient} pastry chefs shared their recipes, top secrets and tips behind the delectable dessert.

make-and-mingle-workshop-glaze-denver-pastry-kitchen

make-and-mingle-workshop-glaze-denver-pastry-kitchen

make-and-mingle-macaron-workshop-pasty-chef-kitchen

make-and-mingle-macaron-workshop-pastry-frosting-filling

MakeMingleMay_2015-56_Fotor_Collage1

make-and-mingle-macaron-workshop-pastry-frosting-filling

macaron-denver-workshop-salted-caramel

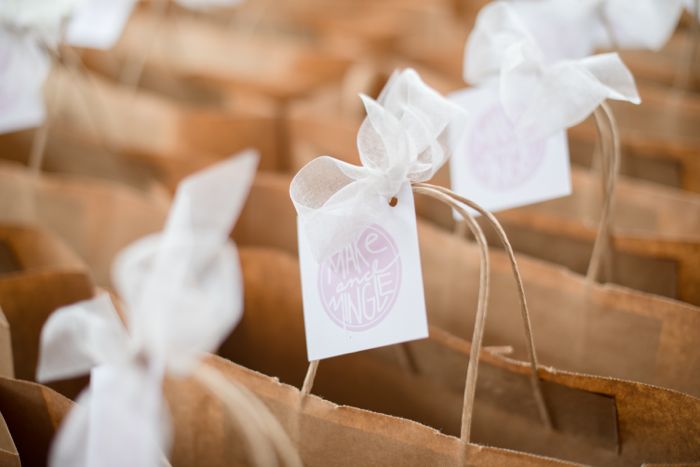
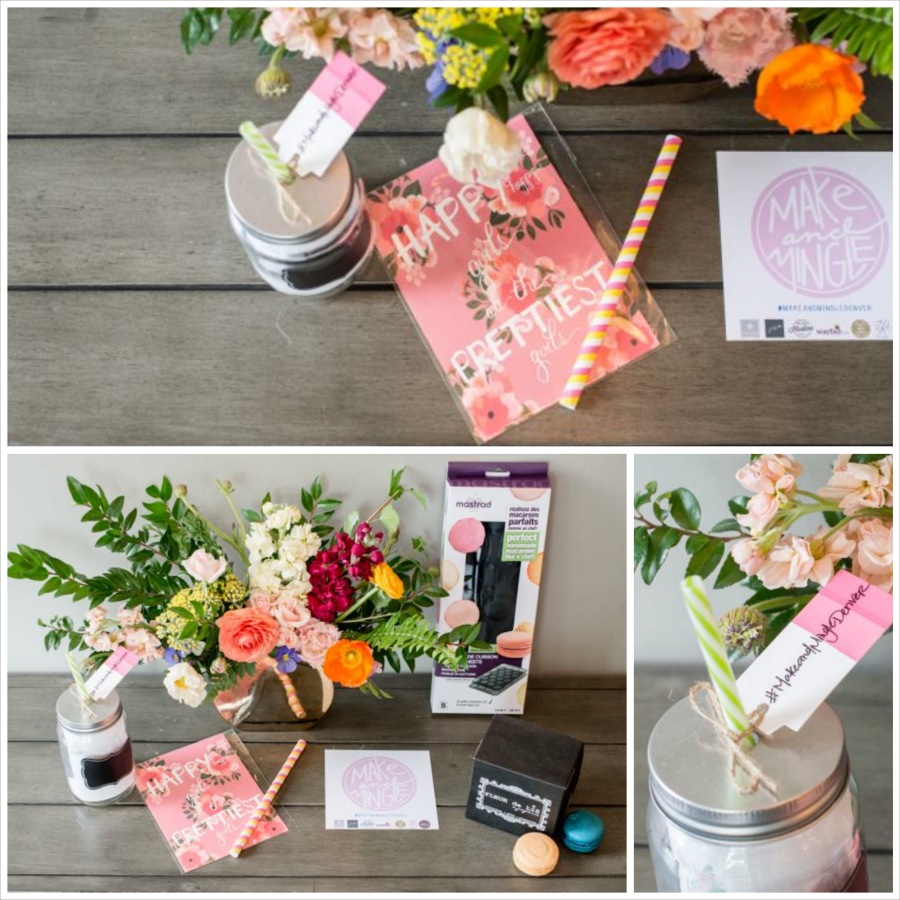
Each guest who purchased a ticket was treated to a cocktail of their choice, a box of a dozen macarons, a lovely print from The First Snow, a macaron baking sheet from Wayfair and additional swag items from Fleur de Lis and The Every Hostess. Thanks to all the amazing sponsors!

make-and-mingle-brown-bag-thank-you

make-and-mingle-flowers-art-print-cup-straw-macarons

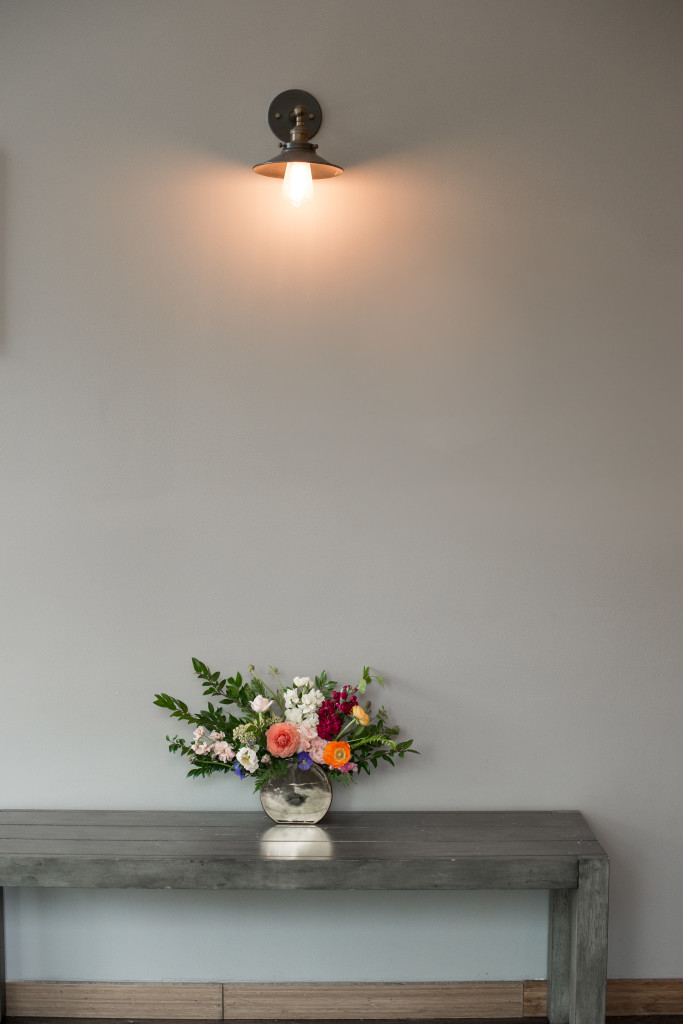
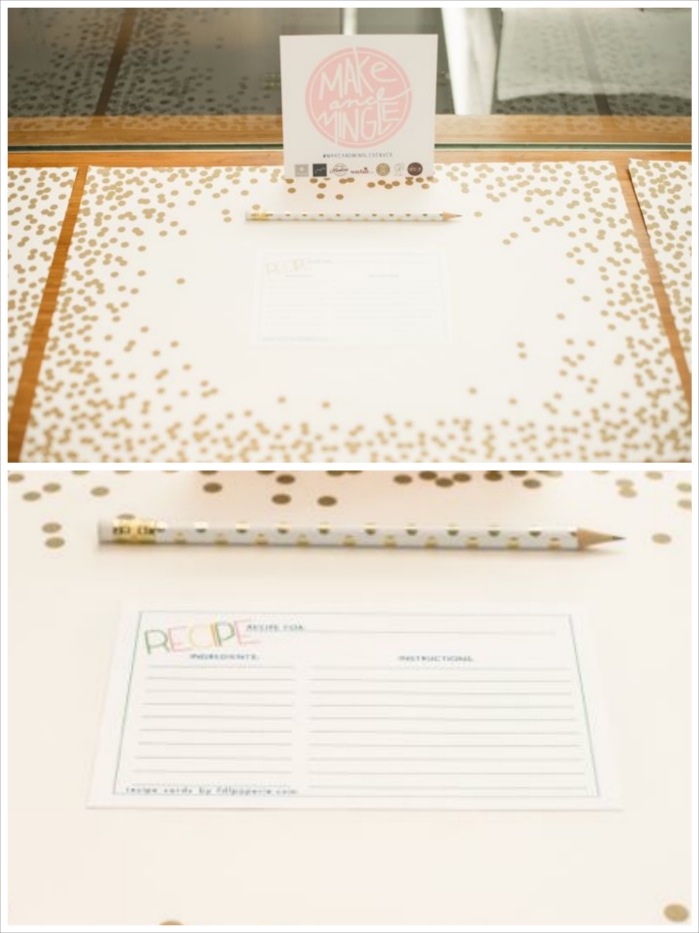
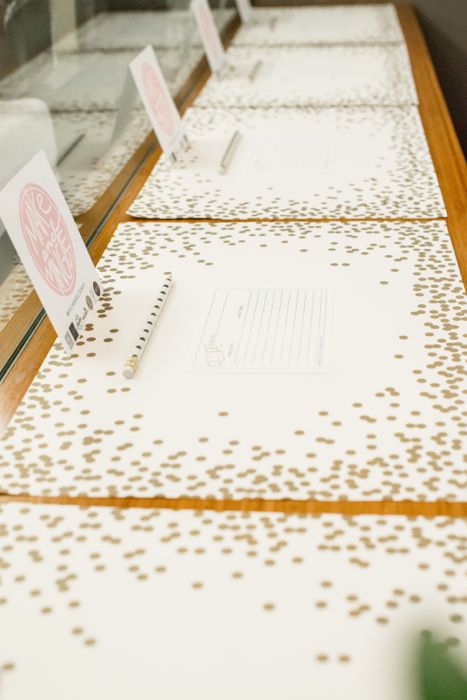
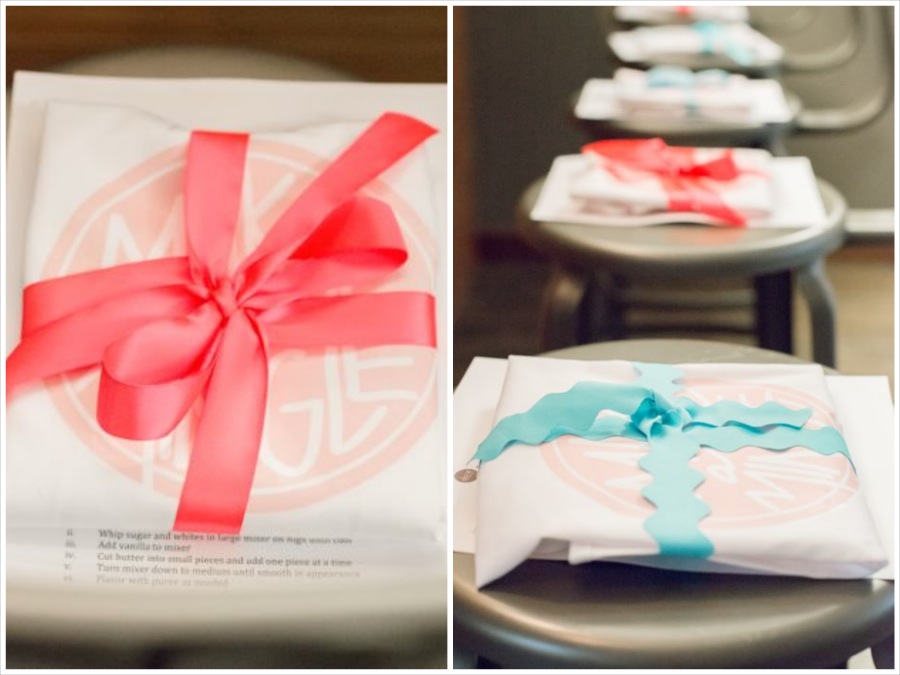
The space was beautifully decorated with bright blooms from Prema, along with gold polka dot placemats, pens, recipe cards and personalized Make & Mingle aprons for each guest.

make-and-mingle-flowers-light

make-mingle-gold-polka-dot-recipe-card-place-setting

make-mingle-gold-polka-dot-recipe-card-place-setting

make-and-mingle-diy-custom-apron-pink-blue-ribbon

Keep your social media attention on us and The Every Hostess for our next Make & Mingle event. Lots of love and gratitude to all the amazing people who attended, and companies who helped us make it happen!

Vendor Love
Macaron Baking Sheet, Wayfair
Art Print, The First Snow
Floral, Prema Style
Venue, Glaze Baum Cakes
Photography, Meredith Moran Photography
Printed Materials, Fleur de Lis, a paperie

Make & Mingle Instagram Accounts to Follow 
@jsorelle3
@theeveryhostess
@meredithmoranphoto
@wayfair
@firstsnowgirl
@fdlpaperie
@premastyle
@glaze_baumcakes


DIY Black and White Coasters + Idea Swap

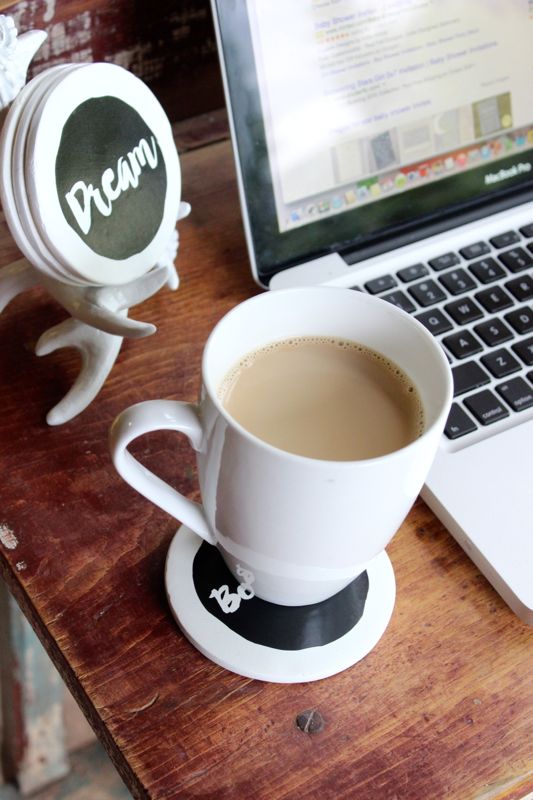
desk-accessory-coffee-coaster-antler-white-black-quotes-diy-gift-dream

It’s National Swap Idea Day. In honor of the swap day, we teamed up with some of our favorite bloggers to create DIY desk accessories to swap with one another. The challenge was to create a DIY desk accessory or DIY desk organization item for under $20. That’s it! Every blogger that participated was assigned to another blogger, so no one went home empty handed…and now we all have a new desk accessory!

I know Jodi and I {Jessica} are in the need of a serious desk overhaul, so we were excited to see what everyone came up with.

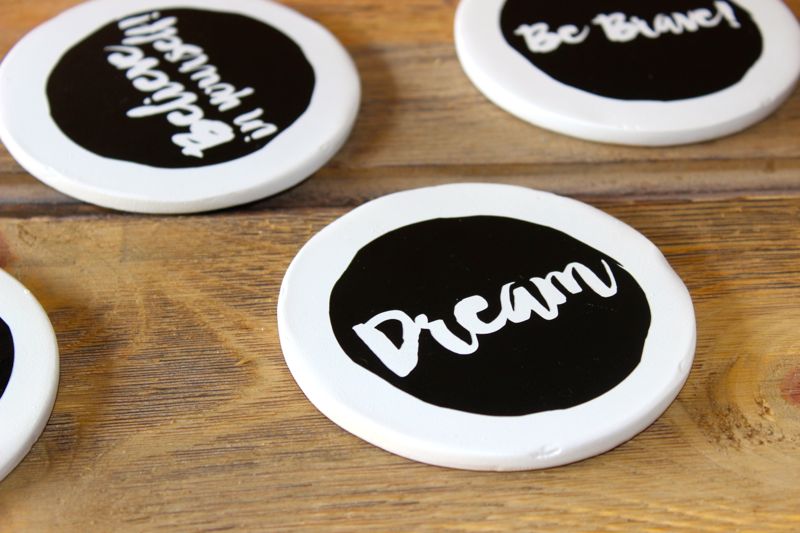
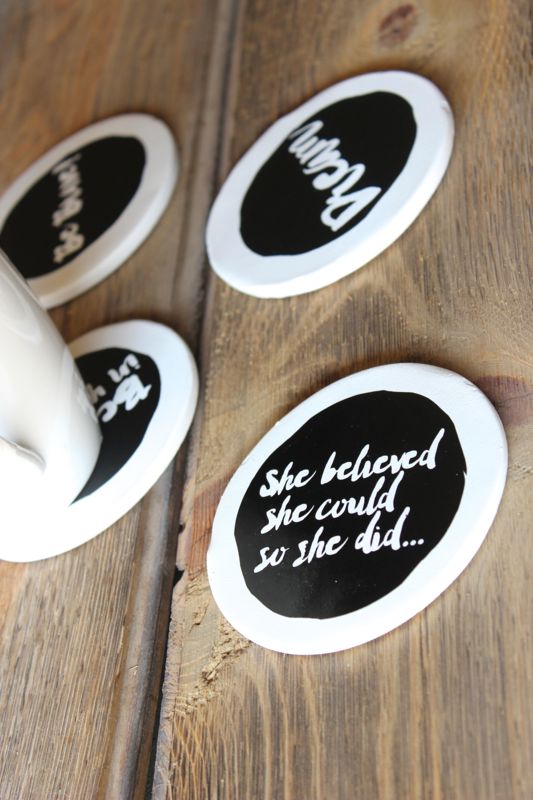
Our girl, Christina Williams Blog, was the lucky recipient of our gift swap – DIY black and white coasters with quotes. We all need inspirational and uplifting quotes while we work, and a hot cup of joe to keep us going. So, our black and white coasters with an antler base is a chic way to get rid of those annoying coffee cup rings. Plus it’s a daily reminder to dream and believe in ourselves.

Shh! Jenna secretly wishes she could keep the coasters because it’s black and white {those are the only two colors she likes} and she drinks coffee all day! 

black-white-coasters-diy-idea-swap-desk-accessory-dream-quotes-wood

Here’s how we did it.

Materials Needed:

  • Coasters {we found ours at the thrift store, along with the antler base for $6}
  • White, gloss spray paint
  • Black Vinyl from Silhouette
  • Frog Tape
  • Shellac

Directions:

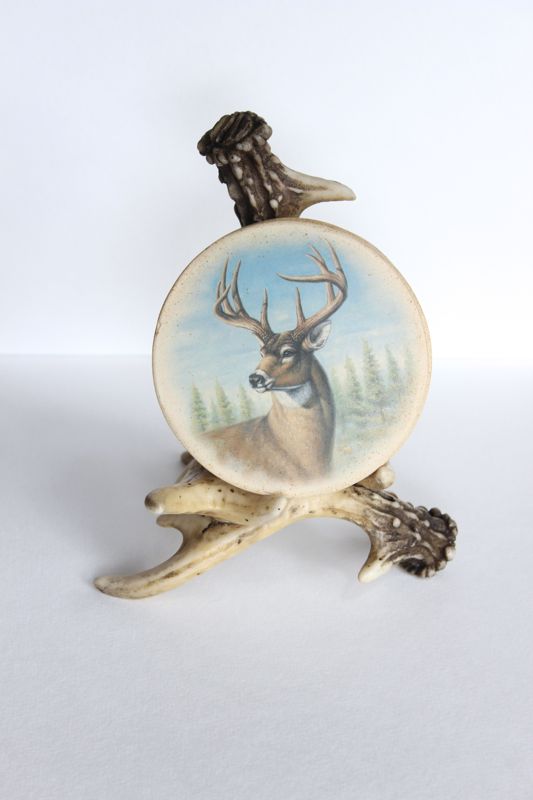
  • Step 1: Spray paint the coasters, and antler base white. Below is our original thrift store find.

antler-coaster-set-deer-diy-thrift-store-project-idea-swap

  • Step 2: Design or purchase a design from Silhouette with inspiration words. We used our Silhouette electronic cutting machine to cut the vinyl for this project; however, you could easily use Mod Podge to adhere your design and favorite quotes to the coasters, or just paint your own quotes.

black-white-coasters-diy-idea-swap-desk-accessory-dream-quotes-wood

  • Step 3: Transfer the vinyl to the coasters, following Silhouette vinyl transfer directions. Instead of transfer paper, we used Frog Tape.
  • Step 4: Spray the coasters with waterproof Shellac or sealant.

black-white-coasters-diy-idea-swap-desk-accessory-dream-quotes-wood

  • Step 5: Sip while you work.

desk-accessory-coffee-coaster-antler-white-black-quotes-diy-gift

We are obsessed with the Pencil and Air Plant Holder Miranda at One Little Minute Blog sent us. Air plants is just about the only indoor plant we can keep alive, so it’s perfect!

Check out all the amazing projects and women involved – you are gonna LOVE what you find. All projects are featured on instagram, too.

Recipe: Gluten Free Peach and Blueberry Crisp

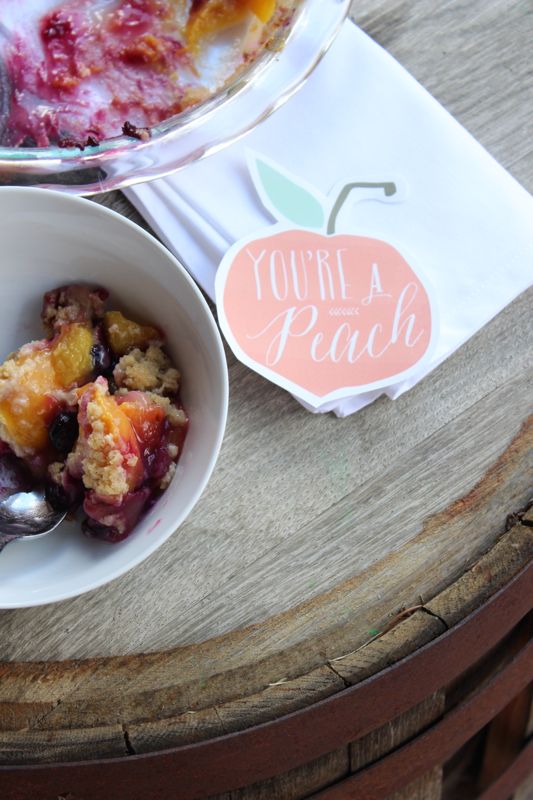
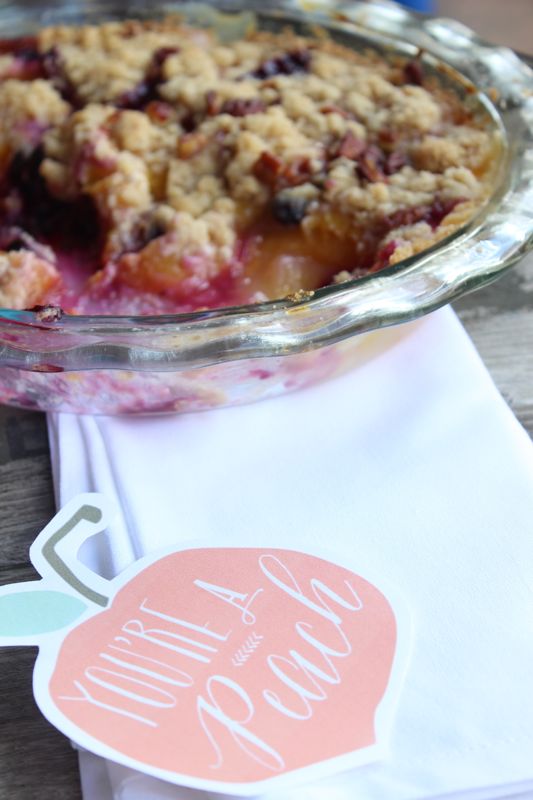
peach-blueberry-crumble-summer-dessert-gluten-free

Jenna has been eating gluten-free for many years; Jodi and I have joined our sister in the fight against gluten on our bodies in recent years/months. So, sometimes we think our palette is somewhat jaded. Are we so accustomed to eating GF that we think a pizza that resembles the taste of cardboard is actually good? Many gluten-free items are good now, and there are so many options, but at times it’s hard to get some of our favorites to taste like the real thing.

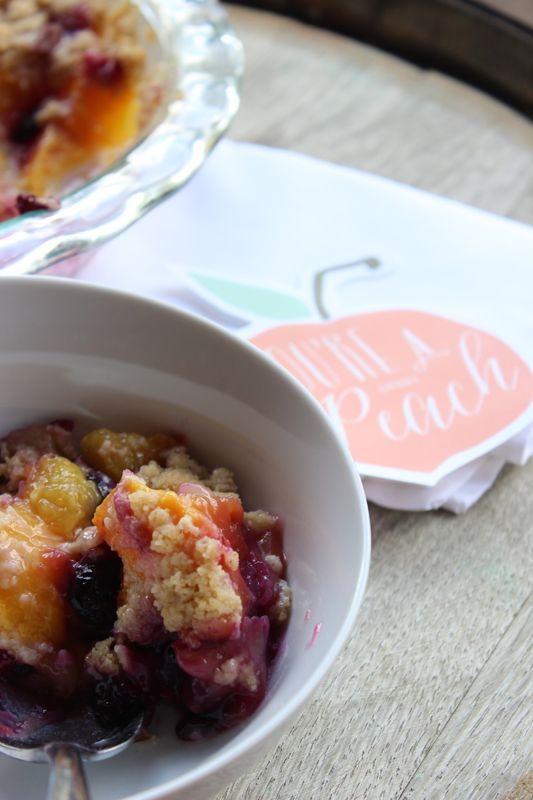
This past weekend was not only a success because we were all together {which is our most favorite times}, but also because we shared laughter and tears over a delicious, homemade gluten-free Peach and Blueberry Crisp. Whatever you want to call it – Peach and Blueberry Crisp or a Peach and Blueberry Crumble – it was a good one.

It’s sad to see summer near an end – so celebrate what’s left of it – and what’s left of summer’s ripe peaches.

IMG_1240

Gluten Free Peach and Blueberry Crisp
recipe adapted from Ina Garten

For the fruit:

  • 6 ripe peaches
  • 2 tablespoons freshly squeezed lemon juice
  • 1/2 cup granulated sugar
  • 1/4 cup gluten free all-purpose flour
  • 3/4 cup fresh blueberries

For the crumble:

  • 3/4 cup gluten free oats, ground
  • 1/4 cup gluten free all-purpose flour
  • 1/3 cup granulated sugar
  • 1/4 cup light brown sugar
  • 1/2 teaspoon salt
  • 1/4 teaspoon ground cinnamon
  • 1/2 cup (1 stick) cold unsalted butter
  • 1/4 cup pecans, broken into small pieces

Directions:

  • Immerse the peaches in a medium saucepan with boiling water for 30 seconds to 1 minute.
  • Remove them and immediately set in cold water.
  • Peel the peaches, slice them into small wedges, and place them in a large bowl.
  • Add the lemon juice, sugar and flour. Toss well.
  • Mix in the blueberries.
  • Spoon the mixture into a pie dish.
  • For the topping, combine the flour, granulated sugar, brown sugar, salt, cinnamon, and the butter in a large bowl. With clean hands, gently break the butter apart and mix with the dry ingredients. Continue to blend the ingredients together with your fingertips to form pea-size crumbles.
  • Sprinkle the crumble topping over the fruit in the pie dish.
  • Top with pecans.
  • Place the pie dish on a baking sheet and bake for 40-45 minutes, or until the top is brown and the crisp is bubbling.
  • Serve warm with vanilla ice cream….or plain! So yummy.

peach-blueberry-crumble-summer-dessert-gluten-free

DIY Honeycomb Napkins Are All The Buzz

honeycomb-napkins-pink-gold-white-honey-bee-summer-diy


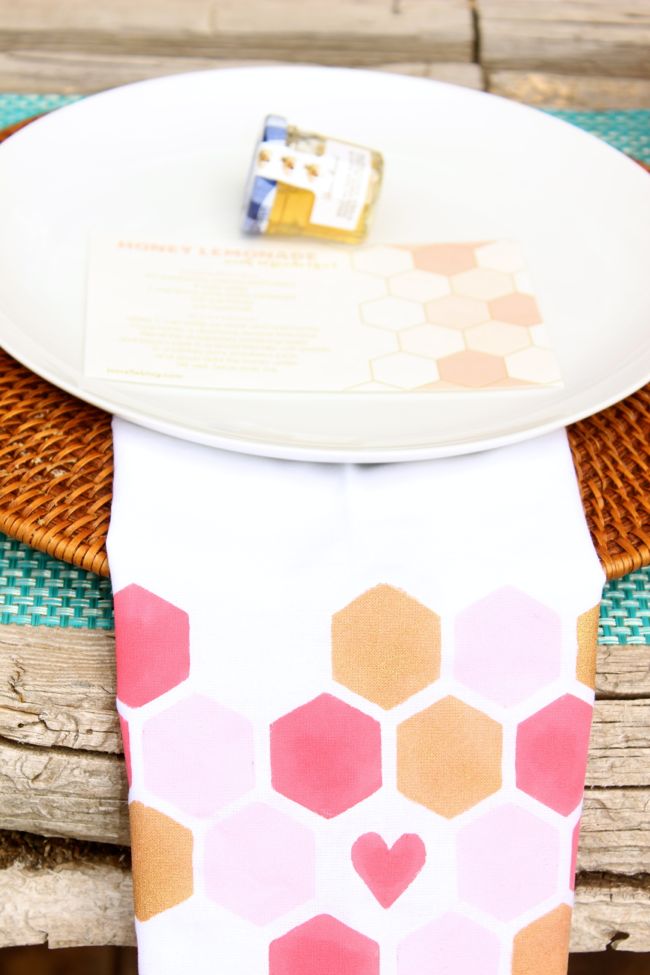
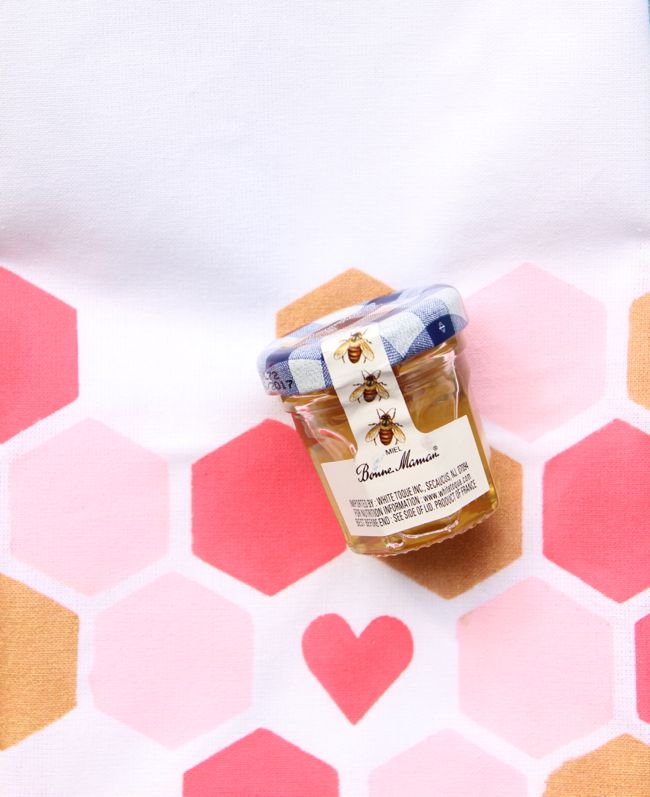
The kids are learning their geometric shapes…and we are painting our favorite geometric shapes. The hexagons on these DIY honeybee napkins are sweeter than tupelo honey!

See the full tutorial on Wayfair. 

Jenna’s got you covered if you need the hexagon invite.

honeycomb-napkins-pink-gold-white-honey-bee-summer-diy