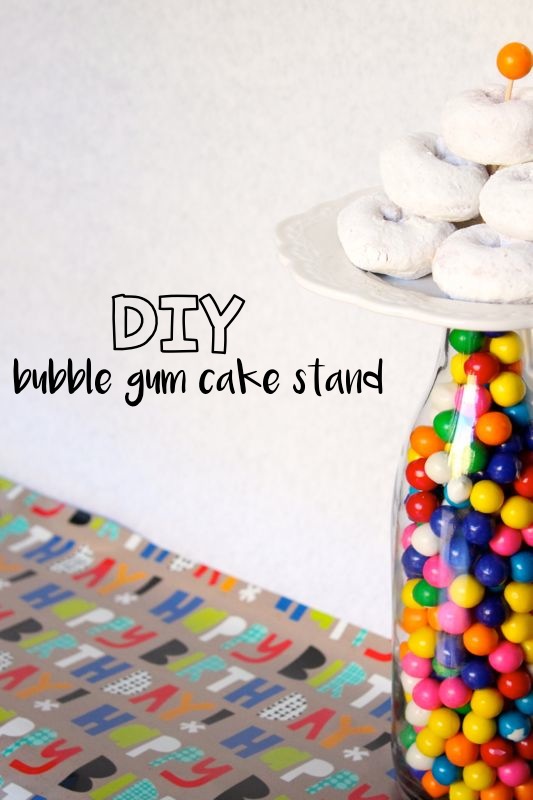
DIY Bubble Gum Cake Stand

bubble-gum-cake-stand-diy-donut-birthday-rainbow-of-colors

Who can resist colorful bubble gum? Not us….or our kids.

Who can resist powdered sugar donuts? Definitely not us….and most definitely not our kids.
bubble-gum-cake-stand-diy-donut-birthday-rainbow-of-colors


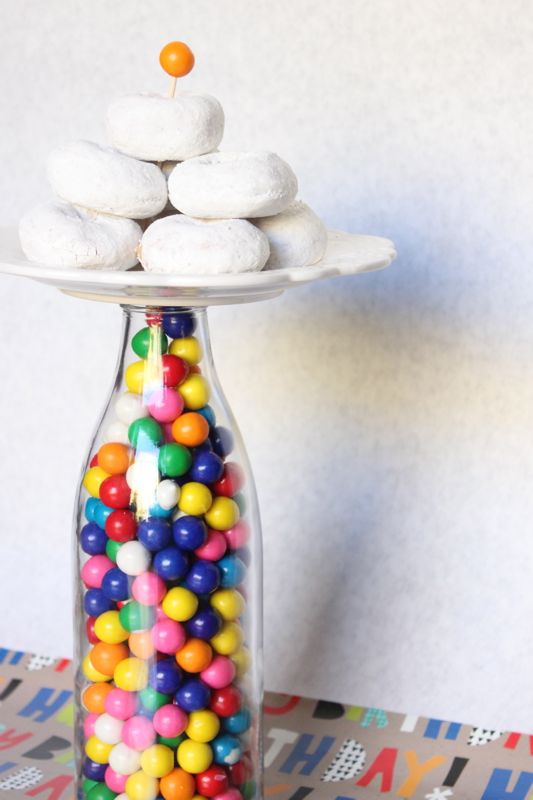
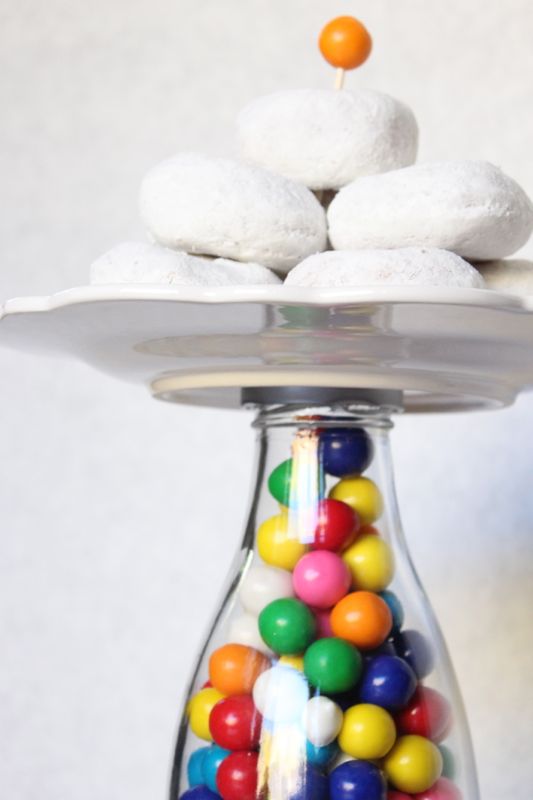
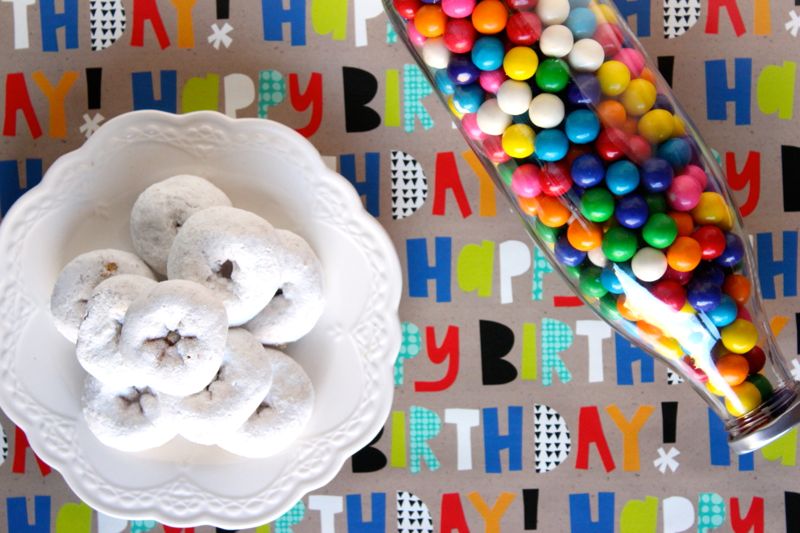
We’ve seen many ways to make a DIY cake stand, but we haven’t seen one like this. A DIY bubble gum cake stand is so colorful and fun for a party any time of year. Plus, you can twist off the plate and blow some bubbles when you need a gum fix.
bubble-gum-cake-stand-diy-donut-birthday-rainbow-of-colors


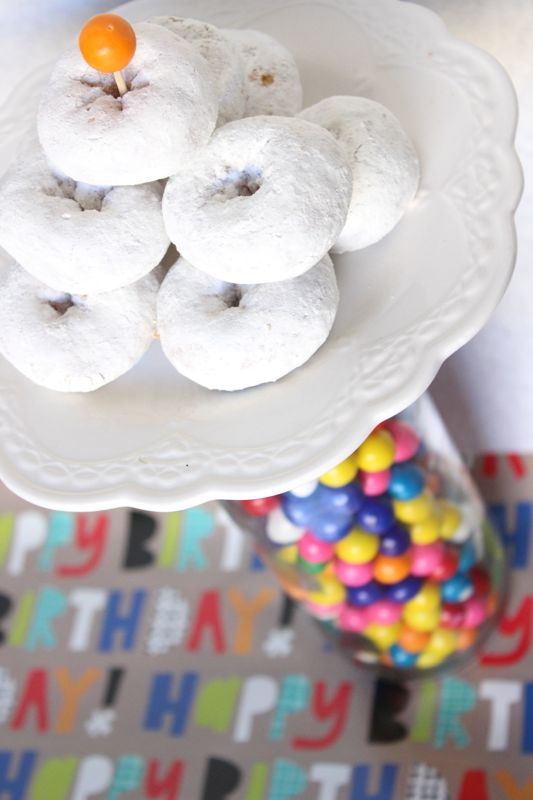
It’s really simple.

  • Find a jar.
  • Fill it with Dubble Bubble bubblegum.
  • Glue a small plate on top of the jar with gorilla glue or E-600.
  • Top with cake, cookies or donuts.

bubble-gum-cake-stand-diy-donut-birthday-rainbow-of-colors


bubble-gum-cake-stand-diy-donut-birthday-rainbow-of-colors

DIY Eyeball Gumball Necklace

gumball-eye-halloween-spider-diy-necklace

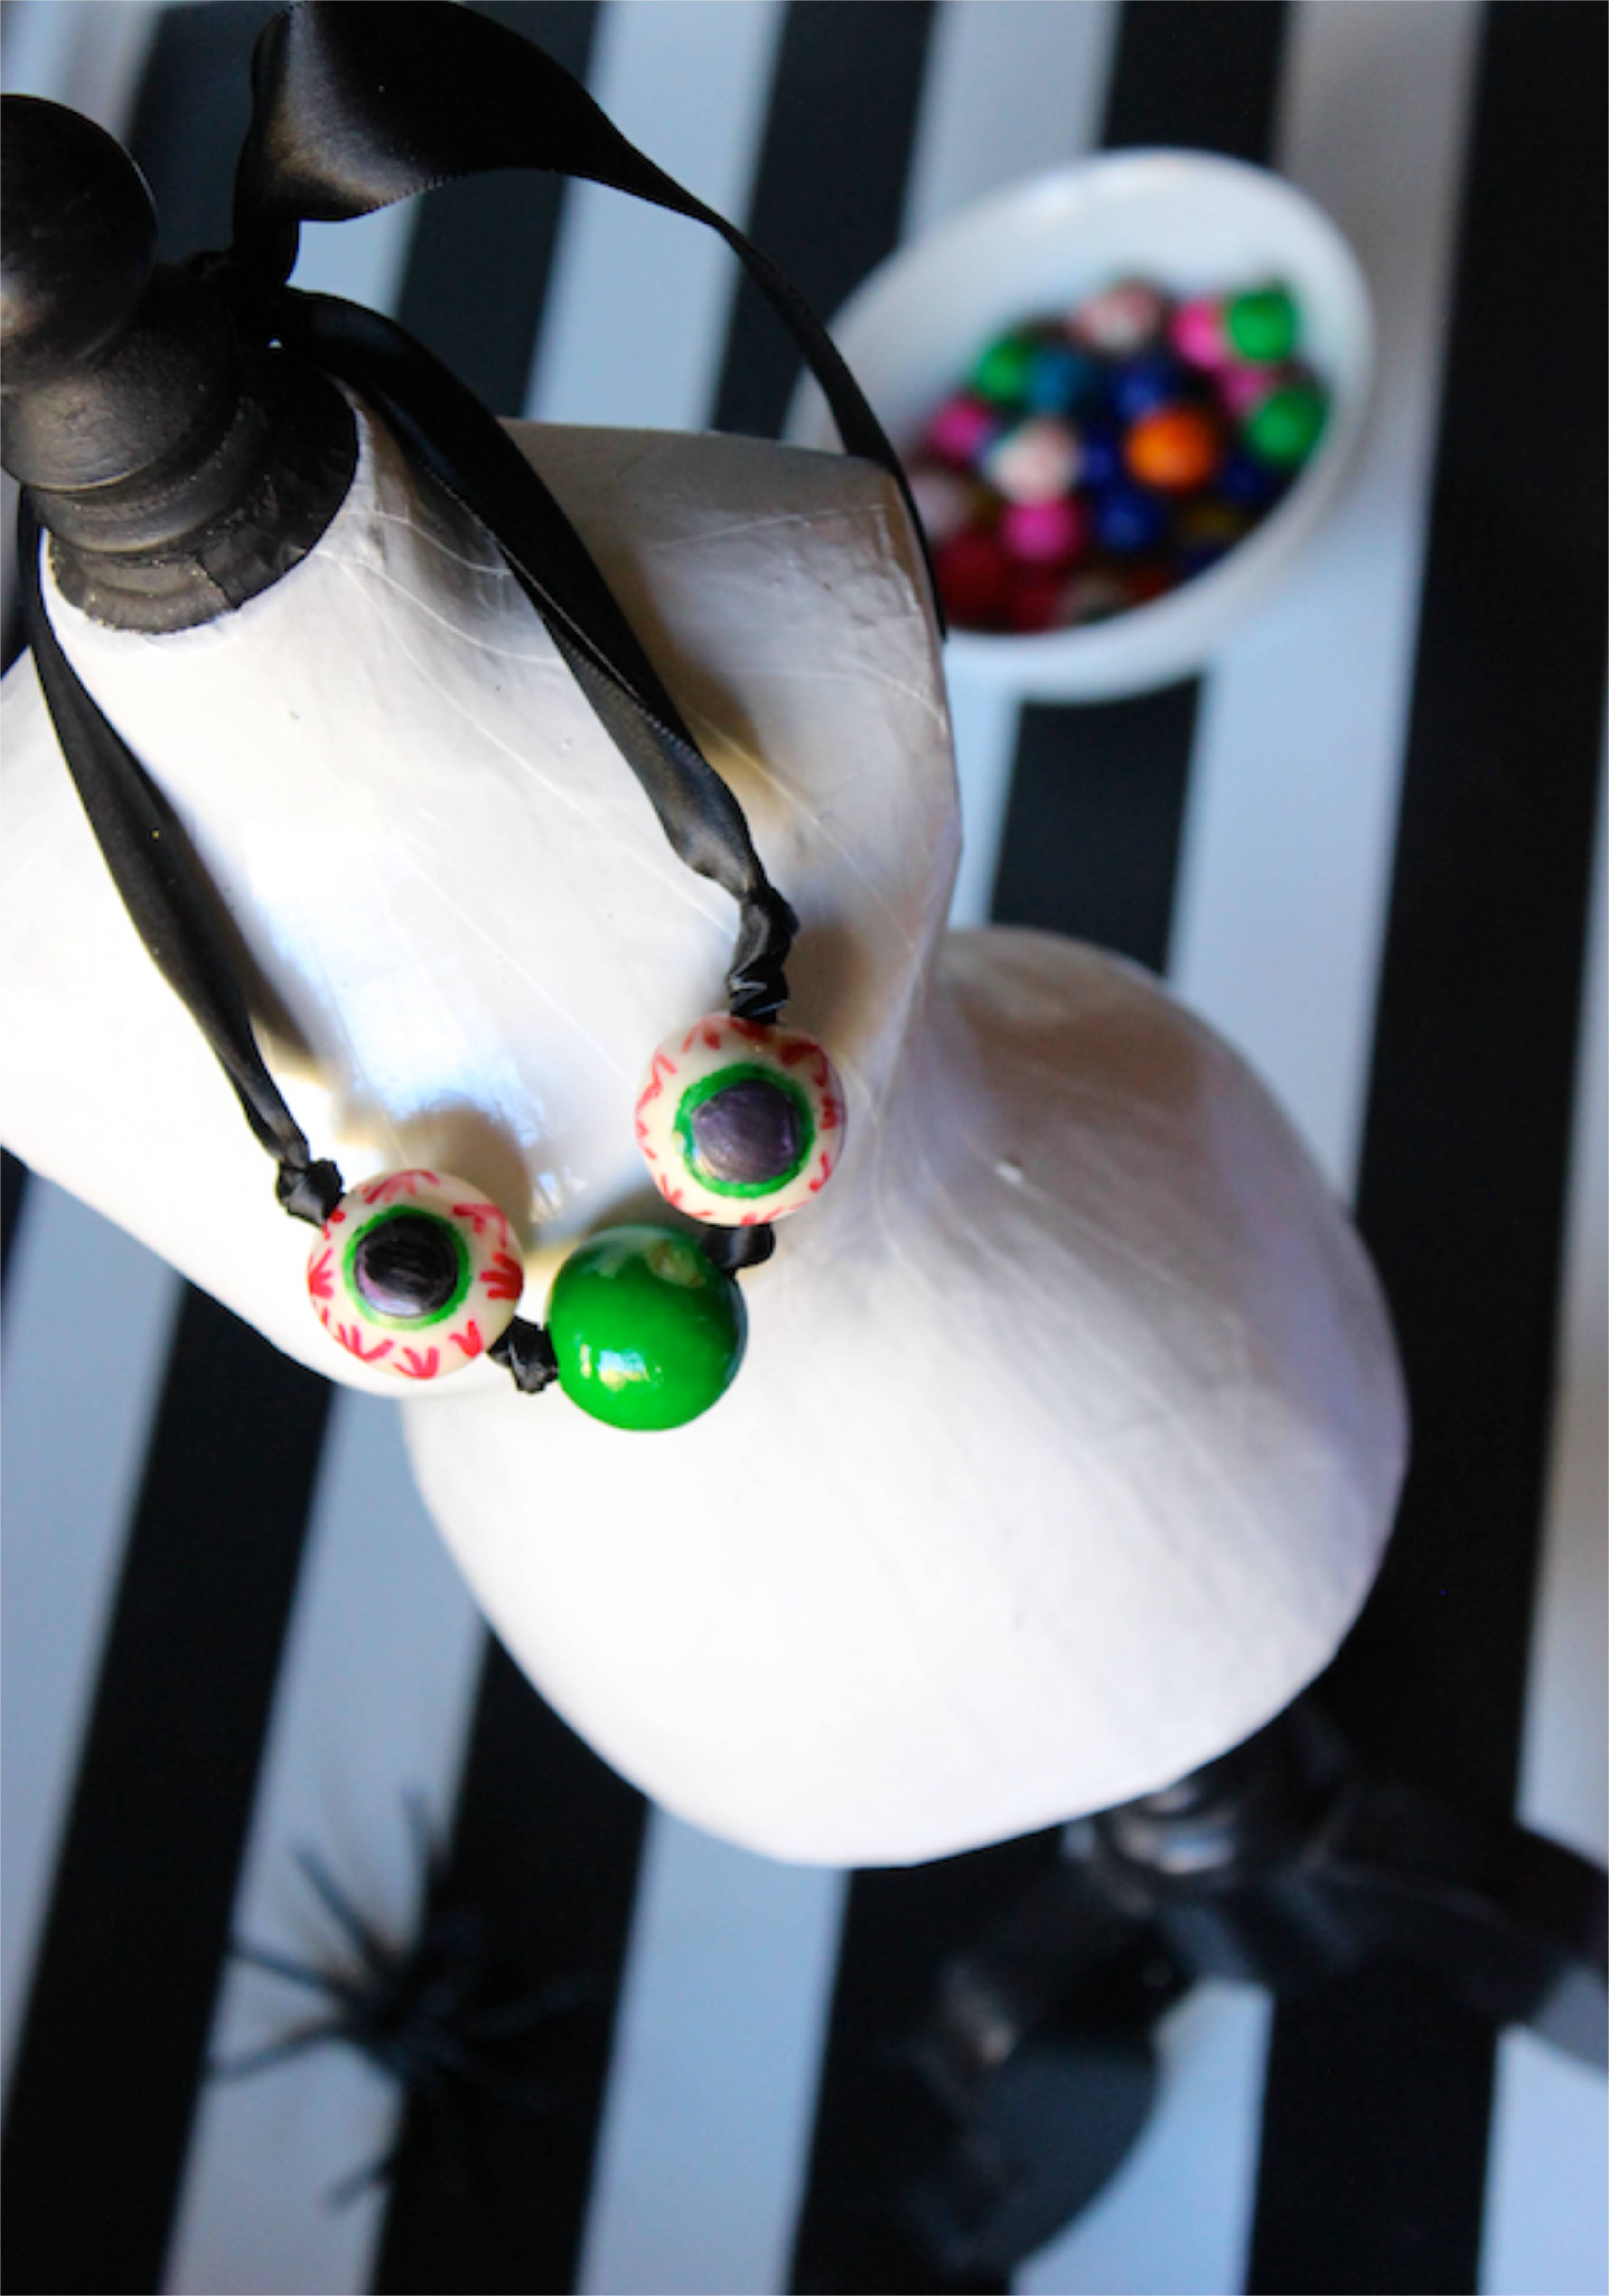
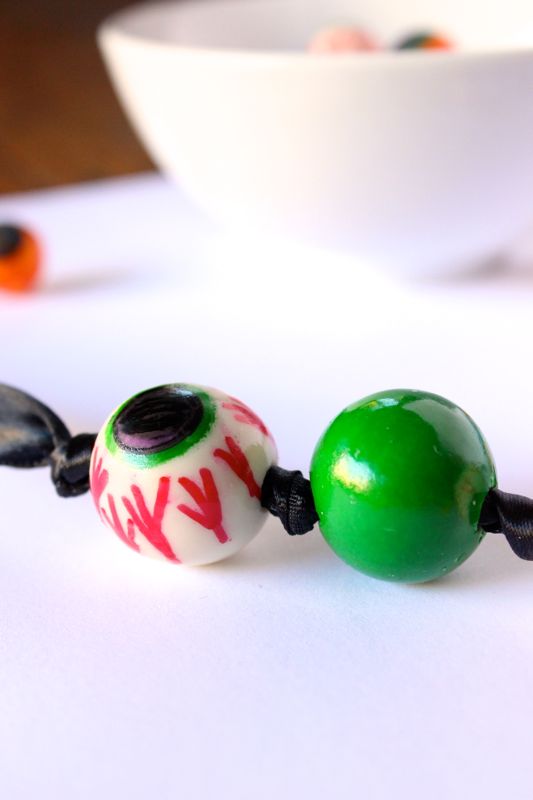
We can’t think of any other time a DIY eyeball gumball necklace is more appropriate than Halloween. It’s so easy, cute and slightly spooky – so it’s a must-make DIY edible necklace this Halloween. After the festivities are over {or during all the BOO-rific fun}, you can chew and blow all the bubbles you want with the DIY eyeball gumballs because they are made with edible pens! We’ve officially named the necklace, I’ve Got My Eye on You!

gumball-eye-halloween-spider-diy-necklace-black-white-green-eyeball


You’ll Need:

  • Gumballs {larger size for the necklace and smaller size is fine for a bowl full of eyes or party bag favors}
  • Edible pens {like Americolor}
  • Ribbon

Directions:

  • It’s as easy as drawing circles, coloring them in and drawing crooked lines. You got this!

gumball-eye-halloween-spider-diy-necklace-red-orange-yellow-green

gumball-eye-halloween-spider-diy-necklace-red-green-eyeball

gumball-eye-halloween-spider-diy-necklace-black-white-green-eyeball

  • For the necklace part, drill the gumball so there is a small hole on each side. Draw your eyeball. Use a long toothpick to insert ribbon through the gumball. Pull the ribbon through to the spot you want to gumball to be on the necklace, tie a knot on each side of the gumball, then add another gumball.

gumball-eye-halloween-spider-diy-necklace-black-white-green-eyeball

Happy {early} Halloween!

DIY Marshmallow Roasting Stick for S’mores by the Fire

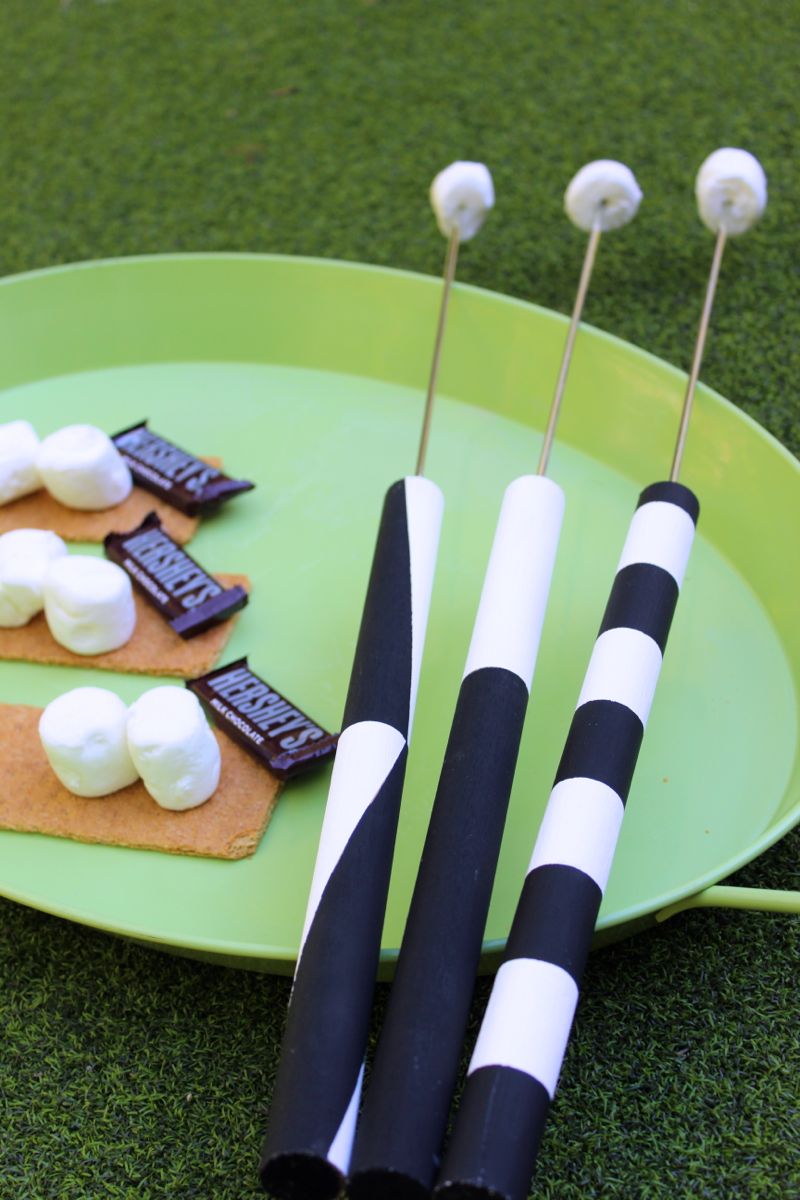
diy-marshmallow-roasting-stick-black-and-white-s'more-chocolate-graham-cracker-diy-smore-stick

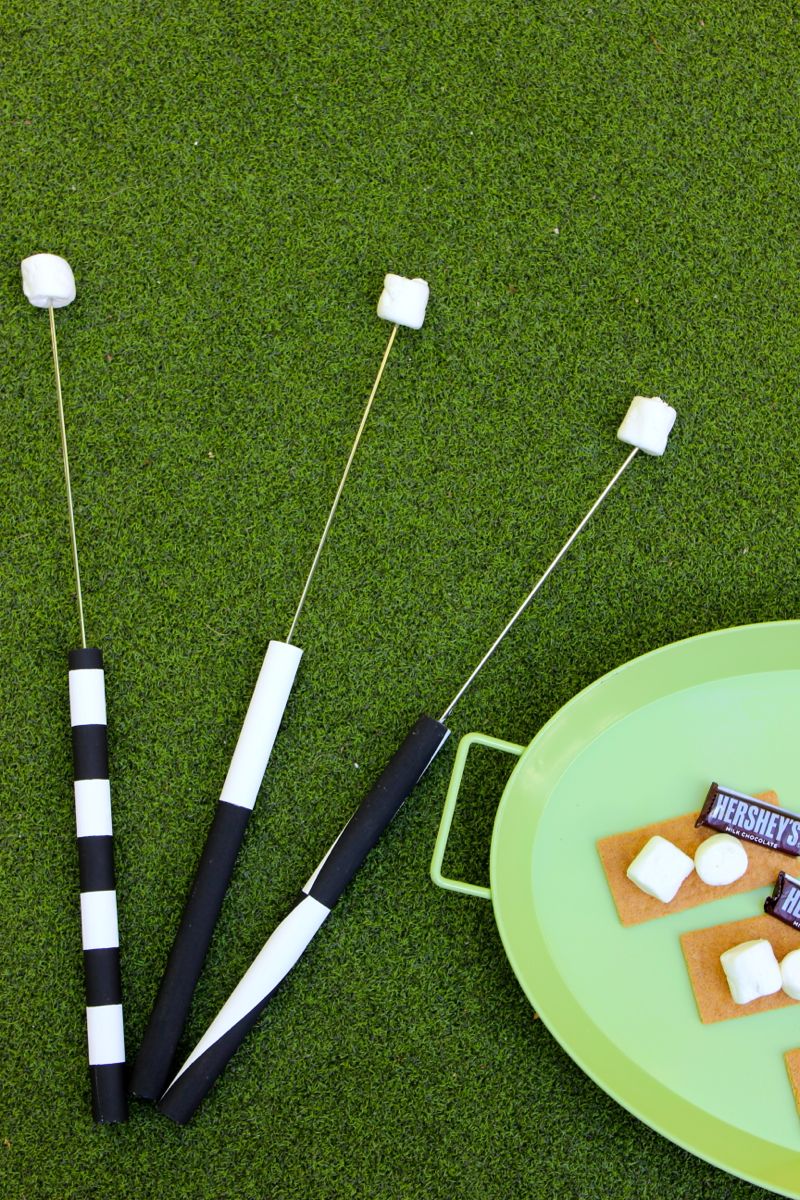
We made DIY marshmallow roasting sticks with the kiddos, and then decided to pick up a paintbrush ourselves to make some of our own DIY s’more sticks. Can’t go wrong with a classic black and white s’more stick, right?

You’ll Need:

  • Metal Skewers
  • Wood dowel rods, at least ¾” thick
  • Drill
  • Hot glue
  • Paint
  • Styrofoam

Directions:

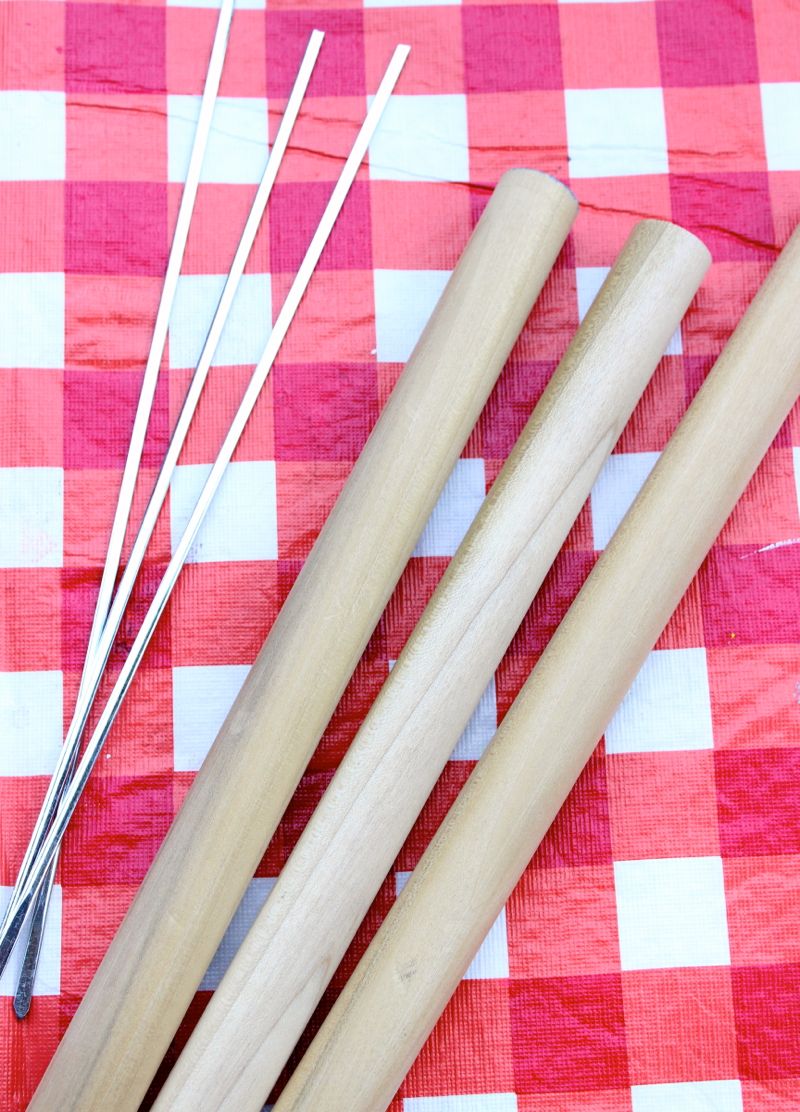
  • Step 1: Cut the dowel in half, or in thirds, depending on the length of the stick you want. You may also have to cut the end of the metal skewers with Tin Snips if you can only find the skewers with the loops at the end.

diy-marshmallow-roasting-sticks-wood-rods

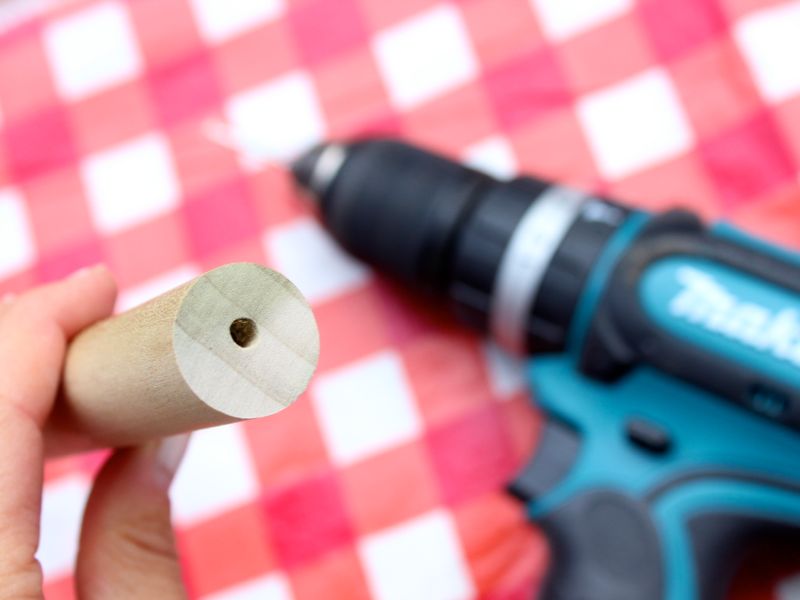
  • Step 2: Drill a hole on one end, in the center of the dowel. Make sure the hole is large enough to fit your metal skewer.

wooden-dowel-rod-drill-diy-project

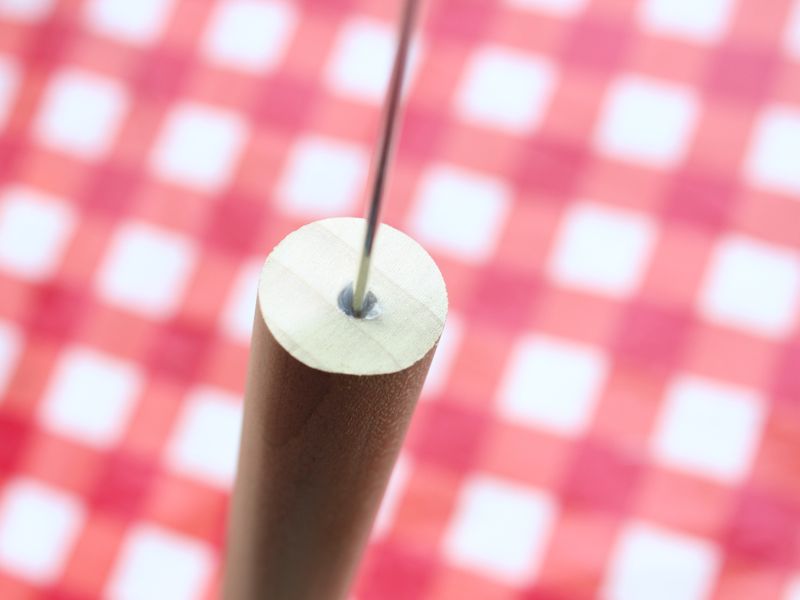
  • Step 3: Press the hot glue gun into the hole and fill the hole with the hot glue until it fills to the top, then quickly press the skewer into the hole. Promptly wipe away any excess glue.

wooden-dowel-rods-metal-skewer-diy-project

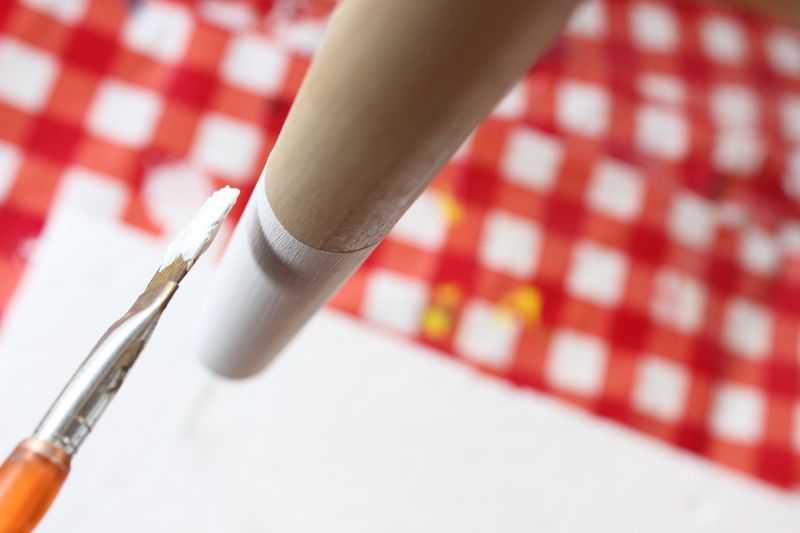
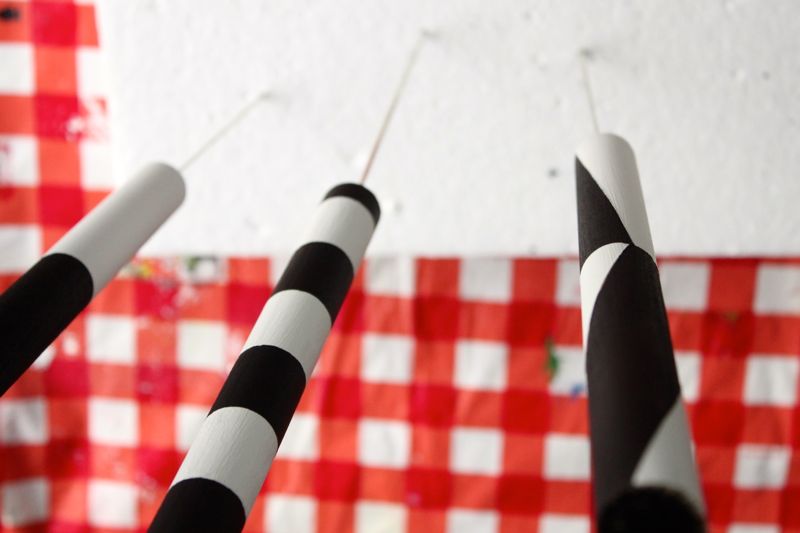
  • Step 4: Insert the skewer face down into a piece of Styrofoam, and start to paint!

white-paint-wood-dowel-metal-skewer-diy-project

black-white-diy-marshmallow-skewer-smore-diy-roasting-stick

black-and-white-diy-marshmallow-skewer-smore-project

  • Step 5: Enjoy and indulge!

diy-marshmallow-roasting-stick-black-and-white-diy-smore-stick

diy-marshmallow-roasting-stick-black-and-white-s'more-chocolate-graham-cracker-diy-s'more-stick

DIY Clay Marbled Leaf-Shaped Ring Bowls

red-yellow-green-clay-marbled-leaf-ring-bowls-fall-diy

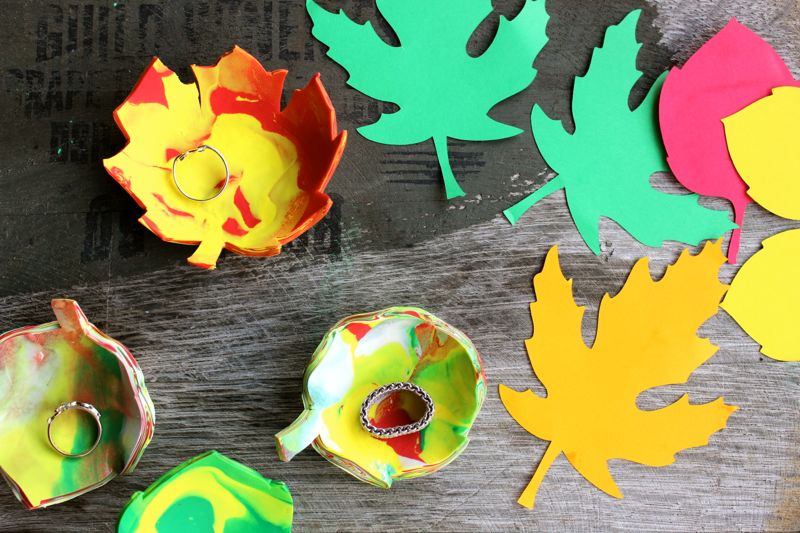
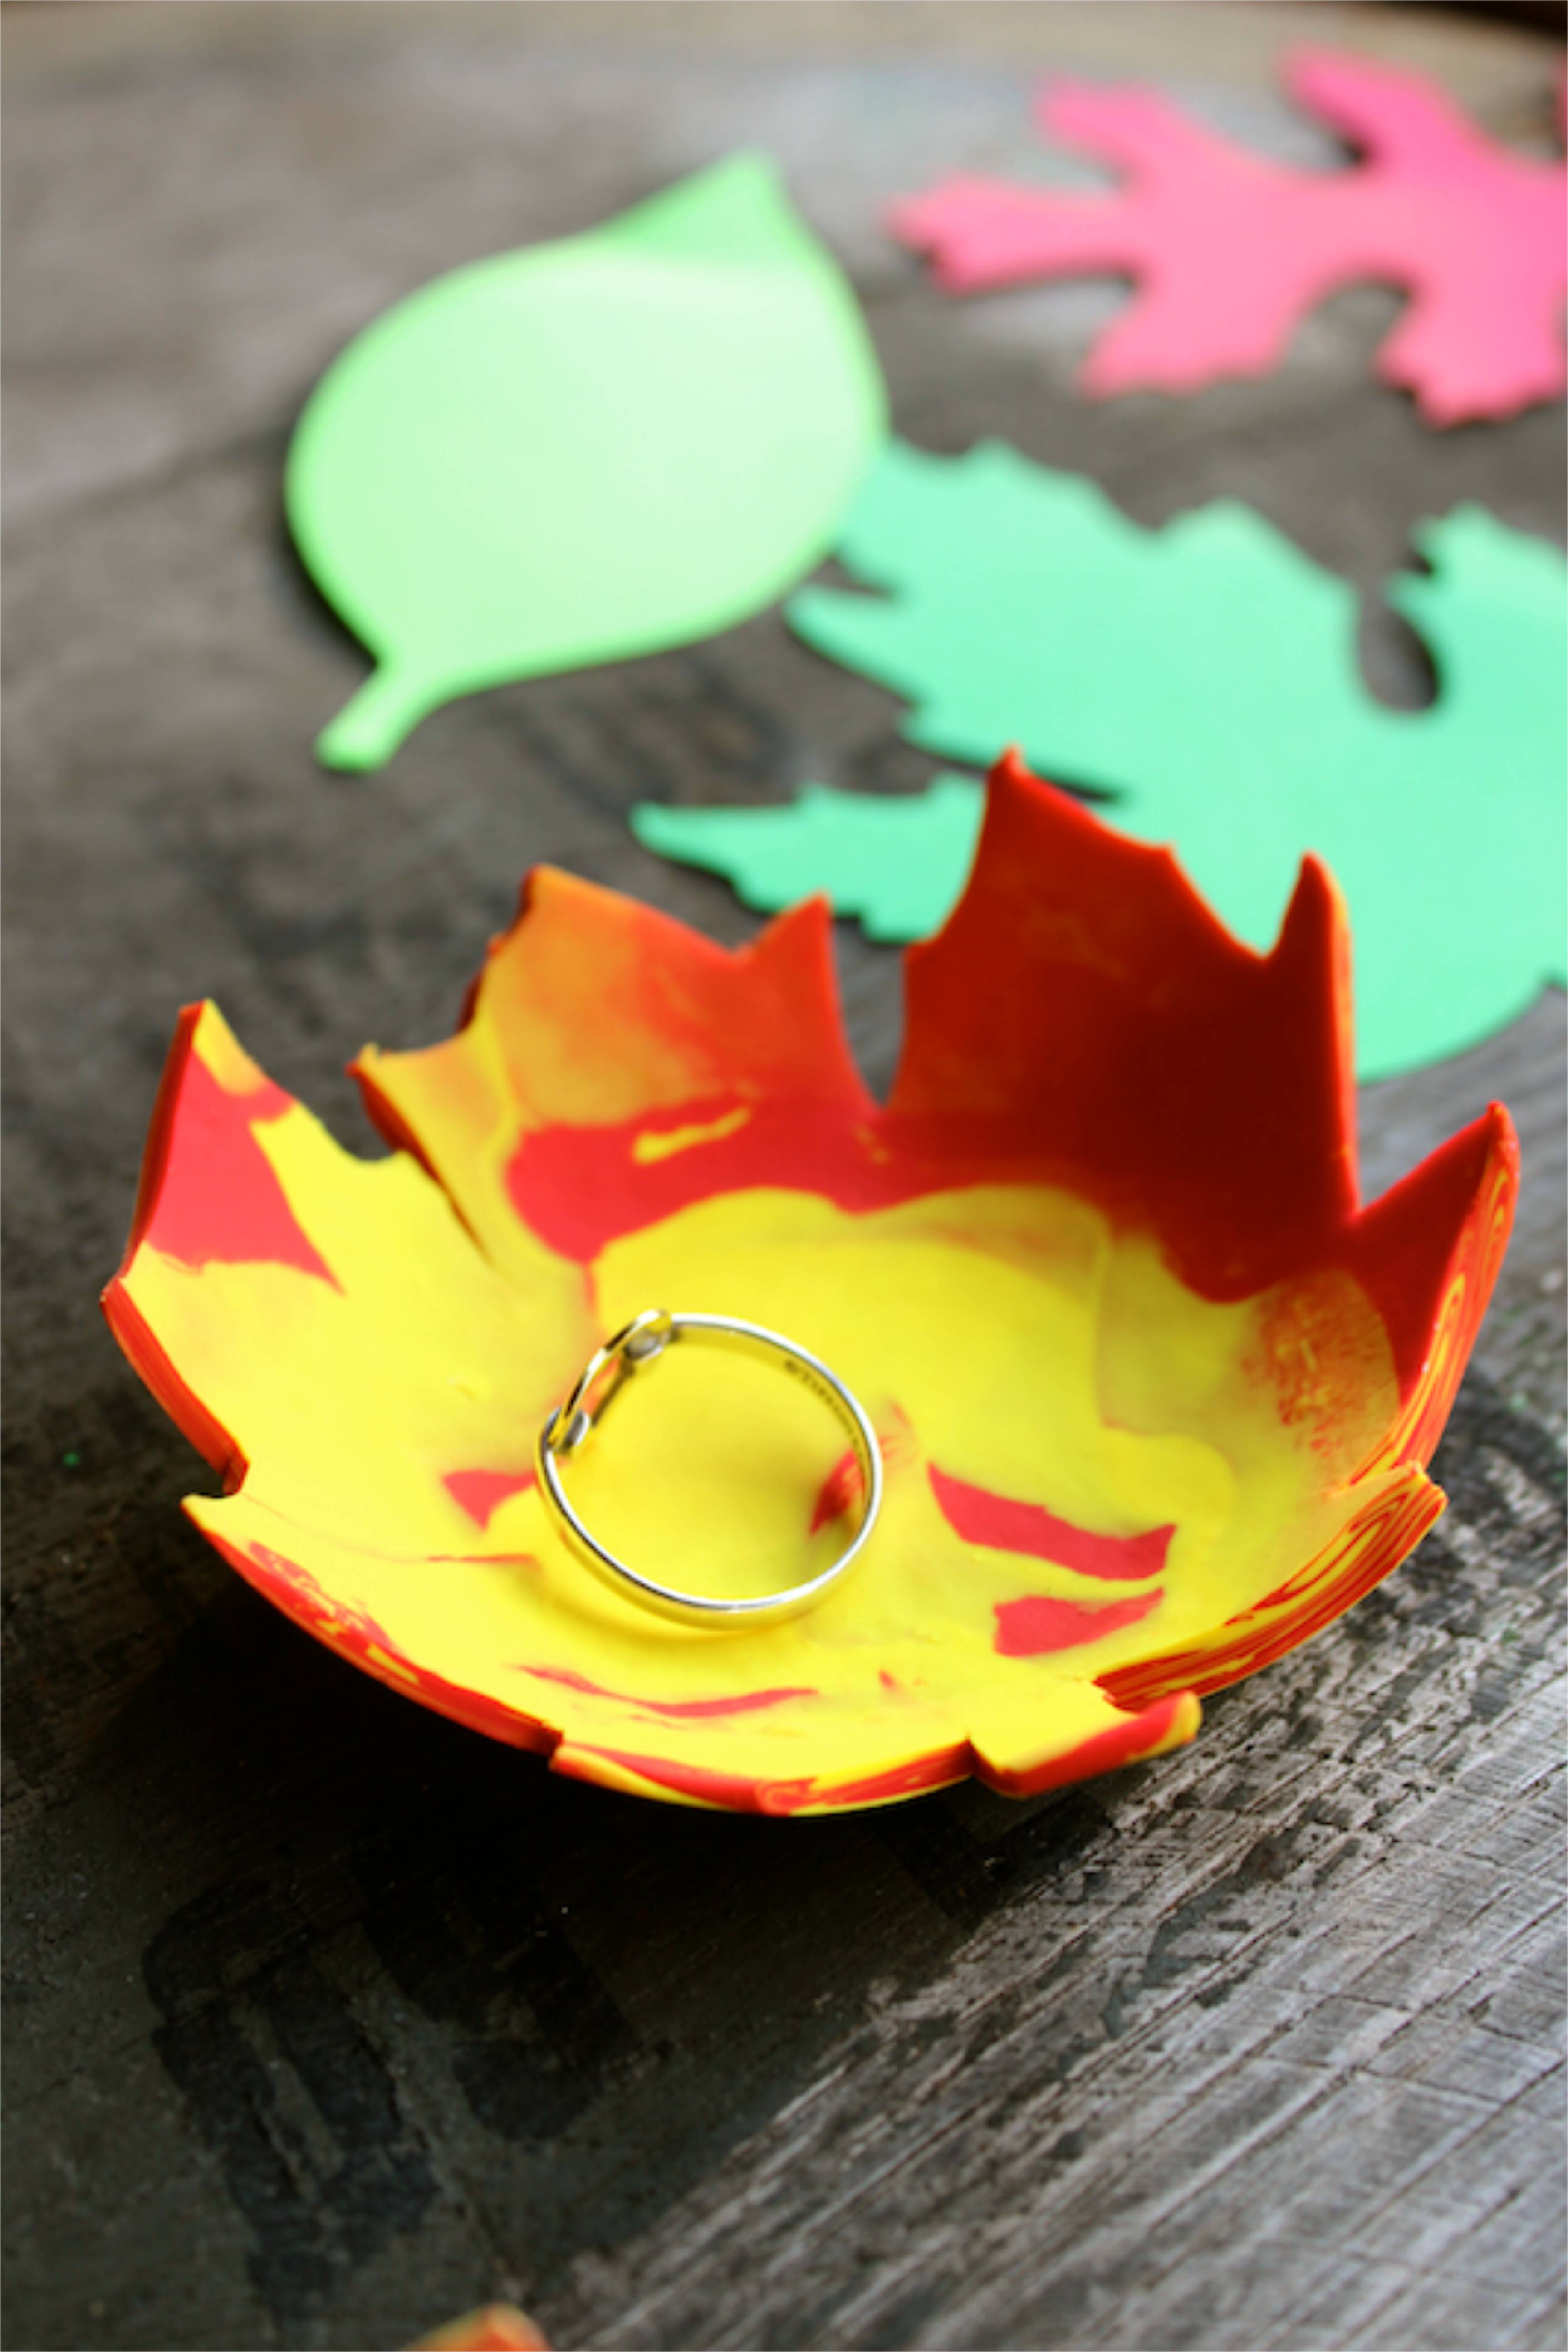
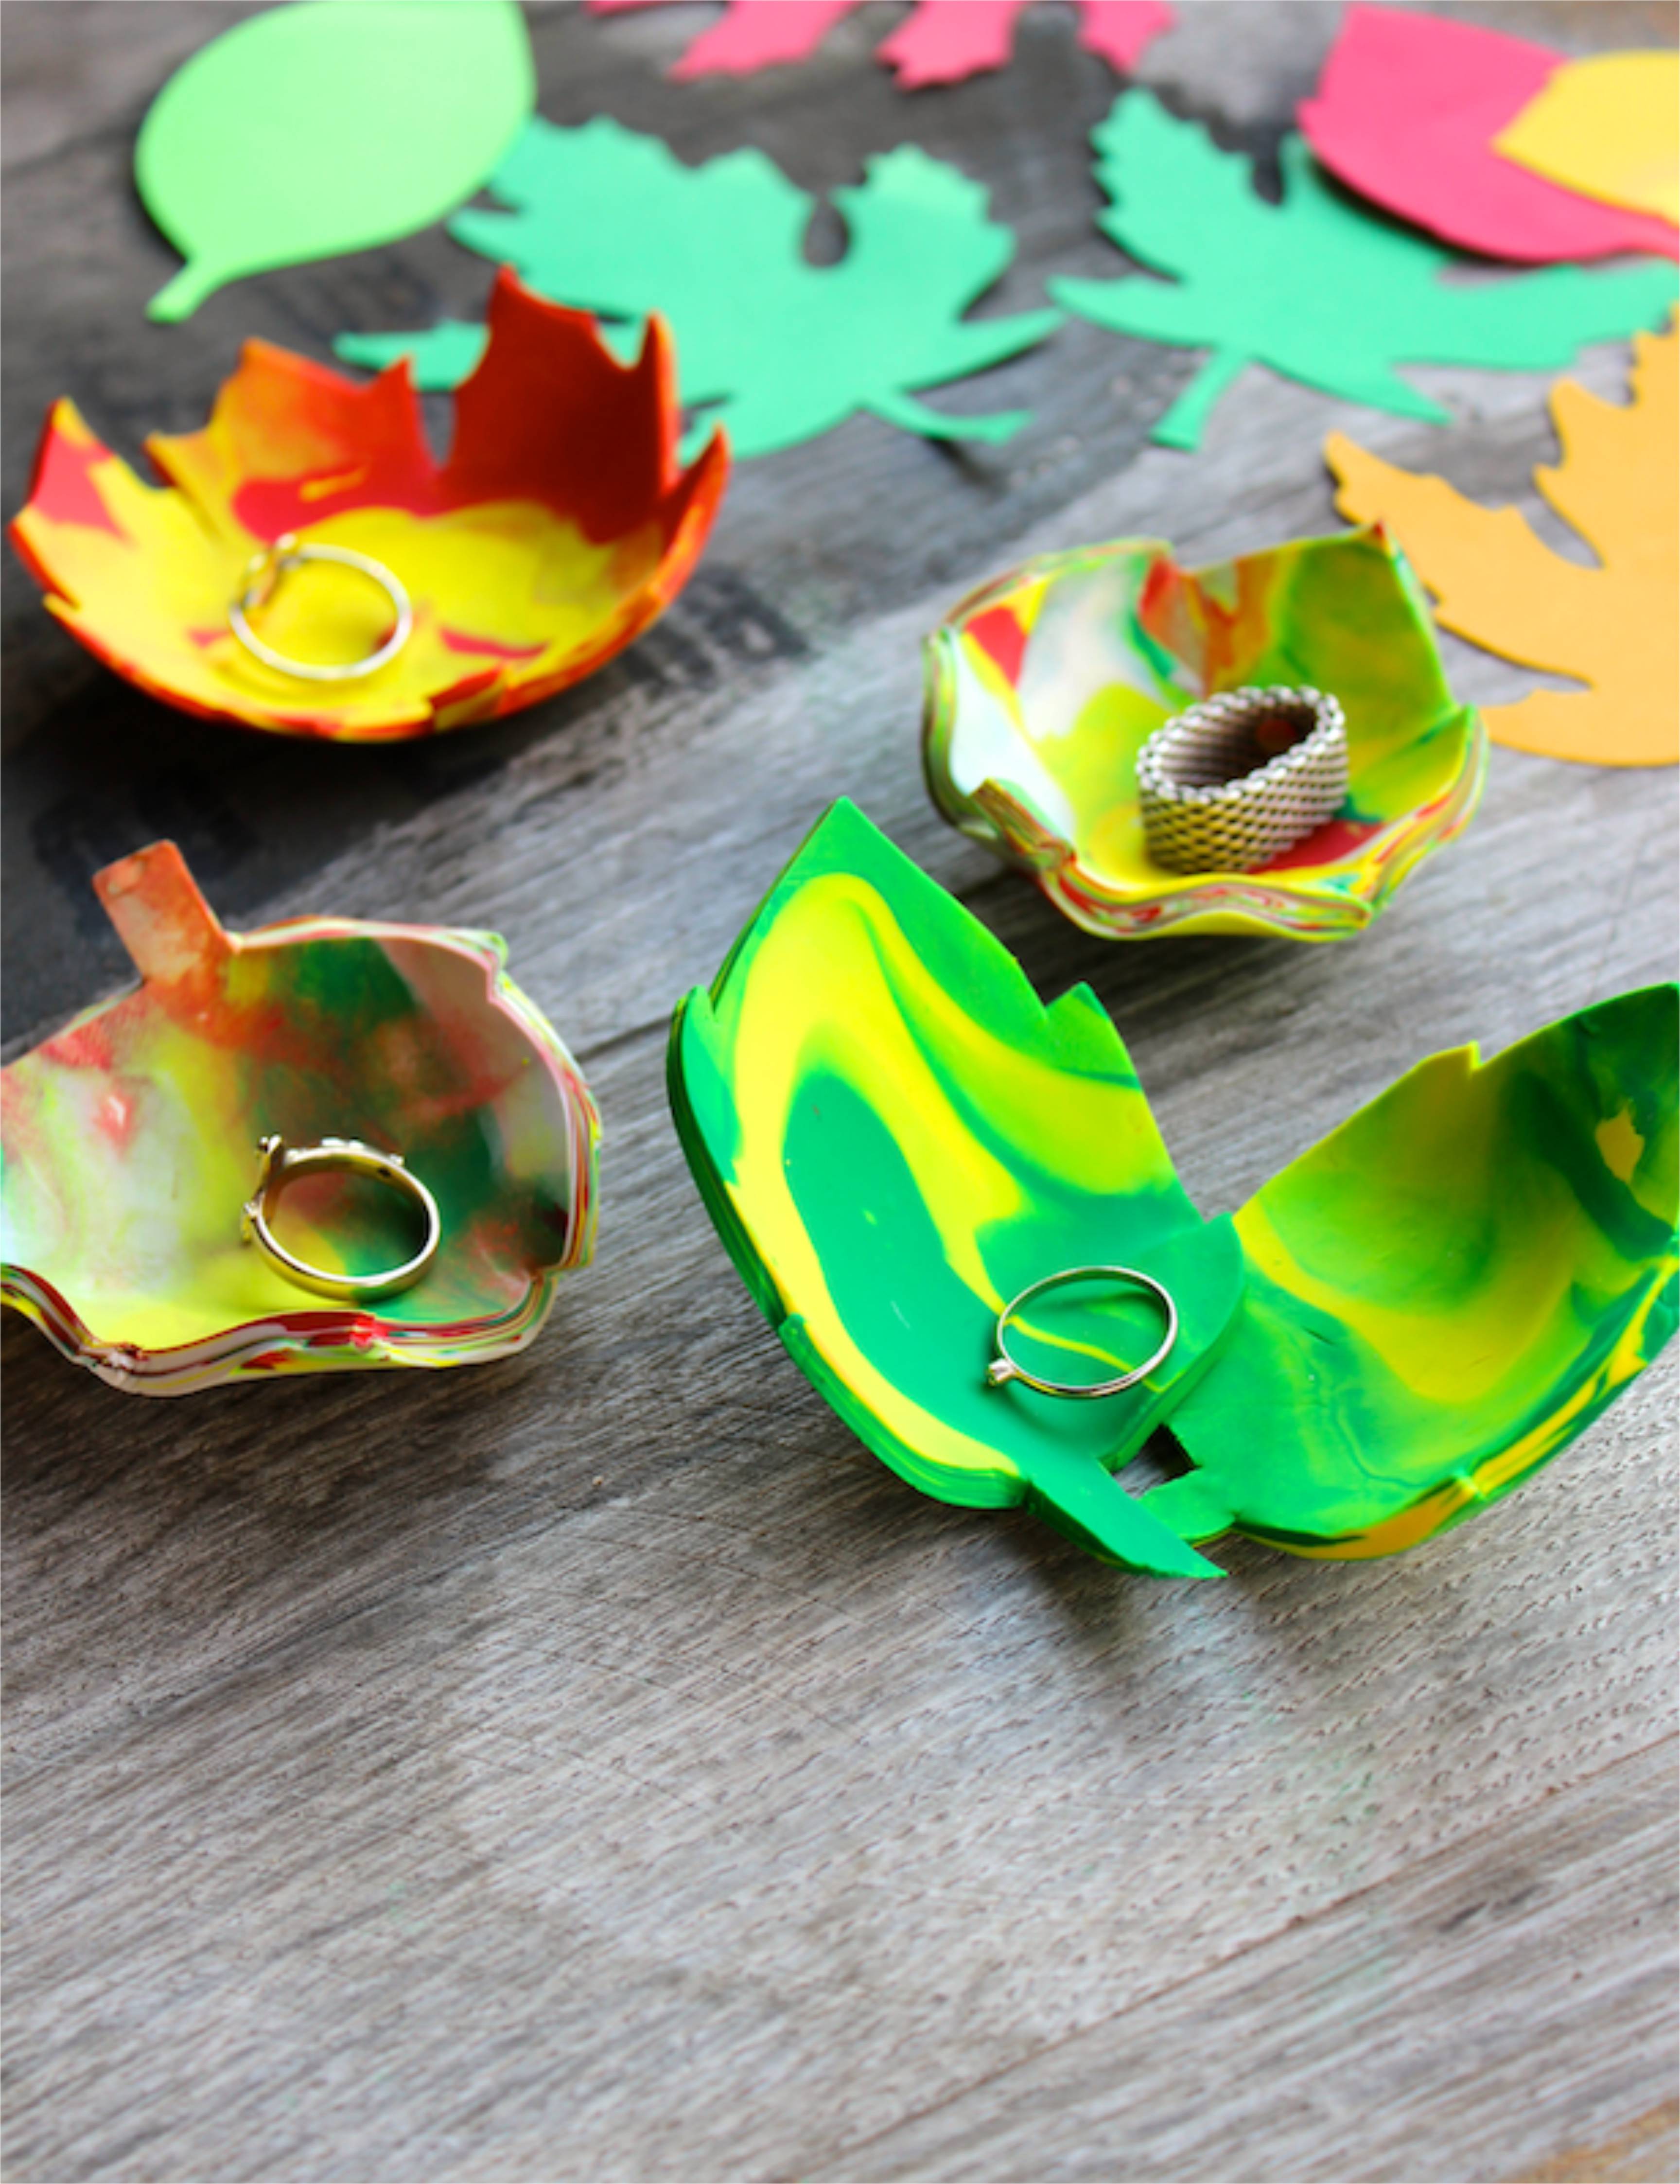
The OCD in us cringes when our kids combine different colors of play dough into one large ball. It’s an internal battle. So, instead of fighting the battle to keep the yellow with the yellow, the green with the green and the orange with the orange, we are going to combine fall-toned oven bake clay together, for a fall marbled effect project. So, they can mix and combine the clay to their hearts and hands content. They loved it…and these mama’s were happy, too.

red-yellow-green-clay-marbled-leaf-ring-bowls-fall-diy

DIY Clay Marbled Leaf Ring Bowls

Materials:

  • Oven Bake Clay, white, red, yellow and green {for this project we stuck with fall colors}
  • Leaf cut outs
  • X-acto knife
  • Rolling pin
  • Mini, oven-safe bowls

Directions:

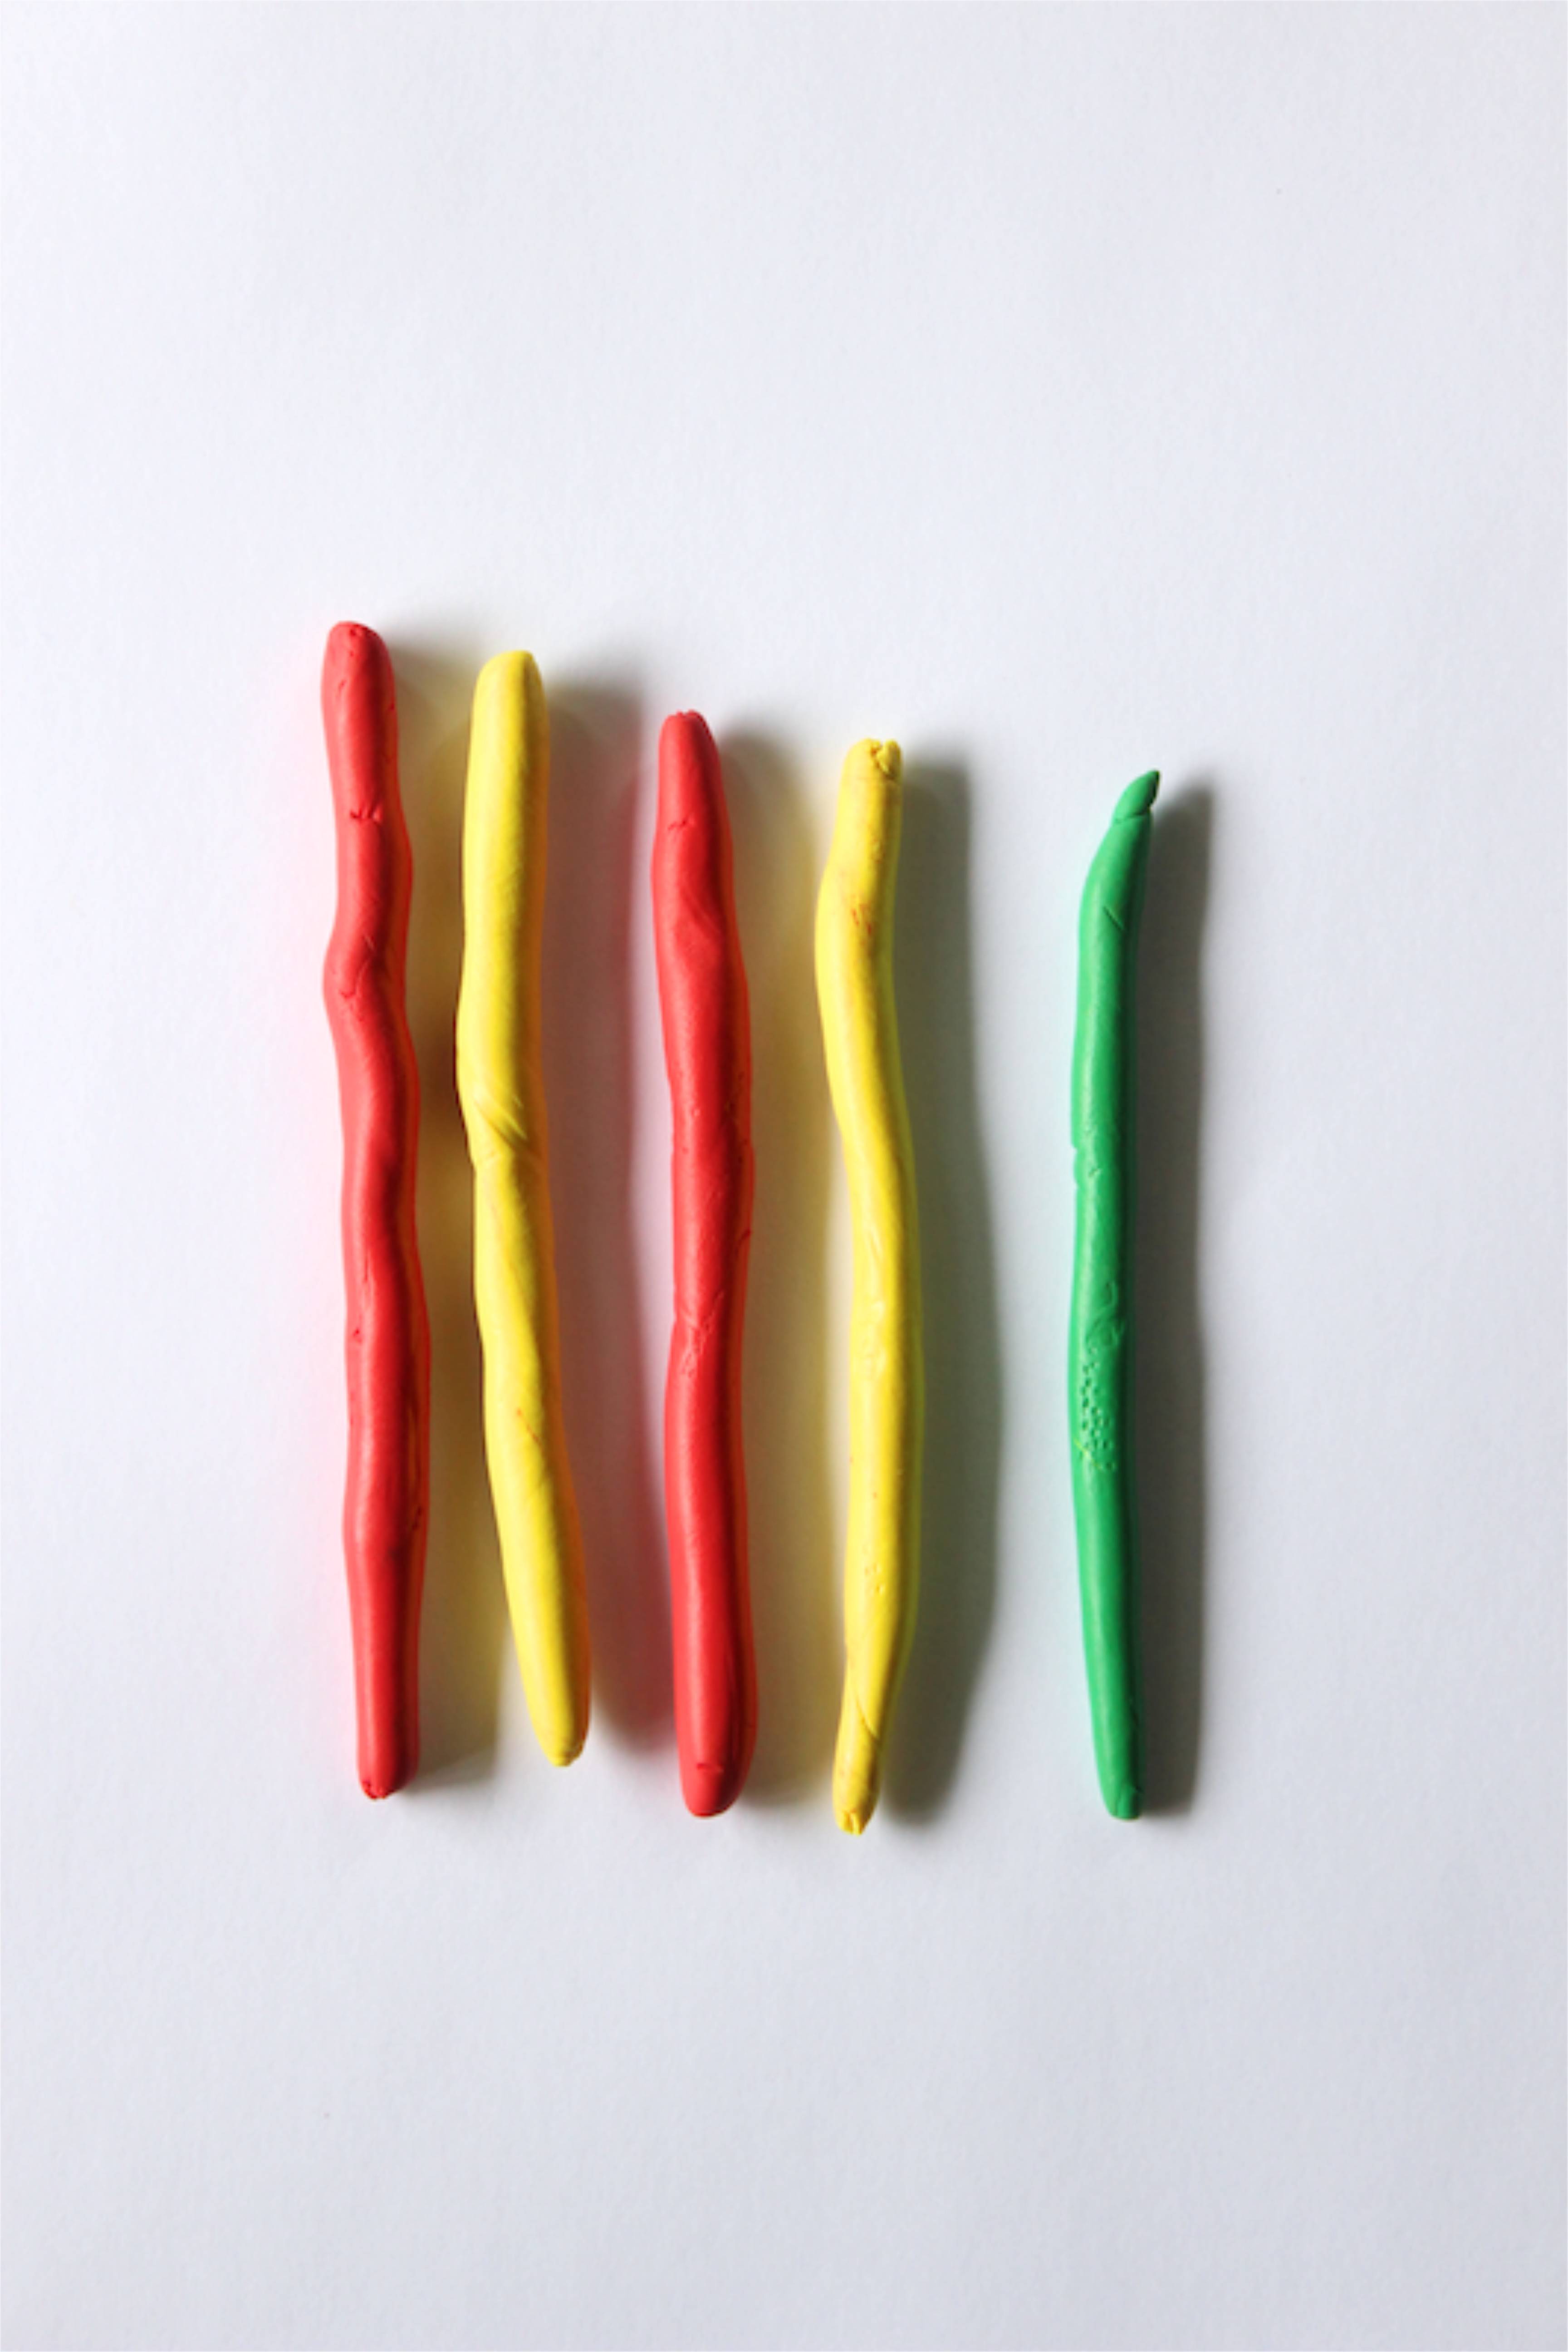
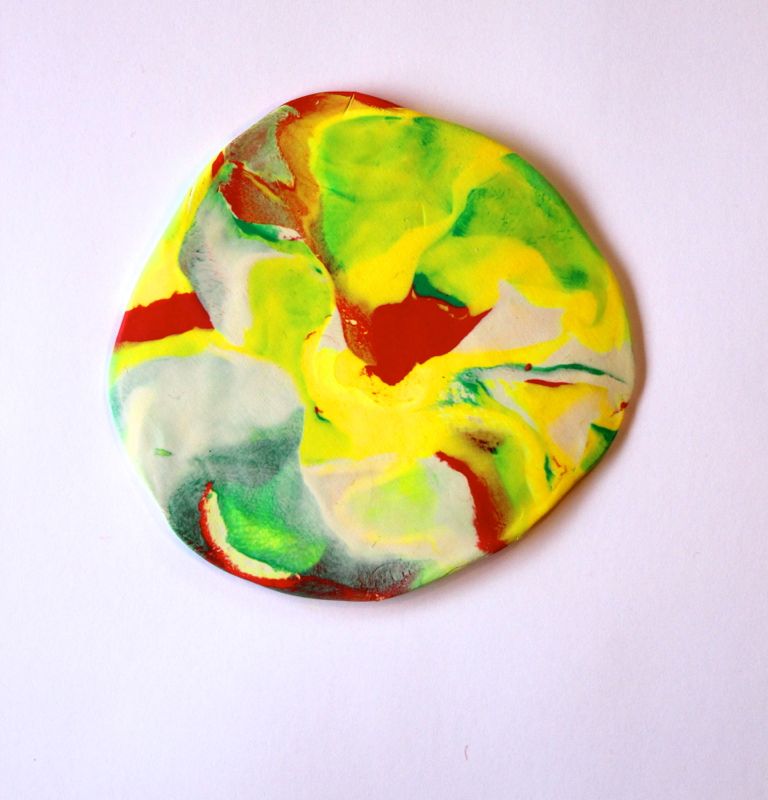
Break the oven bake clay into small  pieces. They need to be about the size of a cherry tomato, or a bit larger. Then, roll each color out into long ‘worms’

red-yellow-green-clay-marbled-leaf-ring-bowls-fall-diy

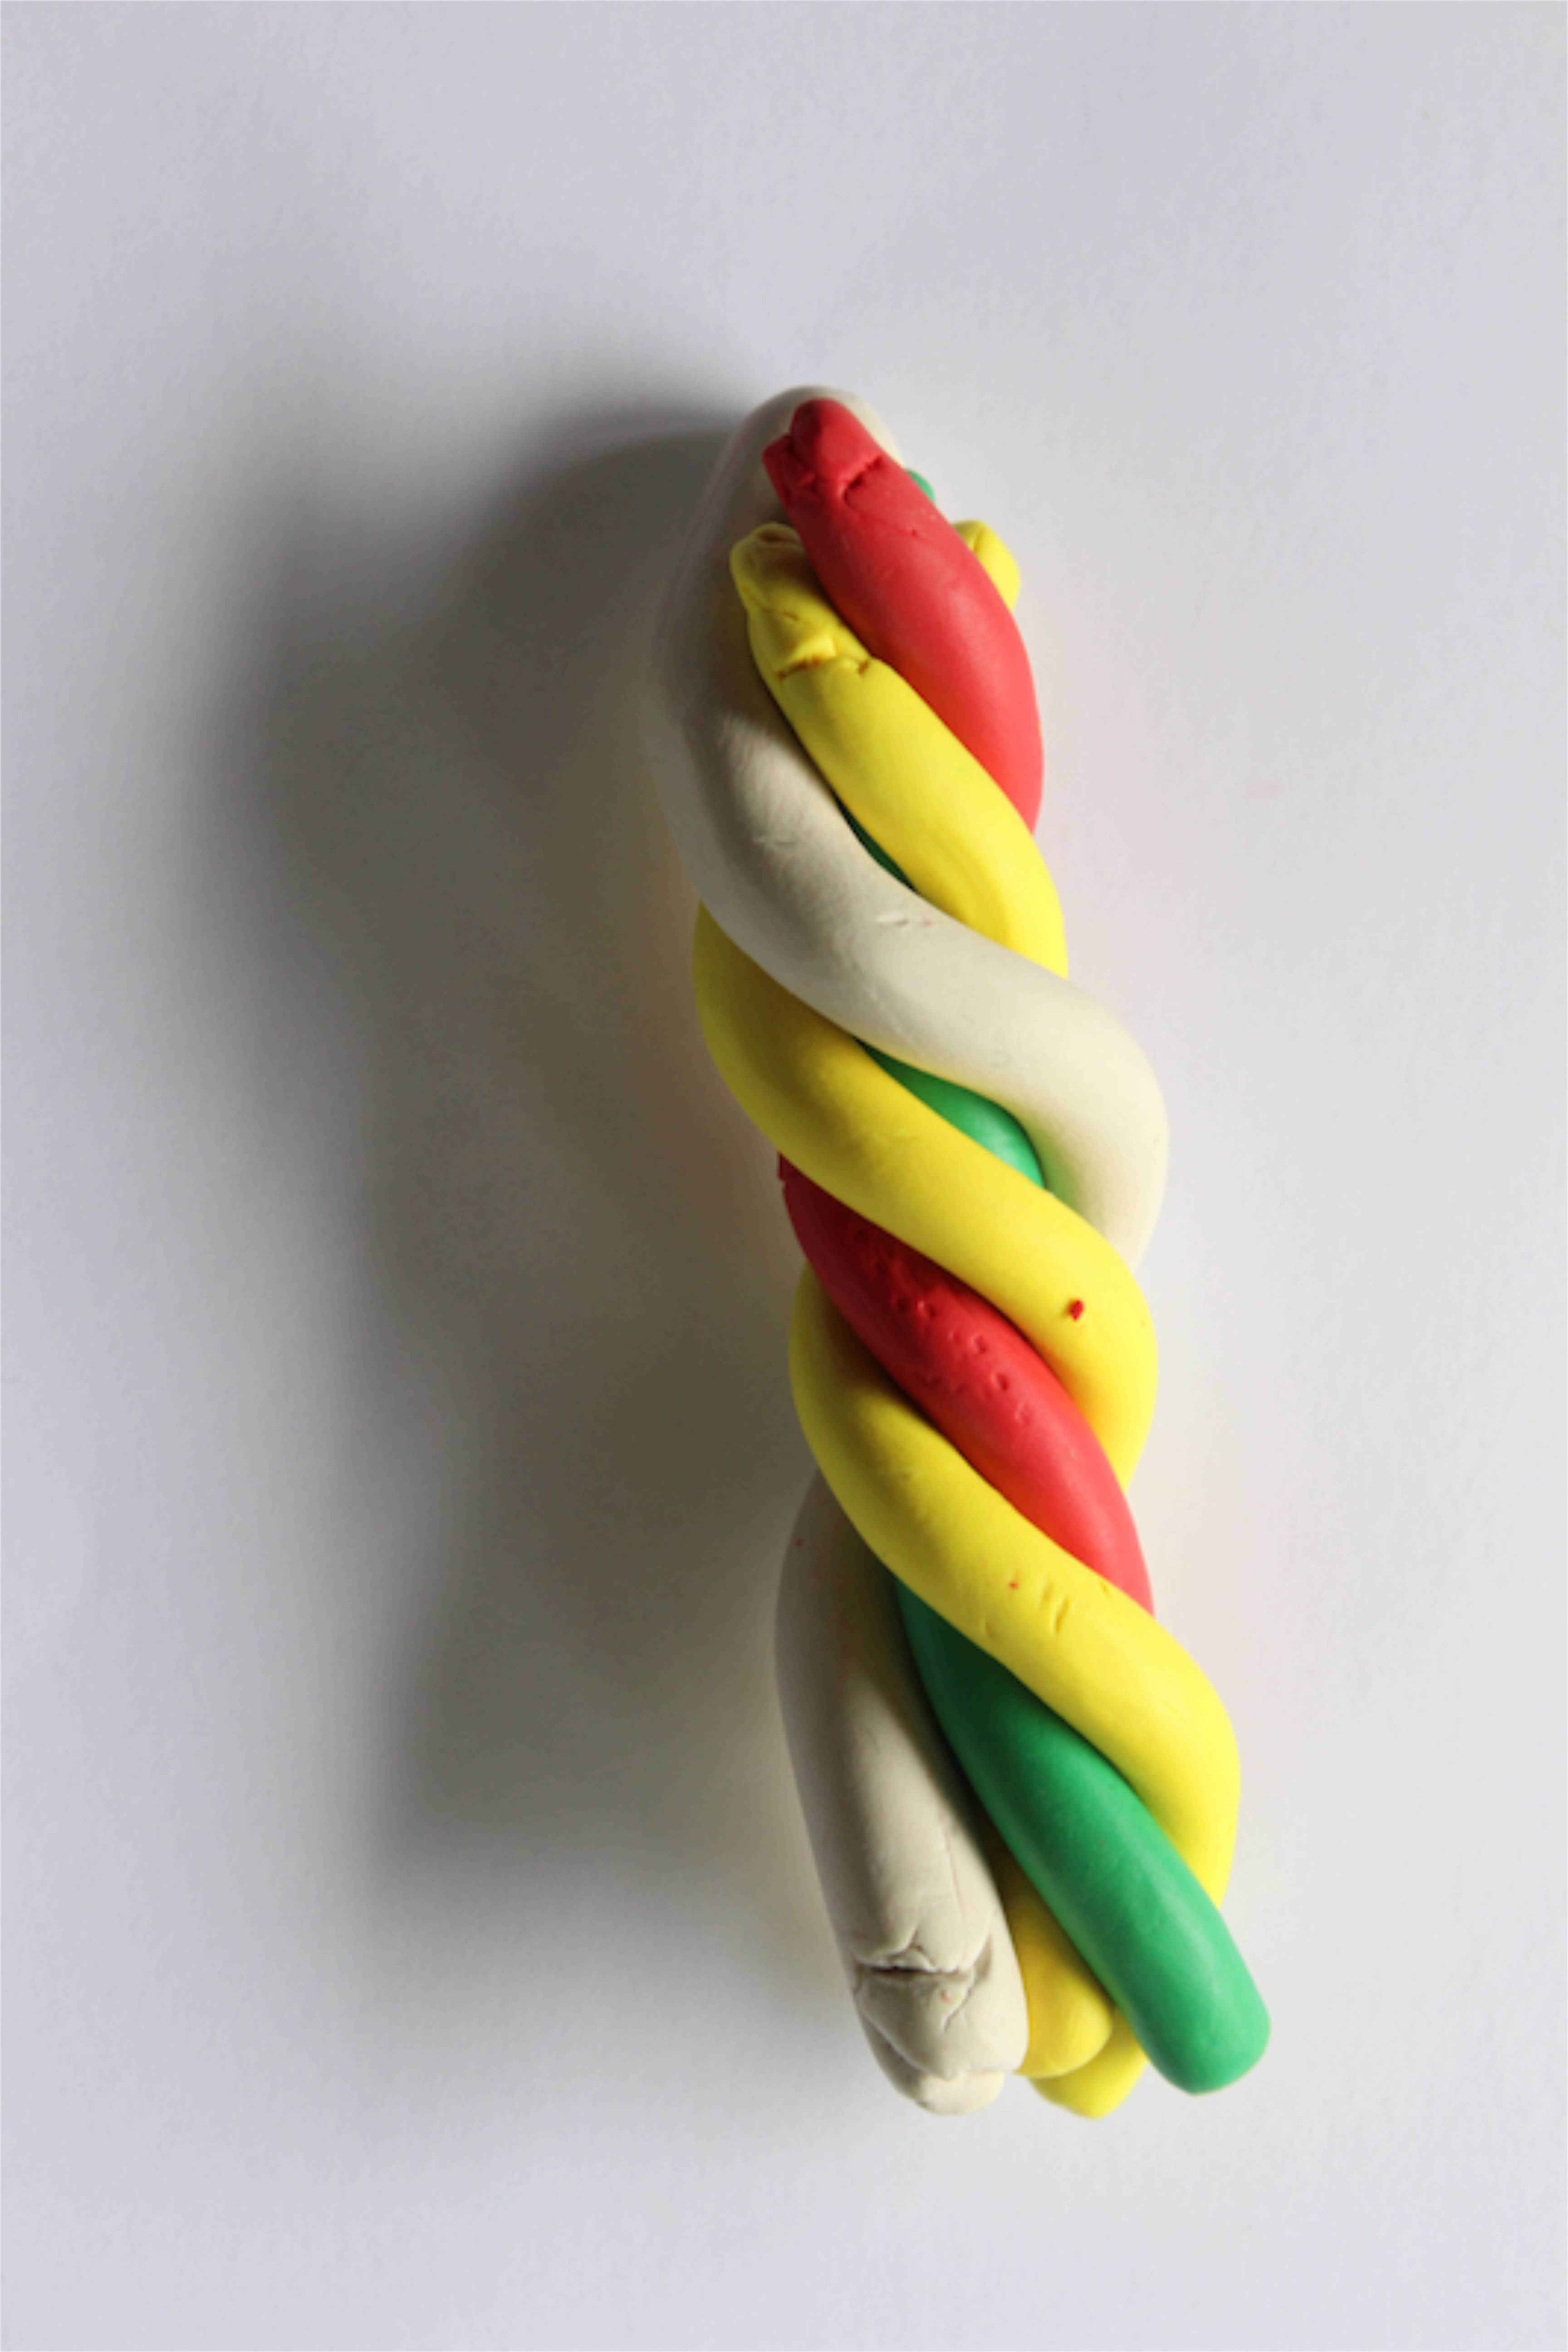
Starting with two, twist the colors together. Then, one by one, add another ‘worm’ to the twist until all colors are twisted together. Pull the colorful twist tighter, elongating it gently as you twist and pull.

red-yellow-green-clay-marbled-leaf-ring-bowls-fall-diy

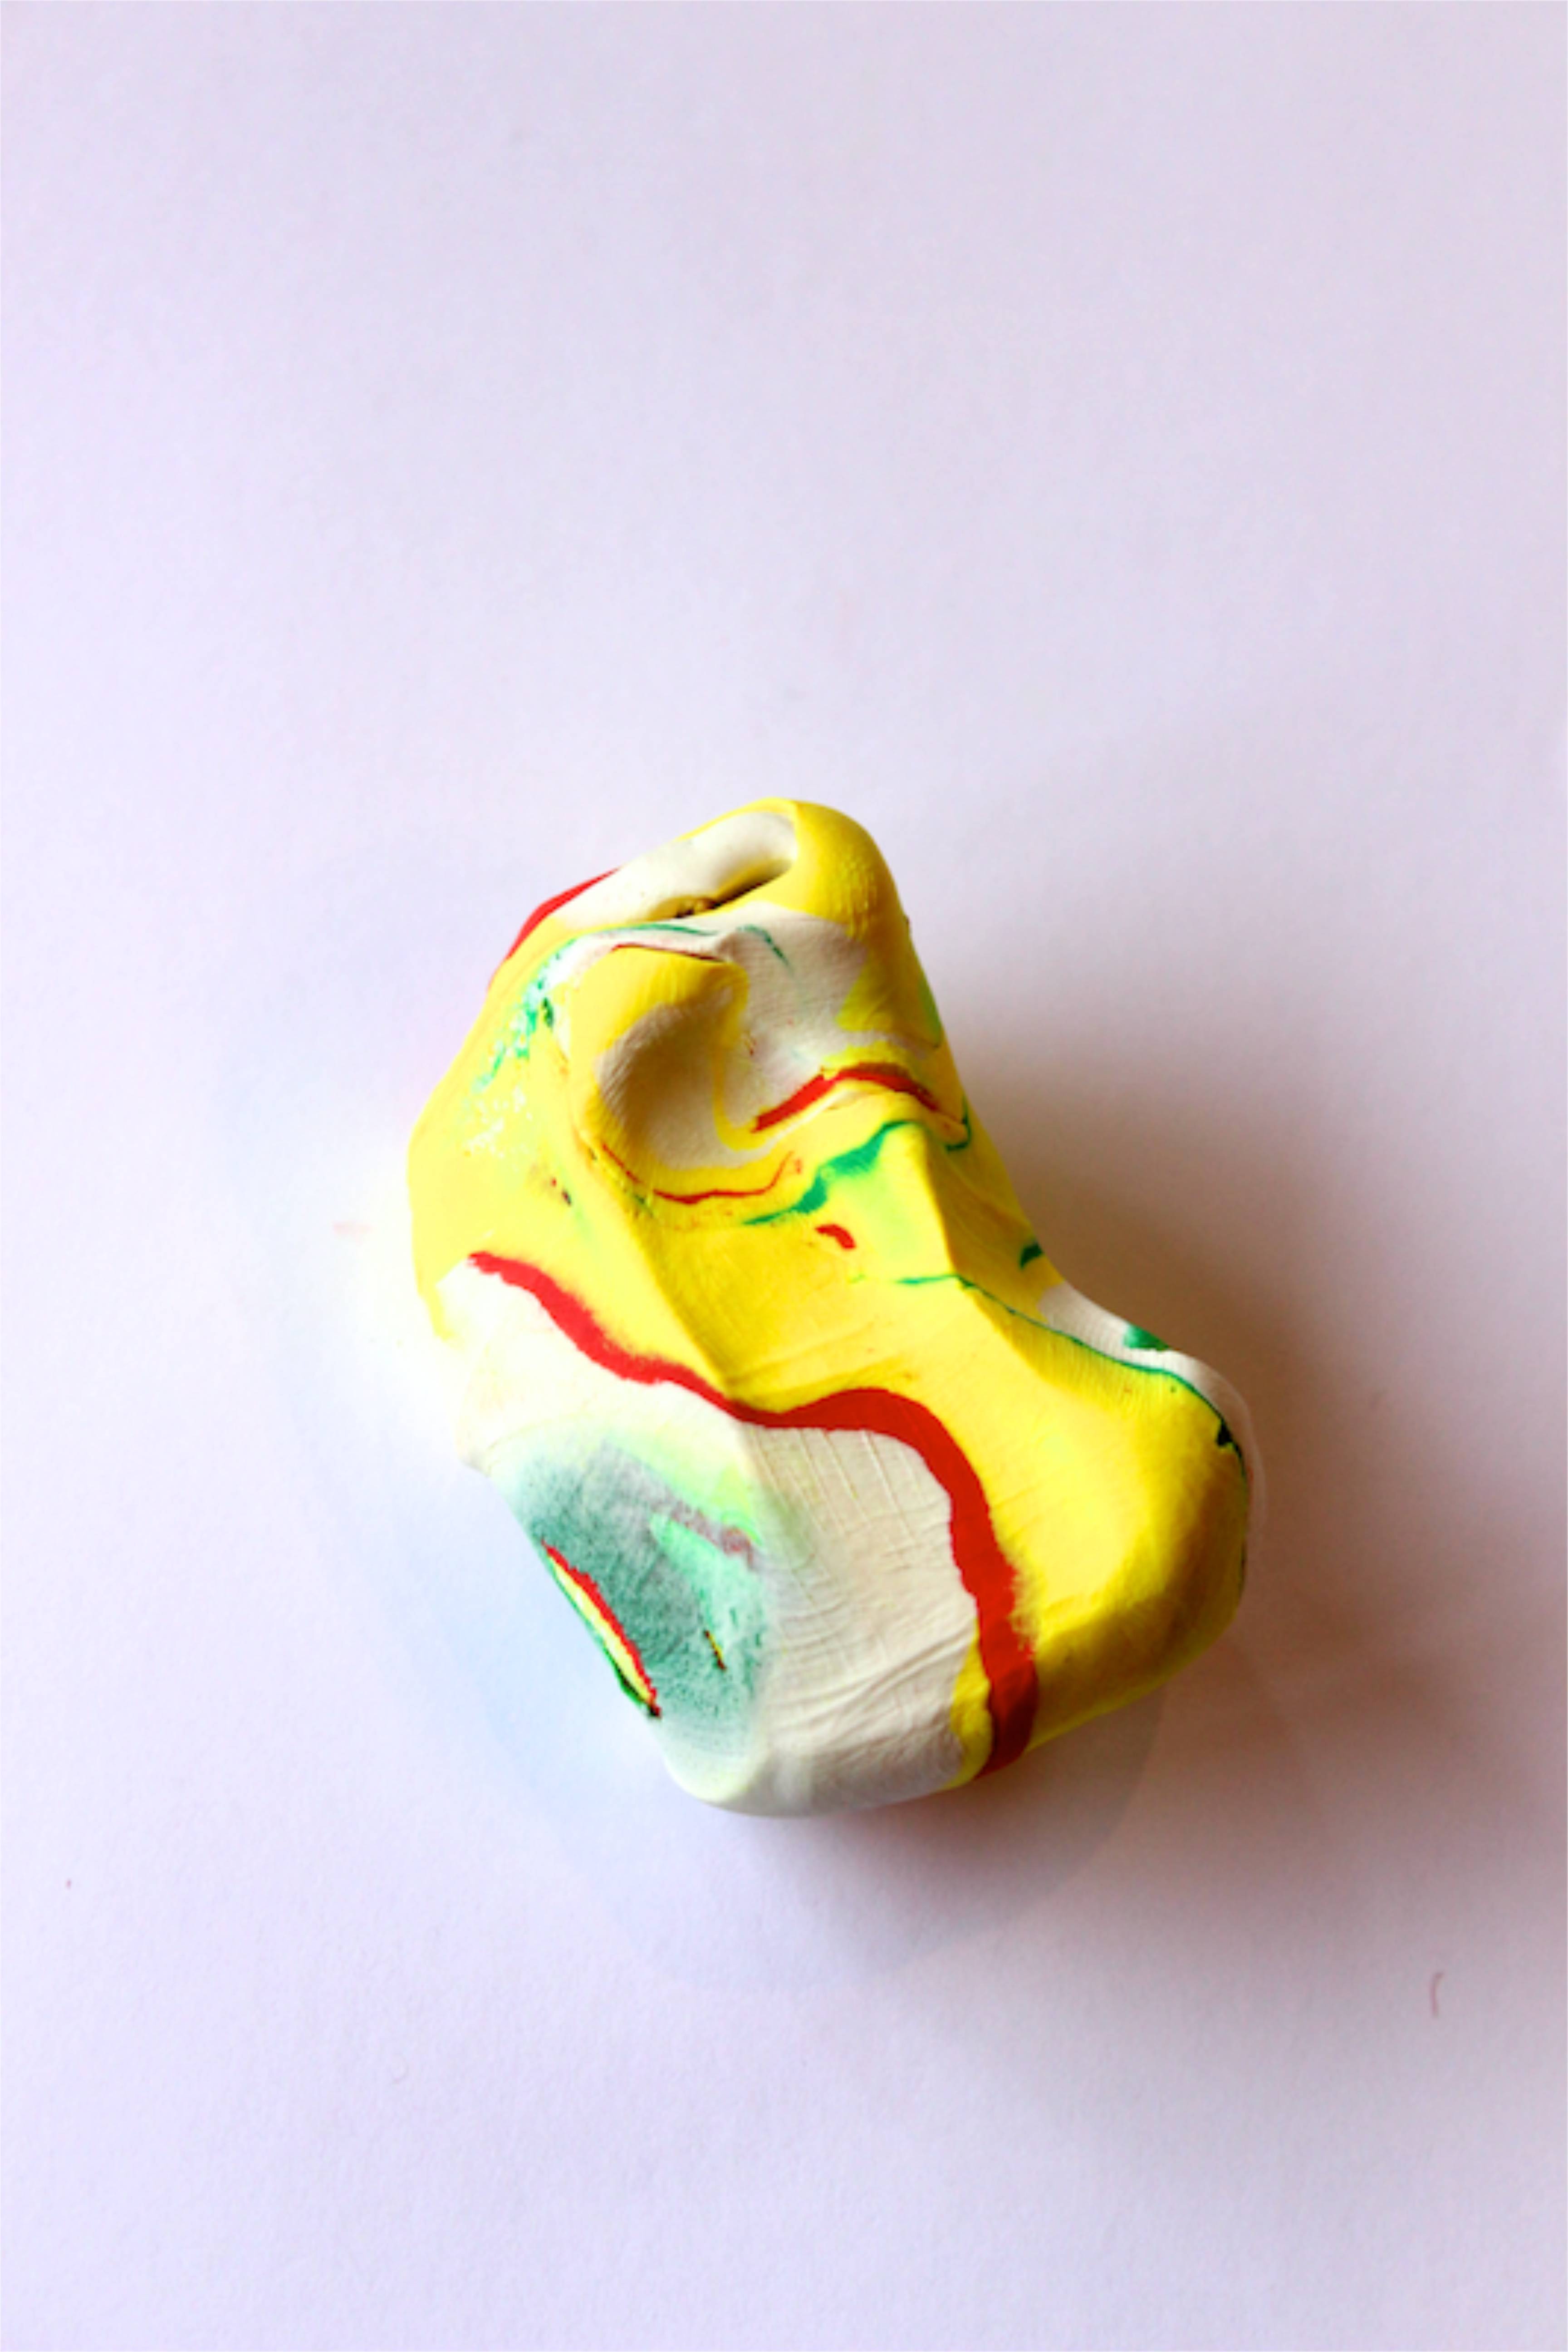
Fold the long, twisted strand in half. Roll it into a ball, then as we so non-eloquently told our kids, squish, then squish from another angle, and squish the ball a couple more times to mix the colors. Be sure not to over mix or everything will start to appear brown.

red-yellow-green-clay-marbled-leaf-ring-bowls-fall-diy

On wax paper, press the ball flat like a pancake, then with a rolling pin, roll it out into a nice circle.

red-yellow-green-clay-marbled-leaf-ring-bowls-fall-diy

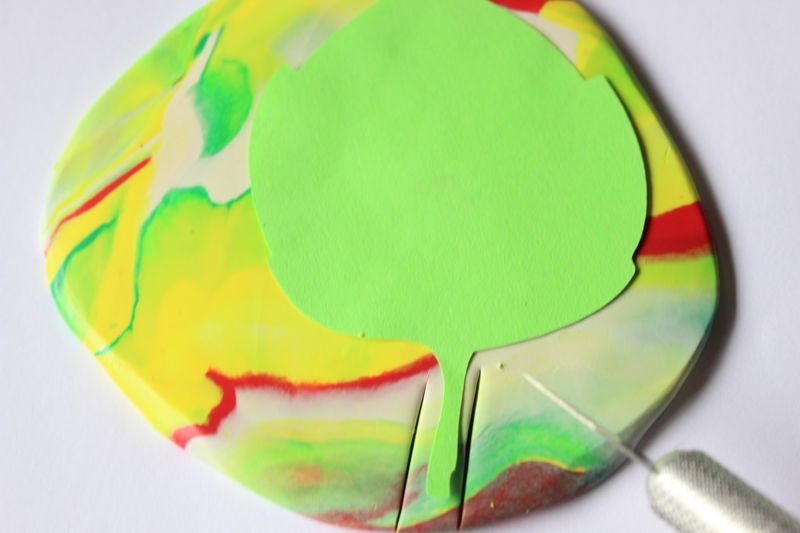
Place the leaf cut out on top, and with the X-acto knife, cut around the edges.

Ired-yellow-green-clay-marbled-leaf-ring-bowls-fall-diy

red-yellow-green-clay-marbled-leaf-ring-bowls-fall-diy

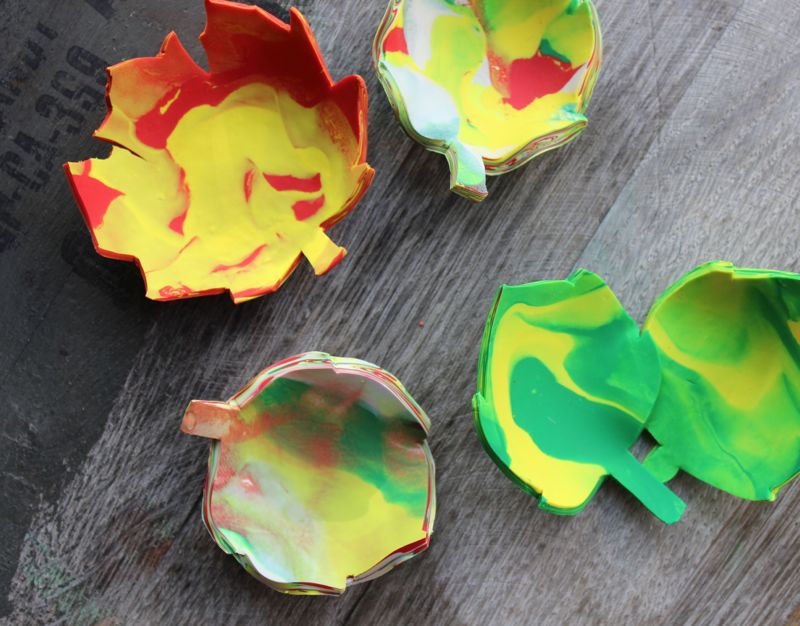
Gently press the leaf into a small oven-safe bowl so it, too, can take the shape of a bowl in the oven. Make sure to use a shallow bowl, so the leaf retains the shape of a leaf.

red-yellow-green-clay-marbled-leaf-ring-bowls-fall-diy

Bake according to package directions.

red-yellow-green-clay-marbled-leaf-ring-bowls-fall-diy

Glaze {optional} the DIY marbled leaf-shaped bowls and set out for fall decor.

red-yellow-green-clay-marbled-leaf-ring-bowls-fall-diy

Design a Beautiful Nursery on a Budget

baby-girl-nursery-pink-ombre-baskets-white-ikea-gold-crib-nursery-gold-animal

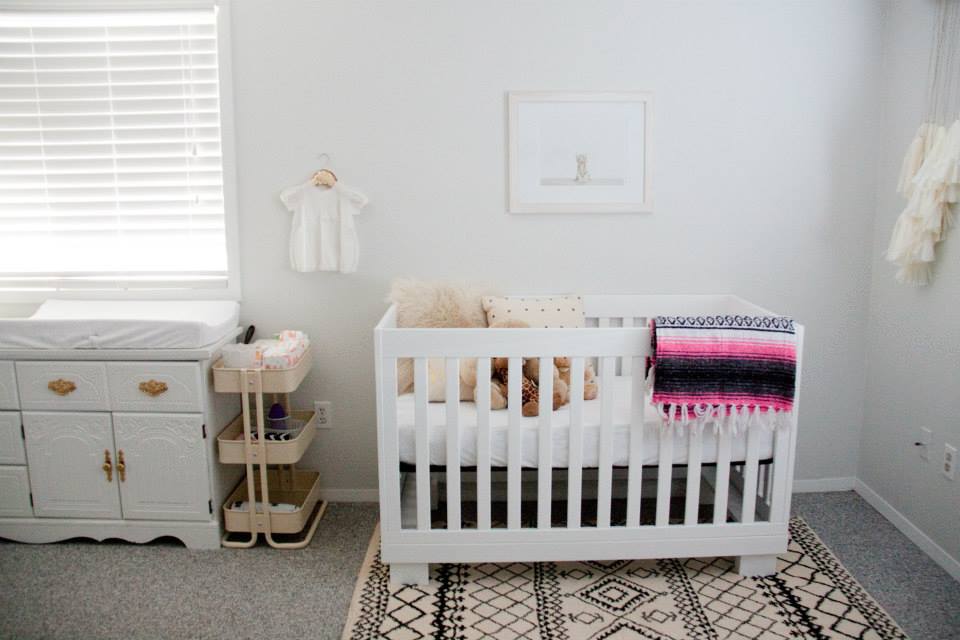
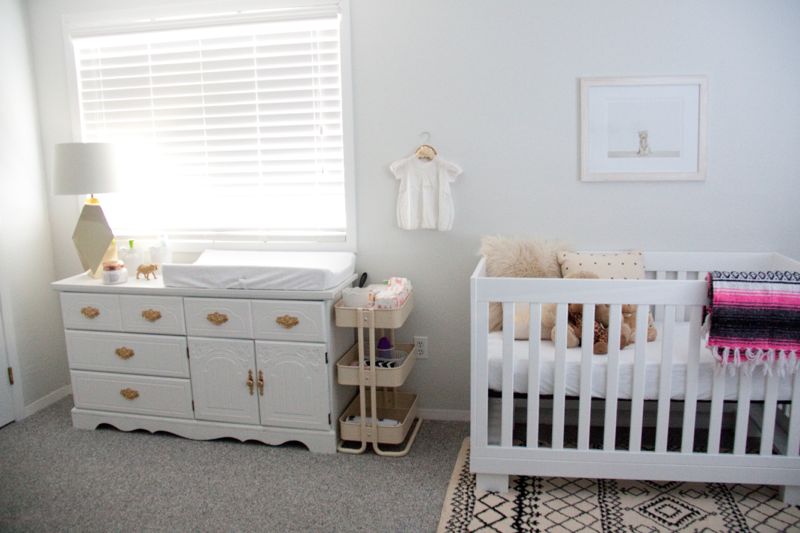
Babies are expensive, but that doesn’t mean their room has to be, too. We love the nursery Mila Mae, the newest {and beautiful} addition to our large Italian family, calls home. Sweet Mila has a lovely, special place to call her own, and her mom is sharing the details with us. Kerri designed a pretty room for Mila, without maxing out the credit card. Win, win!

Her nursery is clean and white with touches of pink…and we love it.

Here’s how you can do it, too.

1. Shop at Ikea.
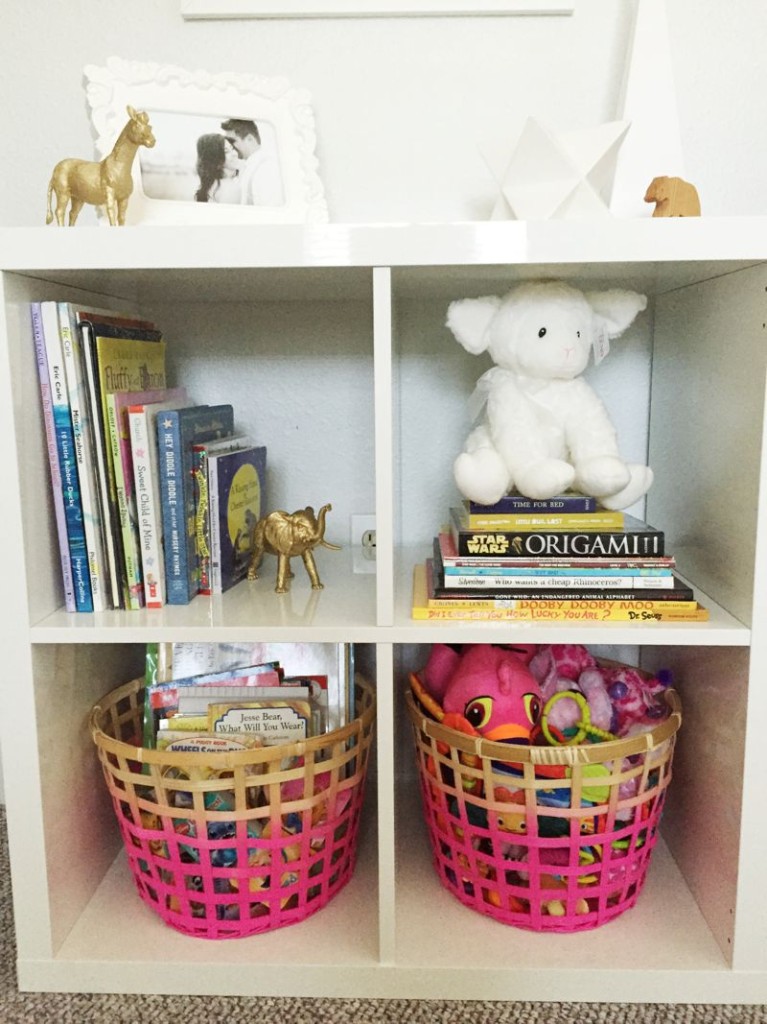
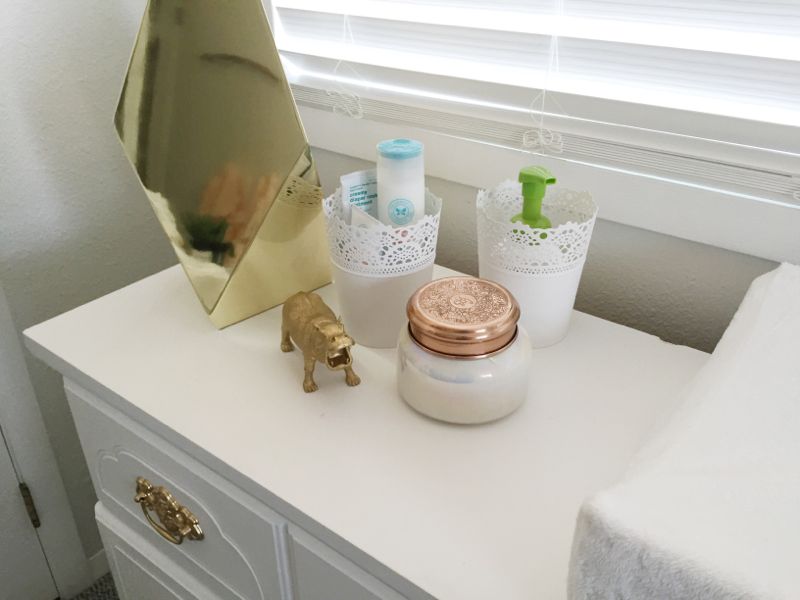
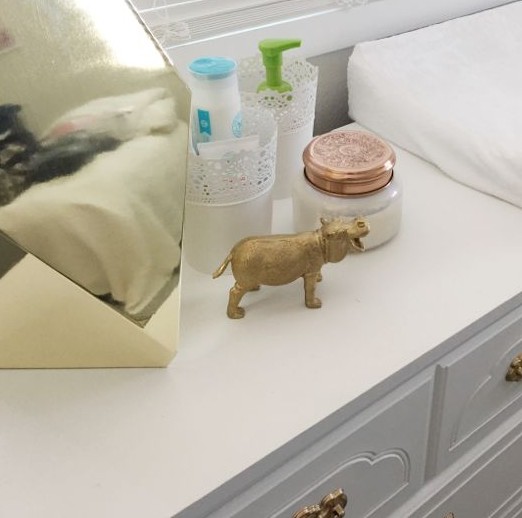
We all love the affordability and chic design to be found in the never-ending aisles at Ikea. Kerr’s ombré baskets are from Ikea. They are functional because they hold toys, book and stuffed animals, but they also add the perfect pop of color for a princess’s room. The little white flower-pot tins on the dresser are also from Ikea. They help Kerri organize everything! On the dresser, she holds hand sanitizer, diaper ointment, baby powder, etc. in them.
baby-girl-nursery-pink-ombre-baskets-white-ikea-gold-crib-nursery-gold-animal

baby-girl-nursery-pink-ombre-baskets-white-ikea-gold-crib-nursery-gold-animal

2. Incorporate family heirlooms.
Kerri incorporated her grandma’s dresser in Mila’s room, which holds sentimental value for her. She updated it with several coats of white paint, and painted the knobs gold. Another special touch is the dress hanging from the gold hanger next to the crib. It’s Kerri’s mothers dress she wore when she was a baby. A piece of 3 generations of women from the same family lives inside those 4 walls! The ultra-glam gold sequins hanger is from The Golden Gurl via Etsy.

baby-girl-nursery-pink-ombre-baskets-white-ikea-gold-crib-nursery-gold-animal

3. Add DIY details.
We love DIY details, and although Kerri said she is not a big DIYer, she did manage to spray paint dollar store animals with gold spray paint. Animals are a favorite for little kids, so with the DIY gold animals, Kerri added a childhood favorite with a touch of glam.
baby-girl-nursery-pink-ombre-baskets-white-ikea-gold-crib-nursery-gold-animal

4. Buy handmade items from Etsy.
Handmade items add warmth and authenticity to a nursery, plus it’s always great to support small shops. The driftwood wall hanging with tissue paper tassels is from Fleur Lux and the beautiful gold pillows in the crib are from Kerri’s talented friend at Bright July.
baby-girl-nursery-pink-ombre-baskets-white-ikea-gold-crib-nursery-gold-animal

baby-girl-nursery-pink-ombre-baskets-white-ikea-gold-crib-nursery-gold-animal

5. Incorporate color, texture and culture from travels. 
The world is a grand and beautiful place with bright colors and a vast array of textures, so it’s nice to bring memorabilia from various cultures home. Plus, its unique decor that can’t be found anywhere else. The authentic Mexican blanket hanging from the side of the crib was a gift Kerri’s parents brought back from Mexico. The impact is big, but the price tag was little – the blanket was just $5.

Thanks for sharing your room with us today, Kerri {Marco and Mila, too}. We love you.