pumpkin seed treat

We carved pumpkins last night with the kids, and being the health nut that I am, I took the opportunity to make carving pumpkins not only fun, but also nutritional by saving and roasting the pumpkin seeds. Raw pumpkin seeds are rich in vitamins B, C, D and K, essential fatty acids, magnesium, potassium, iron and zinc. They can help lower cholesterol with their high levels of fiber, help to prevent the enlargement of the prostrate and promote bone health. Plus, they are a yummy snack!

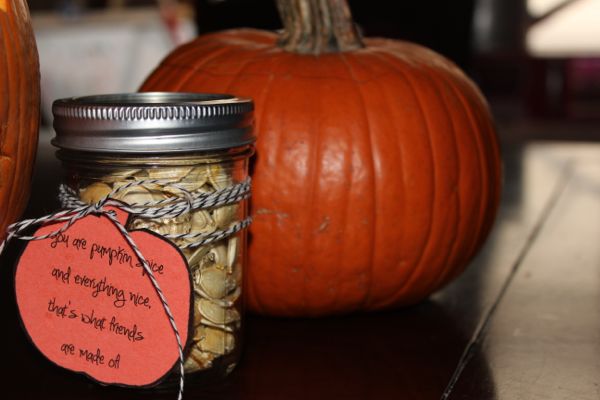
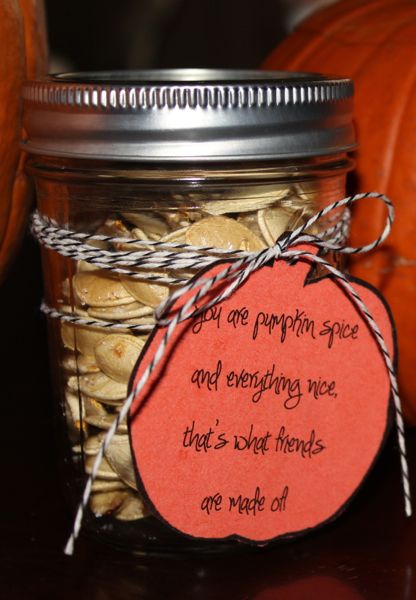
Why not share all the health benefits of pumpkin seeds with dear friends? After you carve pumpkins with your friends/family this year, save the seeds for a healthy snack and give as a small token of thoughtfulness to a friend. I made the tags, “you are pumpkin pie spice and everything nice, that’s what friends are made of,” using a pumpkin template online and Microsoft Word, and attached them to a mason jar {my fave…everything looks cuter in a mason jar} with black and white twine.

How to Roast Pumpkin Seeds
Thoroughly wash the seeds after they’ve been removed from your pumpkin.
Spread the seeds out to let them dry. You can pat with a paper towel.
Rub them sparingly with olive oil and sprinkle with salt.
Roast at 350 degrees for 15-16 minutes {watch them carefully as they will go from being perfectly roasted to totally burned within a minute or less}.

Oh, and as for the fun part, Jameson wanted a dragon, Gabriella wanted a heart and Jackson, well, we opted to carve a cute smiley pumpkin face.

{images via Tutto Bella}
Chocolate Mouse Recipe

I love all things chocolate. I’m totally addicted. So, last week, while perusing my cookbook filled with family and friends recipes {given to me at my bridal shower}, I was happy to find a chocolate mousse recipe by one of my fabulous BFF’s, Kimi Hansen. It sounded like the perfect ‘fix’ and let me just say, OMG…SO GOOD. I love it. I tried it on my sister-in-law and the kids {virgin recipe} and they, too, were WOWed! For you gluten-free folks, it’s totally doable too.

To share with guests at your upcoming Halloween parties, just serve it in shooter glasses, top it off with homemade whipping cream and then decorate it with orange sprinkles.

Chocolate Mousse
{Recipe by Kimi Hansen}

Ingredients
1 cup chocolate chips {I used Nestle and it was delish, but Kimi tells me it’s even better with Ghiradelli or a ‘higher quality’ chocolate}
1 cup whipping cream
1 egg yolk
1 tsp vanilla
1 tsp Kahlua or Dark Creme de Cocoa {for the kiddos, exclude this ingredient, and I promise, it’s still so yummy}

How To
Add chocolate chips, Creme de Cacao, vanilla extract and egg yolk to a blender
Heat cream to a boil on the stove and then slowly add the cream to the other ingredients in blender
Pulse ingredients together
Pour into serving glasses and refrigerate for at least 3 hours
Top with raspberries, or another fruit or whipping cream and sprinkles

{images via Tutto Bella}

FREE halloween printables

Jenna, sis and owner of the fabulous Fleur de Lis, created Halloween printables for me to share with my kids’ friends…and we wanted to make sure you were in on the action too. Click on this link: happy halloween printables, for your free printables. Ah, don’t you just love that word…free.

All you have to do is…
1. Purchase glow sticks, Reese’s Pieces and small cellophane bags from your local Michael’s and grocery store.
2. Print and cut the labels.
3. Punch a hole through the label and use festive ribbon to attach the label.
4. Save a few Reese’s Pieces for yourself to enjoy.
5. You have yourself a sweet and adorable Halloween favor and/or placecard.

 {images via Tutto Bella}


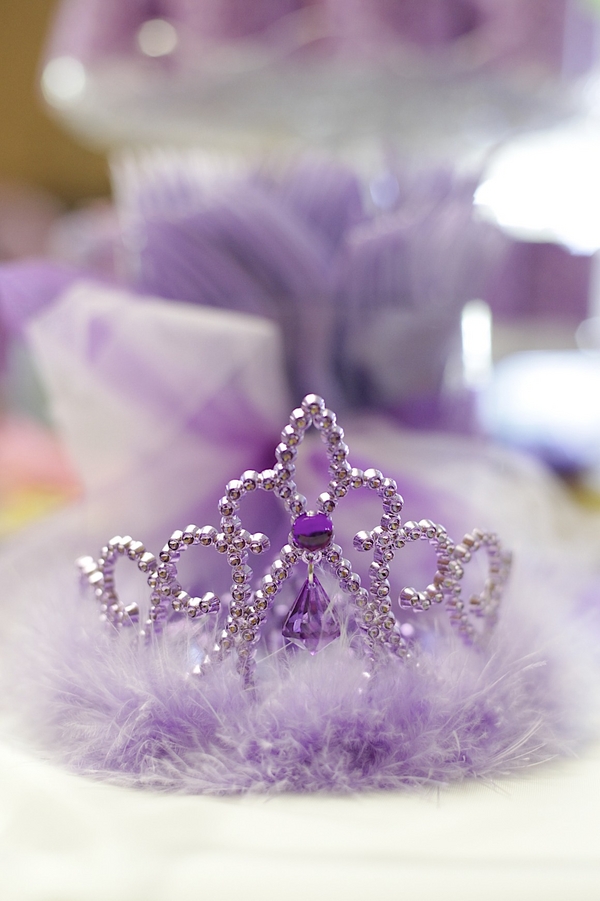
Rapunzel Birthday Party

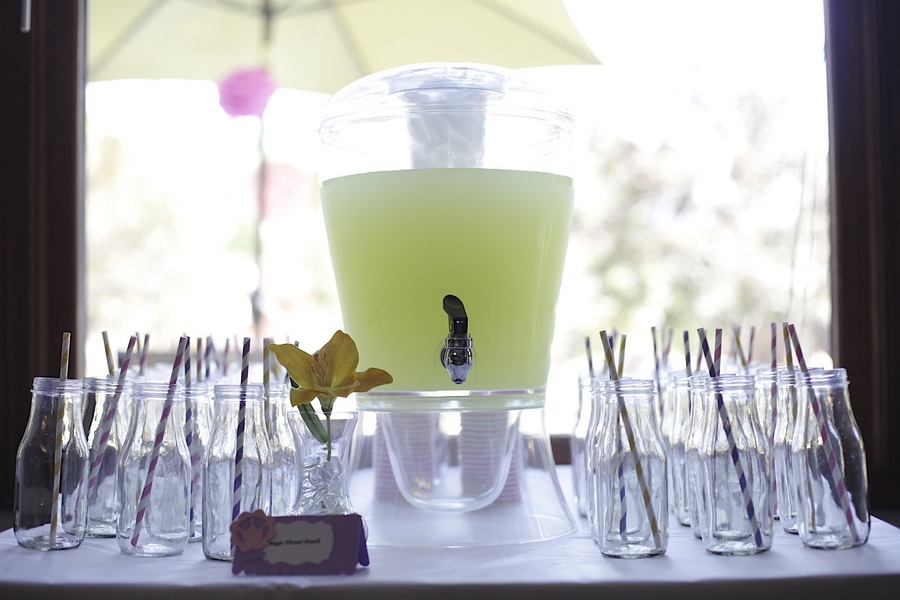
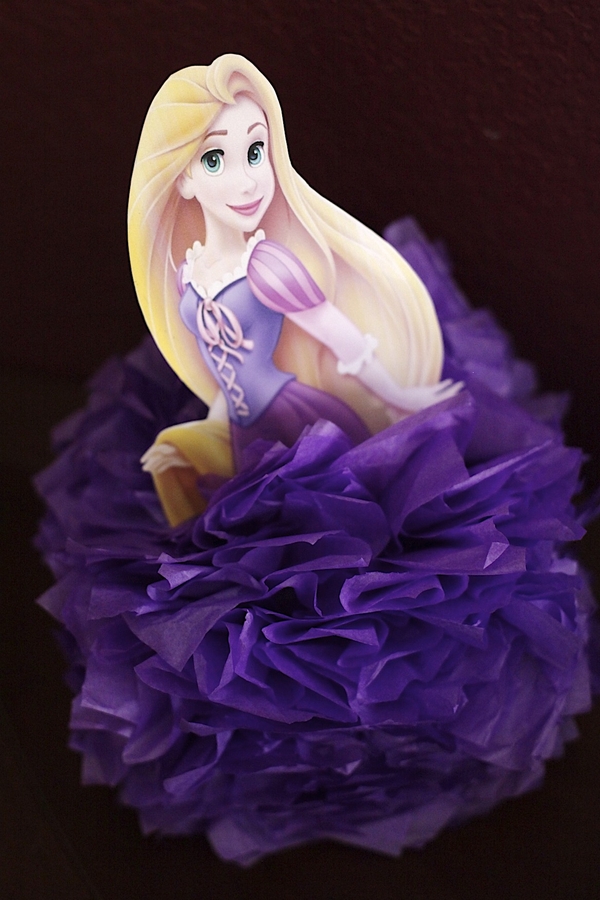
My kids love the movie Tangled, so when Renee of Renee Marie Photography, shared this darling party with us, I was smitten. All the DIY details are charming and so well-coordinated with the beloved movie. Not one detail was spared for this special birthday celebration.

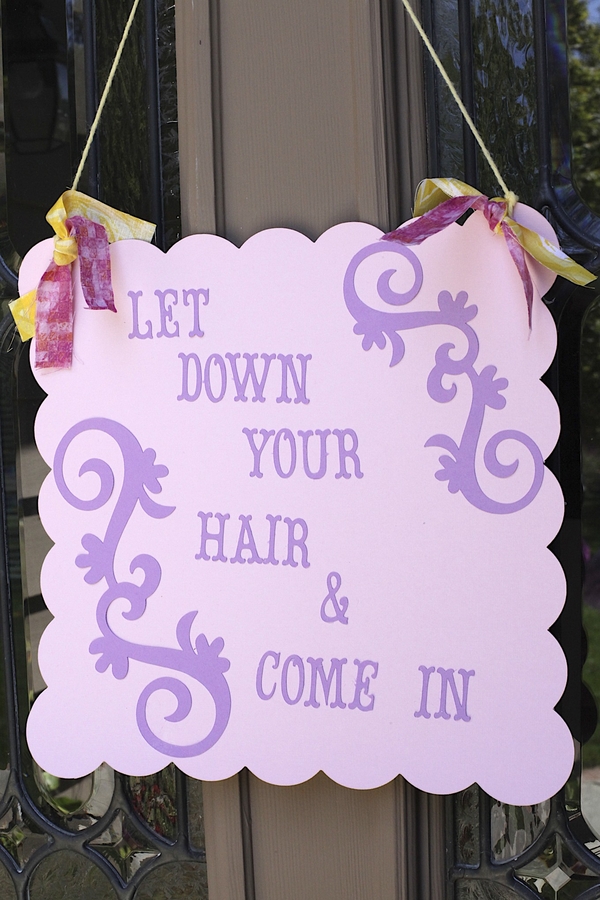
This fairytale inspired party summoned everyone to ‘Let down their hair’ as they were transformed into Rapunzel’s Tangled wonderland. Talented DIY Mom, Theresa, almost exclusively created and styled each amazing detail with the help of her sister and the party girl’s Aunt, Sandy.

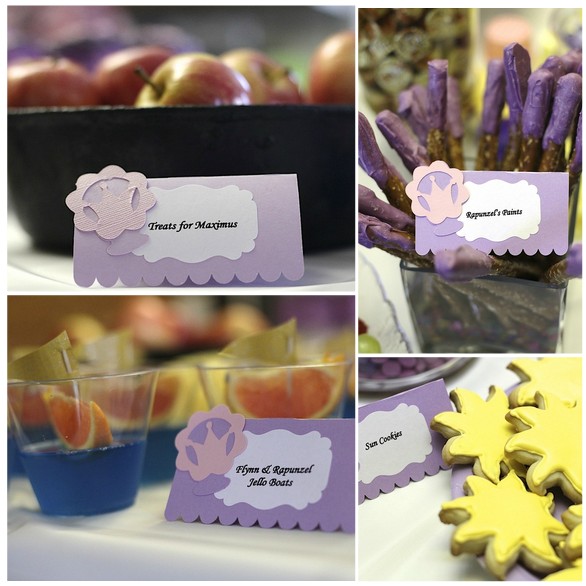
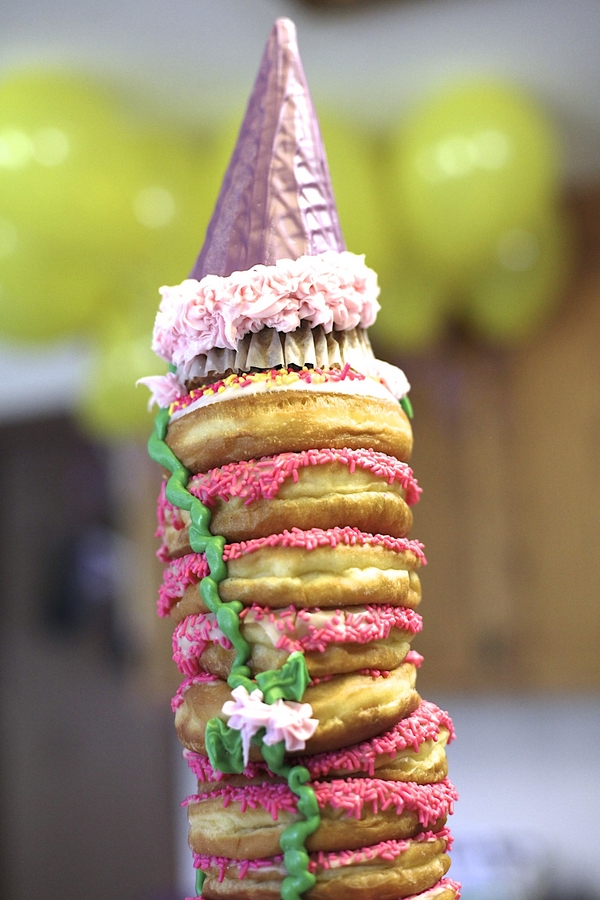
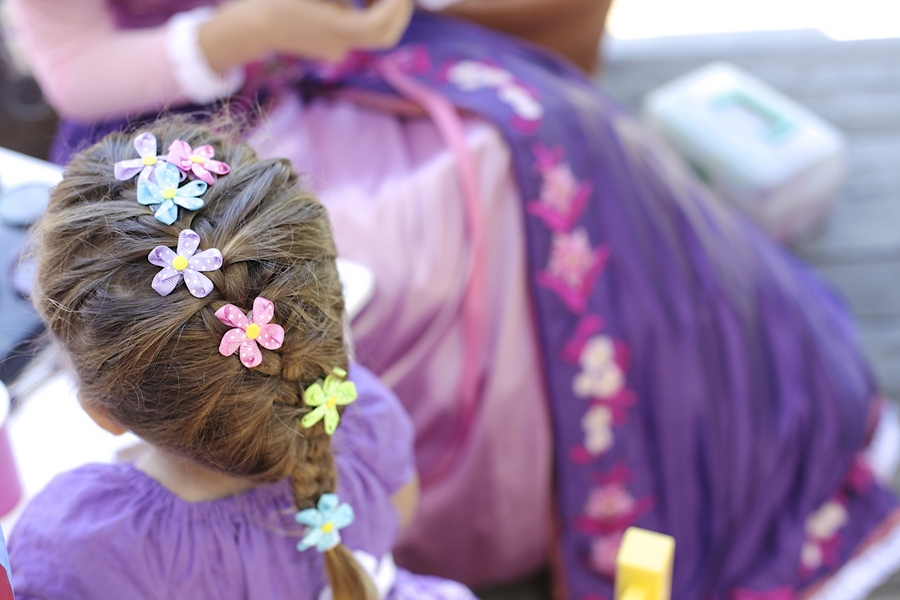
From sunshine cookies, and paint brushes made from pretzel rods and chocolate, to Flynn and Rapunzel jello boats and apples for Maximus, the sweet treats were delightful. The incredible donut and cupcake tower was the perfect centerpiece that ended in a 6 foot trail of ‘golden locks’ that Theresa hand braided (she is also a hair stylist so her skills were well put to use)!

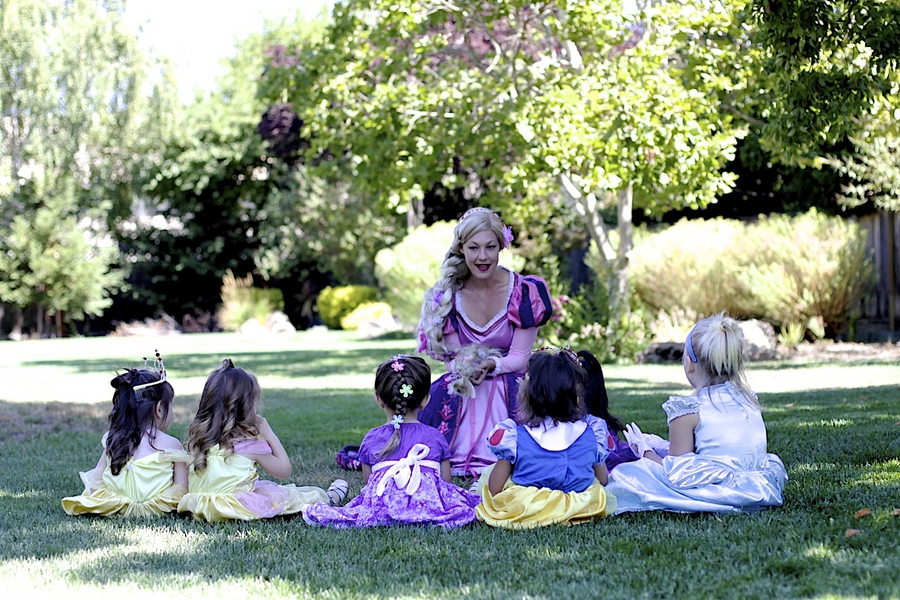
The party guests each arrived in princess attire and were entertained by Rapunzel herself who led them in story telling, singing and face painting. Guests each were given their own special paint sets packaged in handmade bags created by Lorena of BellisimaSofia on Etsy.

VENDOR LOVE
Photography: Renee Marie Photography
Favor Bags: BellisimaSofia

pucker up

I was driving home the other day and saw sweet young girls selling lemonade on the corner. It brought me back to my childhood when my sisters and I would set-up a makeshift lemonade stand in front of our house in hopes cars would stop and we could add $10 to our piggy banks. For me, lemonade stands represent happiness, youth, optimism and summertime.

Take time to make yourself a glass of lemonade today…or stop by your corner lemonade stand and reminisce on your childhood summers.

Vintage Lemonade Stand by Reverie and photography by Work of Heart Photography

Lil Luna Yellow Vintage Lemonade Stand
{full DIY tutorial by Lil Luna found here}

Even weddings are not excluded from lemonade stands…how adorable is this wood lemonade stand featured on Wedding Chicks

We LOVE wine barrels {and have some serious wine barrel love when we feature Jodi’s wedding}, so we swooned when we saw a lemonade stand made with wine barrels on Ruffled Blog

So, now that you have lemonade stand inspiration and a DIY tutorial, you might as well spread the lemonade love and throw a lemonade themed party…here are some party tips for you.

DRINK
Obviously, I would serve lemonade…both pink and regular. Make both and serve in a large pitcher like this one from Pottery Barn.
Next to the pitcher, line up mason jars set with pink and yellow striped paper party straws.
For the adults, serve their mason jars with lemonade cocktails spiked with vodka

DÉCOR
Lemons in containers of all kinds – glass jars, hurricanes and galvanized buckets.
A lemonade burlap banner
Glass jars or mason jars filled with change and labeled with a vintage .25 cents sign
Lemons hanging from the ceiling or trees outside; hung with yellow and white twine, of course.
Lemonade and Vodka framed sign on the bar for adults
Single bud vases with a pink peony or yellow daisy, or canned good cans wrapped in a festive yellow and white or yellow and pink decorative paper and ribbon filled with a single {or several} flower buds.
Pink and yellow pinwheels
Signs bought at etsy or diy on wood like Poppies at Play

DESSERT
Lemon, blueberry yogurt loaf by sweet pea’s kitchen {this is yummy, I’ve made it}
Pink lemonade cupcakes using this recipe by real mom kitchen
Pink and yellow striped lemonade flavored hard candy sticks

FOOD
Picnic style food served in individual packages

FAVORS
Mason jar filled with ingredients for lemonade or lemonade cookies
Bottles filled with pink lemonade and a custom label from I Do It Yourself on Etsy
For the adults, make a lemon gift bag with a recipe and ingredients for a lemon, lavender martini like these from A Subtle Revelry

And, last but not least, you can’t have a party without the perfect invite. So, Jenna at Fleur de Lis, a paperie, has created this adorable invite for you. Click here to order from our etsy shop for $15.

 {images via Reverie photographed by Work of Heart Photography, Lil Luna photographed by Jacquilyn Avery Photography, Wedding Chicks, Ruffled Blog and Tutto Bella}