This Valentine’s Day party is simple, and a bright dose of yellow sunshine in the middle of a snowy, cold winter. It’s just what we needed, and it’s just what our kids needed to celebrate love this Valentine’s Day. Love comes in all shapes and forms, and we try to teach and show them what love means everyday. Love for themselves and love for others.
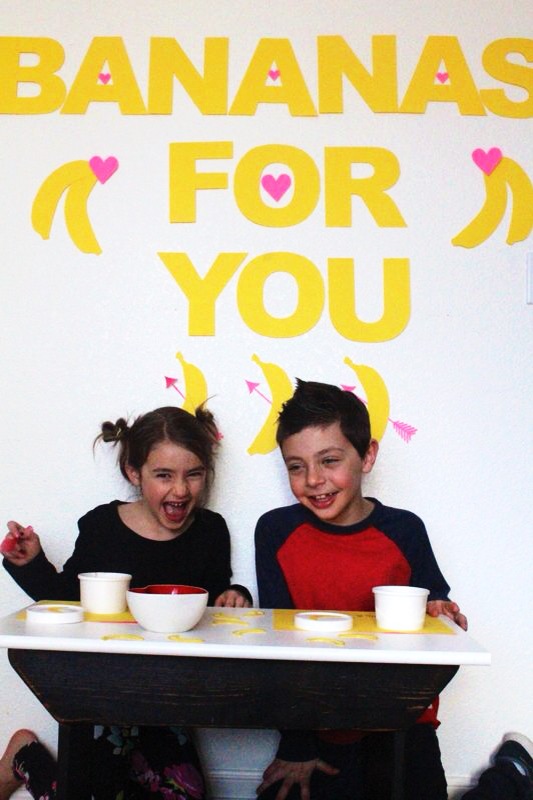
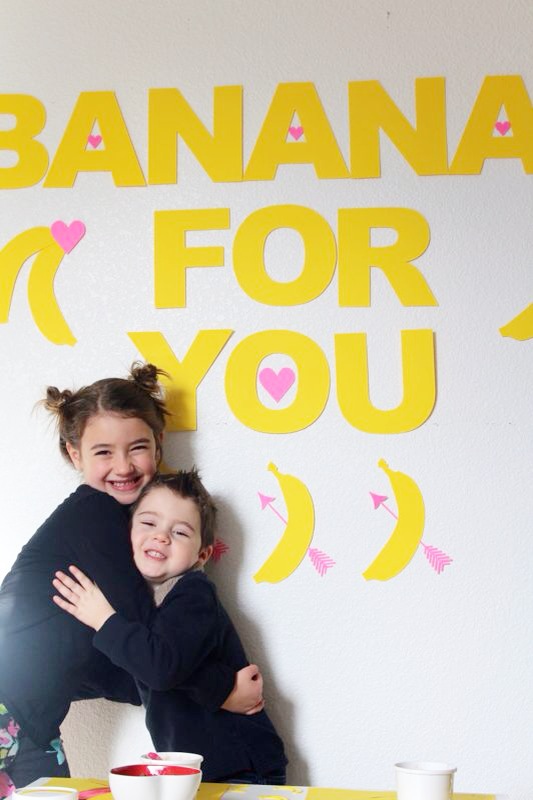
As you know, it’s wonderful when the sibling bickering subsides and they can hug, kiss and play with one another. We captured it on camera, so next time they are fighting, we can remind them how much they love each other.
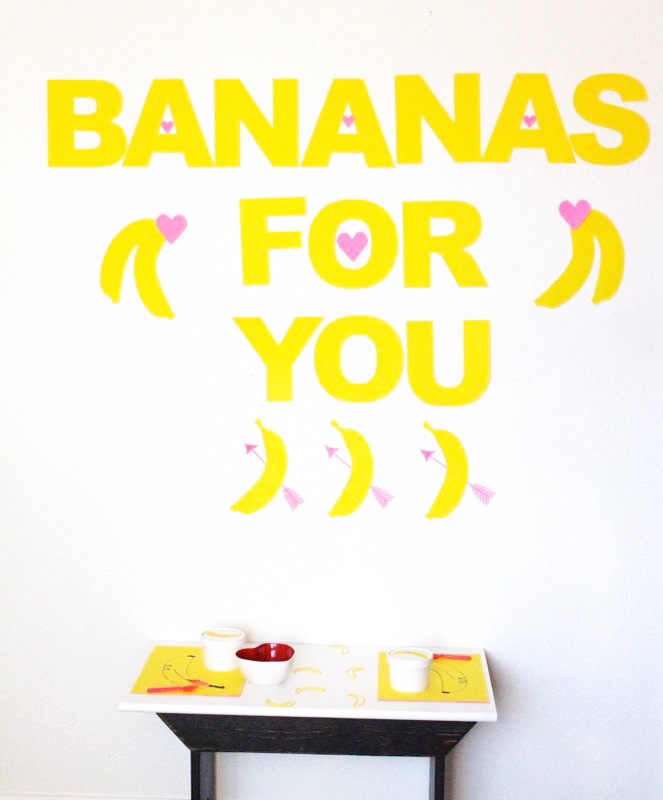
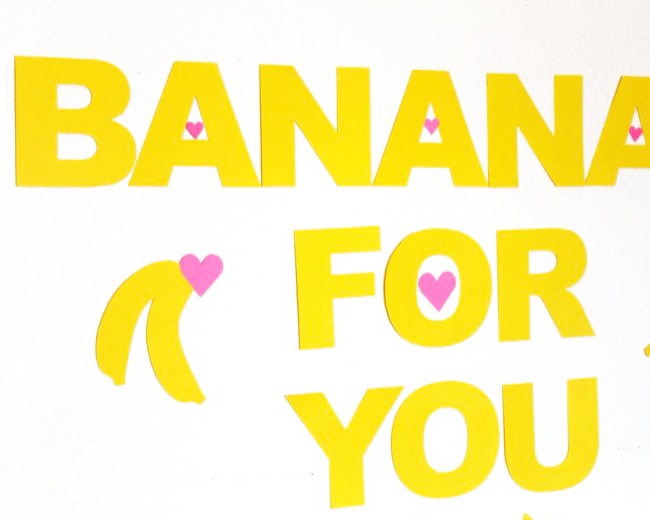
Banana’s For You stemmed from a recent find similar to those Silly Bandz we were obsessed with in 2010. The tiny banana bracelets are going to be our kids Valentine’s this year, but we wanted to have a little extra fun at home, too. It was an everything banana party, including the color yellow, banana ice cream, banana cut-out details, and banana bracelets.
Materials:
- Astrobrights Paper, yellow and pink
- yellow washi tape
- Mustard Smoothie Bands, banana
- X-acto knife
- Double-sided tape
- bowls or ice cream pint containers
- Sharpie marker, black
- Silhouette America electronic cutting machine
Directions:
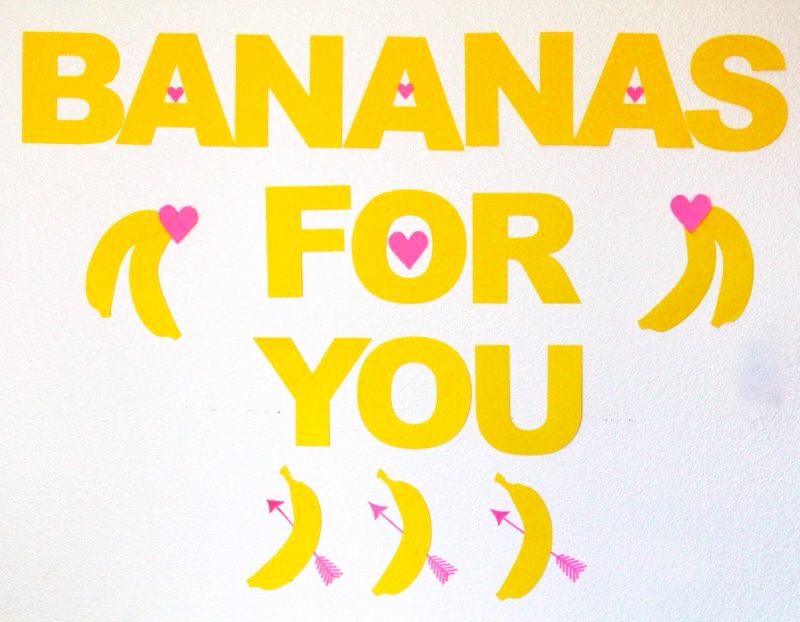
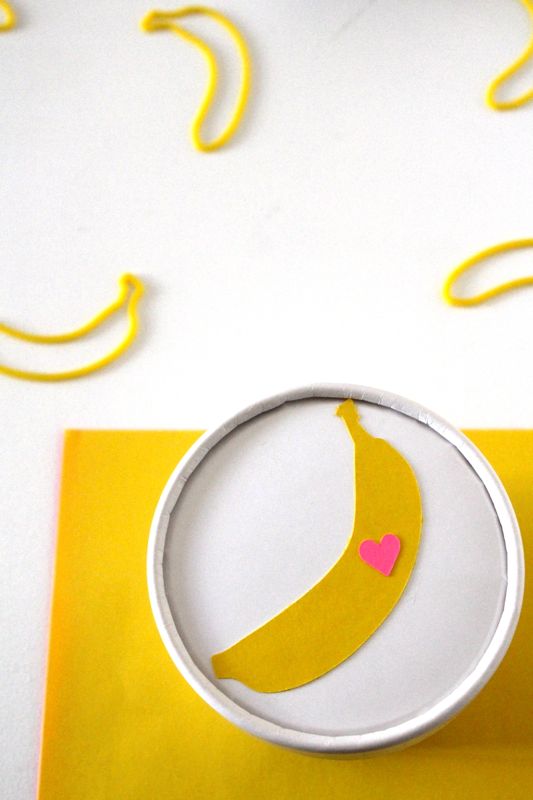
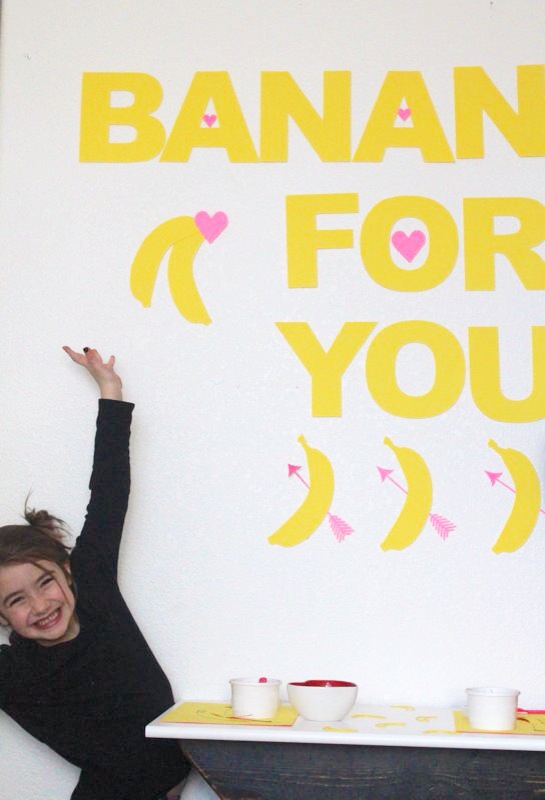
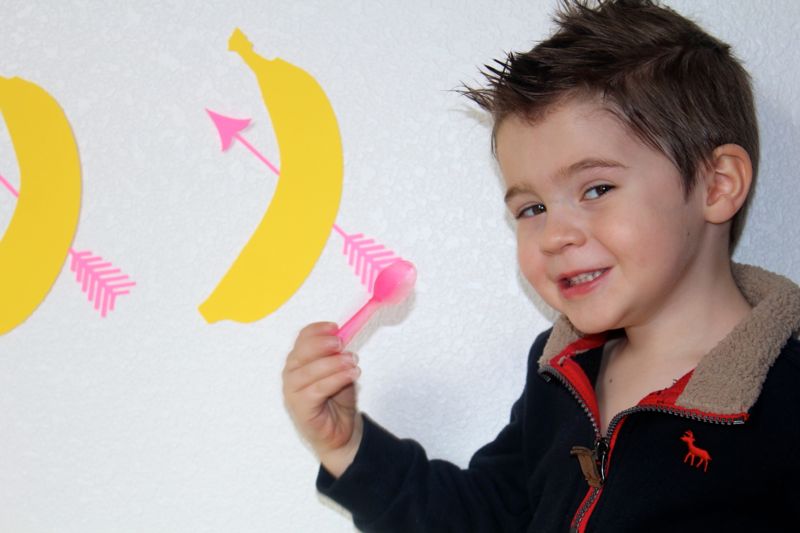
- Cut out the letters for Banana’s For You. We used our amazing Silhouette to cut out the letters, bananas, hearts and arrows.
- Find a wall and use washi tape to hang the letter and bananas.
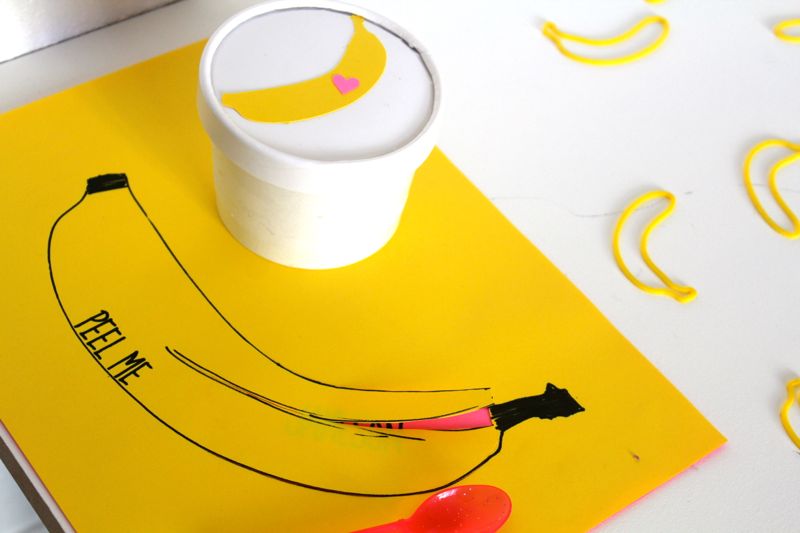
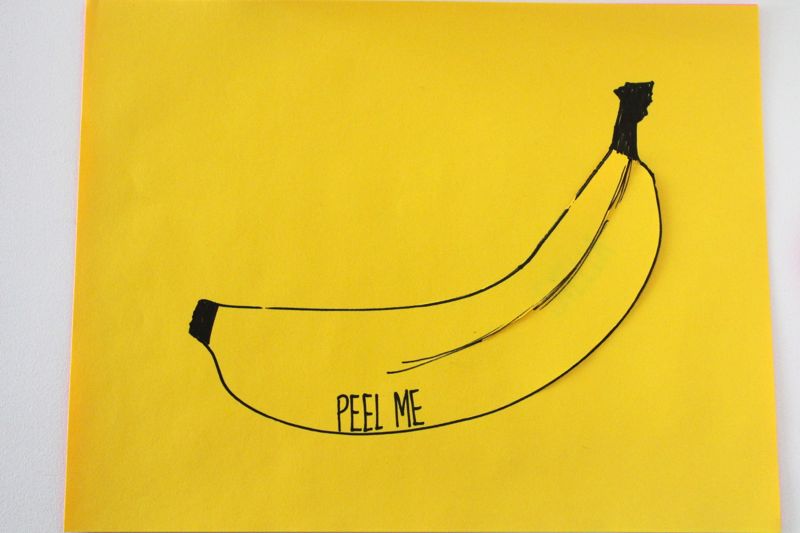
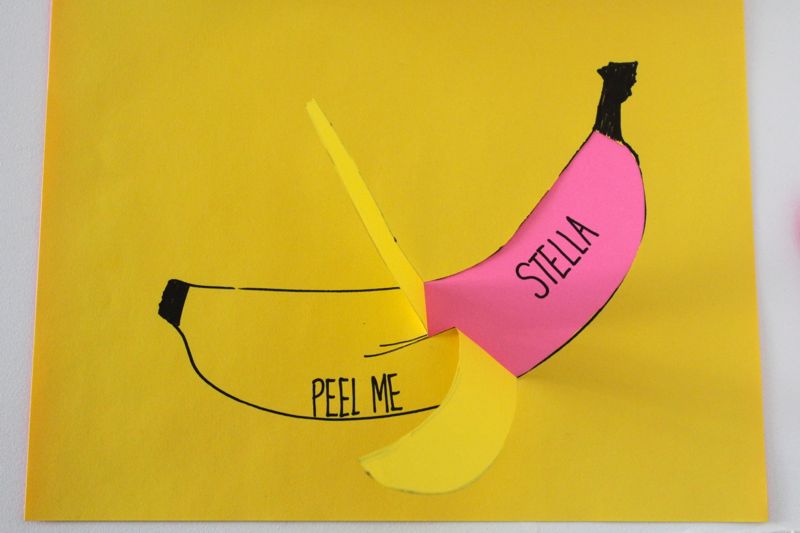
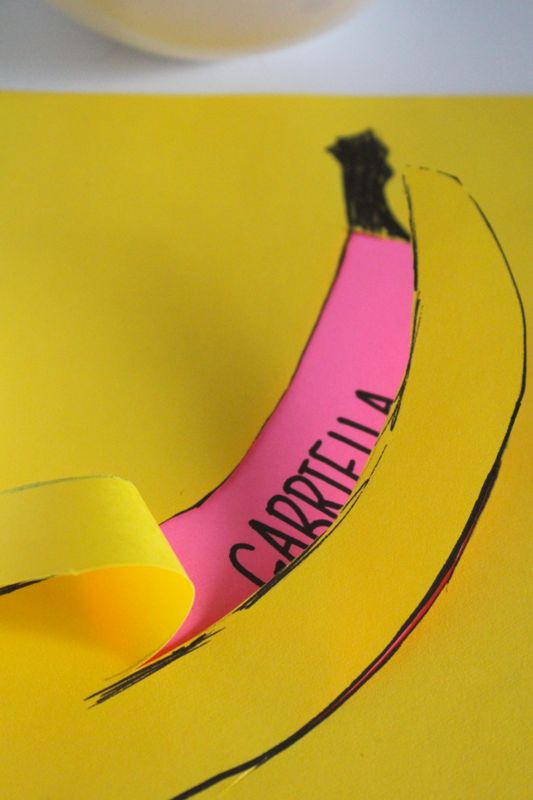
- For the placemats, trace a banana on yellow paper with a black sharpie. Fill in the ends and lines in the middle with black marker. Use an X-acto knife to cut the side of the top-half of the banana and the line down the middle, half-way down. This will be the ‘peel’ effect. Place double-sided tape on all 4 corners and tape to a sheet of pink paper. Draw the name of the child on the pink paper under the banana peel, and add the words PEEL ME on top of the banana peel.
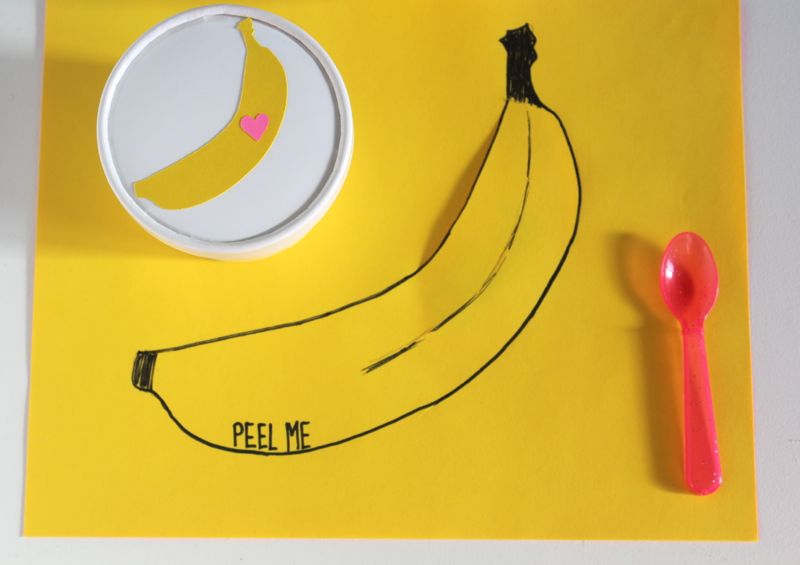
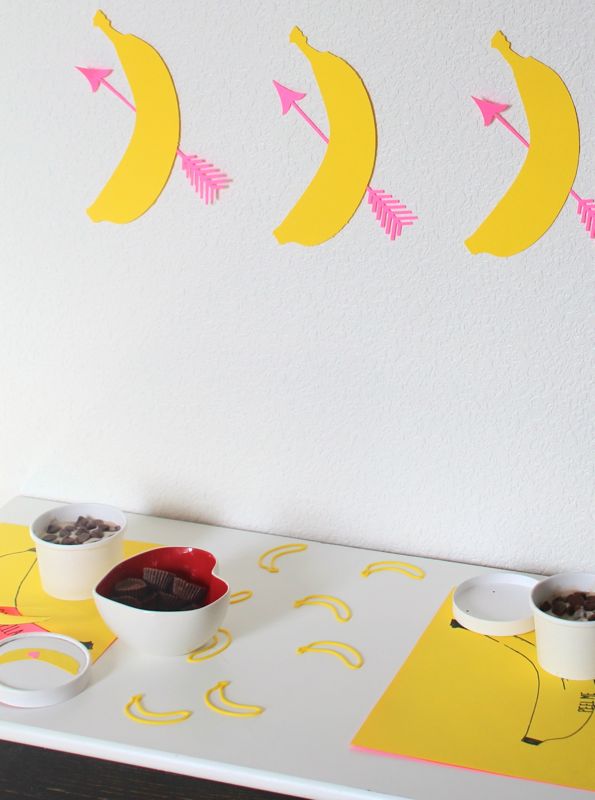
- Glue or tape the small bananas and mini hearts on the lid of the pint container.
- Make banana ice cream. Follow this recipe. It’s amazing – frozen banana’s blended in a food processor literally makes ice cream.
- Fill a bowl with yummy toppings so the kids can their chocolate fix.

- Serve and par-tay.
If you loved this, you’re going to love these IG feeds:
@astrobrights
@silhouetteamerica
@jsorelle3
@mustardgifts