Sparkle Bridal Shower and Bachelorette Party

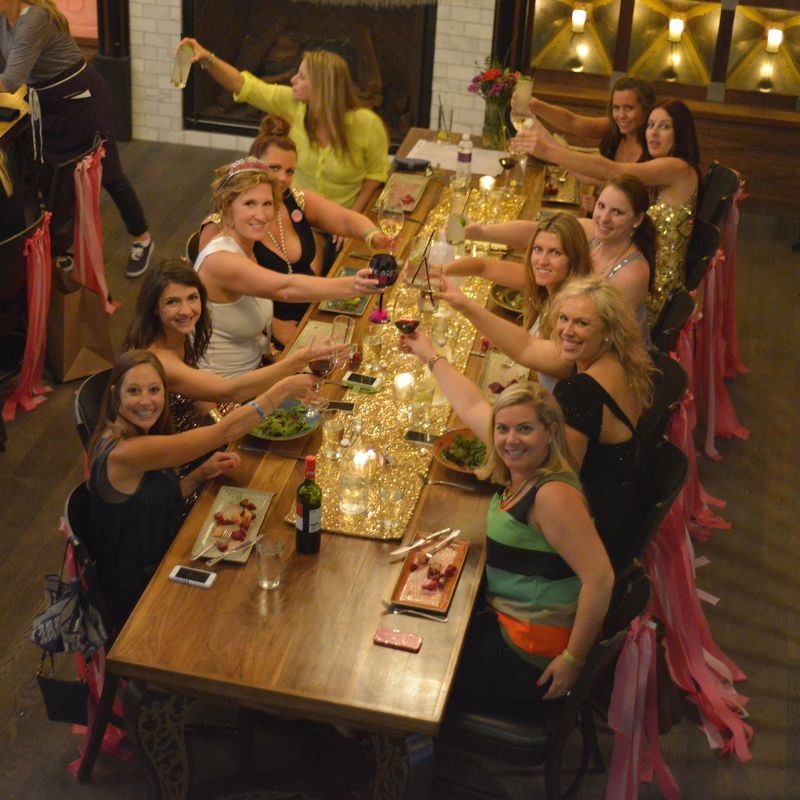
OK, so maybe I jinxed our weather by adding, “throw some glitter make it rain,” to the shower invitation {as it rained the entire evening of our festivities}, but the shower/bachelorette weekend was still a blast and time spent with the ladies was rejuvenating.

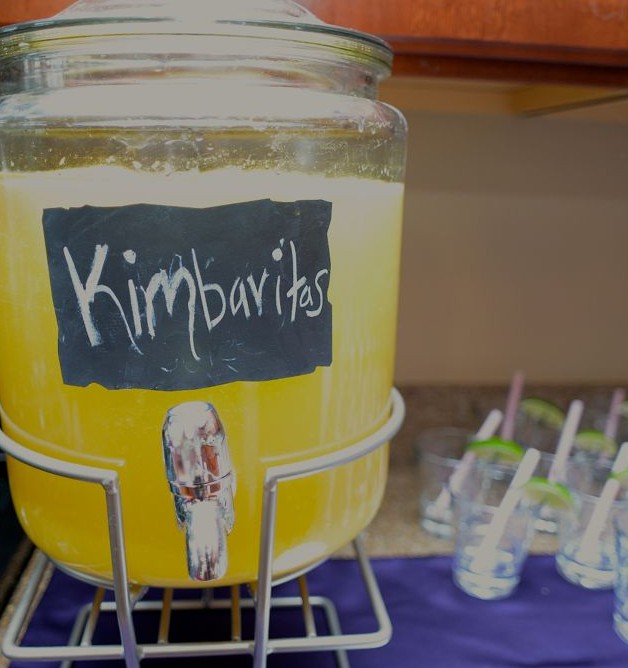
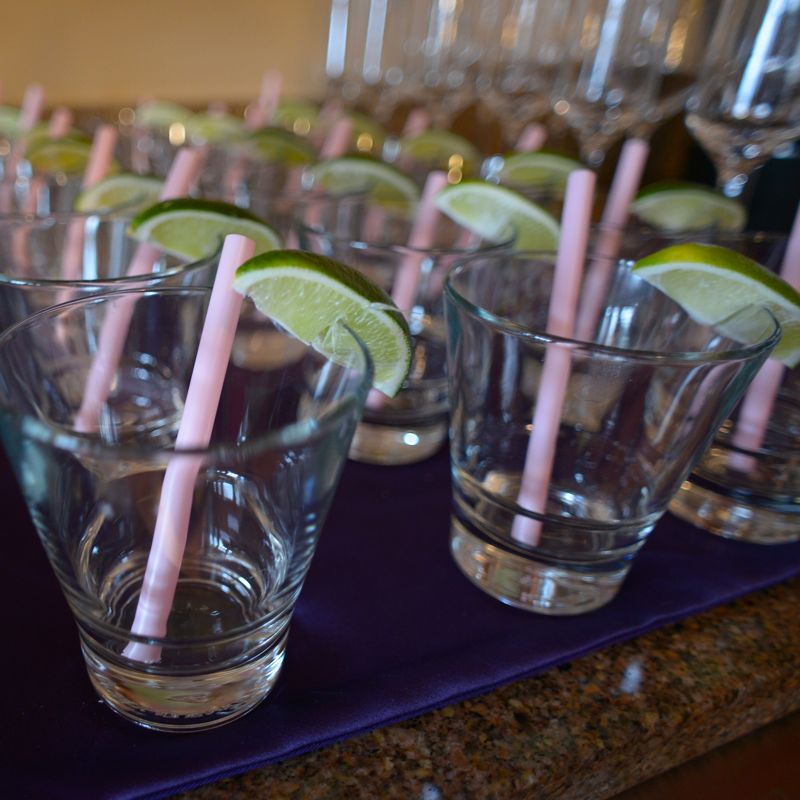
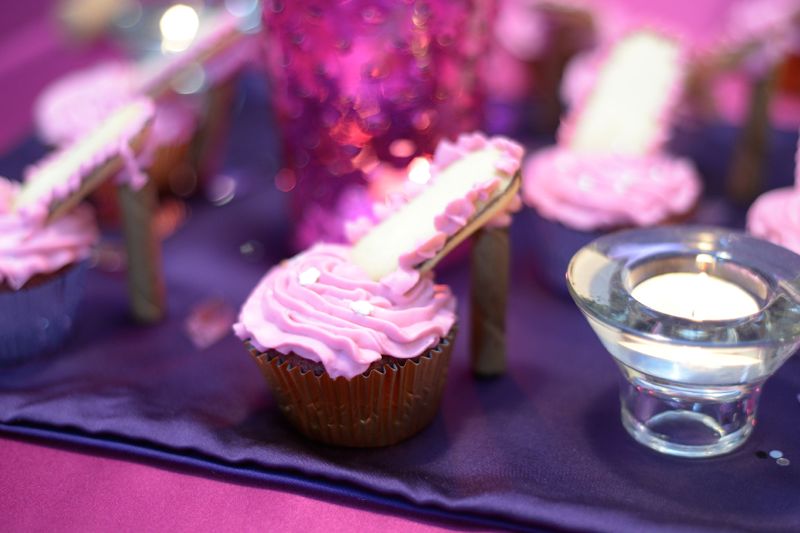
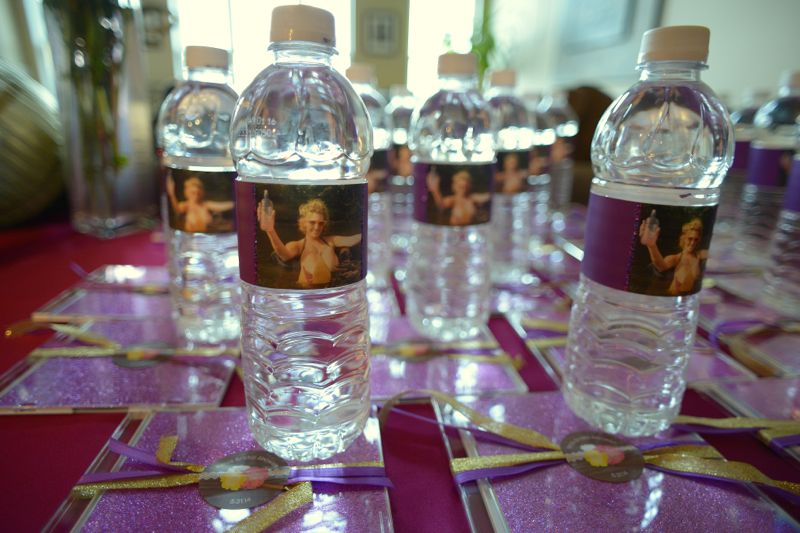
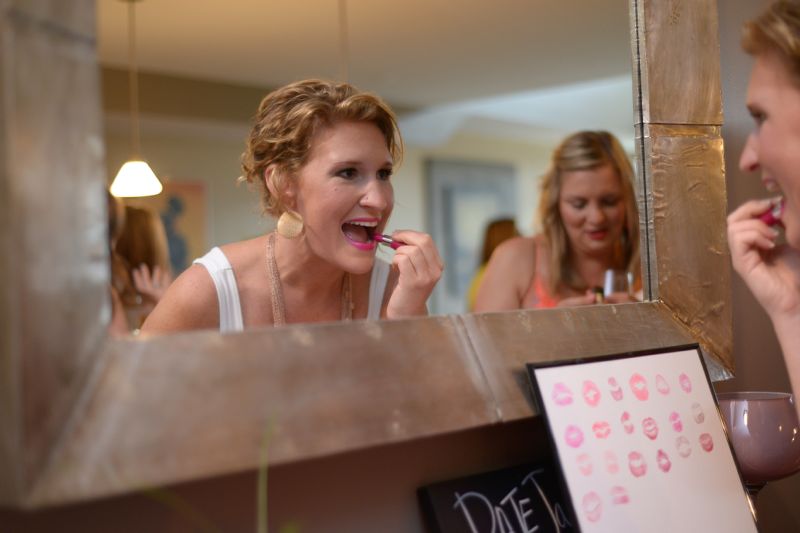
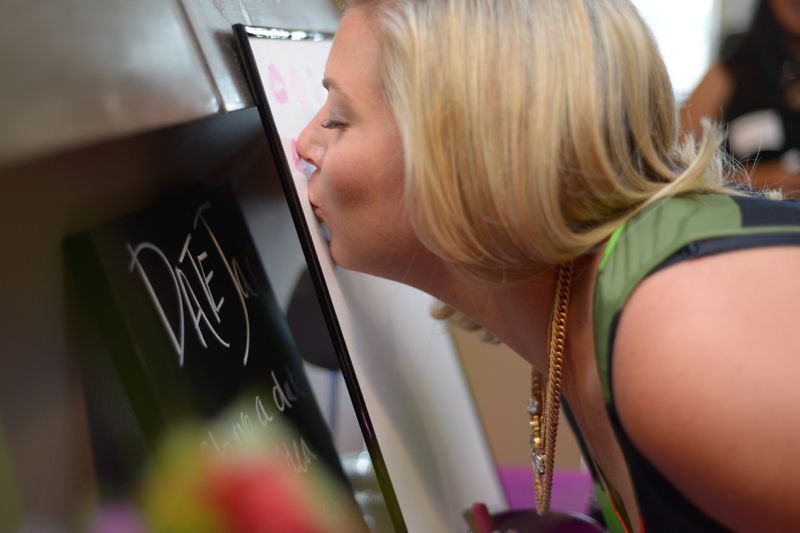
Lovely shower details included homemade Margarita’s so appropriately titled, Kimbaritas {after the bride, Kimi}, homemade appetizers, stiletto cupcakes, custom water bottles, CD favors and a kissing/lipstick activity {amongst others} that created pretty artwork for the bride to keep.

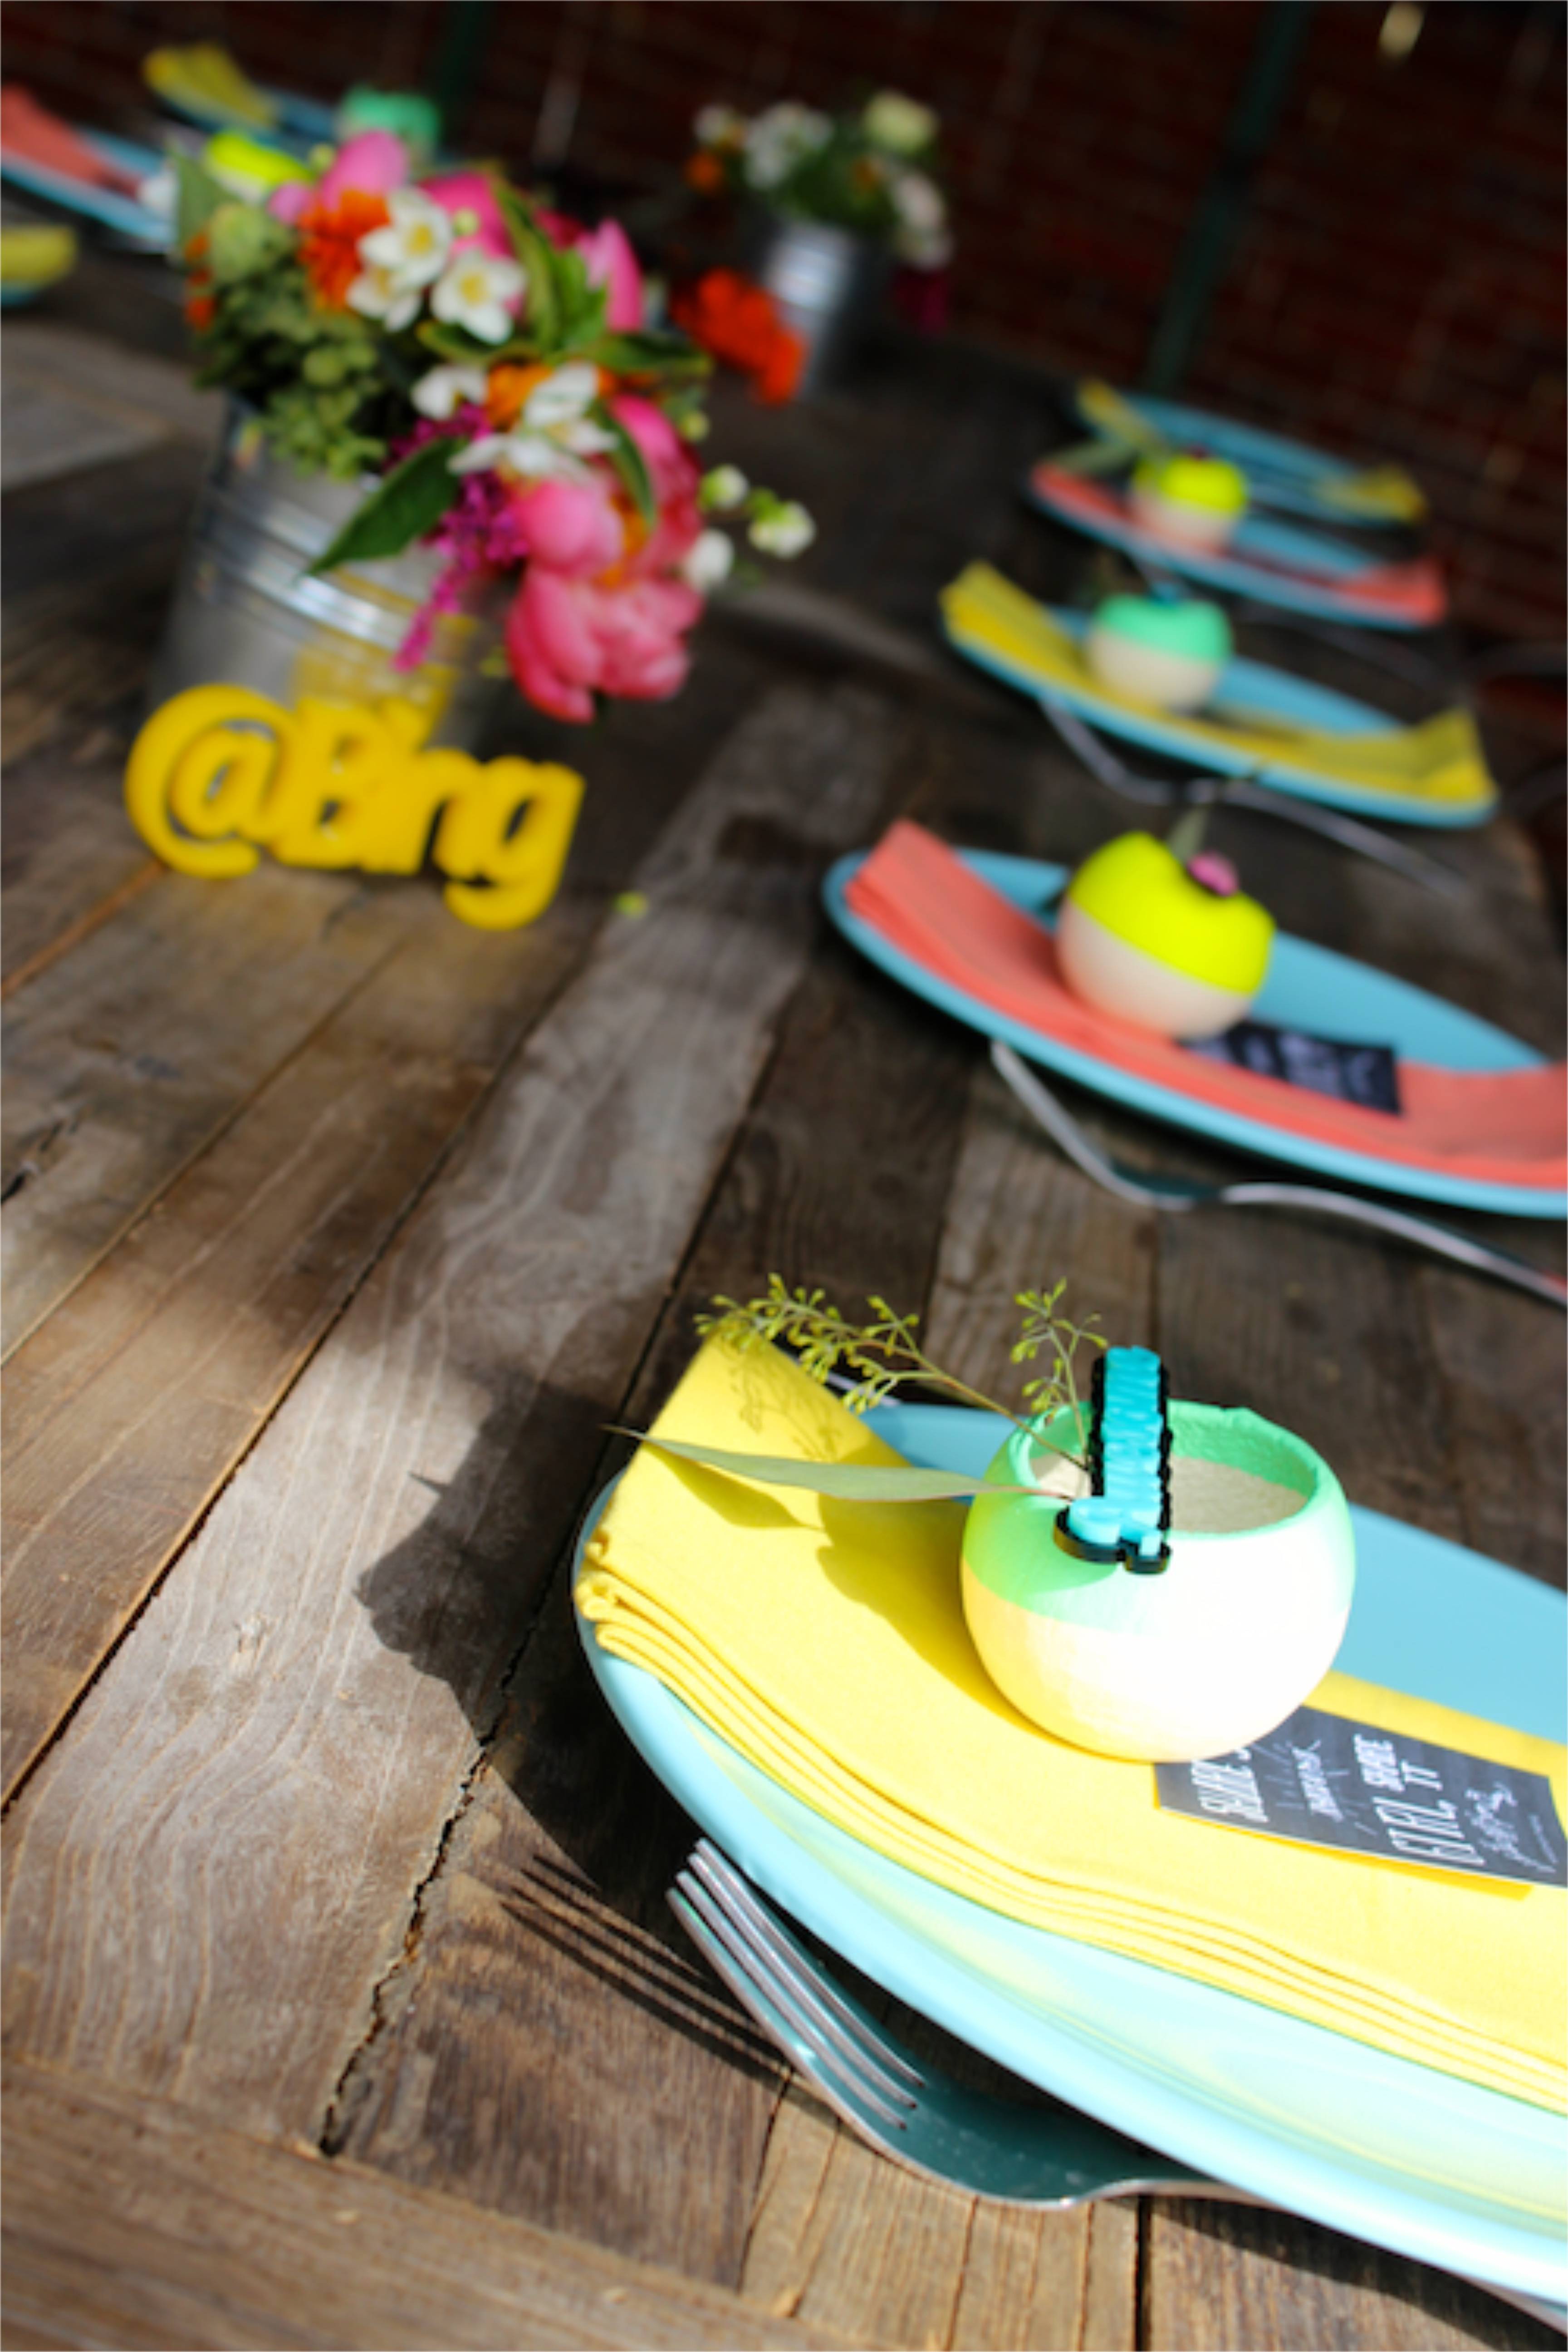
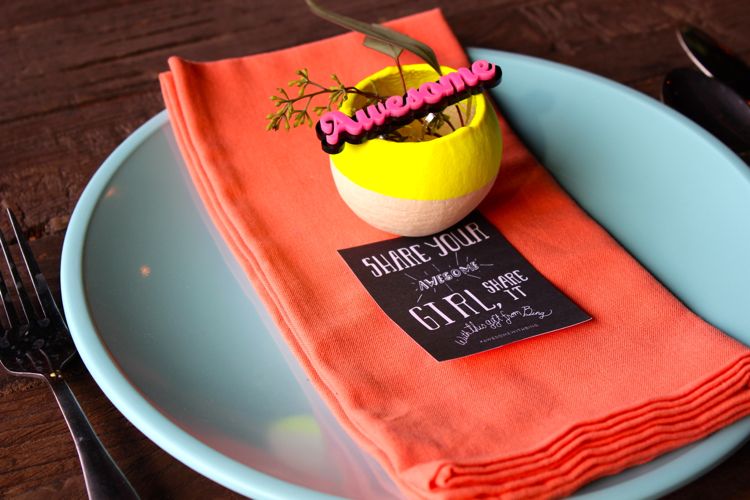
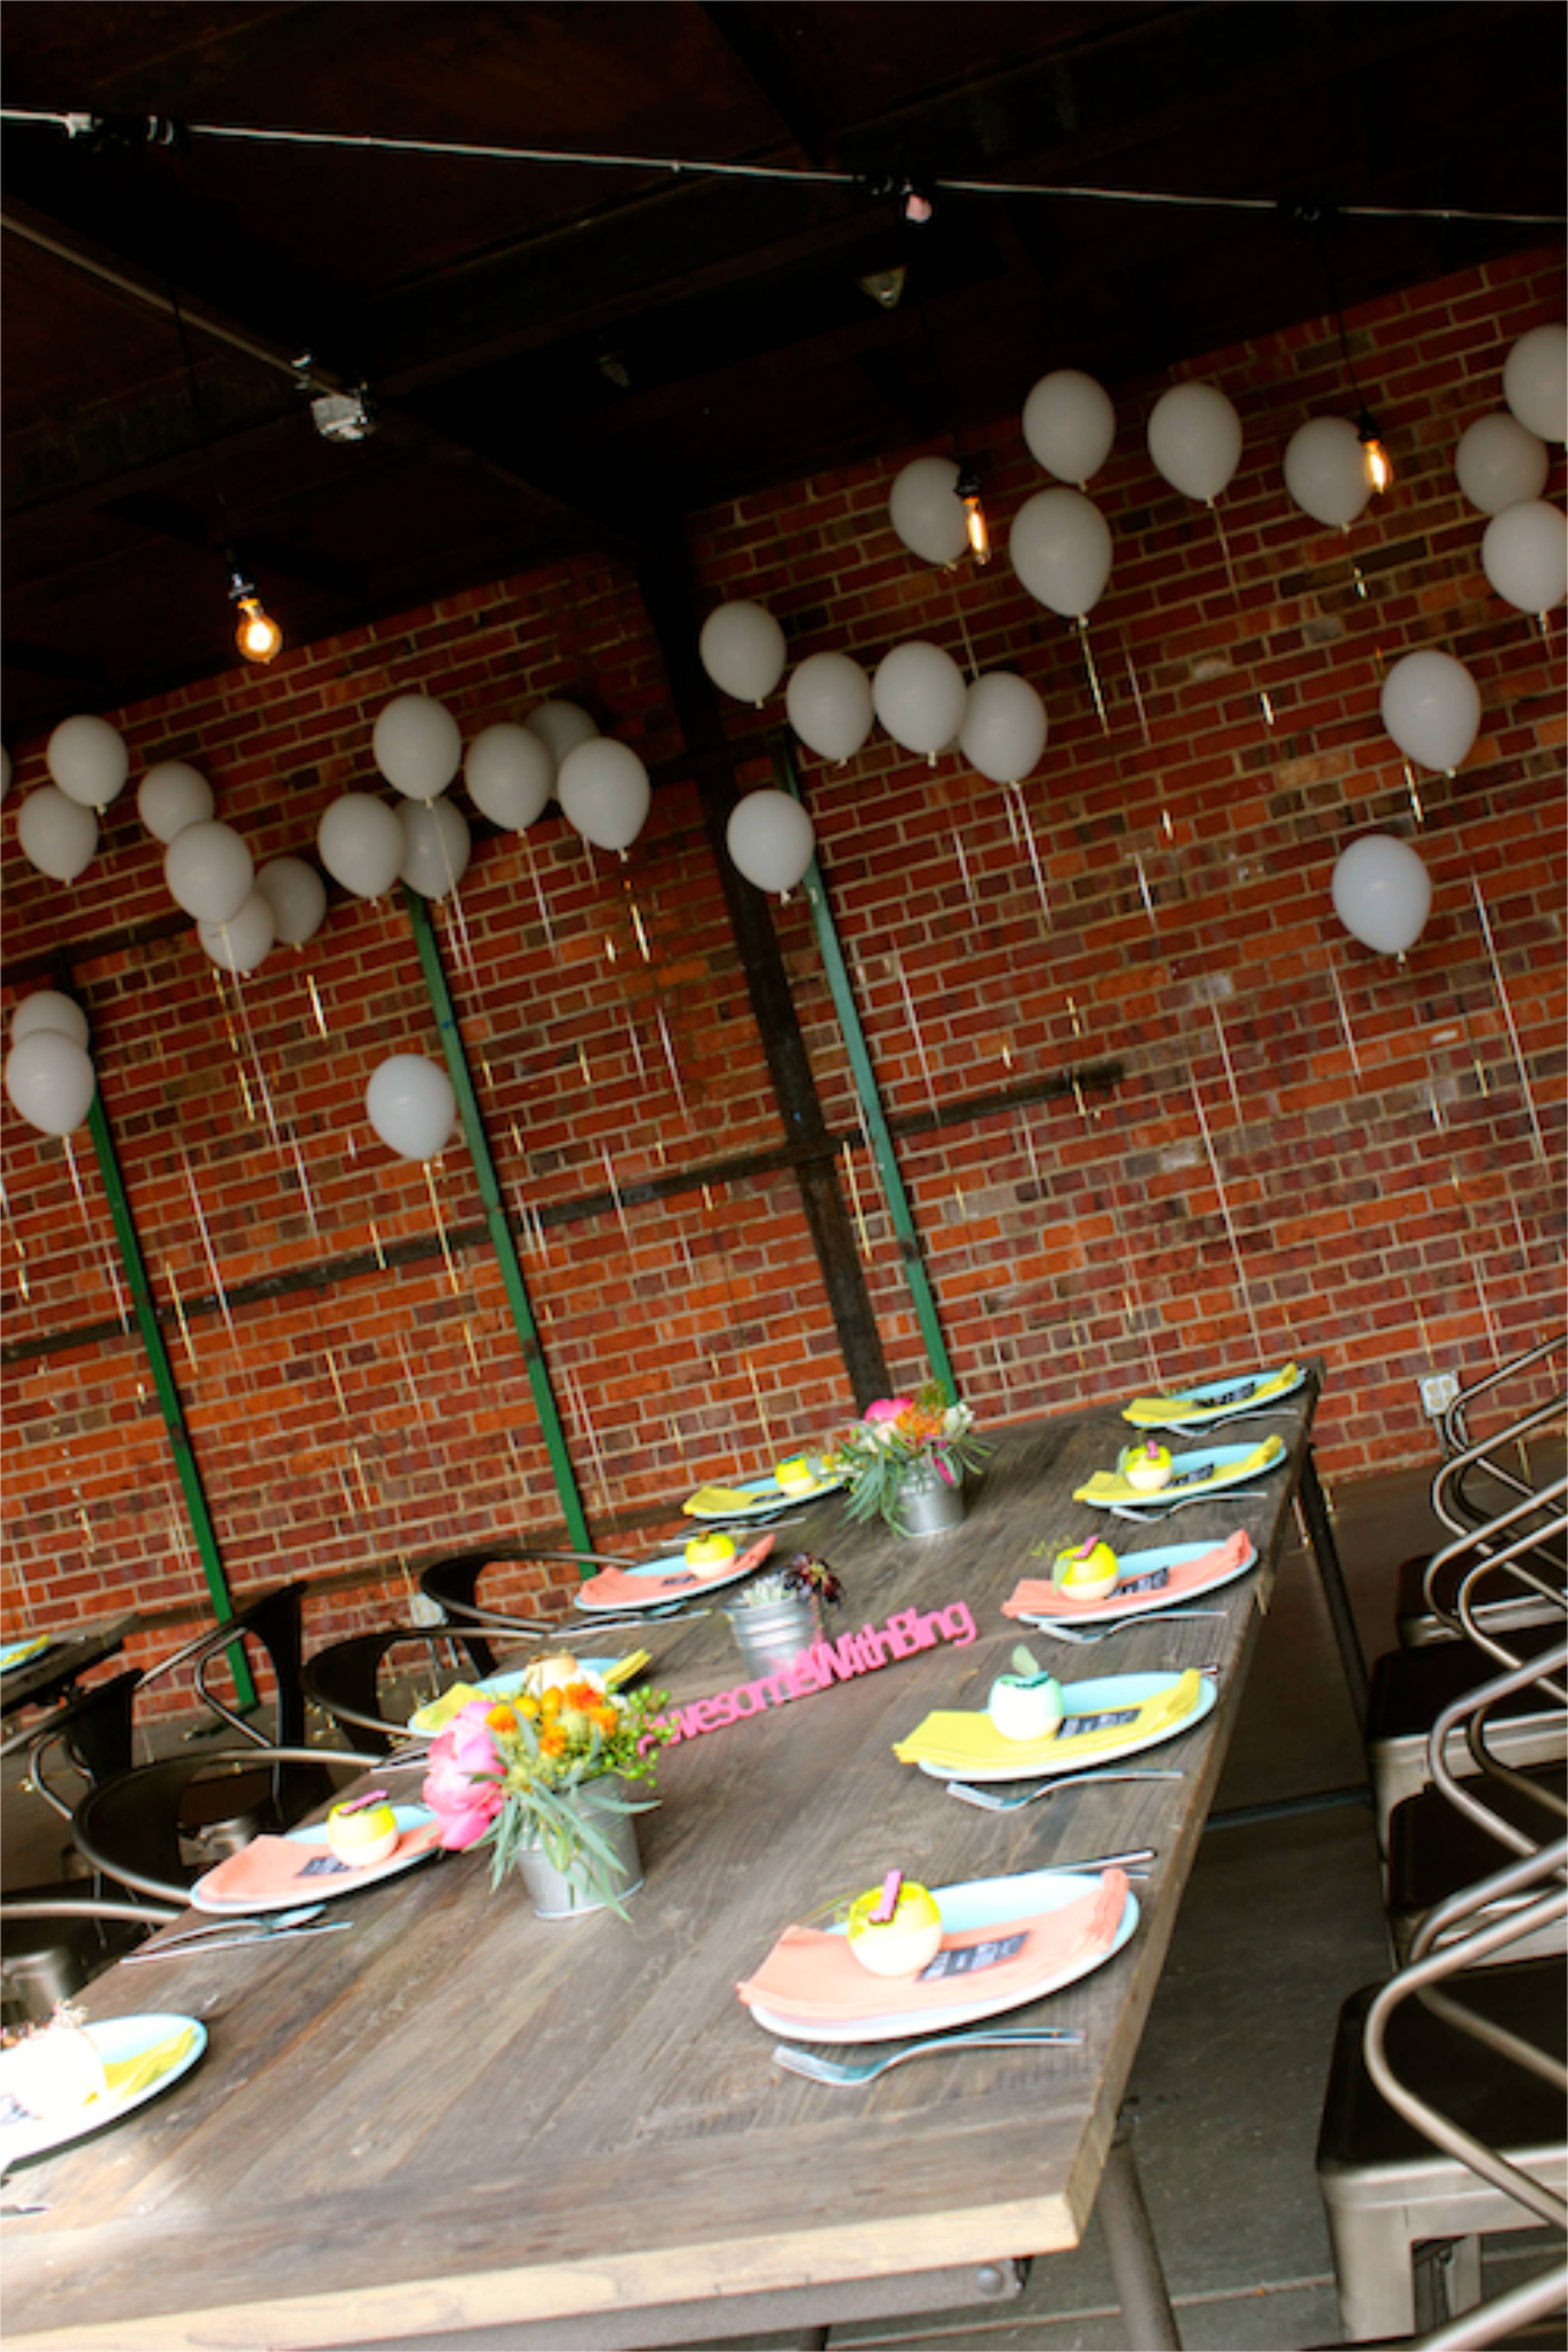
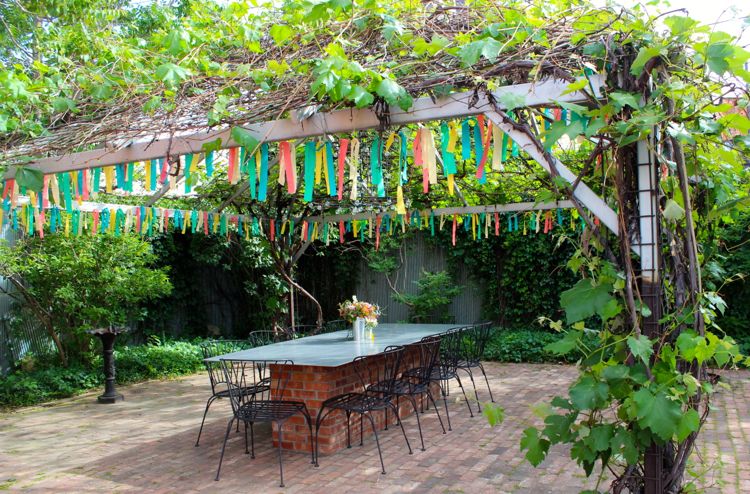
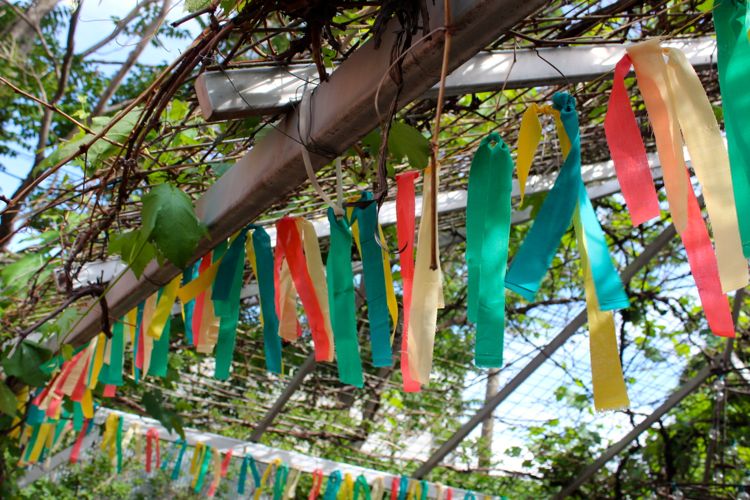
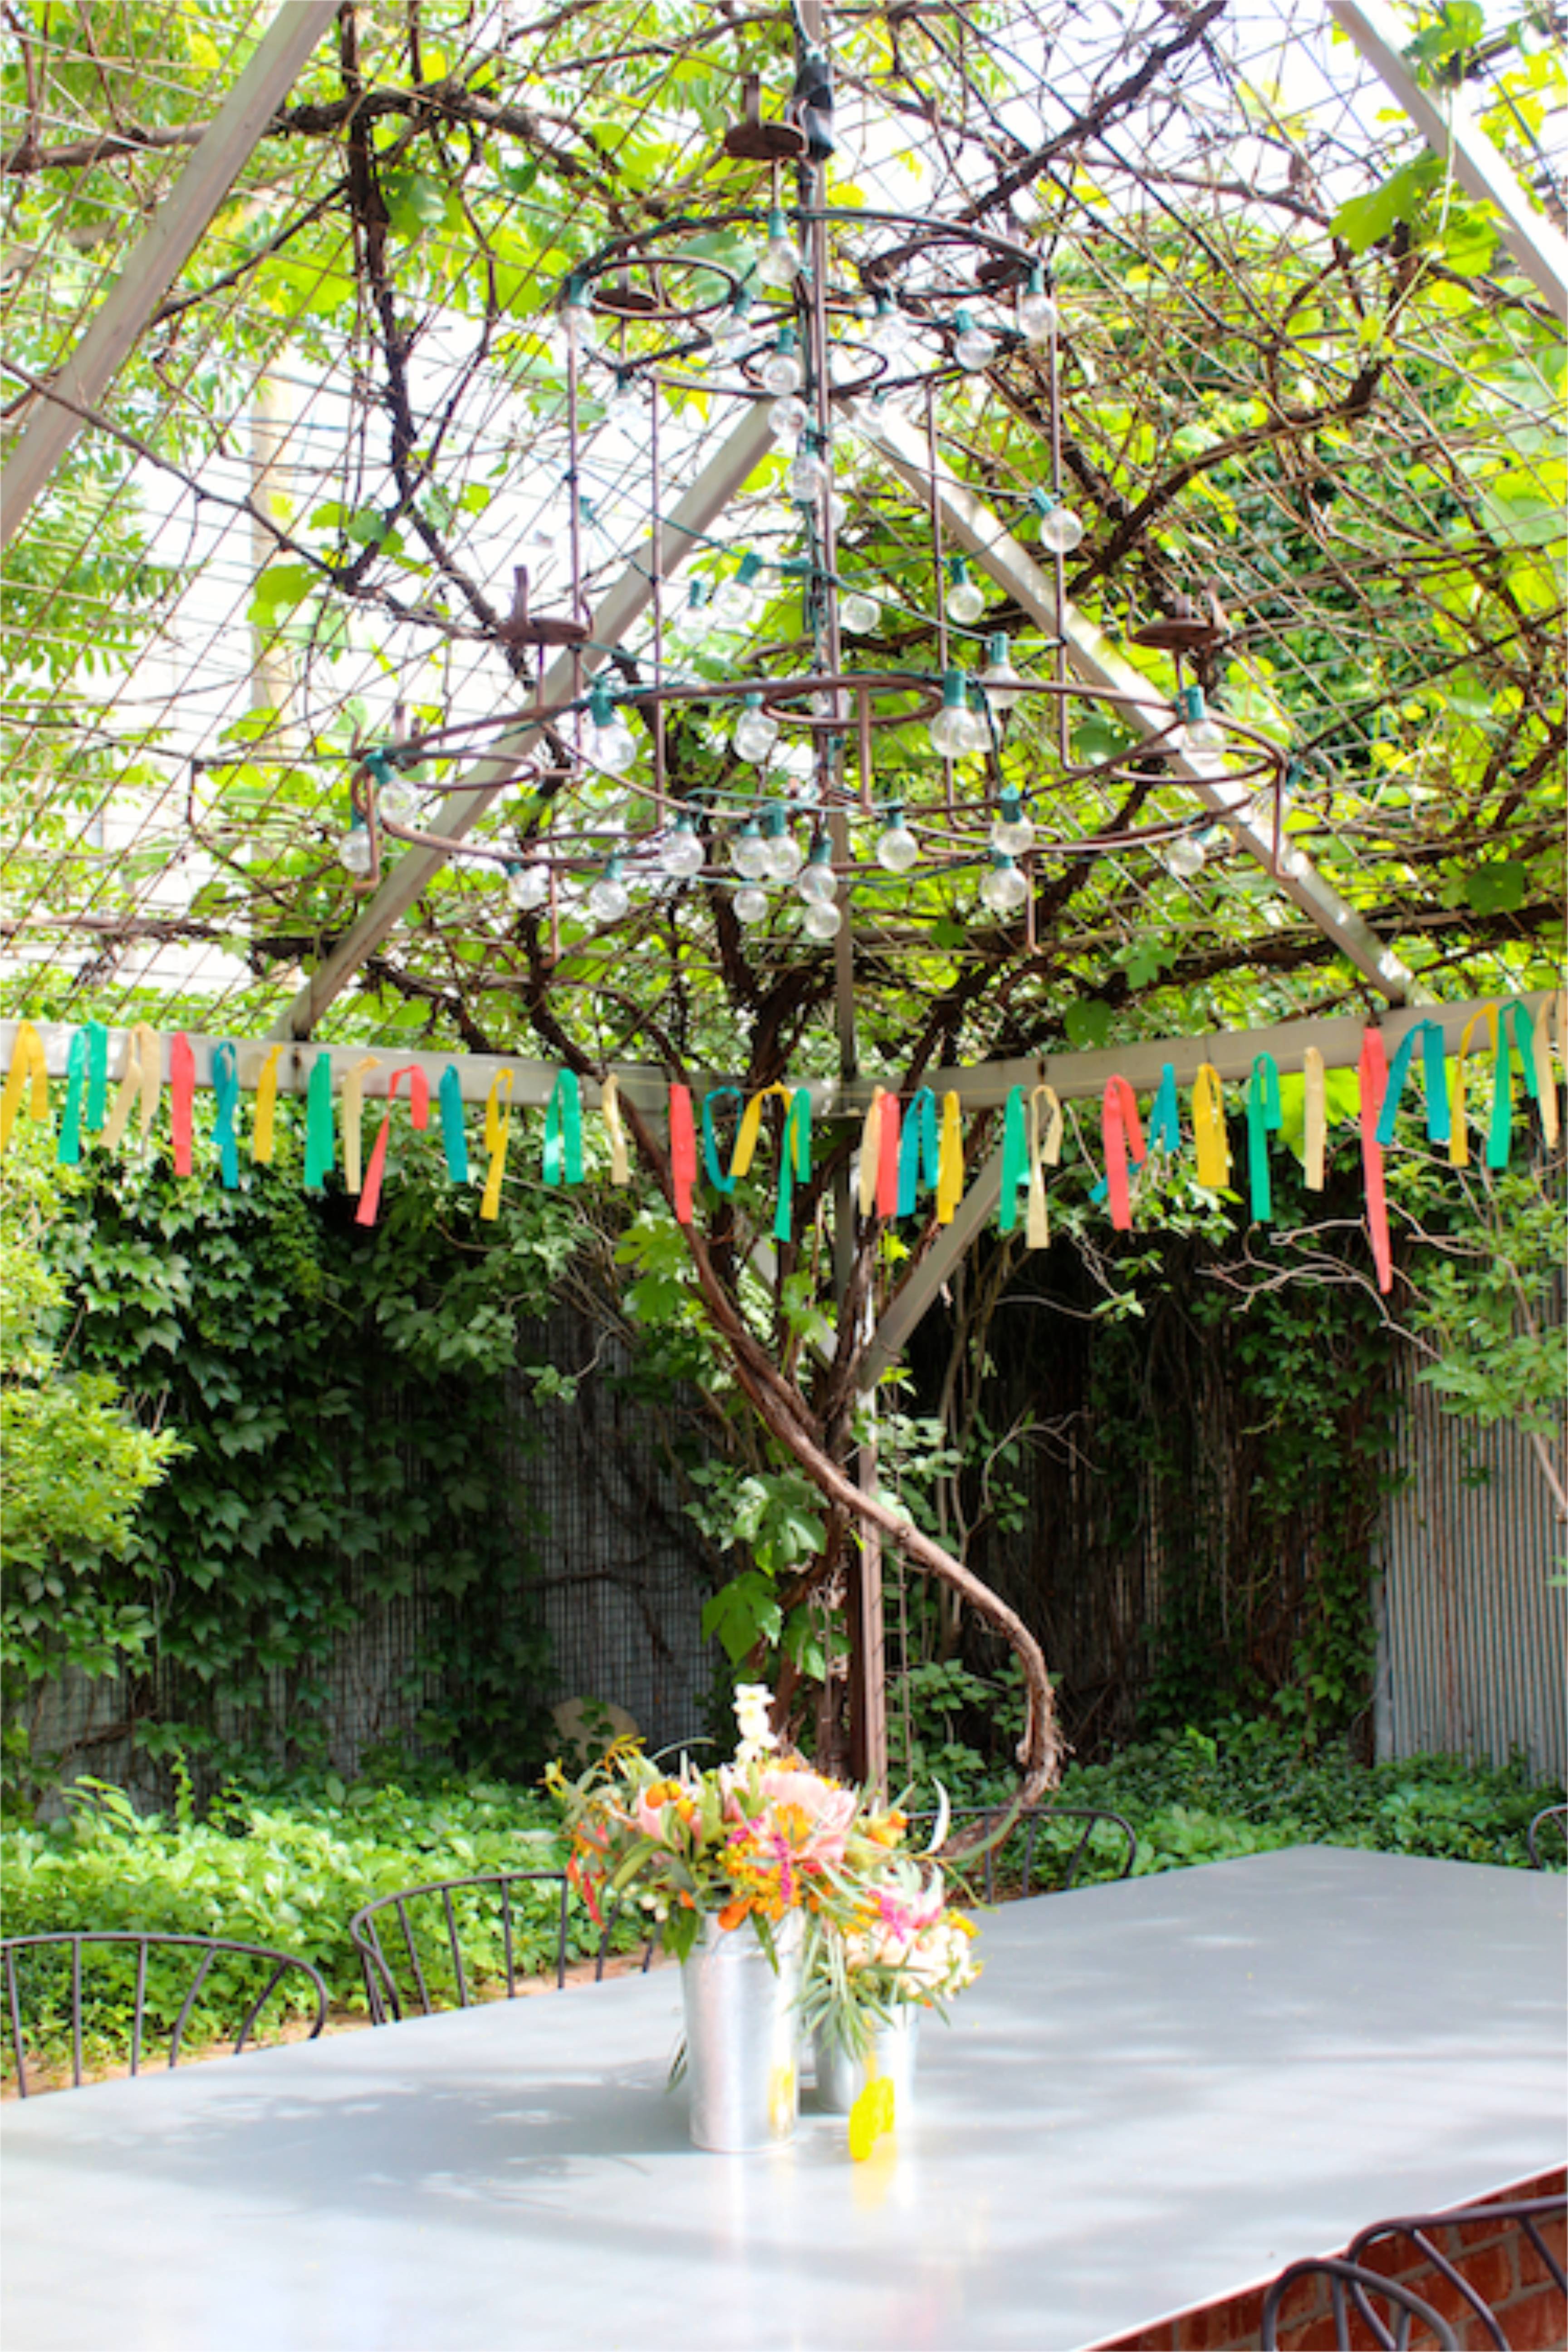
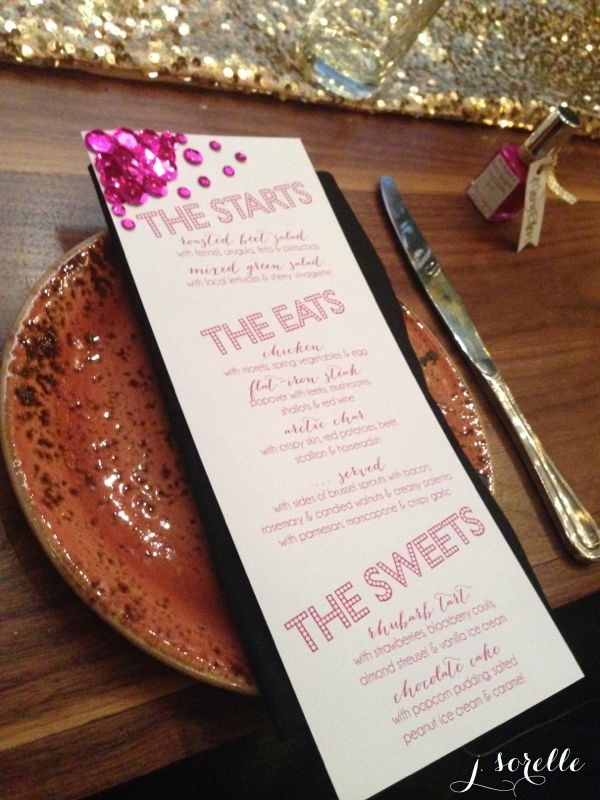
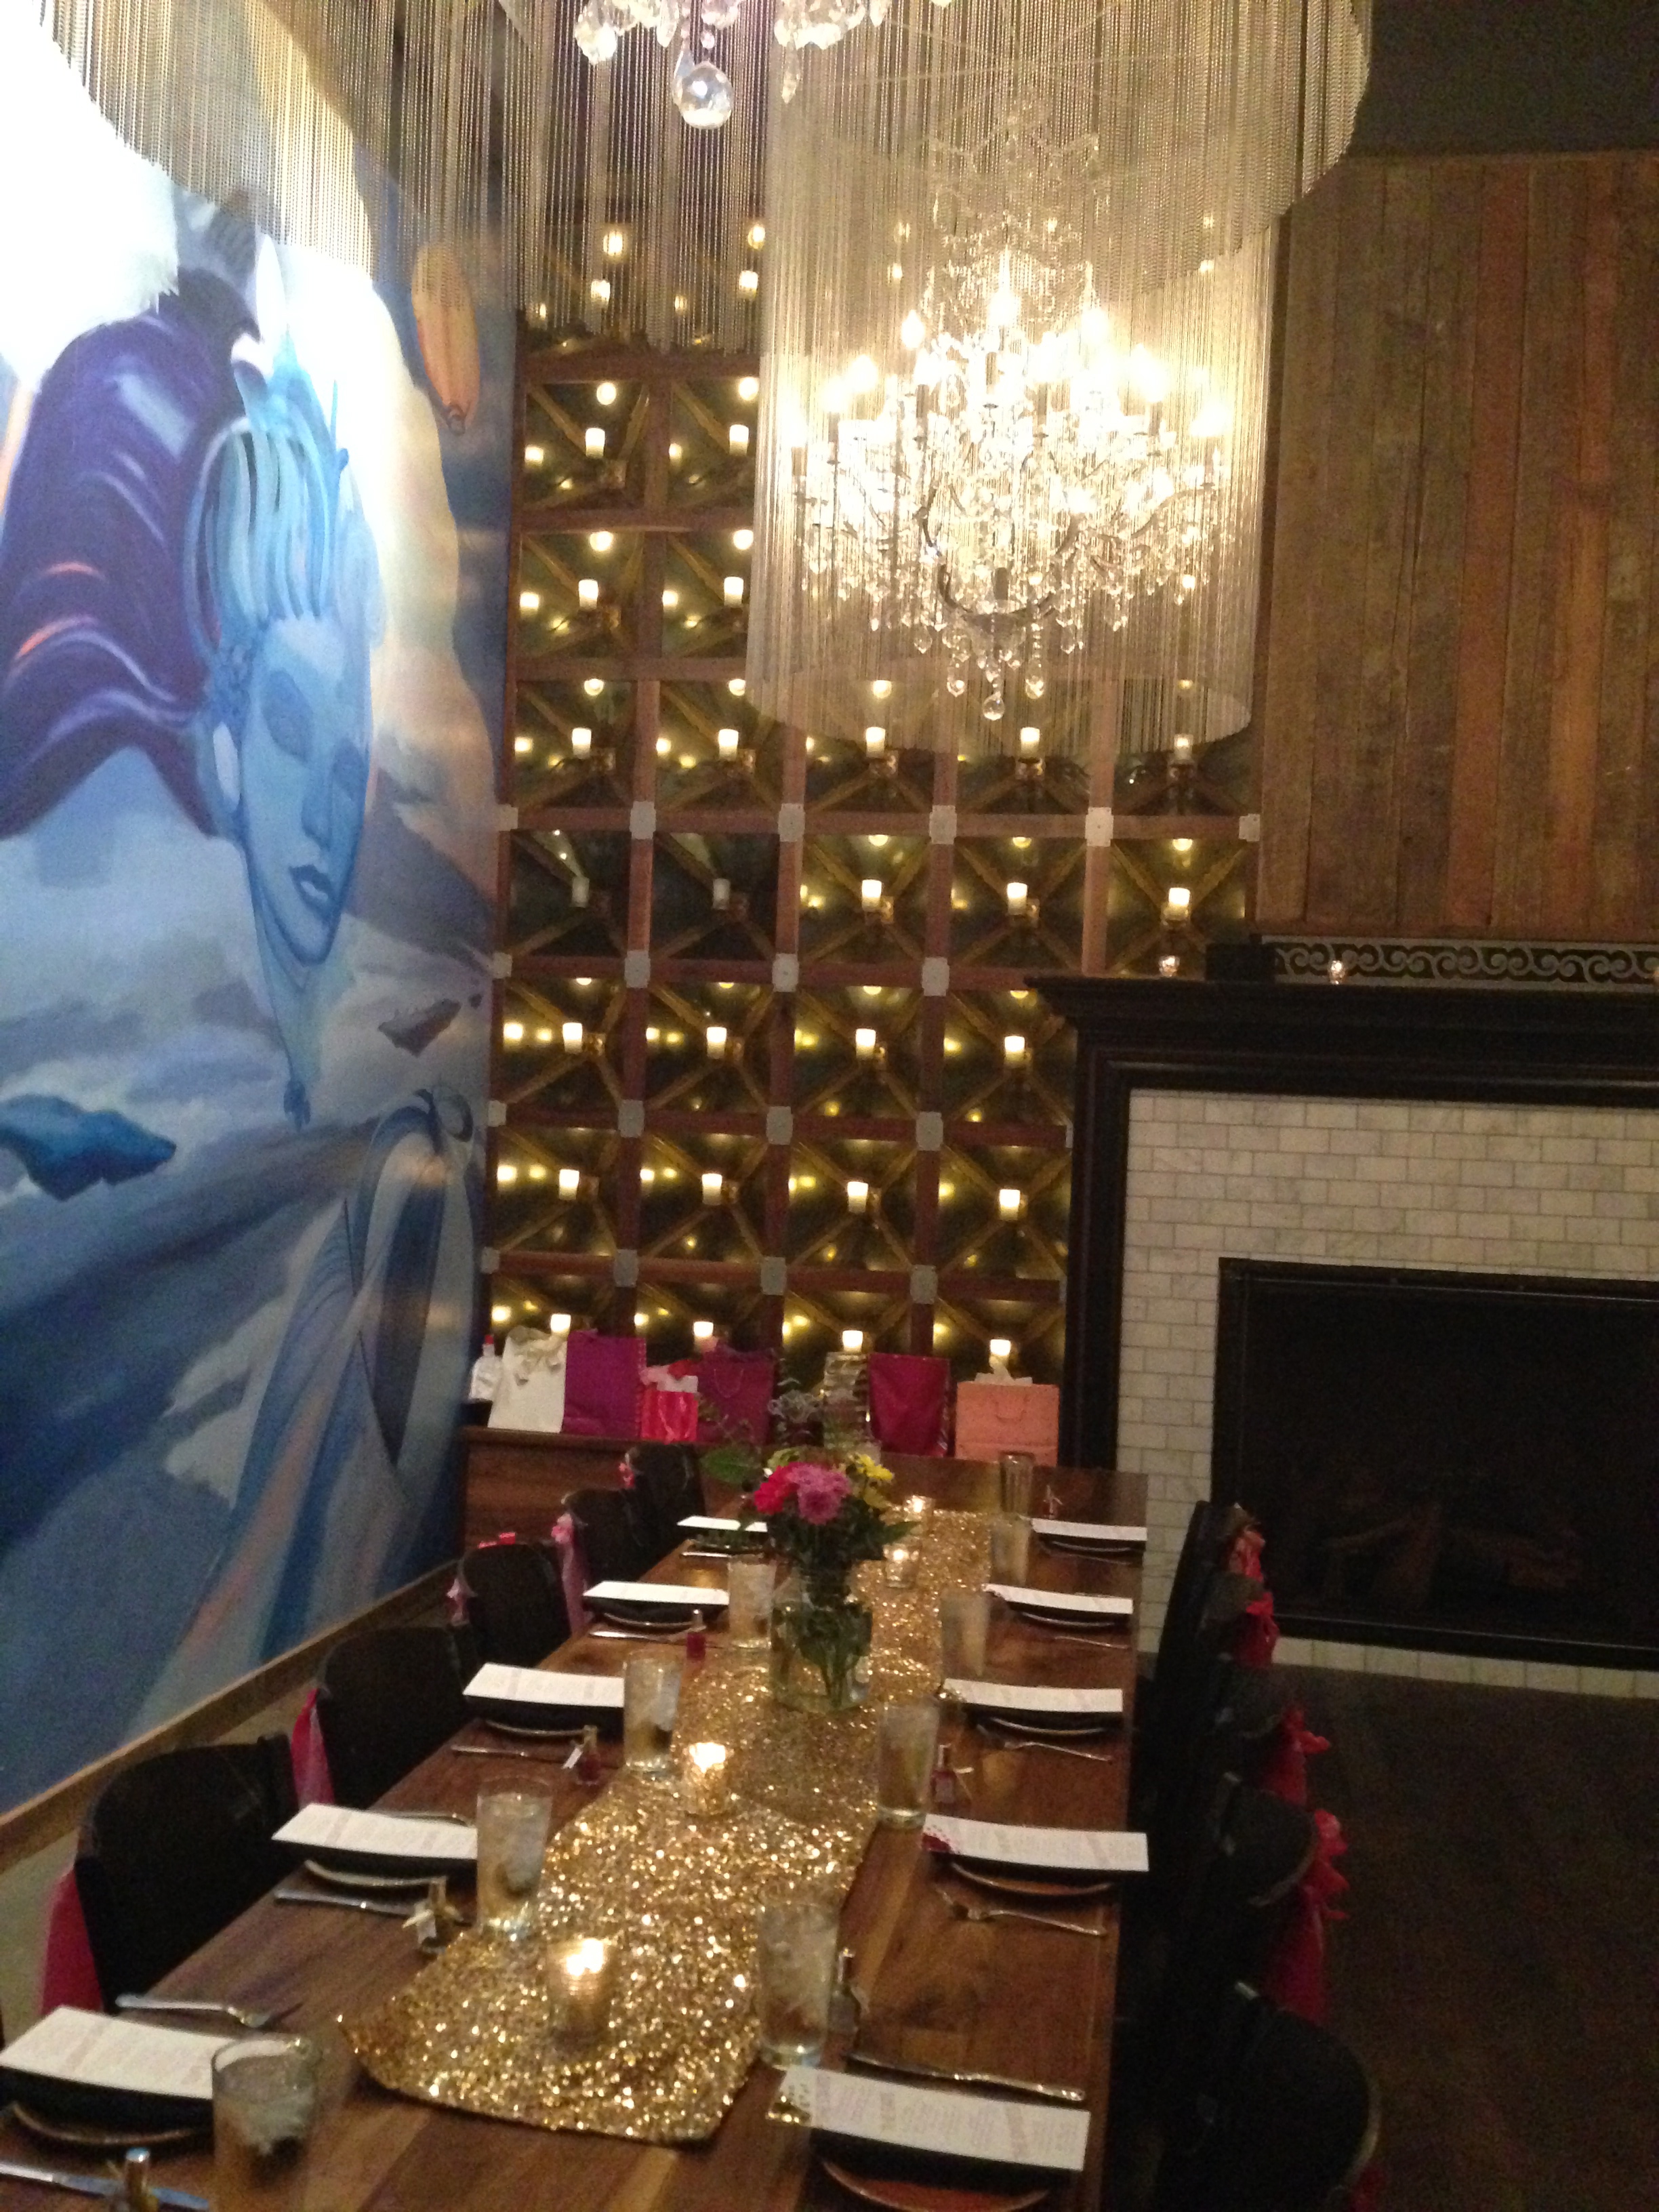
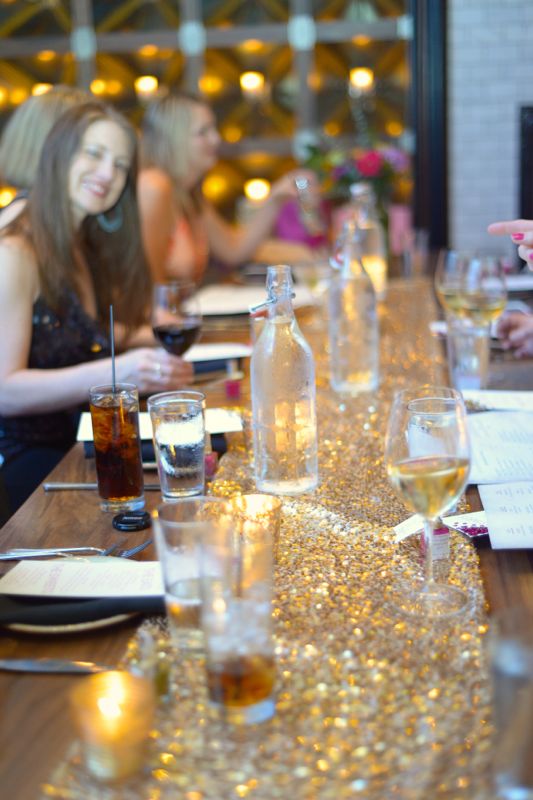
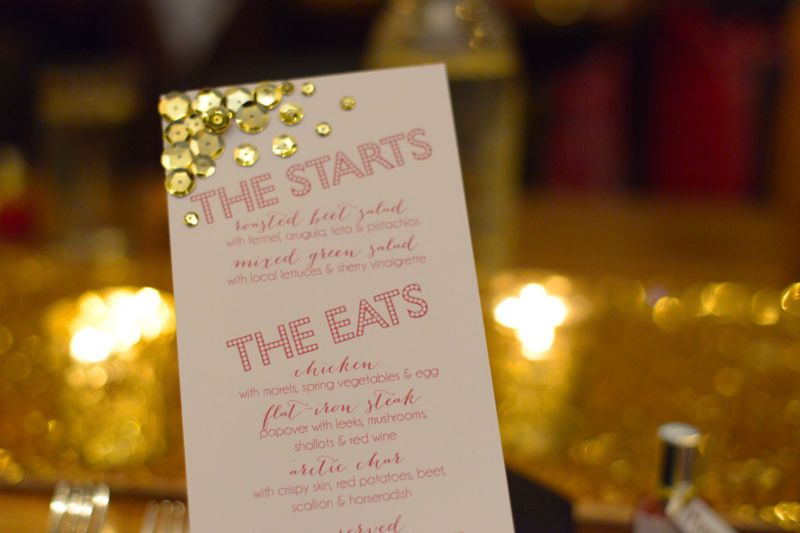
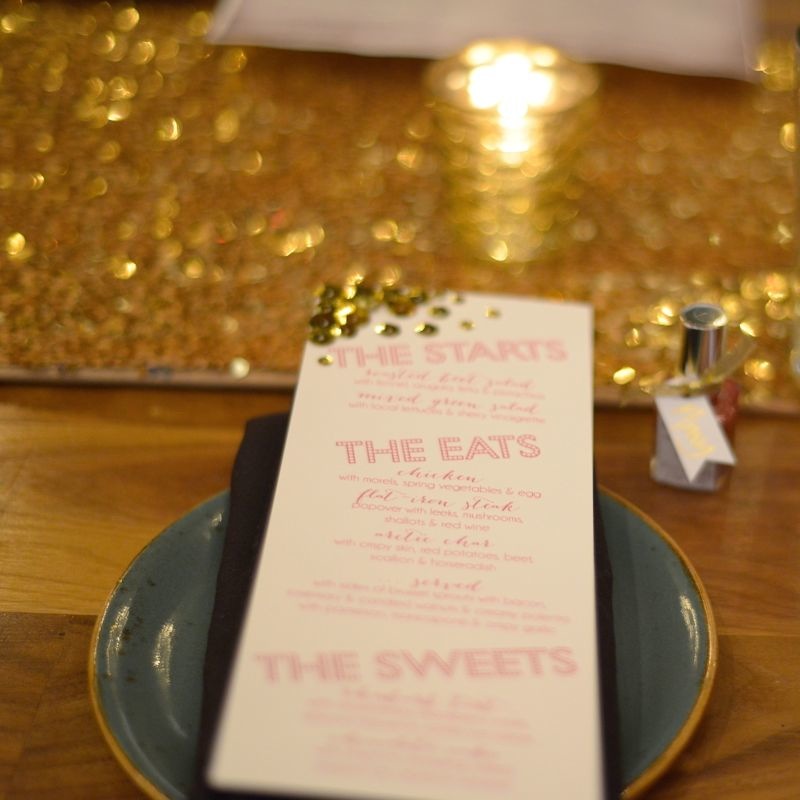
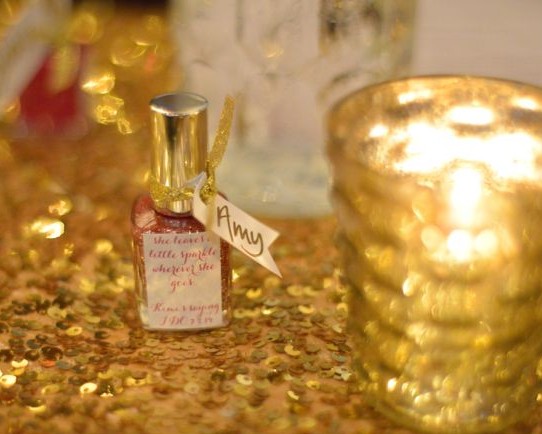
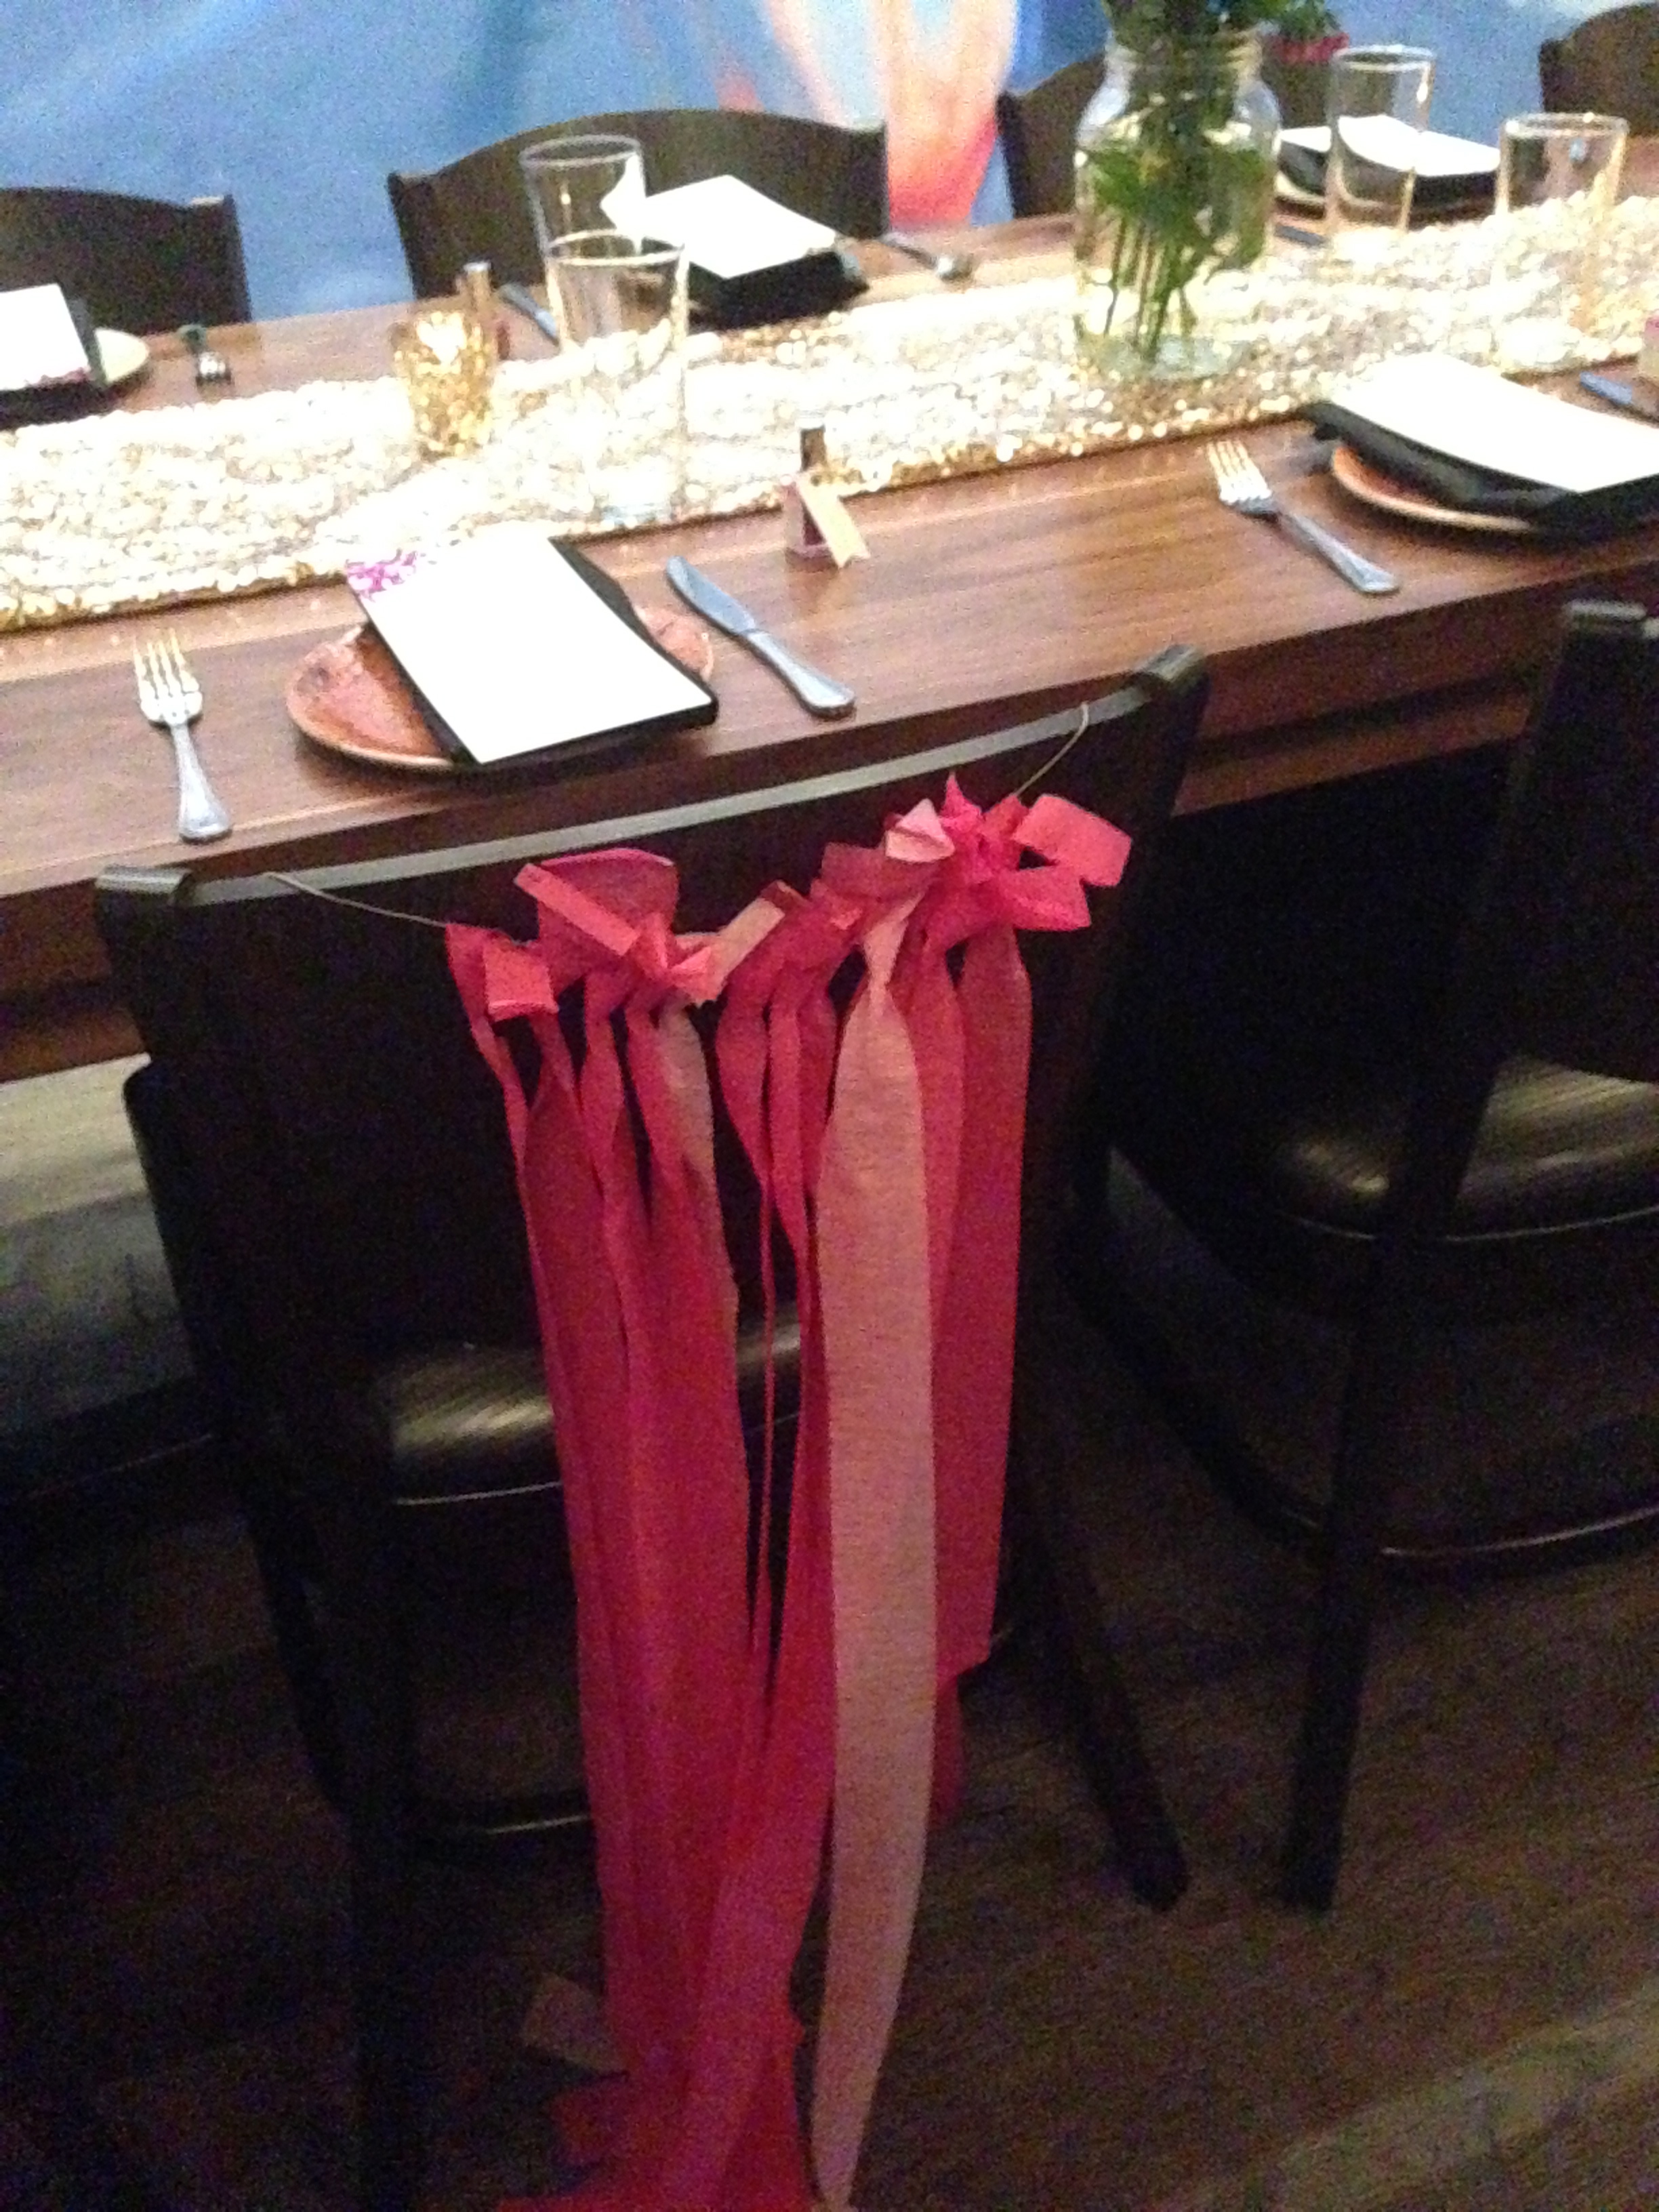
And sparkly bachelorette details included DIY sequins menu {sold here}, a gold sequins runner, DIY ribbon chair covers/decor and nail polish favors and place cards for each guest.

The pretty invite by Jenna at Fleur de Lis set the tone for a fabulous, sparkly party. Now available here.

gold glitter bachelorette party invitation

margaritas_bachelorette party

margarita glasses

stiletto cupcakes_bachelorette party

custom bachelorette party water bottle labels

kimibach14-30

shower ideas

lipstick shower activity

kissing artwork_shower activity

kissing artwork and shower activity

lipstick artwork and shower activity

coup d'etat minneapolis

bachelorette party_coup de'etat

bachelorette sparkly dinner

bachelorette sequins menu

sequins menu

nail polish favors_bachelorette party

ribbon chair covers

minneapolis bachelorette party

VENDOR LOVE
Invites and Menu: Fleur de Lis
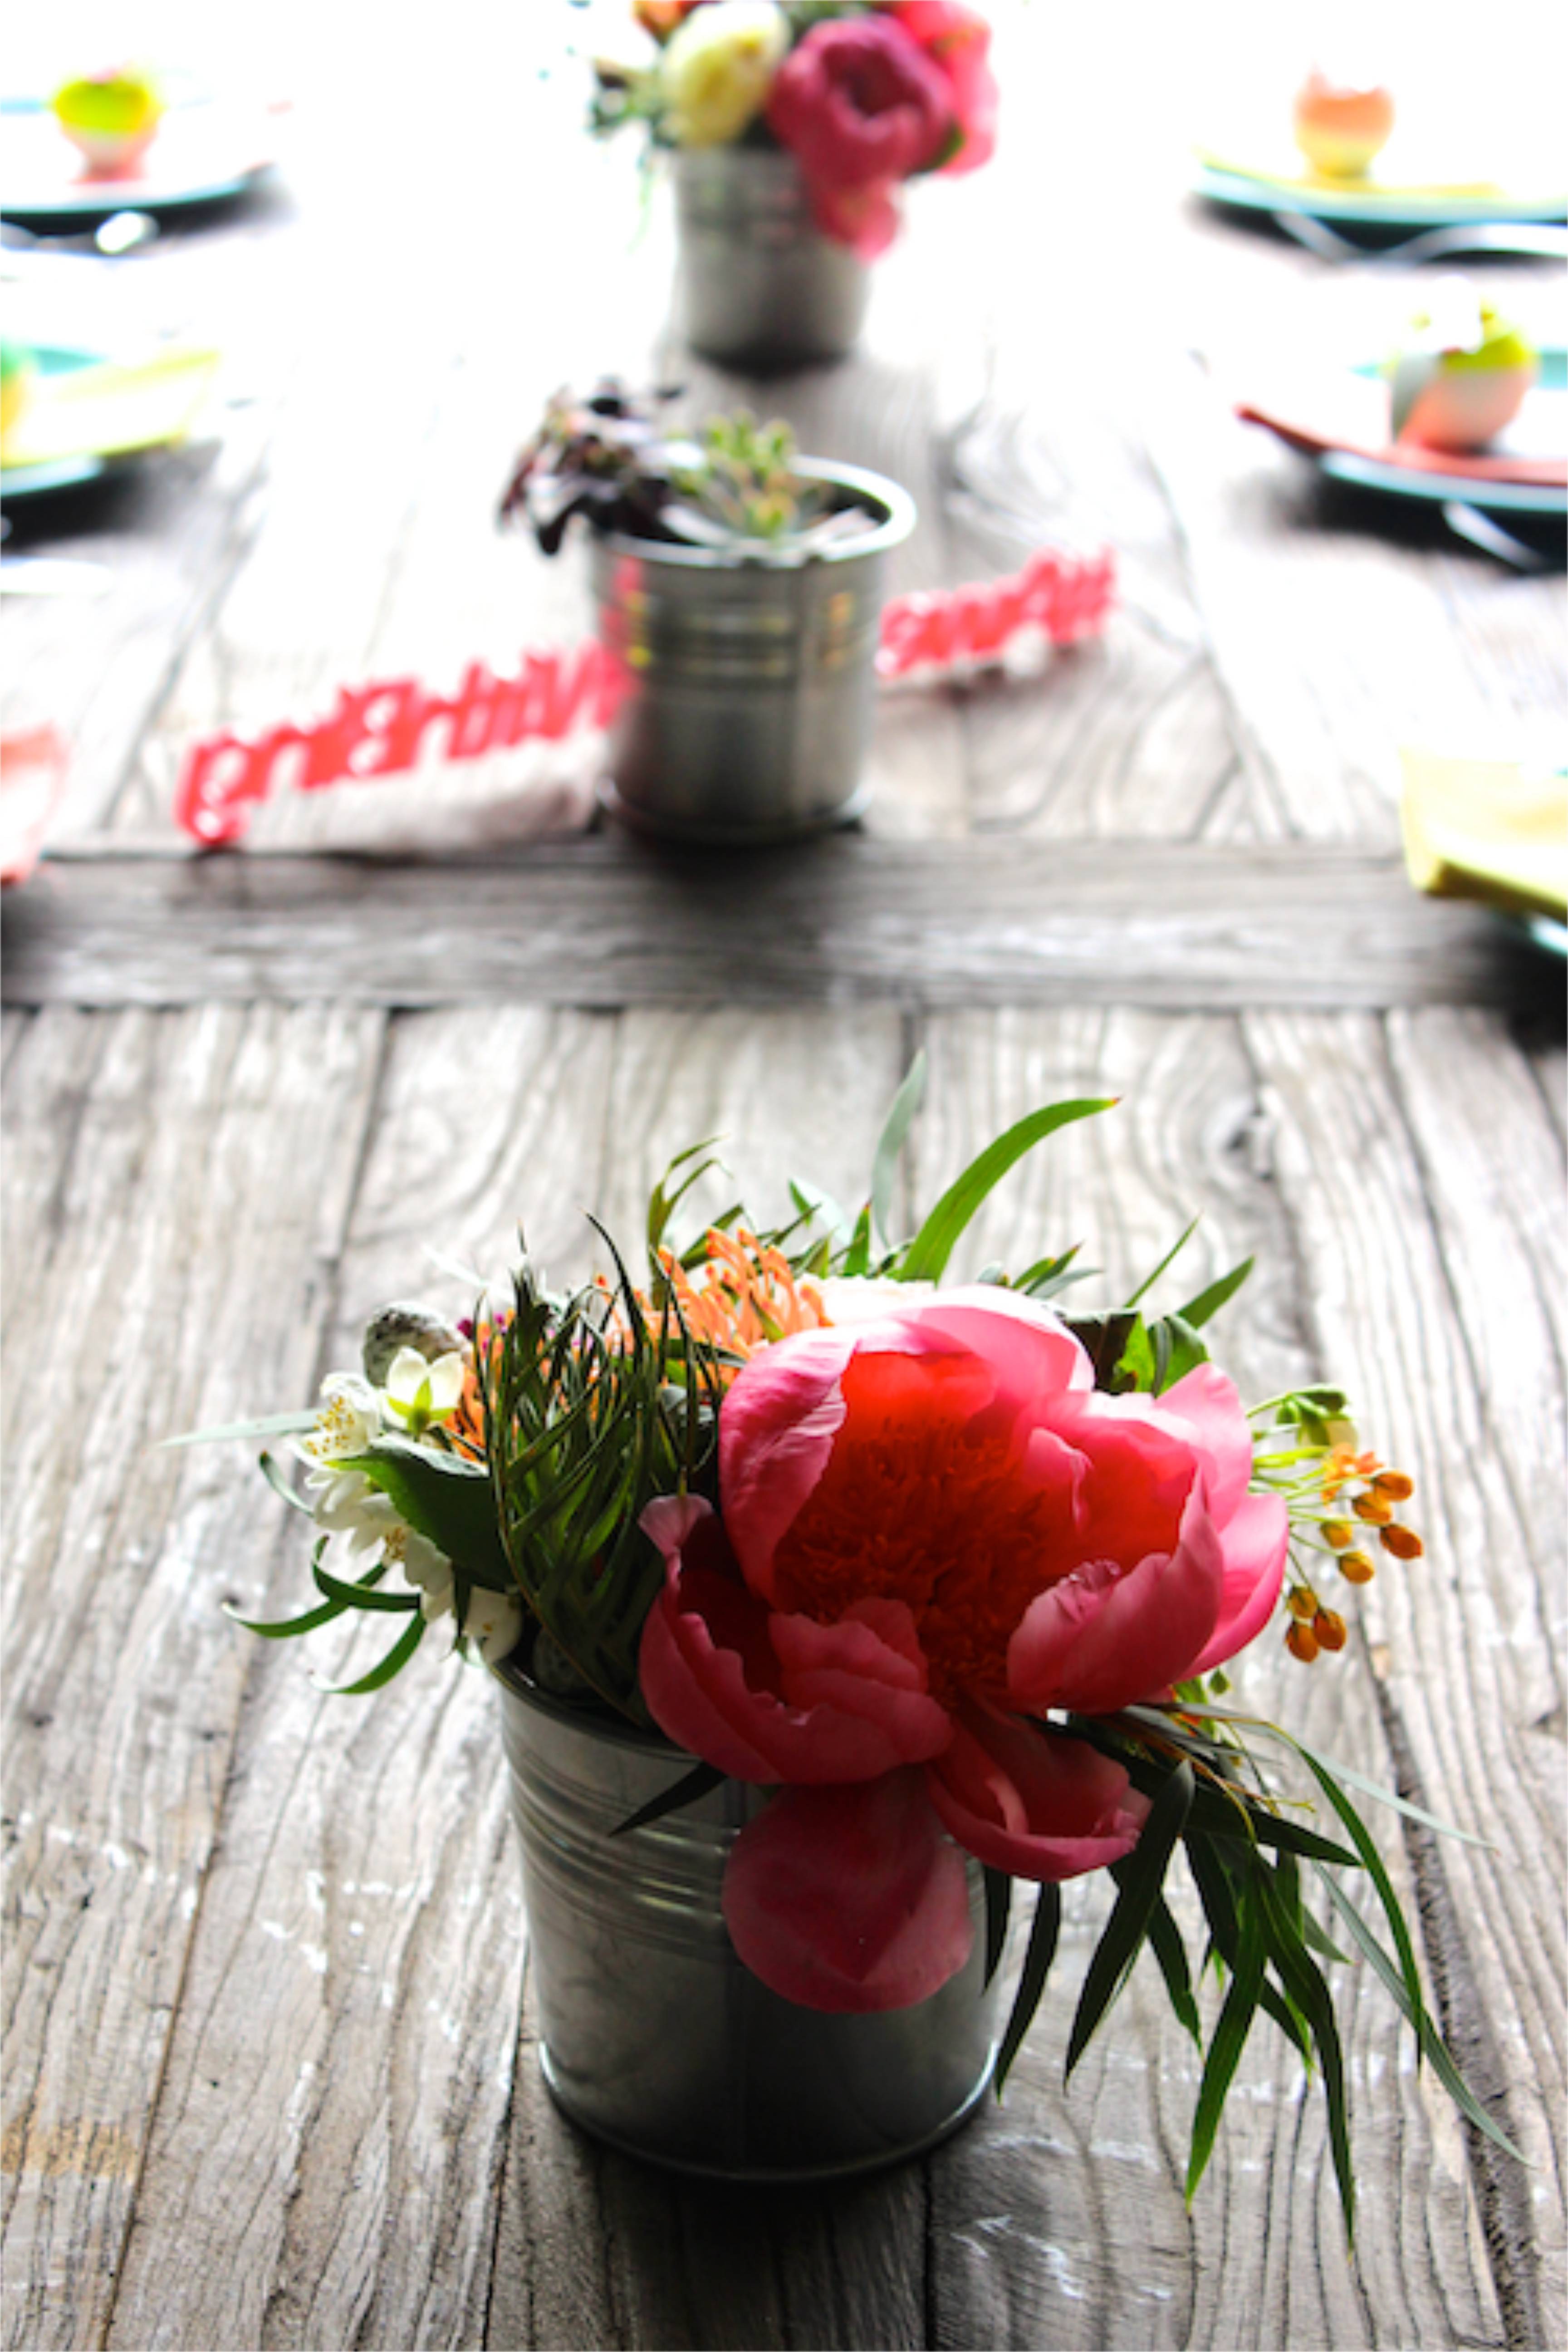
Linens: Apres Party and Tent Rental
Photography: Amy Forness Photo
Marque G sign: Saddle Shoe Signs
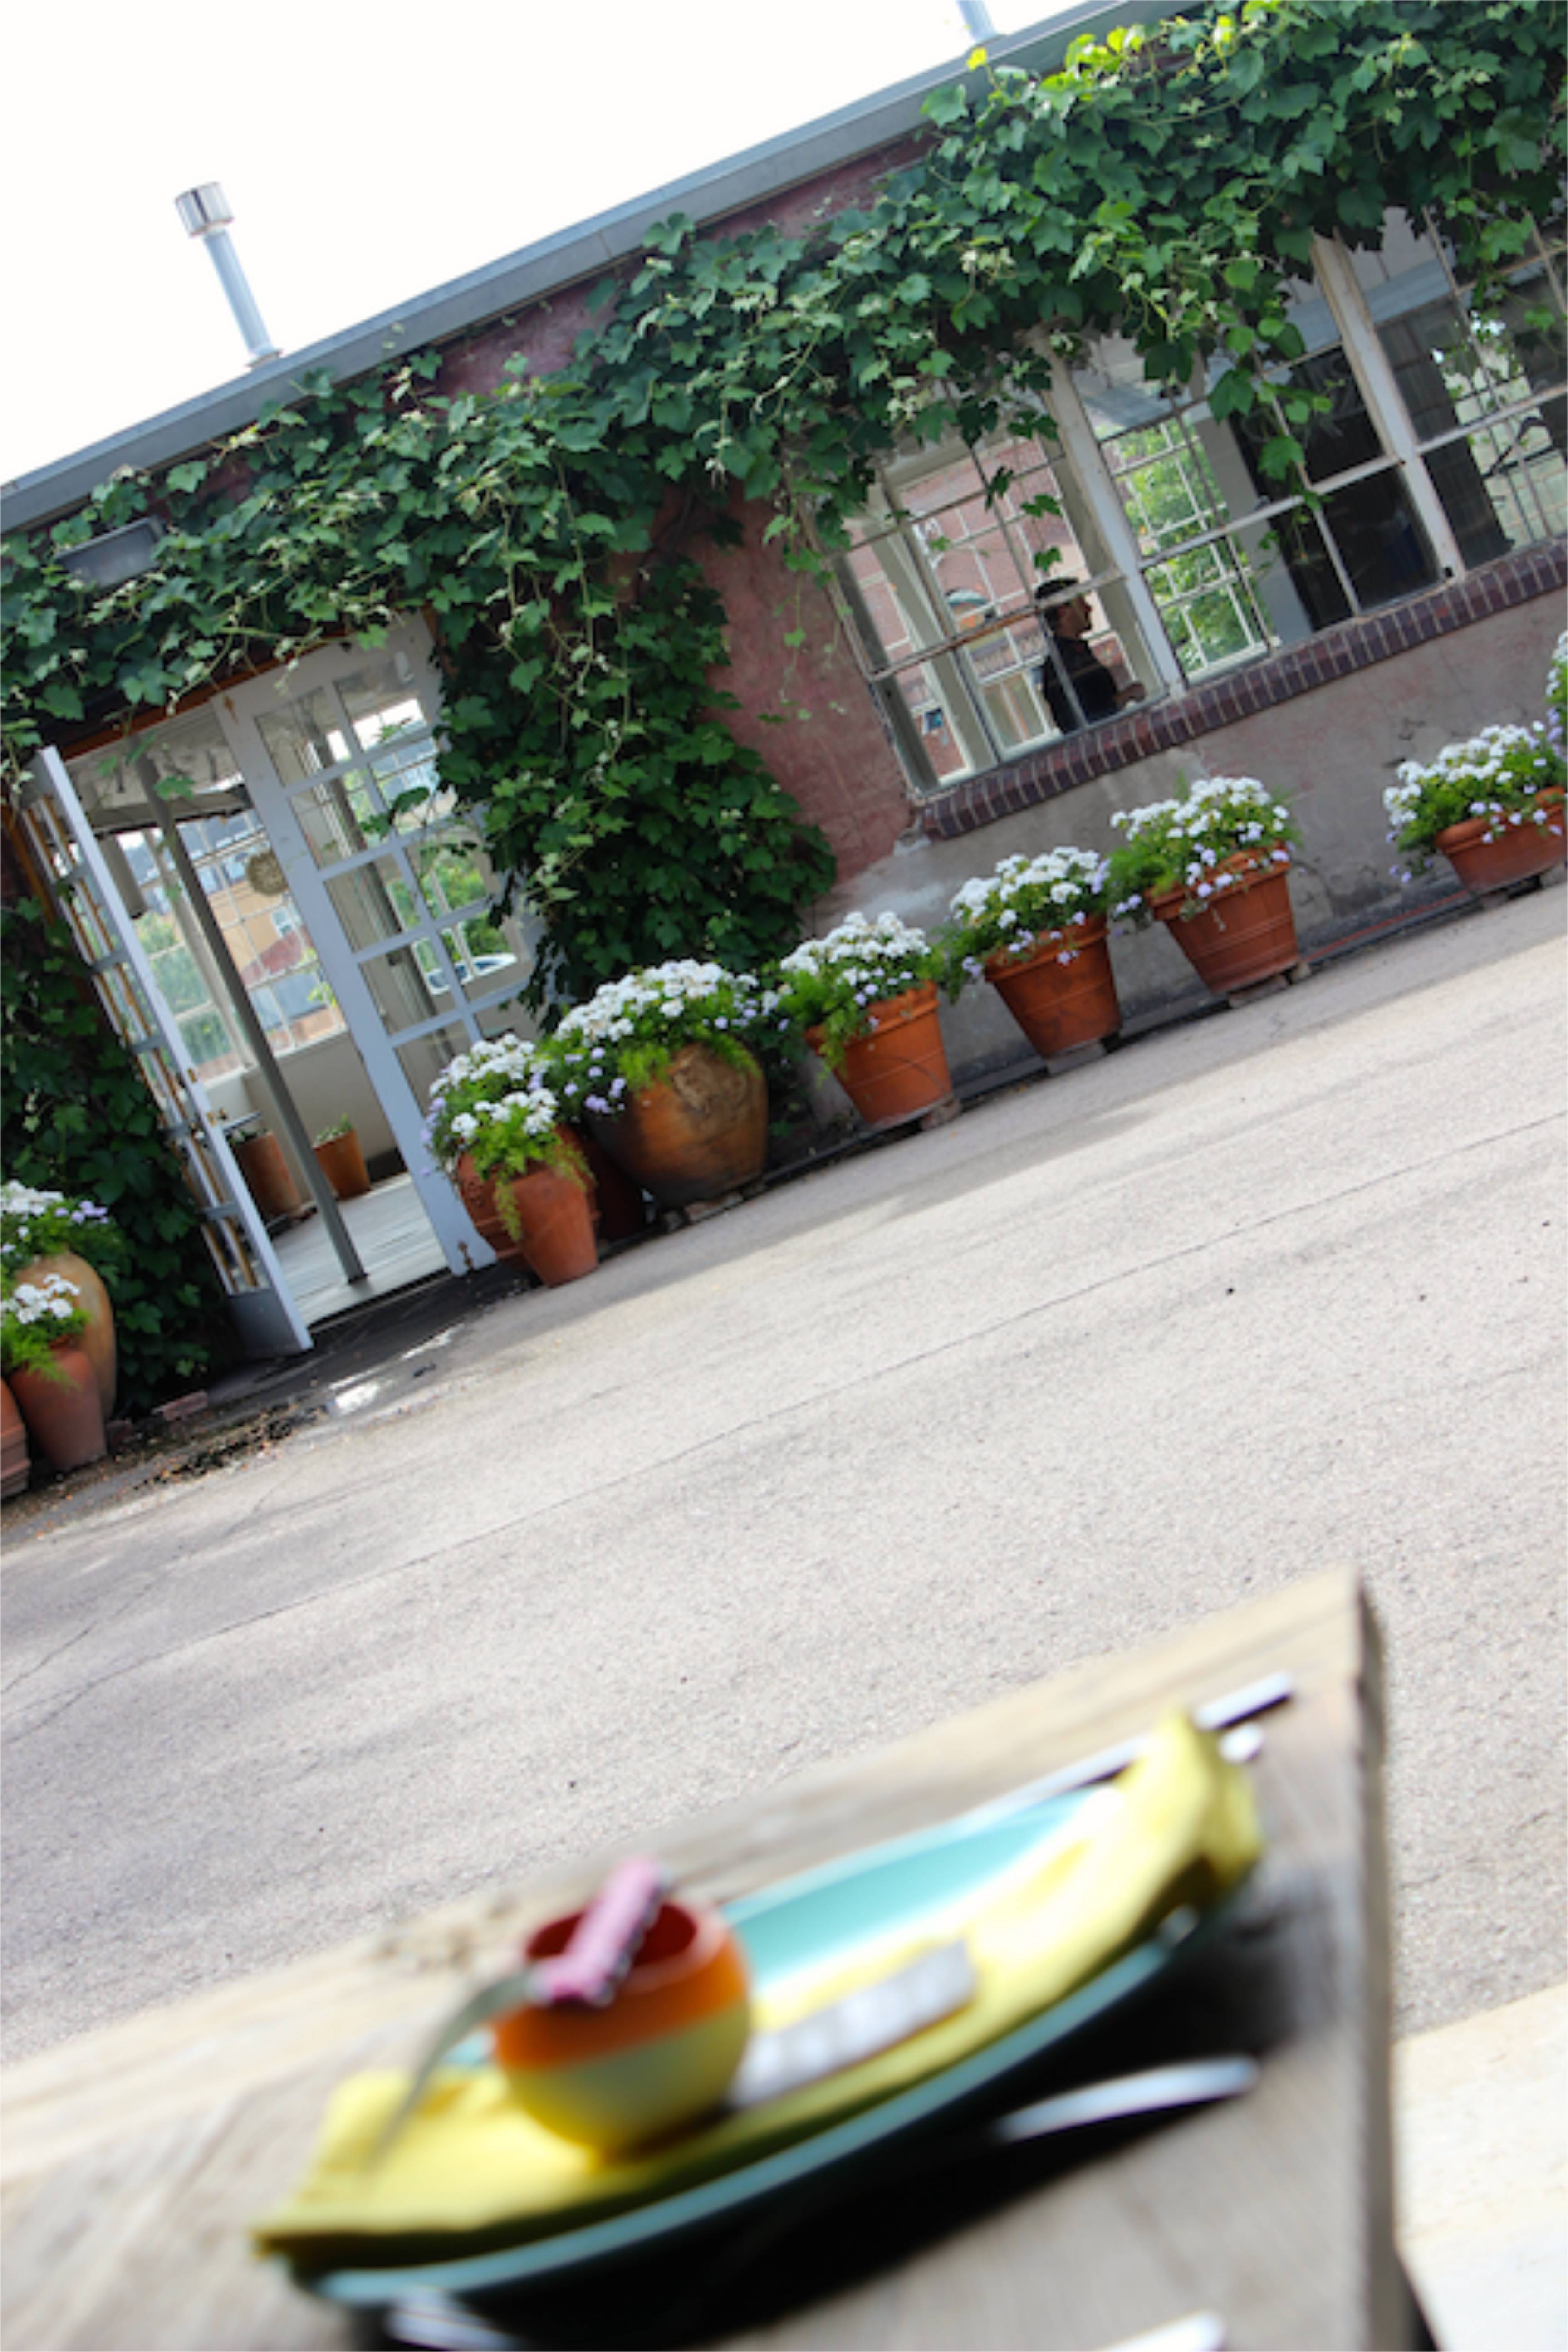
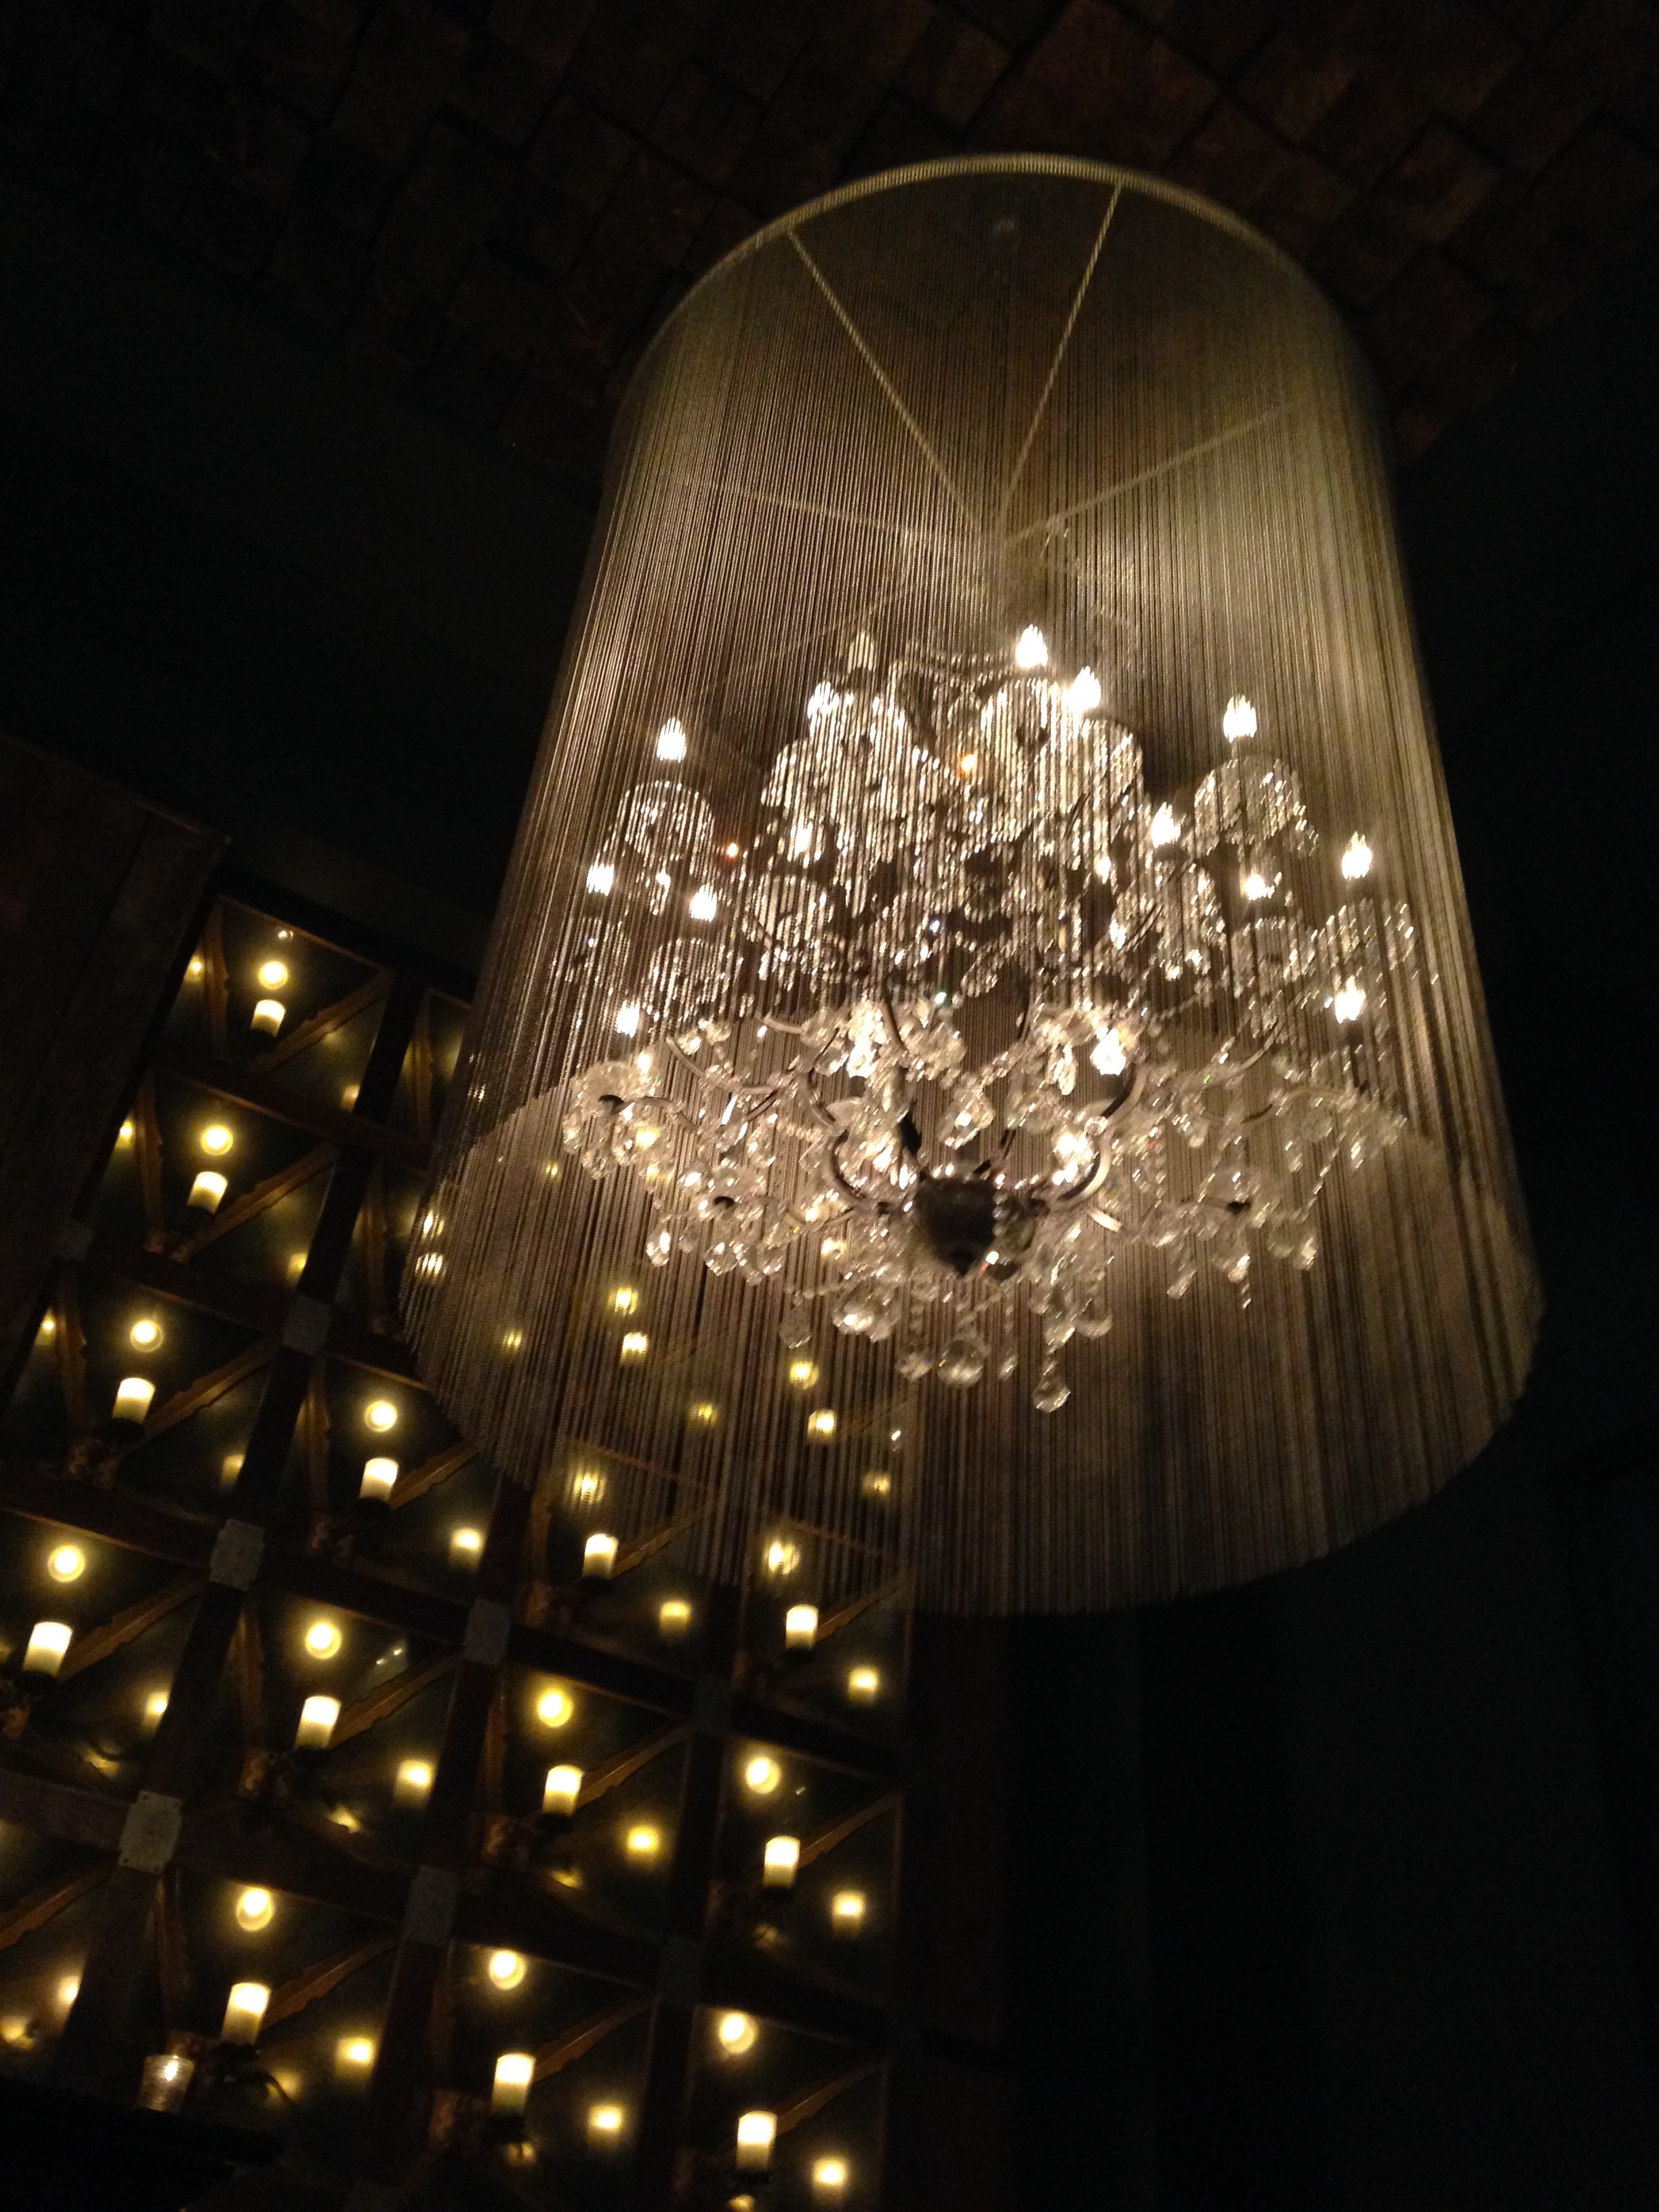
Dinner Venue: Coup d’etat, Minnesota {gorgeous restaurant/bar and wonderful to work with}
Shower details: courtesy of the fabulous Kelly

Search For Your Awesome with Bing and The Alison Show

I was lucky enough to be a part of ‘Search For Your Awesome’ with bing and The Alison Show twice in one week – once at Alt Summit and then again on their ‘Search for Your Awesome’ tour in Denver! We believe in what bing and The Alison Show are doing. We are all awesome and its hard to remind ourselves of how awesome we are with our busy lives, and our sometimes noisy and loud worst critic {ourselves}, so we applaud the fun and generous team for touring the country and getting the creative community together to inspire and create…and just be awesome!

Last week was such a whirlwind and I feel like I’ve been living in a lovely dream. You see, I’ve been dreaming of attending Alt Summit for years now, and was lucky enough to score a ticket this year. As I sat at each roundtable and expert presentation, or enjoyed the new company of crazy-talented bloggers, bakers, creators and brands at fabulous parties, I took many moments to really take it all in and feel grateful. It was the opportunity of a lifetime {that I hope to make an annual thing}. I still haven’t quite digested everything yet, or visited new friends sites, so once I do, I will share it all with you.

Upon my return from Alt, I was invited to craft and celebrate awesomeness with bing and The Alison Show in Denver at a gorgeous new venue, Blanc. We enjoyed delicious food from Los Molinos, styling by the amazingly talented and sweet Melanie at You Are My Fave and then craft time {my happy place} with Rachel from Smile and Wave.

We’re sharing some of the ‘Search for Your Awesome’ party with you today, and hopefully you can find small ways to celebrate ‘your awesome’ daily. If you need a little help, Alison is the girl you need to check out here and here. She’s as fun and happy as she appears to be online. I just loved her.

search for your awesome with bing and the alison show

 blanc denver and search for your awesome tour

bing and the alison show search for your awesome

search for your awesome with bing and the alison show

search for your awesome with bing and the alison show

coral place setting at search for your awesome

search for your awesome by bing and the alison show at blanc

balloon decoration at search for your awesome

search for your awesome at blanc denver

search for your awesome with bing and the alison show in denver

search for your awesome with bing and the alison show in denver

search for your awesome with bing and the alison show in denver

diy decor by you are my fave

search for your awesome by bing and the alison show

search for your awesome bing bar

search for your awesome with bing and the alison show

search for your awesome with bing and the alison show in denver

search for your awesome with bing and the alison show

search for your awesome with bing and the alison show

VENDOR LOVE
Venue: Blanc Denver
Styling: Melanie at You Are My Fave
Hosted and Sponsored by: bing and The Alison Show
Popsicle: Aiko Pops
Ice Cream: Ems Ice Cream
Fiber Art Weaving: Rachel Denbow at Smile and Wave
Food Truck: Los Molinos

{images via j. sorelle}

DIY Curly Girl Designs Coasters and Gift

DIY coasters

I think I am slightly obsessed with coasters! I want to make them for everyone. So, when I received DIY coasters from Kimi as a hostess gift, and she revealed how she and her mom {love you Barb} made them {the secret ingredient was napkins}, I knew I had to make some. They looked so good, I couldn’t believe it. Maybe I’m late in the game to discover this and this is so 90s or maybe they were on to something BIG…either way, I love it. I have so many fun napkins, always in need of a great gift…and who doesn’t need something to prevent a water ring from their cocktail?

DIY Napkin and Tile Coasters
{thanks Kimi and Barb}

You’ll Need:
Cute Napkins {mine were from Curly Girl}
4 white 4×4 tiles from Home Depot
Modge Podge {the regular kind you use with a brush, and also the spray…I used the spray this time to prevent streaks, and it worked, but you can definitely still use the regular kind}
Cork Board from Michaels

How To:
Peel all the layers of the napkin away from the top layer and cut it along its creases. With the Curly Girl napkins I used, 1 napkin gave me 4 perfect squares for 4 tiles.
Add about 1 tablespoon of Modge Podge to the tile and spread out with a foam brush.
Place the napkin on the tile and press down the sides along the sides of the tile. Careful not to pull as the napkin is thin and can tear.
Make sure all sides, corners and bubbles are pressed down.
Let dry for about an hour to two.
Gently tear the sides of the napkin ‘left over’ to the edge of the tile. It should tear easily. I didn’t need a scissors.
Spray the tiles with the Modge Podge and let dry for 20 minutes. Repeat the spray steps 2 more times. Don’t forget to spray the sides and corners. If you apply Modge Podge with a brush, I would apply at least 2 to 3 layers.
Cut the cork board into squares slightly smaller than 4×4.
Apply Gorilla Glue to the cork board and press down on tile. I applied a smaller square on the cork, as Gorilla Glue spreads 3-4 times as it adheres. If you over-apply, it will leak through the sides and will be really difficult to remove.
Place a heavy book on top of the cork board and tile, and in the morning {or 2 hours}, you will have a lovely set of coasters.

DIY napkin coasters

DIY coasters

DIY tile coasters

{images via j. sorelle}

tgif

1. We have some incredibly amazing opportunities, adventures and projects in the near – very, very near – future…so be sure to follow us via Facebook, Twitter and Instagram to stay in the loop. It’s going to be good.

2. My hubby was sweet enough to make this for my mom for mother’s day. One flower per grand baby {7}…and she loved it. Check out the free plans to make this DIY for someone you love thanks to the sisters of Shanty 2 Chic.DIY sunflower centerpiece

3. If you love shutters as much we do, your heart will swoon when you see this.

4. Look out, DIY Geronimo!!!

5. I HATE to fly. Period. But this made me laugh.

DIY Glitter Menu

sequin menu

I am just in love with this menu Jenna from Fleur de Lis made for our recent Bachelorette Bash for Kimi. All photos of the party {thanks to the talented photographer and bridesmaid Amy Forness Photo} to come. Wouldn’t eating be more fun and just overall fabulous if we all had sequins menus like this for every meal?

Jenna printed the menus, then I used Elmer’s Craft Glue to glue sequins to each menu…sequins starting heavy in the corner, then scattered. If you need a menu like this in the future, e-mail us at hello@jsorelle.com. We can do it for you.

diy sequin menu

DIY sequin menu

DIY sequin menu

DIY glitter menu

{top and bottom images via Amy Forness Photo, and images in the middle from my cell phone}