How to Throw a Colorful NYE Party with Paper

when the clock strikes midnight

If you blinked, Christmas is over, and a new year is now upon us. The thought of throwing another party can be totally overwhelming, but what if we told you that it could be easy and cost-efficient to #ColorizeYourParty and you could do it primarily with paper?

Intrigued?

Good, because we put together a colorful and fun way to ring in the New Year with Astrobrights Papers that you, too, can put together in less than a day.

Just like Cinderella, we hope year 2015 is a fairy tale for you. However, unlike Cinderella, When the Clock Strikes Midnight, a magical spell will not be broken, but another year will begin. A new beginning. A fresh start. Another chance. A new love. An opportunity for adventure. Travel. Good times {and some bad times too}. Lessons to be learned.

To celebrate 2015 and the magic that happens When the Clock Strikes Midnight, here’s 3 ways you can #ColorizeYourParty

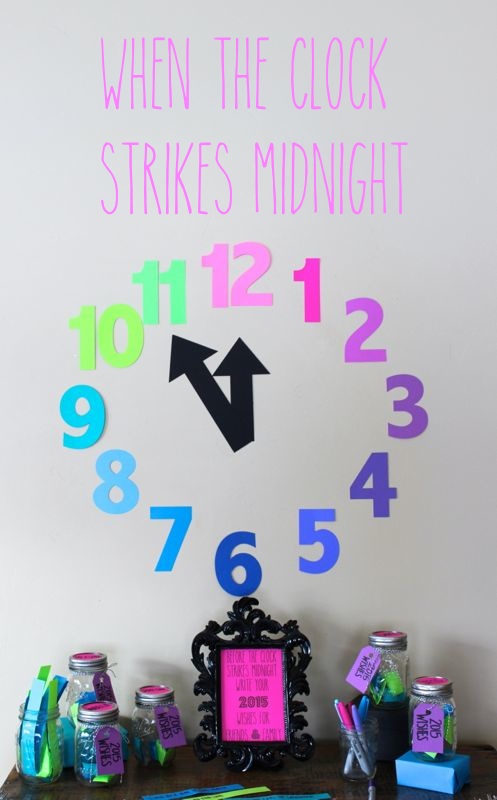
Countdown Clock and Wishes
Colorize Your Party with a large, colorful clock made from paper. Print and cut out numbers, as well as the big hand and little hand, then stick to a wall. You can use a Silhouette cutting tool like we did, or you don’t need a fancy program at all – you can print numbers via Microsoft Word, and then cut. We used DAP BlueStik reusable adhesive putty to stick the paper to the wall, so it’s easily removable and reusable. Every hour, you can move the ‘hands’ as the midnight hour approaches.

when the clock strikes midnight

when the clock strikes midnight

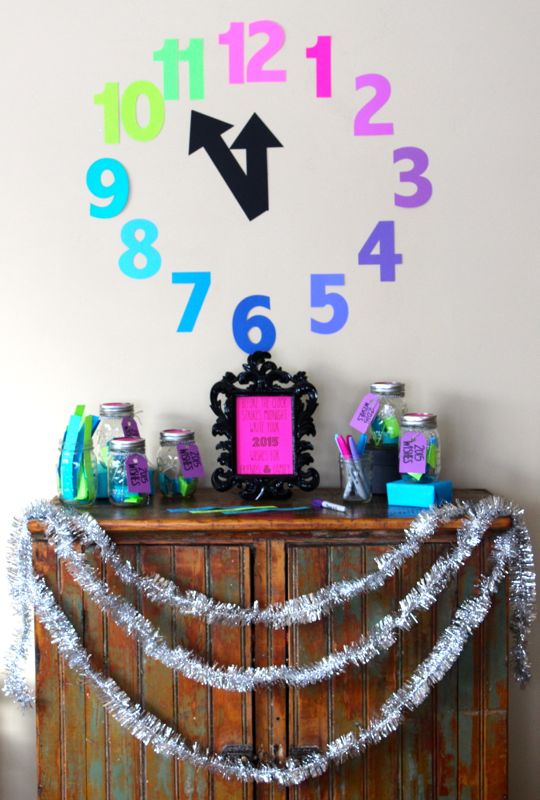
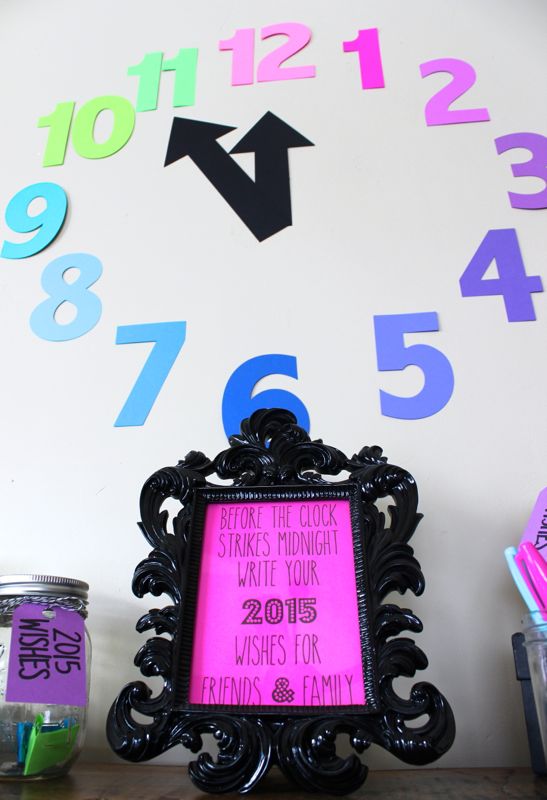
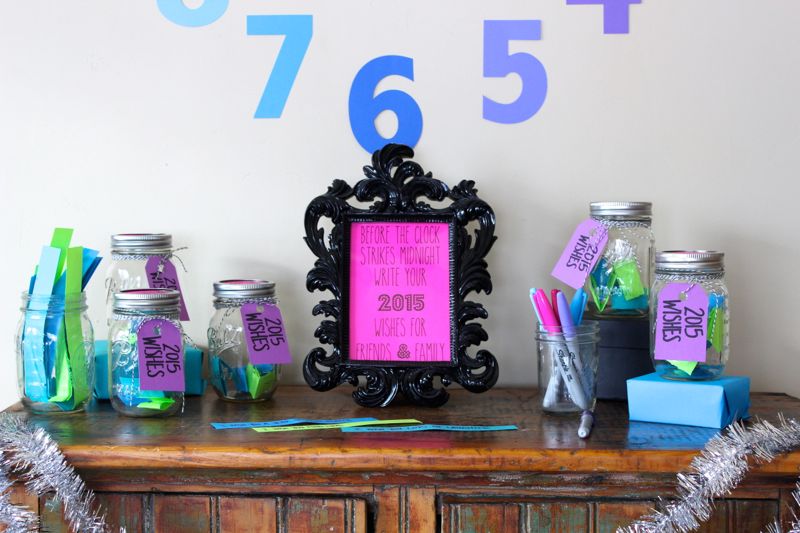
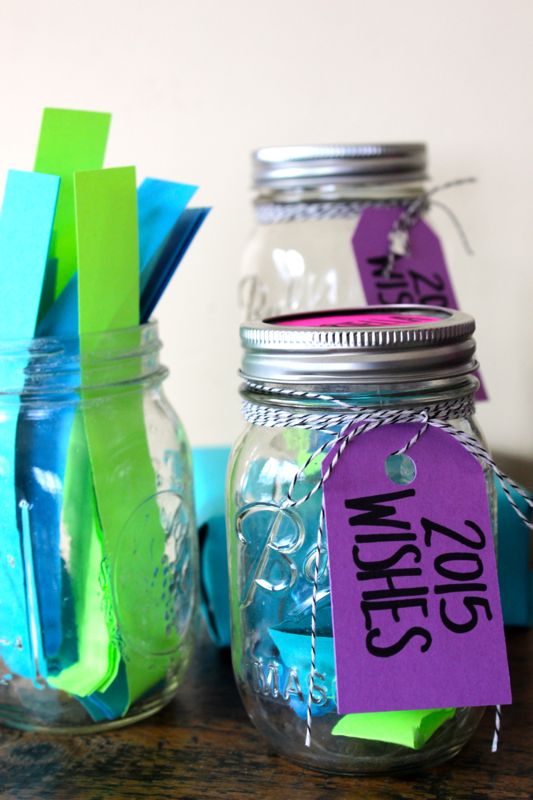
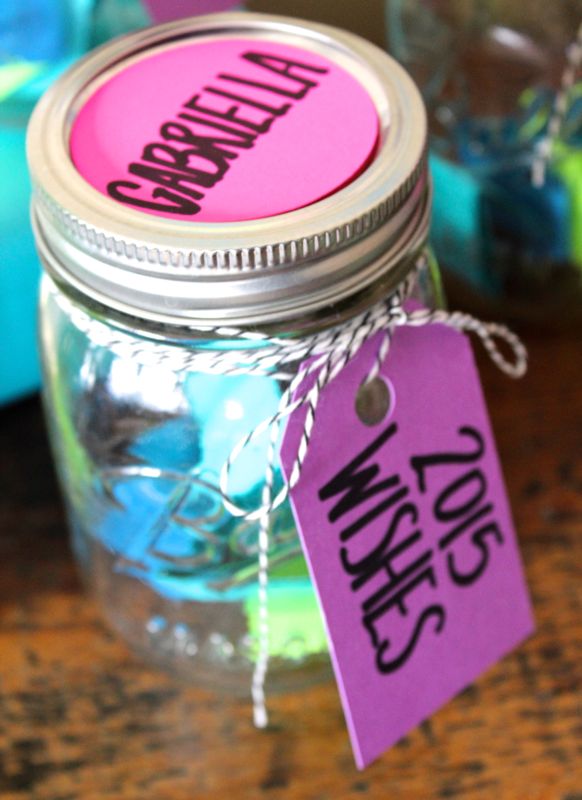
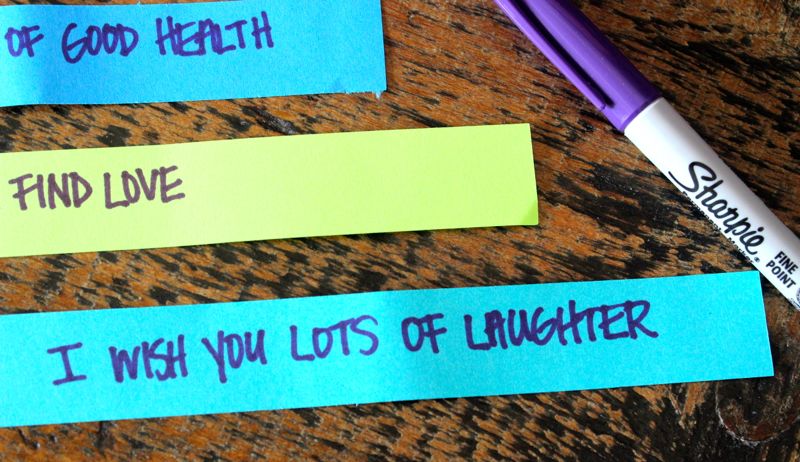
Before the clock strikes midnight, encourage your guests to write wishes for friends, family and loved ones at the party. Your guests will go home with the mason jars as favors, along with heart-felt wishes for 2015. Remember to use colorful Astrobrights Papers to add labels to the top of the mason jars, and 2015 Wishes tags with twine. For extra table height, wrap small boxes like a package with colorful paper.

when the clock strikes midnight

when the clock strikes midnight NYE party

when the clock strikes midnight NYE party

when the clock strikes midnight NYE party

NYE Essentials Wall
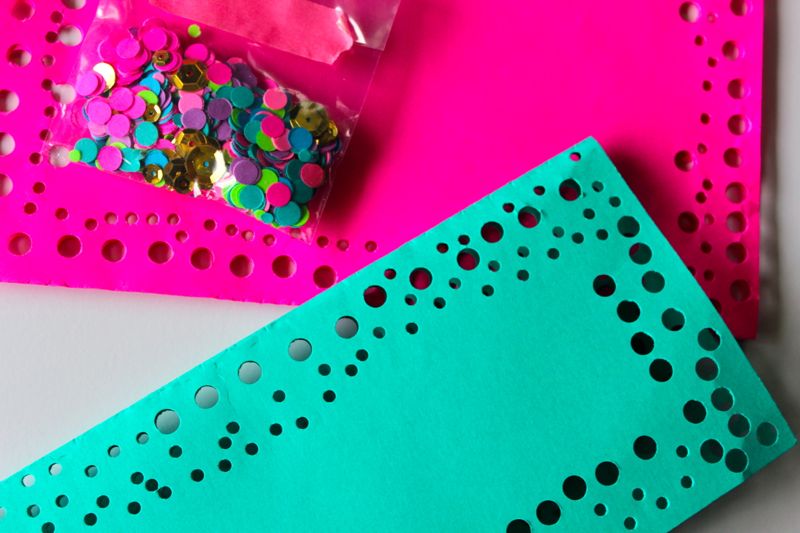
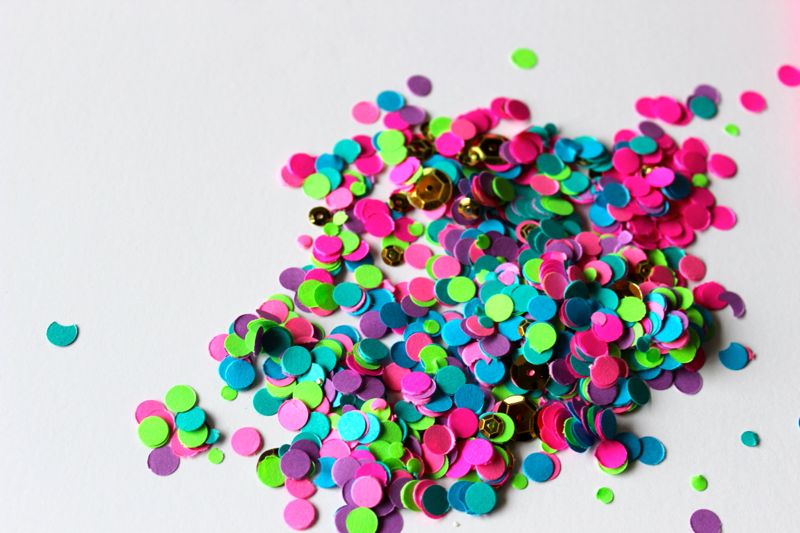
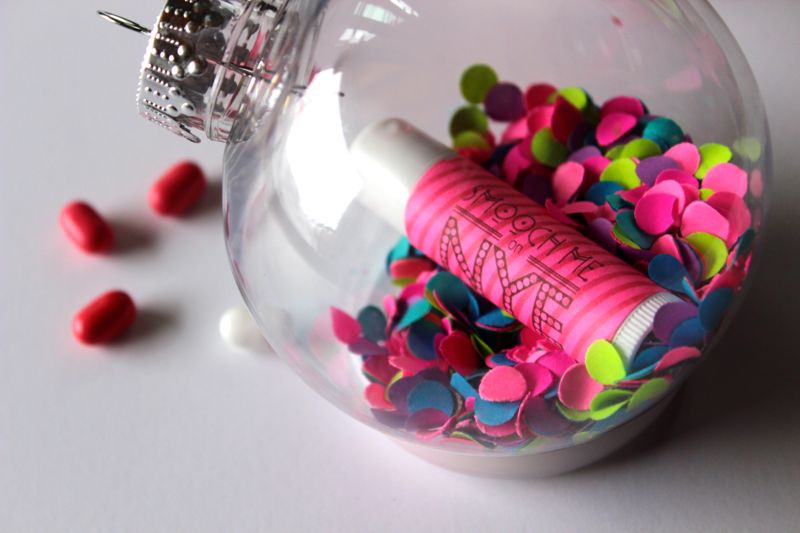
Whether you hope for a magical, butterflies-in-your-stomach kiss, a first kiss, an old but favorite kiss, a kiss from your children or a kiss from a friend, this NYE Essentials wall will ensure everyone will have soft lips, good breath and confetti to throw when the clock strikes midnight. We filled 98 cent plastic ornaments with DIY paper confetti {we used a good old-fashioned hole punch to create bright confetti from Astrobrights Papers}, custom labeled lip balm and pink and white tic-tacs.

NYE colorful party with Astrobrights Papers

NYE confetti

NYE party with confetti

To make the wall more eye-catching, we hung tinsel and white twinkle lights with Painter’s Tape, and strung the ornaments on the tinsel. For the big ribbon banner made entirely of paper, we simply printed our sign, added Martha Stewart glitter to NYE letters, glued 3 sheets of paper together, bent the paper and taped the ends to the wall. As for ‘tails’ of the ribbon, we cut the paper and taped it to the wall.
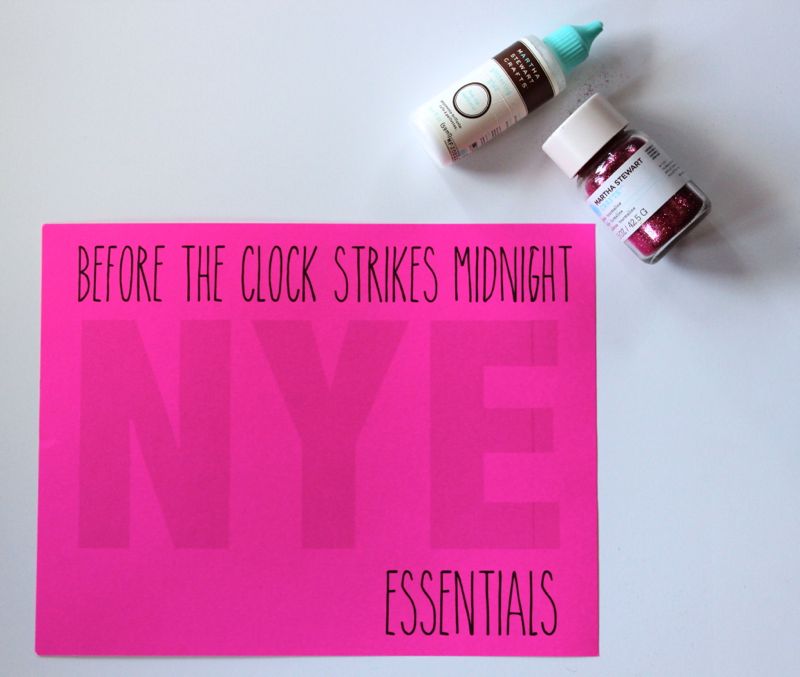
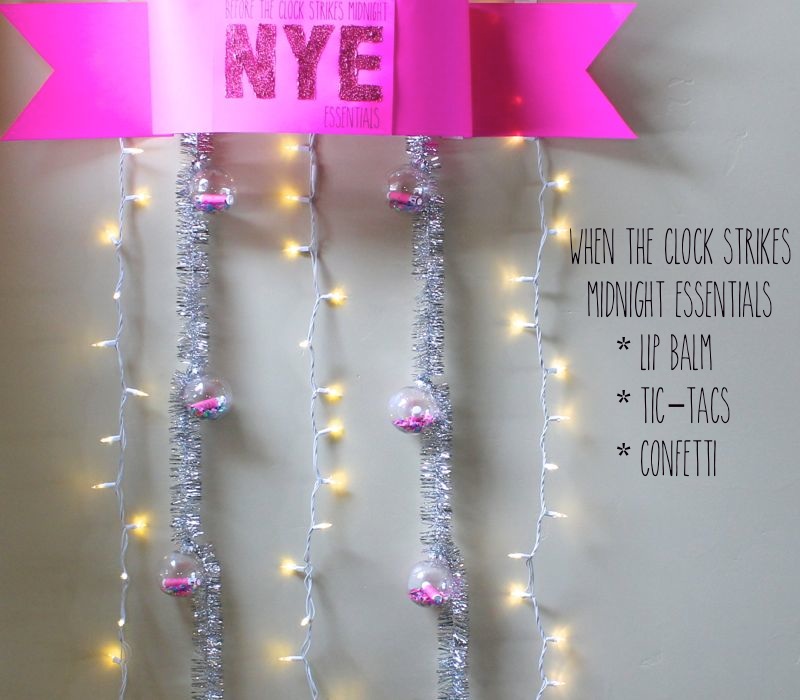
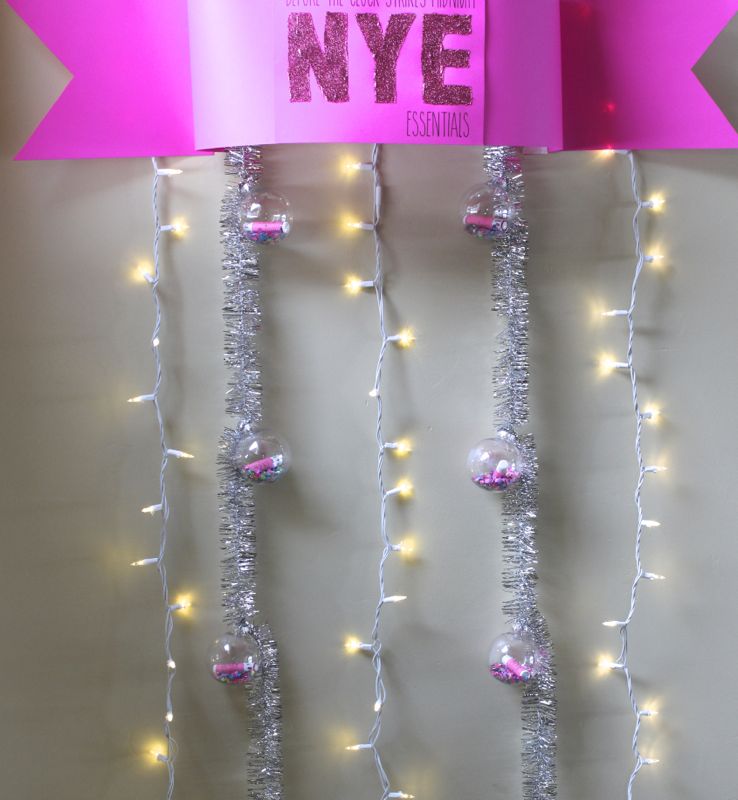
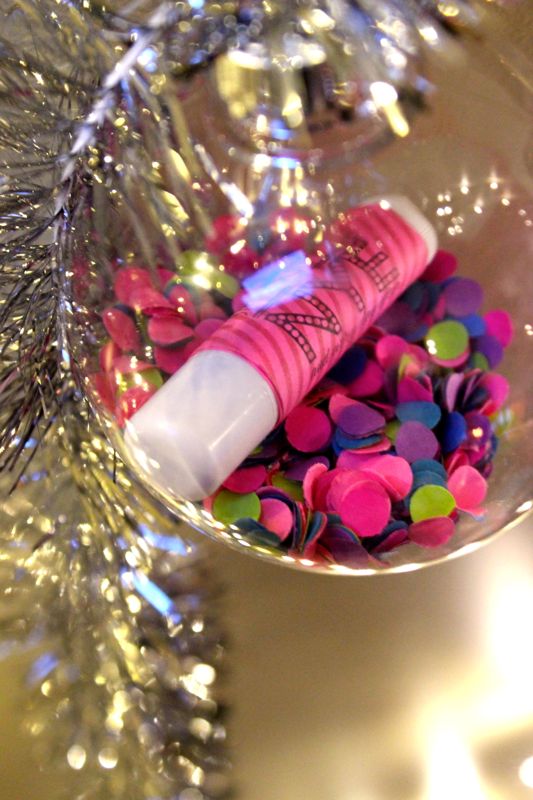
NYE colorful confetti party

NYE midnight ESSENTIALS

NYE party essentials

NYE party essentials

NYE party confetti

IMG_7304

Photo Booth
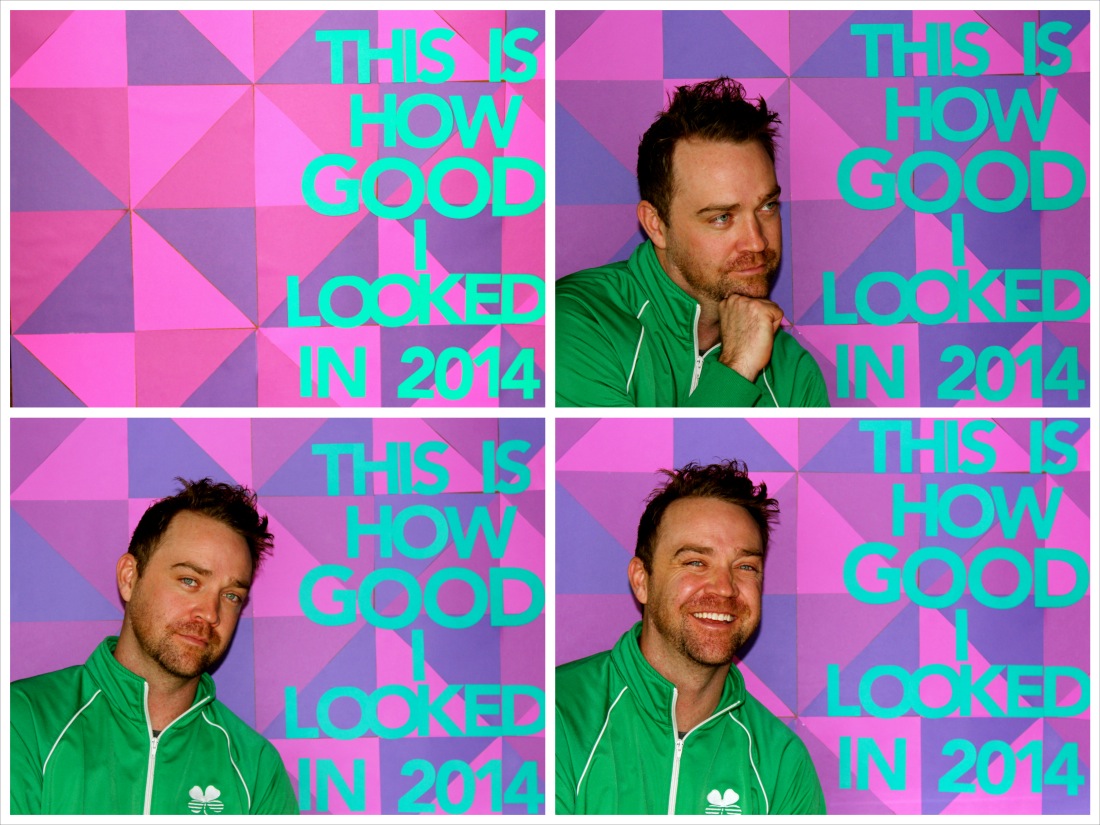
We thought about doing a glitter photo booth, or even a photo booth with all kinds of paper props, but a simple geometric background with the words This is How G-double-O-D I looked in 2014 seemed like the most honest and to-the-point backdrop for our NYE celebration. You have to own your hotness in 2014 to look even better in 2015, right? We think so.

photo booth this is how good i looked

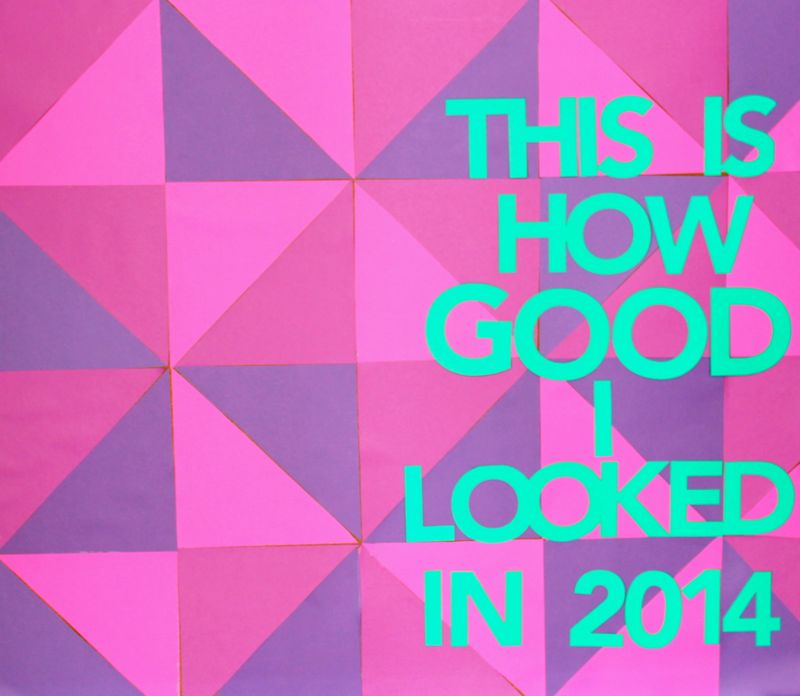
For the geometric backdrop, we simply cut Astrobrights Papers into 8×8 squares, and then cut it diagonally in half. We used 4 different colors, and once all the triangles were cut, we used a glue stick to stick it to a wood board. For the words, we used a Silhouette cutting machine, but you can trace or print your own letters.

NYE photo booth

We hope you create a unique and memorable celebration using Astrobrights Papers to #ColorizeYourParty, and we wish you a happy, safe and healthy 2015!

Stay inspired all year-long with Astrobrights Papers via Facebook, Pinterest, Instagram and Twitter.

{images via j. sorelle}

side note about our model: Major props to Jessica’s hubby {the handsome model in our photo booth}, who not only took care of an entire family infected with Influenza A before, during and after Christmas, but kindly modeled for our backdrop despite lack of sleep and rest, when we were too sick to do so. 

j. sorelle received products and/or payment for this post, however we love Astrobrights Papers even if they didn’t send us product, and all opinions are ours, we promise. View all of Astrobrights vibrant colors here


Day 12: How to Make a DIY No-Sew Felt Crown

NYE no sew felt crowns

On the 12th day of Christmas, j. sorelle gave to you…DIY no-sew felt crowns for New Year’s Eve.

Our children love creative play, and Jessica’s daughter LOVES to wear crowns. And, we have NO idea how to sew. So, for our Dec. 31 New Year’s Eve celebration, we made no-sew felt crowns for the kids to wear until midnight {or their 9 o’clock midnight celebration}.

It’s an activity and party favor all in one, and it can be duplicated for future birthday parties.

how to make a no sew felt crown

No Sew Felt Crown Tips:

  • You can find the templates for the crowns here. Our inspiration came from Scattered Thoughts of a Crafty Mom and she has a template too.
  • We used a Sharpie to free-hand bubble letters and numbers on felt {CELEBRATE, PARTY and 2015}, then we cut them out with scissors, and used a hot glue gun to glue them to the hats.
  • We learned the hard way that it’s best to measure your child’s head and place the pre-cut elastic in the middle of the crown before gluing the tips of the crown together. It’s easier than inserting it once the tips of the crown are glued together.
  • Hot glue pieces of velcro to each end of the elastic, so the crown is easily removable.

{images via j. sorelle}

Day 9: DIY Clipboard and Calendar Gift Idea

diy clipboard and calendar

On the 9th day of Christmas, j. sorelle gave to you…DIY Clipboard and Calendar Gift Idea.

We love words of wisdom and quotes that strike a chord with us. And, when we’re having one of those days or weeks, or months, quotes can have a positive impact, and serve as a reminder to slow down, smile and enjoy the little things.

A calendar with simple, happy words is a wonderful daily reminder to stay positive. And, since the new year is just around the corner, and its gift-giving season, we want to share all those good vibes with our friends. This year, we’re giving our friends a DIY Clipboard, along with one of our new favorite calendars by etsy store ColourMoon. Anya made a beautiful, chic and simple 2015 calendar with great reminders each month. The calendar is just $10 and it’s an instant download. Just buy and print.

Here’s a look at the entire calendar, which you can buy here. Anya is offering j. sorelle readers 10% off their order with code Colour10. Thanks, Anya!

colour moon 2015 calendar

image via Colour Moon

Here’s how you create the DIY Clipboard.

diy clipboard gift

You’ll Need:

  • Black Vinyl
  • Silhouette cutting tool {today is the last day for the great Black Friday sale going on now. Use code SORELLE for the amazing discount…see here for details}
  • Clipboard {you can buy from Office Depot, Target {we found it in the $1 and $3 section} or Wal-Mart
  • Silhouette Vinyl Transfer Paper {lint roller refill is a good alternative if you don’t have the vinyl transfer paper}

How To:

  1. Design your quote or art using the Silhouette Software.
  2. Place your Vinyl on the cutting mat, click print and watch the tool work its magic.
  3. Peel away the vinyl you’re not using.
  4. Place the transfer paper over the art or quote and use a straight edge {credit card, etc} across the image to make sure the vinyl sticks to the transfer paper. Pull the paper up and your image should be stuck to the paper.
  5. Place the image on the item you want it on. You will need a credit card or a straight edge to smooth our all bubbles.
  6. Peel away the transfer paper slowly and your vinyl should stick to the item. Note: I did have trouble with some of the thin words sticking to the clipboard, so I had to pull the transfer paper very slowly so the letters didn’t rip, and if they ‘came up’ with the paper, I gently pushed back down. 

diy clipboard and calendar gift

diy clipboard and calendar gift

diy clipboard and calendar gift

{images via j. sorelle}

Day 8: DIY party hats for Kids and Adults

On the 8th day of Christmas, j. sorelle gave to you…DIY Holiday Party Hats.

Put on your party dress and get out your hot glue gun because today we have a DIY tutorial to create your own, festive party hats.

DIY christmas tree party hat

diy sparkle and shine party hat

diy frozen party hat_jsorelle

You’ll Need:

  • Cardstock
  • Scissors
  • Hot glue/hot glue gun
  • Holiday trimmings, sequins, ornaments aka party hat decor
  • Package of thin headbands {we bought the softer fabric kind to prevent massive hard-headband-headaches}

How To:

Step 1: Print this free template {thanks Oh Happy Day} on cardstock of your choice

Step 2: Cut and shape cardstock into hat form. We used a pinch of hot glue along the ‘inside seam’ just to make sure the hat was solid for our heavy decorations.

Step 3: Decorate. Add some bling and color…or in our case, add tree trimmings, tinsel, and ornaments. We used a hot glue gun to add our tinsel and tree trimmings.

Step 4: Glue to a thin headband.

Step 5: Take pictures of your party hats and send them to us – we want to see your creations.
e-mail: hello@jsorelle.com
instagram: @jsorelle3
facebook

These hats made even a mini-photo shoot in the middle of a massive winter storm {running eye-liner and all} fun!

{images via j. sorelle}

Day 7: {Free Printable} Ho Ho Oreo Treats for School

ho ho free printable_jsorelle

On the 7th day of Christmas, j. sorelle gave to you…free Ho Ho Ho Oreo printable.

You’ve got the teacher covered with this gift, and now you have the kids covered too. Jessica’s husband was the inspiration for this year’s school holiday treat. His favorite evening treat these days is Oreo cookies dipped in milk {real milk as he says…not the Almond and Soy that is always in the fridge}. And, since it’s a favorite treat for children too, we are sharing it with friends this holiday. Our kiddos are excited to give this to their friends at school. This holiday we are not saying HO HO HO. We are say, HO HO OREO!

You’ll Need:

  • 
1 bag of stick pretzels
  • 1 small bag of Ghirardelli Chocolate for candy making and dipping
  • Cellophane bags
  • Oreos
  • Free printable by Fleur de Lis.

How To:

  1. Click here to print the Ho Ho Oreo printable.
  2. Melt the chocolate.
  3. To create the H in HO, you will need 3 stick pretzels. Break one pretzel in half for the horizontal line in the H. Dip both ends of the split pretzel in the chocolate. Position it in between the two other pretzel sticks, then take a spoon or Ziploc bag {cut a small hole on the end of the bag for a DIY frosting bag} and drizzle chocolate over the H.
  4. Wait for the chocolate to dry.
  5. Place the H and Oreo in the cellophane bag and add the tag.

christmas treat for the kids

oreo holiday treat for the kids

oreo holiday treat

The great news for all those who are GF is that this treat can be made gluten free too. To replace the Oreos, buy Glutino Chocolate Vanilla Creme cookies, and for the pretzel, buy Glutino’s GF stick pretzels.

ho ho ho merry christmas treat

If you like what you see and want to see more, we would love, love if you followed us on Facebook, Instagram and Pinterest.

{images via j. sorelle}