tgif


1. Honeycrisp Apples are in the bins at grocery stores – they are my absolute favorite. They are delicious as ia, with cheese, peanut butter, or this time of year decorated with delectable caramel. Babble hooks you up with 9 creative ideas for caramel apples.

2. These sparkly flats from Gap are calling my name. And, so is this bag with a big bow.

3. I’m adding this DIY Mirror made of Shims to my to do list, but first I’m going to make these DIY Clipboard Frames.

4. I really like Brené Brown, researcher/storyteller, who studies human connection. She studies shame, courage, worthiness and vulnerability. I first saw her on Oprah, and really liked her. She is personal, funny, real and her research is powerful and helpful. Here’s the TEDtalk that made her BIG. If you get time this weekend, watch it. I’m reading her book, Daring Greatly: How the Courage to Be Vulnerable Transforms the Way We Live, Love, Parent, and Lead, right now. It’s good, ya’ll.

In the intro, she referenced a speech that Teddy Roosevelt gave in 1910. It’s so well said. In it, Roosevelt said:

It is not the critic who counts; not the man who points out how the strong man stumbles, or where the doer of deeds could have done them better. The credit belongs to the man who is actually in the arena, whose face is marred by dust and sweat and blood; who strives valiantly; who errs, who comes short again and again, because there is no effort without error and shortcoming; but who does actually strive to do the deeds; who knows great enthusiasms, the great devotions; who spends himself in a worthy cause; who at the best knows in the end the triumph of high achievement, and who at the worst, if he fails, at least fails while daring greatly.”

5. If you love lentils like me, you can stay warm this weekend with this healthy lentil soup I made this week. Delicious.

Vegetable and Lentil Soup
serves 8

Ingredients
3/4 of a 1 pound bag of green lentils rinsed
Boiling water
1/4 cup extra-virgin olive oil
1 onion, chopped
3 medium garlic cloves, minced
2 large leeks, chopped
1 tsp Kosher salt and freshly ground pepper to taste
1 tsp dried thyme
1 tsp ground cumin
6 celery ribs, diced
6 medium carrots, diced
2 quarts chicken stock
1 cup water
1/4 cup tomato paste
2 tablespoons dry red wine
Freshly grated Parmesan cheese, for serving

How To
In a large heat-proof bowl, cover the lentils with boiling water for 15 minutes. Drain, rinse and set aside.

Heat olive oil in a large pot. Add the onions, garlic, leeks, salt, pepper, thyme and cumin and cook over medium heat, stirring occasionally, until the vegetables tender, about 20 minutes.

Add the celery and carrots and cook until they begin to soften, about 15 minutes.

Then, add the chicken stock, water, tomato paste and lentils to the pot.

Increase the heat to high, cover and bring to a boil. Uncover, reduce the heat to low, stirring occasionally, until the lentils are tender, about 1 hour.

Stir in the red wine.

Serve hot with a sprinkling of Parmesan, and croutons if you desire.

{image via Sugarboo Designs, Lavender Fields Online…we love Sugarboo!}

spun in a web of…

glue!

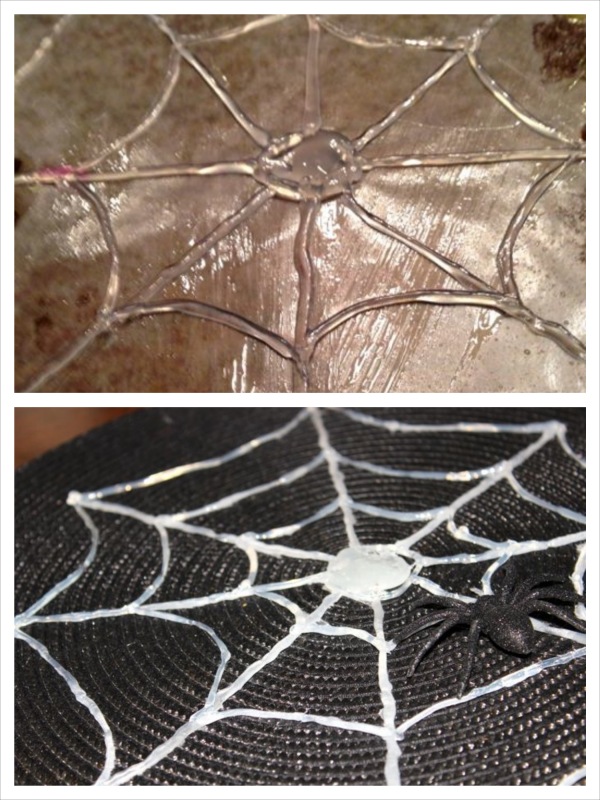
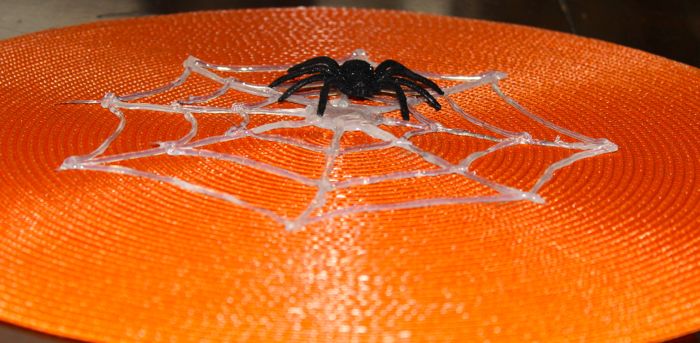
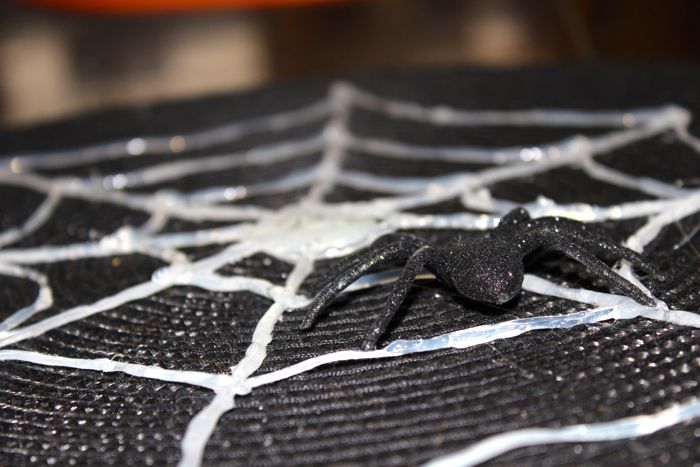
Looking for a super-duper easy and cute Halloween DIY? Look no further. Spin your own spider web’s this Halloween…using a hot glue gun. I used my webs as an accessory for a festive table setting, but these can be hung or displayed in so many ways.

All You Need:
Hot Glue Gun and Glue Sticks
Wax paper
Olive Oil {an oil spray may work too}

How To:
Cut the wax paper into a square, or the shape/size you want your spider web to be.
Spray, paint, or rub the olive oil onto the wax paper with your fingers. I found that the olive oil helped the glue not to stick when I pulled it from the paper.
Use your hot glue gun and design. I free-handed the webs {clearly}, but I suppose you could put a stencil/photo under the wax paper, and follow the lines.
Once your design is finished, gently pull the glue web from the wax paper. If it sticks in a few spots here and there, just gently pull the wax paper from the glue.

More images of my complete Halloween table setting, and other fun DIY projects to come this week.

{image via Tutto Bella}

ikea hacks

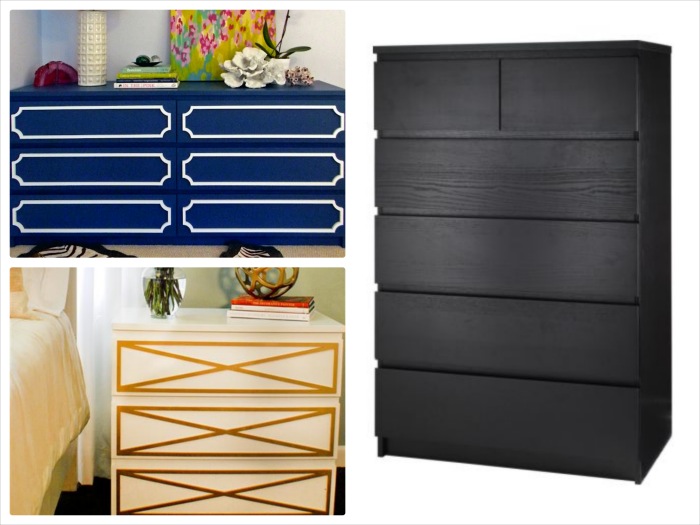
So, they are called Ikea Hacks. When a talented individual sees potential with a low-priced item from Ikea, they purchase, customize with a fabulous embellishment or full transformation with their DIY ideas – and that’s an Ikea Hack. Yes, there is even a site dedicated to Ikea Hacks – Ikea Hackers. Definitely check it out.

When I see some transformations – and I mean these are some transformations – from Ikea furniture, I am amazed, and blown away by people’s talent and creativity. I’m beyond impressed with the projects below that make the price tag for their furniture look high-end and unique.

The Ikea Malm Dresser {there are many variations and sizes} makes for a perfect blank slate and with O’verlays, the creativity is endless. Check out all the O’verlays here.

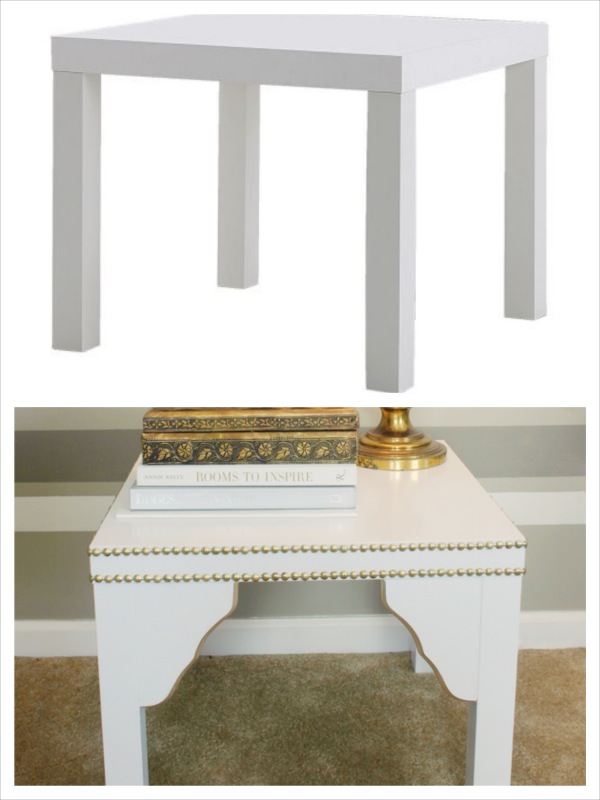
Ikea Lack Table
Lacquer and Linen made a beautiful transformation. For tutorial, visit here.

Little Green Notebook turned Ikea’s Vika Table into a glamorous white and gold workspace. Tutorial can be found at White and Gold Design.

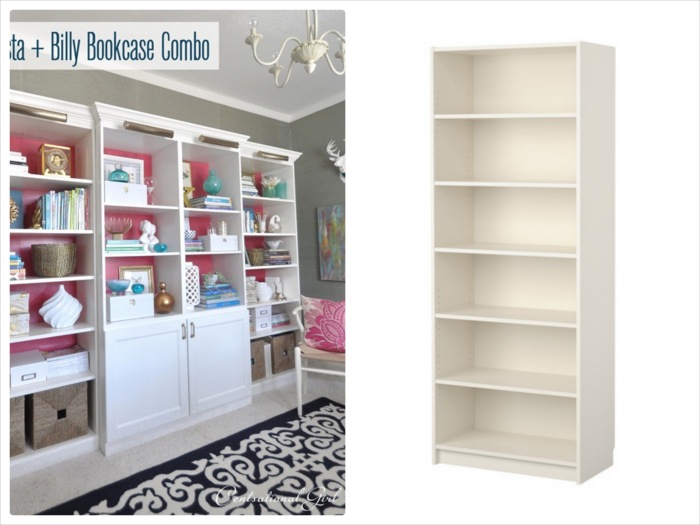
Centsational Girl always amazes me with her keen eye for home style and she totally impressed me with this upgrade of the Besta, Billy and Brass Bookcases from Ikea.

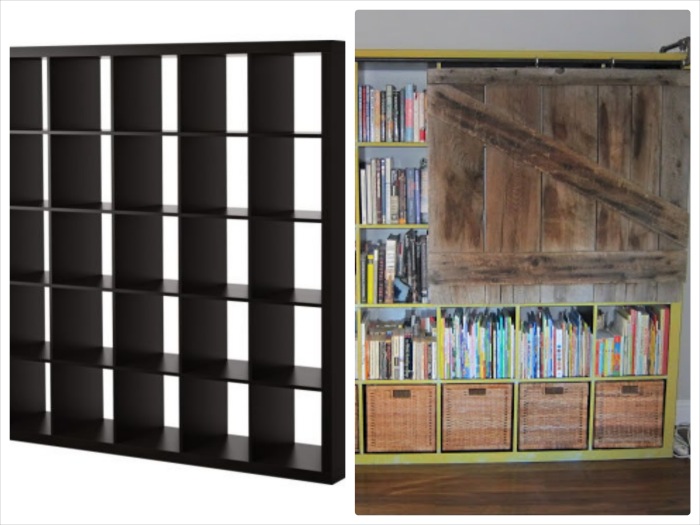
Ikea Hackers featured the Expedit Bookshelf in a unique and rustic way. Directions here.

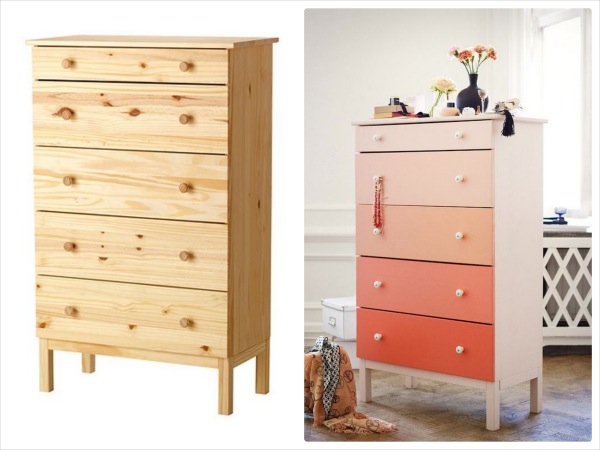
House and Home Ikea Tarva Dresser makeover is bright, colorful and we love the ombre effect.

{images via Laquer and Linen, Little Green Notebook, Ikea, Centsational Girl, Ikea Hackers, House and Home and O’verlays}

coffee for 2

I wanted to spruce up a wedding gift for an upcoming shower with a cute prop to go along with the gift. I bought the bride a complete set of “Coffee” Mugs from Crate and Barrel, but instead of just giving her a wrapped package, I made a DIY Chalkboard tray for the couple so they could have coffee for two together…hopefully forever! Here’s how you can do it too…for a gift, or for yourself!

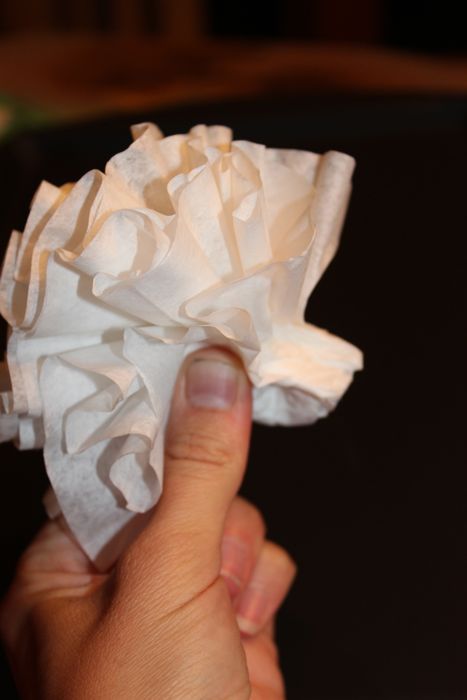
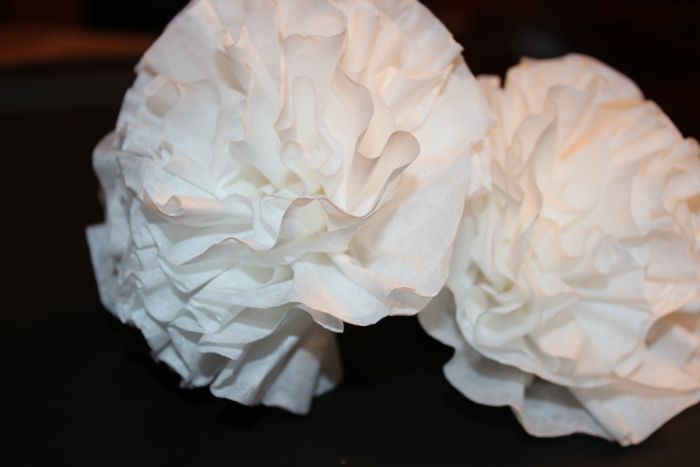
First I made coffee filter flowers.

You’ll Need
30-35 coffee filters
A stapler
Scotch tape or painters tape

How To
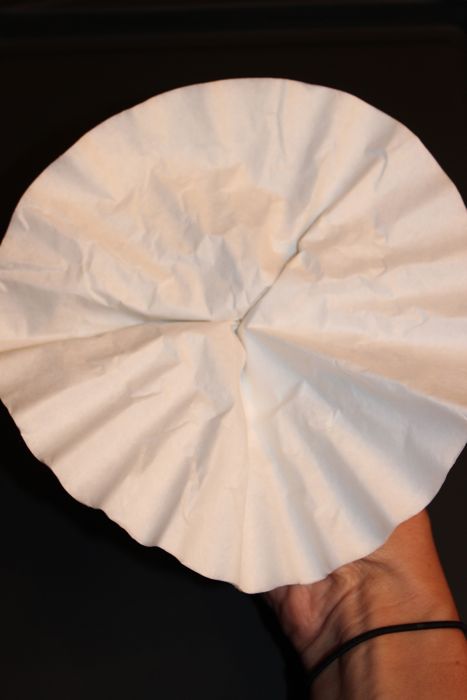
Stack 5-6 coffee filters on top of one another.
Fold the coffee filters in quarters, and then open again {you will just have ‘seams’ from the fold}.
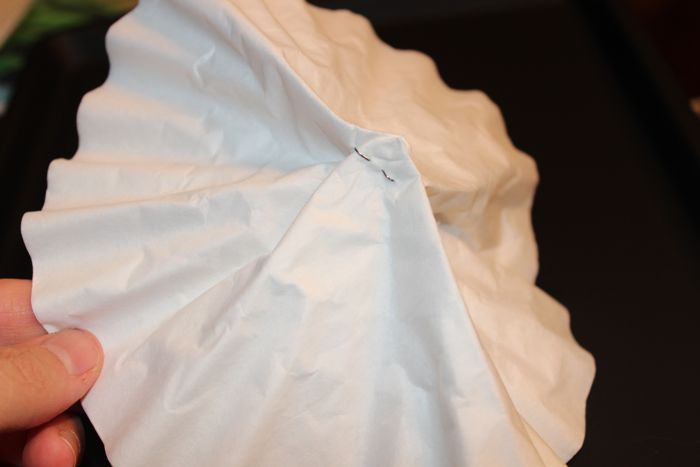
Use your fingers to pinch the bottom of all the coffee filters so you have four seams, and then staple it on the bottom.


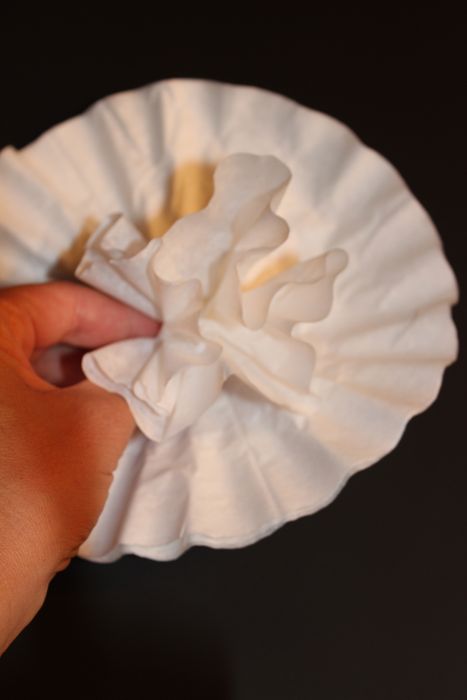
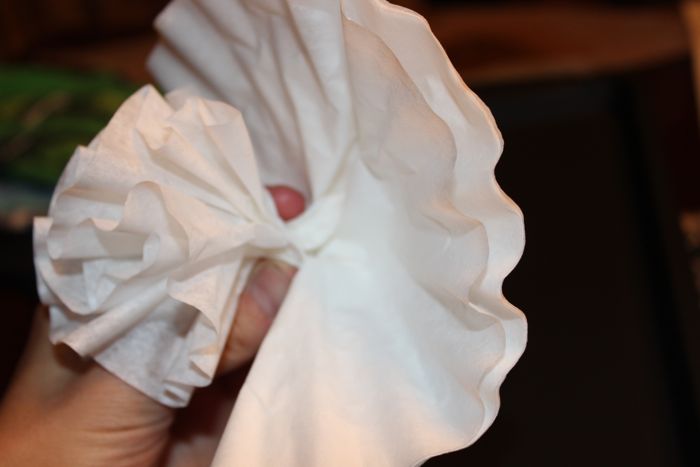
Then pull each filter up one at a time, and bunch it together.


Continue to do that, until you have gathered each coffee filter around the center, and you have a flower. From the gathering process, you will have a ‘stem’ on the bottom, so wrap a piece of tape around the ‘stem.’

Then, I made the tray.

You’ll Need:
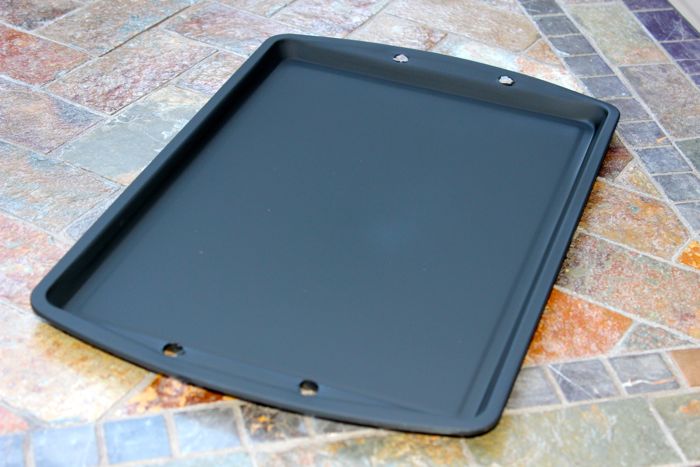
A cookie sheet
Chalkboard Paint
Rope
A Drill
Chalk

First I primed the cookie sheet with a Primer, spray painted it with Chalkboard paint, glued handles on the sides and Voila, right? Nope, not the case for me.  An hour and a half before the party, the gold handles fell off {and I used Gorilla Glue}, along with some paint. So, when I saw rope on the garage floor, I got to work on Plan B {my dad came through like a super hero…despite his dislike for DIY projects}, and then I had to re-paint it. Honestly, it’s cuter than Plan A – it just stressed me out more than I intended…and made me late for the shower.

How To
Use an electric drill to drill 2 holes on each side of the cookie sheet. Thanks Dad!
If you have pieces of metal sticking out or the edges are rough, use a sand block or a hammer to smooth it out.
Cut pieces of rope for the handles.
Prime the cookie sheet with paint primer.
Spray paint the cookie sheet 2 times {allowing appropriate time in between each layer for it to dry}.

Wrap a piece of duct tape around one end of the rope so you can easily fit it into a hole. On the other end, tie a knot.
Insert the rope, duct tape end, from the bottom-up of one hole, insert it down in the other hole, tie a knot, and then remove the duct tape and cut the leftover rope.


Write “Coffee for 2” on the cookie sheet, or even a game of tic tac toe.

Fill each mug with coffee filter flowers {I used Scotch tape to keep the flowers in place in the mugs}.

Add the mugs, a package of coffee, an ‘I love you more than coffee’ tag {from Fleur de Lis} and you have yourself an adorable prop for your gift.

{images via Tutto Bella}

spread the love…and the pesto

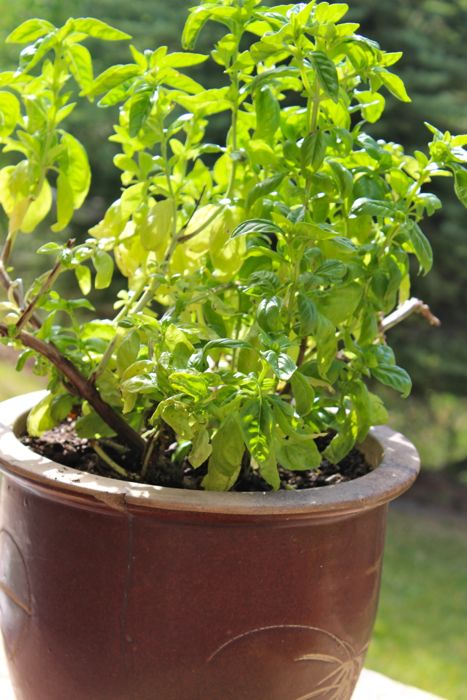
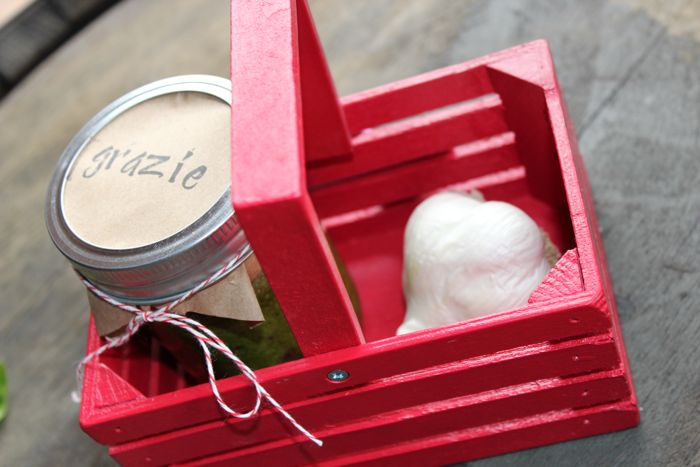
This summer, I’ve been obsessed with fresh basil. I’ve always loved it, especially fresh pesto. Basil has been one of my successful herbs in the garden this summer, so I’ve experimented with pesto recipes, and since this week is all about the garden, today I’m sharing a pesto recipe and how to make it a lovely hostess gift, or party favor. Because who wouldn’t love fresh pesto and an easy, already-prepared dinner for a gift?

{Sandy’s basil plant}

Basil, Spinach and Walnut Pesto
yields 1-2 cups
{I usually make Pesto with basil and pine nuts, but since I was out of pine nuts and I wanted to add Spinach for the kids, I modified it}

Ingredients
2 1/2 cup fresh Spinach
1 1/2 cup fresh Basil
1/3-1/2 cup Olive Oil
1/2 cup walnut
2 garlic cloves
1/2 cup Parmesan Cheese
Salt and pepper to taste

How To
Add basil, spinach, garlic, walnuts, parmesan cheese, and olive oil in a food processor, then add salt and pepper.
Puree until smooth.
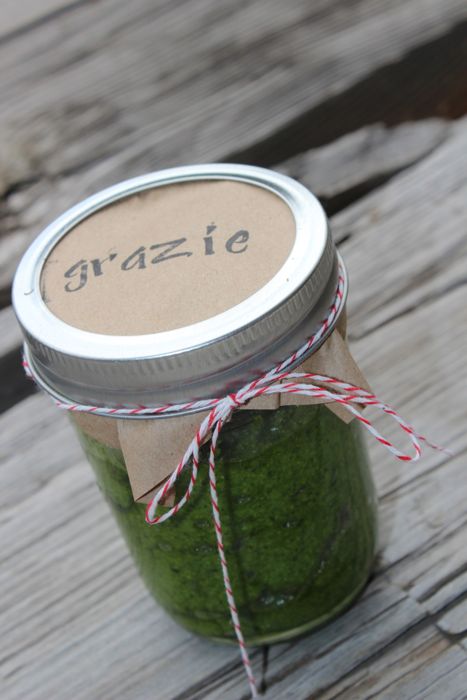
Find a cute mason jar or small container for your homemade pesto, and if you want to dress it up a bit, add a bow and a label or Kraft paper like I did with ‘grazie’ stamped on it.


Other DIY Garden-Inspired Hostess Gifts
Give an upcycled mini herb garden.
This Lemonade Summer Cooler idea is absolutely adorable.
Personalized Coasters is a lovely gift and a fun DIY project for fresh drinks from the garden.
We love this hand-tied bouquet, wrapped in a nice tea towel.
Hot pads with fresh baked bread is yummy and useful.
DIY homemade Lavender Linen Spray sounds blissful…and necessary for my bedtime routine.

{images via Tutto Bella}