valentine’s day printables

We have cutesy kid-and-adult-friendly DIY Valentine’s for…all the hot mama’s, the stud{s} in your life, all the cutie’s and for those who make you giggle! Some are healthy and others are not, but they are all adorable, and for Valentine’s Day, that’s all that really matters, right?

The original and new files {revamped with stripes} are available for a $3 purchase here.

DIY Adult Valentine’s

you are one hot mama
{fill the bag with hot tamales, fold over the custom tag and staple closed}

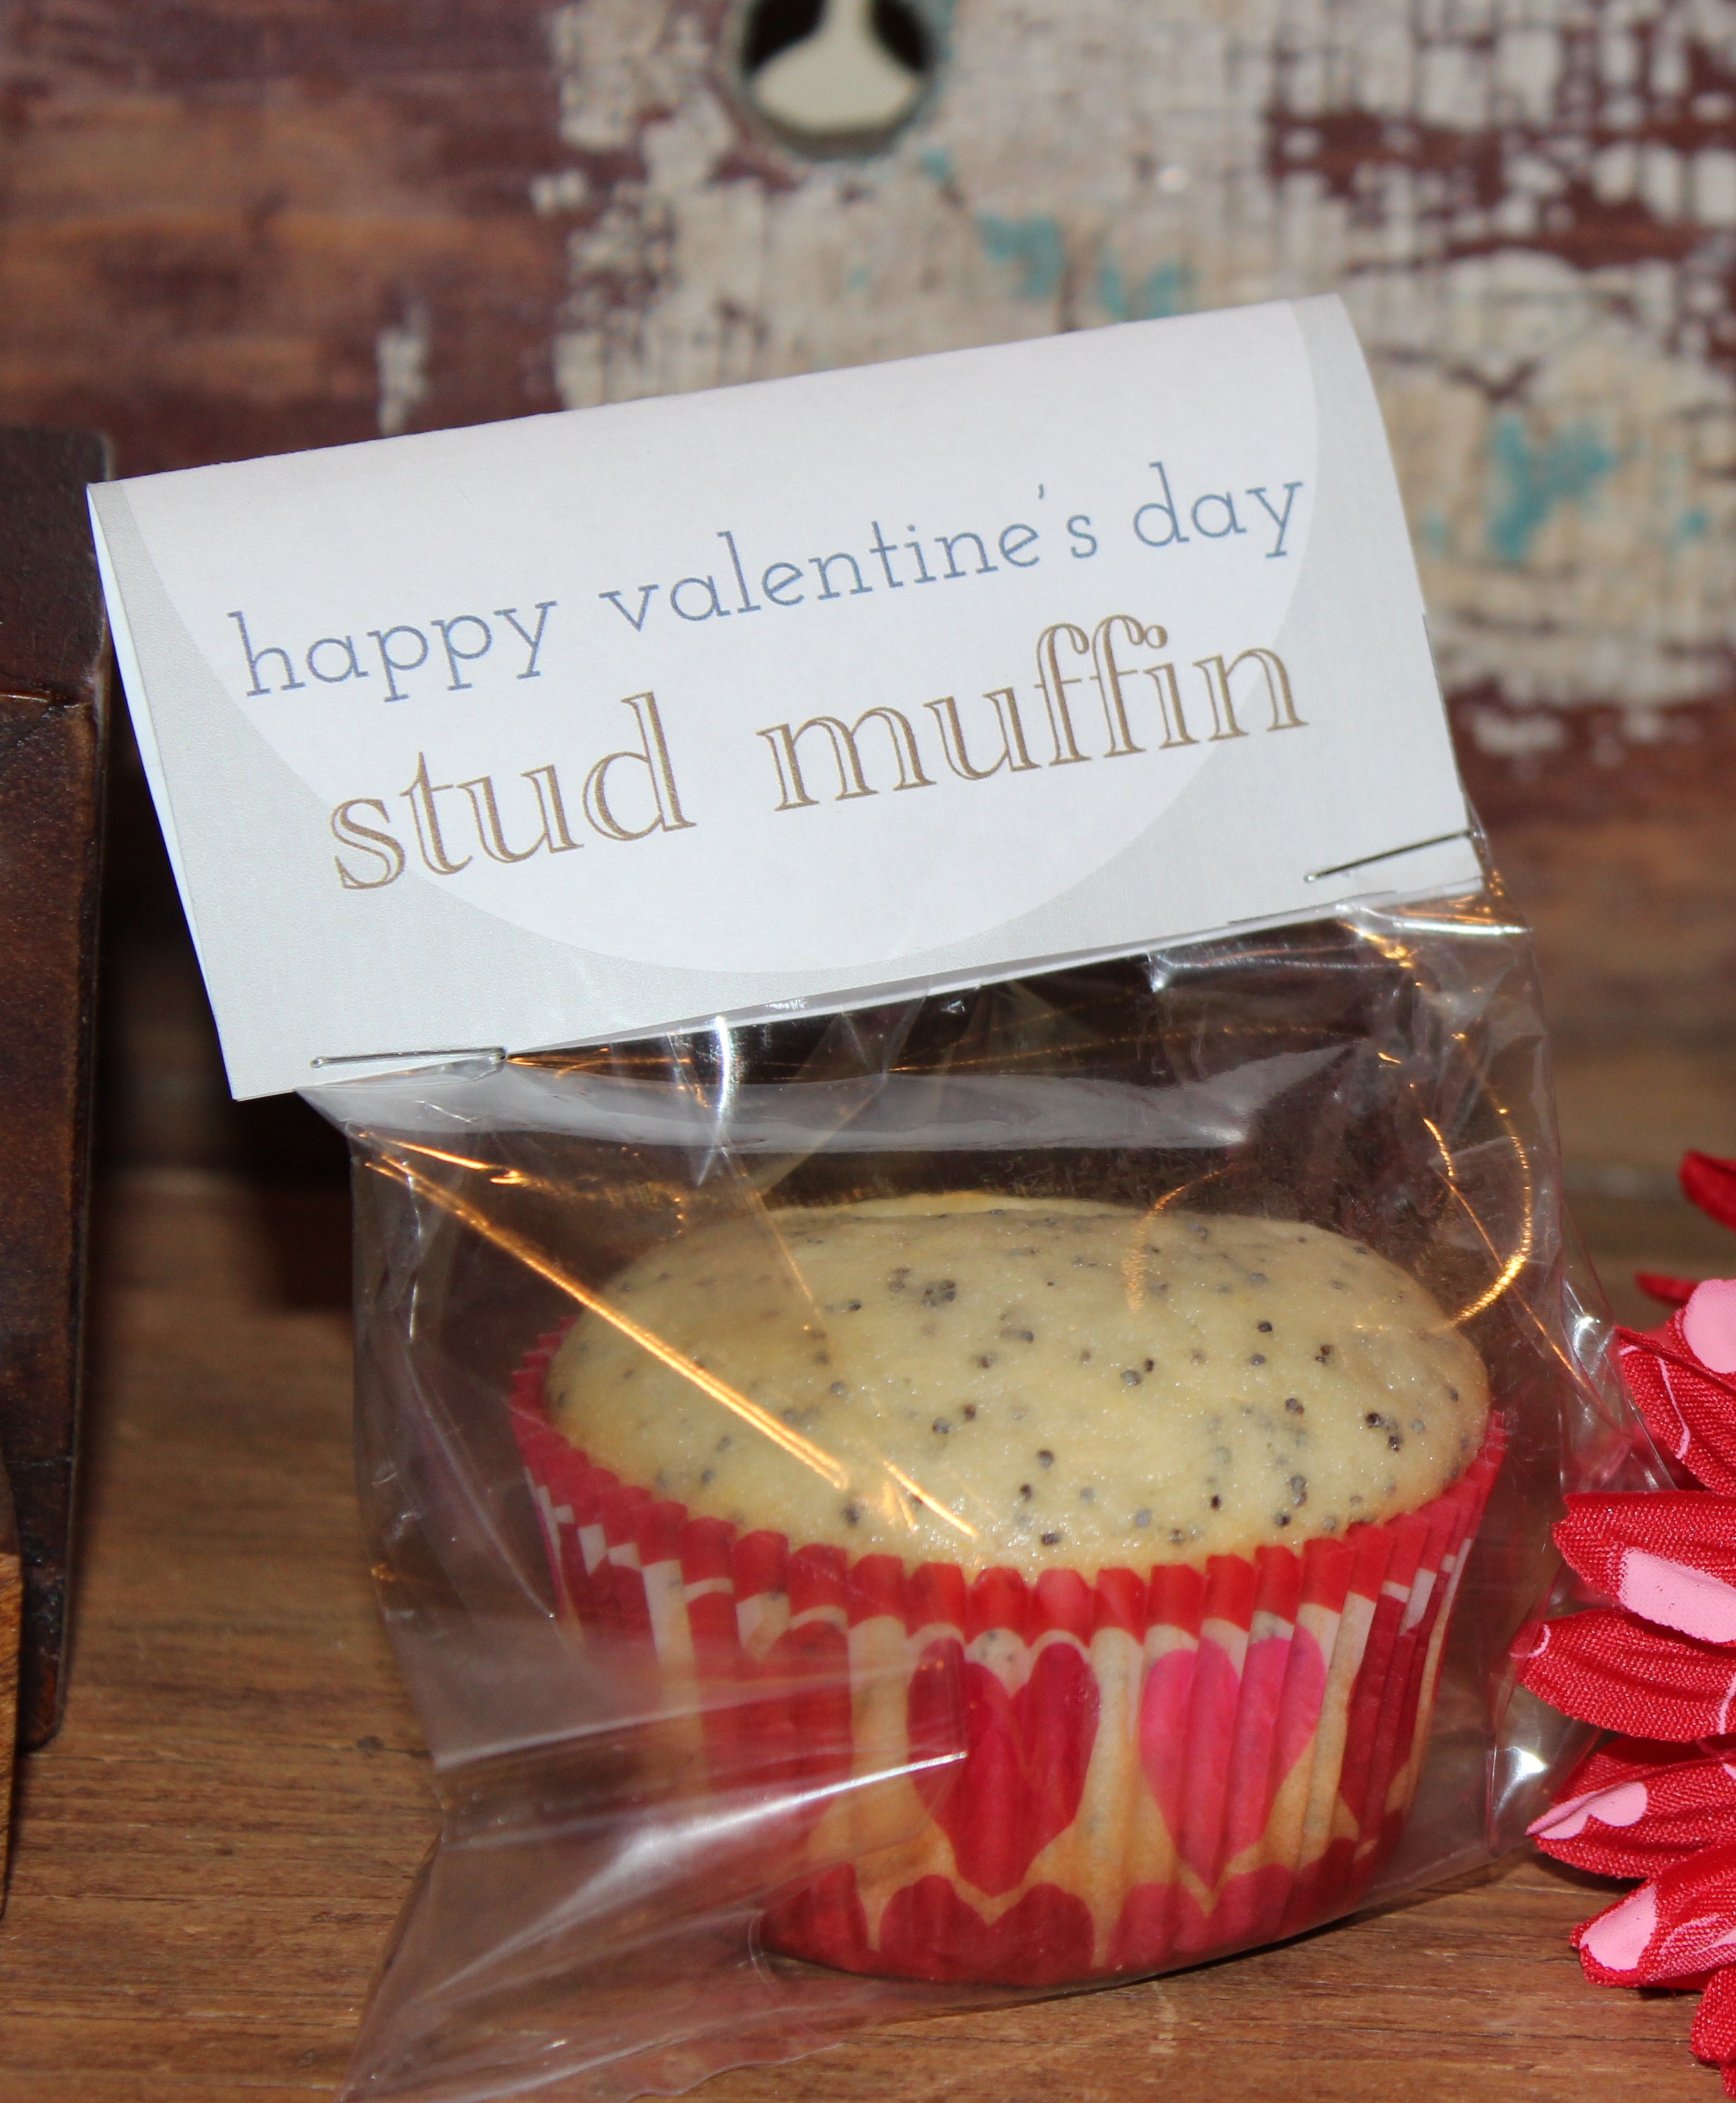
happy valentine’s day stud muffin
{fill the bag with a homemade poppy-seed muffin, fold over the custom tag and staple closed}
Poppy-seed Muffin Recipe
Makes 12 muffins
recipe adapted from our wonderful mom

Add the following ingredients to a large bowl and mix:
2 cups flour
1/8 cup poppy seeds {a used a little more, but less than 1/4 cup}
1/2 tsp salt
1/4 tsp baking soda
1 cup sugar
1/2 cup butter

Add 2 eggs{1 at a time} to the above ingredients and mix well

Add 1 cup plain yogurt and 2 tsp. almond extract and mix into the rest of the mixture.

Put the muffin mixture in baking cups and bake in the oven on 400 degrees for about 15-20 minutes {It took me about 18 minutes}.

DIY Kid Valentine’s

i think you are quite a cutie
{fill a bag with clementines, fold the custom tag over the top of the bag and staple closed}

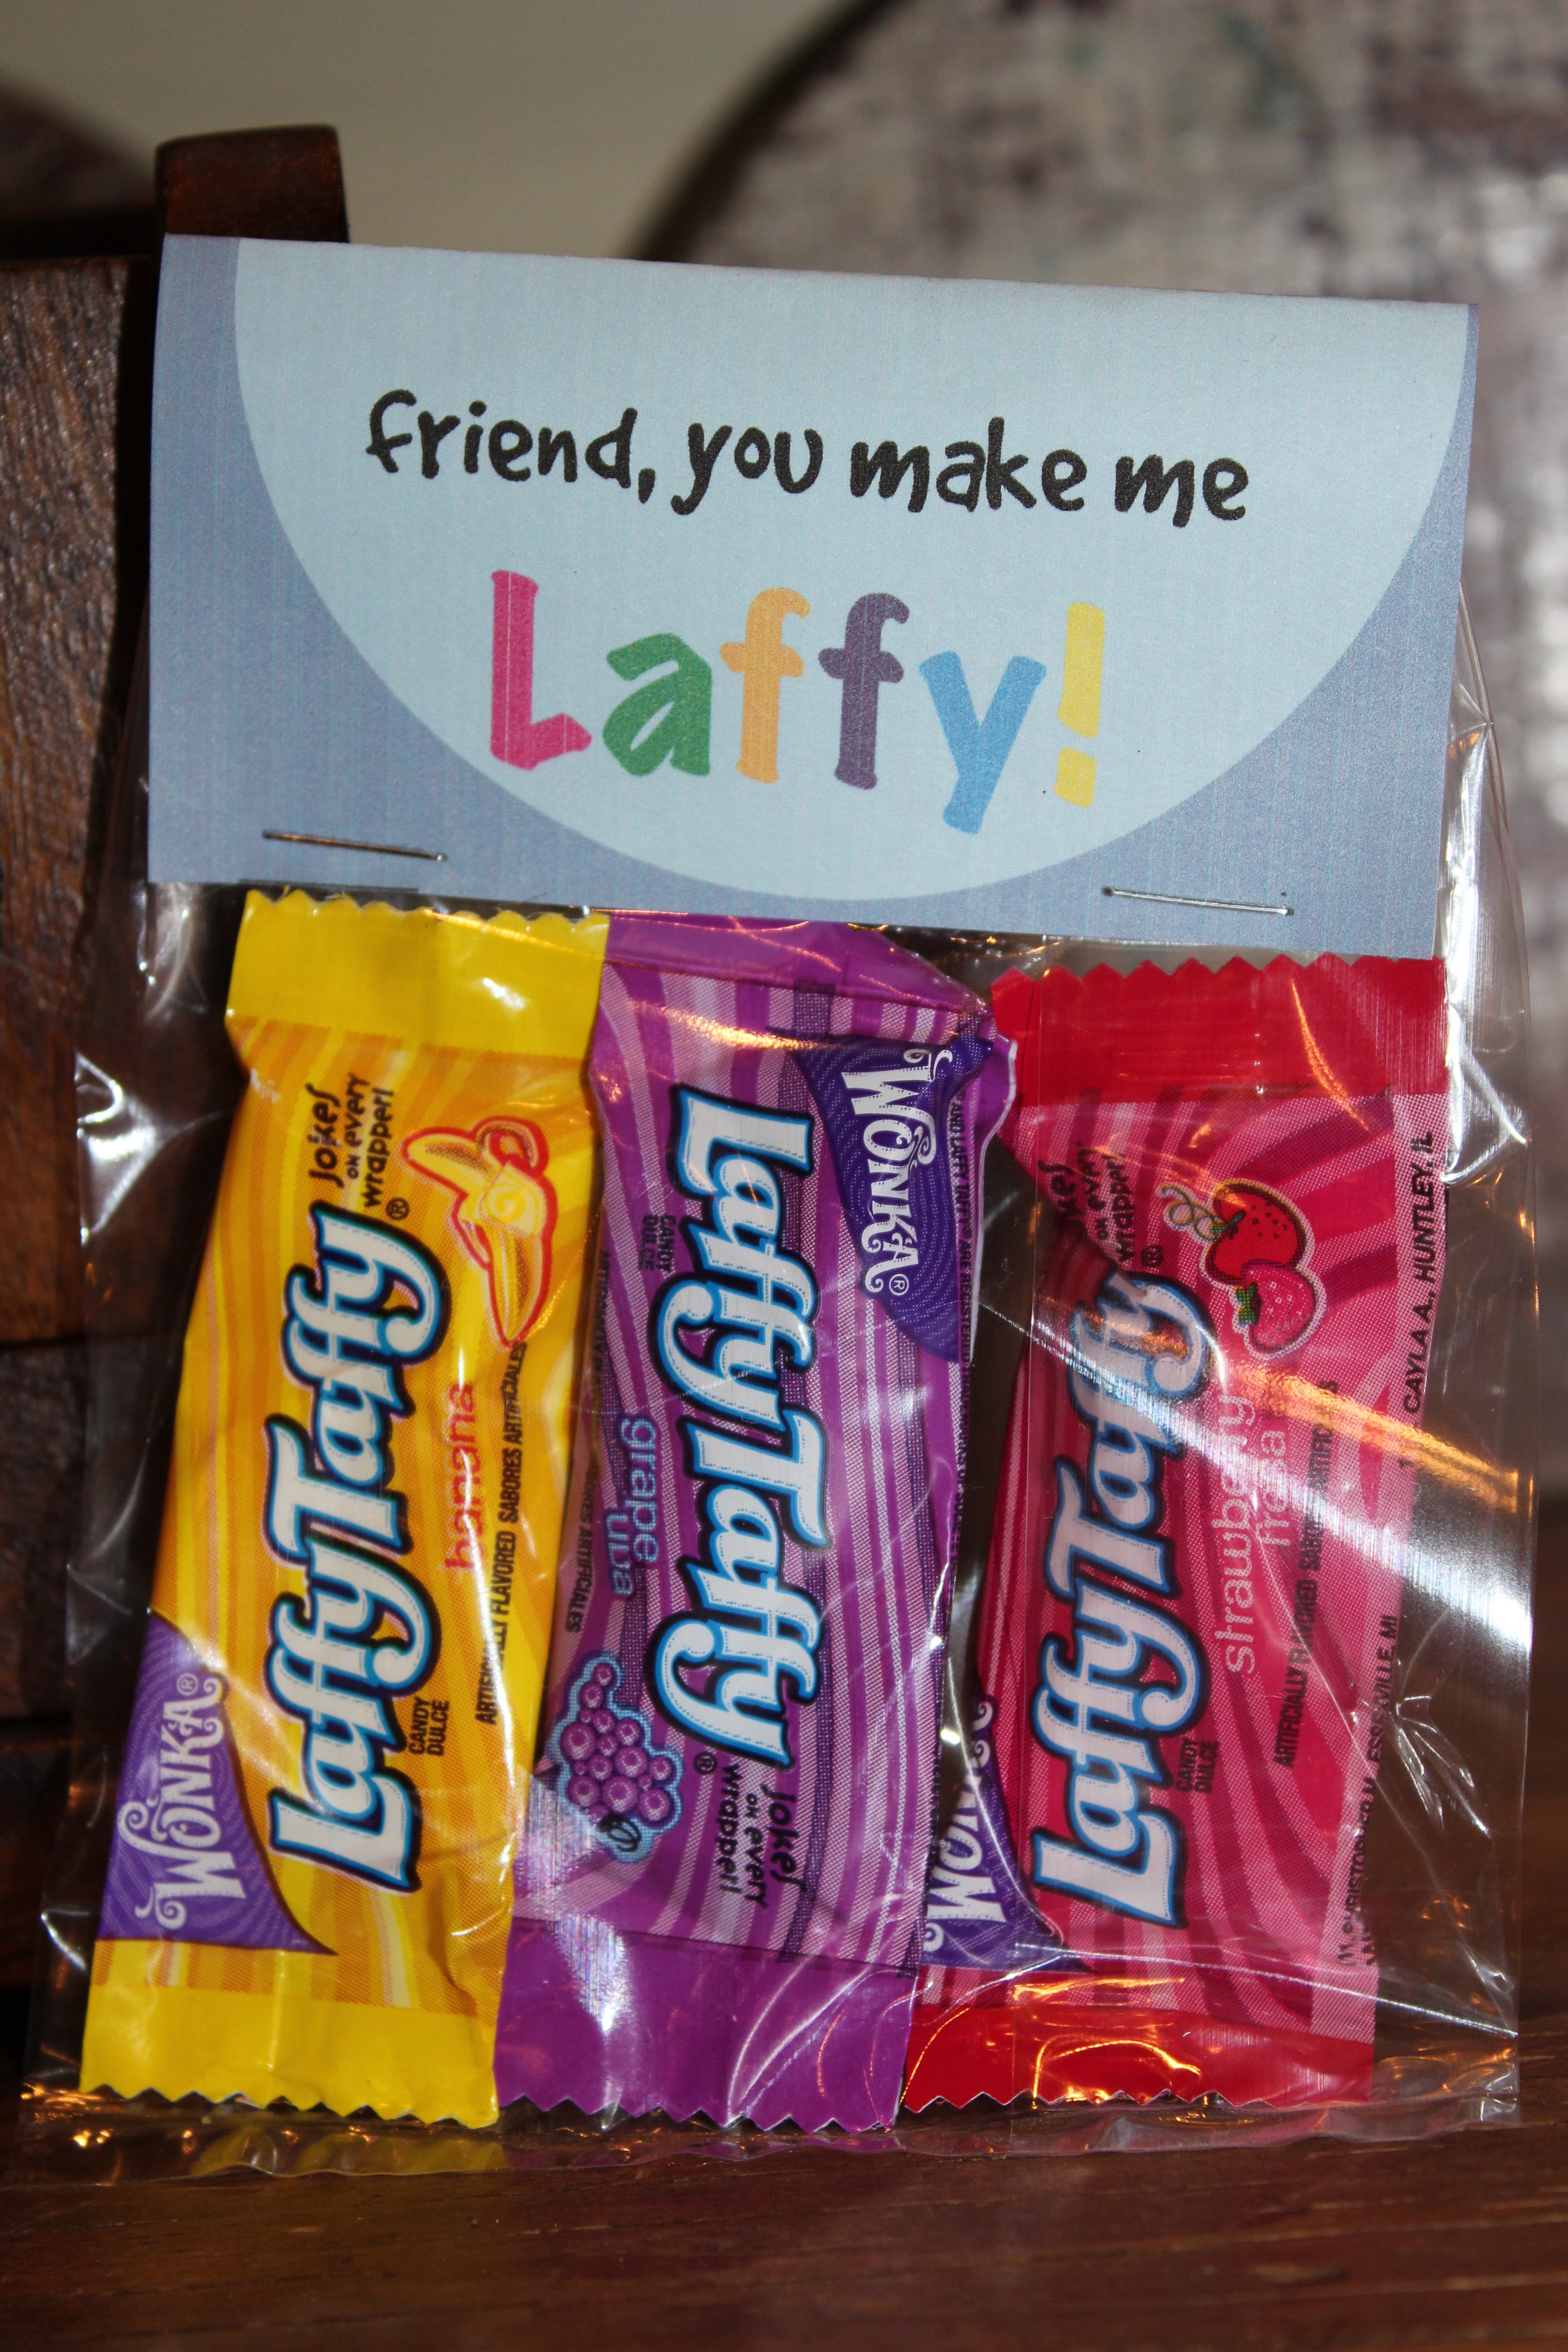
friend, you make me laffy
{fill the bag with laffy taffy for your silly friends, fold the custom tag over the bag and staple closed}
The original cutie file {the orange bubble}, can be bought here.
The original laffy taffy file {the blue bubble} is available too.

{images via j. sorelle}

Baptism Party and DIY Candy Favor

Before the holidays we celebrated our son’s baptism on a snowy Saturday at the same church we were married in. The whole family celebrated the occasion, which was so special for us. With little time and no sleep, I wasn’t able to go ‘all out’ with party details, but I was able to create a couple last-minute projects with some extra burlap I had lying around. Love me some burlap!

Burlap Banner
Use a pennant template to cute burlap triangle pennants
With stencils and white acrylic paint, use paintbrushes to paint a letter on each pennant.
Cut a ribbon the length of the size needed.
Use mini clothes pins to hang.

  Gold Pinecone Branches
Gather pine cones and branches.
Spray paint the pine cones gold {or color of your choice} and use a hot glue gun to glue them to the branches.
I wanted soft, neutral tones, so baby’s breath and hydrangea were the perfect wintry white combo to add to the bud vases.
Wrap the vases with a strip of burlap and voila!

I tucked  an Irish blessing into folded napkins at each place setting. It read:
Jackson,
for your baptism day
may God grant you always…
a sunbeam to warm you
a moonbeam to charm you
a sheltering angel so nothing can harm you
laugher to cheer you
faithful friends near you
and whenever you pray
heaven to hear you.

Each party guest received a baptism favor filled with candy and of course a ‘sweet thought’ to go along with it…
i’m BURSTing with happiness that you celebrated my baptism with me today.
now that i’m o’FISH’ially ‘in’ with the Lord,
here are some holy treats and tips to help you remember to keep the faith in your daily life…

daily prayer is a LIFESAVER 
read the bible NOW AND LATER
God puts everyone and everything in your life for a REISEN
God ROCKS!
love,
Jackson 

Candy Key:
BURSTing: Starburst
o’FISH’ially: Swedish Fish
LIFESAVER: Lifesavers
NOW and LATER: Now and Later
REISEN: Reisen
ROCKS: Pop Rocks

To buy the favor tag file {it’s a cuter file…Jenna re-styled my last-minute tags}, please visit our etsy store, Fleur de Lis, a paperie here.

{images via Tutto Bella}

Last Minute DIY Christmas Gift Ideas

If you’re like me, you’re still not done with Christmas gifts this year and Christmas is less than 2 days away. Don’t panic and take a deep breath. You’re not too late {well, a little}…just make your way to target or walmart, craft store or your closest “carry almost everything store” and make one of these lovely, thoughtful and DIY gifts. Channel your ‘inner-Martha.’

Nail Polish ‘MistleTOES’, Supreme Courtney

Holiday Cinnamon Stick Candle, Paula Deen 

Personalized Hot Cocoa Mug, Mountainside Bride

Grinch Pills, Craft Fabulous

DIY Recipe Book, The 36th Ave

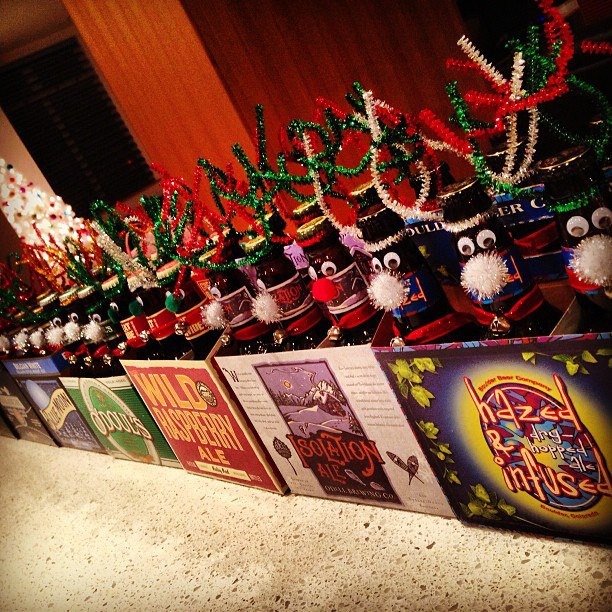
Reindeer Beer {fun party favors for your friends}, friend via Facebook

Money Tree, Then She Made

{images via Paula DeenCraft Fabulous, Mountainside Bride, Supreme Courtney, Then She Made, The 36th Ave}

peppermints on pizzazzerie

Today is such an exciting day for us here at Tutto Bella. Courtney, the talented and adorable woman behind the wildly successful entertaining site Pizzazzerie, featured our Peppermint Wonderland photo shoot today. Check out the post here.

We spent some time last week broadening the potential for our peppermint candy serving tray we featured last year, and we’re thrilled the results. Not only can you create a tray for your holiday party, but now you can create a frame and coaster too. See all the fabulousness and tutorial at Pizzazzerie.

And, it gets even better. We are thrilled to offer the set red and white chevron stationery from the shoot at our etsy store for a special holiday price. Click here to view and order.

Happy Holidays!

Thanks to the wonderful team we worked with to create the Peppermint Wonderful…

Location: Mom and Dad’s House {thanks mom and dad}…yes we pulled this off with 4 kiddos running/rolling around
Photography:
 Meredith Moran Photography
Marquee Lights: Saddleshoe Signs
Tabletop Accessories and Stationery: Fleur de Lis, a paperie

DIY Gratitude Journal

The list of things and people I am grateful for is quite lengthy. I have lived a very blessed life with ample opportunities and good, wonderful people by my side. Most days I remain very optimistic and grateful for all that I have been given, but I have bad days too, and forget to take the time to think about all that is good in my life. One way to really focus on the positive instead of the negative is to start a gratitude journal. It’s simple – find something you are appreciative or grateful for everyday – just one thing, and soon you will begin to feel a shift in your thinking. You will develop a new perspective on life, and begin to find more joy and the beauty in all things and people around you.

So, on this holiday of Thanksgiving, where we take the time {hopefully} to sit and reflect on what and who we are grateful for, spread the gift of gratitude to your friends and family.

A gratitude journal would make for a lovely hostess gift, and if you’re hosting, it is a great place card or favor. You can buy beautiful journals, or if you want to keep things simple and on budget, buy a small hardbound book or journal. Wrap it old-school style {the way you use to cover your school books} with Kraft paper, add a library card due date ‘gratitude’ label with the date of this year’s Thanksgiving and sign your name at the bottom. It really is the gift that keeps on giving. Even if you don’t have the means to buy a gratitude journal for others this year, make it a point to start one for yourself.

If you forgot how to cover a book, here’s a few tips that may ‘spark’ a memory from your school days…

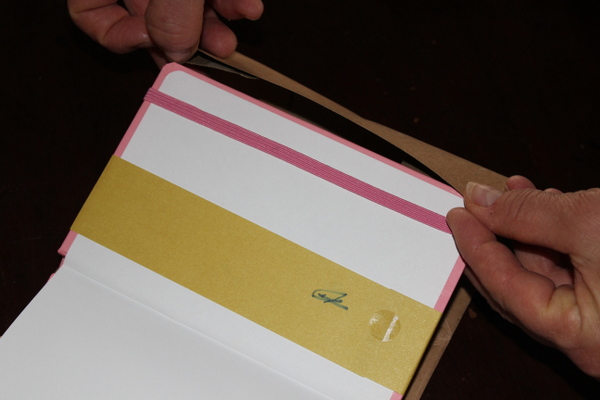
Cut Kraft paper as large as the book, plus an additional 2 inches on the top, bottom and 3-4 inches on the side. Place book on the paper, and fold the top and bottom of the Kraft paper, so it is equally aligned with the top and bottom of the book.

Place the book on top of the folds, open the book and push the cover the book through the Kraft paper sleeve openings on the side. 
Repeat with the back of the book.

Using Word or Illustrator, create a gratitude journal label, print and tape to the cover of the book…or you can even use a sharpie to write ‘gratitude journal’ on the cover.
Tie a bow with twine and voila.

{images via Tutto Bella}