DIY Paper Stars and Fans to Decorate for the 4th of July

july-4th-red-white-blue-kid-family-picnic-astrobrights-paper-hanging-stars-diy

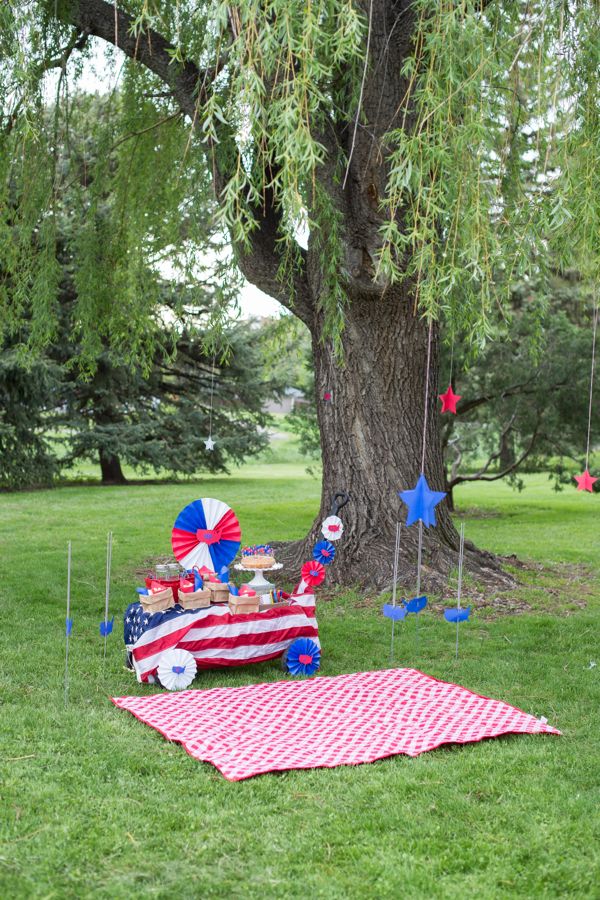
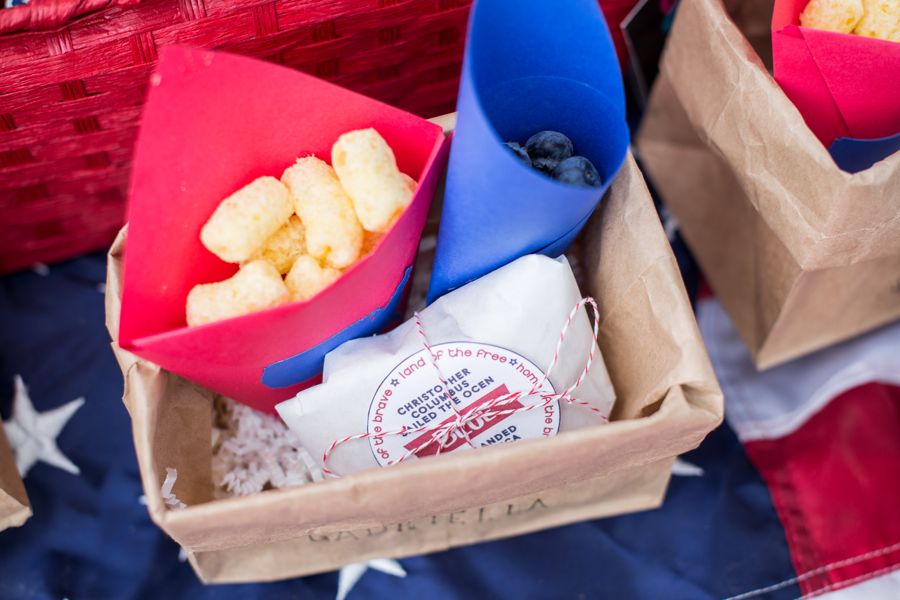
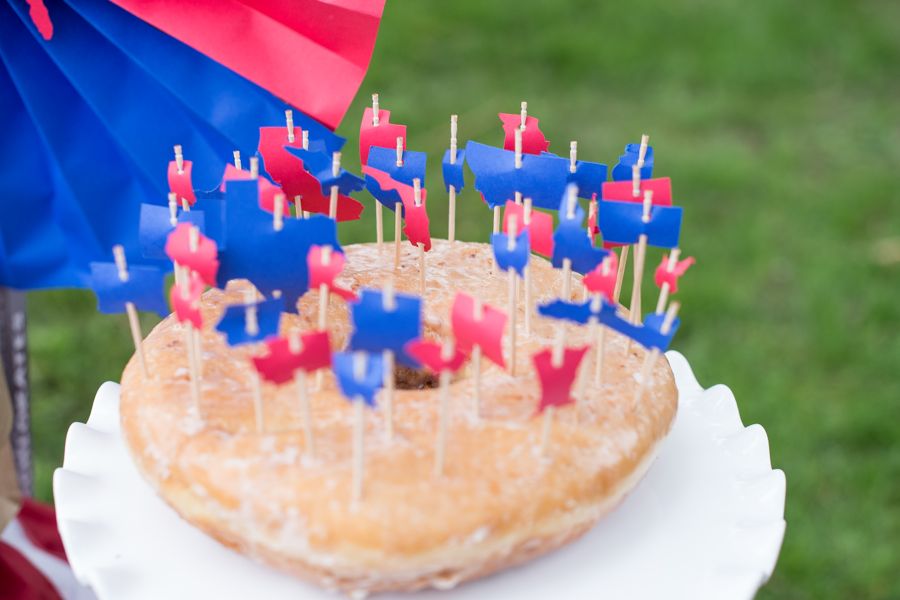
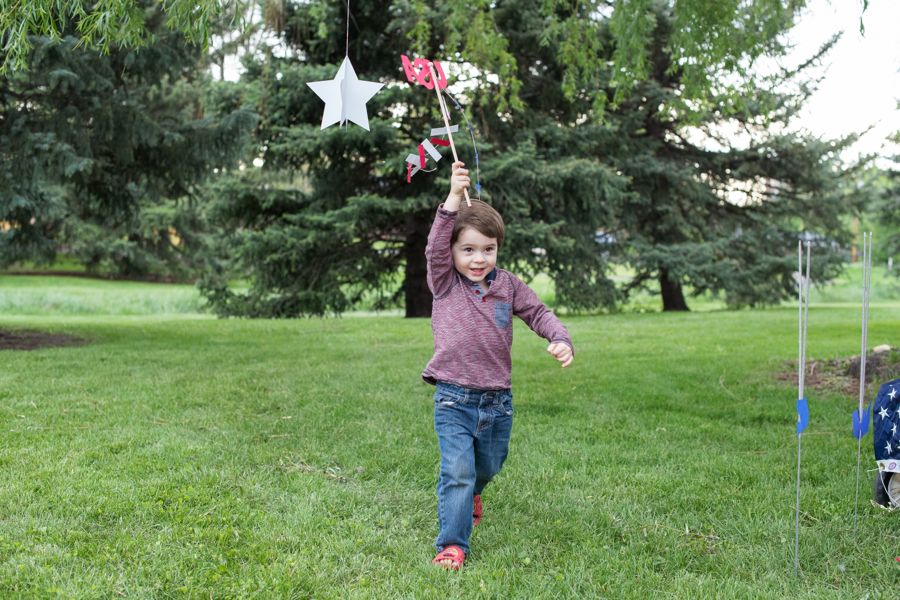
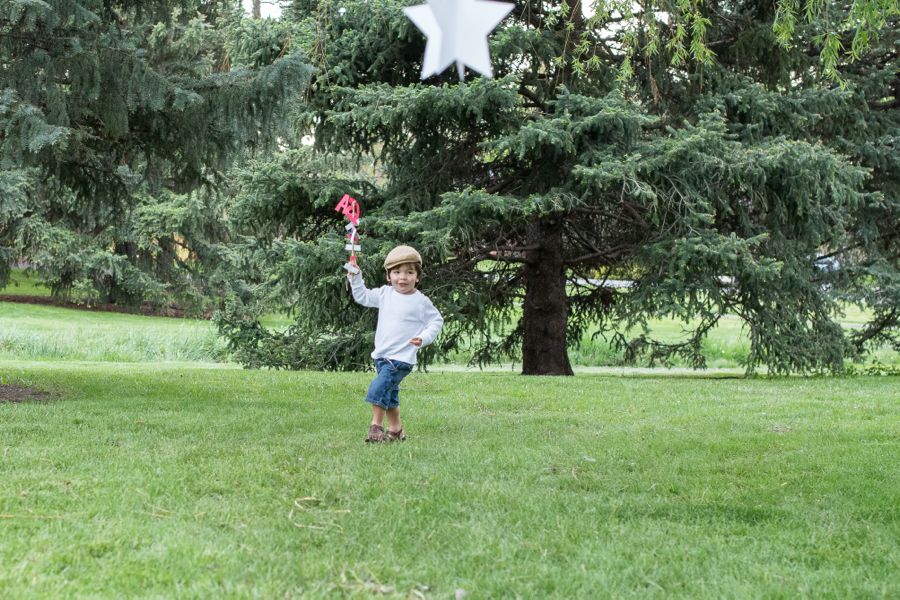
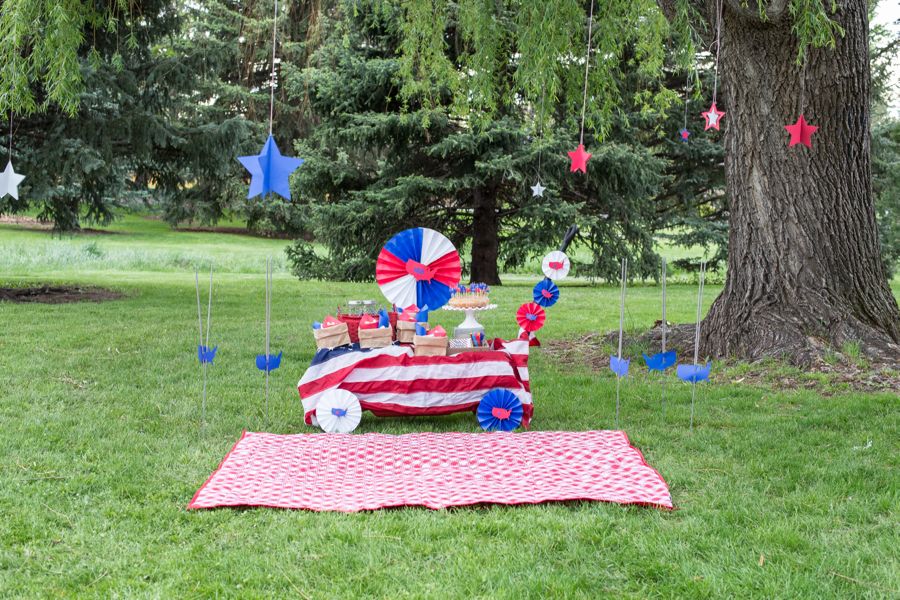
We had a blast at our #Colorize picnic with ASTROBRIGHTS® Papers, and really want you to have some red, white and blue fun under a willow tree, too, so here’s a couple DIY tutorials from the July 4th picnic. They are big impact, little effort, which means you have to do it.

Thanks to our friend and photographer, Meredith Moran Photography, for playing with us, and capturing great moments.
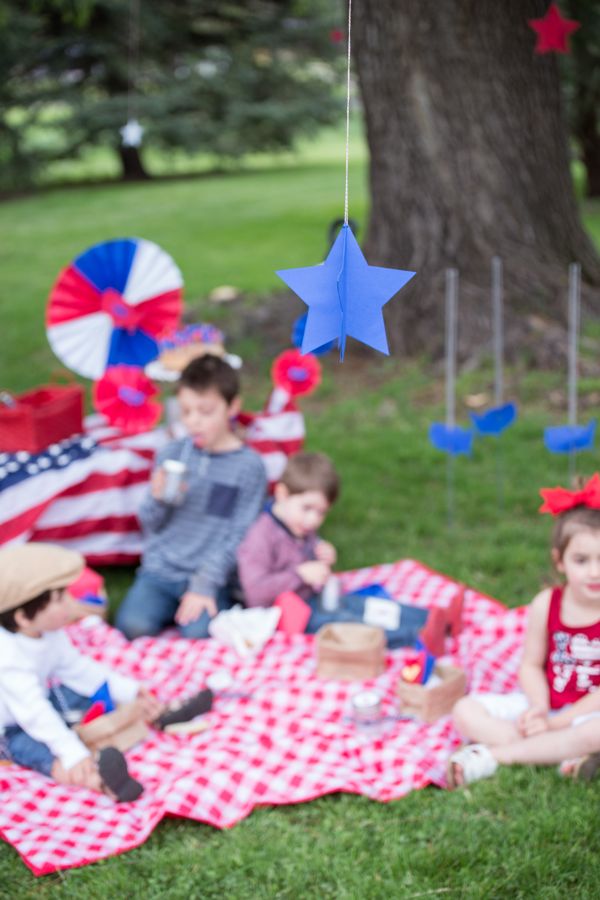
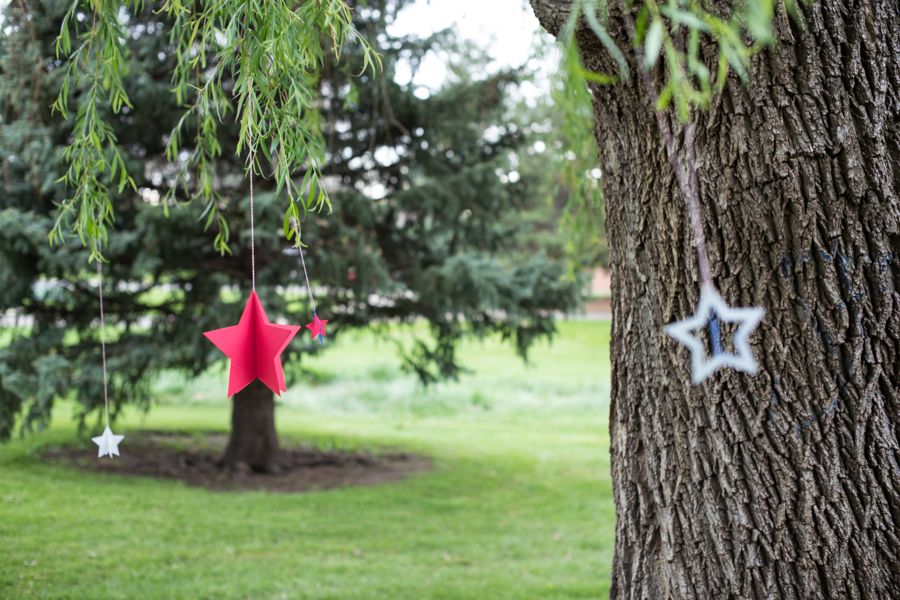
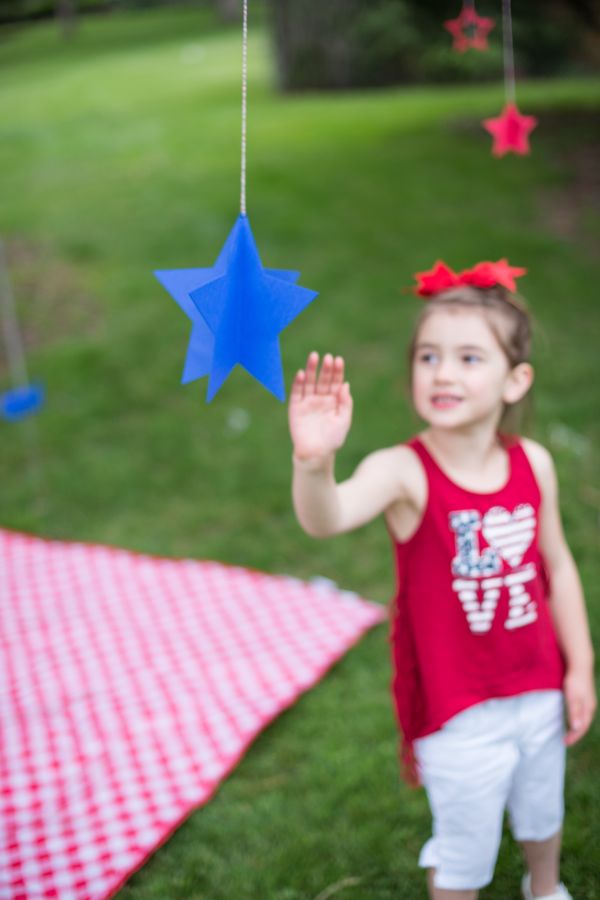
july-4th-red-white-blue-kid-family-picnic-astrobrights-paper-hanging-stars-diy

DIY 3D Paper Stars

Materials Needed:

Directions:

  1. Cut out 4 stars the same size.
  2. Fold each star in half.
  3. Add glue dots or dabs of glue to one folded side on the top, middle and bottom.
  4. Stack another folded star on top, and press to secure.
  5. Repeat step 4 until all stars form one, large 3D star.
  6. Punch a small hole on top of the star.
  7. Push red and white striped twine through the hole and make a hoop, then hang.
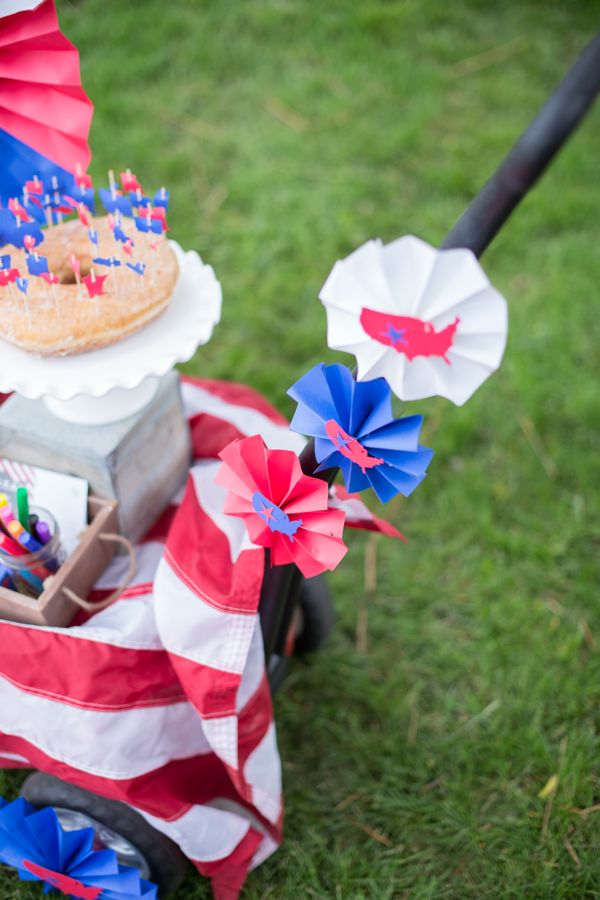
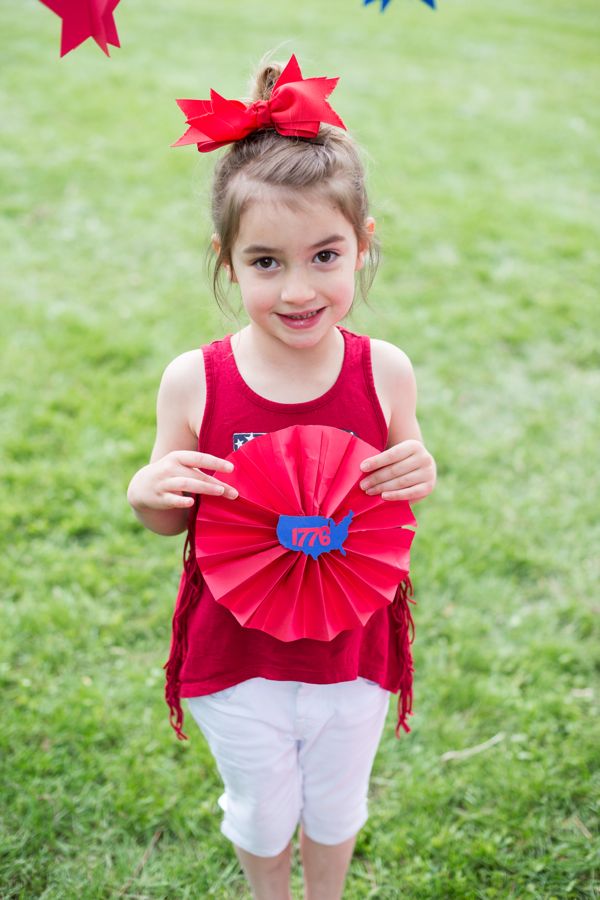
july-4th-red-white-blue-kid-family-picnic-astrobrights-paper-hanging-stars-diy

july-4th-red-white-blue-kid-family-picnic-astrobrights-paper-hanging-stars-diy

DIY Paper Fan

Materials Needed:

  • Double-sided tape
  • Hot glue gun
  • Paper
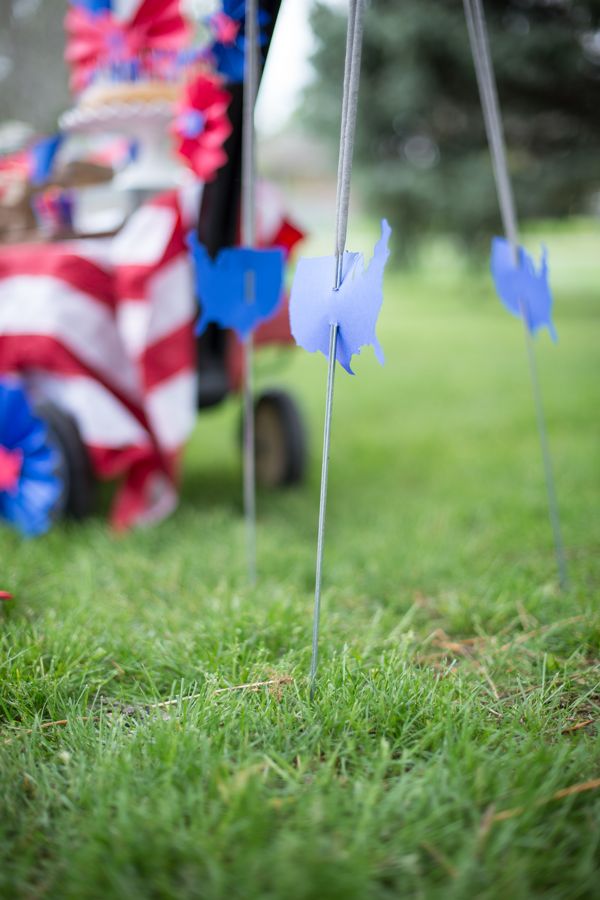
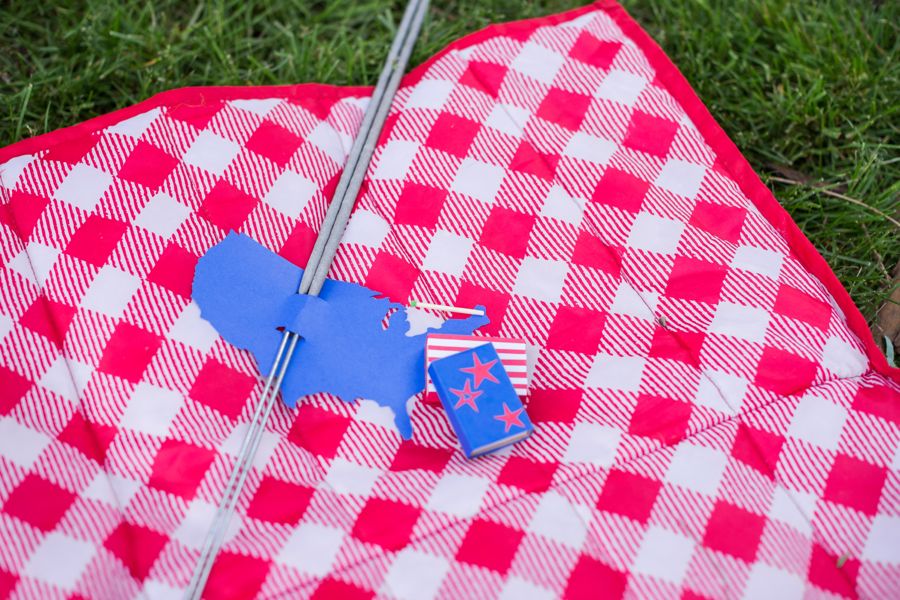
  • Cut out shape of U.S.A

Directions:

paper-fan-tutorial-red-white-blue-diy

  1. Cut out all your paper squares. For the large fan, we used 6, 8×8 inch paper squares. For the smaller ones, we cut 4, 6×6 and 3, 4×4 squares. Fold the paper like a paper fan.
  2. Use double-sided tape to tape the edges of the fans together.
  3. Once all the squares are glued you will have a long stretch of ‘fanned’ or accordion paper.
  4. Glue the first and last piece of the paper together so it forms a circle.
  5. Press the circle down so it creates a fan. Add a large dab of hot glue to the middle of the fan, and press down for several minutes until it dries. Make sure the glue touches all parts of the paper.
  6. Use your Silhouette or print and hand-cut a cut out of the U.S.A. Use your hot glue gun to glue the U.S.A. outline in the middle of the fan.

july-4th-red-white-blue-kid-family-picnic-astrobrights-paper-fans-diy

july-4th-red-white-blue-kid-family-picnic-astrobrights-paper-fans-diy

Instagram media links to follow from this post:
@jsorelle3
@astrobrights
@meredithmoranphoto

4th of July Picnic with Astrobrights Papers

july-4th-red-white-blue-kid-family-picnic-astrobrights-paper-

Growing up with sisters, we shared many experiences together. We shared closets and fought about clothing daily. We shared cars as we made the 45-minute commute back and forth to school. We shared a bed every Christmas Eve before we awoke to presents under the tree. We lived and studied abroad in Florence, Italy. We were teammates on our High School tennis team. We stood next to each other at each other’s weddings.

But, our most recent endeavor is our most favorite. We became moms…together. Our children span from 6-years-old down to 7-months-old, and our children now have the amazing gift of growing up with their cousins.

Now, we text and talk in the wee hours of the morning as we breastfeed our babies. We share photos and videos as our kids take their first steps. We relate to being totally and utterly exhausted, yet blissfully happy when we see our children smile. And, we are overcome with joy when we see our children playing together.

Our children are blessed to spend every holiday together. Watching the fireworks together on July 4th is one of our favorites. So, when presented with an opportunity to plan a 4th of July picnic with ASTROBRIGHTS® Papers, a line of vibrant color paper, we were delighted to bring our families together to celebrate. Armed with a stack of red, white and blue paper, sharp scissors and a really big donut, an Independence Day picnic can be really fun, inexpensive and absolutely adorable.

july-4th-red-white-blue-kid-family-picnic-astrobrights-paper-

Here are some of the details we used to #Colorize our red, white and blue picnic!

INCORPORATE FUN FACTS

We wanted to educate our children, and talk about the history of our fine country. So, we incorporated facts about the U.S.A into our picnic. We used the round labels on top of the mason jars, and to seal our peanut butter and jelly sandwiches.

The round labels with interesting facts are available for FREE. Click here for the free printable.

july-4th-red-white-blue-kid-family-picnic-astrobrights-paper-america-facts

july-4th-red-white-blue-kid-family-picnic-astrobrights-paper-water-labels-fun-facts

july-4th-printable-round-water-labels-usa-fun-facts-star

LEARN ABOUT AMERICAN GEOGRAPHY AND ALL 50 STATES

We learned a little geography 101 prepping for this picnic. We wanted to incorporate the shape of good ‘ole U.S.A and all the states that make up this fine country in our picnic. So, we cut, and cut, and cut some more. You can find the shape of the U.S.A, as well as all 50 states for free online. Our Silhouette electronic cutter came to the rescue when our eyes were blurry at 1 a.m.

Who doesn’t love a gigantic donut?! Cut outs of the 50 states on toothpicks were positioned all over the donut. So, as the kids devoured, we talked about the shape of the states.

july-4th-red-white-blue-kid-family-picnic-astrobrights-paper-big-donut-50-states-toothpicks-diy

4thofJuly-6july-4th-red-white-blue-kid-family-picnic-astrobrights-paper-big-donut-50-states-toothpicks-diy

july-4th-red-white-blue-kid-family-picnic-astrobrights-paper-big-donut-50-states-toothpicks-diy

We made DIY patriotic paper fans, both large and small, with ASTROBRIGHTS® Papers. Click here for the full tutorial. We used the fans to cover the wagon wheels, and decorate the wagon handle. Each fan represented the U.S.A with a cut out of the country in the center.

july-4th-red-white-blue-kid-family-picnic-astrobrights-paper-stars-flag-willow-tree

july-4th-red-white-blue-kid-family-picnic-astrobrights-paper-fans-diy

july-4th-red-white-blue-kid-family-picnic-astrobrights-paper-fans-diy-usa

All the picnic essentials were made of paper, of course. Follow this tutorial to make a DIY paper chip bag {we used 8×8 paper}. We sealed the chip bag with a cut out of the USA. The blueberries were propped up in a paper cone, and each child had their own brown paper bag with their name stamped at the bottom of it. Everyone was happy!

july-4th-red-white-blue-kid-family-picnic-astrobrights-paper-usa-chip-bags-diy

july-4th-red-white-blue-kid-family-picnic-astrobrights-paper-hanging-stars-diy

A paper cut out of the U.S.A served as our sparklers sleeve, and the perfect decorative stakes around our picnic site. We covered match boxes with red, white and blue stars and stripes because you can’t light a sparkler without a flame, and a matchbox on July 4th isn’t a matchbox unless it’s red, white and blue.

4thofJuly-1july-4th-red-white-blue-kid-family-picnic-astrobrights-paper-diy-usa-sparklers

july-4th-red-white-blue-kid-family-picnic-astrobrights-paper-diy-matchbox-sparklers-stars-stripes

PLAN AN ACTIVITY

The most important part of our country’s Independence Day is to remember, honor and thank the men and women that serve our country. Their sacrifice is more than we can imagine, and our children may not know first-hand what it’s like to live in a military family, but they do need to understand that we always need to take the time to thank our military, no matter how big or small our thank you may be. With this free printable from Fleur de Lis, you can print these postcards, draw a photo on the back and mail them to someone in service. Or, they can be dropped off at a military establishment. Click here for the free printable.

july-4th-red-white-blue-kid-family-picnic-astrobrights-paper-diy-matchbox-stars-stripes-military-postcard

july-4th-red-white-blue-kid-family-picnic-astrobrights-paper-diy-military-postcard-stars-stripes

july-4th-red-white-blue-kid-family-picnic-astrobrights-paper-diy-matchbox-sparklers-stars-stripes-military-postcards
CELEBRATE WITH STARS & STRIPES

No 4th of July picnic is complete without our flag’s stars and stripes. We covered a Radio Flyer wagon with the American flag, then accessorized with paper.

We had the perfect setting under a large Willow tree, and our hanging stars made it all the more festive. The stars are easy to make. Learn how to make them here.

july-4th-red-white-blue-kid-family-picnic-astrobrights-paper-hanging-stars-diy

july-4th-red-white-blue-kid-family-picnic-astrobrights-paper-hanging-stars-diy

We created DIY flags for the kids with a large USA on top and flowing strings of red and white paper stripes below. The kids loved to run around with their flag banners.

4th-of-july-usa-diy-flag-banner-red-white-blue-picnic-kids

4th-of-july-usa-diy-flag-banner-red-white-blue-picnic-kids

4th-of-july-usa-diy-flag-banner-red-white-blue-picnic-kids

May the stars and stripes forever fly, and may you have a wonderful, sparkling July 4th!

july-4th-red-white-blue-kid-family-picnic-astrobrights-paper-hanging-stars-diy-sparkler

You can find more inspiration and ideas to COLORIZE your life at COLORIZE.tumblr.com and the following social feeds.

Facebook | PinterestInstagram

Thanks to Meredith Moran Photography for spending the evening with us and our crazy families to capture these photos.

DIY Balloons to Celebrate the 4th of July

july-4th-red-white-blue-balloon-backdrop-stars-stripes-paint-fireworks

Up, up and away! Wouldn’t it be fun if we could travel via balloons just like Carl did in Disney | Pixar’s Up? We’re not saying our fear of heights would totally subside, but the joy, color and adventure that a balloon adventure would bring could be worth all the helium and panic attacks.

Balloons are just all-around happy. Wouldn’t you agree? They make our kids smile. They embody childhood. Plus, they symbolize the word celebrate.

We recently had fun inside creating a simple balloon backdrop for the 4th of July during a rainy day. Kids explored their creativity with paint, and balloons as their canvas. And, we got some good photos for the memory books.

july-4th-red-white-blue-balloon-backdrop-stars-stripes-paint-fireworks

Materials Needed:

  • Acrylic paint {red, white and blue}
  • Paintbrushes and roll brushes
  • Martha Stewart glitter
  • Tape
  • Balloons {helium or non-helium}

Directions:

  • Blow up balloons {of if you purchased helium balloon, pick up from the store}.
  • Paint. We painted our balloons with hand-drawn stars, fireworks and stripes.
  • For the stripes, we used a roll-on pattern brush. And, for the fireworks, we sprinkled glitter on the fireworks while the paint was still wet.
  • Add red and white striped twine to the balloons.
  • Tape to the wall. If your balloons have helium, tape them on the bottom of the wall so they don’t fly away.
  • Snap all the fun photos of your kids pretending to float up, up and away!

july-4th-red-white-blue-balloon-backdrop-stars-stripes-paint-fireworks

july-4th-red-white-blue-balloon-backdrop-stars-stripes-paint-fireworks

Sprinkles in a Spoon Ice Cream Treat

ice-cream-sprinkles-spoon-straw-polka-dots-party-favor

You scream,
I scream,
We all scream for ice cream.

We made a DIY sprinkles in a spoon {a sip ‘n spoon}…and honestly, it’s a party with every bite.

This ultimate summer treat and ice cream party favor is on Momtastic.


DIY Best.Day.Ever. Confetti Banner

best day ever banner-confetti-table runner-diy-red-blue-yellow-green-dots

We consider our weddings and the birth of our children to be among our Best.Day{s}.Ever.

What was your Best.Day.Ever?

Some days will always be more special than others, and some days will be trivial, but what if we tried to make every day the Best.Day.Ever? What a wonderful world that would be! We never know what day will be our last, but we know for sure that each and every moment is truly a blessing, so every day we’re alive should be considered the Best.Day.Ever.

We created a large DIY Confetti Best.Day.Ever. sign that would make…

  • the best DIY party backdrop ever
  • the best DIY table-cloth ever
  • the best DIY birthday banner ever

You can make the DIY confetti sign for under $20, and its a fun activity to do with the kids.

You’ll Need:

How To:

  • Tape Kraft paper to the wall behind the paper tablecloth. If you choose to do a plastic tablecloth, you may not need the ‘backing,’ but if you choose to use a paper tablecloth that’s soft like linen, the markers will bleed through.
  • Tape the table-cloth to the wall using painter’s tape.
  • Use stencils or a Silhouette cutting machine to cut large Best.Day.Ever. letters.
  • Use painter’s tape to tape the letters in place on the table-cloth. You will need to roll the tape to make it double-sided.
  • Start with one color and get ‘dot happy.’ Dot the markers all over the sides and corners of the letters and all over the table-cloth in a random fashion.
  • Repeat with all the marker colors.
  • Remove the letters from the table-cloth.

best-day-ever-diy-banner-confetti-rainbow-polka dot

best-day-ever-banner-table cloth-rainbow-confetti-diy

best day ever-diy-banner-confetti-rainbow-tablecloth

confetti-rainbow-banner-dig-best-day-ever-table cloth-polka dot

diy-party-backdrop-confetti-banner-rainbow-polka-dot-best-day-ever

best-day-ever-diy-birthday-banner-confetti-party-rainbow-tablecloth

Make today the Best.Day.Ever.

{images via j. sorelle}