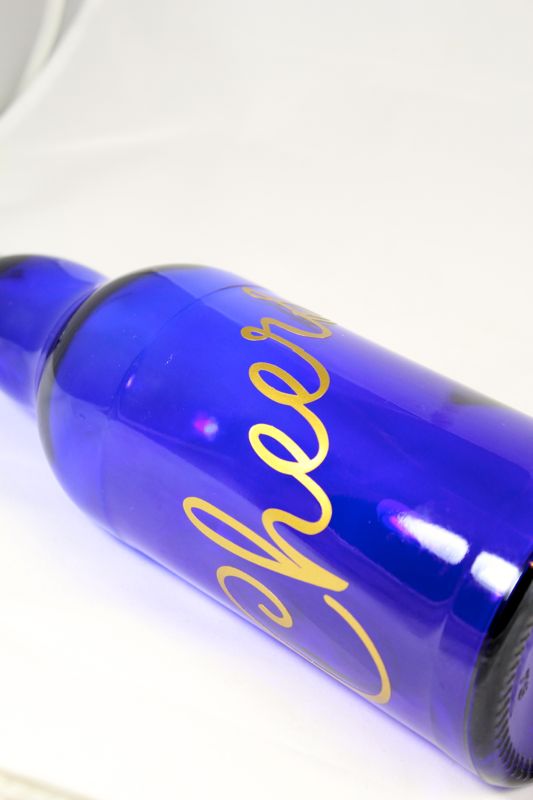
Nordstrom is one of our favorite places to shop. The shoes, the fashion, the return policy, the cafe – we love all of it! We noticed a fun Booze Decanter and Stopper throughout the holidays, and we never quite stopped thinking about it. Thankfully, we were able to re-create a DIY Booze decanter with our Silhouette cutting machine, and our minds {and bar} are at peace…at least for now.
Materials:
- Silhouette America electronic cutting machine
- Silhouette America gold vinyl
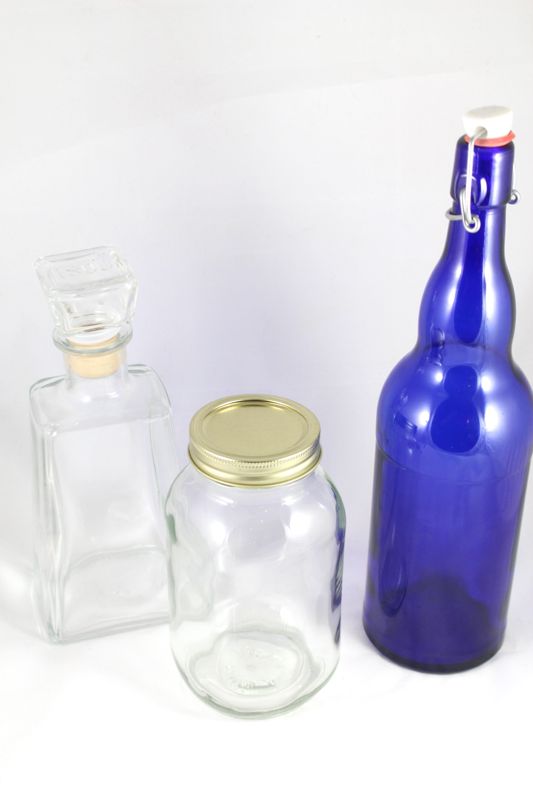
- Empty glass bottles, such as 1800 Tequila, Mason jars and water bottles
- Frog’s Tape
- Alcohol {homemade Bailey’s recipe below}
Instructions:
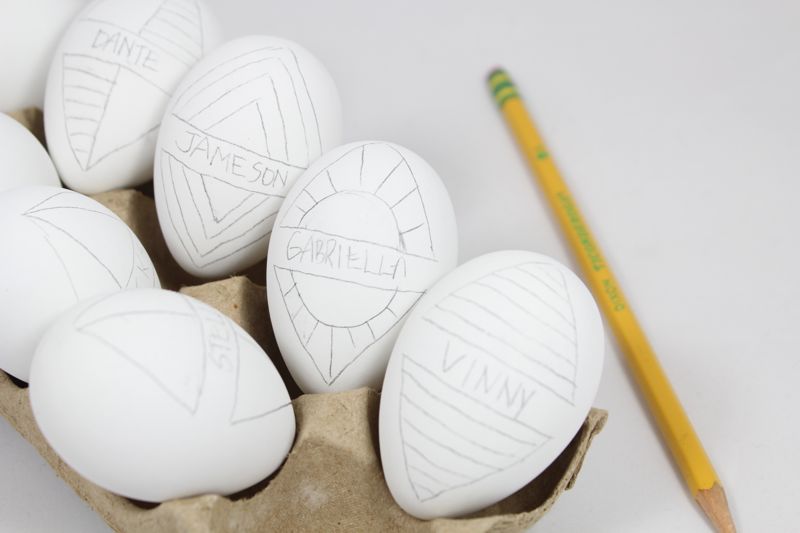
Assemble empty glass bottles you can transform into DIY typography bottles.
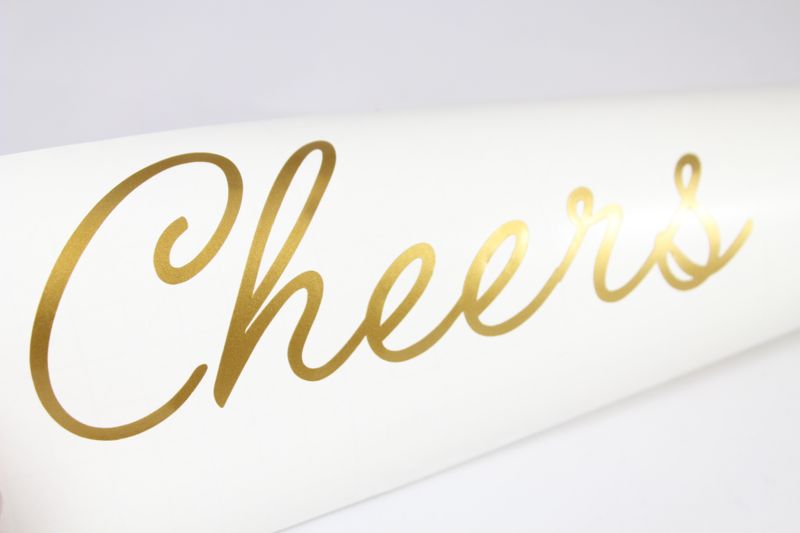
Design your labels with the Silhouette software. Print according to package instructions.
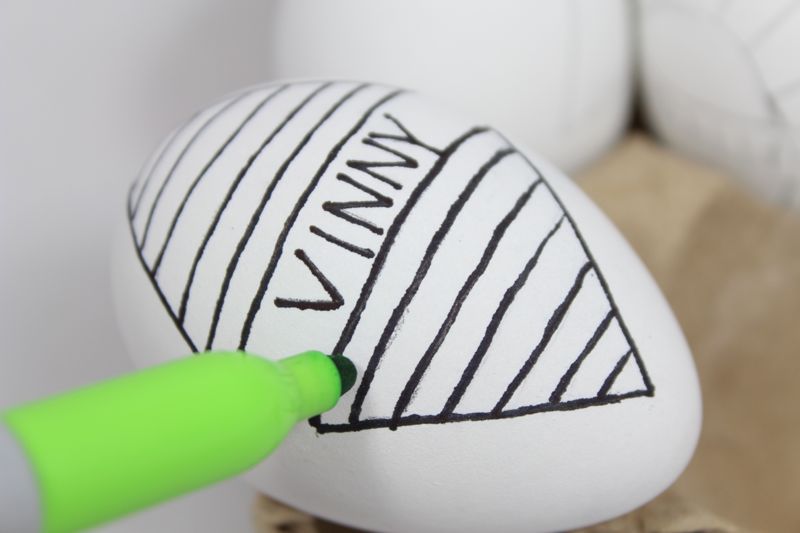
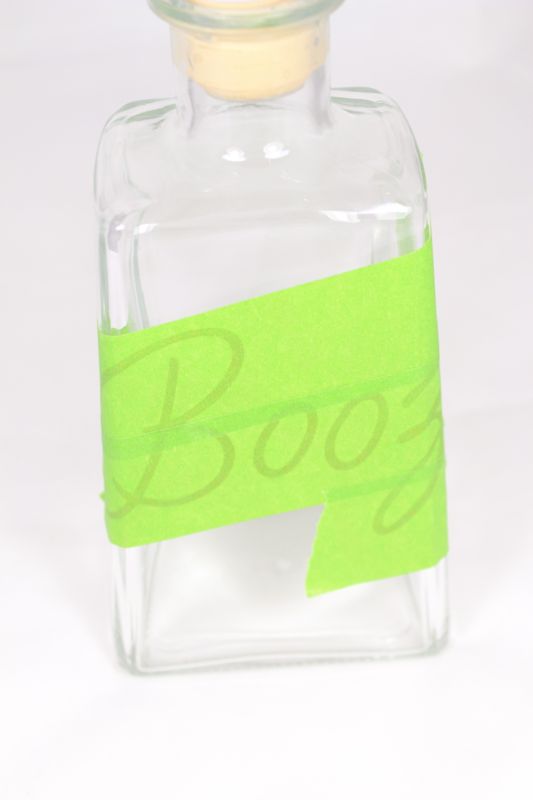
Once the vinyl is cut, remove the excess vinyl around the words, and place Frog’s Tape over the words.
Pull the tape up, and the words should be attached to the tape.

Press the tape and words onto the bottle, and get all the bubbles out with a straight edge {we used a credit card}.
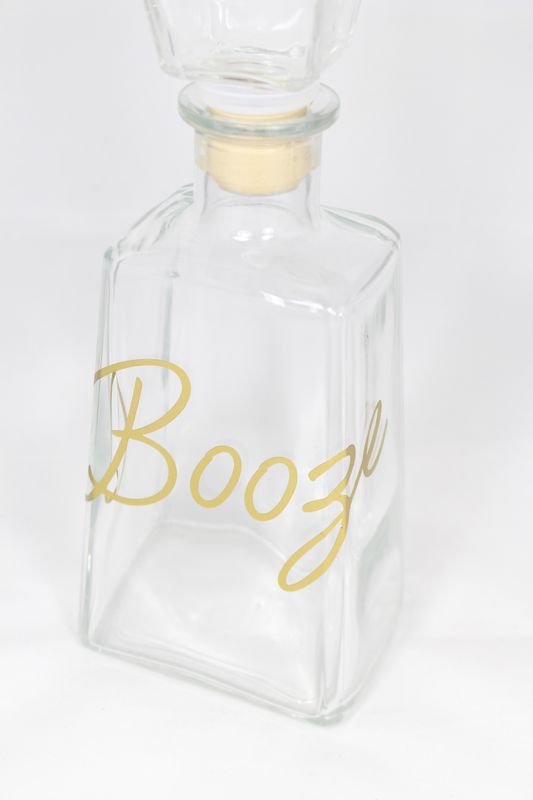
Pull the tape up from the bottle, and the vinyl should stay in place on the bottle. You may have to use one finger to press down on the vinyl if the font is thin and it comes up with the tape, but we didn’t have to on this project.

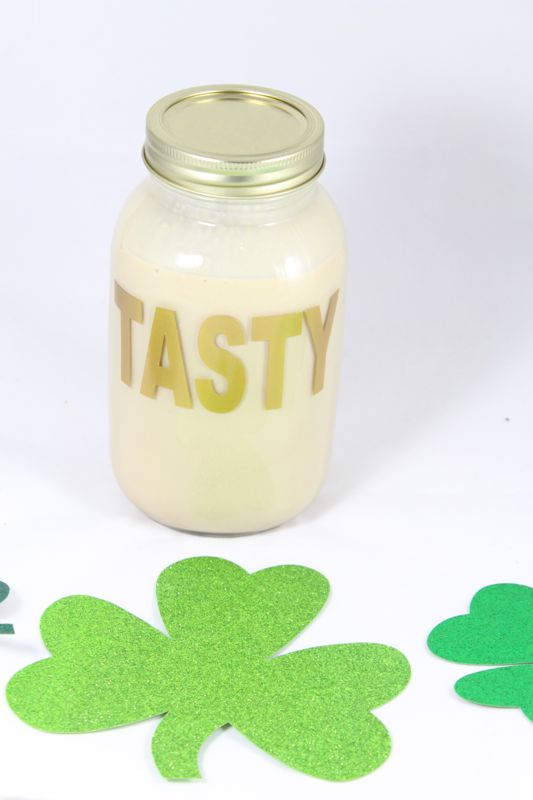
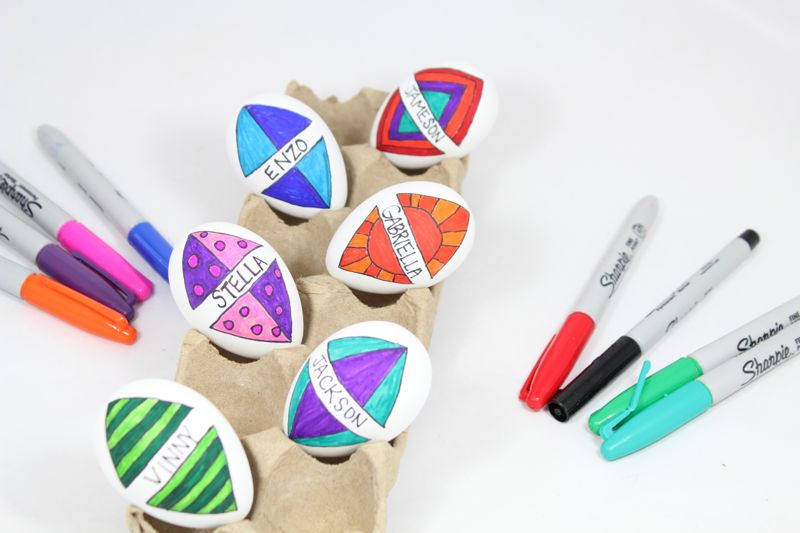
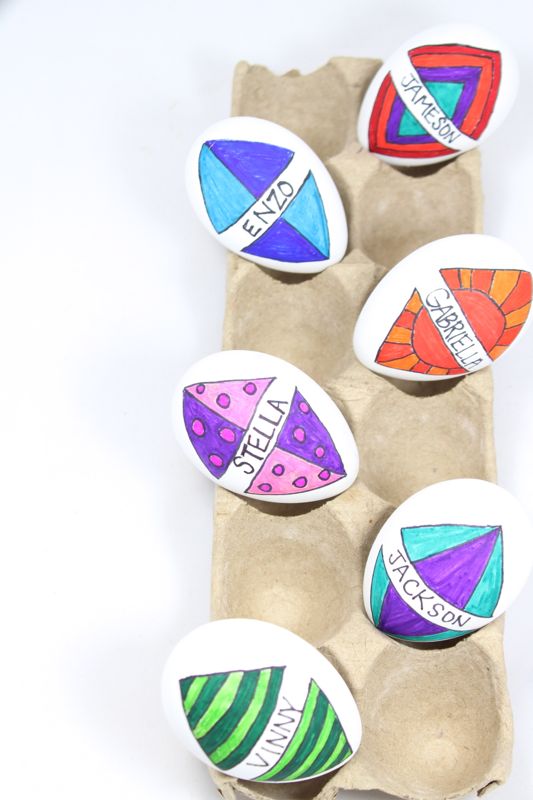
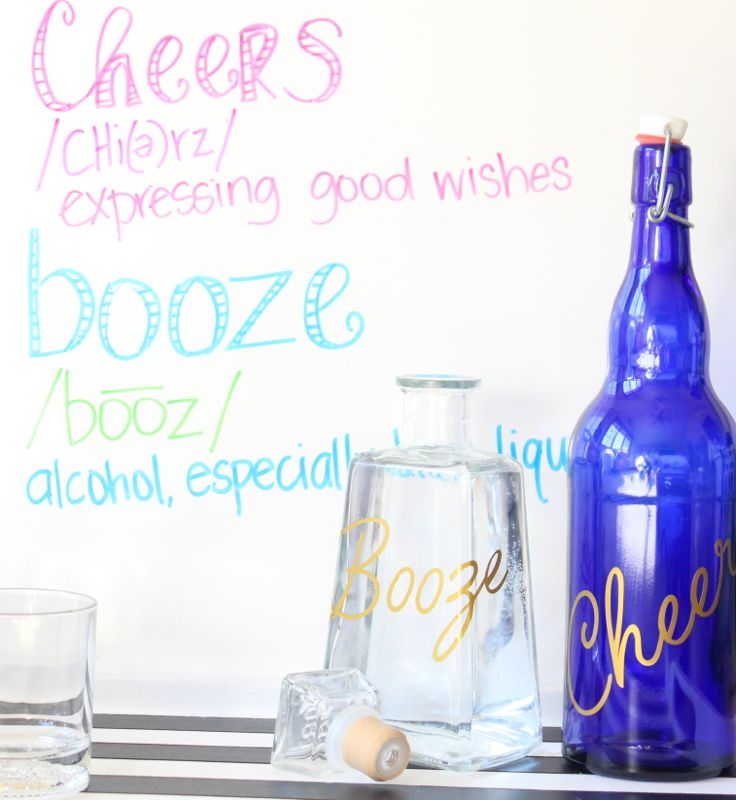
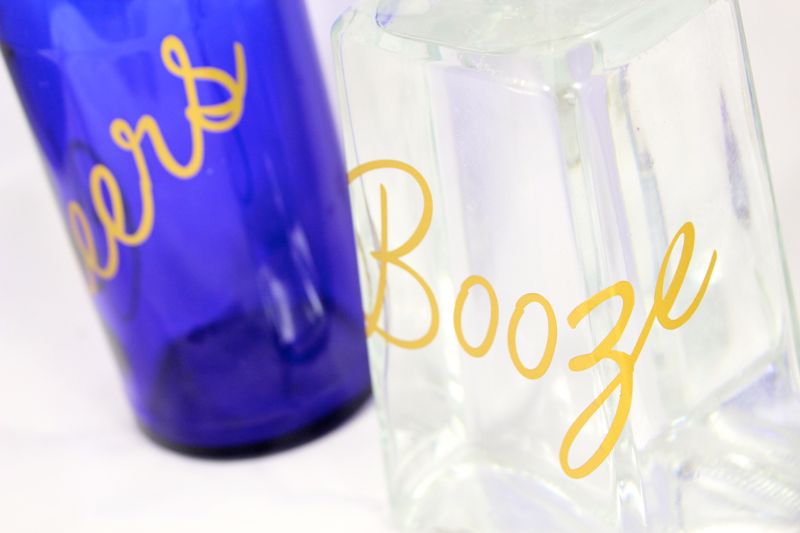
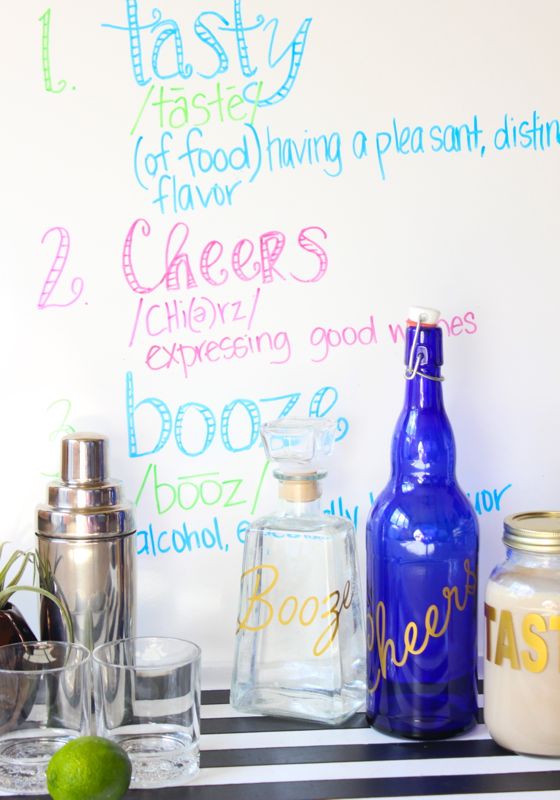
Once all the tape is removed, you should have a new DIY typography decanter. Fill with alcohol and say cheers!
For this project, we took it one step further and got a little Typography happy! We couldn’t do just one bottle! This DIY project makes for a really fun addition to any bar, and a great hostess gift.
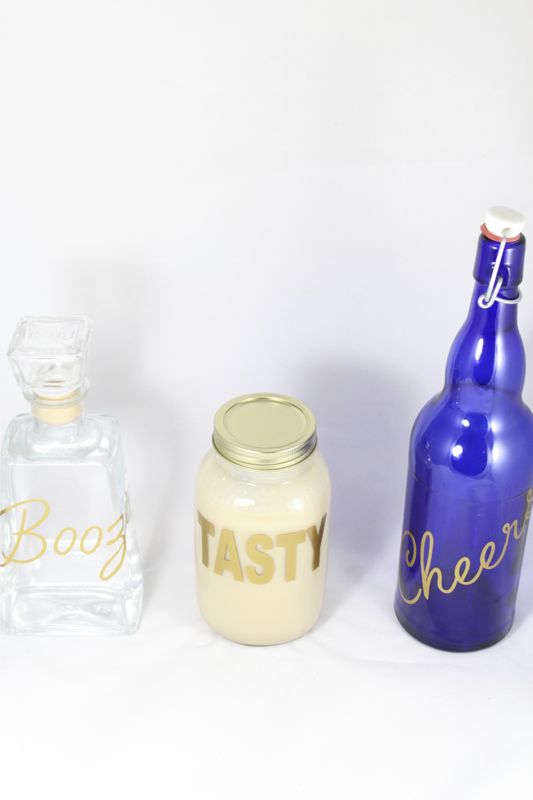
Not only did we create several bottles, but we couldn’t have a bottle that holds alcohol without actual alcohol in it. With St. Patrick’s Day several days away, we ventured into making our own Bailey’s Irish Cream. My girlfriend, Kacey, made a delicious batch of our favorite Irish cocktail for a birthday brunch recently, and we couldn’t believe homemade Bailey’s could be so good. We’ve revamped a couple of recipes to make our homemade version, but most are similar.
Homemade Bailey’s Irish Cream
adapted from several recipes
Ingredients:
- 1 cup + 1 tablespoon Jameson Whiskey
- 1 pint half and half
- 1 can Eagle’s Condensed Milk
- 2 tablespoons chocolate syrup
- 1 teaspoon Vanilla
- 1 tsp. instant espresso mixed with 1 tsp. boiling water
Instructions:
Place all ingredients in a blender, and blend. If you don’t blend for 30 seconds or more, we found that our Bailey’s had some chunks from the cream, so continue to blend until smooth.
Keep in a sealed glass jar in the fridge for up to 2 weeks. Give it to a friend as a gift this St. Patrick’s Day, too!