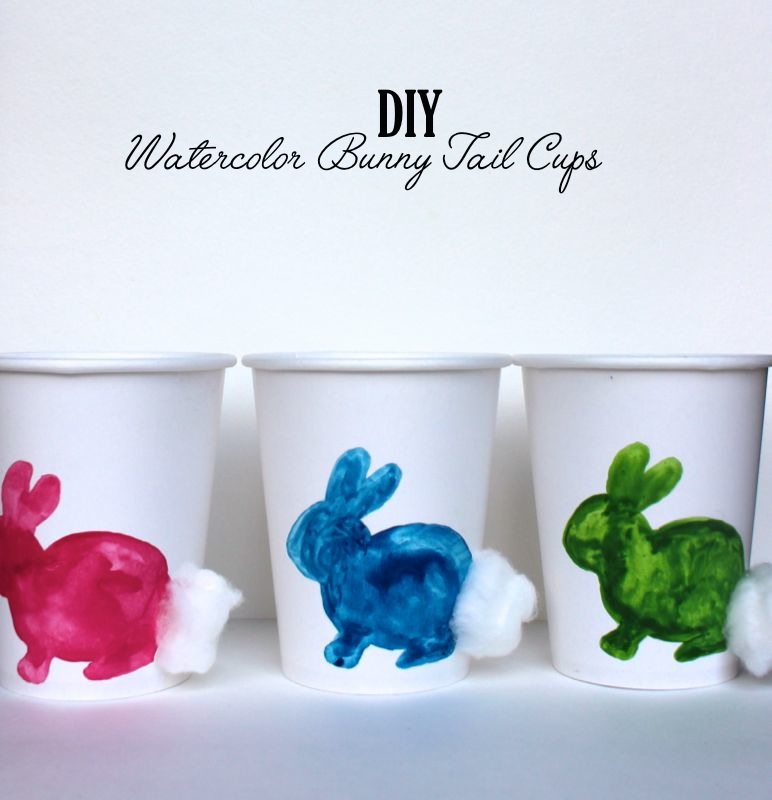
Easter Watercolor Bunny Tail Cups

watercolor-bunny-tail-easter-cups-pink-blue-green-cotton-diy

One of our favorite Easter memories from childhood is the year the Easter bunny brought us chicks. Yes, real live chicks. And, they were green and pink. Sounds totally inhumane, and honestly we have no idea how they did it, or whether it was permanent or not. But, all we know is that the Easter bunny brought us colorful chicks, and we got to feed, pet and care for them for a whole week before we had to bring them back home to a local farm.

Besides our brief stint with chicks, the only real pet we had throughout our childhood was a rabbit. Sweet Thumper.

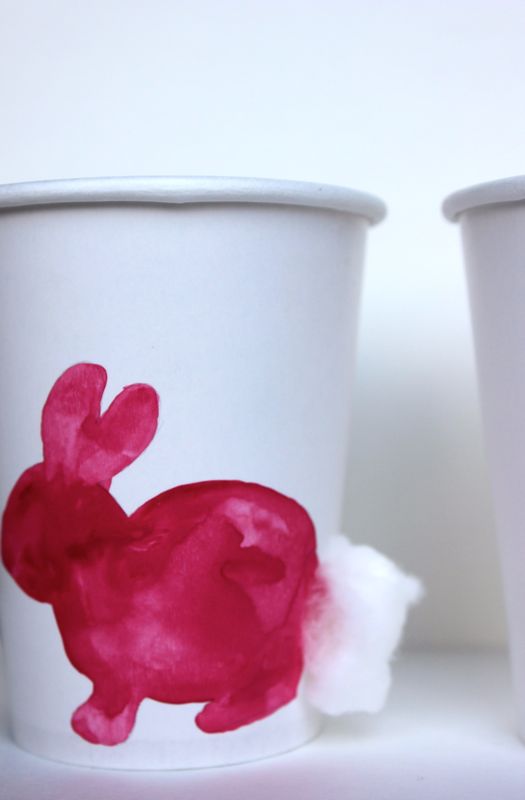
Painting these DIY bunny tail paper cups brought back memories of our pet rabbit, and the fun memories chasing him all over the yard.

These would make for a cheap and easy addition to your Easter table setting, or a lovely gift filled with candy or small gifts…so let’s hop to it.

pink-bunny-watercolor-easter-cups-cotton-ball-diy-rabbit-easter

You’ll Need:

  • paper cups {.97 cents for 10}
  • watercolor paints {quality brand like Windsor and Newton, brush and cup of water}
  • cotton balls
  • hot glue gun

How To:

  • Print and cut an outline of a rabbit you find online.
  • Place the rabbit on the cup and lightly trace around it with a pencil.
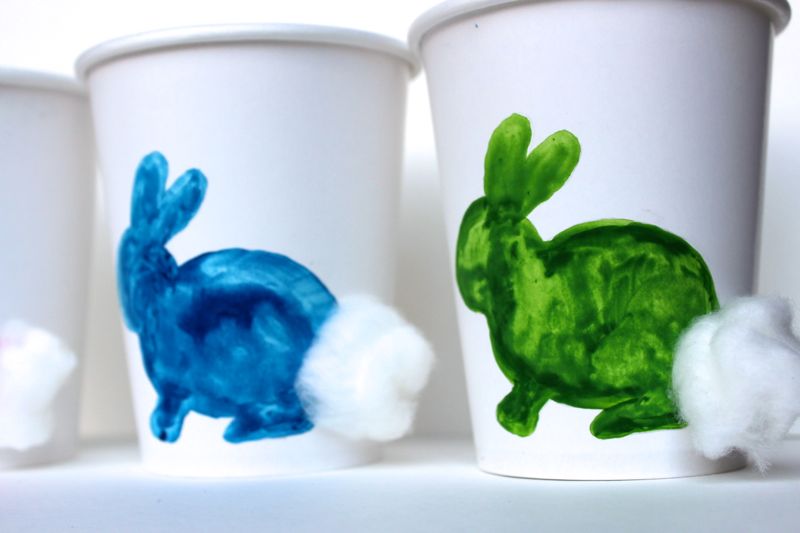
  • Dip your brush into watercolor paint, and a touch of water and paint within and just on the pencil outline {so you don’t see it} of the rabbit.
  • Let dry.
  • Glue the cotton ball on the tail of the bunny.

blue-green-easter-bunny-diy-cups-watercolor-kid

Hoppy Easter!

{images via j. sorelle}
DIY Best.Day.Ever. Confetti Banner

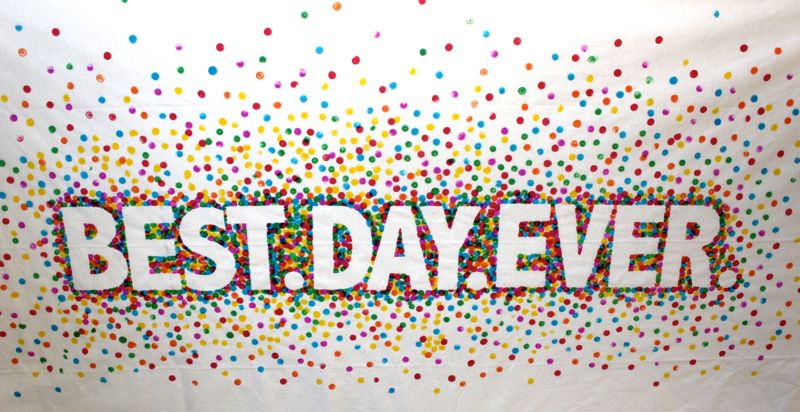
best day ever banner-confetti-table runner-diy-red-blue-yellow-green-dots

We consider our weddings and the birth of our children to be among our Best.Day{s}.Ever.

What was your Best.Day.Ever?

Some days will always be more special than others, and some days will be trivial, but what if we tried to make every day the Best.Day.Ever? What a wonderful world that would be! We never know what day will be our last, but we know for sure that each and every moment is truly a blessing, so every day we’re alive should be considered the Best.Day.Ever.

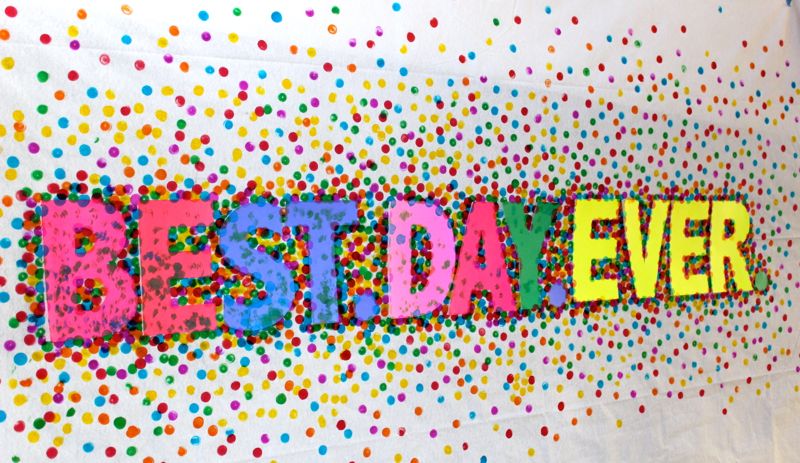
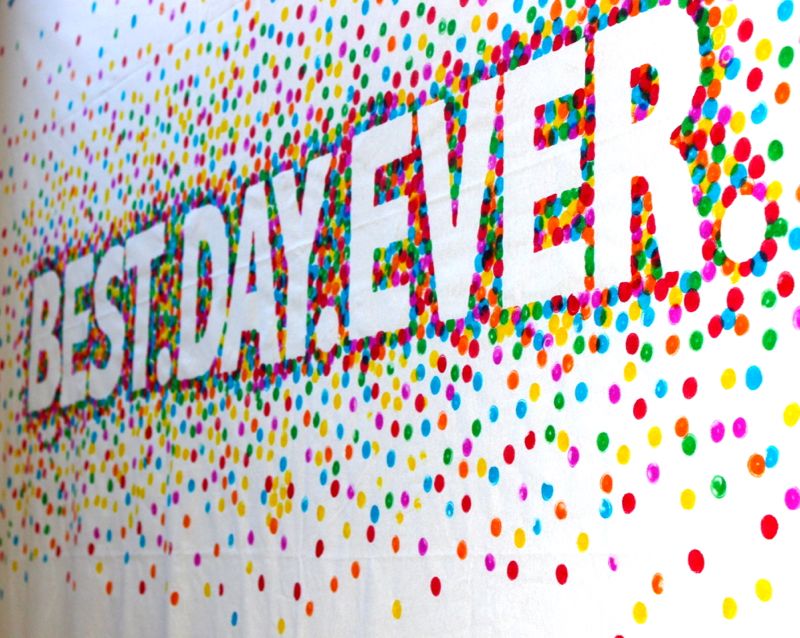
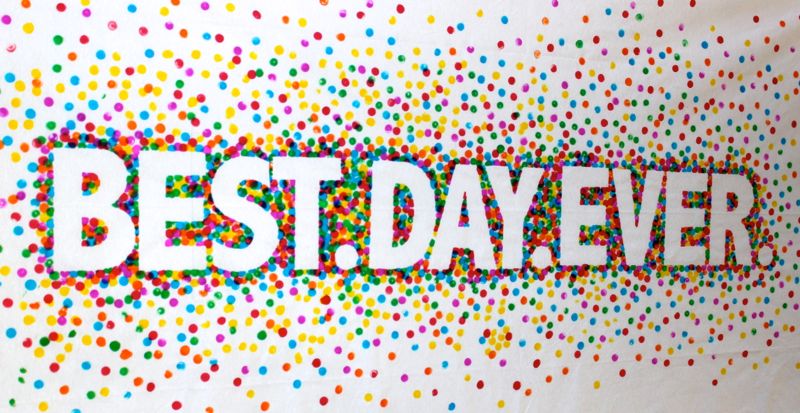
We created a large DIY Confetti Best.Day.Ever. sign that would make…

  • the best DIY party backdrop ever
  • the best DIY table-cloth ever
  • the best DIY birthday banner ever

You can make the DIY confetti sign for under $20, and its a fun activity to do with the kids.

You’ll Need:

How To:

  • Tape Kraft paper to the wall behind the paper tablecloth. If you choose to do a plastic tablecloth, you may not need the ‘backing,’ but if you choose to use a paper tablecloth that’s soft like linen, the markers will bleed through.
  • Tape the table-cloth to the wall using painter’s tape.
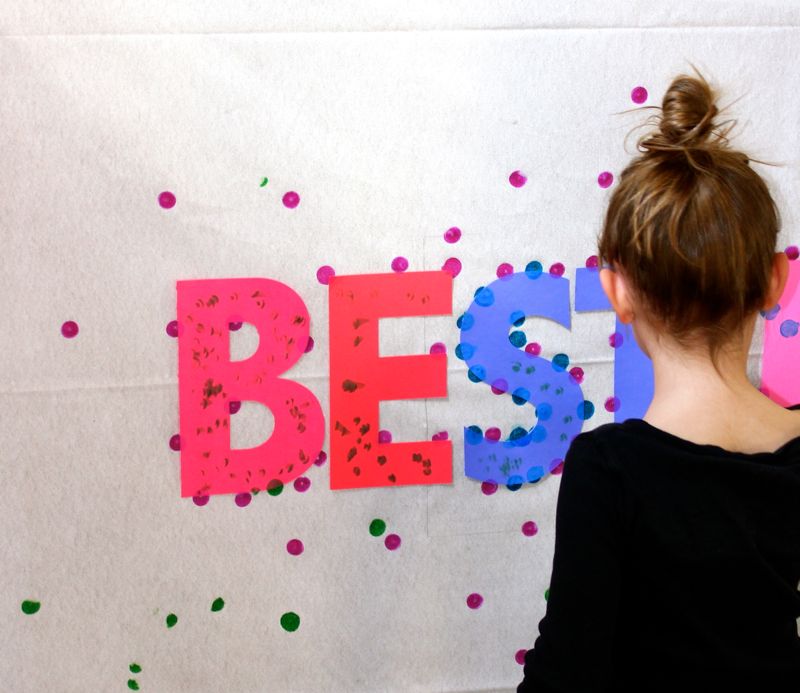
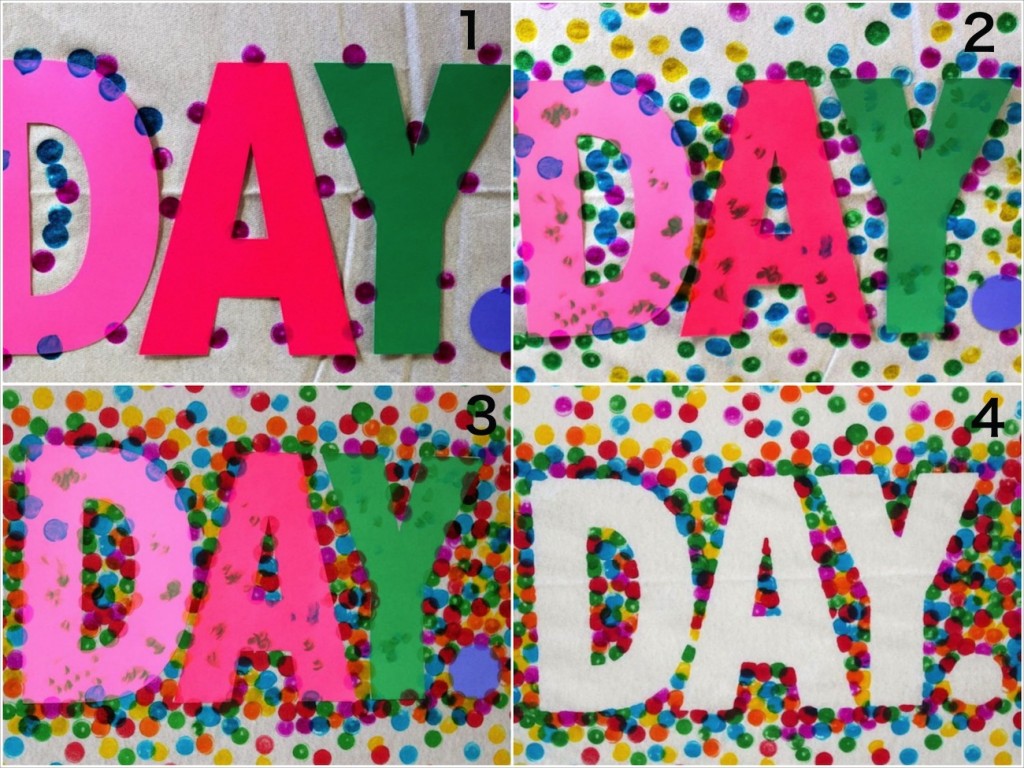
  • Use stencils or a Silhouette cutting machine to cut large Best.Day.Ever. letters.
  • Use painter’s tape to tape the letters in place on the table-cloth. You will need to roll the tape to make it double-sided.
  • Start with one color and get ‘dot happy.’ Dot the markers all over the sides and corners of the letters and all over the table-cloth in a random fashion.
  • Repeat with all the marker colors.
  • Remove the letters from the table-cloth.

best-day-ever-diy-banner-confetti-rainbow-polka dot

best-day-ever-banner-table cloth-rainbow-confetti-diy

best day ever-diy-banner-confetti-rainbow-tablecloth

confetti-rainbow-banner-dig-best-day-ever-table cloth-polka dot

diy-party-backdrop-confetti-banner-rainbow-polka-dot-best-day-ever

best-day-ever-diy-birthday-banner-confetti-party-rainbow-tablecloth

Make today the Best.Day.Ever.

{images via j. sorelle}
DIY Dum-Dum Pop Balloons

pops-rainbow-stpattysday-dumdum-red-yellow-green-balloons-diy

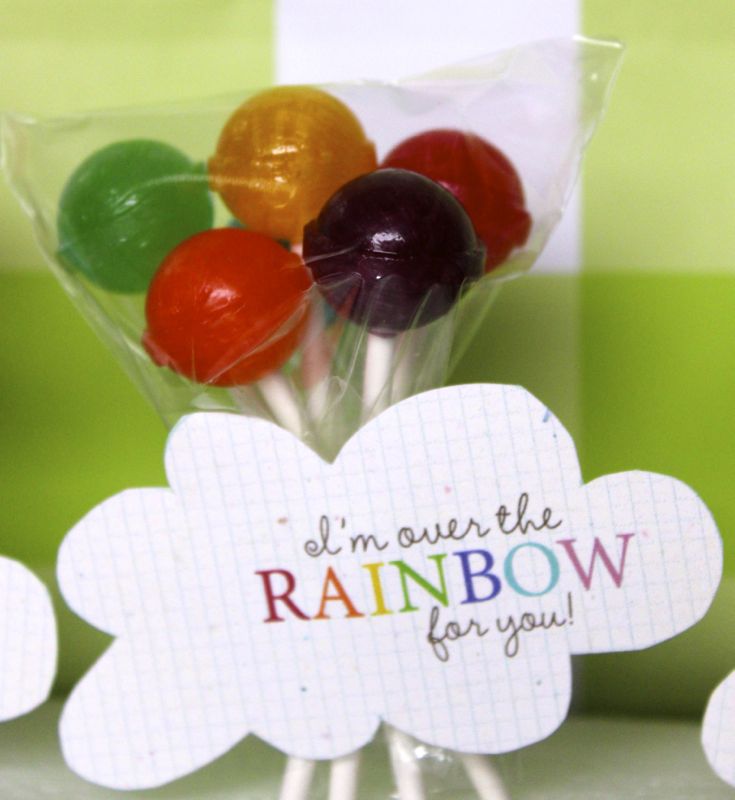
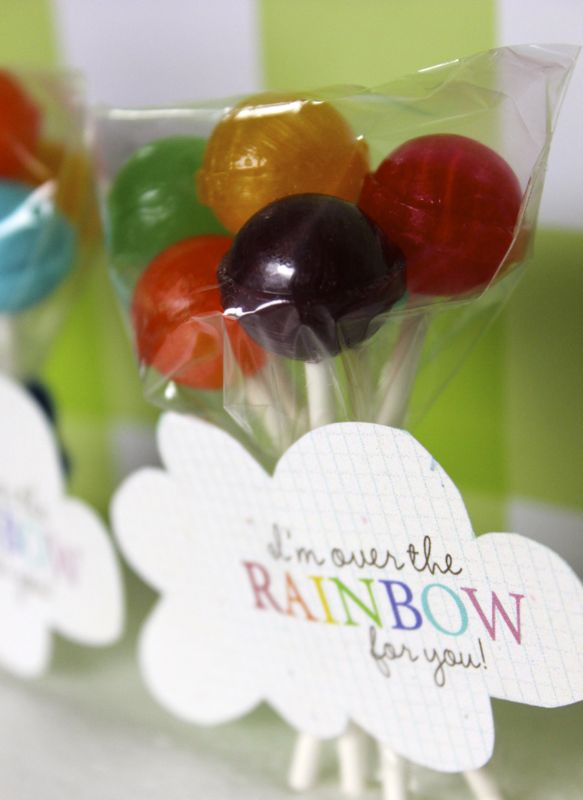
Somewhere over the rainbow, Dum-Dum Pops are floating away. Catch the yummy balloons before they get too high, so you can savor all the flavor. And, do it before St. Patrick’s Day…or your next rainbow party!

diy-balloons-rainbow-dumdum-pops-stpattysday

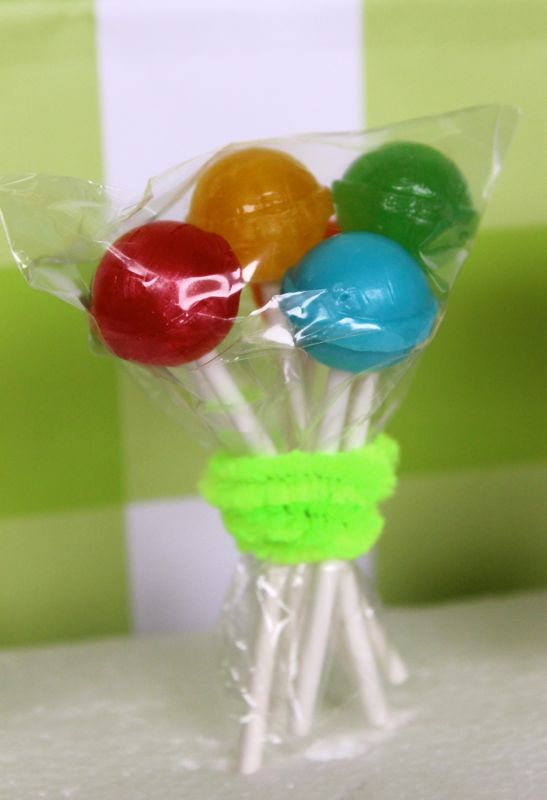
Step 1: Remove wrappers from most of the 300 ct. Spangler Dum-Dum Pops bag.

Step 2: Bundle the colors of the rainbow together, cover with a tiny cellophane bag, and then wrap the ‘balloons’ with a pipe cleaner.

diy-dumdumpops-balloons-toddler-stpattysday

Step 3: Print, cut and glue the free printable via Simple as That to the pipe cleaner.

diy-rainbow-dumdumpops-color-red-blue-green-balloons-stpattysday

rainbow-stpatricksday-diy-balloon-pops-dumdumpops

{images via j. sorelle}

Bohemian Glam Birthday Party

bohemian-glam-birthday-party-teepee-black-white-polkadot

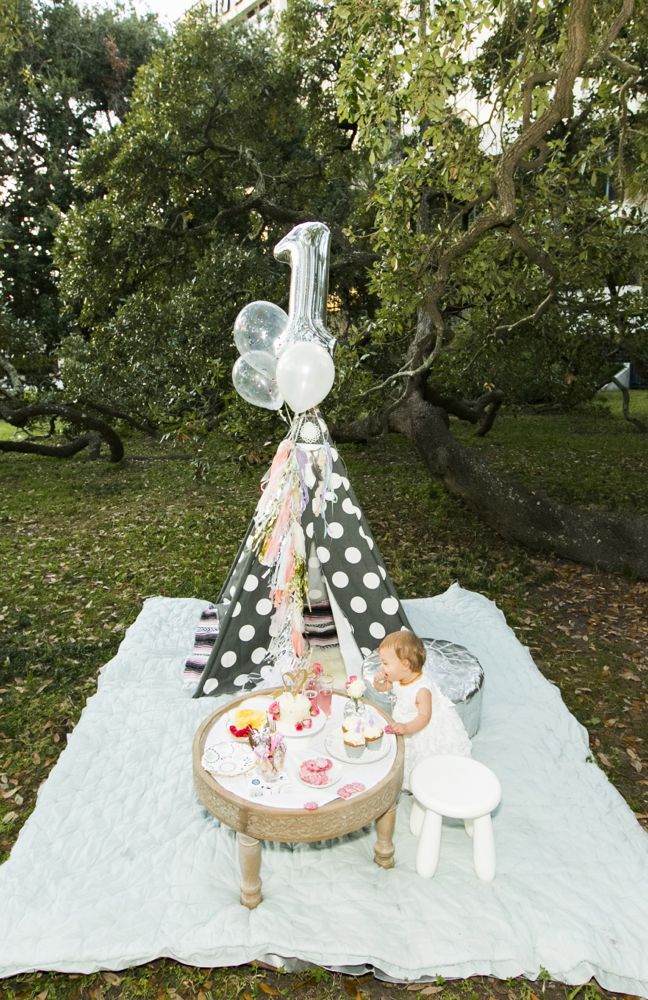
After looking at these photos of Mila’s first birthday party that Jessica shared with Momtastic, we decided 1-year-olds can have just as chic and as fabulous a birthday party as adults. Mila is one lucky little lady because her mom, Naysha Lopez, planned one dreamy bohemian glam first birthday party for her special day. It’s worth viewing all the photos.

We don’t know about you, but we want that silver pouf, dream catcher and teepee to be at our next birthday parties too…and we won’t be turning one. Special memories for a beautiful family! Happy Birthday Mila.

birthday-teepee-black-white-toddler-picnic-pouf-cupcake

{photos via Corinna Hoffman Photography}

DIY Oscar Party Drink Stirrer

oscar-party-envelope-gold-champagne-red-white-straws

We’re going to be honest, our record for having actually seen any of the Best Pictures nominated for this year’s Academy Awards is not too good. It’s 0 for 8 to be exact. We are, however, familiar with the nominations for the animated feature film…we’re rooting for How to Train Your Dragon 2!

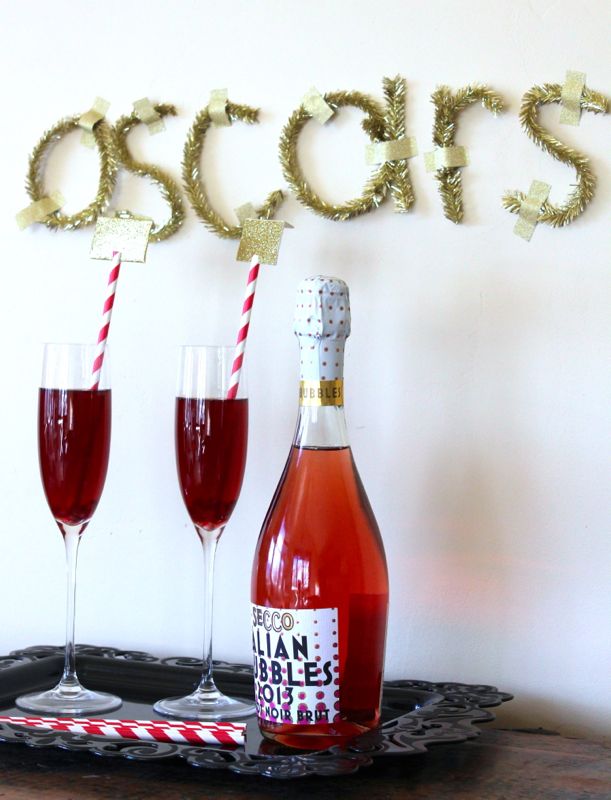
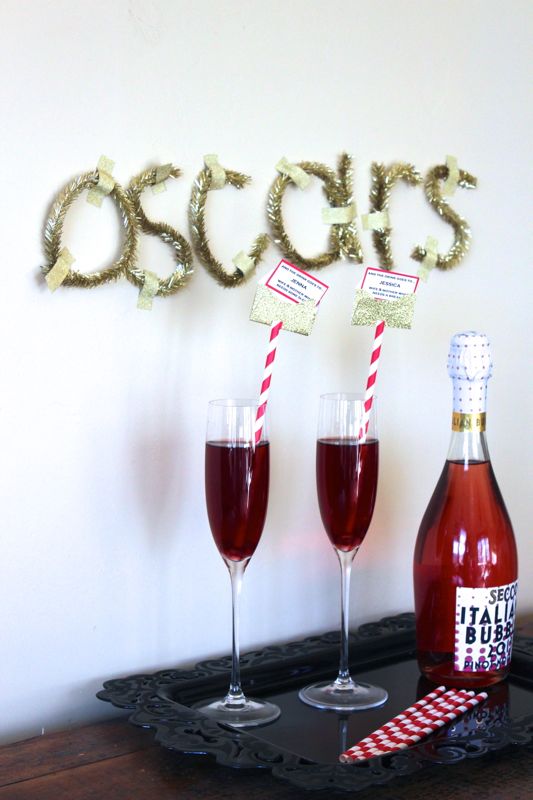
In our sleep-deprived, ‘surrounded by sick kids’ state, a fancy party is not in the cards this year. But, pajamas and a glass of POM champagne or vino sounds fantastic. Our low-key evening does have a DIY, of course. All for good reason – we are going to be the star of our own show. And, you should too. You’re the main character of your life – the leading lady or man. This year, you get your own gold envelope…and a cocktail.

This is such an easy DIY and a fun way to celebrate with girlfriends and sisters. Get creative and funny.

oscar-gold-envelope-champagne-red-white-straw-party

gold-oscar-red-white-envelope-party-straw

gold-oscar-red-white-straw-envelope-party-champagne-cocktail

oscars-champagne-pom-red-white-straw-gold-party-bubbly

How-To:

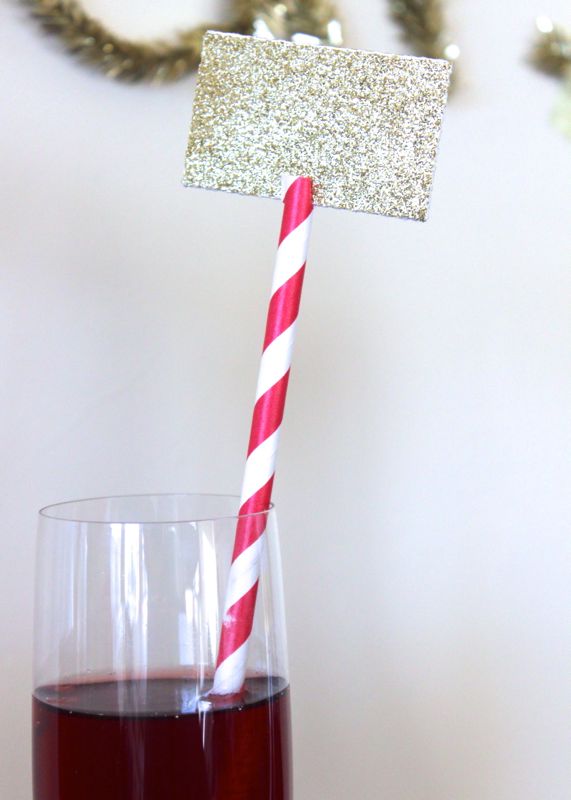
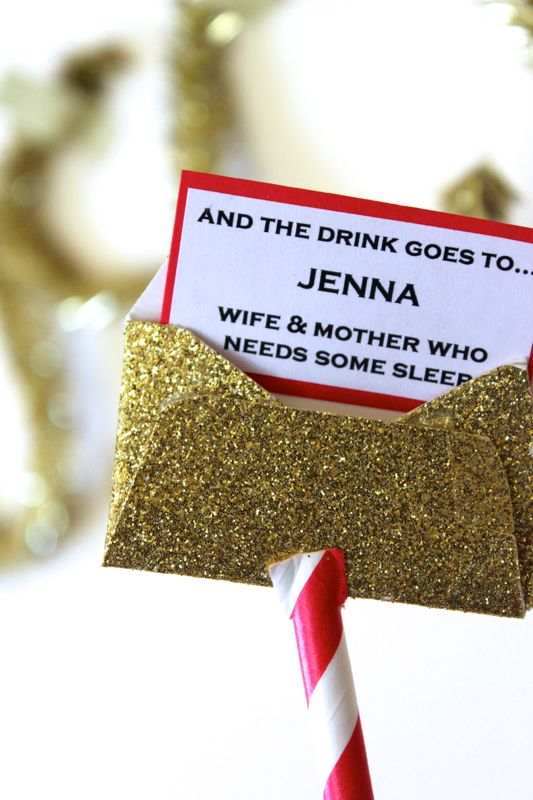
  • Buy or create mini envelopes. We used our Silhouette cutting machine to create gold glitter envelopes.
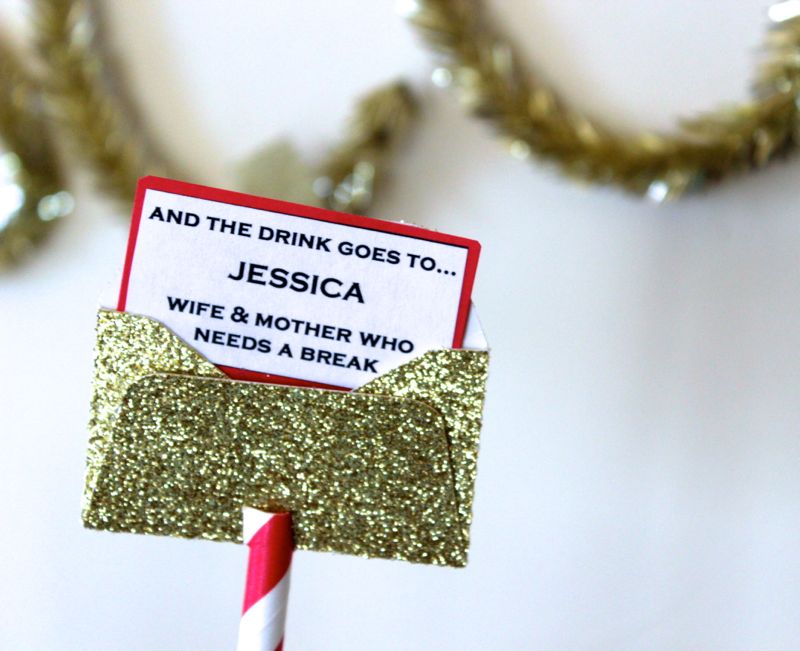
  • Create and cut mini tags to insert into the envelope. We created ‘drink winner’ tags on Microsoft Word.
  • Use scissors to cut small slits on the top of cute paper straws, and insert the envelope.

You can prepare a speech if you want to…but the drink, it’s is all yours. Cheers to you!

{images via j. sorelle}