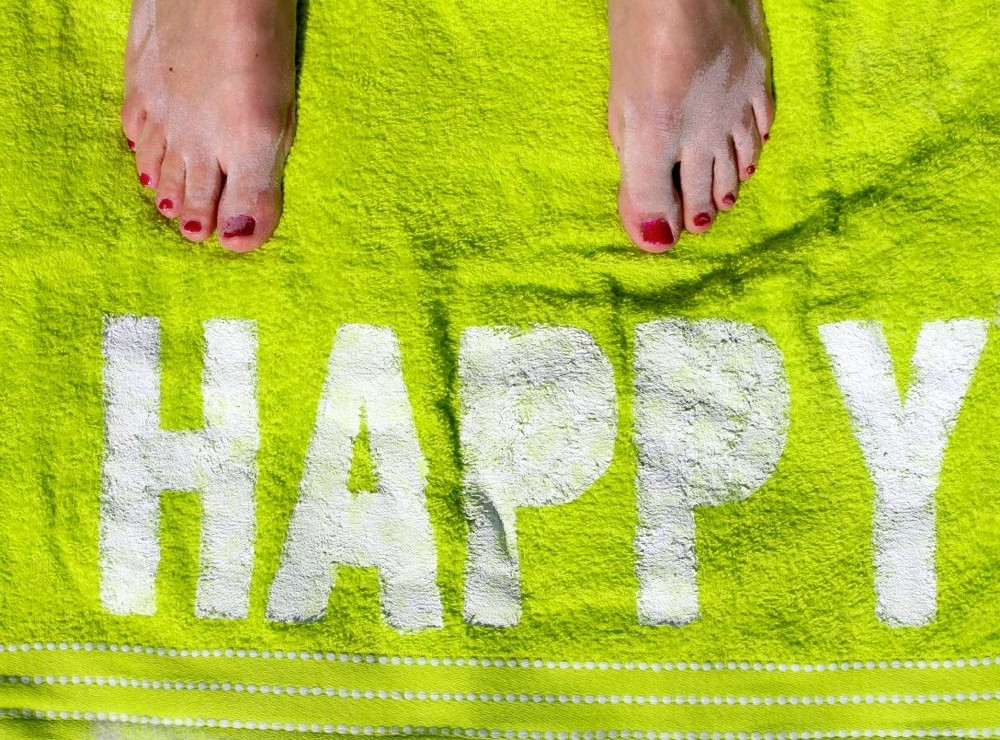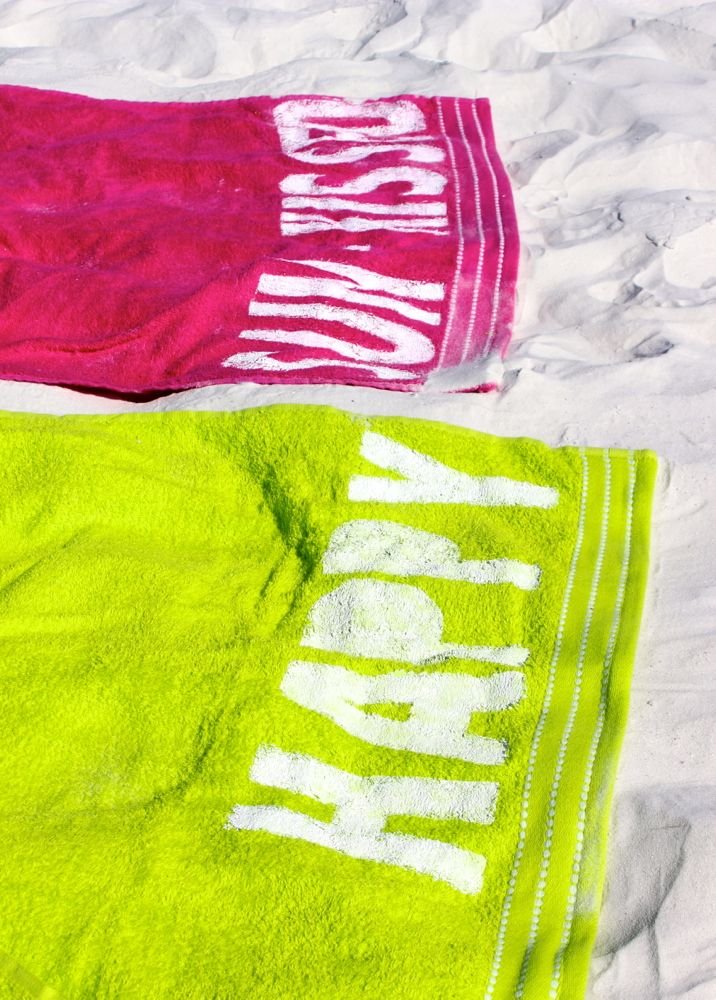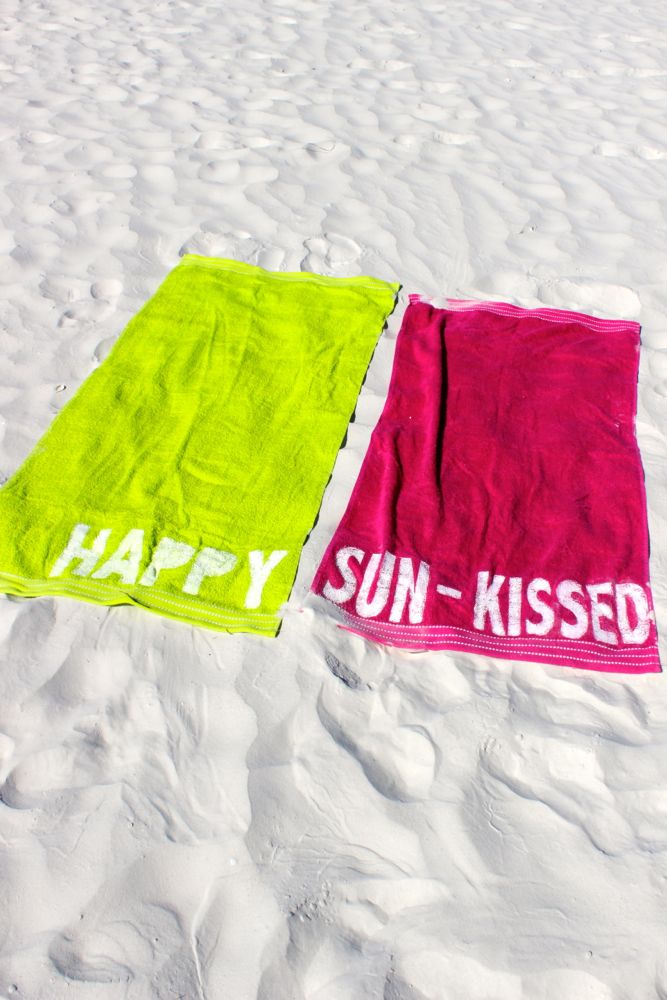
Despite the fact that Back to School is all over the big name retailer stores and commercials, it’s still summer. We refuse to admit the fact that school starts in a month. We’re taking every bit of summer, for all the sunshine, popsicles and pool days it’s worth. We love it too much to let it go.
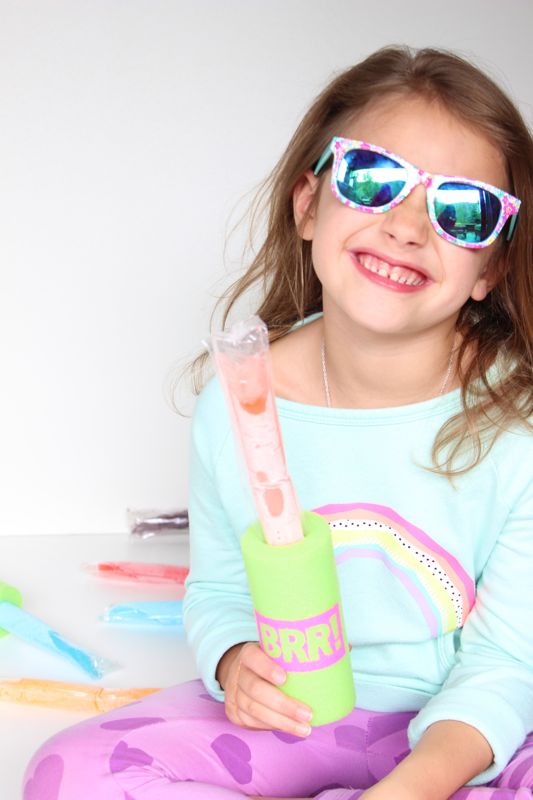
Our kids love popsicles in the summer, especially freezer pops. Although yummy, we know within minutes of opening their popsicles, our kids will request a paper towel because their hands are cold.
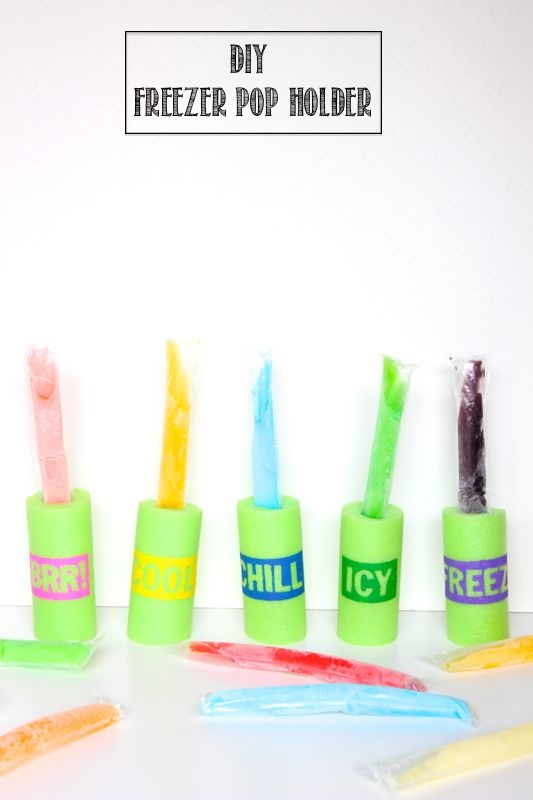
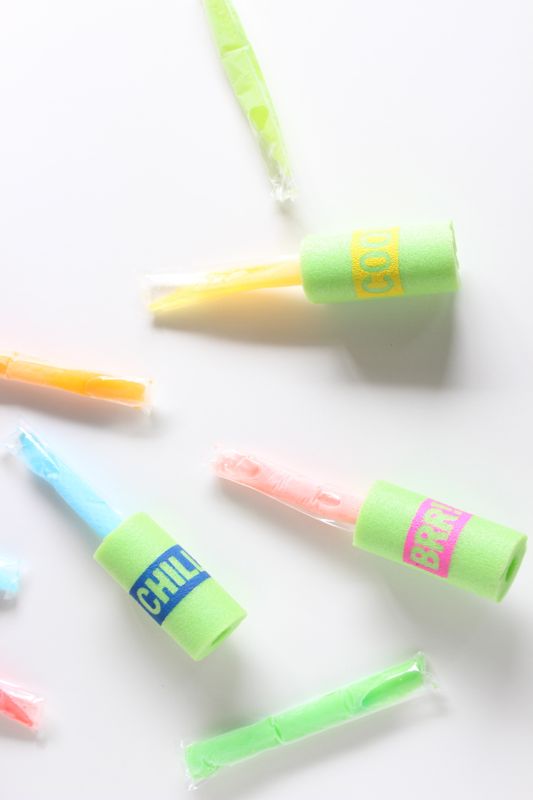
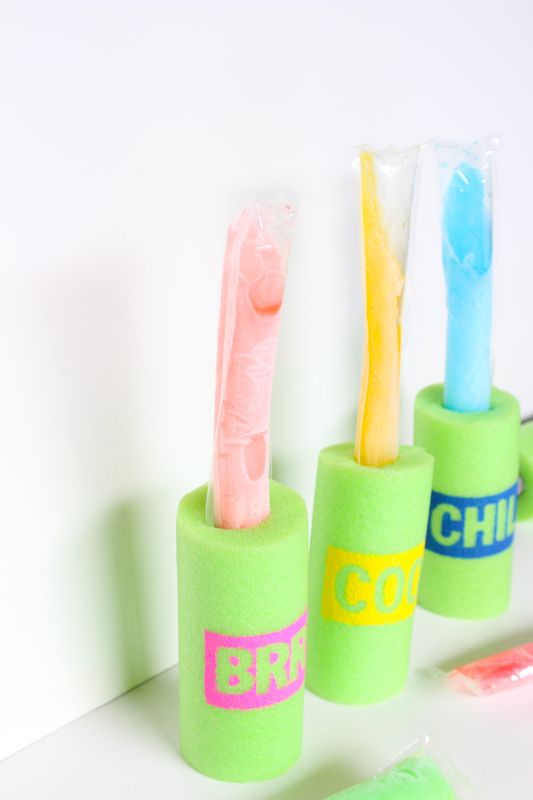
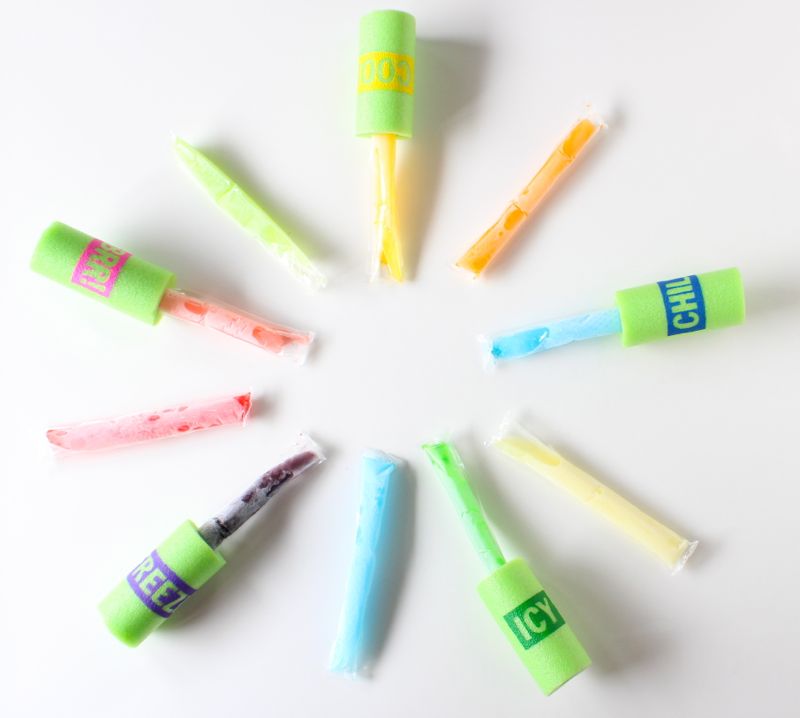
Well, it’s three mom’s and a pool noodle to the rescue. The DIY noodle freezer pop holders not only prevent cold, sticky fingers, but also they can be customized with names at a table setting for a birthday party. They can be used year after year when the hot sun is shining and kids are outside playing! Plus, typography is just so fun!
Materials:
- 1 pool noodle
- Serrated knife
- Acrylic paint, Plaid Crafts
- Mod Podge
- Freezer Pops, or make your own version with fresh fruit in a Zipsicle
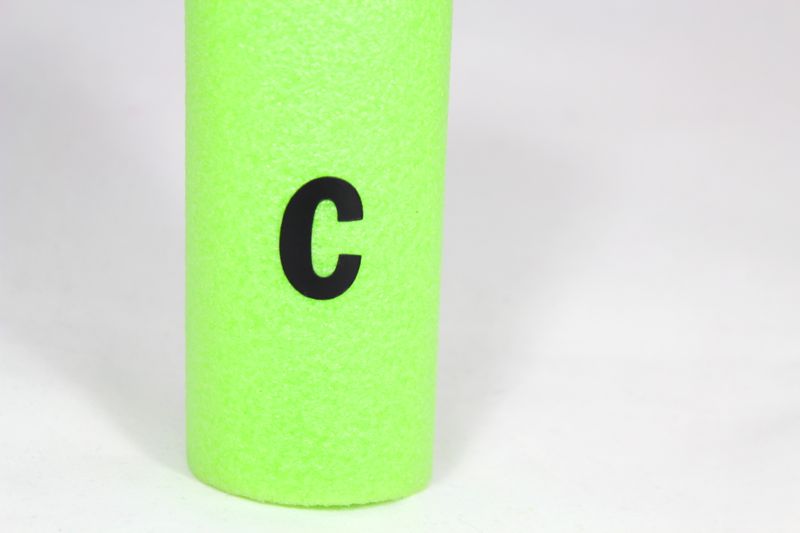
- Vinyl letter stickers, Michaels
- Frog tape
- Paintbrush
Directions:
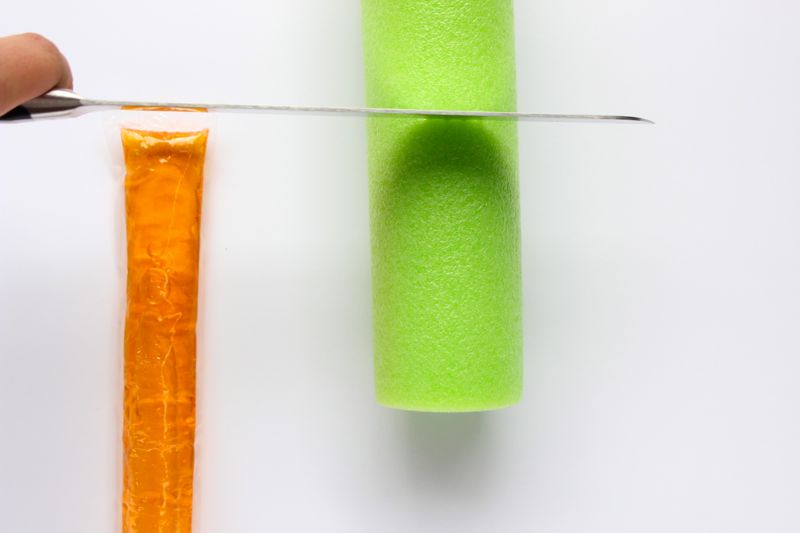
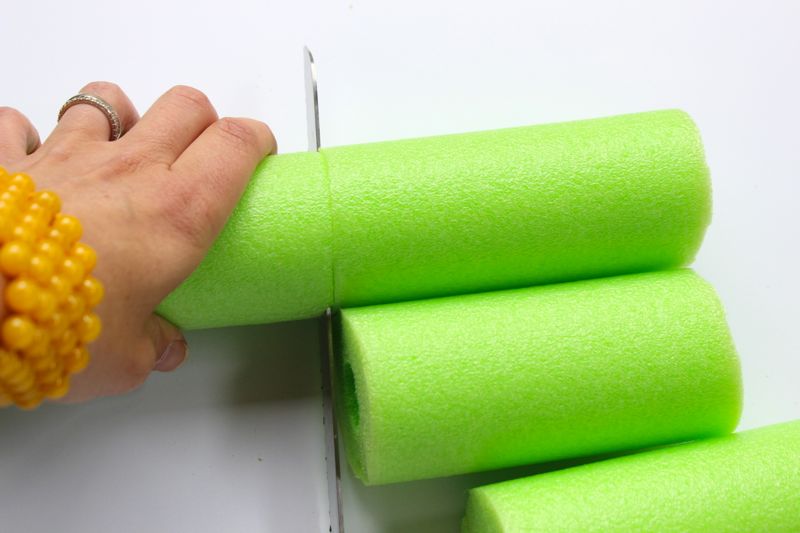
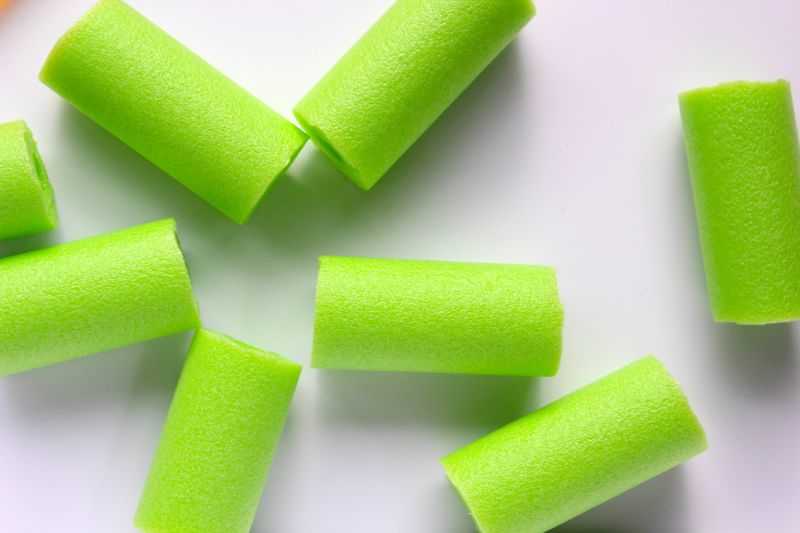
Cut a pool noodle into 6 inch pieces. It should be about ½ the size of the popsicle.
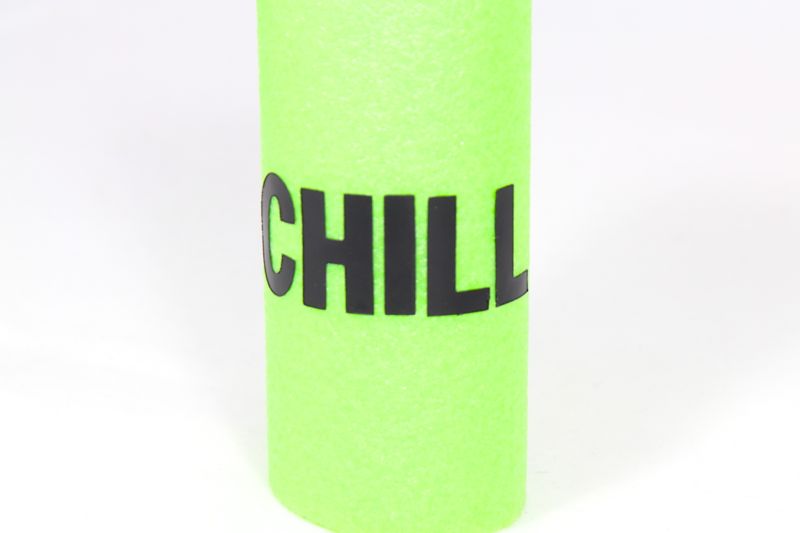
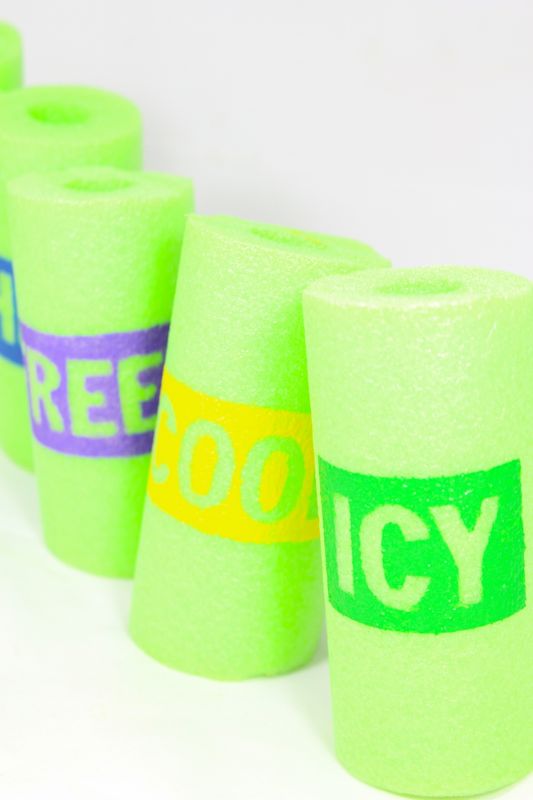
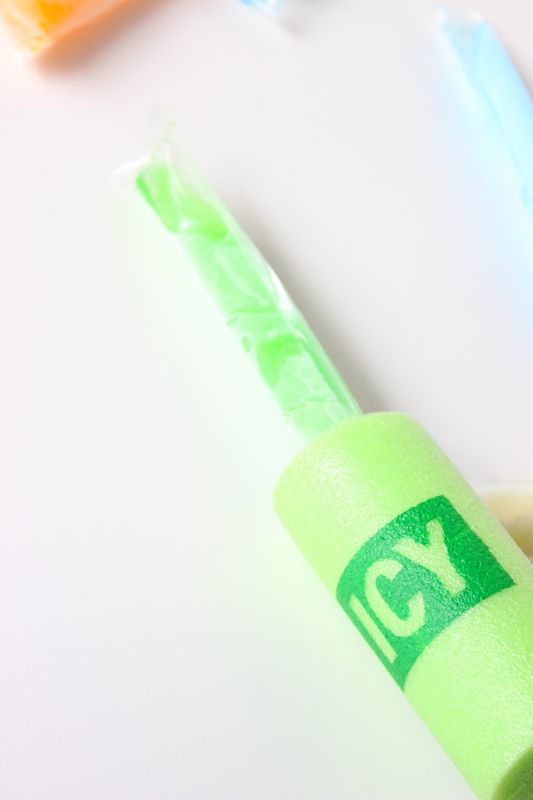
Add letters to each noodle to spell BRR!, CHILL, COOL, FREEZE, and ICY.
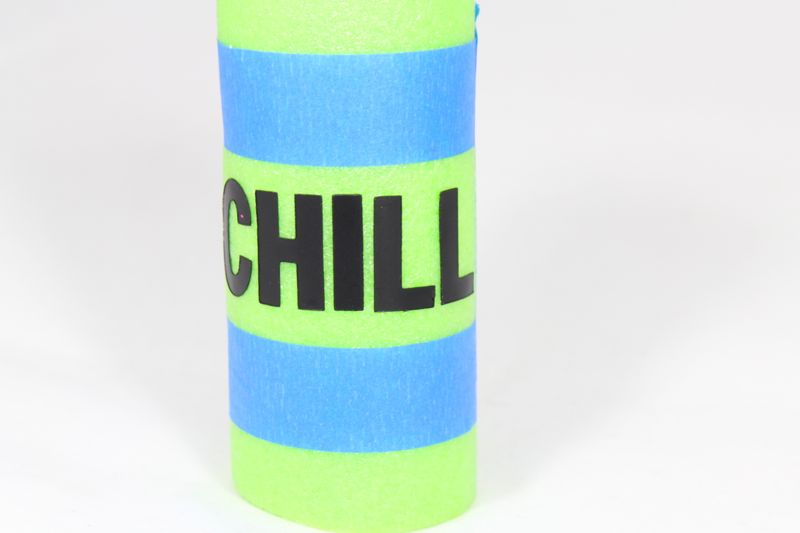
Frame the letters with Frog Tape in the shape of a rectangle.
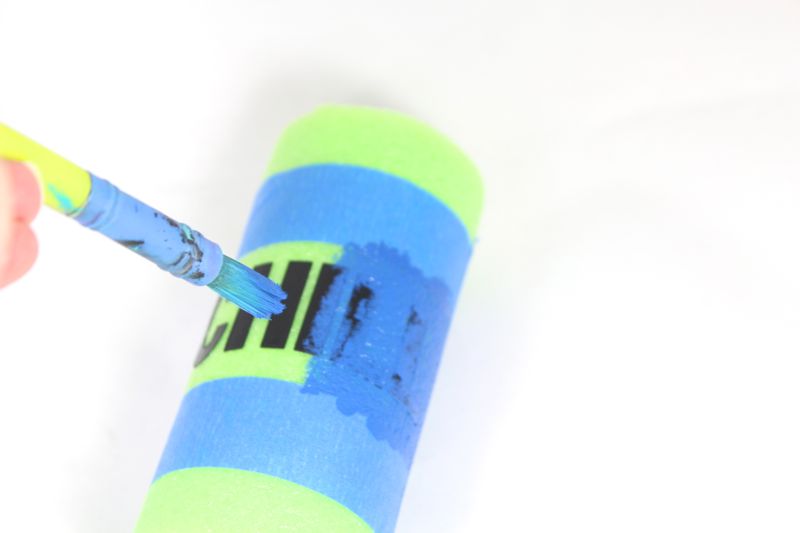
Use a paintbrush to dab paint onto the noodles over the letters and within the taped area.
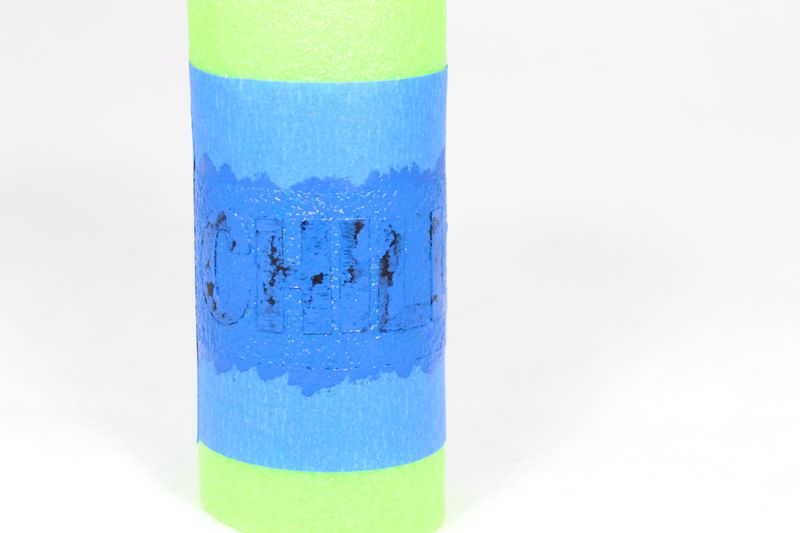
Wait a couple of minutes to remove the tape and letters. Don’t wait too long, or the paint will begin to peel off with the letters. The paint should still be slightly wet when you remove the letters and tape.
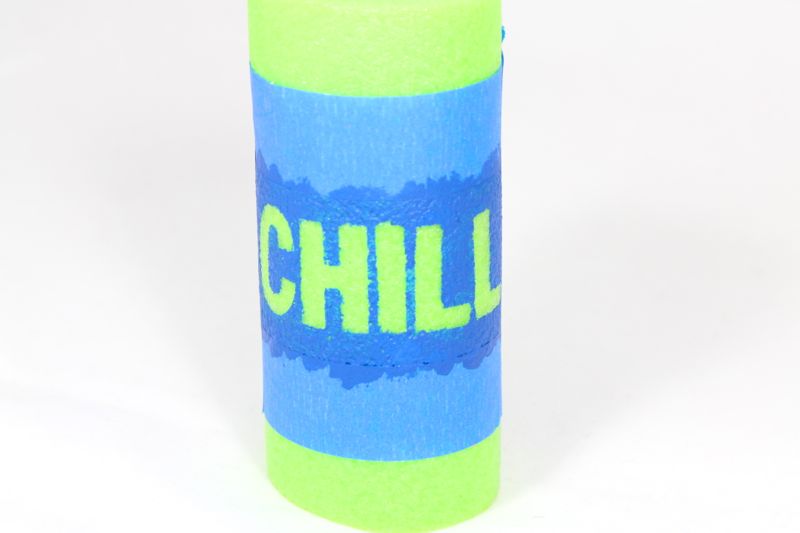

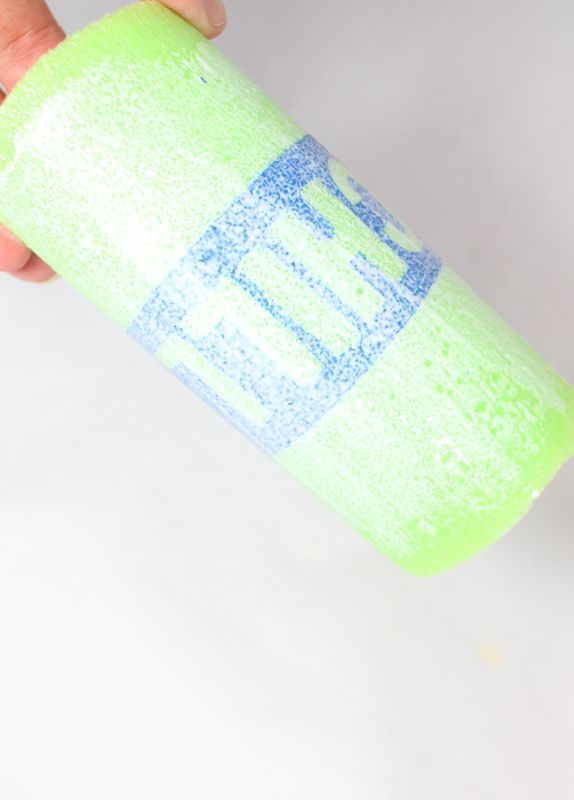
Once the paint is dry, apply a layer or two of Mod Podge over the letters. It will dry clear, so no need to apply it all over the noodle. This will prevent it from peeling and flaking off.
Insert popsicle and enjoy without the whining of cold hands.

[show_shopthepost_widget id=”1813200″]