New Year’s Eve Photobooth

NYE-backdrop-party-photo-booth-black-white-conversation-bubbles

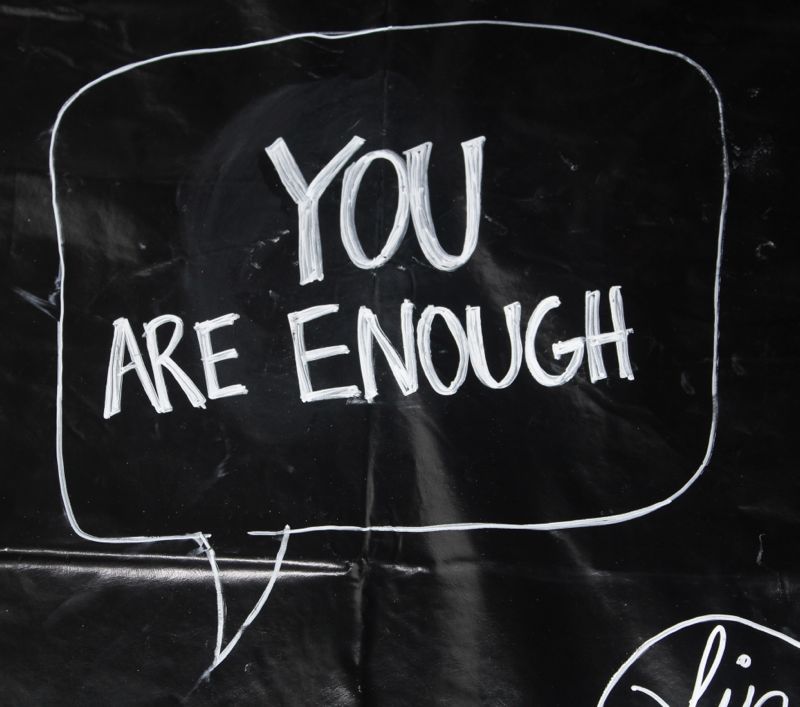
As women, there are 5,000 things that go through our heads every minute, of every day. It’s exhausting. Most of the time, the thoughts are negative and full of judgement. How often do you wake up in the morning, and say to yourself, “Hello, gorgeous!” We know we seldom stand in front of the mirror and say, “Damn, I look good.” Instead, we say, “Ugh, I look so old.” “I have bags under my eyes.” “I’m getting fat.”

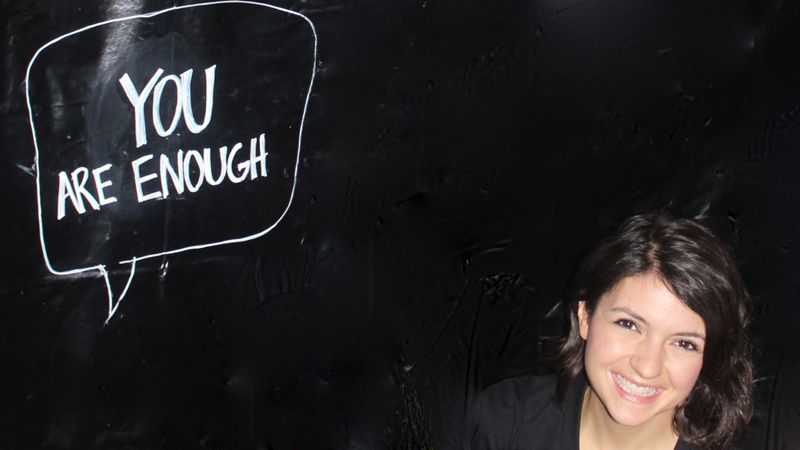
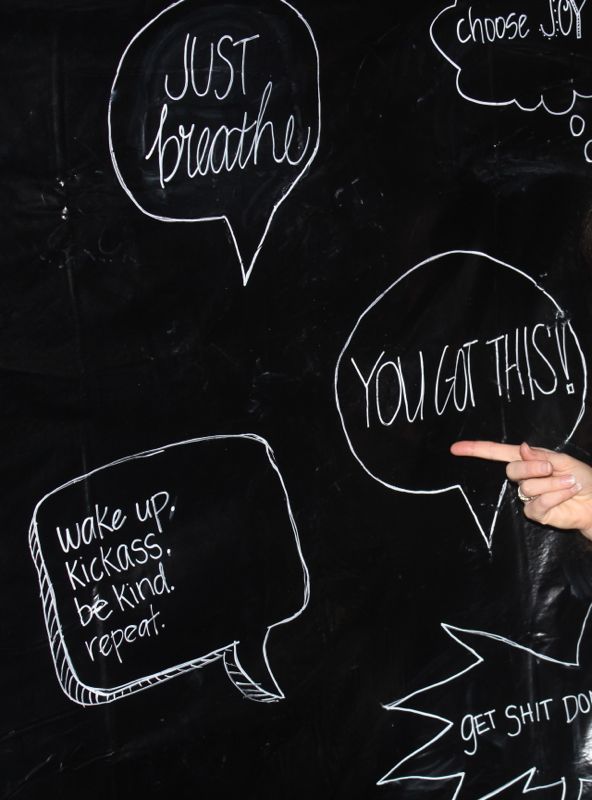
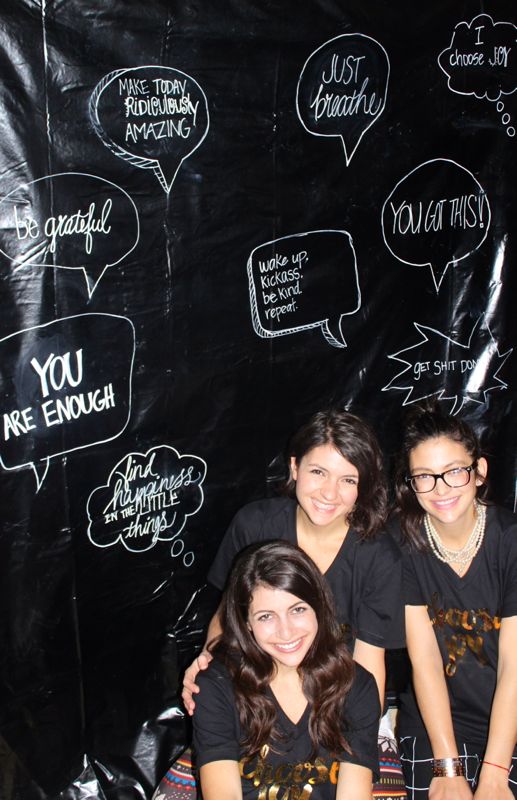
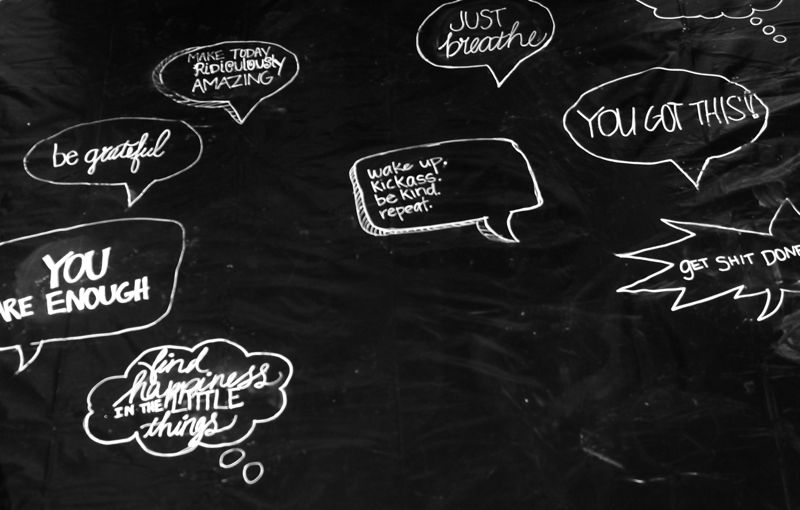
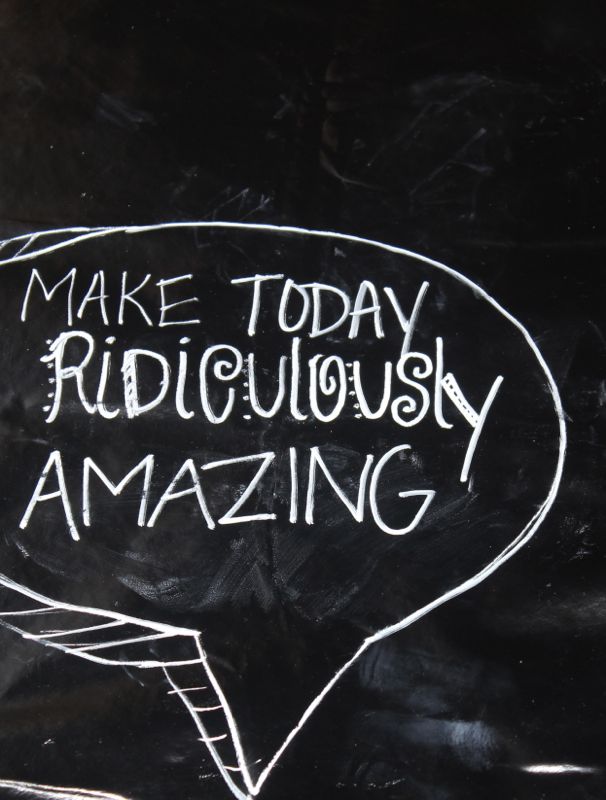
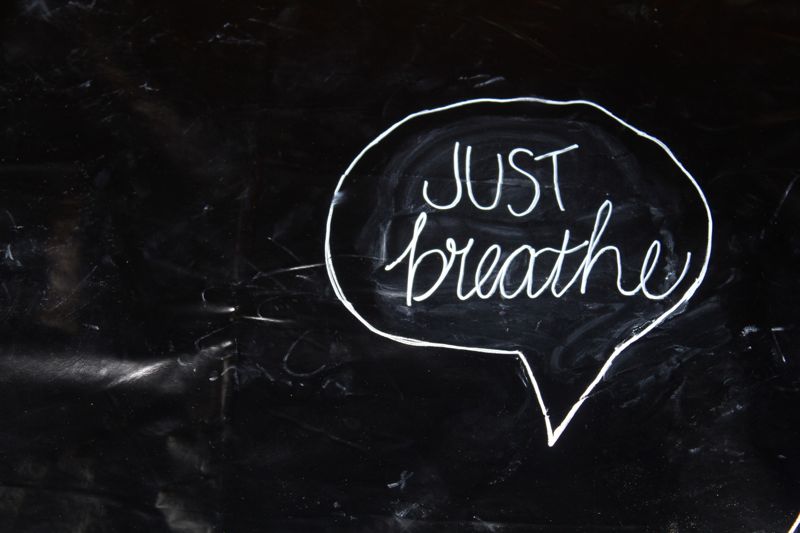
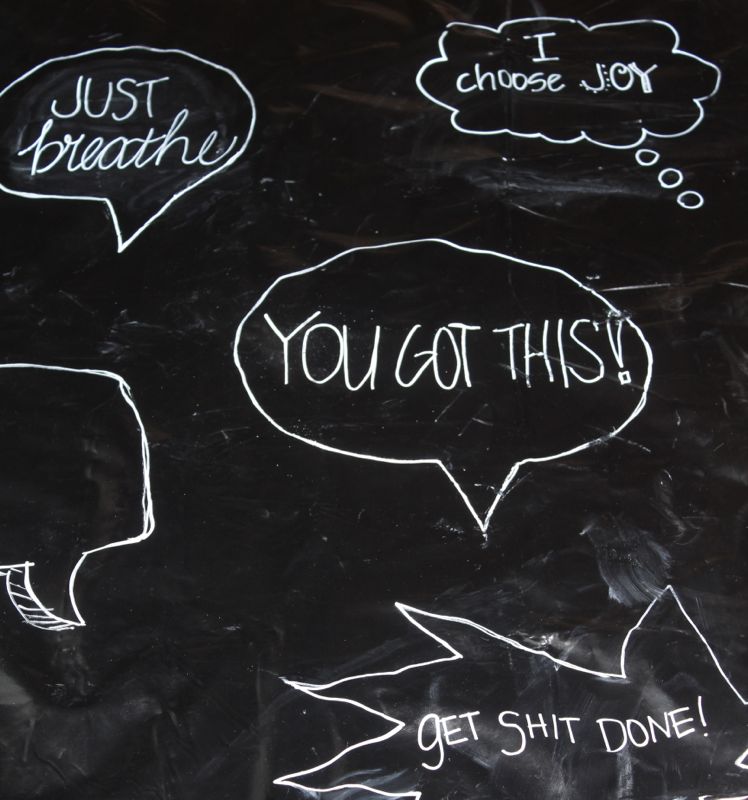
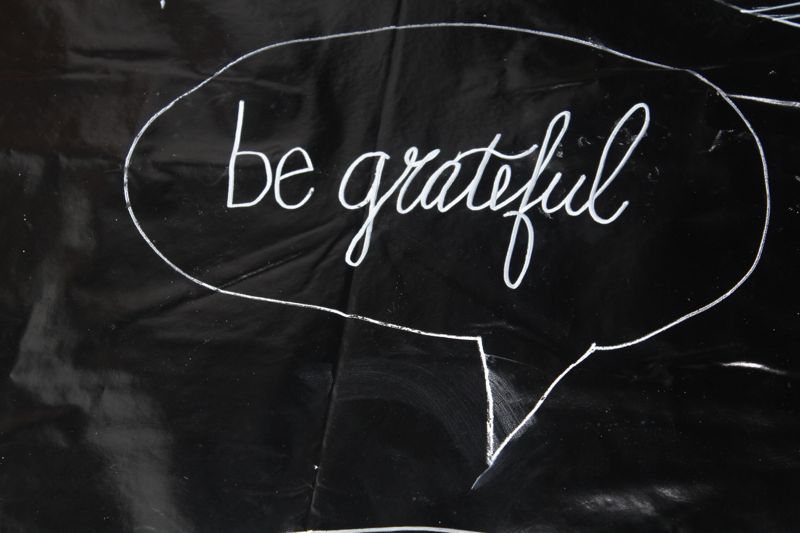
Well, in 2016, that’s going to change. At least we are going to try. If you haven’t tried, you haven’t lived. We made a fun, chalkboard NYE backdrop full of bubble conversations that we are going to tell ourselves everyday. We believe that what we tell ourselves eventually becomes a reality and changes our way of thinking, so let’s make it positive and uplifting.

Note: Our little shoot was mega rushed, which is the story of our lives, so it’s not as full of props and pretty as we would have liked. But, you get the idea. Make sure to buy a non-glare chalkboard backdrop so there’s no glare. We made the mistake. You’re welcome.

black-white-chalkboard-you-are-enough-conversation-bubble

Materials:

  • Chalkboard tablecloth or chalkboard paper sign
  • Chalk Pen
  • Selfie-stick or camera

Directions:

Step One: Hang the chalkboard paper.

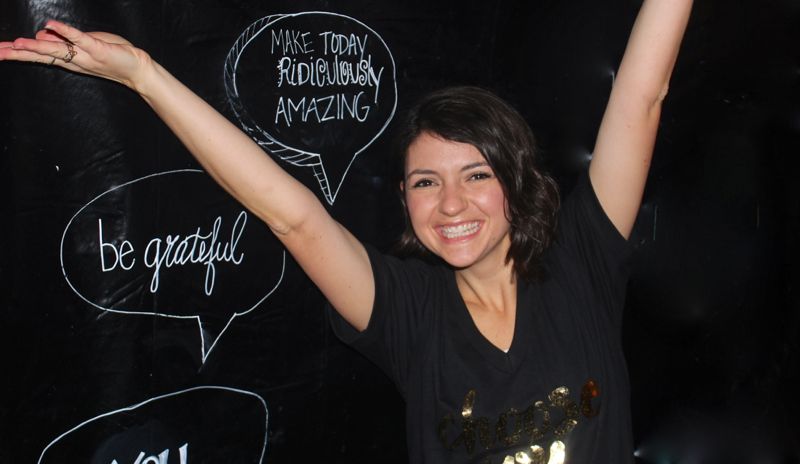
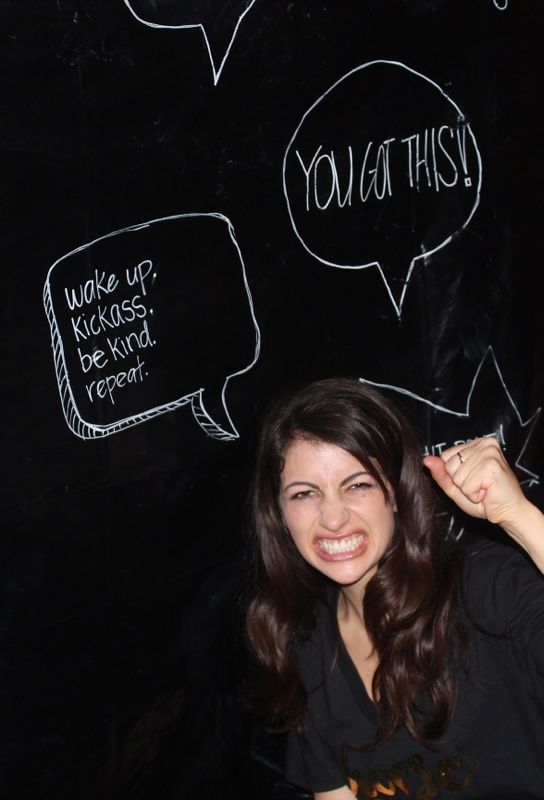
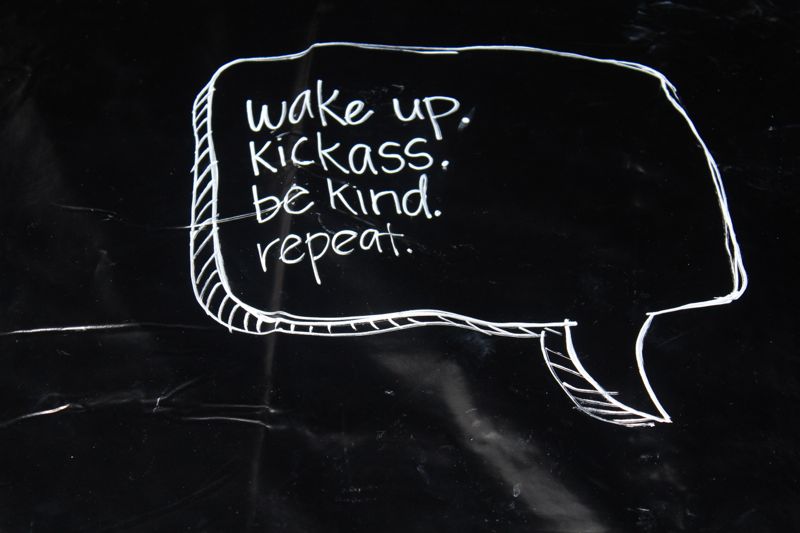
Step Two: Write all the positive all fun thoughts you are going to tell yourself in 2016.

you-are-enough-chalkboard-inspiration

make-today-ridiculously-amazing-chalkboard-notes

IMG_1139

IMG_1138

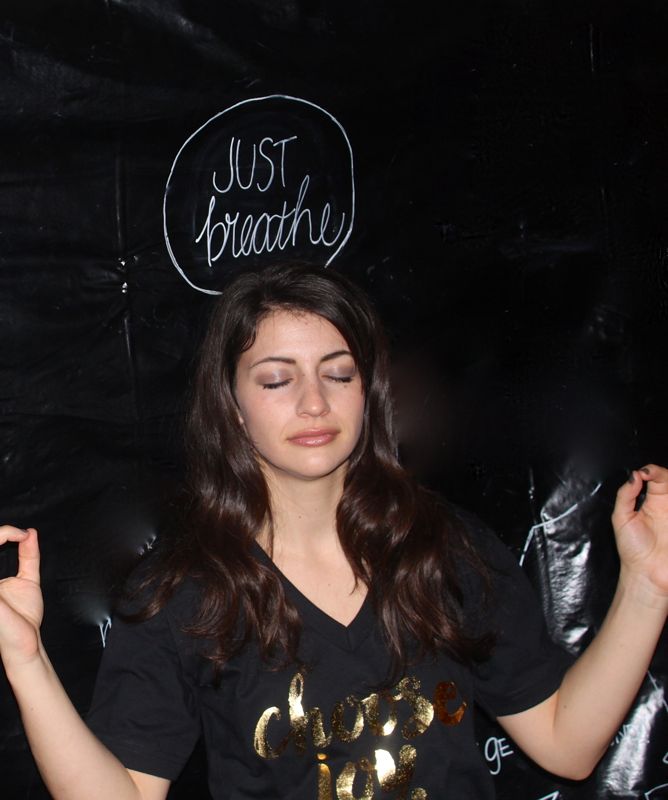
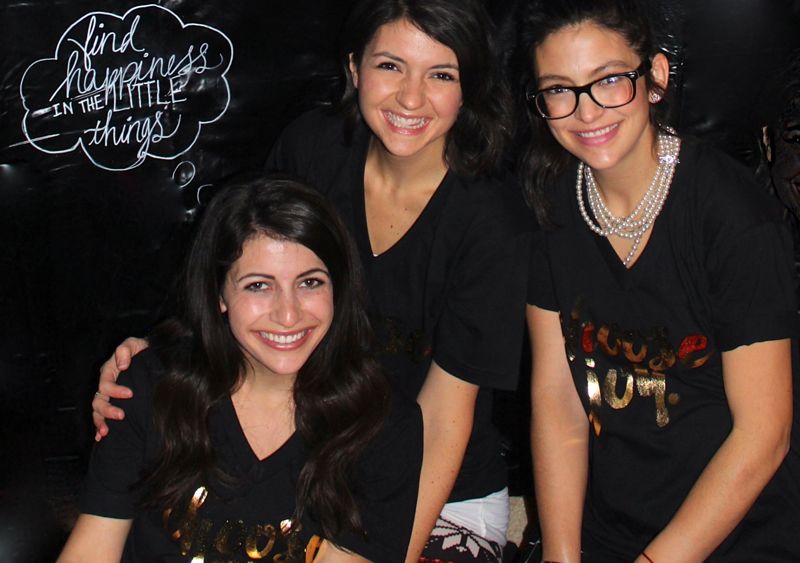
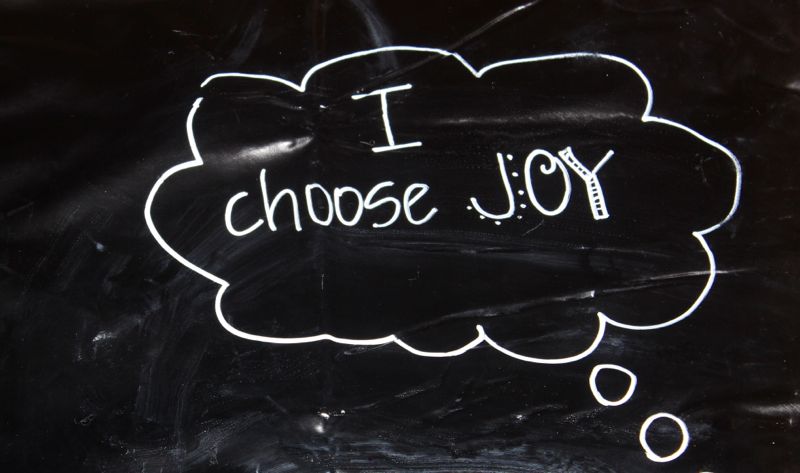
The next one is one of our faves. I choose joy was inspired by t-shirts that make us happy by Oh, Sweet Joy! You will see these shirts on us a lot because, well, we absolutely love them.

IMG_1140

IMG_1133

chalkboard-labels-NYE-photo-booth-inspiration-be-grateful

Step Three: Pose for some photos. Have fun.

IMG_1050

IMG_1044

chalkboard-NYE-backdrop-photo-booth-choose-joy

IMG_1043

chalkboard-conversation-bubble-NYE-photo-booth-you-got-this

enjoy-the-little-things-chalkboard-photobooth-diy-NYE-party-sisters


Holiday Cross-Stitch Cards Workshop at West Elm

make-and-mingle-embroidery-west-elm-flowers

The Every Hostess and your truly hosted a lovely event at West Elm, Denver just in time for the holidays. We gathered to cross-stitch holiday cards, sip coffee and apple cider and snack on cheese, crackers and, of course, cookies! We made wonderful memories with old and new friends, and laughed as we crafted at our 2nd Make & Mingle workshop.

Thanks to everyone who joined us, and to Colby Elizabeth Photography who captured all the cross-stitching fun.

See the beautiful party in its entirety at Couture Colorado. You won’t want to miss all the pretty little details…and the big ass balloons, literally.

joy-holiday-cards-red-polka-dot-embroidery

joy-holiday-cards-red-polka-dot-embroidery-workshop-diy-cards

confetti-balloons-white-west-elm-party


cross-stitch-holiday-cards-west-elm-denver-party-christmas-holiday-joy-card

make-and-mingle-santa-chocolate-straws-party-gifts

denver-west-elm-girls-laughing-party-white-balloon

Vendor List

Photographer: Copyright Colby Elizabeth Photography | @colbsta
Location: West Elm, Denver | @westelmdenver
Florist: Ladybird Poppy |@ladybirdpoppy
Stationery: Fleur de lis, a paperie | @fdlpaperie
Balloons: Big Ass Balloons | @bigassballoons
Polka Dot bags and straws: Bake It Pretty | @bakeitpretty
Planning/Styling: The Every Hostess | @theeveryhostess and J. Sorelle | @jsorelle3
Cookies: homemade by J. Sorelle @jsorelle3
Food and Hot Apple Cider: The Every Hostess | @theeveryhostess
Ornaments: Sage 8 Studio | @sage8studio
Chocolate bars and peppermint malt balls: Curly Girl Design | @curlygirldesign
Business card holder: Cory Renee Handcrafted Bags and Clutches
Coffee: Peet’s Coffee & Tea, Cherry Creek North | @peetscoffee

DIY Cross Stitch Coffee Sleeve

red-coffee-cup-star-coffee-sleeve-holiday-cheer-star

As we bundle up and head outside this winter, we like to keep a to-go mug of coffee or tea between our hands. It’s a habitual thing. Sure, we need to caffeine most days {okay, everyday}, and we like the taste of tea, but it really comes down to the fact that we like to have something warm in our hands. It feels comfortable and cozy.

Well, we’ve made our comfy habit a bit cuter with our latest DIY featured at our Make & Mingle last week – a DIY cross-stitch coffee sleeve. Anyone can do it…even with no sewing experience.

Thanks to Peet’s Coffee & Tea in Cherry Creek North for the cups and hot coffee, and Colby Elizabeth Photography for the photos.

Materials:

Directions:

  • Find a pattern or shape to cross-stitch. We used this file from Fleur de Lis, a paperie, and printed them at 30% or 40%, so the stars were small enough to fit on our coffee sleeves.
  • Set the print out of the shape on the coffee sleeve, and with your pearl pin in hand, punch small holes on the ends of every line where you will stitch. When you remove the paper, you should see the shape that you want to design on your coffee sleeve. If you need to make the holes more visible, punch them again once the paper is removed.
  • Cut the embroidery string, insert one end through the needle loop, and tie a knot on the other end of the string.
  • Insert the needle from inside the coffee sleeve up through the top of the coffee sleeve. Then go back down through the next hole. Continue going up and down through each hole until you have completed the shape.
  • Once you stitch the last line, tie a knot inside the coffee sleeve with the original knot.

Warm wishes to you this winter!

red-coffee-cup-star-coffee-sleeve-holiday-cheer-star

Photography: Copyright Colby Elizabeth Photography

DIY Santa Bag

santa-bag-special-delivery-christmas-gift-wrap

Santa has brand new bag.

This Pottery Barn {one of our favorite store’s} hack can be made for under $10.

Find the file by Fleur de Lis, a paperiehere for just $5. Read the full tutorial on Momtastic.

Merry Christmas.

DIY Merry & Bright Ornament

diy-christmas-ornament-merry-and-bright-red-gold-confetti-tree

‘Twas the week before Christmas, and all through blogging land,
bloggers were hustling with super glue in their hand.

Ornaments were hung on the tree with care,
but one was missing from bloggers who hope to put one of their own there.

We knew in a moment, it must be #swapthatdiy time,
For those who read our first one, it was a sublime.

Lifestyle, DIY, food and fashion – not one of them the same,
A Joyful Riot, Pretty Life Girls, DIY Candy, Cut, Cut, Craft!, A Bubbly Life, The Bold Adobe, The Sweetest Occasion, Tell Love and Party and One Little Minute Blog – we called them each by name!

Happy ornament making to all, and to all a good night.

diy-christmas-ornament-merry-and-bright-red-gold-confetti-tree

It’s our 2nd official DIY swap, and it’s a good one. We made Merry & Bright ornaments to brighten up the sisters of A Joyful Riot holidays. We couldn’t do a Merry without a Bright, so we sent all three. Our ornaments were inspired by big, 36” balloons by Big Ass Balloons, so the ornaments are meant to be 36” balloons with the string of tassels.

Merry Christmas, Malissa and Machelle, and everyone who participated.

Materials:

  • Bulb ornament, less than $1
  • Gold mylar
  • White tissue paper
  • Red acrylic paint
  • Paintbrush
  • Hot glue and hot glue gun
  • Red embroidery string
  • Red craft/jewelry wire, Michaels
  • Drill

 Directions:

Drill two small holes on the top of the ornament, one of each side of the top of the ornament.

ornament-red-wire-gold-confetti-holiday

Trace or free-hand the word Merry & Bright on the ornaments, then paint the words with a small paintbrush and red paint.

merry-and-bright-ornaments-diy-gold-confetti

Fill the ornaments with confetti {we cut small squares of the gold mylar and hole-punched tissue paper for white confetti}. There is a natural static that occurs, so some of the confetti will stick to the sides of the ornament.

diy-christmas-ornament-merry-and-bright-red-gold-confetti-tree

Cut a piece of string about 1 foot long for the tassel string. We made little tassels from the white tissue paper and gold mylar. We tied each mini tassel to the string with a knot, one above the other. Once all the tassels were in a row, we dabbed a bit of super glue on top each one, to keep them in a straight line.

diy-christmas-ornament-merry-and-bright-red-gold-confetti-tassle

Cut a 4-inch piece of the red wire and string it through the two holes on top of the ornament. To add a touch of cuteness, make a bow out of the red wire, and wrap additional wire around center of the bow to keep it in place.

IMG_2947


diy-christmas-ornament-merry-and-bright-red-gold-confetti-tree