DIY Air Plant Gift

diy-mothers-day-gift-air-plant-planter-apple-gold-red

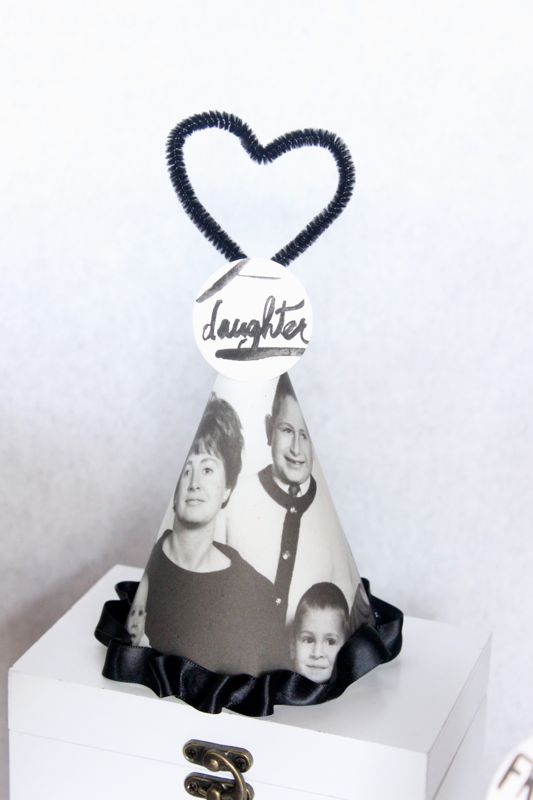
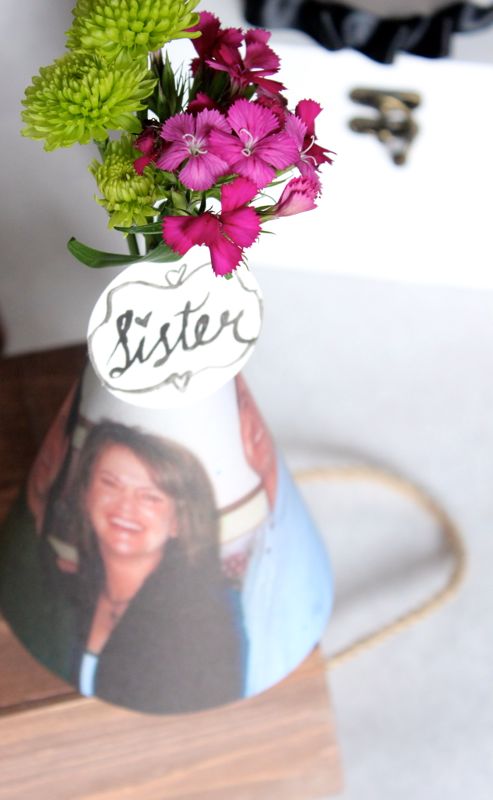
We know that sometimes the person we love, depend on and count on the most, is often the one we tell the least. This Mother’s Day, take the time to tell mom thanks and you love her. And, if you cannot celebrate with your mom this Mother’s Day, take the time to honor her life if she is no longer with you, or reach out to the person{s} who is a ‘mother’ figure in your own life.

We know trendy air plants are not totally our mom’s style, but this DIY planter is too cute not to make for her. Plus, she really is the apple of our eyes. We would not be the women and mother’s we are today without her.

This air plant is planted {in this case, when we say planted we mean ‘set inside’ because there is no soil, no mess and no intense tools needed} inside a fake apple. Seriously, these air plants are the plants for us. One month since we made the green purchase…and it’s still alive. We call that a success.

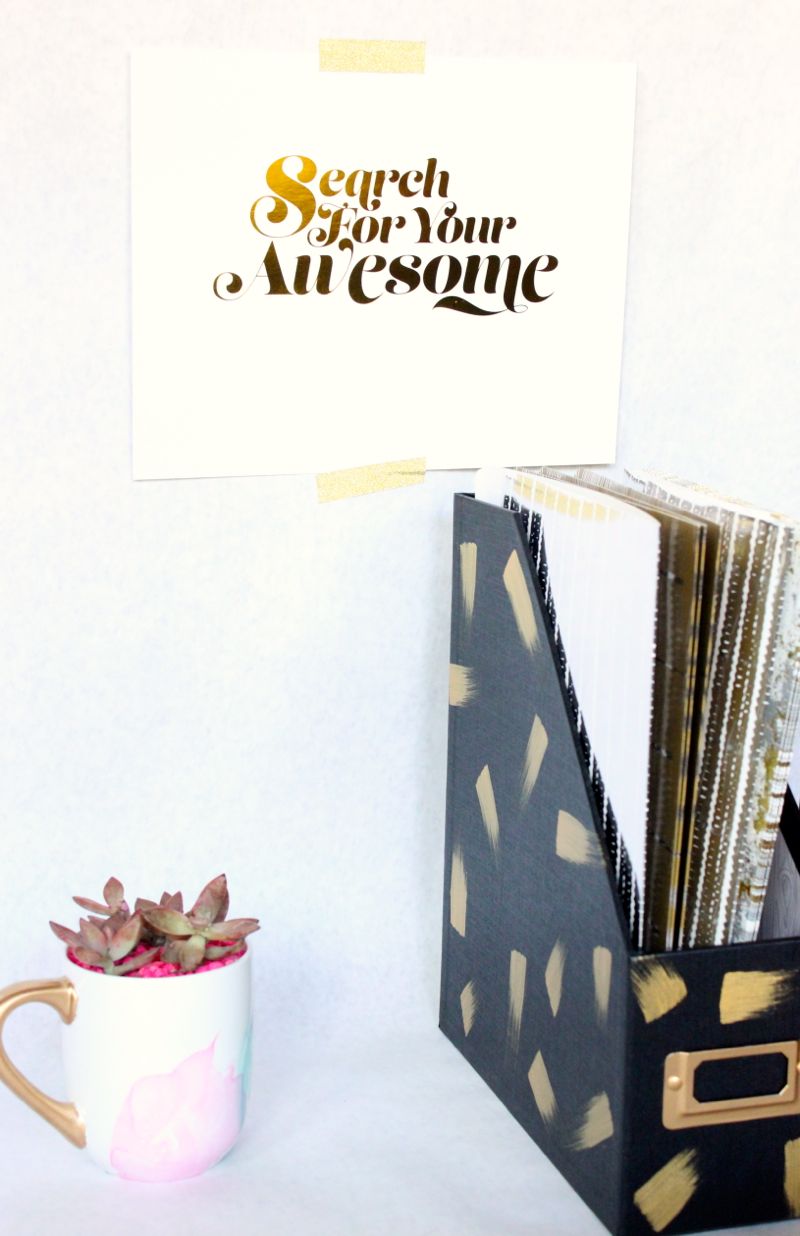
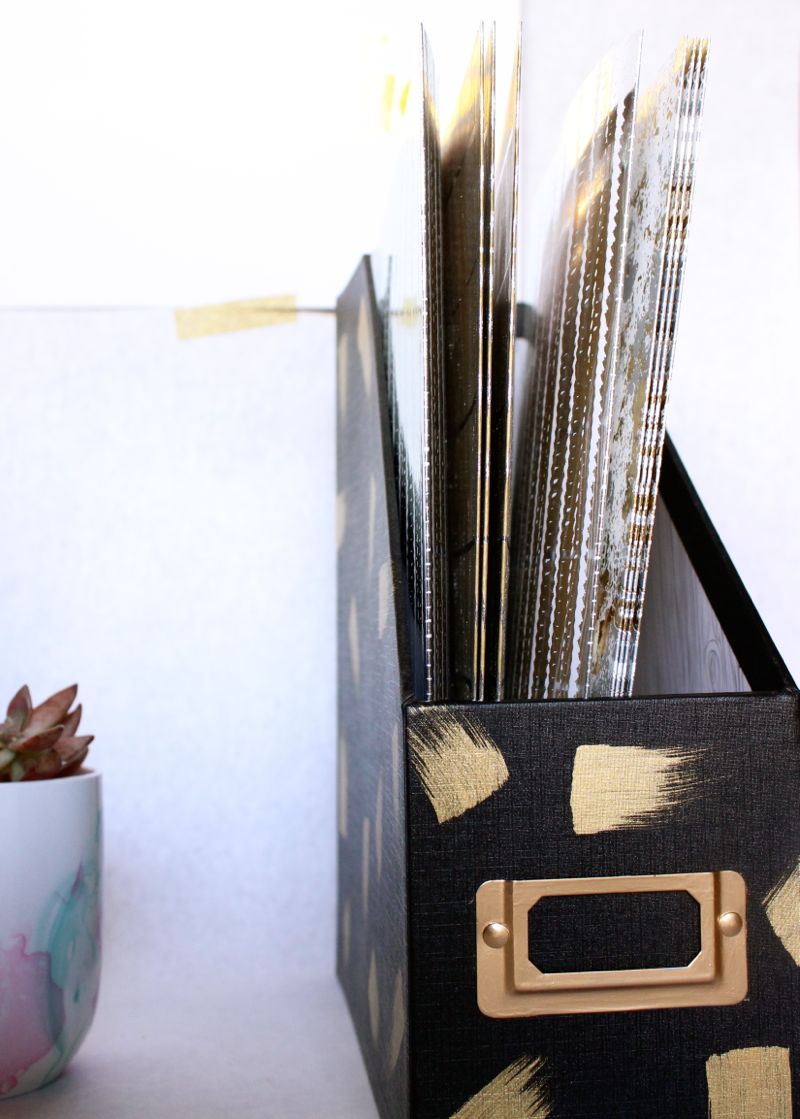
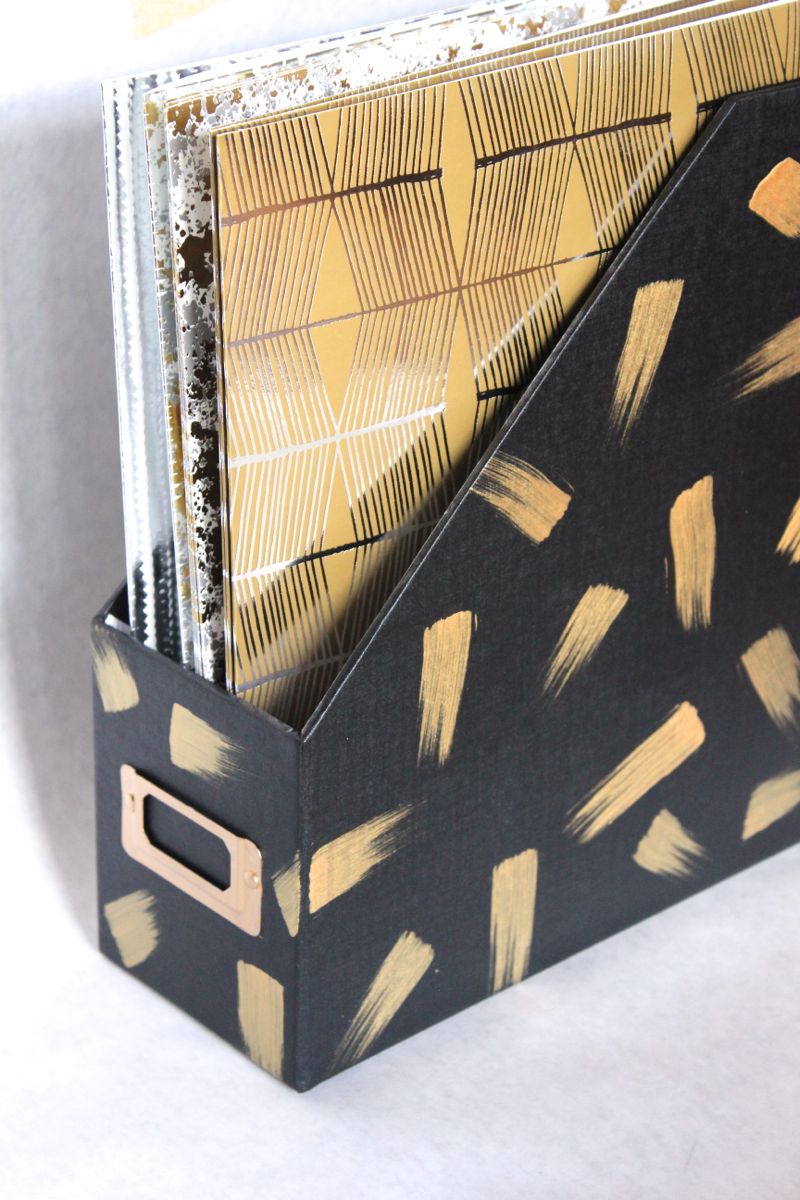
More details on how to make the DIY Mother’s Day gift, which BTW would be an awesome DIY gift for a friend, teacher, co-worker or family member, can be found here.

photo via Meredith Moran Photography

Mother’s Day DIY Party Hats

diy-party-hats-paper-mom-mothers-day-heart-photos

Mom. Chef. Wife. Friend. Housekeeper. Chauffeur. Therapist. Teacher. Coach. Hair Stylist. Nani.

Moms wear many hats. We know our mom did. She amazes us everyday with her energy and love. Sometimes she can wear 5 hats at the same time!

Celebrate all the many hats mom wears this Mother’s Day with DIY photo party hats. The kids will love to help create them and everyone can wear them to celebrate mom.

diy-party-hats-paper-mom-mothers-day-heart-photos

diy-party-hats-paper-mom-mothers-day-heart-photos

Materials Needed:

  • Astrobrights Papers
  • Photos
  • Decorating accessories – sequins, paper, yarn, ribbon, flowers, tissue paper, pom poms, etc
  • Hot glue gun
  • Ribbon
  • String
  • X-acto Knife

Directions:

  • Download a hat pdf online. Print, then cut out the template.
  • Print images of your mom with family and friends on heavy paper. We found it best to re-size the images in Microsoft Word to fit an 81/2 x 11 size paper. Some of the photos worked best with a small border around the edge – it just depends on the photo. Make sure images are horizontal.
  • Trace the hat template onto the image and make sure everyone’s beautiful faces fit in the template {if not, adjust accordingly}, then cut the tracing and use your X-acto knife where the slits are.
  • Gently bend the hat to place the tab into the slot. If it doesn’t fit easily, you can always use a hot glue gun to keep the paper hat in place at the tab seam.
  • On each side of the hat, use a small hole punch or use an X-acto knife to make a X cut mark for the ribbon. You can always glue the hat onto headbands, too.
  • Push the ribbon through the X and tie a knot on the inside of the hat.
  • Embellish, embellish, embellish. We used all the sparkly and pretty things we had around the house. Use the hot glue gun to glue all the embellishments to the hat.
  • For all the ‘hat labels’ we painted watercolor circles with watercolor paint, and glued them to the hats.

diy-party-hats-paper-mom-mothers-day-heart-photos

diy-party-hats-paper-mom-mothers-day-heart-photos

diy-party-hats-paper-mom-mothers-day-heart-photos Mom. Chef. Wife. Friend. Housekeeper. Chauffeur. Therapist. Teacher. Coach. Hair Stylist. Nani.  Moms wear many hats. We know our mom did. She amazes us everyday with her energy and love.  Celebrate all the many hats mom wears this Mother's Day with DIY photo party hats. The kids will love to help create them and everyone can wear them.  diy-party-hats-paper-mom-mothers-day-heart-photos  diy-party-hats-paper-mom-mothers-day-heart-photos  Materials Needed:  Astrobrights Papers Photos Decorating accessories - sequins, paper, yarn, ribbon, flowers, tissue paper, pom poms, etc Hot glue gun Ribbon String X-acto Knife Directions  Download a hat pdf online. Print, then cut out the template. Print images of your mom with family and friends on heavy paper. We found it best to re-size the images in Microsoft Word to fit an 81/2 x 11 size paper. Some of the photos worked best with a small border around the edge - it just depends on the photo. Make sure images are horizontal. Trace the hat template onto the image and make sure everyone's beautiful faces fit in the template {if not, adjust accordingly}, then cut the tracing and use your X-acto knife where the slits are. Gently bend the hat to place the tab into the slot. If it doesn't fit easily, you can always use a hot glue gun to keep the paper hat in place at the tab seam. On each side of the hat, use a small hole punch or use an X-acto knife to make a X cut mark for the ribbon. You can always glue the hat onto headbands, too. Push the ribbon through the X and tie a knot on the inside of the hat. Embellish, embellish, embellish. We used all the sparkly and pretty things we had around the house. Use the hot glue gun to glue all the embellishments to the hat. For all the 'hat labels' we painted watercolor circles with watercolor paint. diy-party-hats-paper-mom-mothers-day-heart-photos  diy-party-hats-paper-mom-mothers-day-heart-photos  {images via j. sorelle}

See more creative last-minute Mother’s Day ideas at Cre8tive Compass.

{images via j. sorelle}

DIY Graduation Gift: Interview in a Box

interview-in-a-box-file-folder-gold-you-got-this-banner-gold-brush-strokes-diy-graduation-gift

It’s Graduation time. It’s time a quarter life crisis may be imminent. It’s time to navigate the real world. It’s time to find a JOB. It’s time to move back in with mom and dad, or pay your own rent. It’s time to ponder if that major that seemed like a good idea at the time may have, in fact, been a waste of time. It’s time to show the real world what you can do!

With our cute new file folder, we created an affordable and unique DIY Graduation gift idea we think every graduate needs this year…Interview in a Box.

interview-in-a-box-file-folder-gold-you-got-this-banner-gold-brush-strokes-diy-graduation-gift

We know our knees buckled with nervousness before every interview and our parents always had the best advice. Just be yourself and do your best. So, with a little wisdom from mom and dad, and a few essentials from Interview in a Box, your interview will be a smashing success.

Interview in a Box 

interview-in-a-box-file-folder-gold-you-got-this-banner-gold-brush-strokes-diy-graduation-gift-notepad-breath-mints-nordstrom-starbucks-thank-you-note

What’s included for the new graduate:

  • DIY brushstroke file folder. Don’t bring this to the interview. Keep it at home, and get organized.
  • Water bottle. Stay hydrated. No one wants cotton breath.
  • Breath mints. Don’t make the interviewer turn his head with a queasy stomach with your morning coffee breath.
  • Notepad and pens {Target, $3}. Be smart and take notes. At least look like you’re listening.
  • Nordstrom gift card. Dress to impress. Cut off jeans and your college sorority sweatshirt is not going cut it. Go shopping and get something that will help you feel confident, professional and classy. You can never go wrong with a shopping spree at Nordstrom, period.
  • File folders {Target}. Your resume will stand out in a metallic folder with your name on it. If you shine, your resume should too.
  • Starbucks VIA. Stay awake for the interview, and since you’re post-college, you’re broke. No fancy latte’s for you.
  • You Got This banner {via our awesome Silhouette cutting machine}. You worked your butt off to graduate from school. Never forget that you’re a boss babe {or dude}, and believe in yourself. YOU GOT THIS. Hang the banner in your room before and after the interview for a personal pep talk.
  • Thank you cards. You will get extra points for writing a hand-written thank you note post interview. No texting, please.

interview-in-a-box-file-folder-gold-you-got-this-banner-gold-brush-strokes-diy-graduation-gift

{images via j. sorelle}

DIY Brushstroke File Folder

diy-brushstroke-paint-gold-file-folder-search-for-your-awesome-black-metallic

We’re still crushing on gold over here. We just can’t get enough of the shimmery, metallic metal.

We also are trying to master the art of brushstrokes. After dabbing into the paint this weekend, we’ve come to the conclusion that brushstrokes are so versatile and subjective, anyone can do it. You can do this particular project in under 5 minutes.

Our new DIY brushstroke file folder keeps us organized {ok, Jenna doesn’t need it because she’s uber organized, and maybe not Jessica because we’re not sure the word organization is in her vocabulary}, and it’s a piece of art all-in-one. We are no van Gogh, but now we have a fashionable desk accessory, and for us, that’s enough.

diy-brushstroke-paint-gold-file-folder-search-for-your-awesome-black-metallic

Materials:

  • Metallic gold paint
  • Flat paintbrush
  • File folder

Directions:

  • Dip your brush lightly in the metallic paint and gently stroke the file folder, applying heavy to light pressure.
  • Add brushstrokes in every direction on the file folder.
  • Let dry.

diy-brushstroke-paint-gold-file-folder-search-for-your-awesome-black-metallic

diy-brushstroke-paint-gold-file-folder-search-for-your-awesome-black-metallic


diy-brushstroke-paint-gold-file-folder-search-for-your-awesome-black-metallic

search for your awesome art print via hello tosha, courtesy of bing and the alison show

{photography via j. sorelle}

DIY Citrus Fruit Pushpins

lemon-lime-push-pin-summer-diy-cork-paint

In the summer we plan to take our Friday nights with a lick of salt, a slice of lime and a shot of tequila. The thought makes our lips pucker with excitement.

So, why not take our cork boards with a hint of color, a slice of lime and a cute photo?

Our classic black and white pushpins recently got a makeover into DIY lemon and lime pushpins. The mini slices add cheer to our workspace, and keep us dreaming of our favorite Rio Grande margaritas.

lemon-lime-push-pin-summer-diy-cork-paint

Materials Needed:

  • Mini Cork Door Discs {with adhesive backing} from Home Depot. You can also use flat white pushpins {non-cork}. 
  • Acrylic paint {white, lime green, yellow}
  • Pushpins
  • Pencil
  • Sealer, such as Shellac

Directions:

  • Paint the mini cork discs white.
  • When the white paint dries, use a pencil to freehand mini triangles in a circle around the center of the disc.
  • Paint the outer ring green/yellow, then paint the triangles green/yellow.
  • Once the paint dries, spray paint with a sealer, like Shellac.
  • Stick to the pushpins. The adhesive on the back should be sufficient, but if not, a hot glue gun with work.

lemon-lime-push-pin-summer-diy-cork-paint

lemon-lime-push-pin-summer-diy-cork-paint


lemon-lime-push-pin-summer-diy-cork-paint

{photos via j. sorelle}