Giraffe Baby Shower

blue-yellow-giraffe-baby-shower-outdoor-party

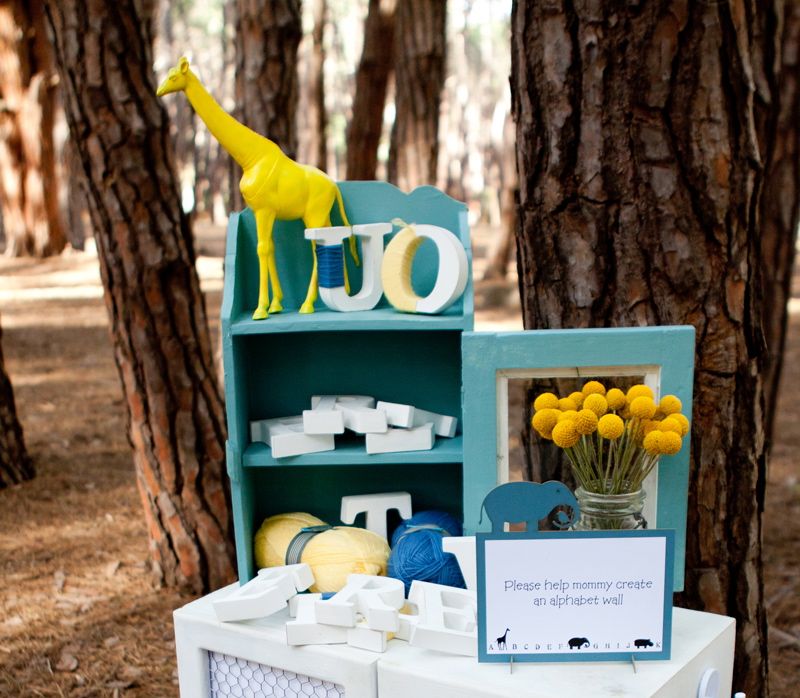
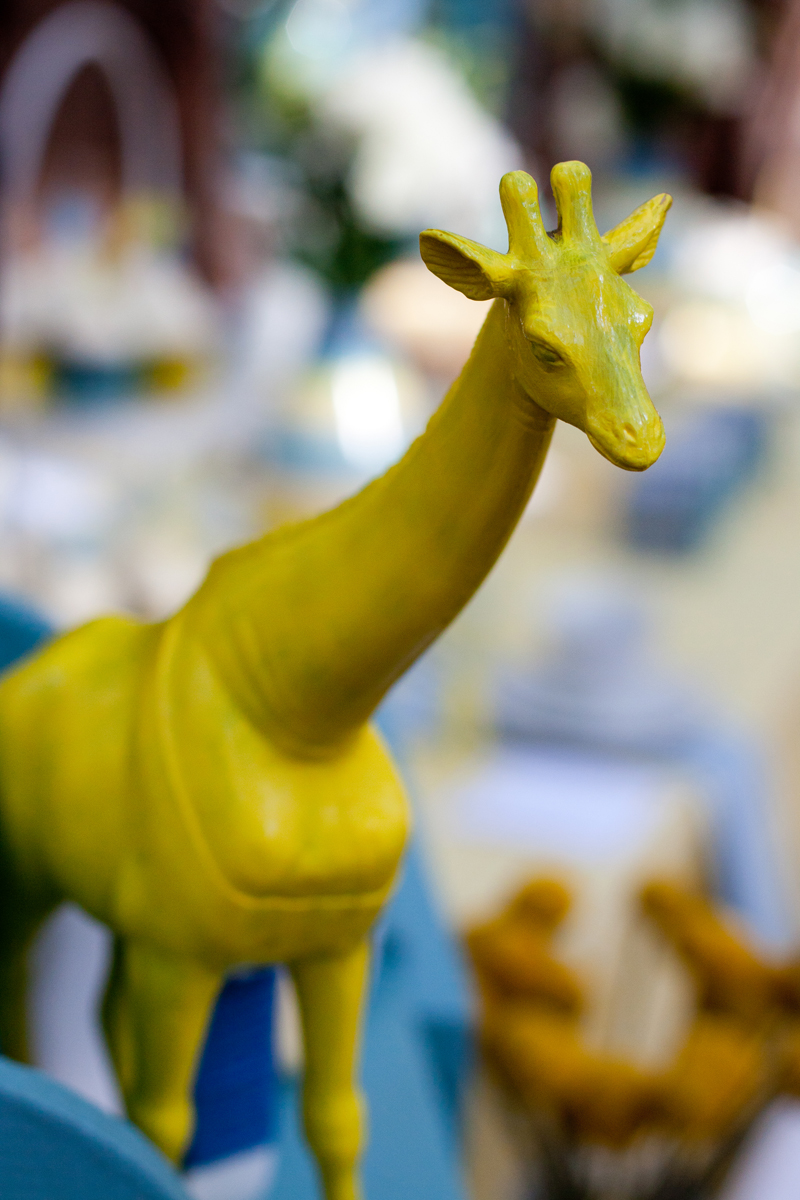
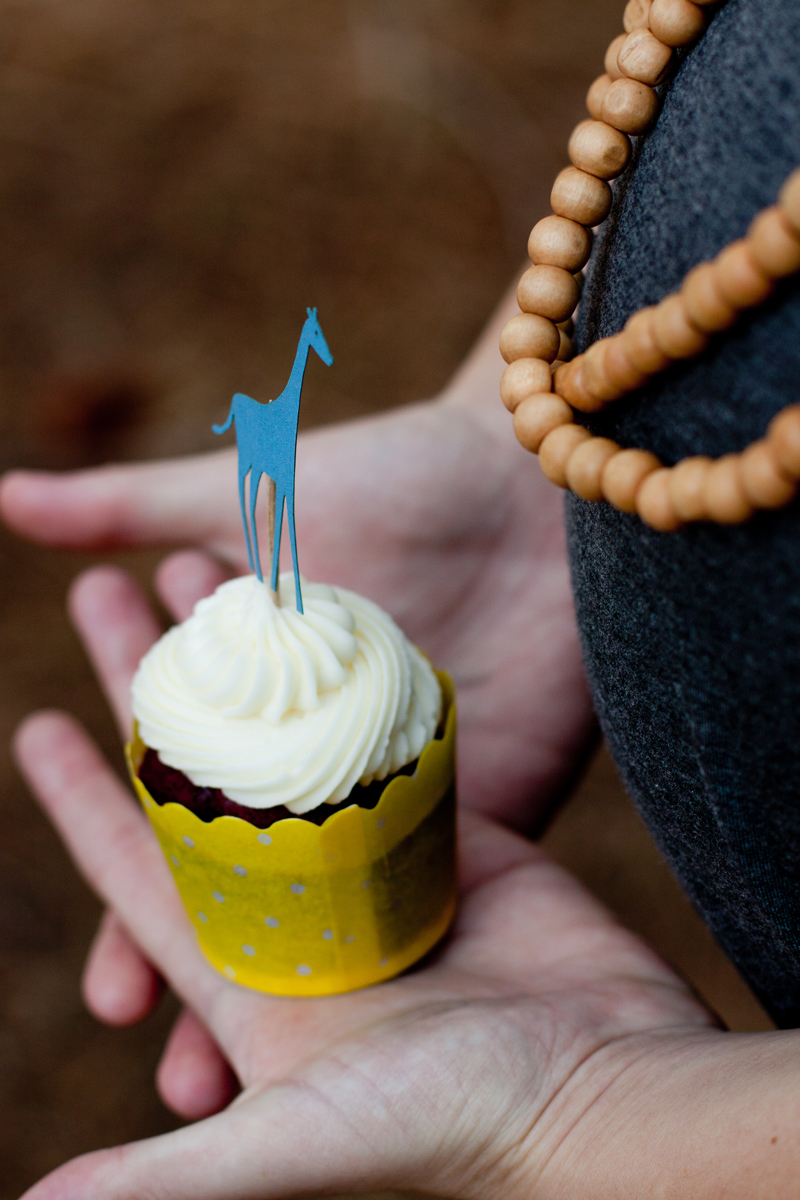
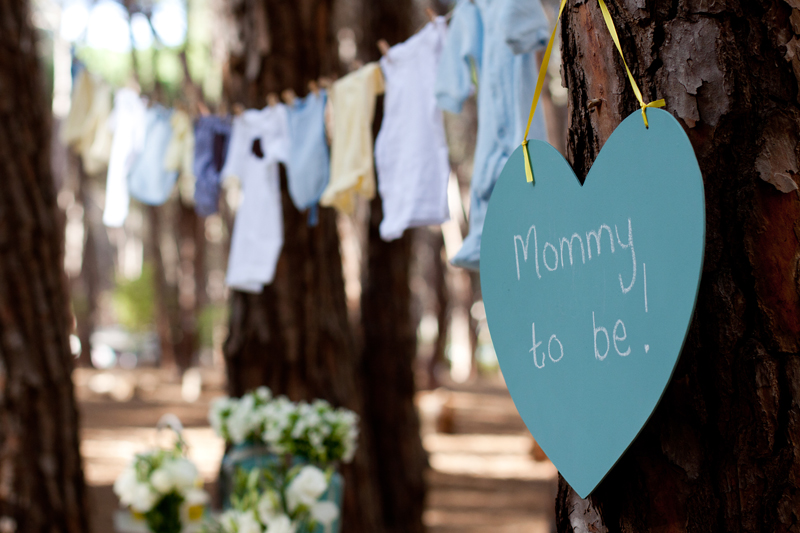
We made a trip to the zoo last week, and the giraffe’s were a favorite among our kids. The tall beauties have been loved by Jessica’s son for a long time. Thanks to Sylvia Strauss of Special Events and photographer Finishing Touch Roelien Visser, now we know they can be the inspiration behind a pretty baby shower, too.

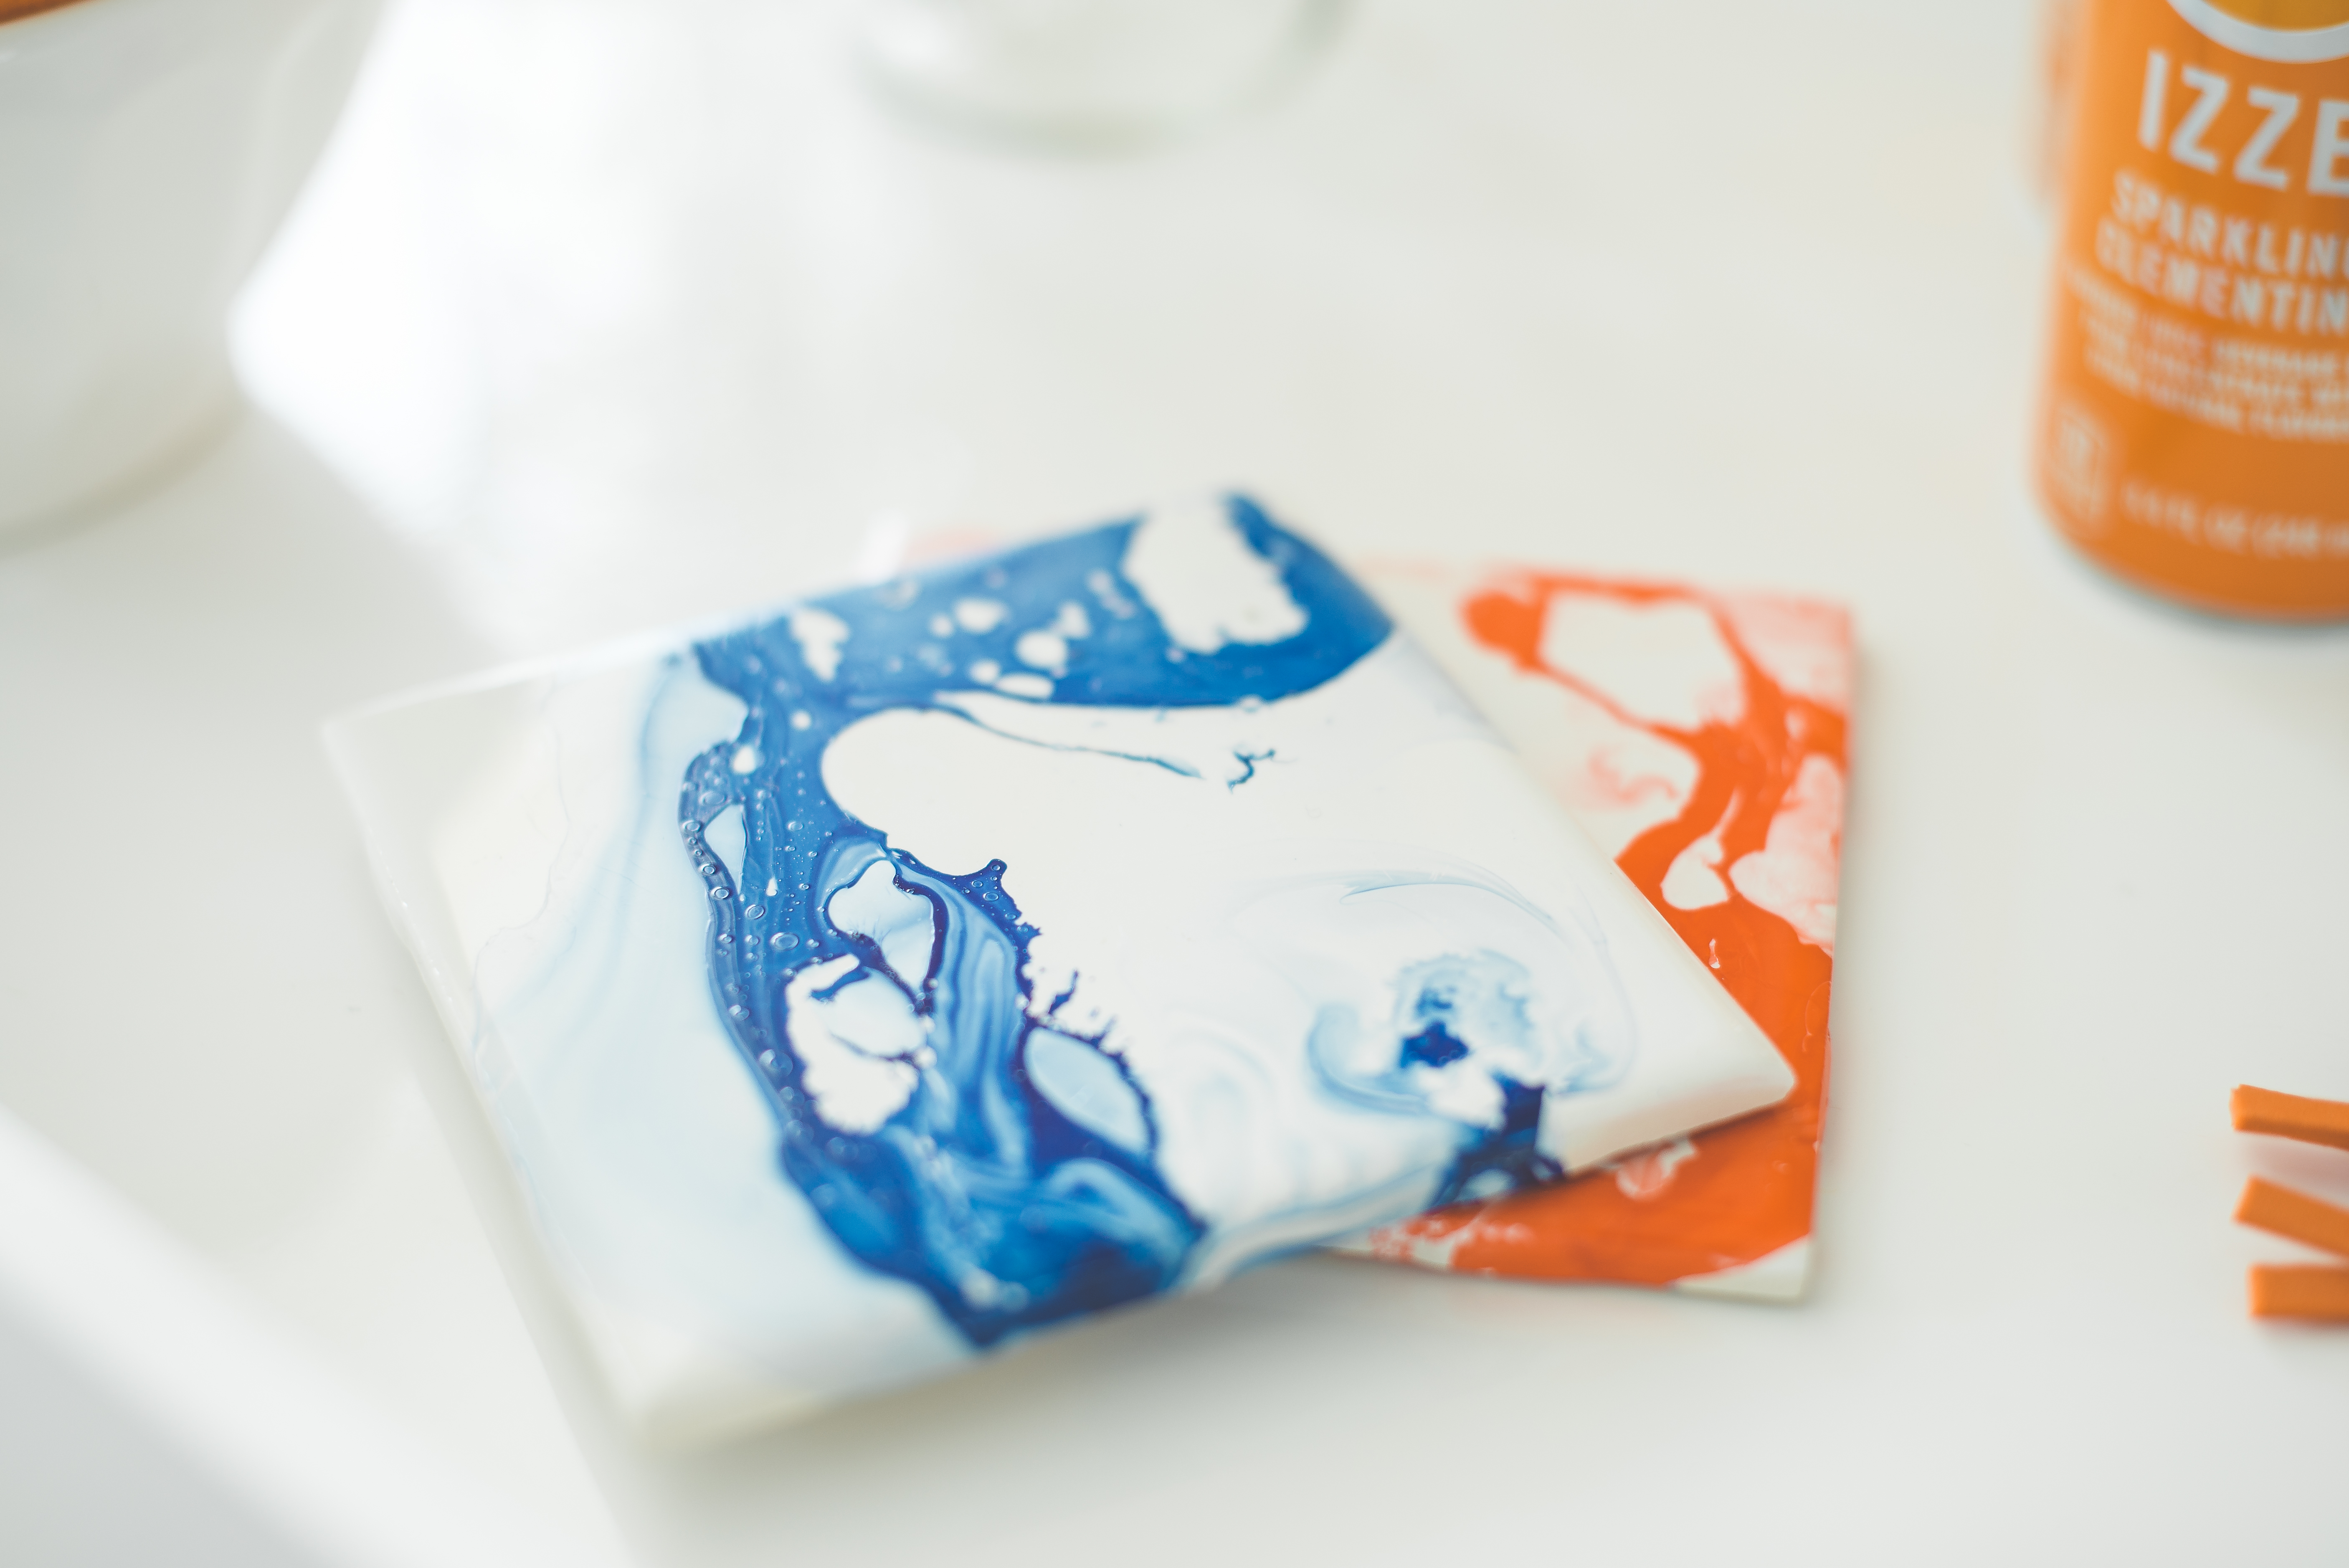
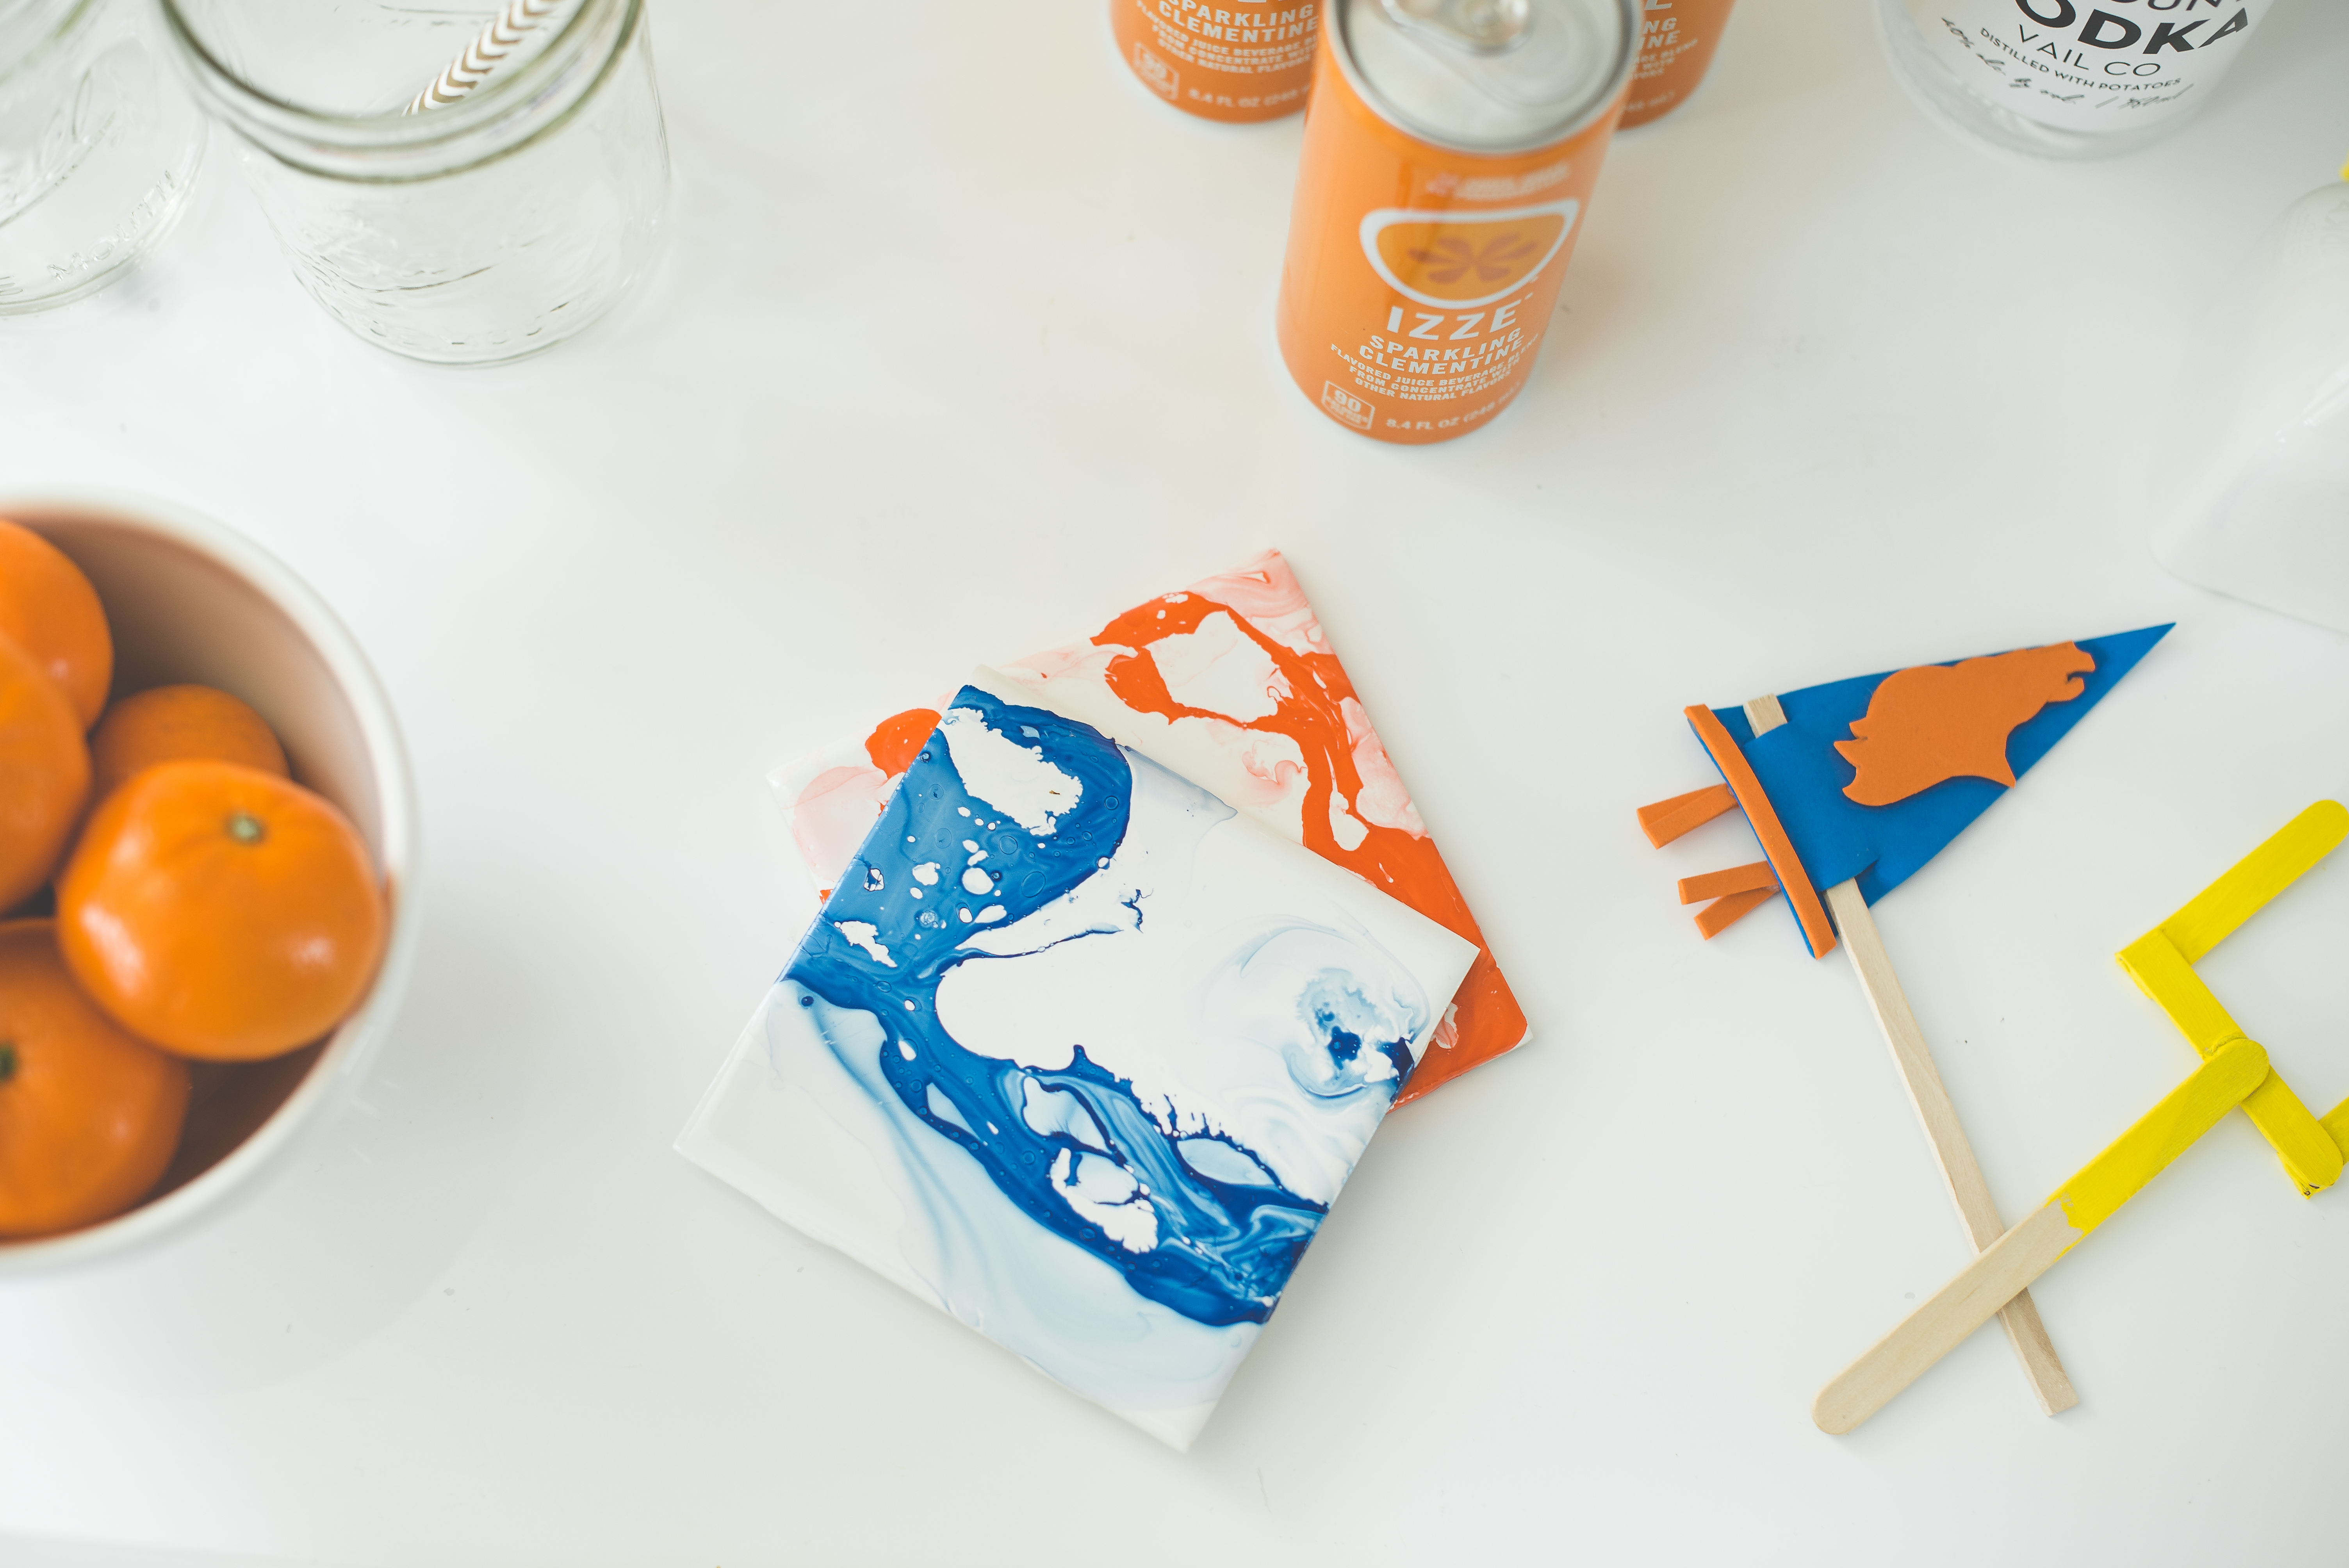
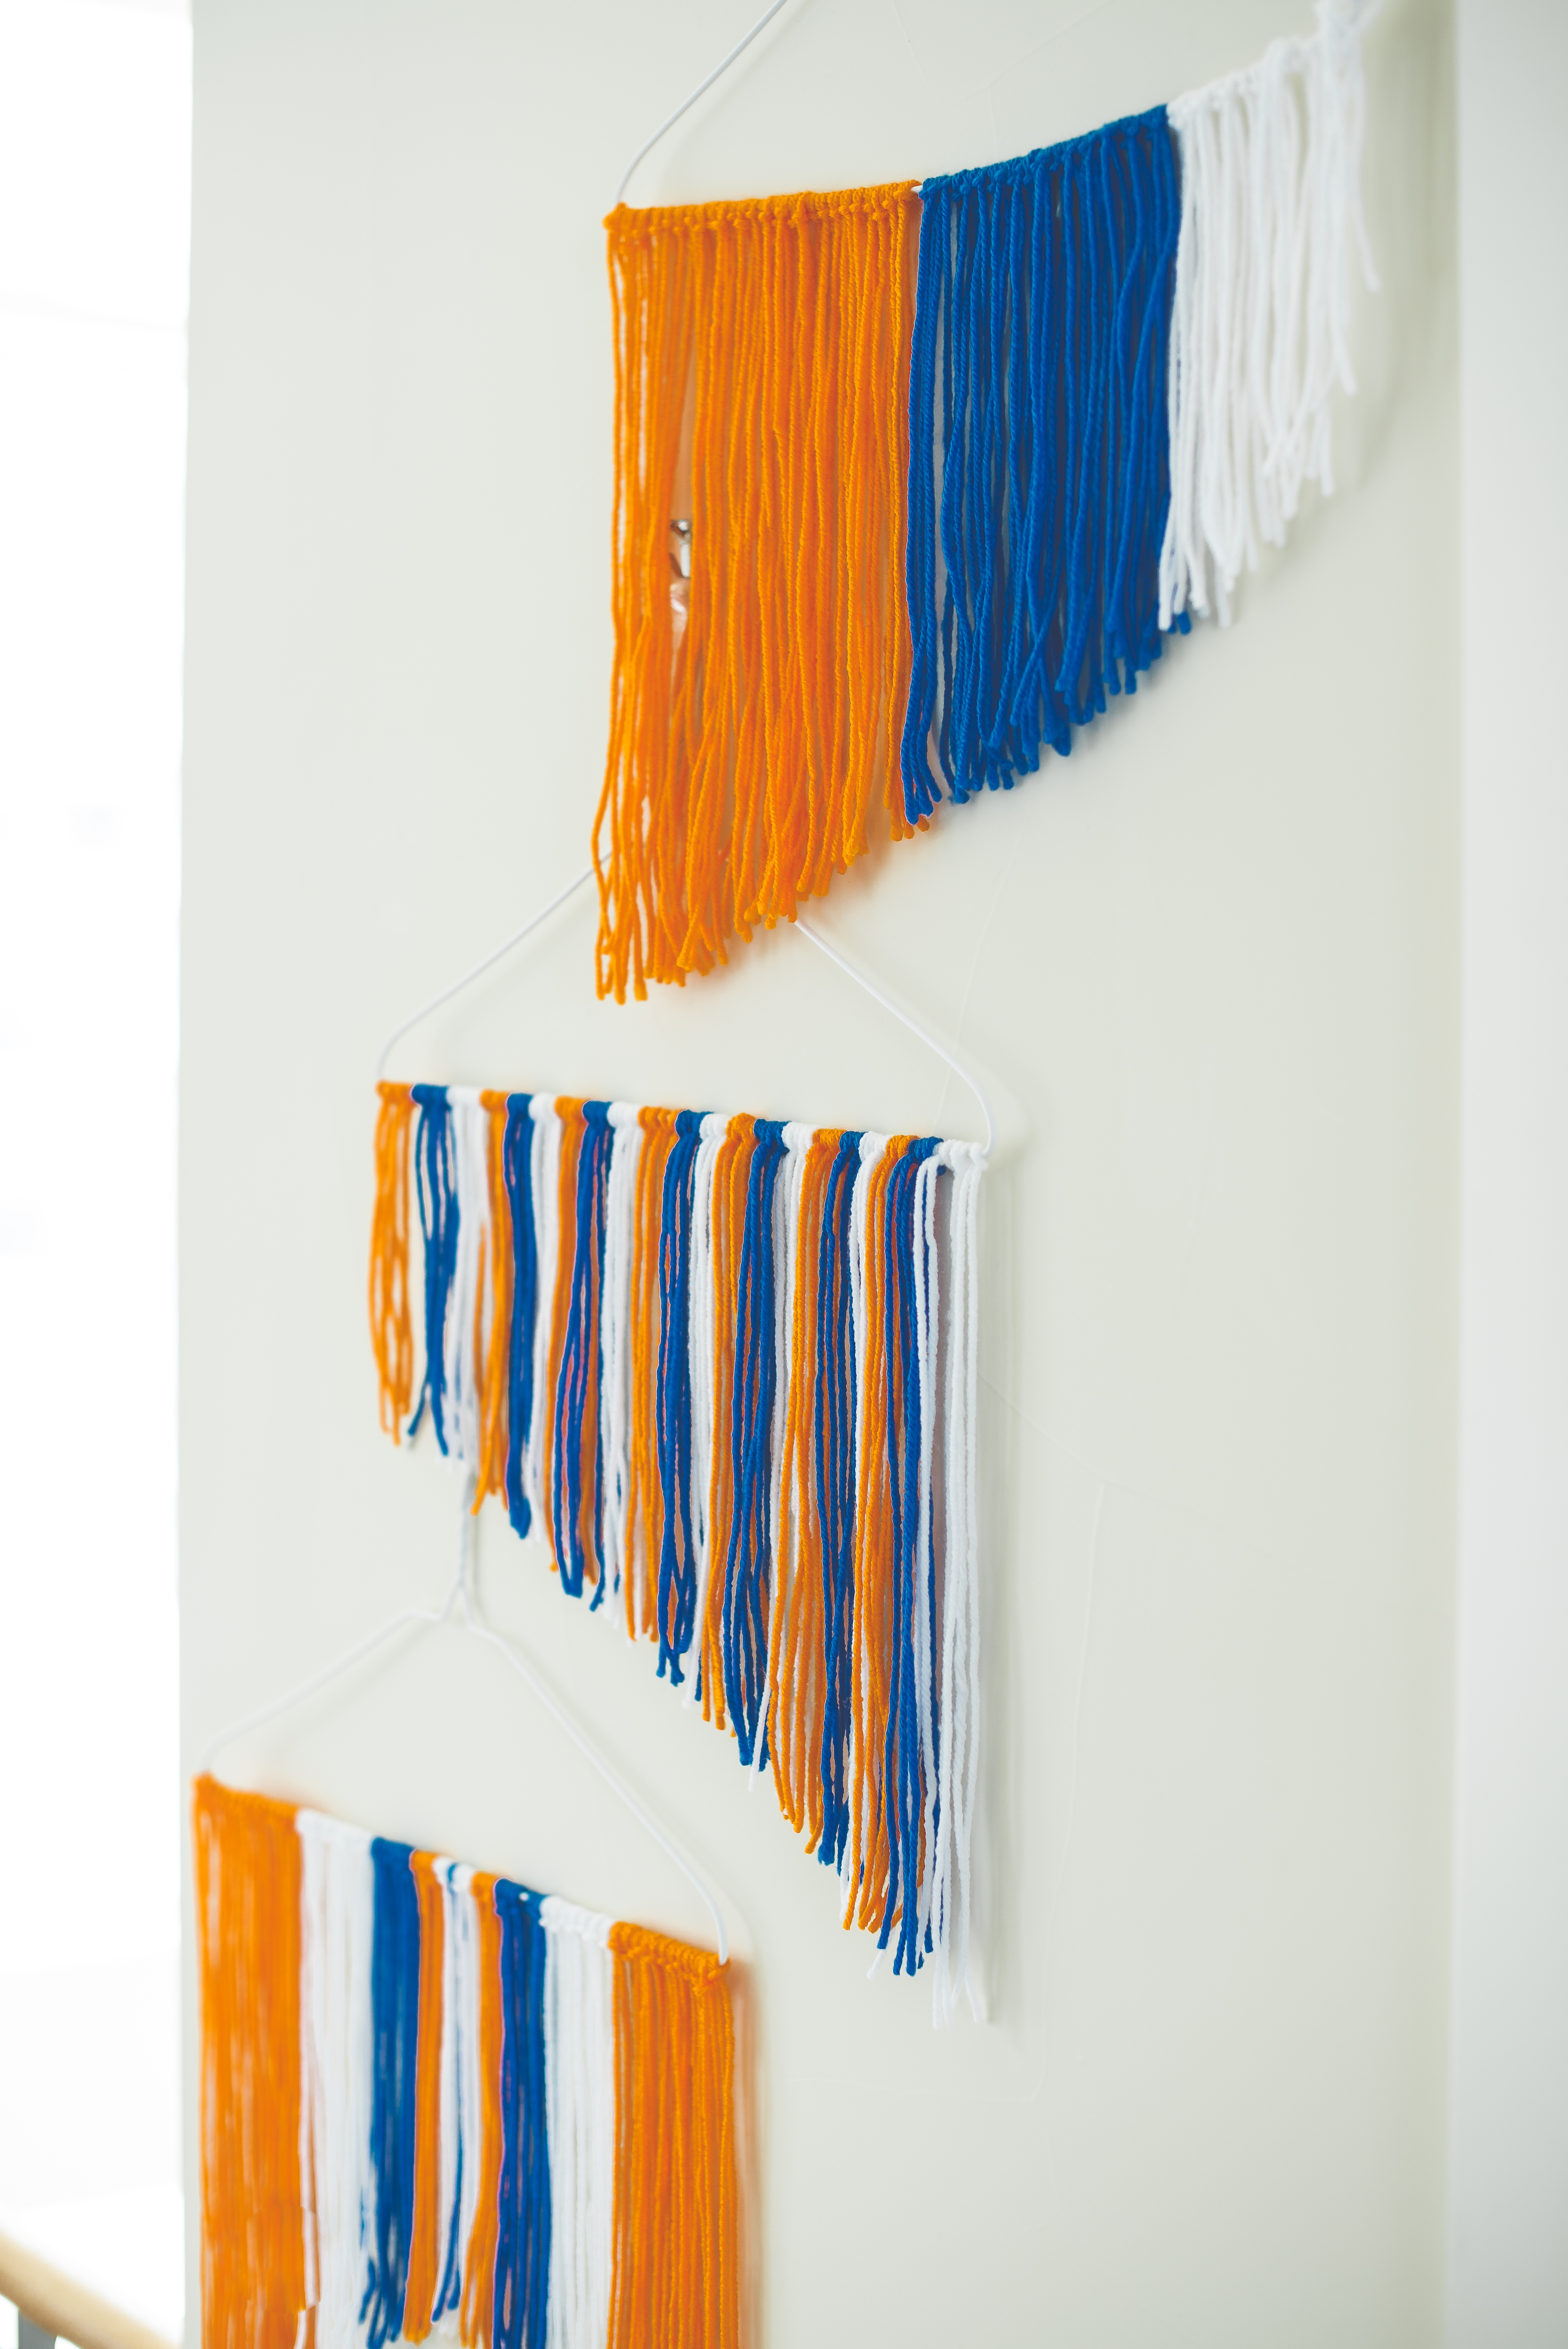
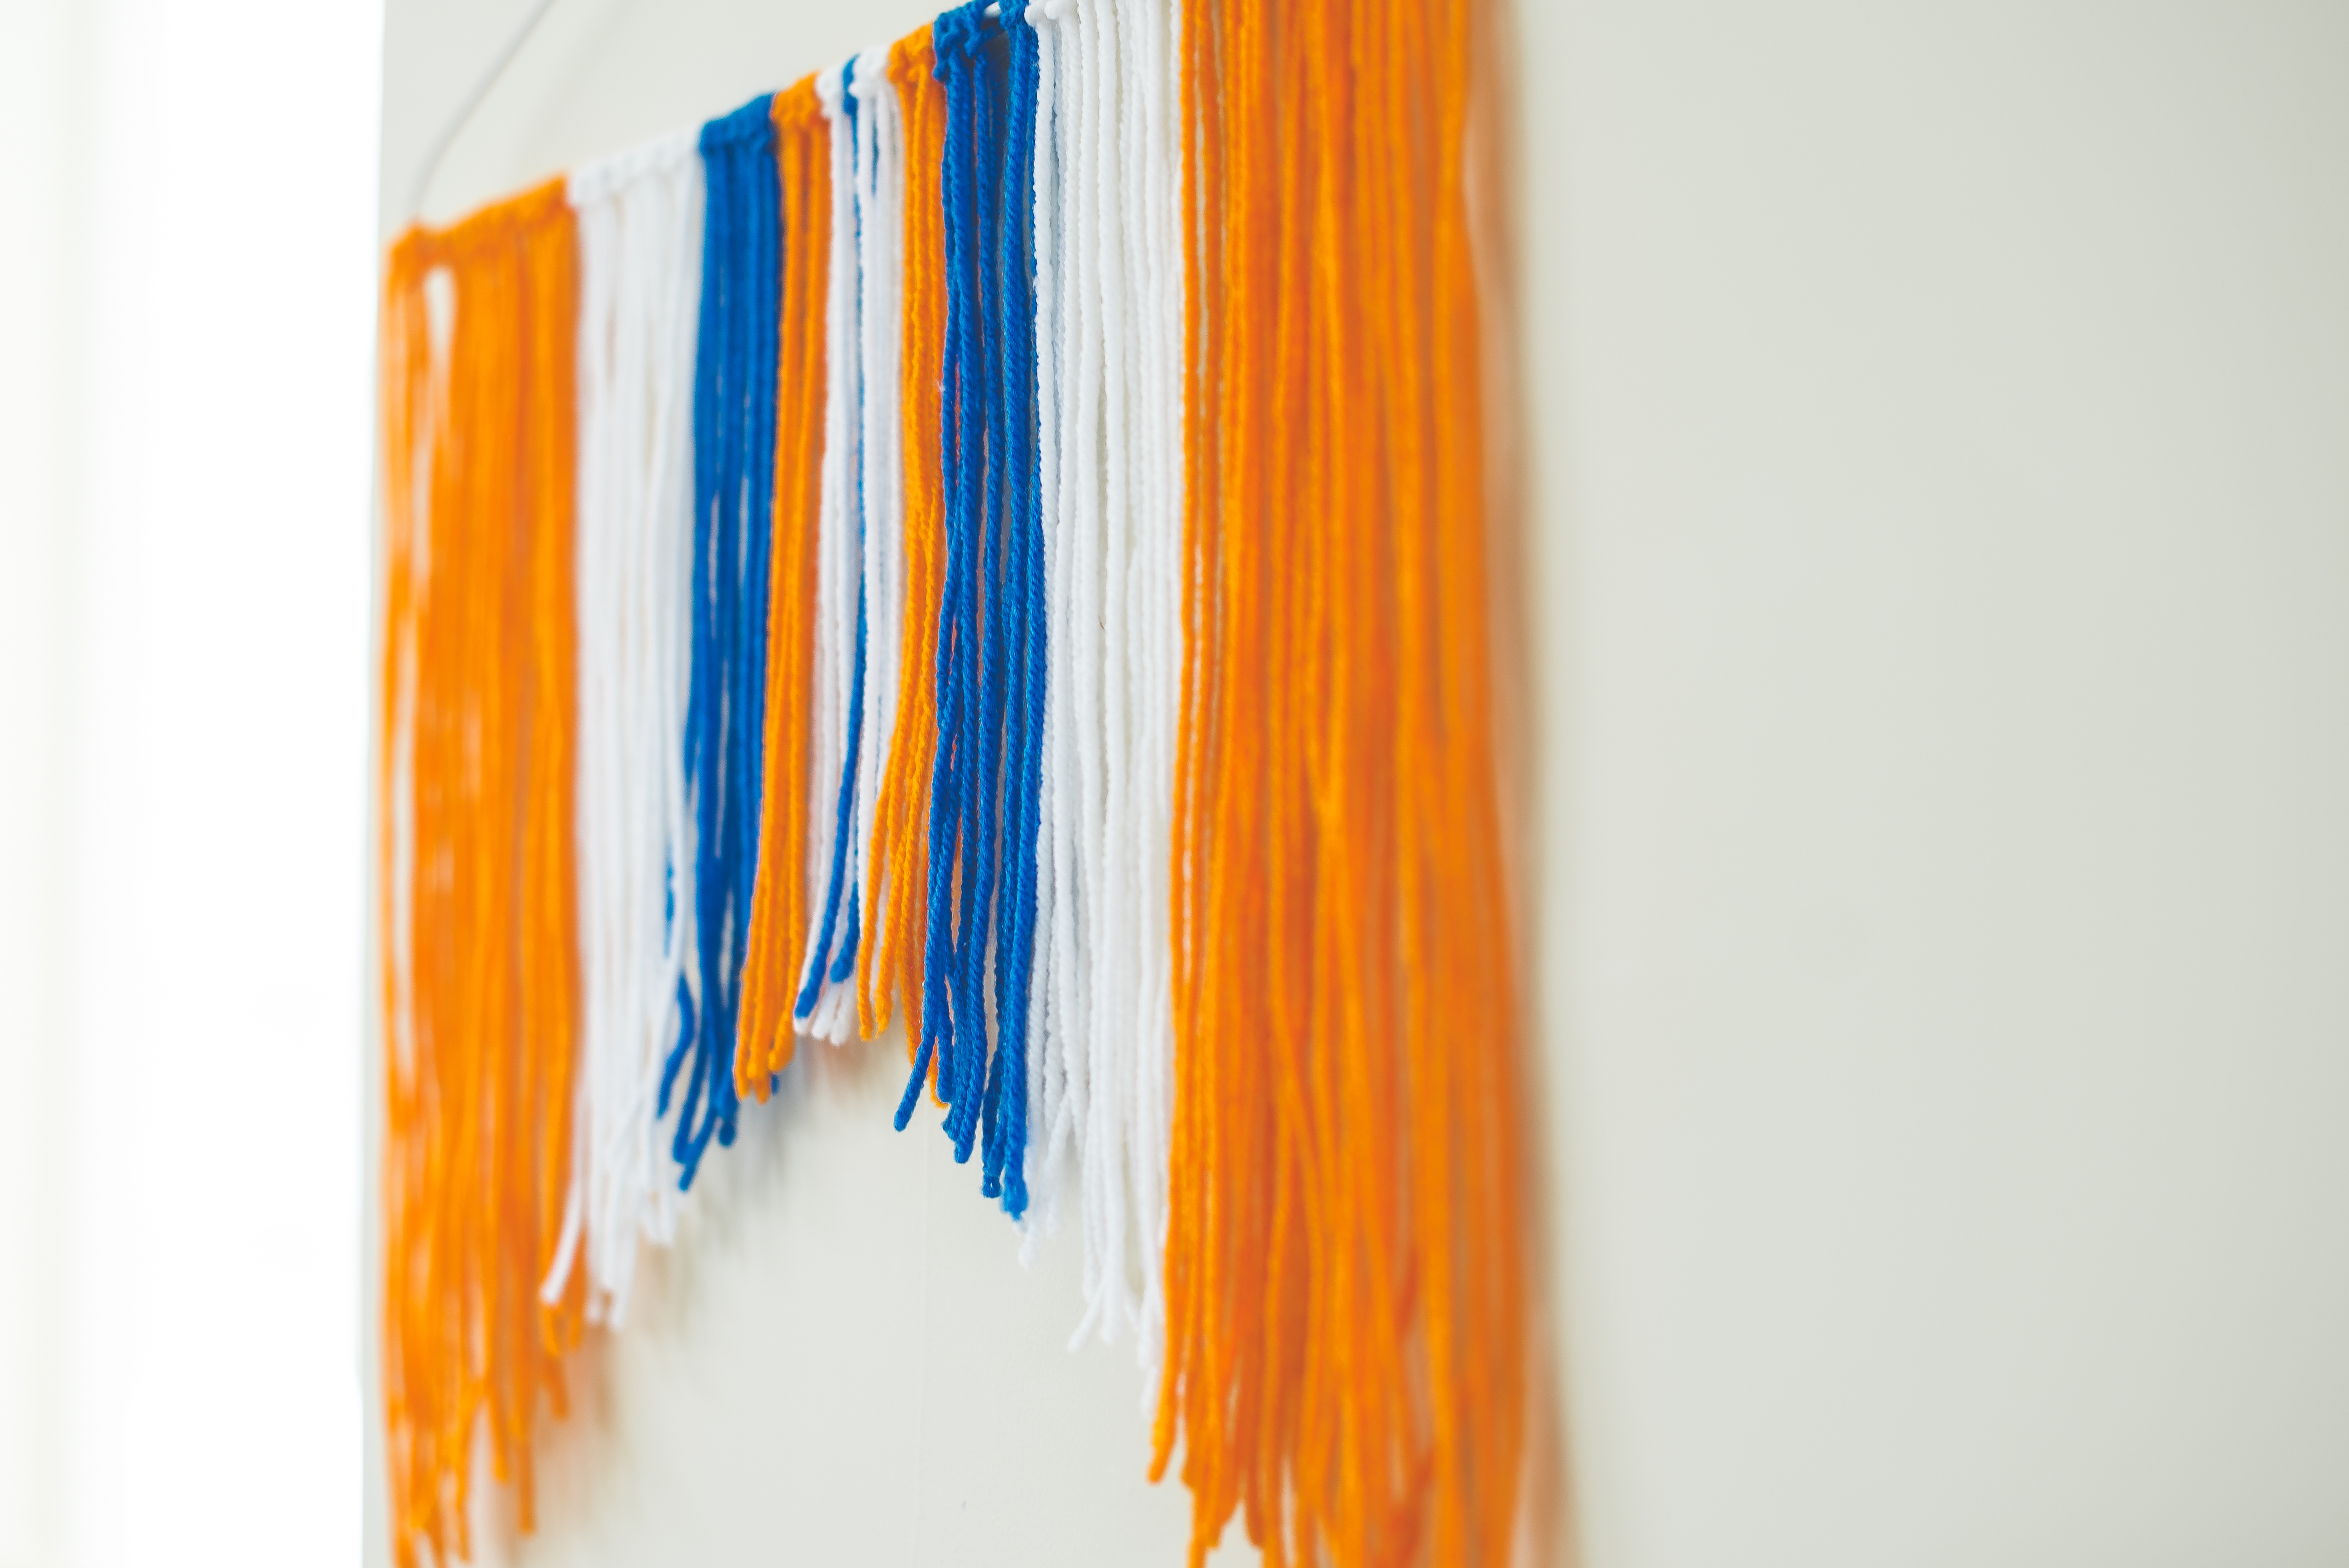
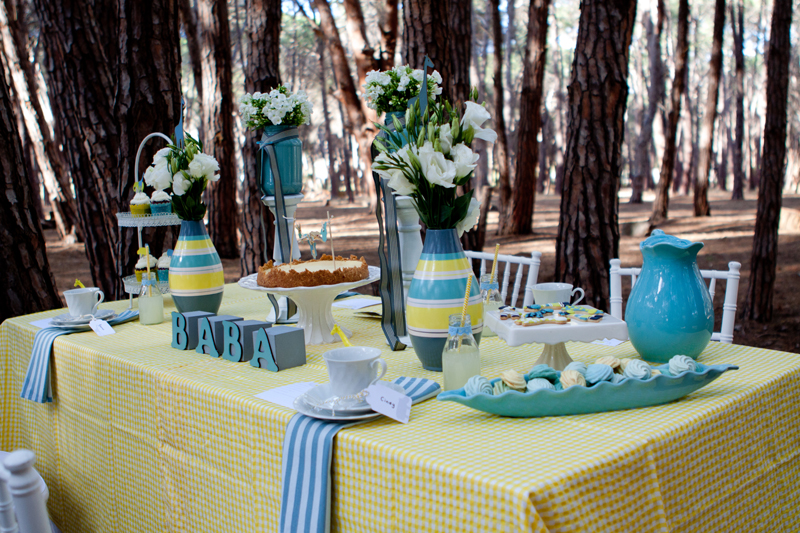
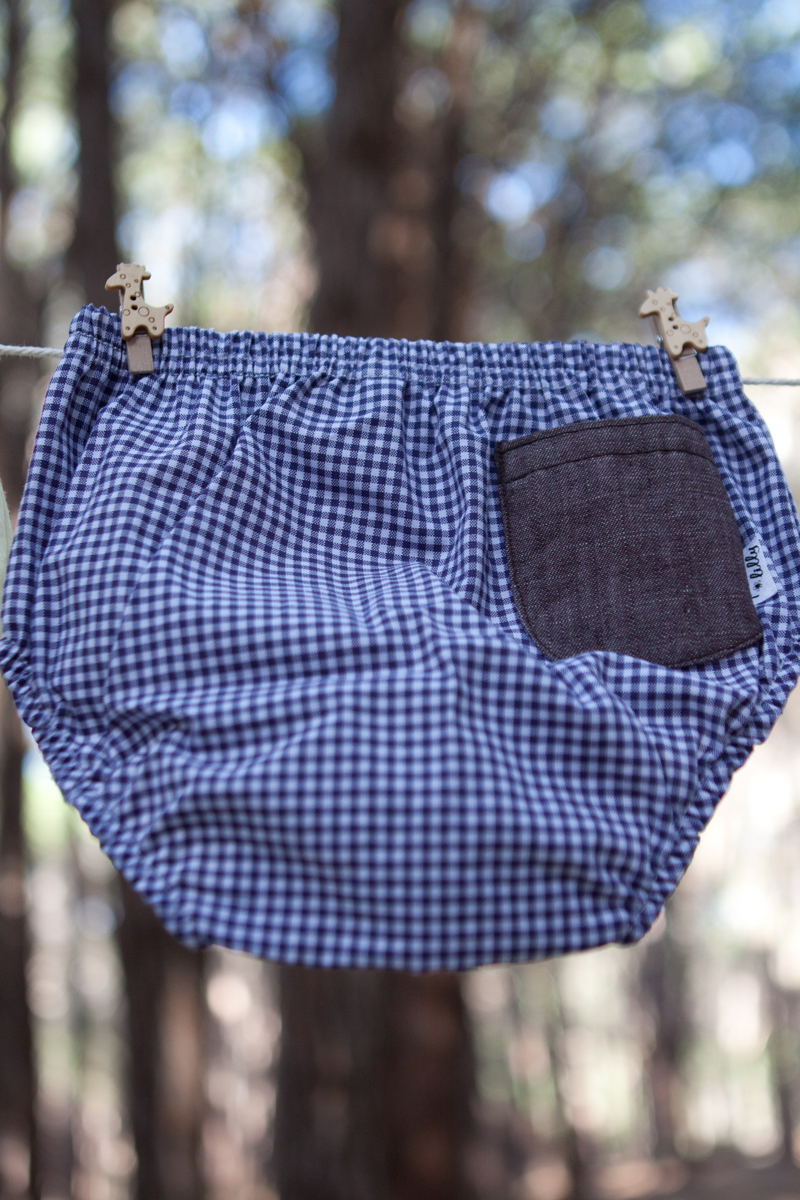
Sylvia was inspired by the blue and yellow color of the striped flower pots on the table. Of course we love the DIY details, such as the wool letters and the spray painted plastic animals.

blue-yellow-giraffe-baby-shower-outdoor-party


yellow-blue-giraffe-baby-shower

blue-yellow-giraffe-baby-shower-outdoor-party


blue-yellow-giraffe-baby-shower-outdoor-party

blue-yellow-giraffe-baby-shower-outdoor-party

blue-yellow-giraffe-baby-shower-outdoor-party

blue-yellow-giraffe-baby-shower-outdoor-party-cupcake

blue-yellow-giraffe-baby-shower-outdoor-party

blue-yellow-giraffe-baby-shower-outdoor-party

blue-yellow-giraffe-baby-shower-outdoor-party

VENDOR LOVE

Venue: Mountain Breeze Stellenbosch
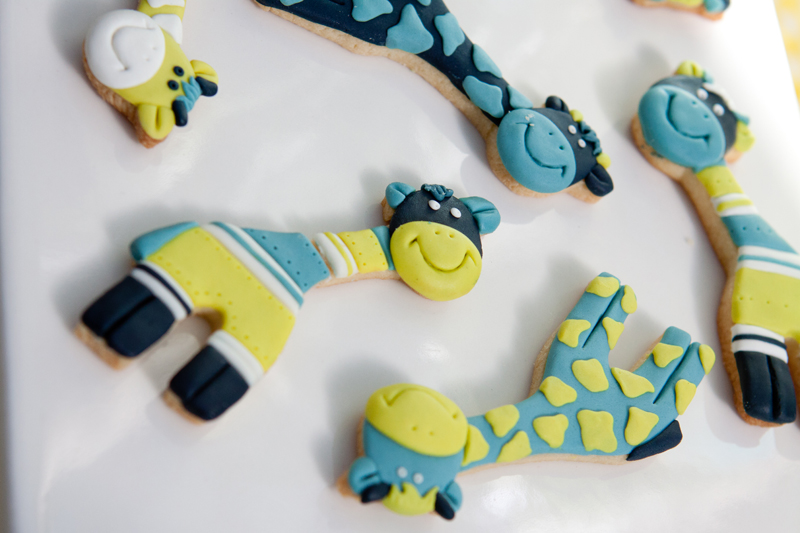
Cookies: Krummelkuns
Decor & Planning: Special Events
Photographer:  Finishing Touch Roelien Visser


DIY Typography Decanter

booze-cheers-bar-diy-decanter

Nordstrom is one of our favorite places to shop. The shoes, the fashion, the return policy, the cafe – we love all of it! We noticed a fun Booze Decanter and Stopper throughout the holidays, and we never quite stopped thinking about it. Thankfully, we were able to re-create a DIY Booze decanter with our Silhouette cutting machine, and our minds {and bar} are at peace…at least for now.

Materials:

Instructions:

Assemble empty glass bottles you can transform into DIY typography bottles.

empty-glass-bottles

Design your labels with the Silhouette software. Print according to package instructions.

Once the vinyl is cut, remove the excess vinyl around the words, and place Frog’s Tape over the words.

cheers-gold-vinyl

Pull the tape up, and the words should be attached to the tape.

booze-gold-vinyl-green-tape

Press the tape and words onto the bottle, and get all the bubbles out with a straight edge {we used a credit card}.

booze-gold-vinyl-green-tape-decanter

Pull the tape up from the bottle, and the vinyl should stay in place on the bottle. You may have to use one finger to press down on the vinyl if the font is thin and it comes up with the tape, but we didn’t have to on this project.

booze-gold-vinyl-green-tape-decanter

Once all the tape is removed, you should have a new DIY typography decanter. Fill with alcohol and say cheers!

booze-gold-vinyl-green-tape-decanter

For this project, we took it one step further and got a little Typography happy! We couldn’t do just one bottle! This DIY project makes for a really fun addition to any bar, and a great hostess gift.

tasty-cheers-booze-bottle-decanter-bar

booze-gold-vinyl-green-tape-decanter

cheer-blue-bottle-diy-decanter-water-entertaining

tasty-booze-cheers-diy-decanter-bar

Not only did we create several bottles, but we couldn’t have a bottle that holds alcohol without actual alcohol in it. With St. Patrick’s Day several days away, we ventured into making our own Bailey’s Irish Cream. My girlfriend, Kacey, made a delicious batch of our favorite Irish cocktail for a birthday brunch recently, and we couldn’t believe homemade Bailey’s could be so good. We’ve revamped a couple of recipes to make our homemade version, but most are similar.

Homemade Bailey’s Irish Cream
adapted from several recipes

Ingredients:

  • 1 cup + 1 tablespoon Jameson Whiskey
  • 1 pint half and half
  • 1 can Eagle’s Condensed Milk
  • 2 tablespoons chocolate syrup
  • 1 teaspoon Vanilla
  • 1 tsp. instant espresso mixed with 1 tsp. boiling water

Instructions:

Place all ingredients in a blender, and blend. If you don’t blend for 30 seconds or more, we found that our Bailey’s had some chunks from the cream, so continue to blend until smooth.

Keep in a sealed glass jar in the fridge for up to 2 weeks. Give it to a friend as a gift this St. Patrick’s Day, too!

homemade-baileys-irish-cream-tasty-bottle-clover


Poke the Rainbow Activity for Kids on St. Patrick’s Day

rainbow-st-pattys-day-pot-of-gold-clouds-kids

St. Patrick’s Day is a favorite among adults to raise a glass with Guinness or Jameson in hand. For kids, it’s all about the leprechaun, a colorful rainbow, wearing green and the gold. We made an easy, fun and non-candy Poke-the-Rainbow activity for kids on St. Patrick’s Day.

The rules of the game are simple. Each child takes a turn to pick one cup to poke through. Once the leprechaun is found, everyone can reach for the gold. The best part…everyone walks away with a treat. Who will be the first to poke the cup with the leprechaun?

Important side note: this game could be really fun and adult-friendly with each cup filled with a mini shot of Irish liquor. Cheers!

Materials:

  • plastic cups {white}
  • napkins in every color of the rainbow
  • pot and gold coins
  • white tissue paper
  • mini leprechaun or photo of leprechaun
  • non-candy gifts such as bead necklaces, buttons, bracelets
  • rubber bands
  • foam core board, white
  • hot glue gun and glue
  • stickers, shamrock cut-outs

Directions:

Randomly place the non-candy items in the cups. Pick one special cups for the leprechaun.

st-pattys-day-beads-cups-treats

Cover each cup with a napkin, and wrap a rubber band around the top.

rainbow-red-orange-yellow-green-blue-purple-napkins

Once all the cups have colors, arrange in a rainbow-like pattern on a foam core board, and glue all of them in place. Glue the bottom of the cups so the top of the cup is facing outward.

rainbow-red-orange-yellow-green-blue-purple-cups-napkins-clouds-poms

Make white tissue paper clouds, and glue them on the end{s} of the rainbow.

rainbow-st-pattys-day-pot-of-gold-clouds-kids

Write, stencil, glue or stick letters on the foam board for simple directions.

rainbow-st-pattys-day-pot-of-gold-clouds-kids-leprechaun

Set up in the classroom {this will be a hit if you’re in charge of this year’s classroom party} , or at your St. Patrick’s Day celebration, and make sure the pot of gold is under the rainbow.

pot-of-gold-st-pattys-day

rainbow-st-pattys-day-pot-of-gold-clouds-kids

rainbow-st-pattys-day-pot-of-gold-clouds-kids

rainbow-st-pattys-day-pot-of-gold-clouds-kids

rainbow-st-pattys-day-pot-of-gold-clouds-kids

Cocktail to Cupcake: Gluten Free Champagne Cupcakes

cupcake-cocktail-strawberry-champagne-white-bubbly-dessert

Pop. Fizz. Clink. Bake.

Yes, you read that right – we added the word bake at the end of Pop. Fizz. Clink.

We can do that because we had some bubbly action in our kitchen as we participated in the Wayfair Cocktail to Cupcake Campaign. The fun challenge was to make a yummy cupcake with our favorite cocktail on the ingredient list. We love our Italian bubbly, and we wanted to make it gluten free so we could actually eat it. The result is a delicious Gluten Free Champagne Cupcake.

Sip and bake – now that’s something we can get use to.

cupcake-cocktail-strawberry-champagne-white-bubbly-dessert

Gluten Free Champagne Cupcakes
servings: about 16
recipe adapted from DC Cupcakes

Ingredients:
Champagne Cupcakes

  • 1.5 cups gluten free flour
  • 1 cup gluten free oat flour
  • 8 tablespoons unsalted butter
  • 1/2 tsp baking powder
  • 1/4 tsp salt
  • 1.5 cups sugar
  • 2 eggs
  • 2 1/4 tsp vanilla extract
  • 1 1/4 cup milk
  • 1 tablespoon Champagne

Champagne Buttercream Frosting

  • 16 tablespoons unsalted butter
  • 3.5 cups powdered sugar
  • 1 tsp half and half
  • 1 tsp vanilla extract
  • 1/8 tsp. salt
  • 1/2 cup champagne
  • 1 cup strawberries, diced

Directions:
Champagne Cupcakes

Pre-heat the oven to 350 degrees. Set cupcake liners in the cupcake baking pan.

In a medium bowl, cream the butter and slowly add the sugar. Blend with an electric mixer until combined.

Add the eggs, and blend.

Pour the vanilla, champagne and milk in a separate measuring cup.

Combine the flours, baking powder and sugar in a separate medium bowl.

Pour 1/3 of the flour mixture to the butter mixture, followed by 1/3 of the milk mixture. Continue this process until all the flour and milk is fully combined. Do not over mix.

Pour the batter into the cupcake liners {fill 1/2-3/4 of each liner}.

Bake for about 20 minutes or until you insert a toothpick and it comes out clean.

Let the cupcakes cool.

Champagne Buttercream Frosting

In a medium bowl, cream the butter and add the sugar slowly. Beat with an electric mixer until well mixed.

Add the vanilla, milk, salt and champagne, and beat until the mixture is fluffy.

Then, place in piping bag and decorate your cupcakes.

Top the cupcakes with your diced strawberries, then place a safe, indoor mini sparkler on top.

cupcake-cocktail-strawberry-champagne-white-bubbly-dessert

Enjoy! And remember, you don’t always have to drink your cocktail. You can eat it, too.

cupcake-cocktail-strawberry-champagne-white-bubbly-dessert

cupcake-cocktail-strawberry-champagne-white-bubbly-dessert

This #Cocktail2Cupcake post is sponsored by Wayfair, but we would love them and their products even if it wasn’t. Thanks for supporting the wonderful companies that support us. 

CocktailtoCupcake

DIY Marbled Coasters & DIY Yarn Wall Hanging

bronco-party-blue-orange-super-bowl-50-football-yarn-wall-hanging

We are still dreaming orange and blue from our Super Bowl 50 Broncos party yesterday. If you haven’t seen it, take the time. It’s got it all – fashion, pretty girls {Jodi and Kaitlin from The Every Hostess}, a bar cart with really good Vodka and a special cocktail recipe.

bronco-party-blue-orange-super-bowl-50-football-yarn-wall-hanging

As promised here’s DIY #1 from the shoot yesterday, DIY Bronco Marbled Coasters.

Keep reading for the second tutorial – DIY Yarn Wall Hangings.

DIY-marbled-coasters-blue-orange-nail-polish-bronco-party-for-the-ladies

Materials:

  • 4X4 white tile, The Home Depot
  • Nail polish
  • Disposable Container
  • Warm water
  • Toothpick
  • Disposable Gloves
  • Felt pads

Directions

Fill a throw-away container with really warm water.

Drop 4-8 drops of nail polish into the water. We chose to do one color for each coaster.

Swirl the polish in a swift manner with the toothpick. Quickly, dip the entire coaster into the water with your gloves on. Once the coaster dips under the water, it will ‘collect’ all the polish.

Pull the coaster up out of the water. The nail polish will be swirled on top. Let them air-dry.

Once dry, add felt pads to the bottom.

Add them to your serving tray or bar cart.

oranges-party-serving-tray-broncos-diy-marbled-coasters

Love the pop of color from the coasters. They make for a lovely hostess gift, too.

bronco-party-blue-orange-super-bowl-50-football-marbled-coasters

Finally, here’s tutorial #2 from our Super Bowl party – DIY Yarn Wall Hangings.

bronco-party-blue-orange-super-bowl-50-football-diy-yarn-wall-hanging

Materials:

  • Yarn
  • Wire hangers
  • Scissors

Directions:

Cut long strands of yarn.

Decide on a color pattern, or see where your creativity takes you as you go.

To tie it onto the hanger, fold the yarn in half, and loop it through. No glue needed. Tighten the knot.

Repeat until the hanger is covered.

Lay the hanger on a smooth surface and straighten all the yarn ends. Cut the ends of the yarn at different angles.

bronco-party-blue-orange-super-bowl-50-football-diy-yarn-wall-hanging

We like all the pretty stuff and looking good, but we get really into the game too! Go Broncos!

Cheers!

ladies-bronco-party-blue-orange-super-bowl-50-football-yarn-wall-hanging

ladies-smiling-game-time-orange-cocktail-fun-party-bronco

VENDOR LOVE
Photographer: Meredith Moran | @meredithmoranphoto
Clothing and Jewelry: Denver Street Boutique @denverstreetboutique
Cocktail: 10th Mountain Whiskey & Spirit | @10thmtnwhiskey
Event Stylist: J. Sorelle | @jsorelle3 and The Every Hostess | @theeveryhostess
Models: Jodi, the beautiful brunette of J. Sorelle | @jsorelle3 and Kaitlin, the bombshell blonde of The Every Hostess |  @theeveryhostess
Bar CartWest Elm
DIY coaster and yarn wall hangings: J. Sorelle