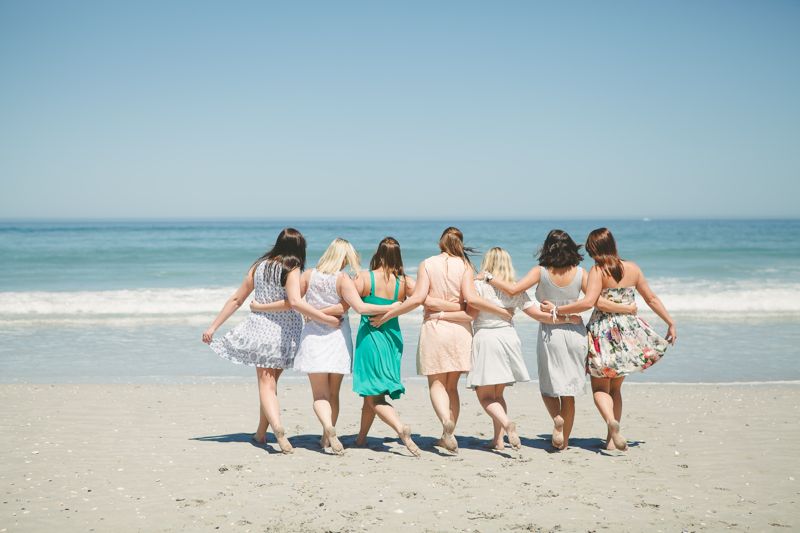
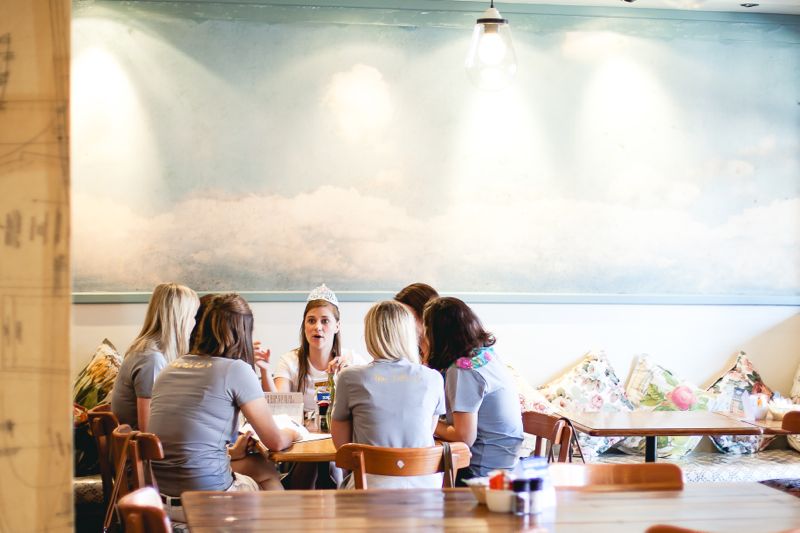
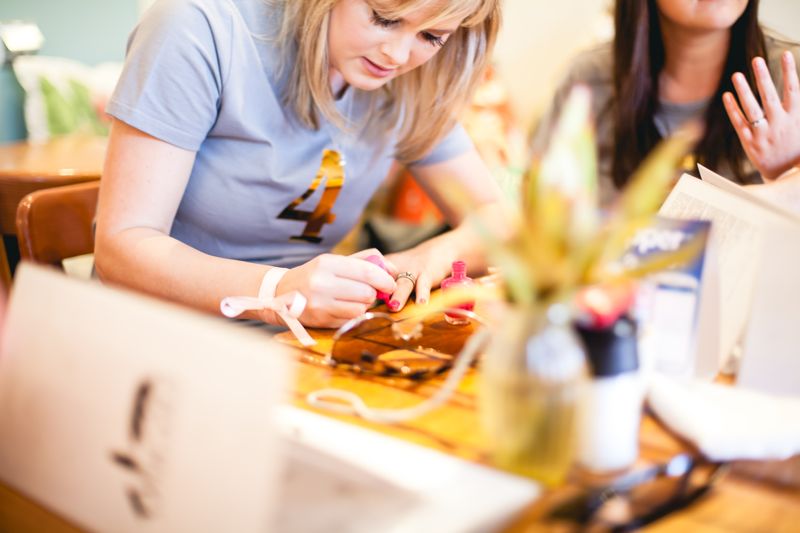
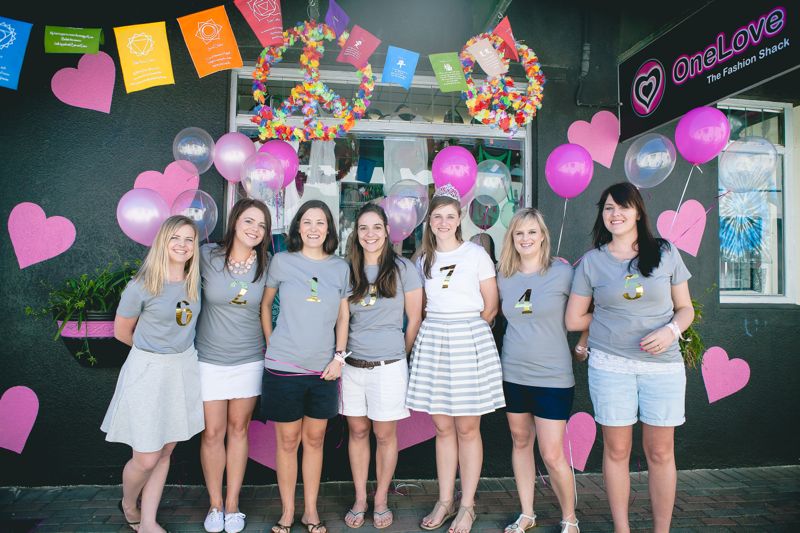
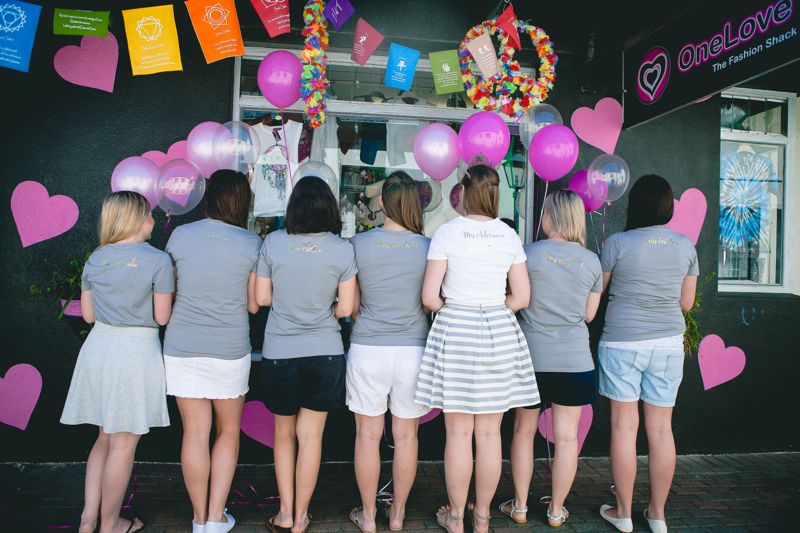
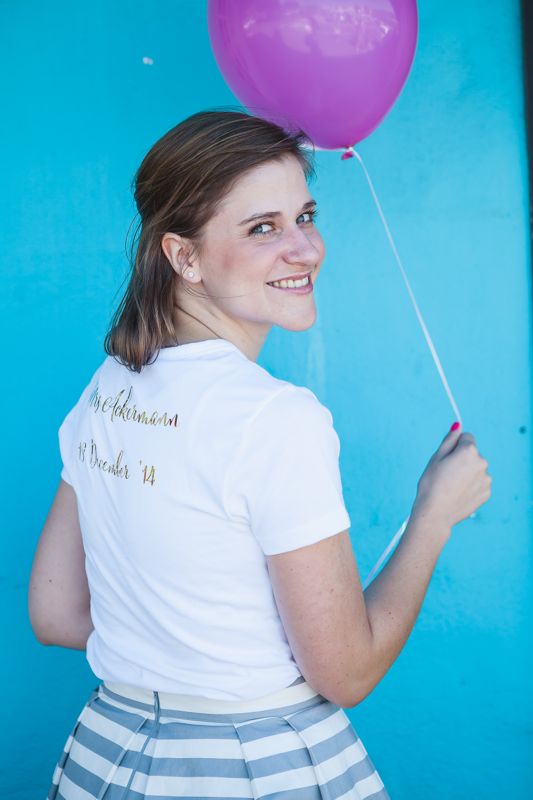
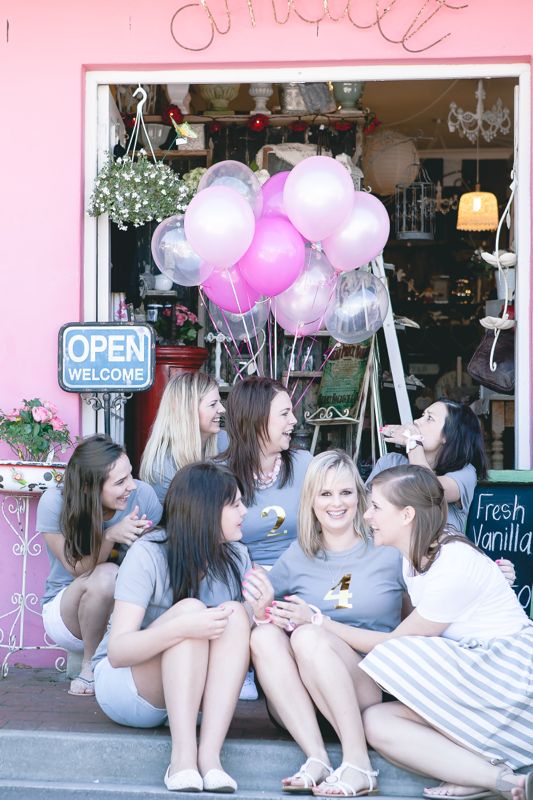
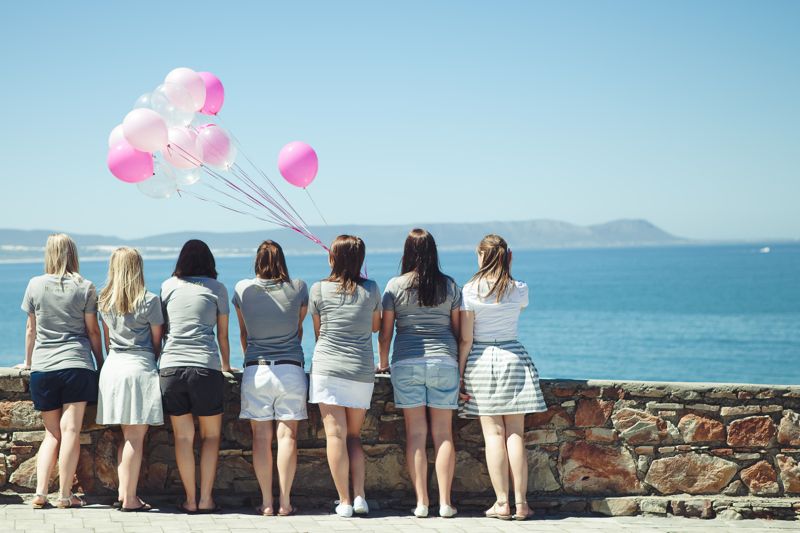
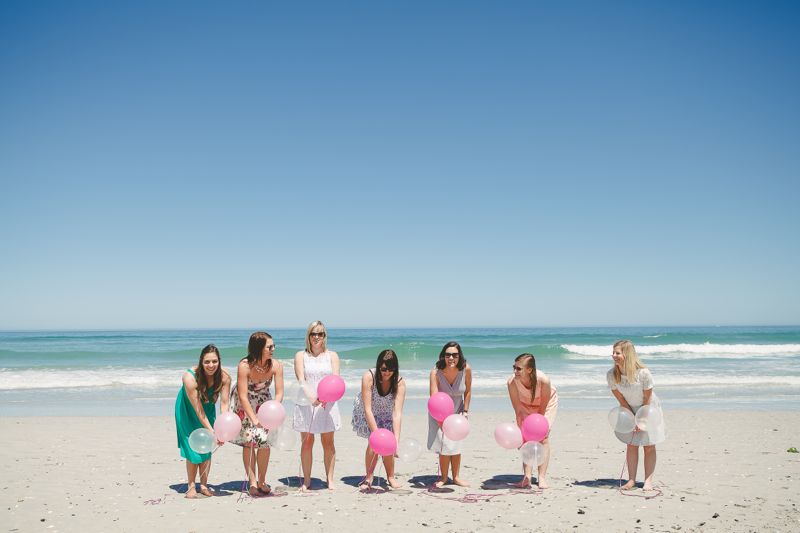
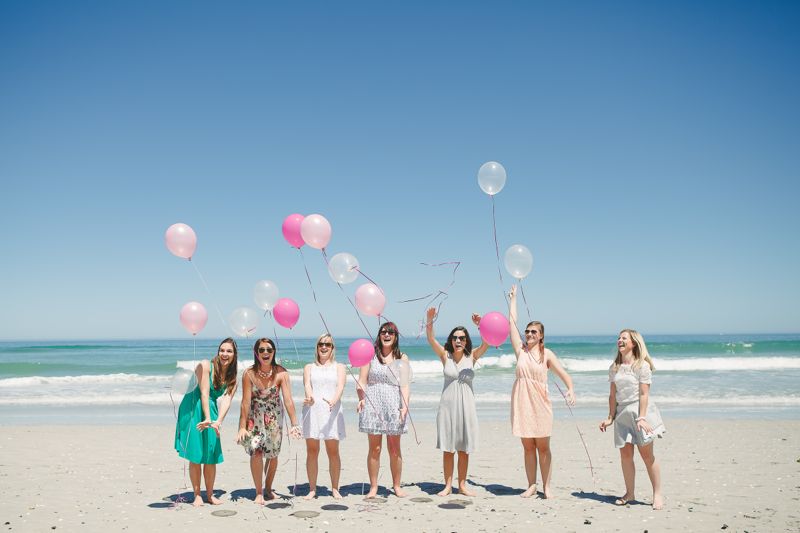
There are so many things about this photo shoot that make us happy. Not only do we love the girly bachelorette party happening, and the custom gold foil shirts with numbers on the front and Mrs. on the back, but also the candid beach shots and the tradition behind the whole thing {keep reading}.
These women make us…
1. want to take the time away from our busy lives to make special memories with our girlfriends
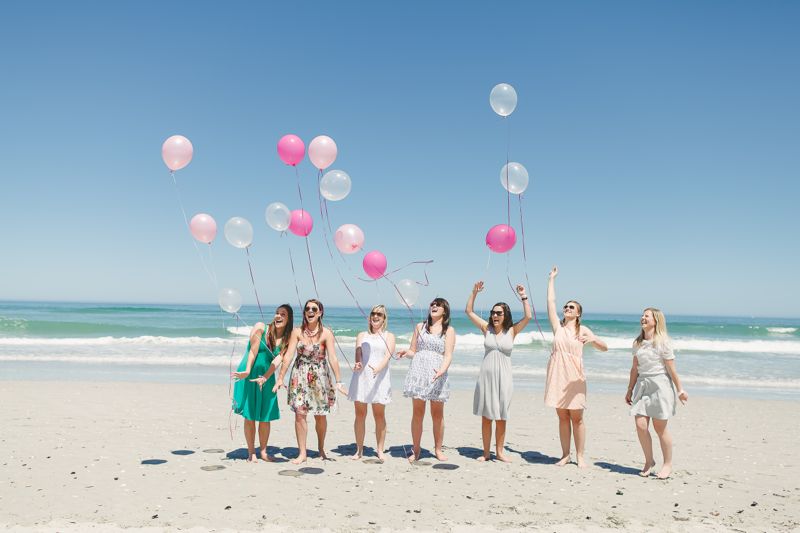
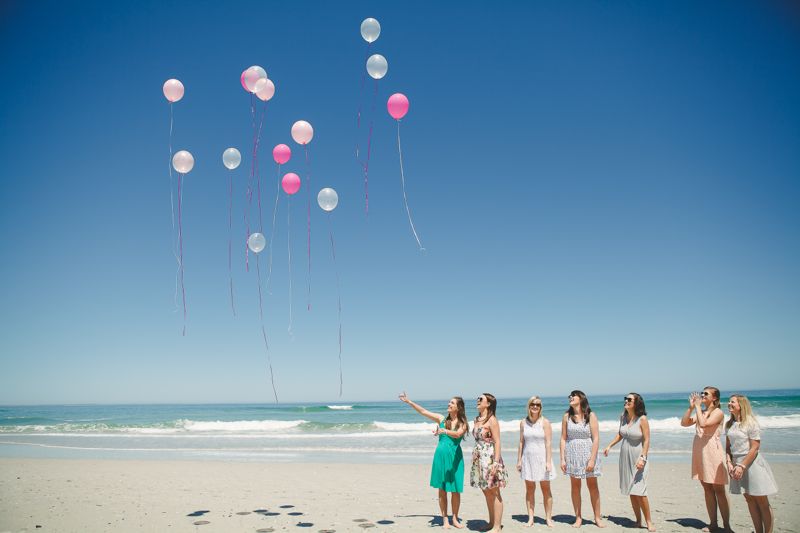
2. remind us that we’re never too old to play with balloons on the beach
3. before there was a Mr. in our lives, there was a Ms./Mrs. by our side
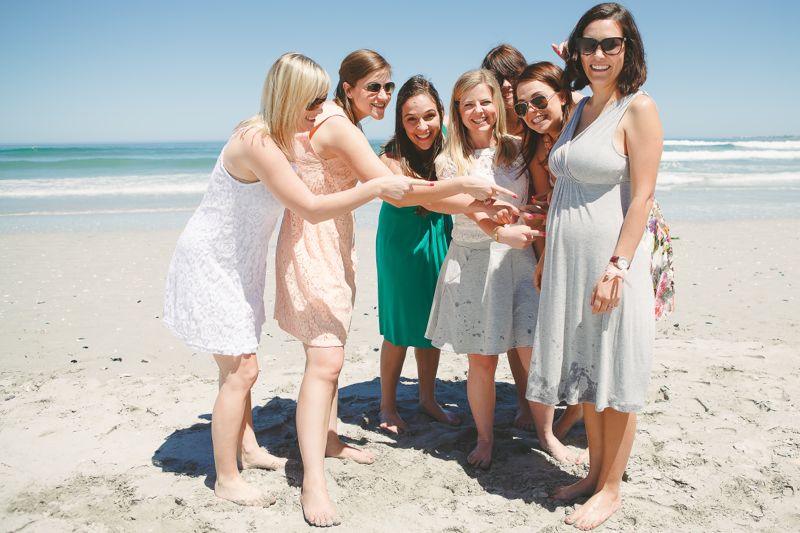
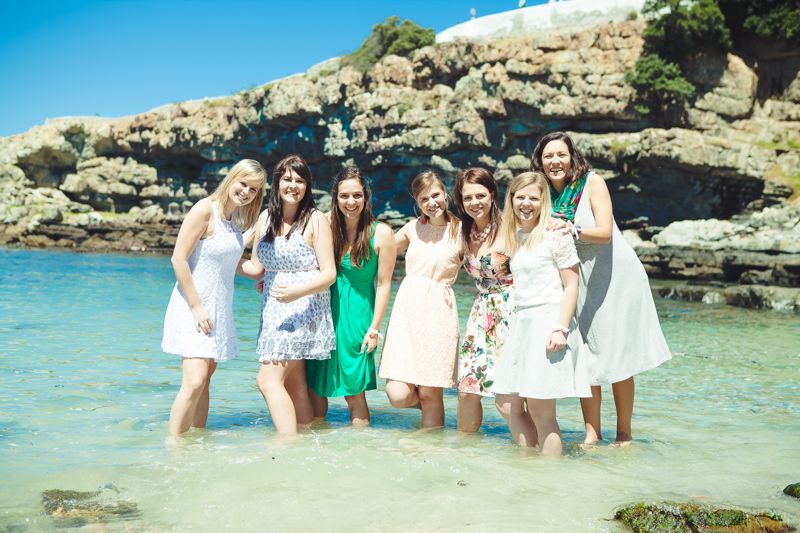
We’ve been blessed by amazing girlfriends in our lives, and what a gift it is. Never underestimate the power of a good girlfriend. When you surround yourself with smart, strong, respectable, kind and honest women that bring out the best in you, you are surrounding yourself with joy, friendship and love.
This is such a cool story to go along with these beautiful photos from Linda Fourie Photography, so make sure you read it in Lizanda’s {one of the ladies} words.


Photography: Linda Fourie Photography
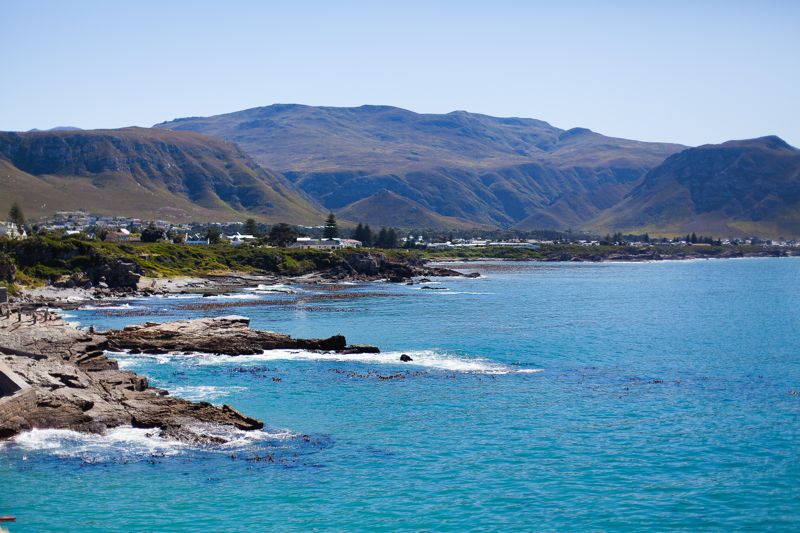
Location: Hermanus, South Africa
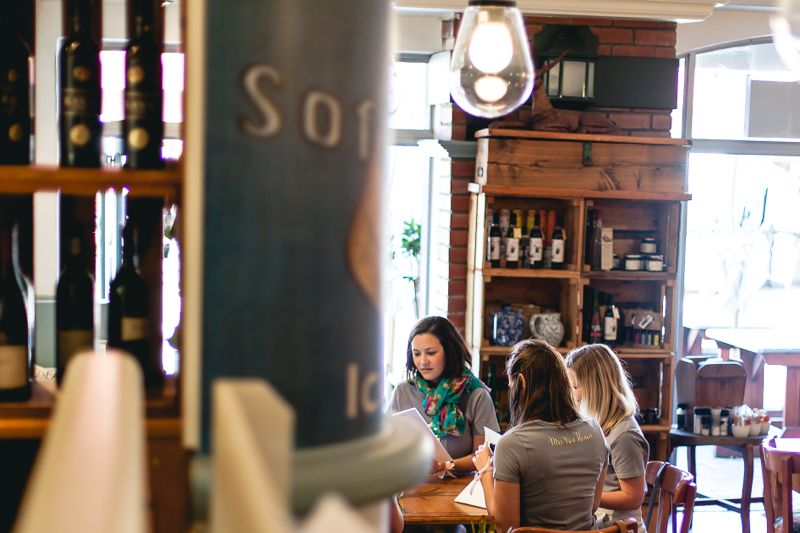
Coffee shop: Oskars Delikatessen
Beach: Harbour and Grotto beach