DIY Witch and Mummy Halloween Nail Polish

mummy-witch-halloween-nail-polish-diy-holiday-gift

We typically opt for a cute and fun Halloween, instead of a scary and creepy one. We’ve never loved haunted houses or frightening people. We like costumes and carving pumpkins, apple cider and trick or treating with our large Italian family.

Since we were babies our mom and aunt made our ‘themed’ Halloween costumes, and every year we celebrate together. Following the annual chaos of hello hugs, oooh’s and ahhhs over costumes and hundreds of flashing camera lights, the men grab a cigar and take the kids trick or treating. The women stay inside where its warm to chat, eat chili and hot dogs and drink our wine. It’s a special tradition, and we are grateful to share it with our own kiddos.

Being into the cute part of Halloween, this DIY is so us!

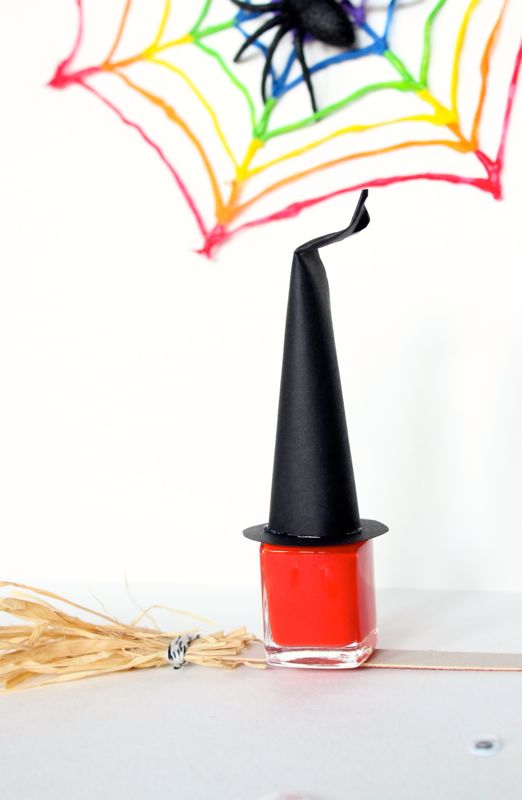
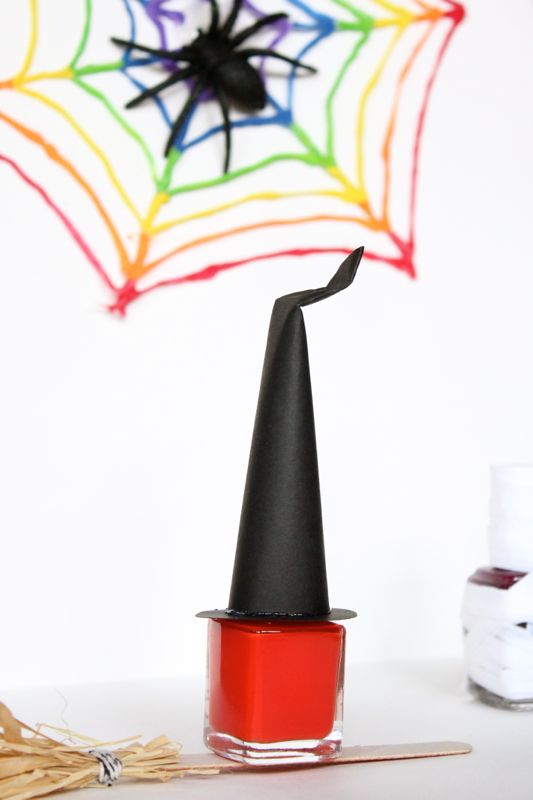
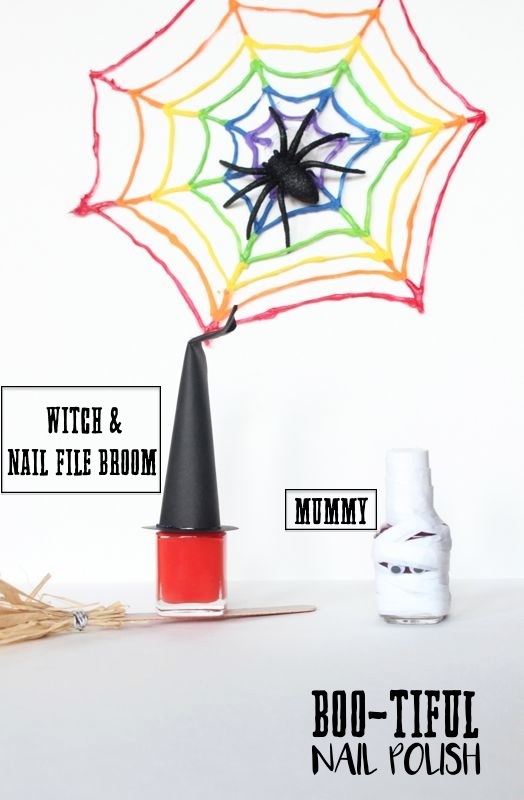
These DIY witch and mummy Halloween nail polish bottles would make for a great, non-candy Halloween party favor or a unique Halloween gift.

Witch color are you going to pick for this year’s Halloween nails? We’re going with Essie Bahama Mama.

If your rainbow-loving self is admiring the DIY spider web in the background, you can see how we did it here.

halloween-nail-polish-favor-witch-broom-mummy-spider-web-rainbow-hat-white-party-diy

You’ll Need:

  • Nail Polish
  • Paper, Astrobrights
  • White rafia paper ribbon
  • Googly eyes
  • Hot Glue
  • Nail File
  • Rafia
  • Twine

How To:

For the mummy, glue two eyes on the nail polish bottle. Dab a small amount of hot glue on the top of the bottle, then add white rafia ribbon, and start to wrap. You can do one continuous wrap, or cut, add a dab of glue and continue to wrap. When the entire bottle is covered, dab another small amount of hot glue, so the mummy’s wrap stays in place.

mummy-nail-polish-diy-halloween-favor-gift-ribbon-white-googly-eyes

mummy-nail-polish-diy-halloween-favor-gift-ribbon-white-googly-eyes

For the witch, make a small witches hat with a free mini-hat template online {or free-hand} and glue it to a black, doughnut-cut circle. Slide it over the nail polish handle. For the witches broom, place a handful of rafia around one end of the nail file, and tie twine around it to keep it in place. Use a tiny dab of hot glue to keep the twine in place.
witch-nail-polish-diy-halloween-gift-black-hat-orange-nail-file-broom-favor


witch-nail-polish-diy-halloween-gift-black-hat-orange-nail-file-broom-favor


witch-nail-polish-diy-halloween-gift-black-hat-orange-nail-file-broom-favor

DIY Floral Antlers

diy-antler-display-white-gold-pink-flowers

Let’s talk about potential for just a brief minute. We all have potential for greatness. You may have realized your true potential {good for you}, or maybe you are still trying to figure it out {welcome to the club}.

I hope in this one, precious gift we call life, I can dig deep inside and let my best self shine. How the heck am I going to do it? I’ll start by being a bright light for others, surrounding myself with friends and family who are only going to lift me up, stay really close with the good Man upstairs, and have the courage to live my best life. It’s not going to be easy, but nothing worthwhile ever is. And, this is most definitely worthwhile.

How do you realize your fullest potential?

I know, I know – somewhat deep for a Friday, but as I worked on this trash to treasure project, I thought about the word ‘potential’ and the importance of it in my own life. Before I give up on someone, something, and me, I need to just be in a place of love, and remember the potential that lies within all of us.

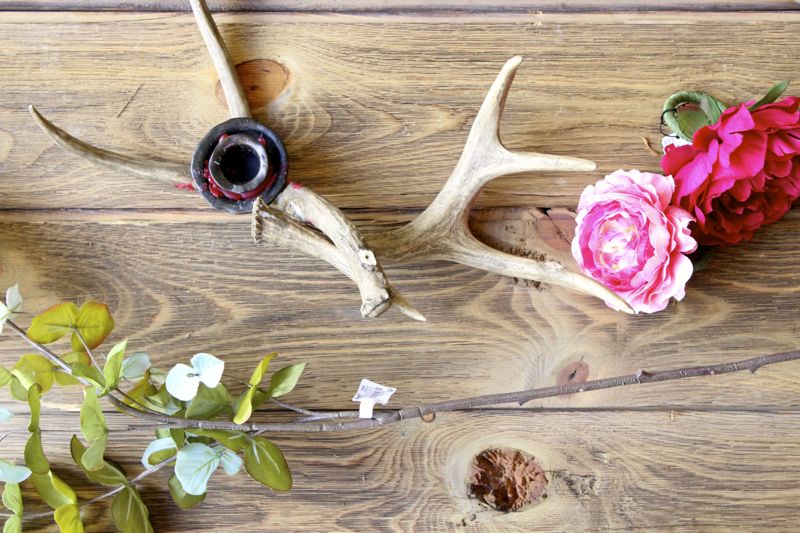
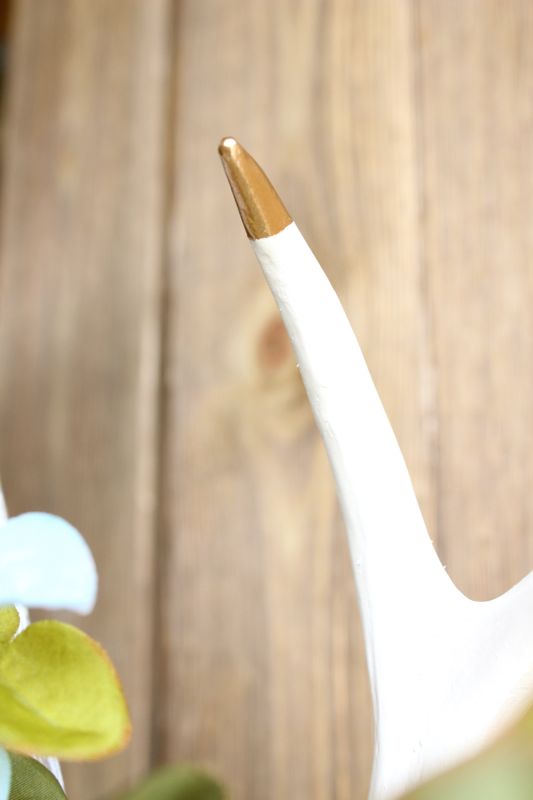
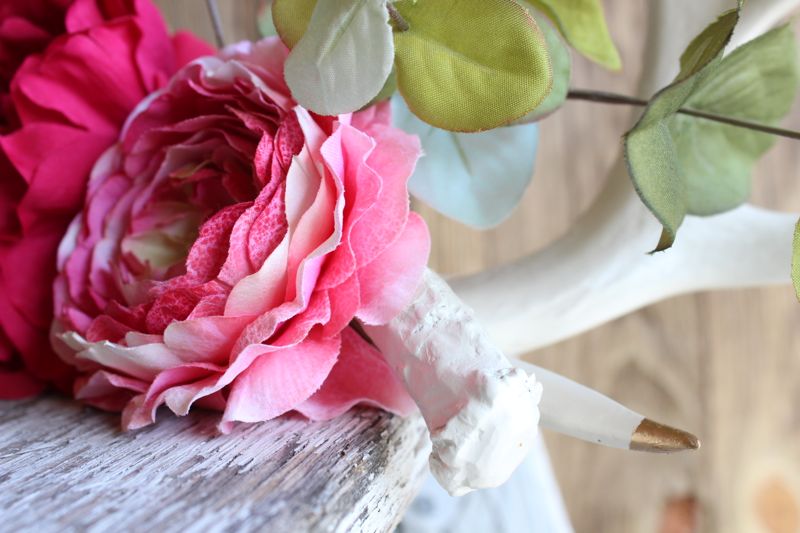
These antlers are the trash to treasure project I’m referring to. Originally part of a broken candle centerpiece, and in the trash pile, I knew they had potential. With a little paint and TLC, these antlers are now pretty in pink…and gold.

diy-antler-display-white-gold-pink-flowers


Here’s how I did it.

You’ll Need:

  • Faux antlers
  • Spray paint
  • Gold leaf paint
  • Flowers and greenery {I found mine at Pier1}
  • Hot glue gun

Step 1: Remove old wax, dirt from the antlers.

diy-antler-display-white-gold-pink-flowers

Step 2: Spray paint the antlers heirloom white {paint from Home Depot}.

Step 3: Paint the tips gold.

diy-antler-display-white-gold-pink-flowers

Step 4: Hot glue flowers and greenery in place.

diy-antler-display-white-gold-pink-flowers

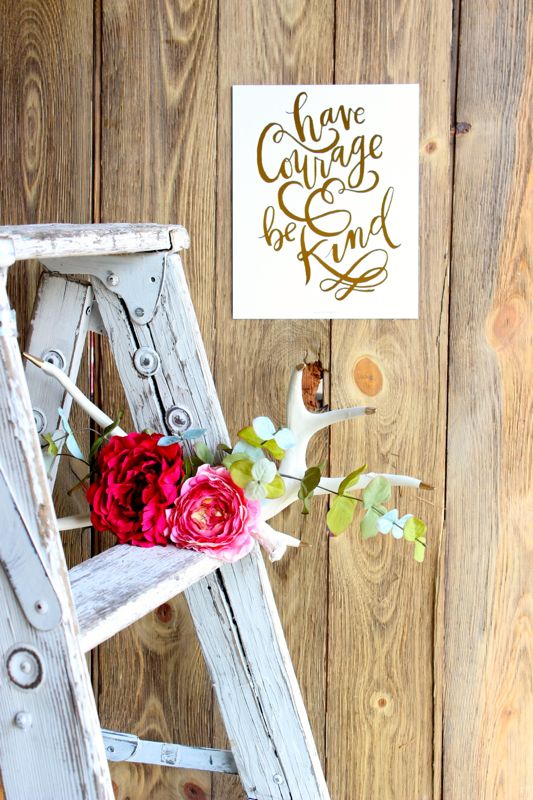
Right now, the DIY floral antlers are sitting pretty on Gabriella’s new desk, but they will be put to good use as a DIY floral antlers necklace display, or decor on the wall.

diy-antler-display-white-gold-pink-flowers

diy-antler-display-white-gold-pink-flowers-ladder-have-courage-and-be-kind

Cheers to re-purposing…and, of course living your best life.

Beautiful words of advice by Cinderella so thoughtfully designed by HelloTosha.


DIY Bubble Gum Cake Stand

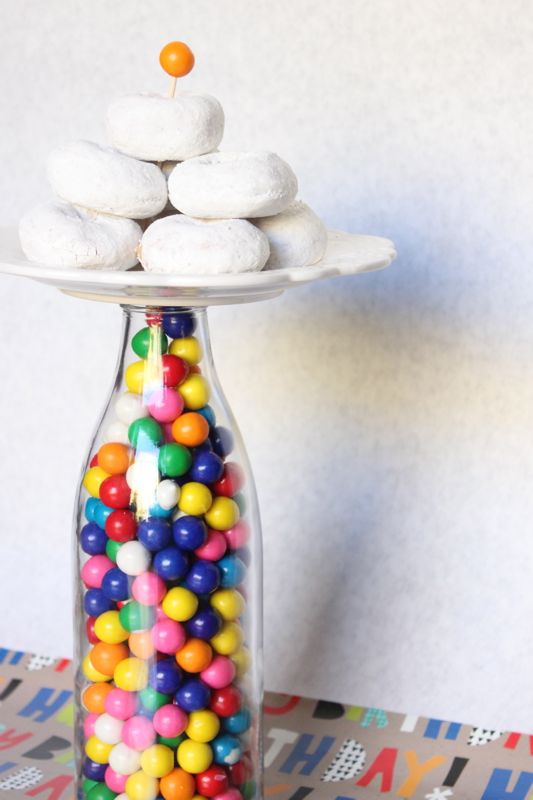
bubble-gum-cake-stand-diy-donut-birthday-rainbow-of-colors

Who can resist colorful bubble gum? Not us….or our kids.

Who can resist powdered sugar donuts? Definitely not us….and most definitely not our kids.

bubble-gum-cake-stand-diy-donut-birthday-rainbow-of-colors


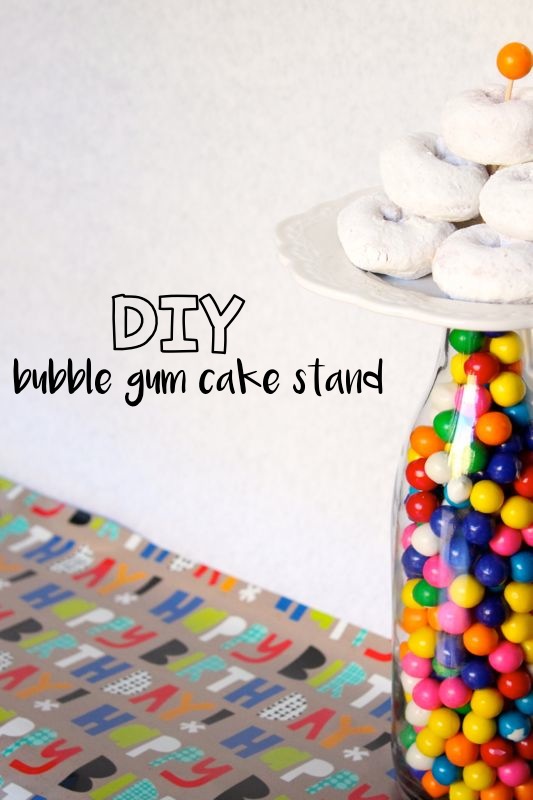
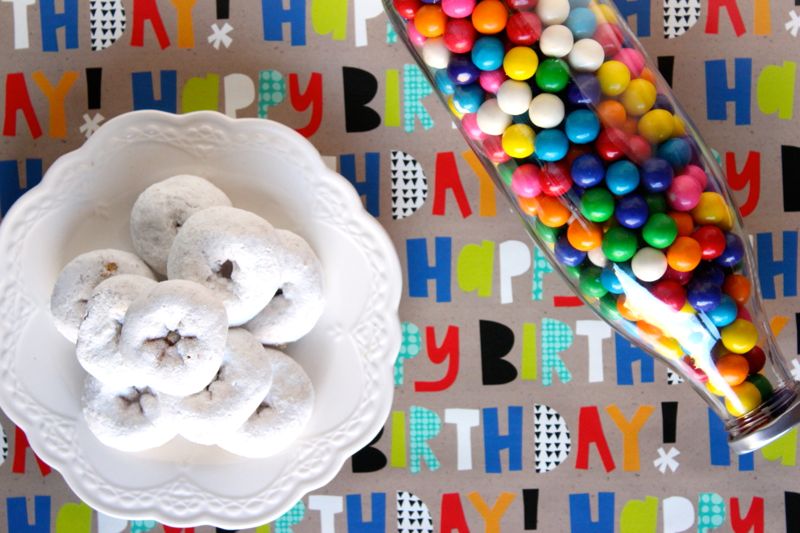
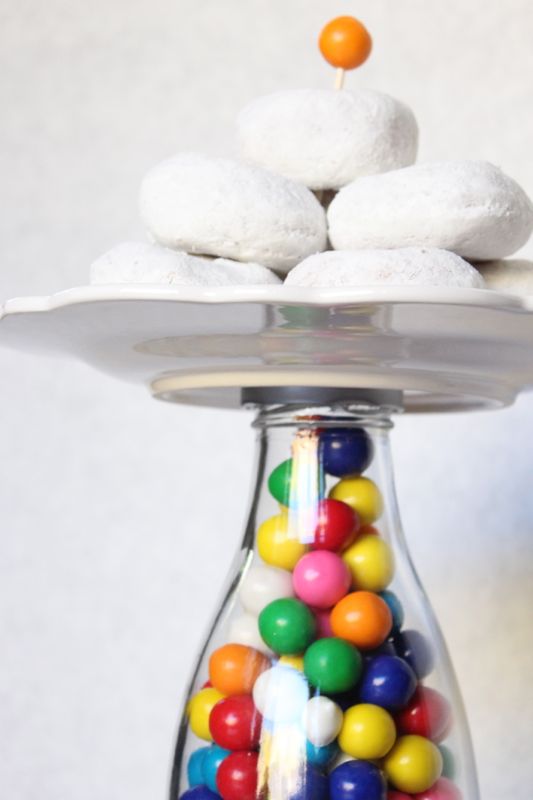
We’ve seen many ways to make a DIY cake stand, but we haven’t seen one like this. A DIY bubble gum cake stand is so colorful and fun for a party any time of year. Plus, you can twist off the plate and blow some bubbles when you need a gum fix.

bubble-gum-cake-stand-diy-donut-birthday-rainbow-of-colors


It’s really simple.

  • Find a jar.
  • Fill it with Dubble Bubble bubblegum.
  • Glue a small plate on top of the jar with gorilla glue or E-600.
  • Top with cake, cookies or donuts.

bubble-gum-cake-stand-diy-donut-birthday-rainbow-of-colors


bubble-gum-cake-stand-diy-donut-birthday-rainbow-of-colors

DIY Eyeball Gumball Necklace

gumball-eye-halloween-spider-diy-necklace

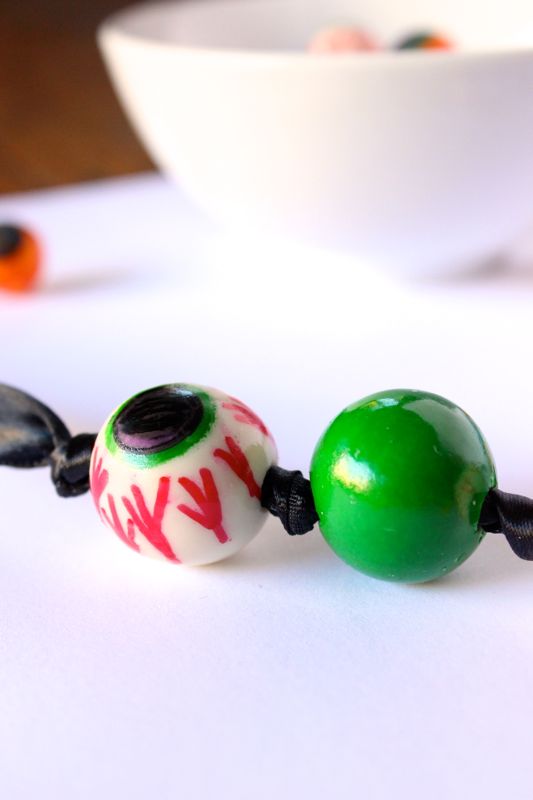
We can’t think of any other time a DIY eyeball gumball necklace is more appropriate than Halloween. It’s so easy, cute and slightly spooky – so it’s a must-make DIY edible necklace this Halloween. After the festivities are over {or during all the BOO-rific fun}, you can chew and blow all the bubbles you want with the DIY eyeball gumballs because they are made with edible pens! We’ve officially named the necklace, I’ve Got My Eye on You!

gumball-eye-halloween-spider-diy-necklace-black-white-green-eyeball


You’ll Need:

  • Gumballs {larger size for the necklace and smaller size is fine for a bowl full of eyes or party bag favors}
  • Edible pens {like Americolor}
  • Ribbon

Directions:

  • It’s as easy as drawing circles, coloring them in and drawing crooked lines. You got this!

gumball-eye-halloween-spider-diy-necklace-red-orange-yellow-green

gumball-eye-halloween-spider-diy-necklace-red-green-eyeball

gumball-eye-halloween-spider-diy-necklace-black-white-green-eyeball

  • For the necklace part, drill the gumball so there is a small hole on each side. Draw your eyeball. Use a long toothpick to insert ribbon through the gumball. Pull the ribbon through to the spot you want to gumball to be on the necklace, tie a knot on each side of the gumball, then add another gumball.

gumball-eye-halloween-spider-diy-necklace-black-white-green-eyeball

Happy {early} Halloween!

DIY Marshmallow Roasting Stick for S’mores by the Fire

diy-marshmallow-roasting-stick-black-and-white-s'more-chocolate-graham-cracker-diy-smore-stick

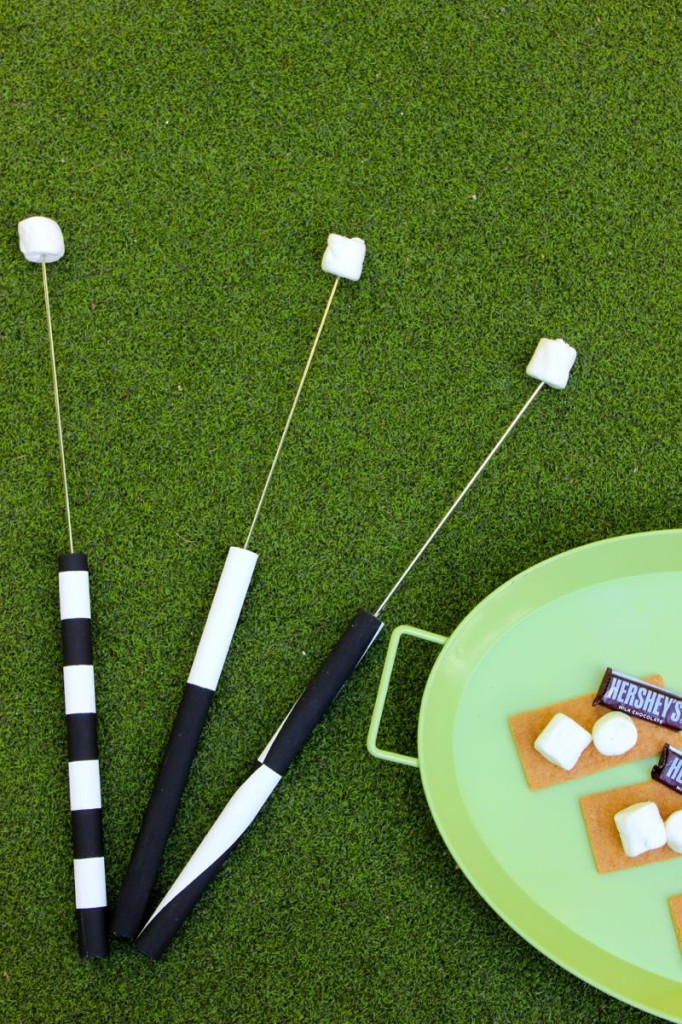
We made DIY marshmallow roasting sticks with the kiddos, and then decided to pick up a paintbrush ourselves to make some of our own DIY s’more sticks. Can’t go wrong with a classic black and white s’more stick, right?

You’ll Need:

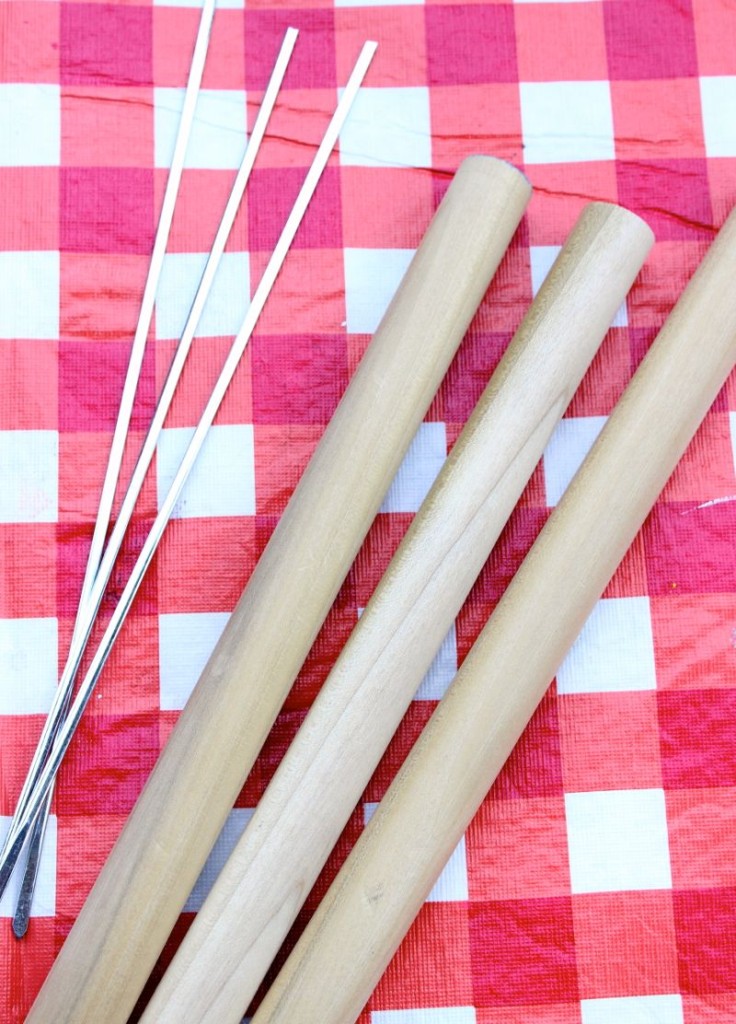
  • Metal Skewers
  • Wood dowel rods, at least ¾” thick
  • Drill
  • Hot glue
  • Paint
  • Styrofoam

Directions:

  • Step 1: Cut the dowel in half, or in thirds, depending on the length of the stick you want. You may also have to cut the end of the metal skewers with Tin Snips if you can only find the skewers with the loops at the end.

diy-marshmallow-roasting-sticks-wood-rods

  • Step 2: Drill a hole on one end, in the center of the dowel. Make sure the hole is large enough to fit your metal skewer.

wooden-dowel-rod-drill-diy-project

  • Step 3: Press the hot glue gun into the hole and fill the hole with the hot glue until it fills to the top, then quickly press the skewer into the hole. Promptly wipe away any excess glue.

wooden-dowel-rods-metal-skewer-diy-project

  • Step 4: Insert the skewer face down into a piece of Styrofoam, and start to paint!

white-paint-wood-dowel-metal-skewer-diy-project

black-white-diy-marshmallow-skewer-smore-diy-roasting-stick

black-and-white-diy-marshmallow-skewer-smore-project

  • Step 5: Enjoy and indulge!

diy-marshmallow-roasting-stick-black-and-white-diy-smore-stick

diy-marshmallow-roasting-stick-black-and-white-s'more-chocolate-graham-cracker-diy-s'more-stick