Honeycomb Ball Gift Toppers

white-wrapping-paper-honeycomb-balls-colors-rudolph-elf-hat-north-pole-charlie-brown-christmas-tree-diy

Unless your like our grandma who use to carefully unwrap each and every gift to save the wrapping paper, why spend the time to beautifully wrap a gift when it’s ripped off in less than a second and then thrown in the trash? We’re not exactly sure, but we will say that it’s fun to make pretty things, and just like an invite or an outfit, it’s a reflection of your style and an opporunity to get creative, which we just can’t resist.

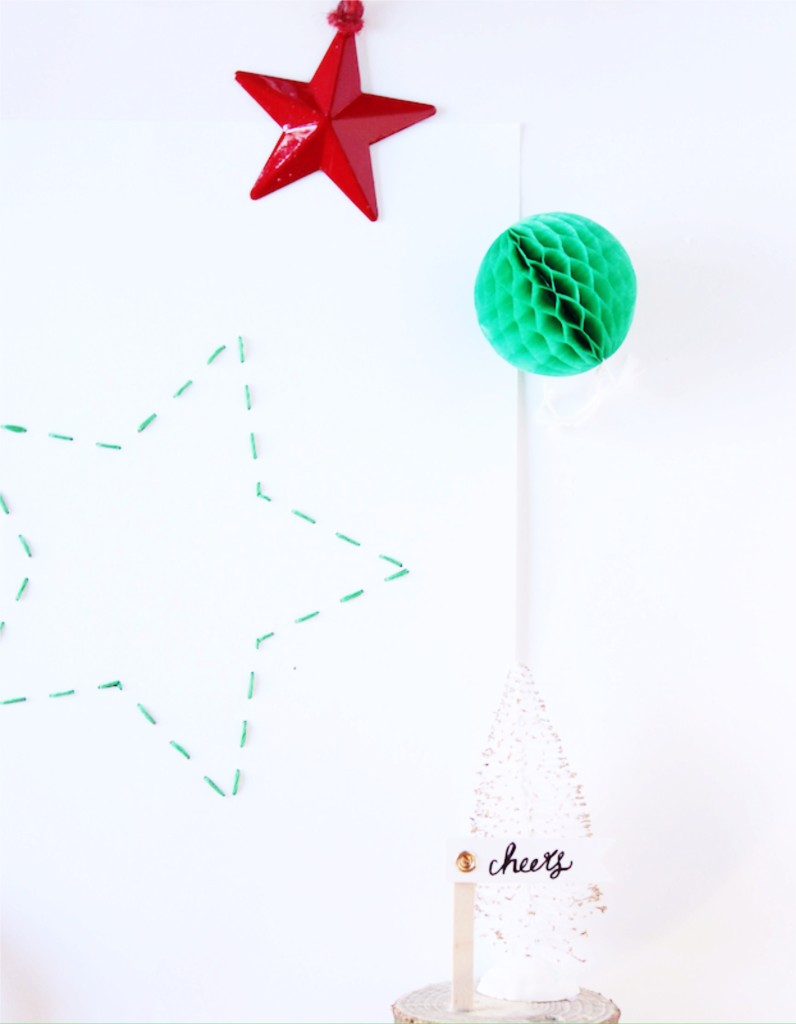
This Christmas, we made hand-drawn and traced Christmas DIY wrapping paper, colored with the kids help, and topped with colorful mini honeycomb balls. It’s easy and fun, plus everything is cuter with a mini honeycomb ball.

white-wrapping-paper-honeycomb-balls-colors-rudolph-elf-hat-north-pole-charlie-brown-christmas-tree-diy

Honeycomb Ball Gift Toppers

You’ll Need:

Directions:

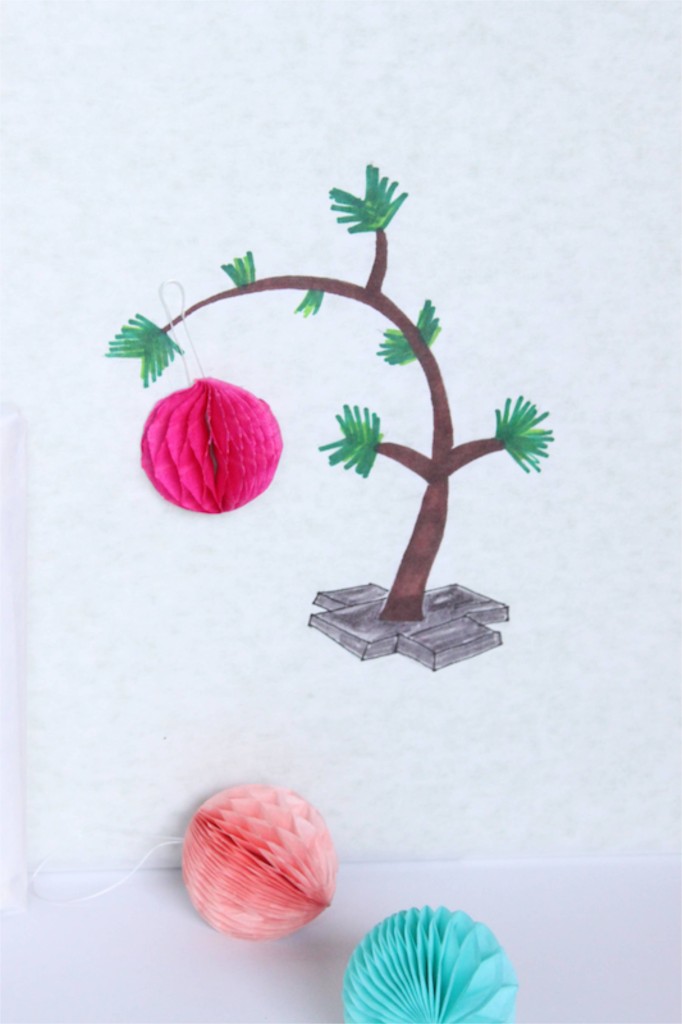
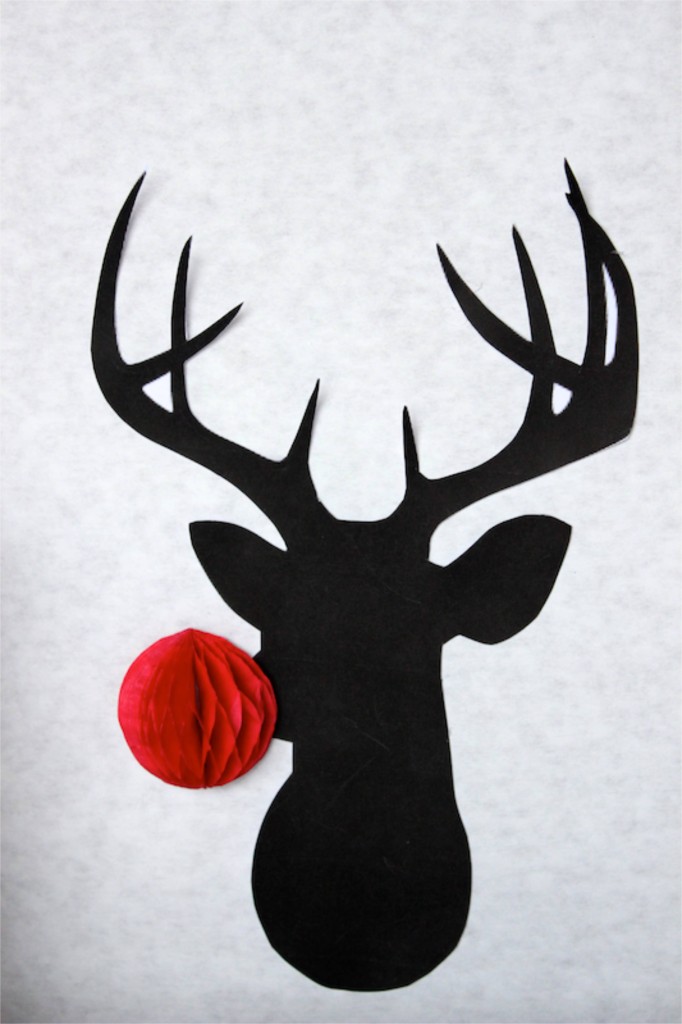
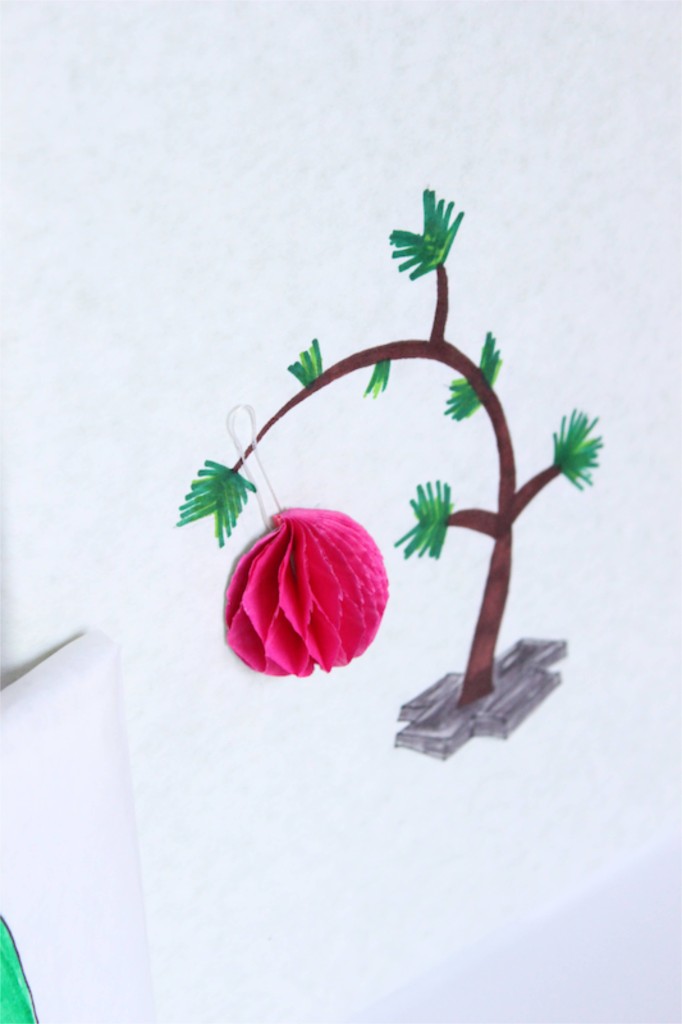
Brainstorm images you want to draw or trace. We went with some of our favorite images we associate with Christmas – an elf hat, a silhouette of a reindeer with a Rudolph nose, the North Pole pole and the droopy Charlie Brown tree. For the Rudolph we cut it from a photo online.

charlie-brown-christmas-tree-diy-christmas-wrapping-paper

diy-elf-hat-wrapping-paper-christmas-diy-honeycomb-ball

diy-rudolph-wrapping-paper-diy-red-honeycomb-ball-white

north-pole-wrapping-paper-diy-christmas-red-honeycomb-ball

Wrap gifts with white paper. If you are going to trace the images on the wrapping paper, simply print the images from the internet, and half wrap your gift, leaving the sides open to insert the paper under the wrapping paper and on top of the gift. Trace the image, then remove from the gift and completely wrap the gift.

Color the images.

white-wrapping-paper-honeycomb-balls-colors-rudolph-elf-hat-north-pole-charlie-brown-christmas-tree-diy

Use double-sided tape on the back of the mini-honeycomb balls, open them half way, and place on the wrapping paper.

charlie-brown-christmas-tree-diy-christmas-wrapping-paper

Add a name tag and place under the tree.

Wishing you happy wrapping times this holiday season.

Stay Gold DIY Pencil Pouch + Black Friday Deal

Happy Thanksgiving. May your heart be filled with gratitude today.

stay-gold-polka-dot-notebook--pen-ornament-star

It’s that holiday time of year when gold is everywhere, so start throwing gold sparkles on everything. It’s also that time of year when Silhouette America has an amazing BLACK FRIDAY sale. We couldn’t have made this DIY Stay Gold pencil pouch {nor could we have made other amazing things this year like thisthis or this} if it weren’t for our Silhouette cutting tool from Silhouette America.

black-friday-sale-silhouette-america-design-store-electronic-cutter

Shop the Black Friday sale today through Dec. 4, 2015. The amazing machine bundles are as low as $99.00 including Silhouette Mint for $99.99, Portrait and Mint for $189.99, CAMEO for $199.99 and CAMEO and Portrait for $289.99. Plus, almost everything in the Silhouette America store is up to 40% off. Use code SORELLE when you check out. For 20% off Silhouette Design Store subscription, enter BLACK at checkout. Oh my goodness, free shipping available to the contiguous United States, too.

Once you receive your amazing electronic cutting tool that will change your life for the better, make this DIY pencil pouch.

When we spotted this gold pencil pouch during back to school shopping in August, we knew it would come in handy some day.

stay-gold-diy-pencil-pouch-gift-star-headband-robert-frost-poem

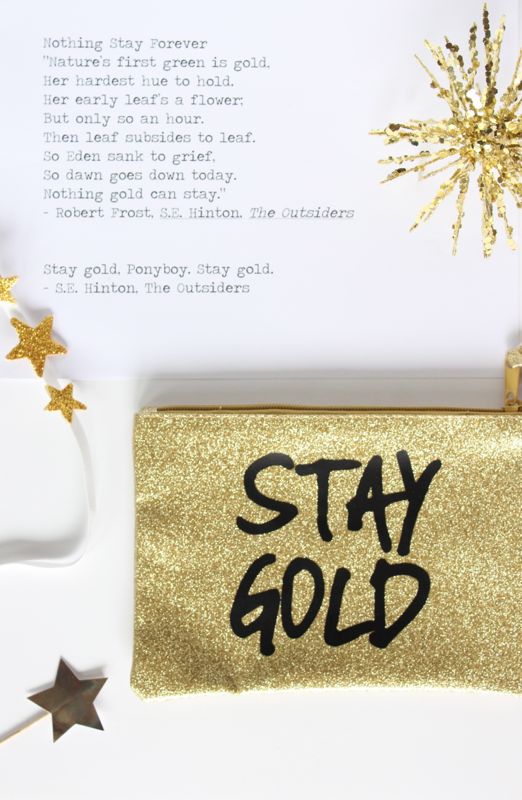
The reference of “Stay Gold” comes from the book, The Outsiders. The quote in the book stems from the famous poem by Robert Frost.

Nothing Gold Can Stay
Nature’s first green is gold,
Her hardest hue to hold.
Her early leaf’s a flower,
But only so an hour.
Then leaf subsides to leaf,
So Eden sank to grief.
So Dawn goes down to day,
Nothing gold can stay.

stay-gold-robert-frost-quote-pencil-bag-diy-gift-star

This quote is powerful in our own lives. Our hope is that our children can remain young and innocent forever. As we age, our view of the world ‘hardens’ and we forget to play, imagine, and believe in the goodness in ourselves and people around us. We must always remember and teach our children to Stay Gold – stay good, and stay true!

DIY Stay Gold Pencil Pouch
Silhouette Vinyl
Gold Pencil Pouch, Target
Frog’s Tape
Credit Card or straight-edge

Directions:

Create a stay gold design on Silhouette software.
Print the vinyl according to package directions.
Remove the vinyl backing, and lay front side-down onto rows of Frog’s Tape {you can also use transfer paper, which we didn’t have handy}.
Use a credit card to make sure all bubbles are out, then pull the vinyl paper up. Your words should be face-down on the tape.
Pick up the tape, and place carefully on your pencil pouch. Your words should be legible now, right-side-up. Use a credit card to get out all the bubbles.
Carefully pull up each piece of tape. The vinyl should stay in place on the pencil pouch, and you’re done.

stay-gold-diy-pencil-pouch

stay-gold-diy-pencil-pouch-holiday-gift

Now, eat some turkey and pie. Hug family and friends. Rest. Sleep. Wake up. Shop.

Make and Mingle Event at West Elm in Denver

make-and-mingle-workshop-west-elm-holiday-event-cross-stitch-cards-colorado

Thanks for all the amazing comments and supportive words after our most recent ‘keeping it real’ post. We feel all the love. It felt good to keep it real on the computer screen – we’re real behind the screen, so may as well be real on it, huh? We know y’all have joys and struggles, too, so now let’s get together to stitch n’ bitch…and have fun, of course! Join us, will you?

We’re at it again. Kaitlin at The Every Hostess and us are hosting our 2nd Make & Mingle event at West Elm in Denver, CO. We are going to make DIY cross-stitch holiday cards. No sewing experience required – seriously, none – if we can do it, you can too! Buy your tickets here.

We’ll provide everything to make the cards look a little something like this…

joy-be-merry-diy-cross-stitch-card-gold-ornament-tree

tree-green-diy-tree-honeycomb-tree

Thanks to amazing sponsors like Curly Girl Design, Fleur de Lis a paperieCory Renee, Bake it Pretty, and Sage 8 Studio you will go home with some wonderful swag. You can sip cups of decaf or caffeinated cheer thanks to Peet’s Coffee & Tea. Plus, Ladybird Poppy will lift your spirits with her gorgeous floral arrangements, too. It’s going to be pretty. Colby Elizabeth Photography will be there to snap all the memories.

Help us keep the lost art of hand-written cards and old-fashioned mail alive, and join us for a night of crafting fun! Plus, who doesn’t want to spend the evening in a gorgeous store like West Elm? Spread the good cheer, and invite friends!

DIY Advent Calendar

diy-advent-calendar-red-green-christmas-girl-ladder-holiday

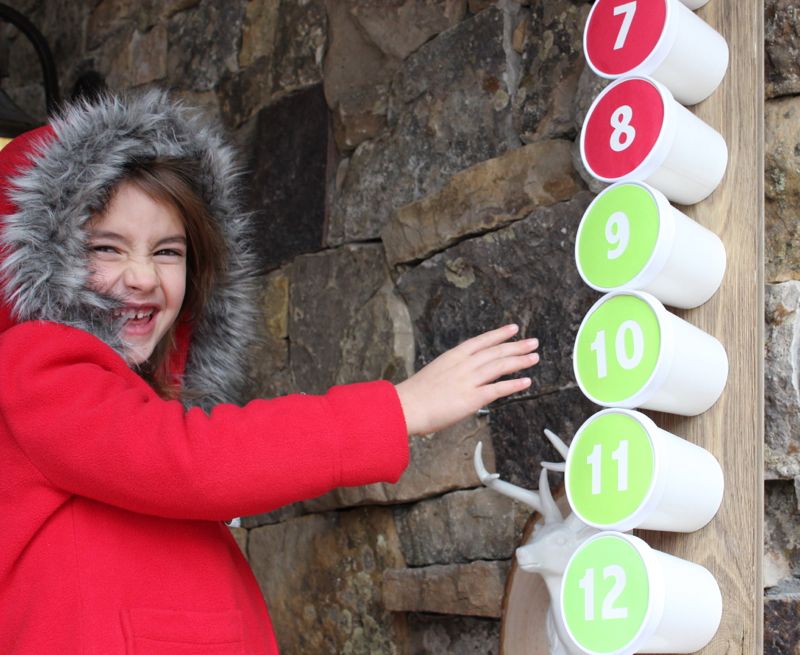
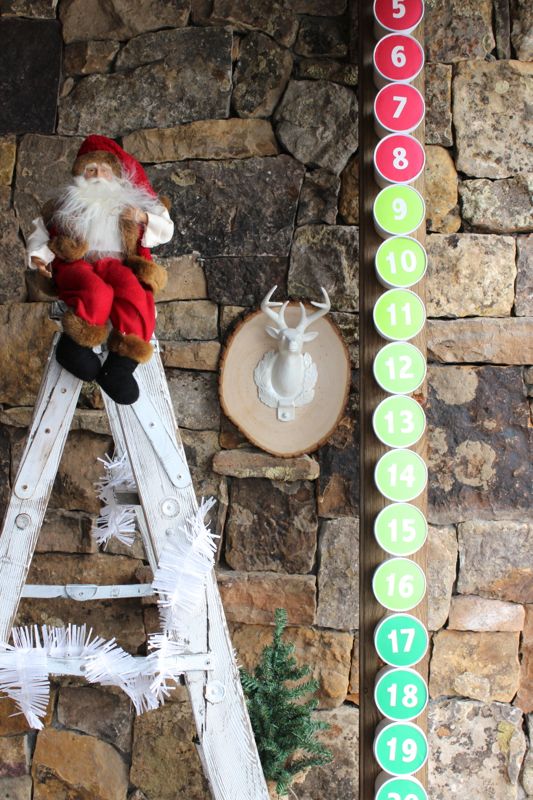
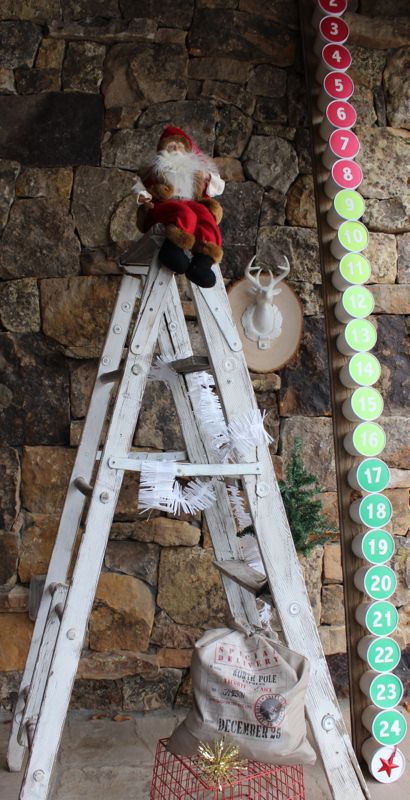
The thought of the upcoming holidays brings us a sense of panic with all there is to do, but also great joy. It’s our favorite time of year, so bring on the cheer. We’ve been known to not put up our Advent calendar until mid-December, which may or may not defeat the purpose, so this post is our attempt to have our DIY Advent calendar up by December 1. Other than our usual tardiness, the other con to our past Advent calendar was the size…how are we supposed to fit one thing larger than a candy cane in each tiny opening? This year, we went long and tall, and got creative with ice cream pint containers!

diy-advent-calendar-red-green-christmas-girl-ladder-holiday

May we just say that had we known blogging would have been in our future, we would have an all-white wall with light floors. Since that’s not feasible with any of our homes, and we needed a well-lit area to show you our Advent Calendar, a ‘rustic Colorado ‘ rock wall was our second best option. Our 5-year-old model had a ‘make-it-work’ moment, which she didn’t seem to mind.

diy-advent-calendar-red-green-christmas-girl-ladder-holiday

diy-advent-calendar-red-green-christmas-girl-ladder-holiday

You’ll Need:

Directions:

Make or print number labels. You can use a Silhouette like we did, or buy number stickers. For number 25, we used a red star ornament since that’s the magical day. Glue the labels on the container lids.

diy-advent-calendar-red-green-christmas-girl-ladder-holiday

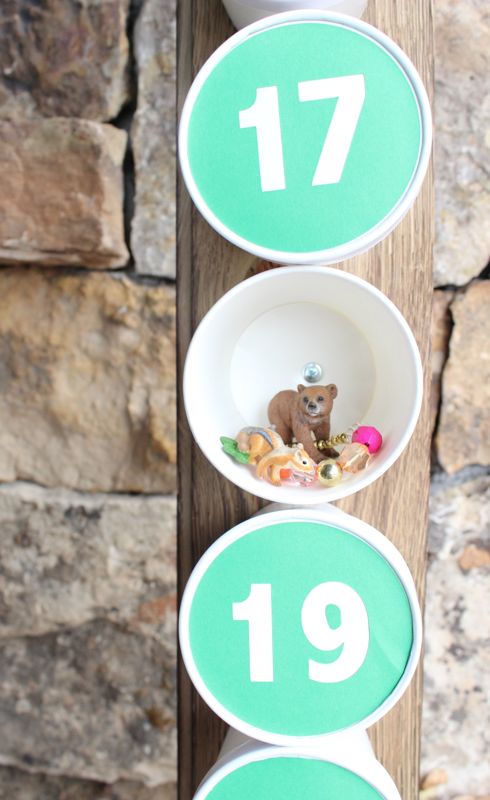
Drill the pint containers to the long piece of wood {totally doable, even with do drill experience}, and then fill the pint containers with goodies.

diy-advent-calendar-red-green-christmas-holiday-bear-toys

Place lids on the pint containers.

diy-advent-calendar-red-green-christmas-antler-holiday

Set up the colorful Advent calendar. You can make it a horizontal Advent calendar, or a vertical one like we did. Because ours is vertical and tall, we couldn’t resist a set up with a ladder – it makes for a fun adventure everyday for the kids and with a good lean, no nails or holes in the wall.

diy-advent-calendar-red-green-christmas-girl-ladder-holiday

diy-advent-calendar-red-green-christmas-girl-ladder-holiday

Someone special wants it to be Christmas now.

diy-advent-calendar-red-green-christmas-girl-ladder-holiday

We teamed up with Sillhouette America to give away 1 Silhouette CAMEO on Instagram. Nov. 25 the giveaway ends, and all you have to do is follow us on Instagram and tag 3 friends. Go here now.

#colorize #silhouetterocks #adventcalendar

DIY Woodland Winter Cake Topper

chocolate-cake-wood-slice-rabbit-tree-white-joy-sign-diy-cake-topper

We are experiencing a love affair with bottle brush trees and wood slices this winter. And, as usual, crushing on white and gold, too. Our kids think Christmas is tomorrow with all the holiday blog projects lying around the house – it’s a tease for them, and almost an overwhelming reminder of the upcoming holidays for us. At least they get to enjoy some of the benefits of shooting a DIY winter cake topper – shoot the cake, and eat it too.

chocolate-cake-wood-slice-rabbit-tree-white-joy-sign-diy-cake-topper

If you’re celebrating a winter birthday, or want to impress guests this holiday season with an adorable DIY winter cake or pie topper, just go out and chop a tree {you can buy them already cut from Michael’s if a lumberjack isn’t in your repertoire}, bust out the gold leaf paint, and glue.

Materials You’ll Need:
Wood slices
Cake pop sticks
Mini woodland animal figures – deer, rabbit, bear, squirrel
Thin popsicle sticks
Mini banner flags
Gold leaf paint
Hot glue gun

Directions:

Dab the ends of the  bottle brush tree with gold leaf paint. You can’t mess this up – just dab here, and there and everywhere.

Write a word, name or phrase on the paper banner.

Use a hot glue gun to glue the tree, animal and popsicle stick with paper banner on the wood slice. I cut the popsicle stick in half to make it shorter.

white-tree-rabbit-joy-sign-gold

Glue ‘legs’ on the bottom-side of the wood slice with the cake pop sticks that will stick into the cupcake, cake or pie.

rabbit-wood-slice-diy-cake-topper-tree-joy

chocolate-cake-wood-slice-rabbit-tree-white-joy-sign-diy-cake-topper