DIY Geometric Shelf

red-star-cowboy-boots-shelf-black-triangle-diy-mountain-toys

Maybe it’s because we are born and raised Colorado girls, but the phrase The Mountains are Calling, and I Must Go by John Muir, speaks to us. There’s something nostalgic about the mountains – the beauty, the nature and the escape – that we long for.  We spend many weekends in the mountains to get away from the hustle and bustle of the city, and Jessica is lucky enough to see the peaks in her backyard every morning from her window.

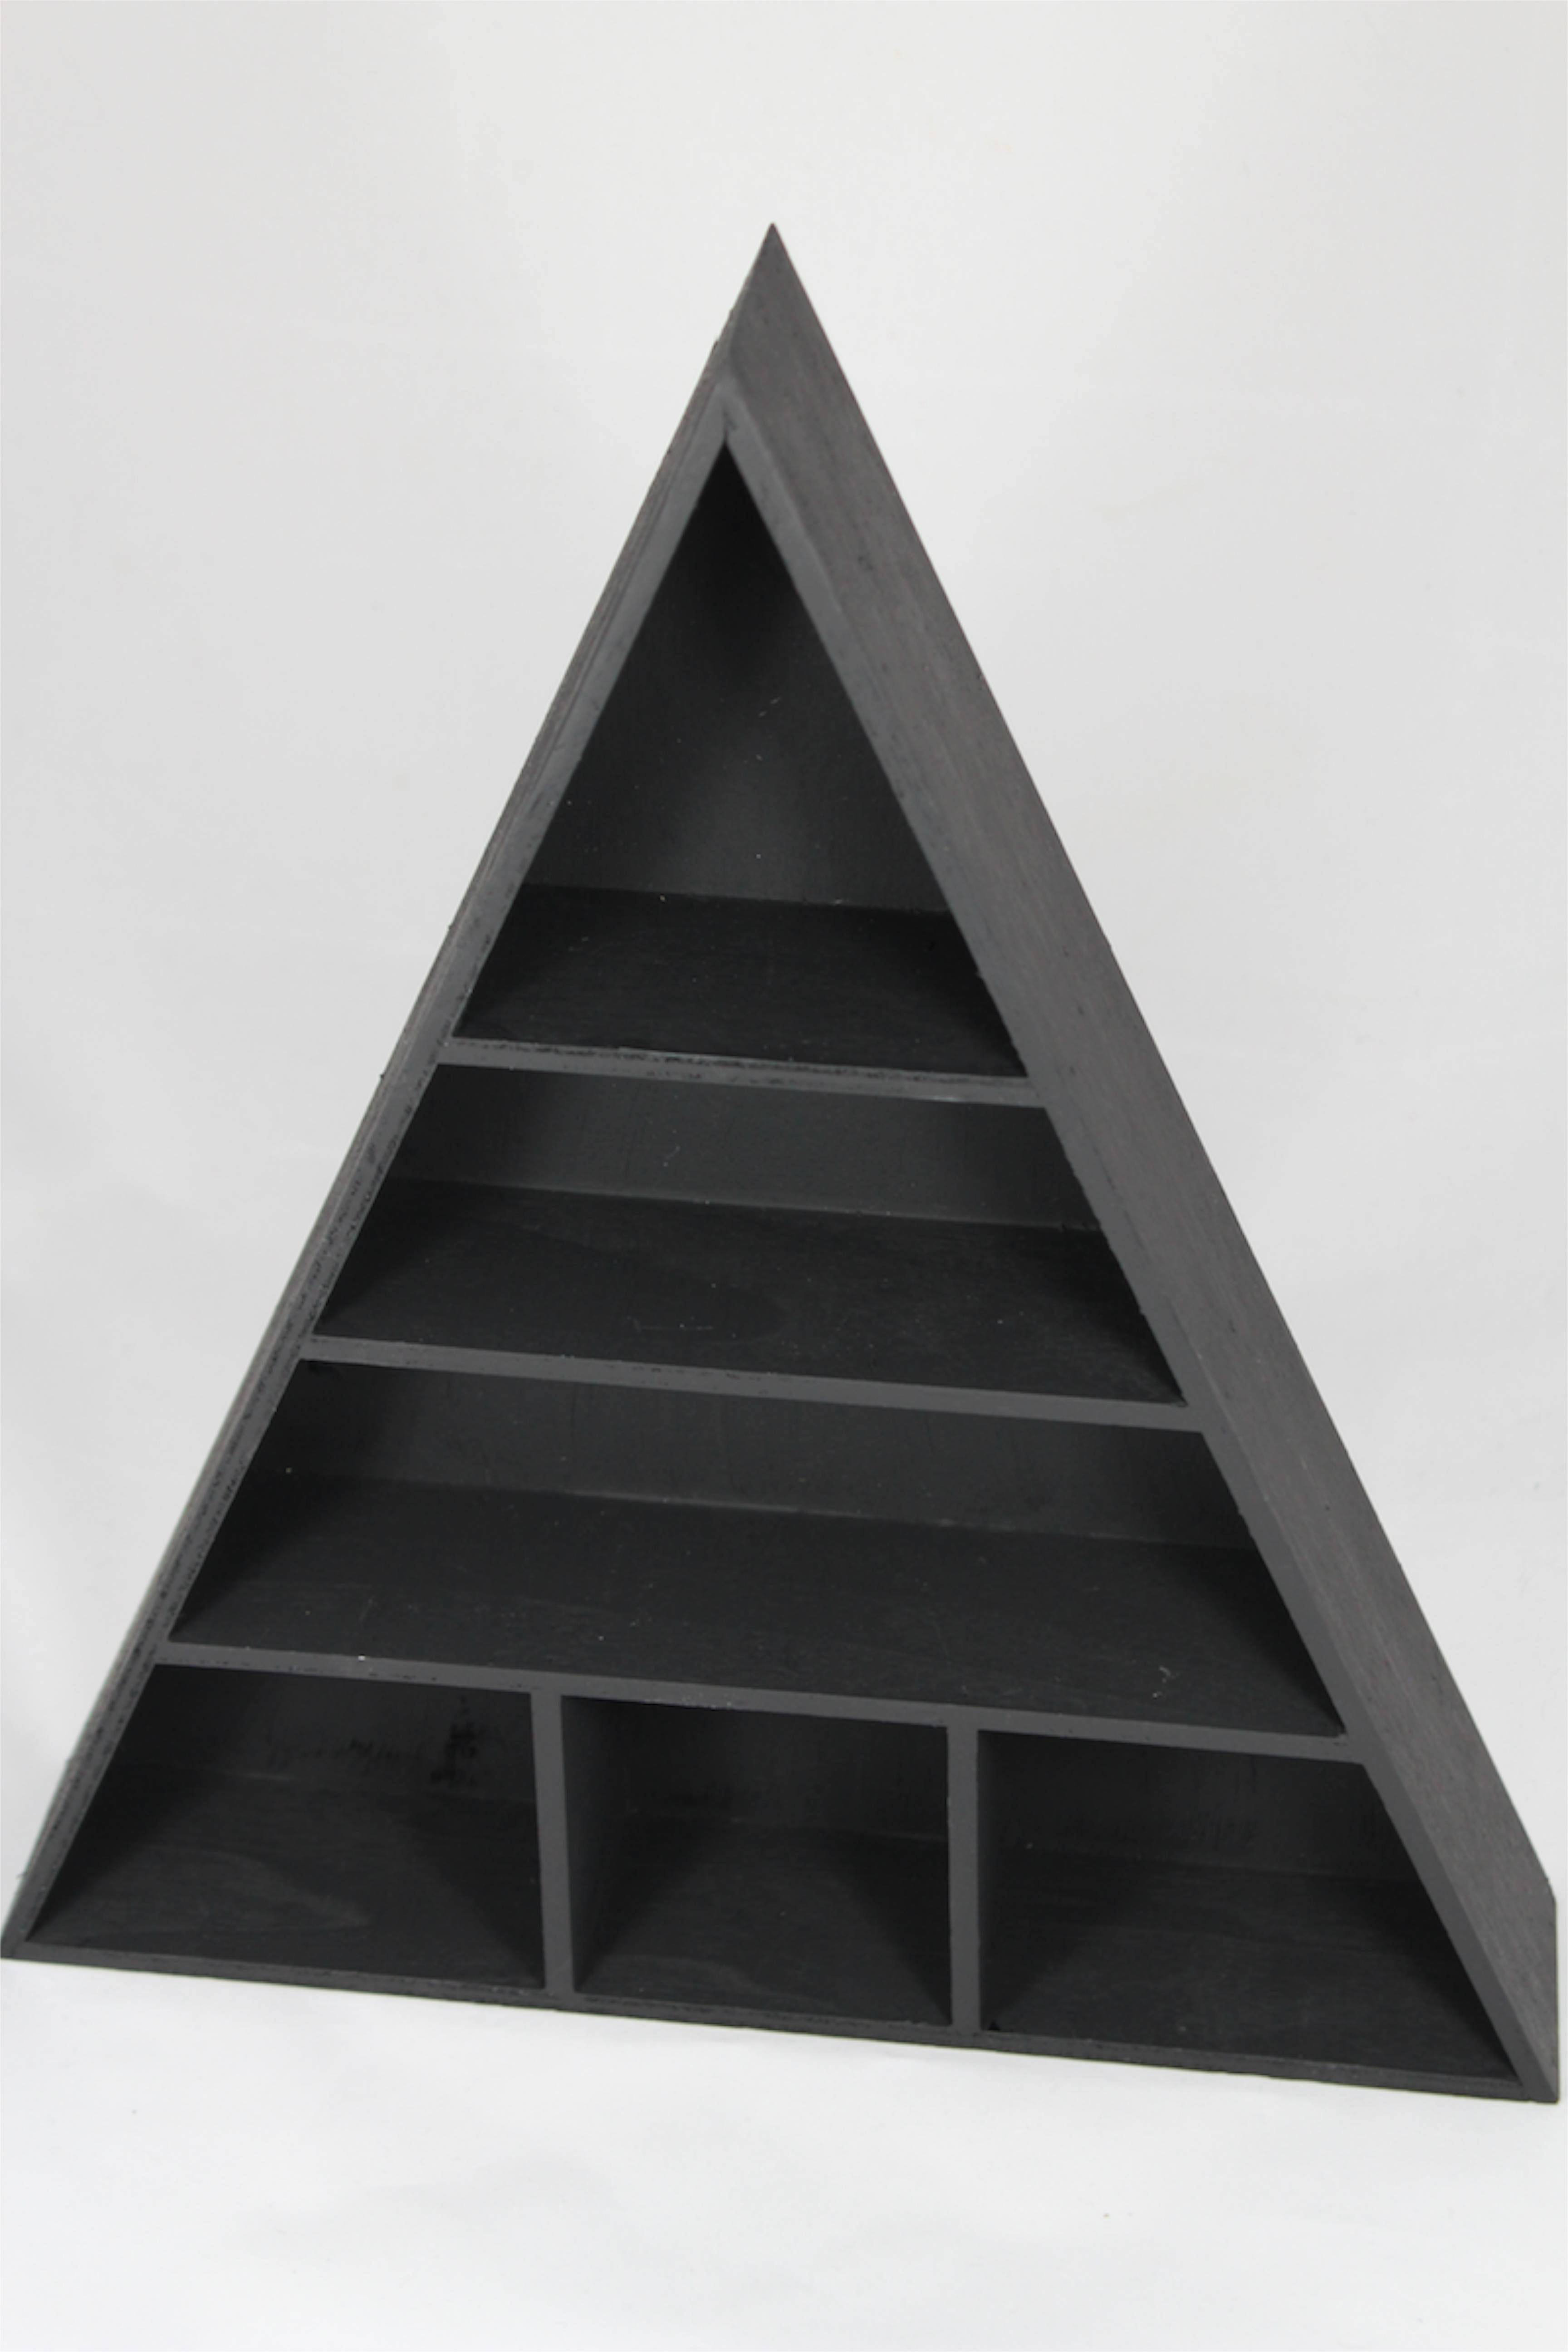
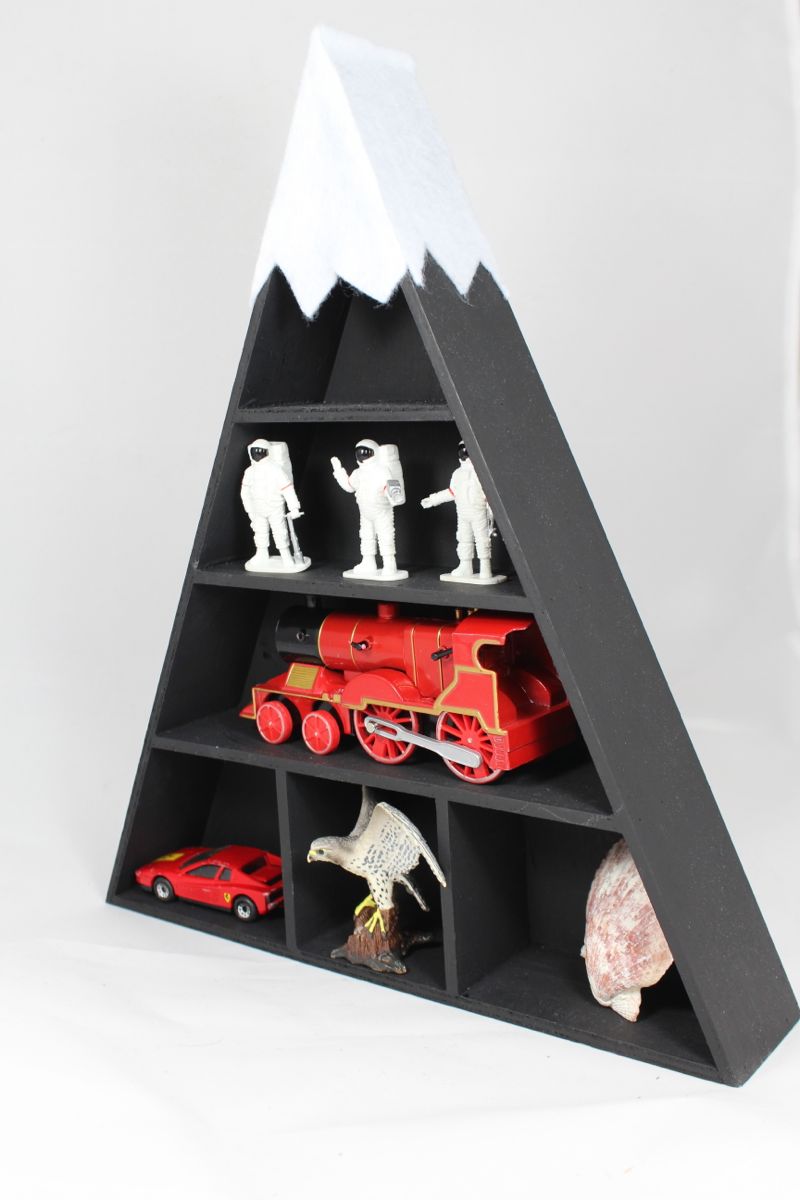
We found a triangle geometric shelf from Michaels, and it was practically begging us to be transformed into a DIY mountain shelf. Plus, we found it to be a fun display for all the knick knacks our kids like to collect.

red-star-cowboy-boots-shelf-black-triangle-diy-mountain-toys

Materials:

  • wood triangle shelf, Michaels
  • spray paint, black
  • felt, white
  • scissors
  • hot glue gun and hot glue sticks
  • kids toys

Directions:

Paint the triangle shelf black.

black-triangle-shelf

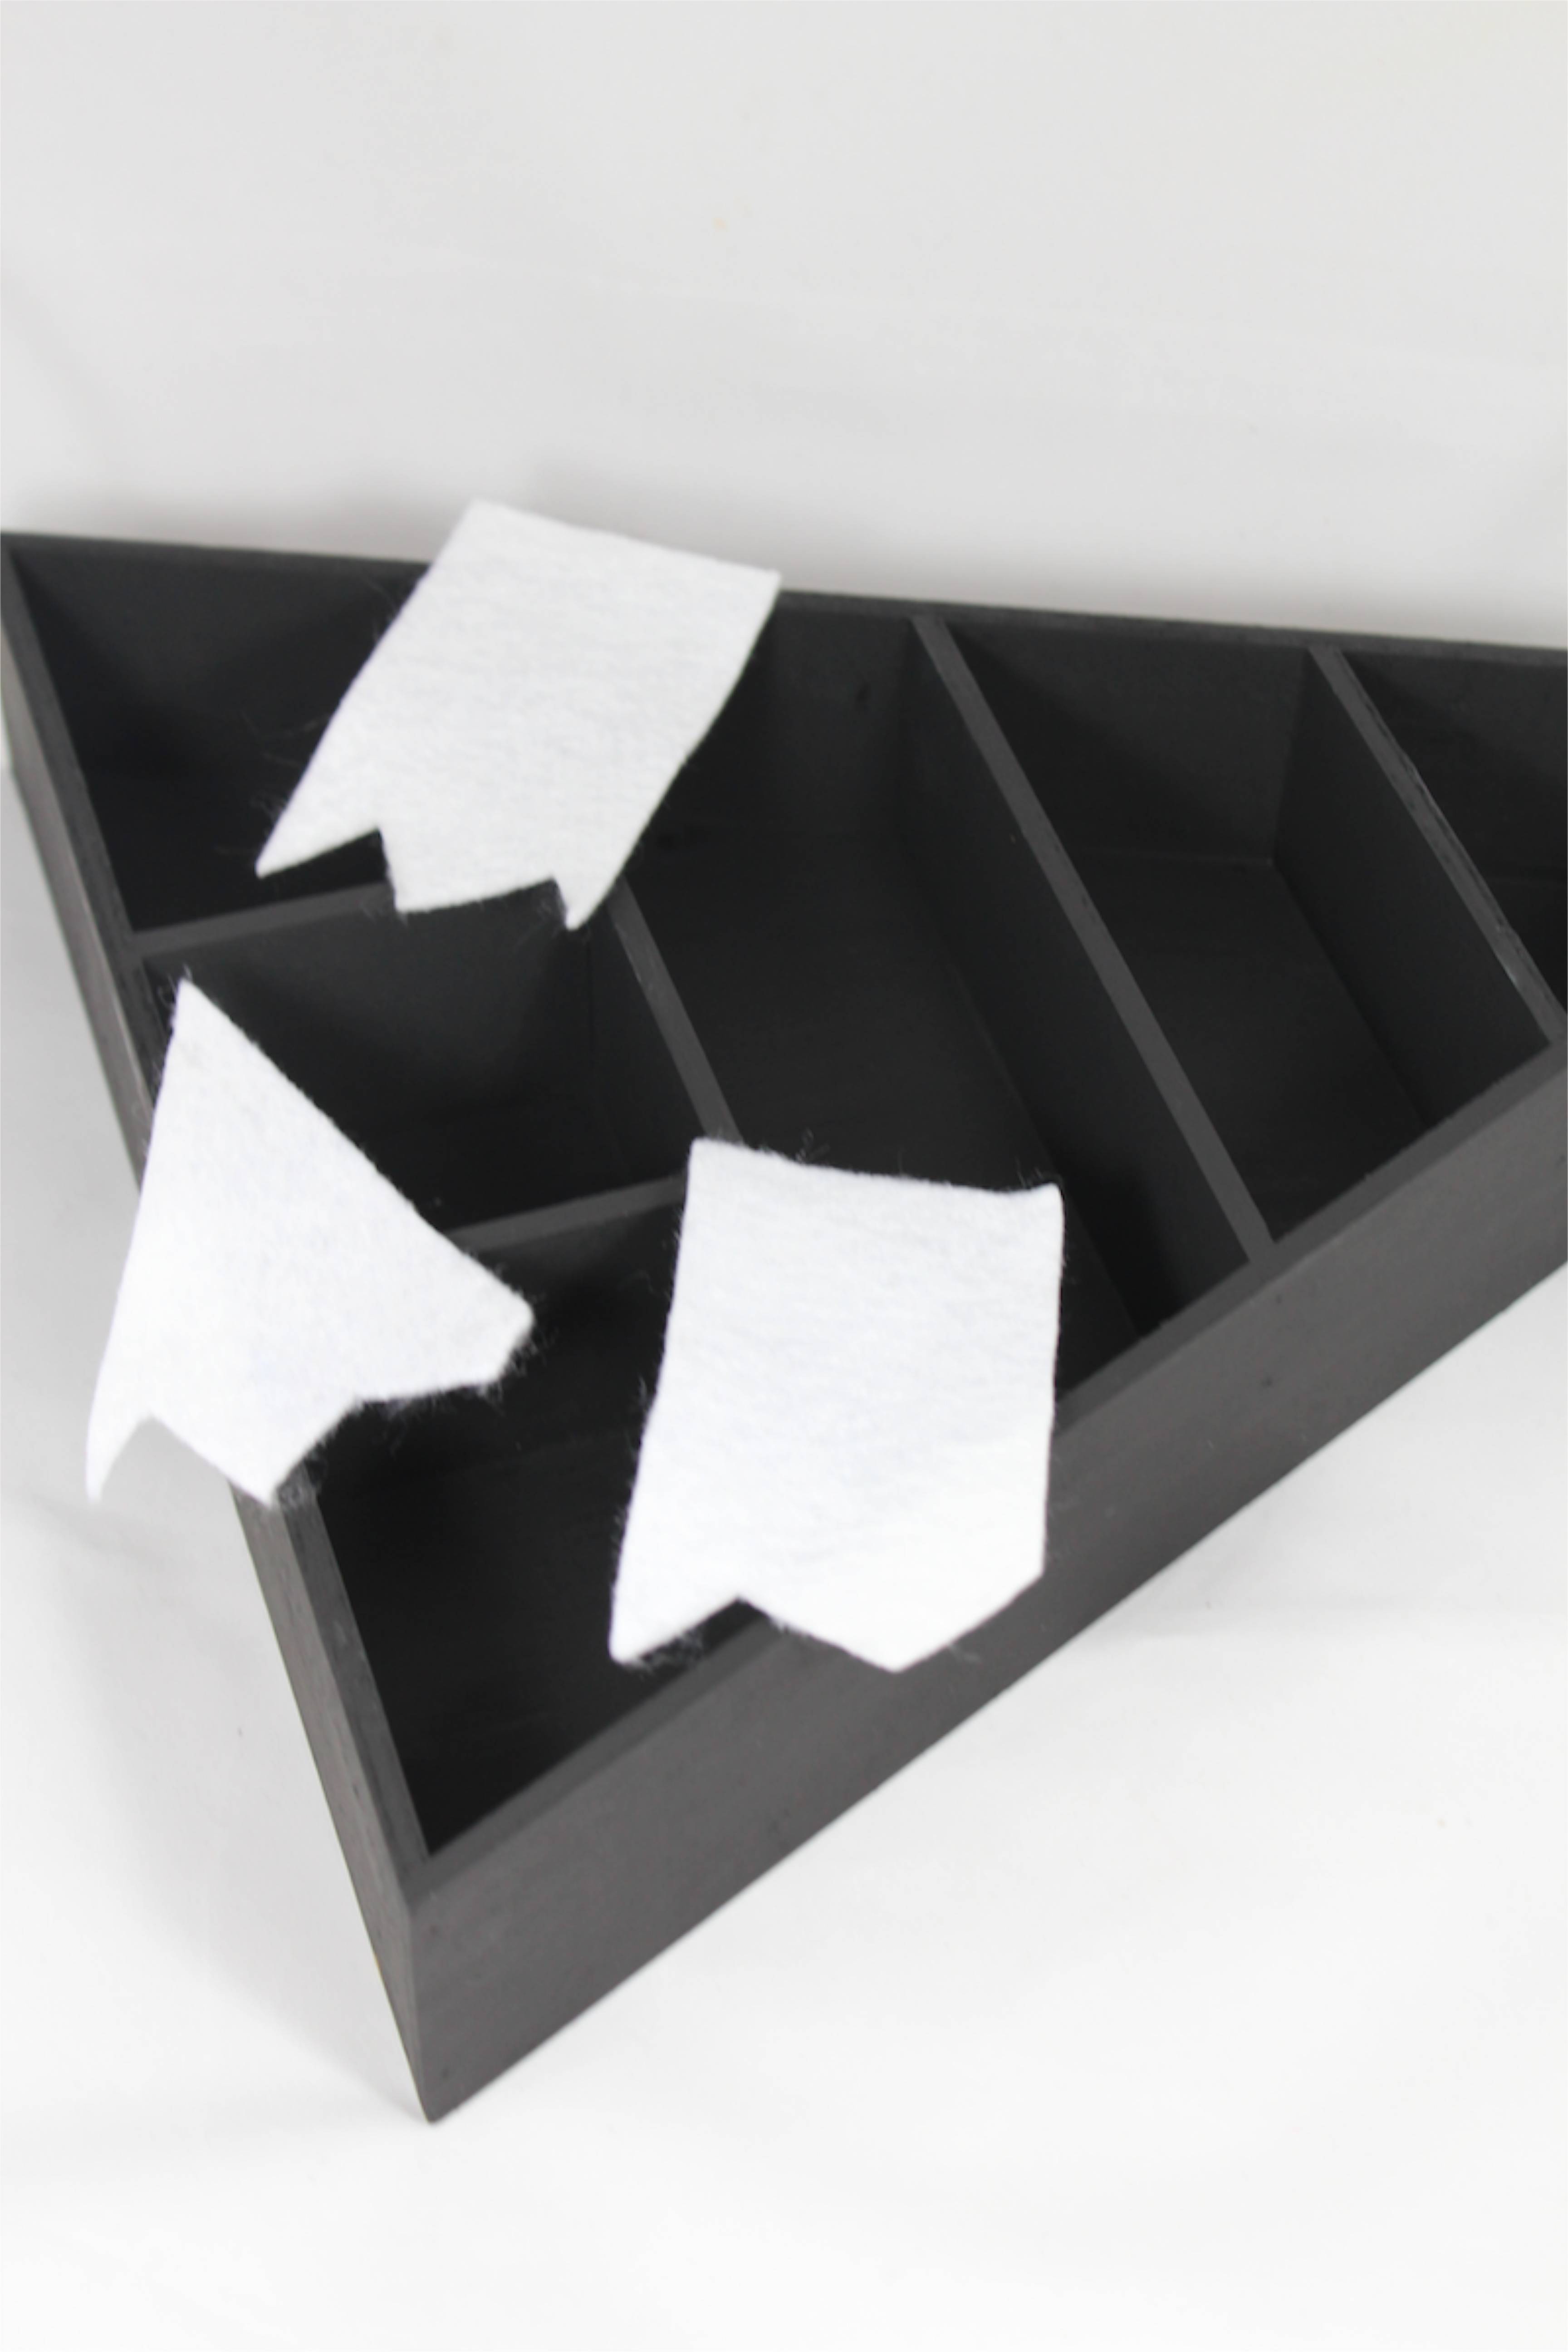
Once the shelf is dry, measure the size of the peak on all sides of the wood. We placed the white felt on top of each side of the wood triangle, and traced the outline with a pencil, and then cut it out.

black-shelf-white-felt

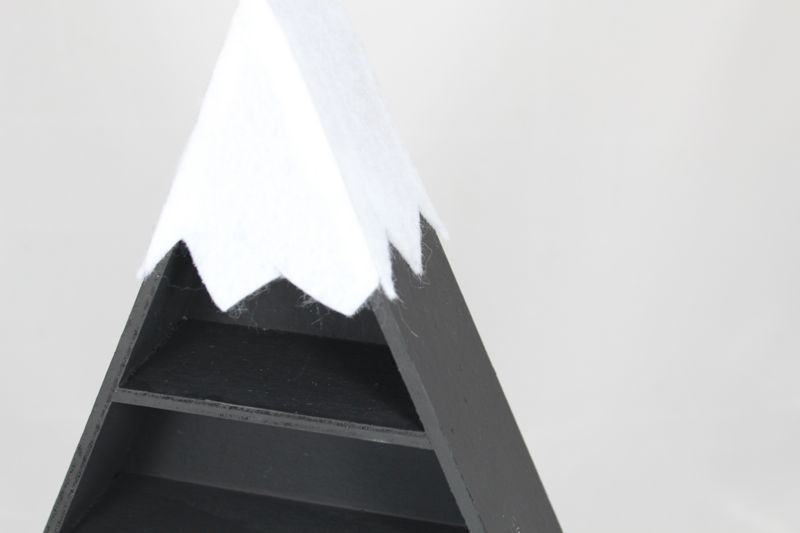
Apply glue to the edges of the ‘peak’ on the wood, and press the white felt down.

black-white-felt-mountain-peak-diy

Fill the shelves with all the cute little knick knacks your kids like to collect, and find a place to display.

black-white-shelf-diy-mountain-moon-men-train-car-boy-toys-diy-shelf


red-star-cowboy-boots-shelf-black-triangle-diy-mountain-toys

That’s all for now. Just as the phrase goes, The Mountains are calling, and I must Go…

Giraffe Baby Shower

blue-yellow-giraffe-baby-shower-outdoor-party

We made a trip to the zoo last week, and the giraffe’s were a favorite among our kids. The tall beauties have been loved by Jessica’s son for a long time. Thanks to Sylvia Strauss of Special Events and photographer Finishing Touch Roelien Visser, now we know they can be the inspiration behind a pretty baby shower, too.

Sylvia was inspired by the blue and yellow color of the striped flower pots on the table. Of course we love the DIY details, such as the wool letters and the spray painted plastic animals.

blue-yellow-giraffe-baby-shower-outdoor-party


yellow-blue-giraffe-baby-shower

blue-yellow-giraffe-baby-shower-outdoor-party


blue-yellow-giraffe-baby-shower-outdoor-party

blue-yellow-giraffe-baby-shower-outdoor-party

blue-yellow-giraffe-baby-shower-outdoor-party

blue-yellow-giraffe-baby-shower-outdoor-party-cupcake

blue-yellow-giraffe-baby-shower-outdoor-party

blue-yellow-giraffe-baby-shower-outdoor-party

blue-yellow-giraffe-baby-shower-outdoor-party

VENDOR LOVE

Venue: Mountain Breeze Stellenbosch
Cookies: Krummelkuns
Decor & Planning: Special Events
Photographer:  Finishing Touch Roelien Visser


DIY Typography Decanter

booze-cheers-bar-diy-decanter

Nordstrom is one of our favorite places to shop. The shoes, the fashion, the return policy, the cafe – we love all of it! We noticed a fun Booze Decanter and Stopper throughout the holidays, and we never quite stopped thinking about it. Thankfully, we were able to re-create a DIY Booze decanter with our Silhouette cutting machine, and our minds {and bar} are at peace…at least for now.

Materials:

Instructions:

Assemble empty glass bottles you can transform into DIY typography bottles.

empty-glass-bottles

Design your labels with the Silhouette software. Print according to package instructions.

Once the vinyl is cut, remove the excess vinyl around the words, and place Frog’s Tape over the words.

cheers-gold-vinyl

Pull the tape up, and the words should be attached to the tape.

booze-gold-vinyl-green-tape

Press the tape and words onto the bottle, and get all the bubbles out with a straight edge {we used a credit card}.

booze-gold-vinyl-green-tape-decanter

Pull the tape up from the bottle, and the vinyl should stay in place on the bottle. You may have to use one finger to press down on the vinyl if the font is thin and it comes up with the tape, but we didn’t have to on this project.

booze-gold-vinyl-green-tape-decanter

Once all the tape is removed, you should have a new DIY typography decanter. Fill with alcohol and say cheers!

booze-gold-vinyl-green-tape-decanter

For this project, we took it one step further and got a little Typography happy! We couldn’t do just one bottle! This DIY project makes for a really fun addition to any bar, and a great hostess gift.

tasty-cheers-booze-bottle-decanter-bar

booze-gold-vinyl-green-tape-decanter

cheer-blue-bottle-diy-decanter-water-entertaining

tasty-booze-cheers-diy-decanter-bar

Not only did we create several bottles, but we couldn’t have a bottle that holds alcohol without actual alcohol in it. With St. Patrick’s Day several days away, we ventured into making our own Bailey’s Irish Cream. My girlfriend, Kacey, made a delicious batch of our favorite Irish cocktail for a birthday brunch recently, and we couldn’t believe homemade Bailey’s could be so good. We’ve revamped a couple of recipes to make our homemade version, but most are similar.

Homemade Bailey’s Irish Cream
adapted from several recipes

Ingredients:

  • 1 cup + 1 tablespoon Jameson Whiskey
  • 1 pint half and half
  • 1 can Eagle’s Condensed Milk
  • 2 tablespoons chocolate syrup
  • 1 teaspoon Vanilla
  • 1 tsp. instant espresso mixed with 1 tsp. boiling water

Instructions:

Place all ingredients in a blender, and blend. If you don’t blend for 30 seconds or more, we found that our Bailey’s had some chunks from the cream, so continue to blend until smooth.

Keep in a sealed glass jar in the fridge for up to 2 weeks. Give it to a friend as a gift this St. Patrick’s Day, too!

homemade-baileys-irish-cream-tasty-bottle-clover


Faux Moss Spring Cork Board and DIY Flower Pushpins

spring-cork-board-office-board-photo-diy-flower-push-pins

It’s almost spring time, so naturally we’re upgrading our cork boards. If you have to be stuck inside at work on a beautiful spring day with dingy, fluorescent lighting, why not add a little greenery and blooms to the walls for color and sunshine?!

Here’s how we made our DIY faux moss cork board and flower push pins.

Materials:

  • Faux moss, in this case a table runner from Pier 1 {you could also use turf}
  • Flowers
  • Hot glue gun and glue
  • Cork board squares, Michaels
  • Pencil
  • X-acto knife
  • Pushpins

Directions:

Lay out the faux moss runner. Measure the cork board squares on the moss, and pencil an outline of the cork board on the back of the moss. Cut the faux moss with the X-acto knife. We had enough moss to fully cover two squares, and decorate the third square with the word BLOOM, and grass/stems. If you want to trim all the cork boards into slightly smaller squares, there will be enough faux moss to cover all three.

cork-board-cut-turf

diy-cork-board-spring-flower-push-pins

Glue the moss onto the cork board. We lined the edges of the moss with hot glue, and pressed down.

turf-cork-board

cork-board-square

turf-cork-board

Pull the flower blooms from the stems, and glue onto the pushpins. We kept the middle plastic part of the flower to retain its shape, so we just cut the long part of the plastic stem from under the flower.

yellow-flower-push-pin-glue

yellow-pink-flower-push-pin

Glue twine onto the back of the cork squares {in the center} to hang the board.

diy-cork-board-spring-flower-push-pins

Hang photos, notes and art prints.

diy-cork-board-spring-flower-push-pins

photo-flower-push-pin-pink

diy-cork-board-spring-flower-push-pins

diy-cork-board-spring-flower-push-pins

diy-cork-board-spring-flower-push-pins


DIY Scrabble Tile Planter

One of our favorite DIY home sites is Curbly. With an abundance of great ideas and projects, they inspire us to love where we live, and update our homes with DIY details.

So, it is an honor to have a guest post on their site. We shared a DIY Scrabble Tile Planter. Good news, the plant is still alive, so it’s worth the small pile of sawdust to create.

Visit Curbly for the full tutorial.

scrabble-tile-planter-ampersand3