DIY Floral Antlers

diy-antler-display-white-gold-pink-flowers

Let’s talk about potential for just a brief minute. We all have potential for greatness. You may have realized your true potential {good for you}, or maybe you are still trying to figure it out {welcome to the club}.

I hope in this one, precious gift we call life, I can dig deep inside and let my best self shine. How the heck am I going to do it? I’ll start by being a bright light for others, surrounding myself with friends and family who are only going to lift me up, stay really close with the good Man upstairs, and have the courage to live my best life. It’s not going to be easy, but nothing worthwhile ever is. And, this is most definitely worthwhile.

How do you realize your fullest potential?

I know, I know – somewhat deep for a Friday, but as I worked on this trash to treasure project, I thought about the word ‘potential’ and the importance of it in my own life. Before I give up on someone, something, and me, I need to just be in a place of love, and remember the potential that lies within all of us.

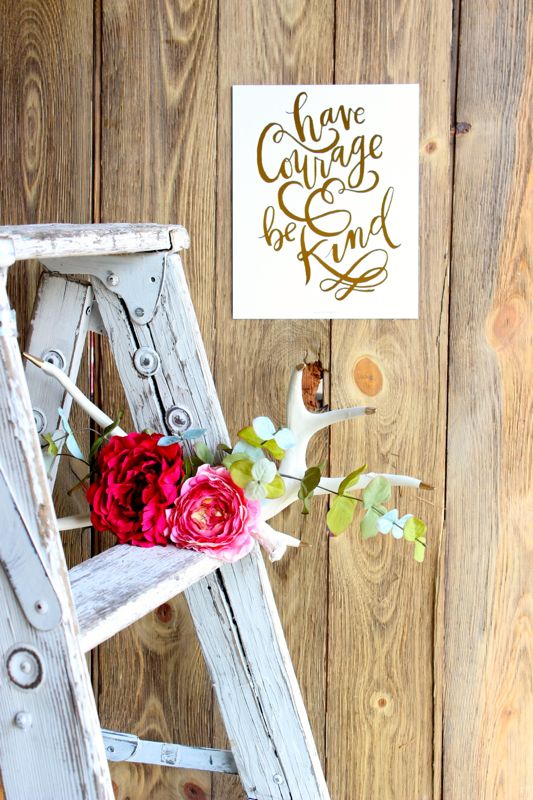
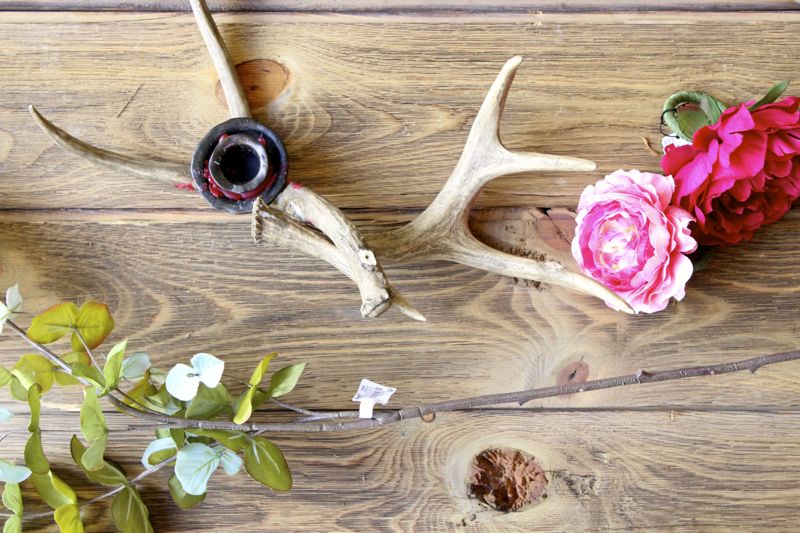
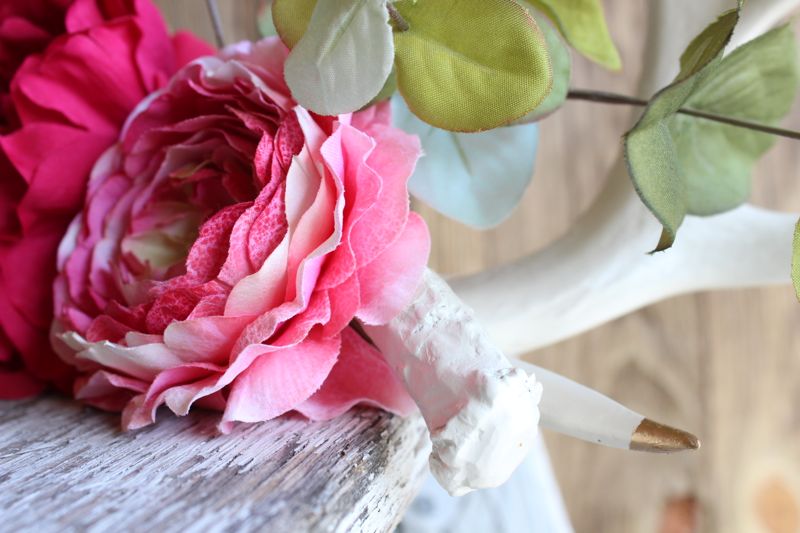
These antlers are the trash to treasure project I’m referring to. Originally part of a broken candle centerpiece, and in the trash pile, I knew they had potential. With a little paint and TLC, these antlers are now pretty in pink…and gold.

diy-antler-display-white-gold-pink-flowers


Here’s how I did it.

You’ll Need:

  • Faux antlers
  • Spray paint
  • Gold leaf paint
  • Flowers and greenery {I found mine at Pier1}
  • Hot glue gun

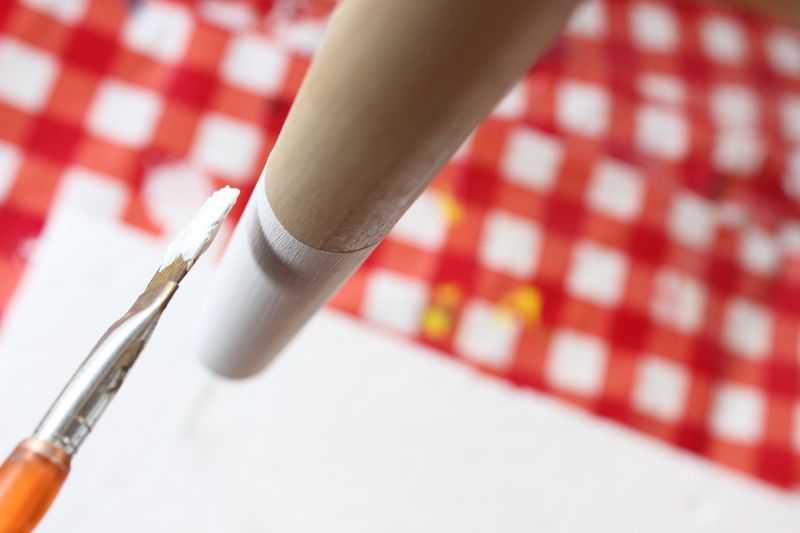
Step 1: Remove old wax, dirt from the antlers.

diy-antler-display-white-gold-pink-flowers

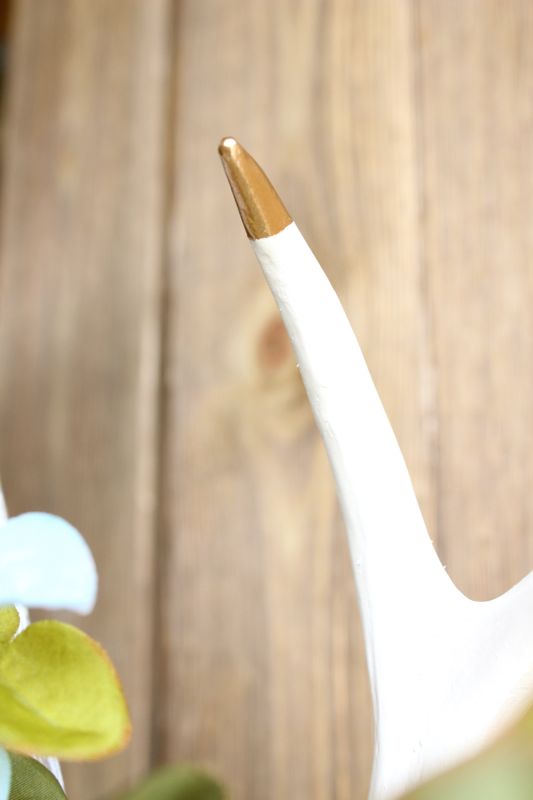
Step 2: Spray paint the antlers heirloom white {paint from Home Depot}.

Step 3: Paint the tips gold.

diy-antler-display-white-gold-pink-flowers

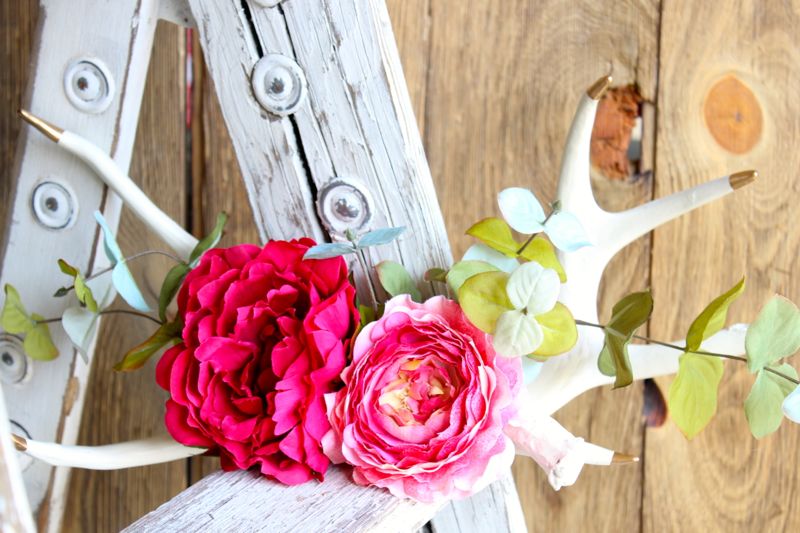
Step 4: Hot glue flowers and greenery in place.

diy-antler-display-white-gold-pink-flowers

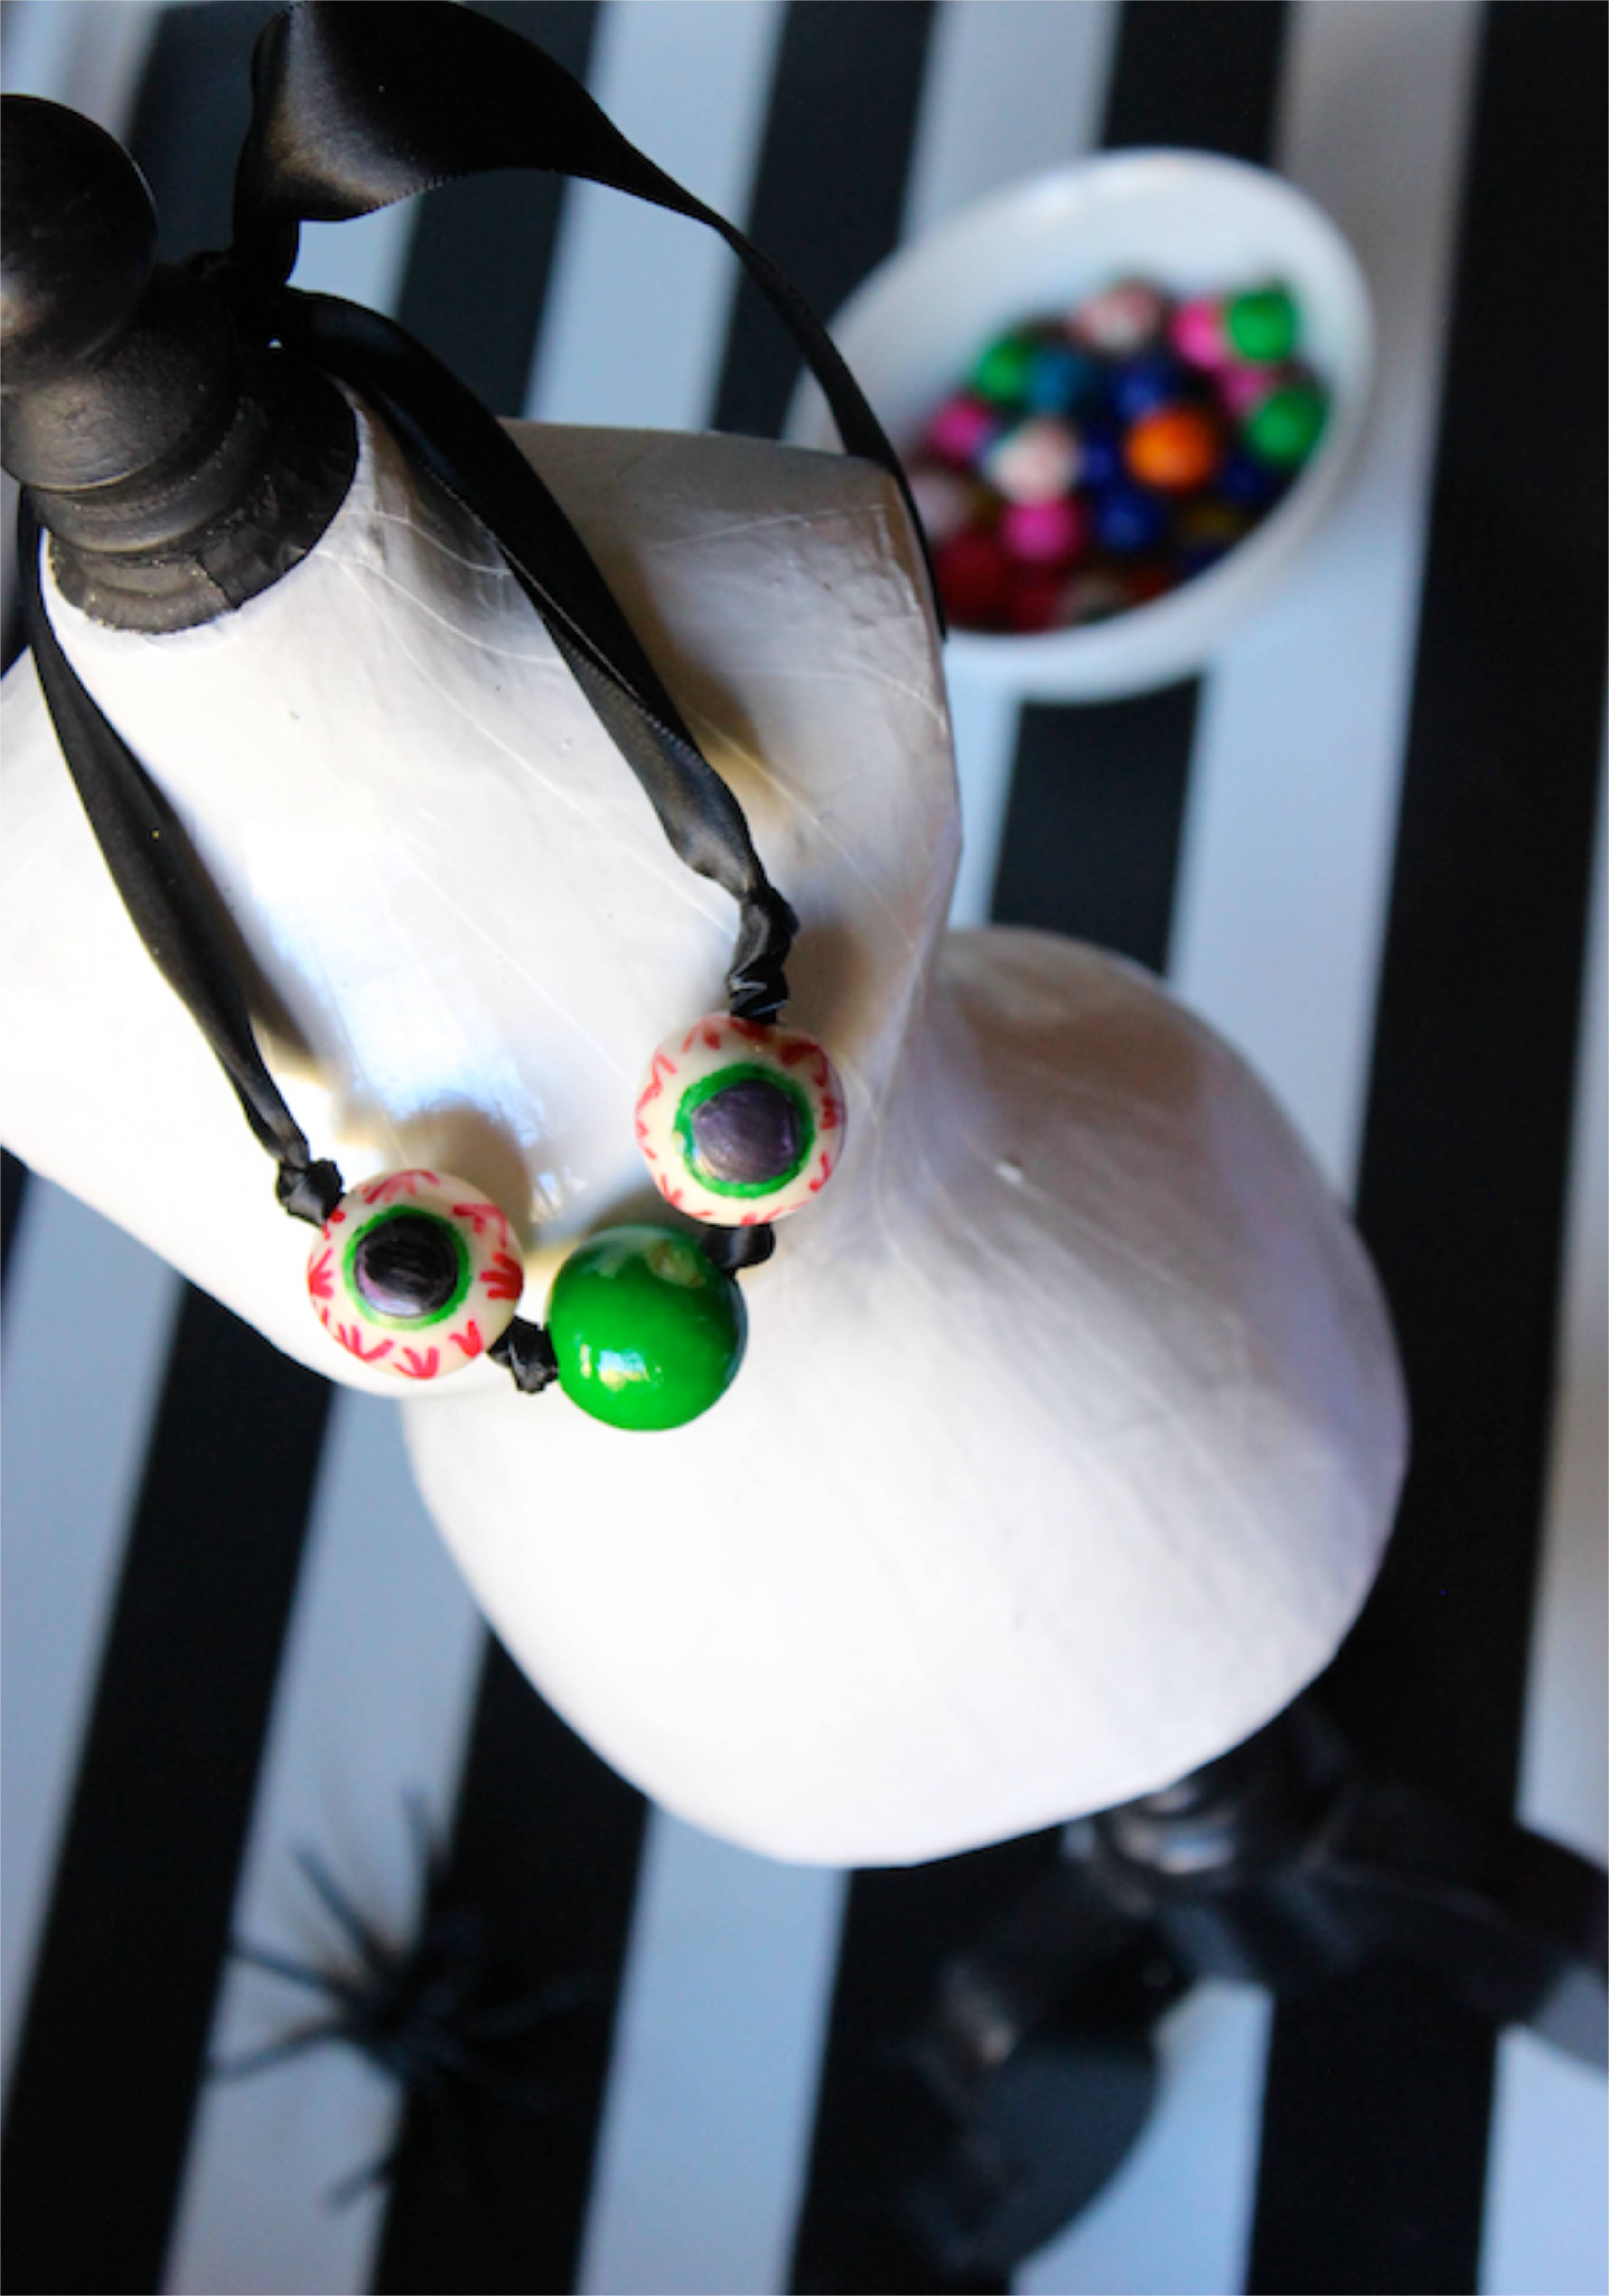
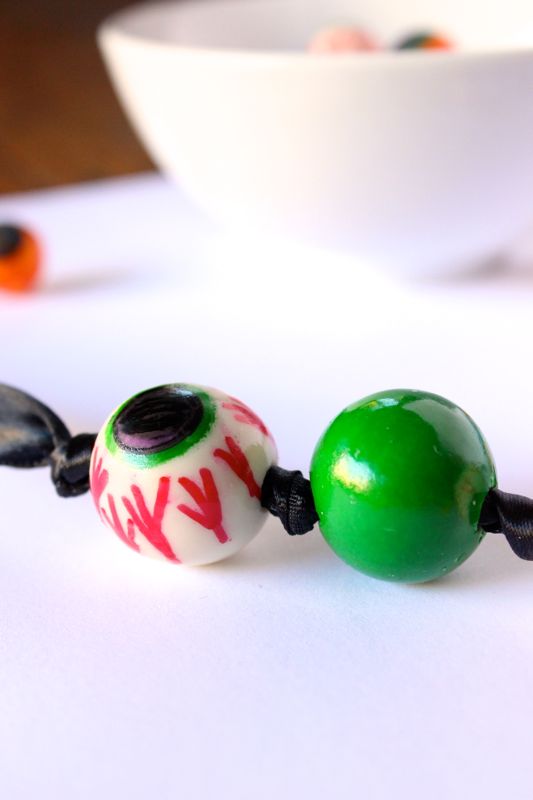
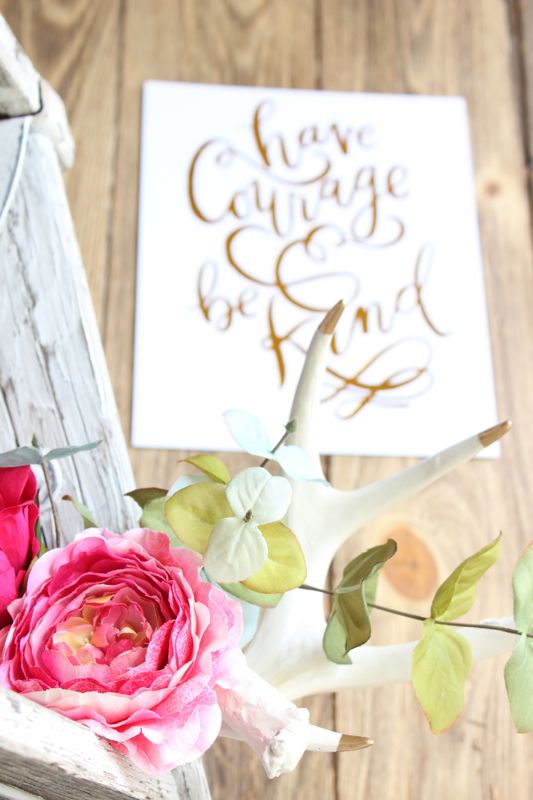
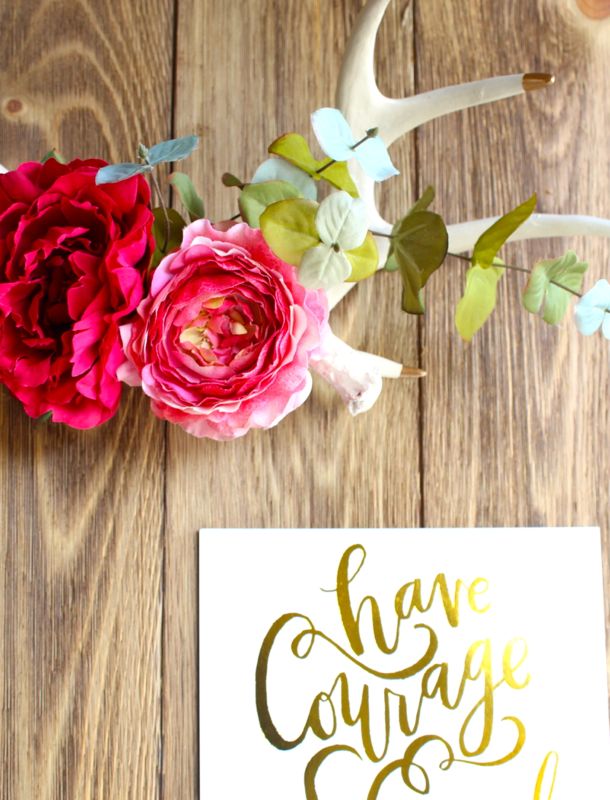
Right now, the DIY floral antlers are sitting pretty on Gabriella’s new desk, but they will be put to good use as a DIY floral antlers necklace display, or decor on the wall.

diy-antler-display-white-gold-pink-flowers

diy-antler-display-white-gold-pink-flowers-ladder-have-courage-and-be-kind

Cheers to re-purposing…and, of course living your best life.

Beautiful words of advice by Cinderella so thoughtfully designed by HelloTosha.


Gluten Free Chocolate Trifle Dessert

football-pennant-orange-bow-chocolate-trifle-dessert

Most days, we feel like we spend all day in the kitchen.

Wake up. Cook breakfast. Pack lunches. Clean up. Snack time. Lunch time. Clean up. Another Snack time. Cook dinner. Clean up.

Seriously, the amount of dishes we wash at times seems endless. We love to cook and bake for our families, but sometimes a lady just needs a break.

A break doesn’t have to mean a sacrifice in a really yummy, chocolate dessert. We made a gluten-free chocolate trifle and it was g-double-o-d, good. Our DIY football pennants added a touch of cute to the taste of chocolate-y yum! These would make for a delicious dessert at your next football tailgate or party! Plus everyone loves dessert in a jar.

football-pennant-orange-bow-chocolate-trifle-dessert

Gluten-Free, No Bake Chocolate Trifle

Ingredients

  • Udi’s Dark Chocolate Brownie Bites broken into pieces {if you want to bake a little, you can make a whole pan with the Namaste mix}
  • Whipping Cream, homemade or the store-bought kind will work
  • Chocolate pudding, KozyShack

All you have to do is layer in this order, brownie, pudding, whipped cream and repeat. No baking necessary. Then, the best part…devour. Even the non-gf people will ask for more!

football-pennant-orange-bow-chocolate-trifle-dessert

football-pennant-orange-bow-chocolate-trifle-dessert


DIY Eyeball Gumball Necklace

gumball-eye-halloween-spider-diy-necklace

We can’t think of any other time a DIY eyeball gumball necklace is more appropriate than Halloween. It’s so easy, cute and slightly spooky – so it’s a must-make DIY edible necklace this Halloween. After the festivities are over {or during all the BOO-rific fun}, you can chew and blow all the bubbles you want with the DIY eyeball gumballs because they are made with edible pens! We’ve officially named the necklace, I’ve Got My Eye on You!

gumball-eye-halloween-spider-diy-necklace-black-white-green-eyeball


You’ll Need:

  • Gumballs {larger size for the necklace and smaller size is fine for a bowl full of eyes or party bag favors}
  • Edible pens {like Americolor}
  • Ribbon

Directions:

  • It’s as easy as drawing circles, coloring them in and drawing crooked lines. You got this!

gumball-eye-halloween-spider-diy-necklace-red-orange-yellow-green

gumball-eye-halloween-spider-diy-necklace-red-green-eyeball

gumball-eye-halloween-spider-diy-necklace-black-white-green-eyeball

  • For the necklace part, drill the gumball so there is a small hole on each side. Draw your eyeball. Use a long toothpick to insert ribbon through the gumball. Pull the ribbon through to the spot you want to gumball to be on the necklace, tie a knot on each side of the gumball, then add another gumball.

gumball-eye-halloween-spider-diy-necklace-black-white-green-eyeball

Happy {early} Halloween!

DIY Marshmallow Roasting Stick for S’mores by the Fire

diy-marshmallow-roasting-stick-black-and-white-s'more-chocolate-graham-cracker-diy-smore-stick

We made DIY marshmallow roasting sticks with the kiddos, and then decided to pick up a paintbrush ourselves to make some of our own DIY s’more sticks. Can’t go wrong with a classic black and white s’more stick, right?

You’ll Need:

  • Metal Skewers
  • Wood dowel rods, at least ¾” thick
  • Drill
  • Hot glue
  • Paint
  • Styrofoam

Directions:

  • Step 1: Cut the dowel in half, or in thirds, depending on the length of the stick you want. You may also have to cut the end of the metal skewers with Tin Snips if you can only find the skewers with the loops at the end.

diy-marshmallow-roasting-sticks-wood-rods

  • Step 2: Drill a hole on one end, in the center of the dowel. Make sure the hole is large enough to fit your metal skewer.

wooden-dowel-rod-drill-diy-project

  • Step 3: Press the hot glue gun into the hole and fill the hole with the hot glue until it fills to the top, then quickly press the skewer into the hole. Promptly wipe away any excess glue.

wooden-dowel-rods-metal-skewer-diy-project

  • Step 4: Insert the skewer face down into a piece of Styrofoam, and start to paint!

white-paint-wood-dowel-metal-skewer-diy-project

black-white-diy-marshmallow-skewer-smore-diy-roasting-stick

black-and-white-diy-marshmallow-skewer-smore-project

  • Step 5: Enjoy and indulge!

diy-marshmallow-roasting-stick-black-and-white-diy-smore-stick

diy-marshmallow-roasting-stick-black-and-white-s'more-chocolate-graham-cracker-diy-s'more-stick

DIY Clay Marbled Leaf-Shaped Ring Bowls

red-yellow-green-clay-marbled-leaf-ring-bowls-fall-diy

The OCD in us cringes when our kids combine different colors of play dough into one large ball. It’s an internal battle. So, instead of fighting the battle to keep the yellow with the yellow, the green with the green and the orange with the orange, we are going to combine fall-toned oven bake clay together, for a fall marbled effect project. So, they can mix and combine the clay to their hearts and hands content. They loved it…and these mama’s were happy, too.

red-yellow-green-clay-marbled-leaf-ring-bowls-fall-diy

DIY Clay Marbled Leaf Ring Bowls

Materials:

  • Oven Bake Clay, white, red, yellow and green {for this project we stuck with fall colors}
  • Leaf cut outs
  • X-acto knife
  • Rolling pin
  • Mini, oven-safe bowls

Directions:

Break the oven bake clay into small  pieces. They need to be about the size of a cherry tomato, or a bit larger. Then, roll each color out into long ‘worms’

red-yellow-green-clay-marbled-leaf-ring-bowls-fall-diy

Starting with two, twist the colors together. Then, one by one, add another ‘worm’ to the twist until all colors are twisted together. Pull the colorful twist tighter, elongating it gently as you twist and pull.

red-yellow-green-clay-marbled-leaf-ring-bowls-fall-diy

Fold the long, twisted strand in half. Roll it into a ball, then as we so non-eloquently told our kids, squish, then squish from another angle, and squish the ball a couple more times to mix the colors. Be sure not to over mix or everything will start to appear brown.

red-yellow-green-clay-marbled-leaf-ring-bowls-fall-diy

On wax paper, press the ball flat like a pancake, then with a rolling pin, roll it out into a nice circle.

red-yellow-green-clay-marbled-leaf-ring-bowls-fall-diy

Place the leaf cut out on top, and with the X-acto knife, cut around the edges.

Ired-yellow-green-clay-marbled-leaf-ring-bowls-fall-diy

red-yellow-green-clay-marbled-leaf-ring-bowls-fall-diy

Gently press the leaf into a small oven-safe bowl so it, too, can take the shape of a bowl in the oven. Make sure to use a shallow bowl, so the leaf retains the shape of a leaf.

red-yellow-green-clay-marbled-leaf-ring-bowls-fall-diy

Bake according to package directions.

red-yellow-green-clay-marbled-leaf-ring-bowls-fall-diy

Glaze {optional} the DIY marbled leaf-shaped bowls and set out for fall decor.

red-yellow-green-clay-marbled-leaf-ring-bowls-fall-diy