Day 12: How to Make a DIY No-Sew Felt Crown

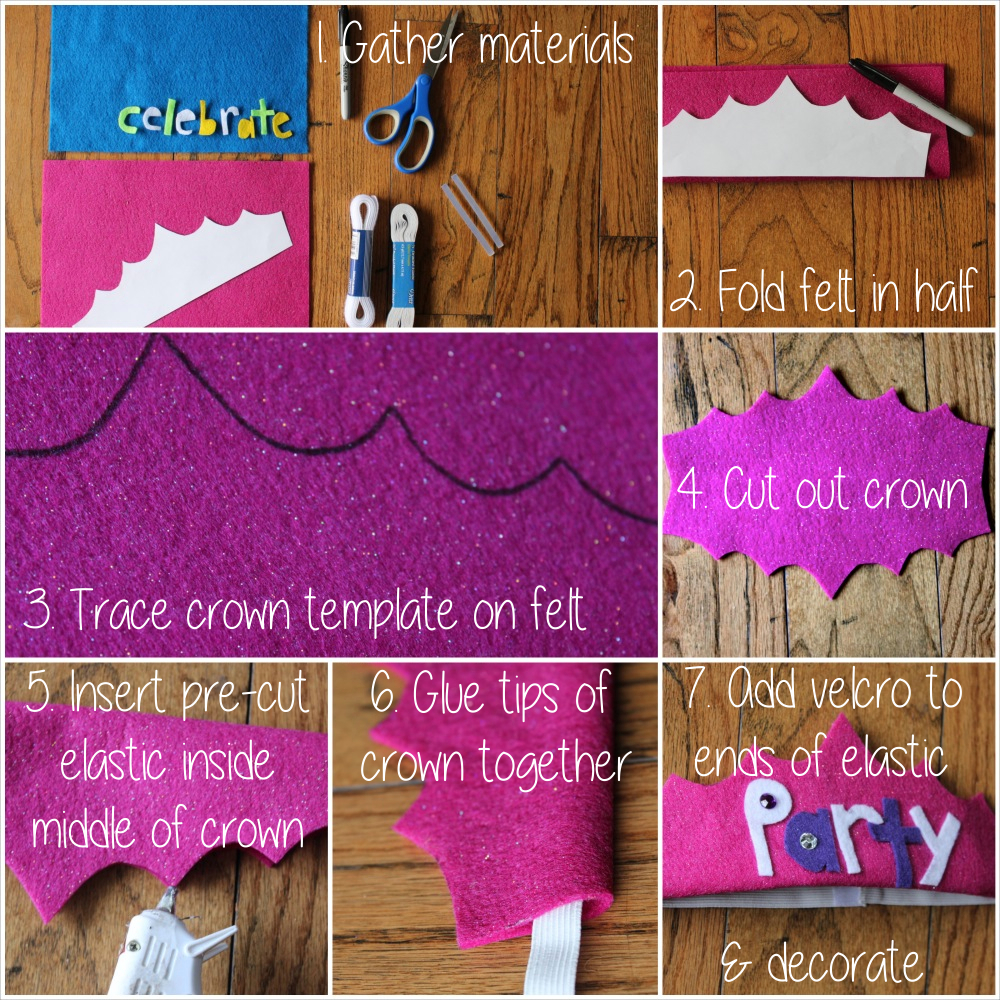
NYE no sew felt crowns

On the 12th day of Christmas, j. sorelle gave to you…DIY no-sew felt crowns for New Year’s Eve.

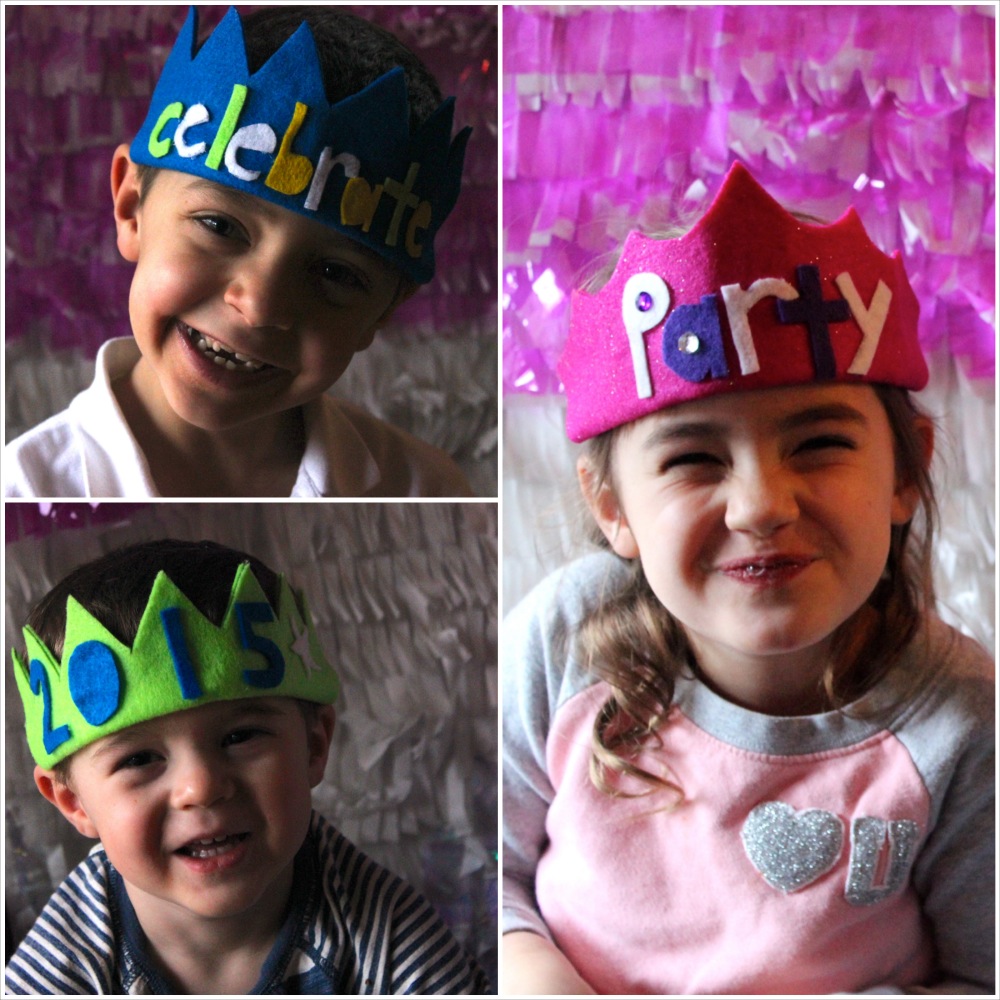
Our children love creative play, and Jessica’s daughter LOVES to wear crowns. And, we have NO idea how to sew. So, for our Dec. 31 New Year’s Eve celebration, we made no-sew felt crowns for the kids to wear until midnight {or their 9 o’clock midnight celebration}.

It’s an activity and party favor all in one, and it can be duplicated for future birthday parties.

how to make a no sew felt crown

No Sew Felt Crown Tips:

  • You can find the templates for the crowns here. Our inspiration came from Scattered Thoughts of a Crafty Mom and she has a template too.
  • We used a Sharpie to free-hand bubble letters and numbers on felt {CELEBRATE, PARTY and 2015}, then we cut them out with scissors, and used a hot glue gun to glue them to the hats.
  • We learned the hard way that it’s best to measure your child’s head and place the pre-cut elastic in the middle of the crown before gluing the tips of the crown together. It’s easier than inserting it once the tips of the crown are glued together.
  • Hot glue pieces of velcro to each end of the elastic, so the crown is easily removable.

{images via j. sorelle}
Day 11: Custom Lip Balm Label Favor

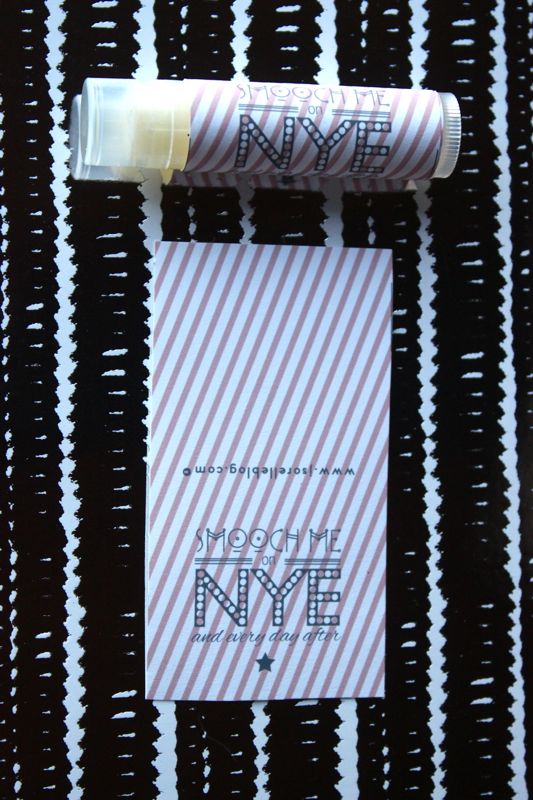
smooch me on NYE

On the 11th day of Christmas, j. sorelle gave to you…Smooch Me on NYE and Every Day After lip balm labels.

We know, how can we possibly talk about New Year’s Eve when we are totally overwhelmed with Christmas just one week away? Because one can never be too prepared with small details for a holiday…especially when it comes to kissing.

Whether you are hoping and praying for that perfect, magical NYE kiss, or you plan to snooze your way through the new year and dream about the year ahead, make sure your lips feel soft and smooth with custom Smooch Me on NYE and Every Day After lip balm labels.

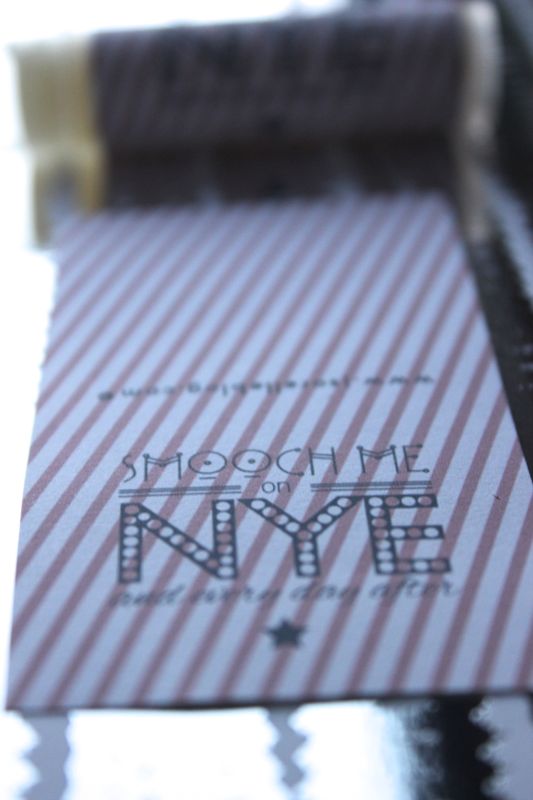
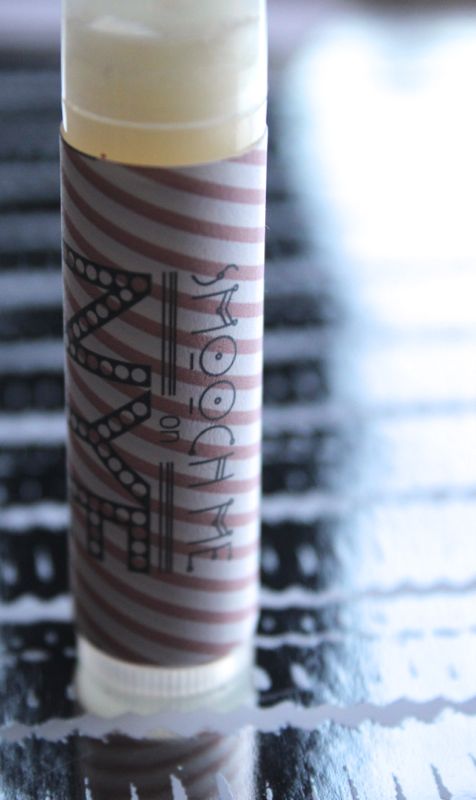
New Years Eve lip balm labels


Get the labels here, download instantly, print on white sticker paper, cut and wrap around lip balm. The label fits most shape and size lip balms.

These make a perfect NYE party favor too!

We hope you make a little midnight magic this NYE with soft, touchable lips.

If you want custom labels with different colors or custom text, reach out to Jenna. Labels made by Fleur de Lis.

xoxo

lip balm New Years Eve custom labels

New Years Eve lip balm party favors

{images via j. sorelle}

Day 9: DIY Clipboard and Calendar Gift Idea

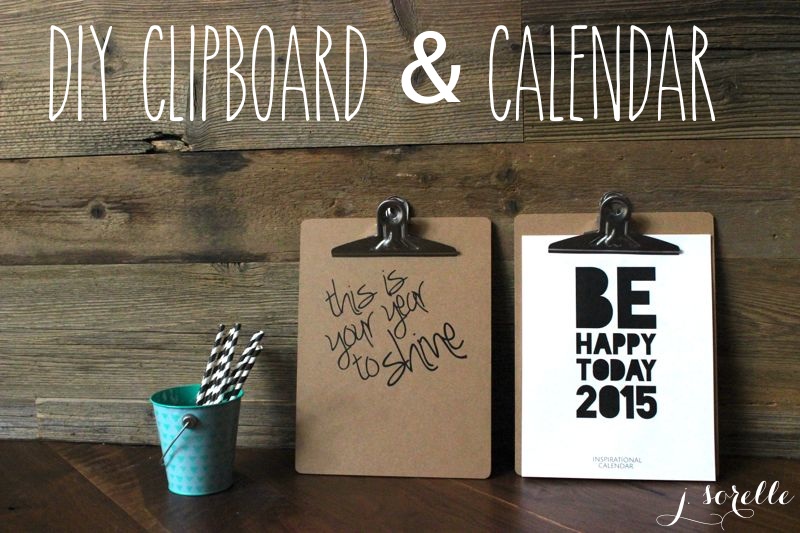
diy clipboard and calendar

On the 9th day of Christmas, j. sorelle gave to you…DIY Clipboard and Calendar Gift Idea.

We love words of wisdom and quotes that strike a chord with us. And, when we’re having one of those days or weeks, or months, quotes can have a positive impact, and serve as a reminder to slow down, smile and enjoy the little things.

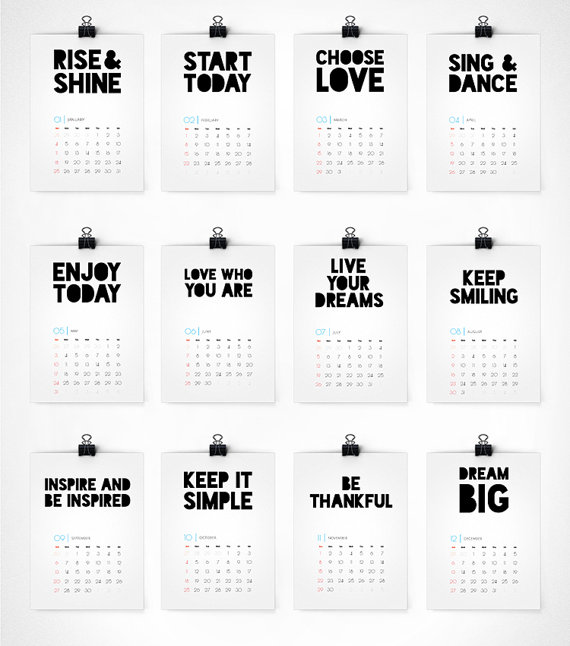
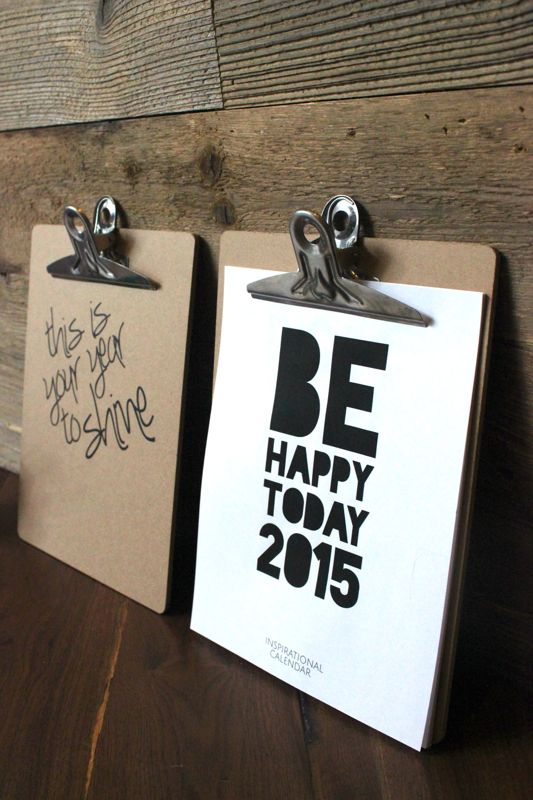
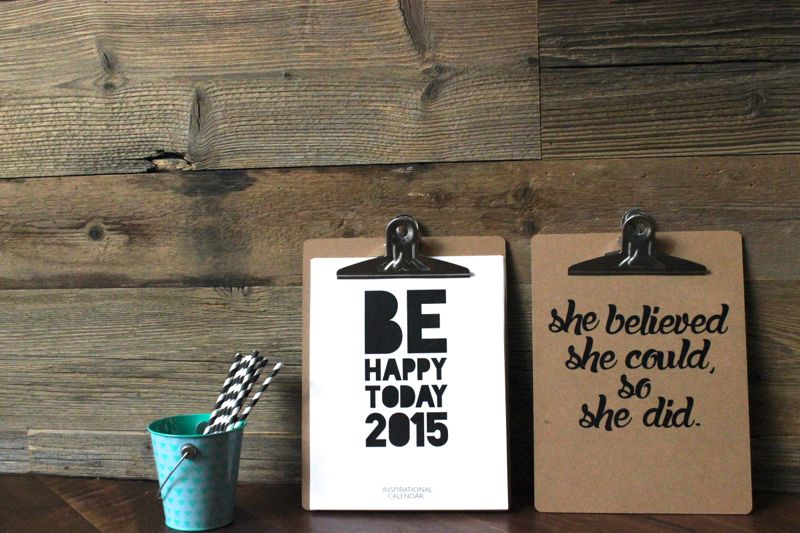
A calendar with simple, happy words is a wonderful daily reminder to stay positive. And, since the new year is just around the corner, and its gift-giving season, we want to share all those good vibes with our friends. This year, we’re giving our friends a DIY Clipboard, along with one of our new favorite calendars by etsy store ColourMoon. Anya made a beautiful, chic and simple 2015 calendar with great reminders each month. The calendar is just $10 and it’s an instant download. Just buy and print.

Here’s a look at the entire calendar, which you can buy here. Anya is offering j. sorelle readers 10% off their order with code Colour10. Thanks, Anya!

colour moon 2015 calendar

image via Colour Moon

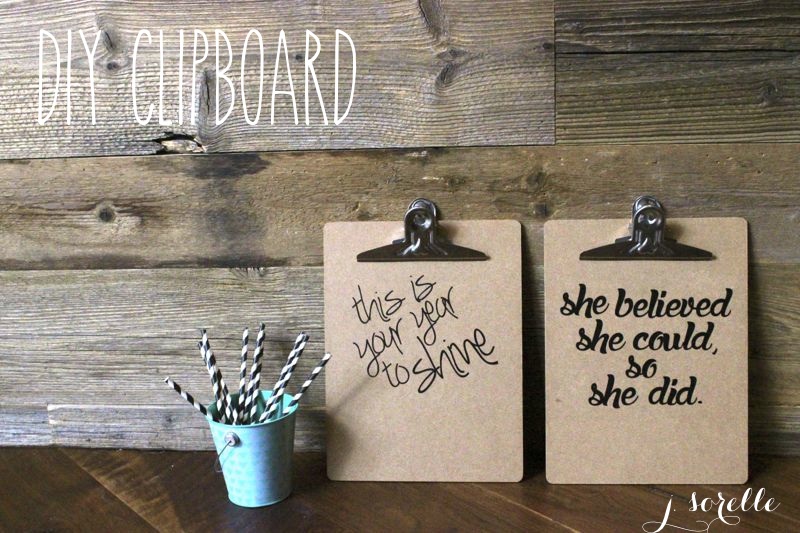
Here’s how you create the DIY Clipboard.

diy clipboard gift

You’ll Need:

  • Black Vinyl
  • Silhouette cutting tool {today is the last day for the great Black Friday sale going on now. Use code SORELLE for the amazing discount…see here for details}
  • Clipboard {you can buy from Office Depot, Target {we found it in the $1 and $3 section} or Wal-Mart
  • Silhouette Vinyl Transfer Paper {lint roller refill is a good alternative if you don’t have the vinyl transfer paper}

How To:

  1. Design your quote or art using the Silhouette Software.
  2. Place your Vinyl on the cutting mat, click print and watch the tool work its magic.
  3. Peel away the vinyl you’re not using.
  4. Place the transfer paper over the art or quote and use a straight edge {credit card, etc} across the image to make sure the vinyl sticks to the transfer paper. Pull the paper up and your image should be stuck to the paper.
  5. Place the image on the item you want it on. You will need a credit card or a straight edge to smooth our all bubbles.
  6. Peel away the transfer paper slowly and your vinyl should stick to the item. Note: I did have trouble with some of the thin words sticking to the clipboard, so I had to pull the transfer paper very slowly so the letters didn’t rip, and if they ‘came up’ with the paper, I gently pushed back down. 

diy clipboard and calendar gift

diy clipboard and calendar gift

diy clipboard and calendar gift

{images via j. sorelle}

Day 6: Your Cocktail’s Best Accessory, a DIY Drink Stirrer

diy drink stirrer_holiday cocktail

On the 6th day of Christmas, j. sorelle gave to you…a DIY drink stirrer.

We accessorize our outfit for holiday parties…so why not accessorize our cocktails too? This year our drinks will be a bit more festive – cheers to that!

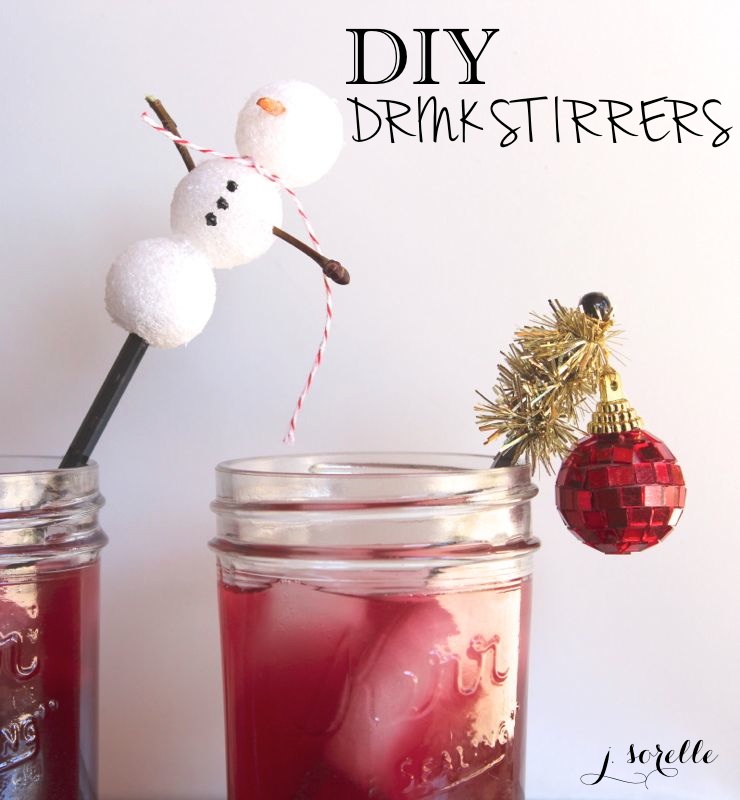
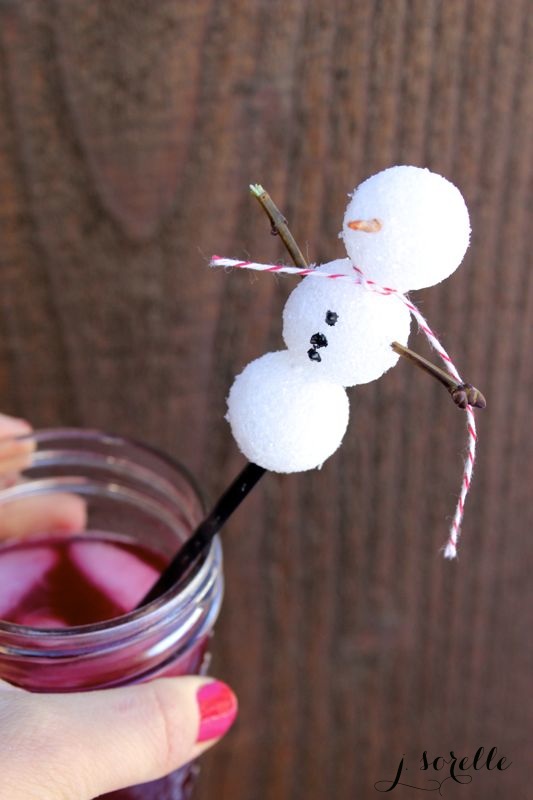
snowman drink stirrer

Snowman Drink Stirrer

You’ll Need
:

  • 3 mini styrofoam balls
  • Hot glue gun
  • Shredded carrot sticks
  • Black puff paint
  • Drink stirrer
  • Red and white striped twine
  • Mini branches

How To:


  1. Glue the 3 styrofoam balls together.
  2. Push the carrot in the face for the nose.
  3. Add three buttons with the puff paint on the middle ball or ‘belly’ of the snowman.
  4. Tie a small piece of twine around the ‘neck’ of the snowman so he/she has a scarf.
  5. Add a mini branch to each side of the snowman so he/she has arms.
  6. Push the top of the drink stirrer into the bottom ball.

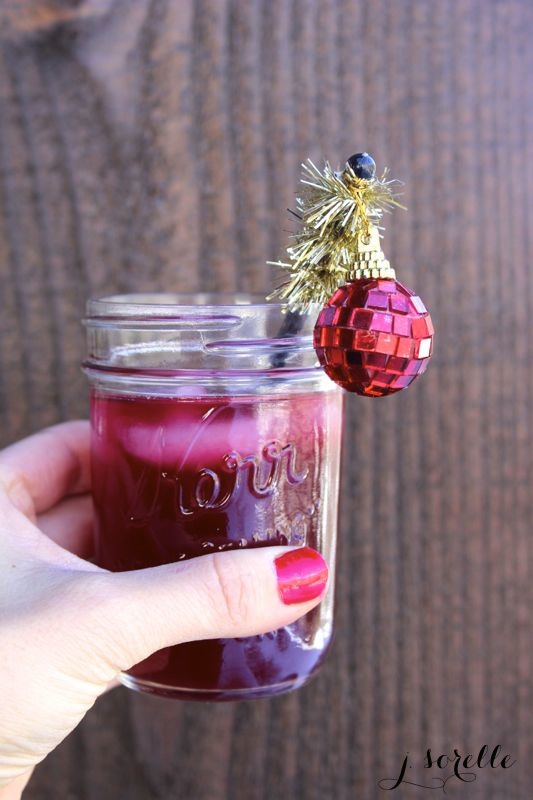
tinsel and ornament drink stirrer

Tinsel and Ornament Drink Stirrer

You’ll Need:

  • Mini ornament from your local Target or Walmart
  • Tinsel
  • Drink stirrer
  • Hot glue gun

How To:

  1. Wrap a small piece of tinsel around the top of the drink stirrer. Add a dab of hot glue to the end tip of the tinsel to keep it in place.
  2. Wrap the string attached to the mini ornament around the top of the drink stirrer and add a dab of glue to keep it in place, too.

Now that you have two adorable drink stirrers to make, you just need a cocktail to fill your cup. Stay tuned because we have a yummy and festive drink recipe we can’t wait to share.

{images via j. sorelle}
Day 4: Mint Hot Chocolate Homemade Hostess Gift

mint hot chocolate for the hostess

On the 4th day of Christmas, j. sorelle gave to you…a potted mint homemade hostess gift.

We love the refreshing taste of mint with our water and cocktails in the summer, so why not incorporate it in our favorite warm drinks in the winter, like hot chocolate? The idea of sipping a mint hot chocolate warms us up, and it will warm up the host/hostess too with the potted mint plant hostess gift we shared with Momtastic.

It’s minty fresh, y’all. Check it out.

{image via j. sorelle}