diy halloween

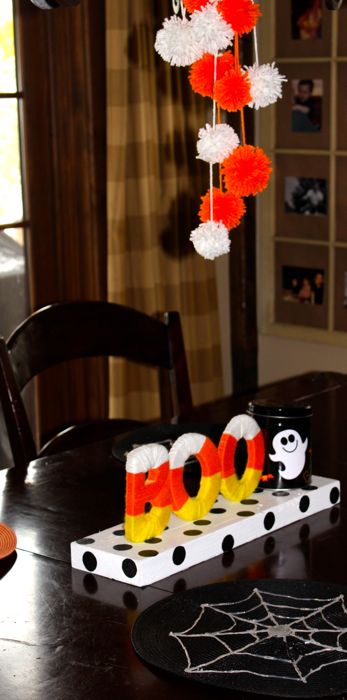
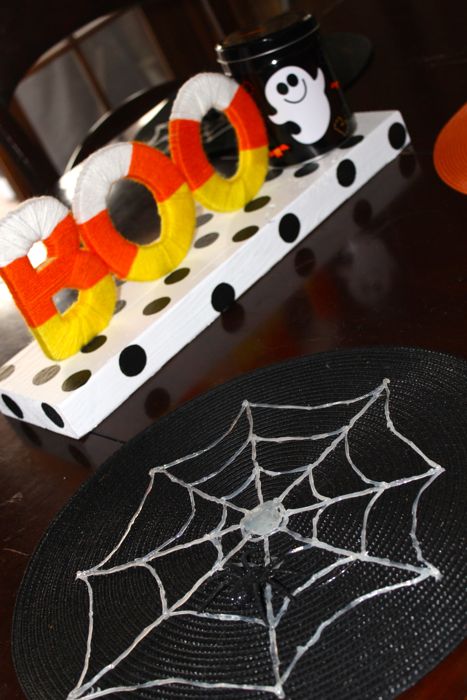
In addition to the DIY hot glue gun spider webs, I wanted to add a little Halloween touch to our table. I like the colors of the original candy corn, but can’t stand the taste, so with a little yarn, paint and some diy tips, this simple Halloween table came to life in an afternoon, without having to eat a single candy corn.

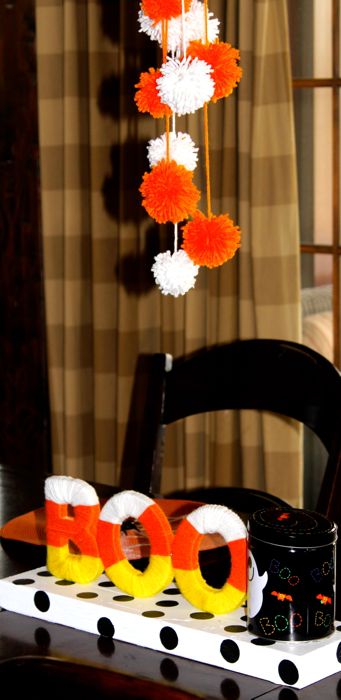
I found the best way to make yarn pom poms was to follow Creature Comforts video tutorial. She explains it so well, and you will be addicted! Very easy and cute! I used yarn to tie them to one another to make a ‘yarn chandelier’.

As far as the BOO treat station, as we call it, I bought wood letters from Hobby Lobby, and wrapped them in yellow, orange and white yarn {inspired by the candy corn}. I didn’t follow a tutorial, just did it as I went along, but My Sister’s Suitcase has a similar approach to the one I took, and they provide a great tutorial. I took a piece of raw wood from the garage, painted it white, and used a circle-shaped brush to add black polka dots to it. Once dry, I used a hot glue gun to glue the letters and candy container in place. It was simple, and the kids love it…as it’s their favorite spot to stop at the end of the day for a treat.

{images via Tutto Bella}
spun in a web of…

glue!

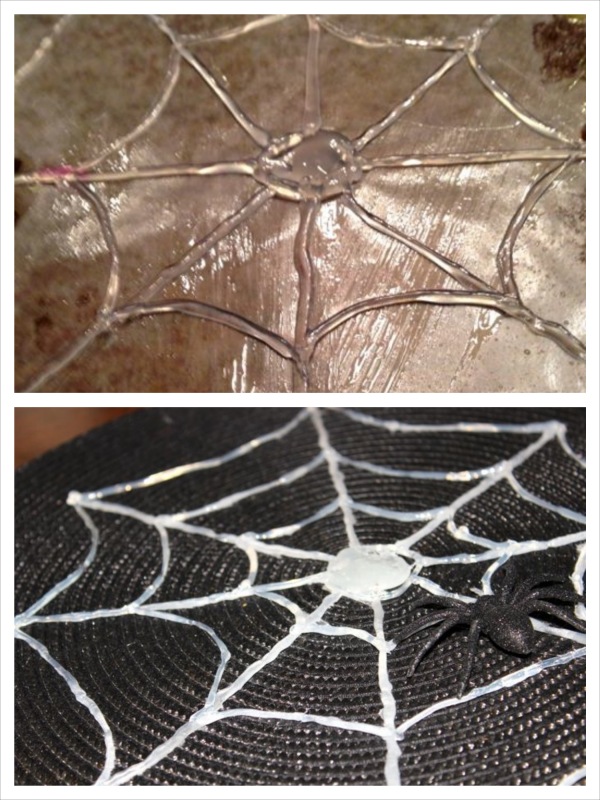
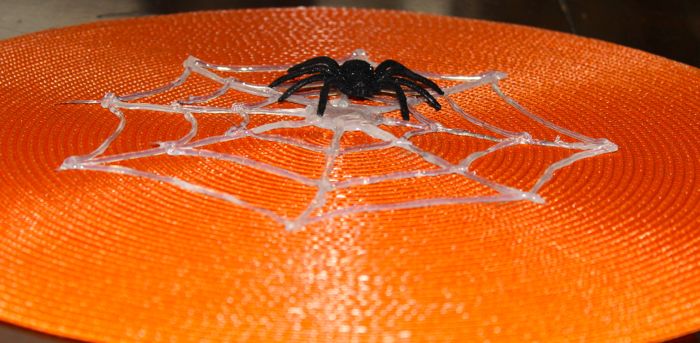
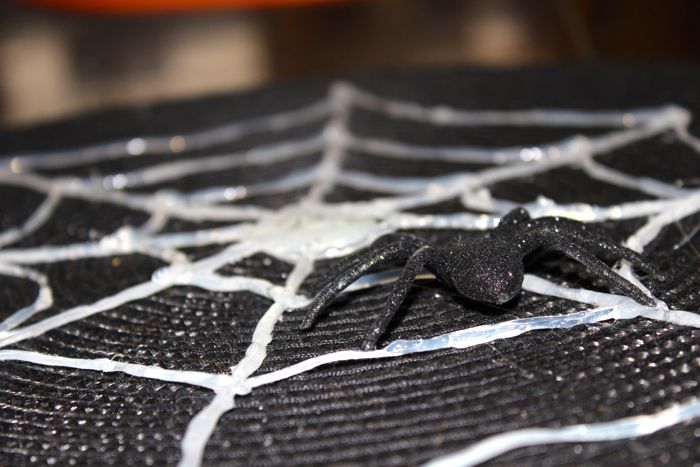
Looking for a super-duper easy and cute Halloween DIY? Look no further. Spin your own spider web’s this Halloween…using a hot glue gun. I used my webs as an accessory for a festive table setting, but these can be hung or displayed in so many ways.

All You Need:
Hot Glue Gun and Glue Sticks
Wax paper
Olive Oil {an oil spray may work too}

How To:
Cut the wax paper into a square, or the shape/size you want your spider web to be.
Spray, paint, or rub the olive oil onto the wax paper with your fingers. I found that the olive oil helped the glue not to stick when I pulled it from the paper.
Use your hot glue gun and design. I free-handed the webs {clearly}, but I suppose you could put a stencil/photo under the wax paper, and follow the lines.
Once your design is finished, gently pull the glue web from the wax paper. If it sticks in a few spots here and there, just gently pull the wax paper from the glue.

More images of my complete Halloween table setting, and other fun DIY projects to come this week.

{image via Tutto Bella}

ikea hacks

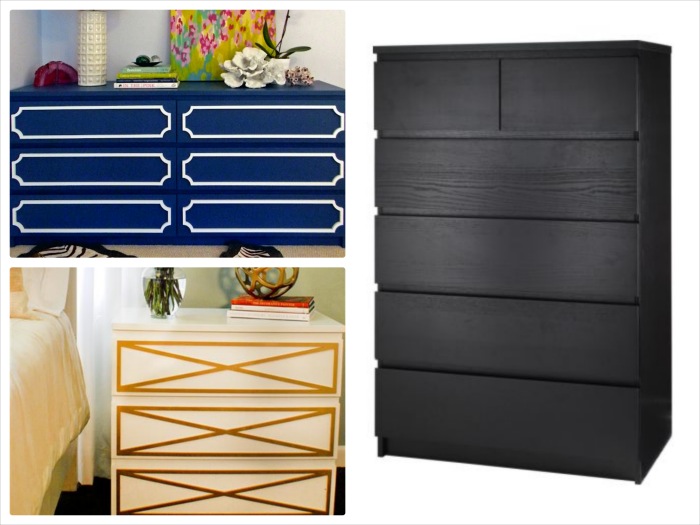
So, they are called Ikea Hacks. When a talented individual sees potential with a low-priced item from Ikea, they purchase, customize with a fabulous embellishment or full transformation with their DIY ideas – and that’s an Ikea Hack. Yes, there is even a site dedicated to Ikea Hacks – Ikea Hackers. Definitely check it out.

When I see some transformations – and I mean these are some transformations – from Ikea furniture, I am amazed, and blown away by people’s talent and creativity. I’m beyond impressed with the projects below that make the price tag for their furniture look high-end and unique.

The Ikea Malm Dresser {there are many variations and sizes} makes for a perfect blank slate and with O’verlays, the creativity is endless. Check out all the O’verlays here.
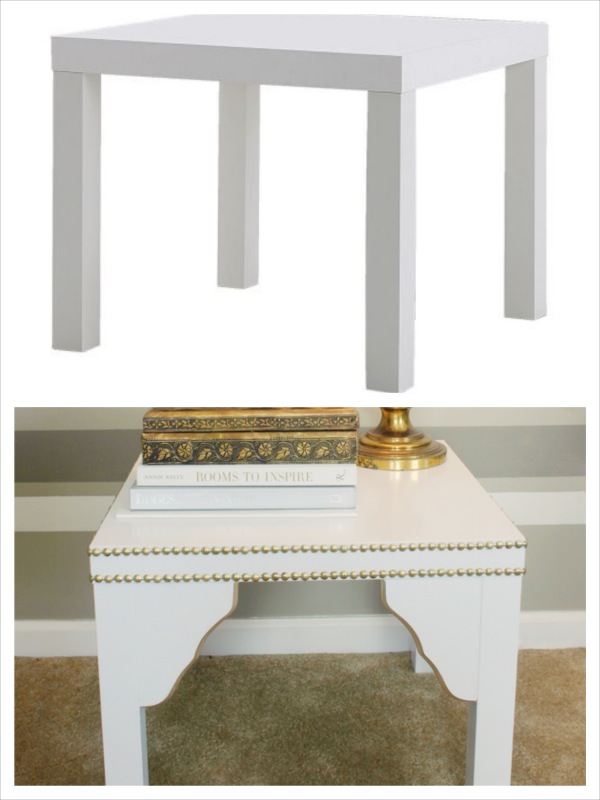
Ikea Lack Table
Lacquer and Linen made a beautiful transformation. For tutorial, visit here.

Little Green Notebook turned Ikea’s Vika Table into a glamorous white and gold workspace. Tutorial can be found at White and Gold Design.

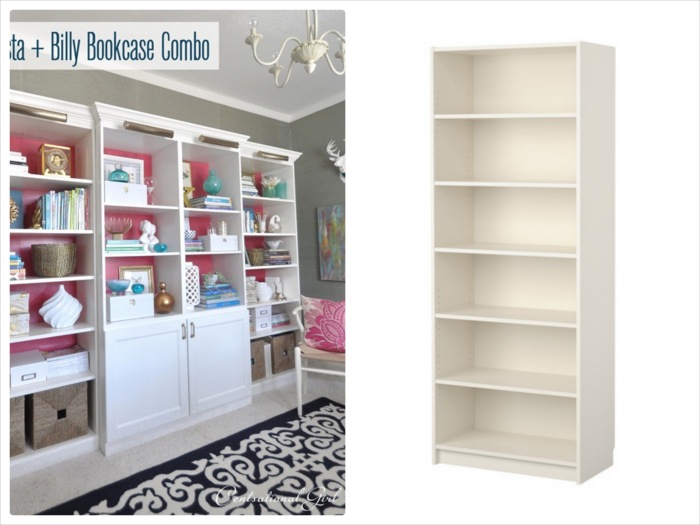
Centsational Girl always amazes me with her keen eye for home style and she totally impressed me with this upgrade of the Besta, Billy and Brass Bookcases from Ikea.

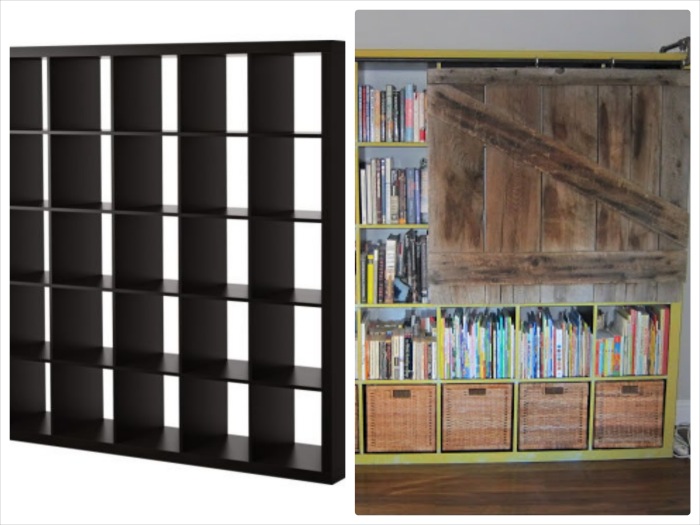
Ikea Hackers featured the Expedit Bookshelf in a unique and rustic way. Directions here.

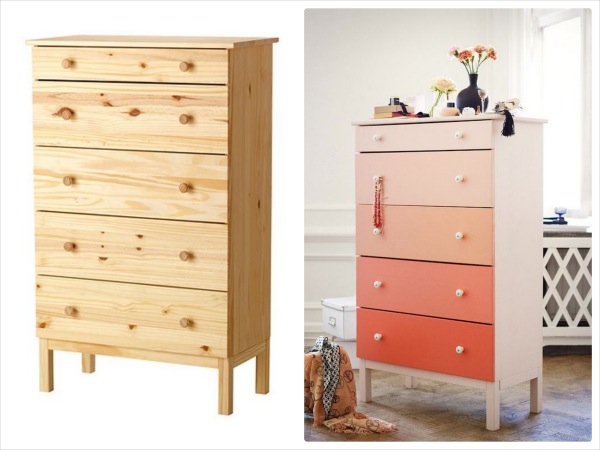
House and Home Ikea Tarva Dresser makeover is bright, colorful and we love the ombre effect.

{images via Laquer and Linen, Little Green Notebook, Ikea, Centsational Girl, Ikea Hackers, House and Home and O’verlays}

erin + andy

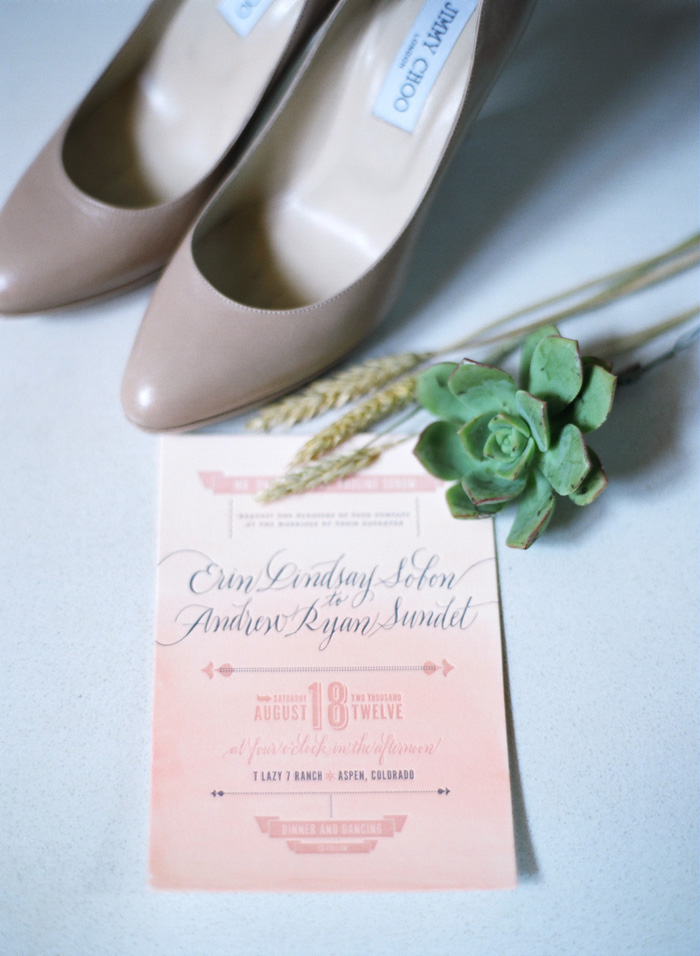
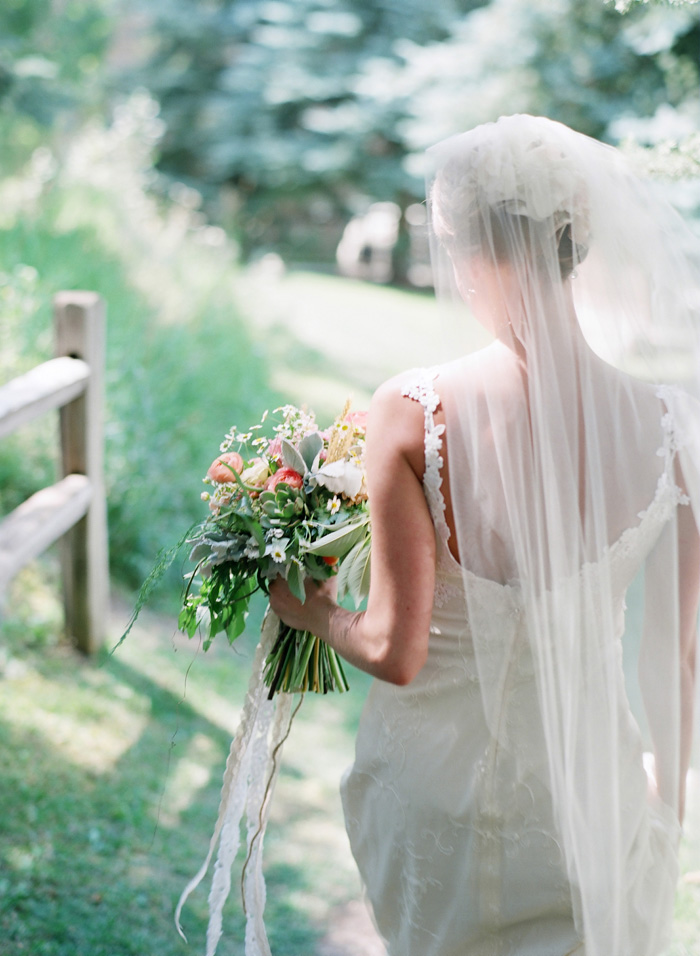
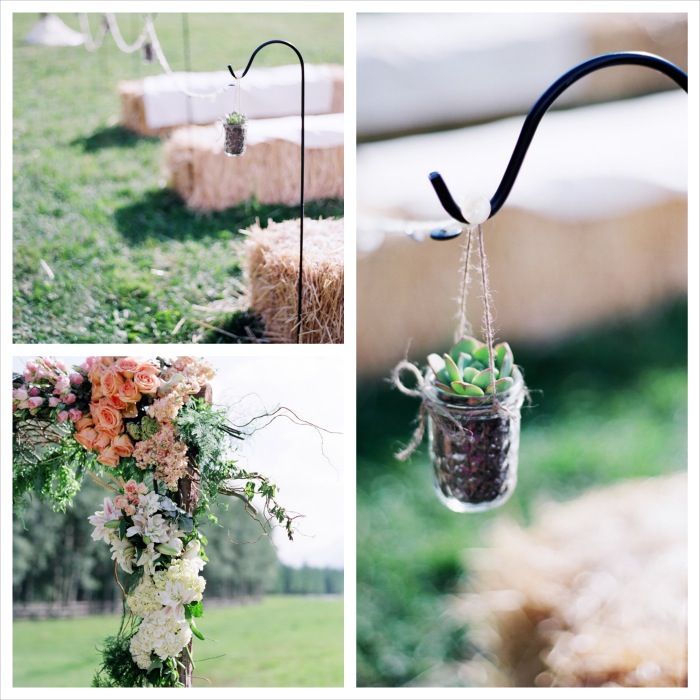
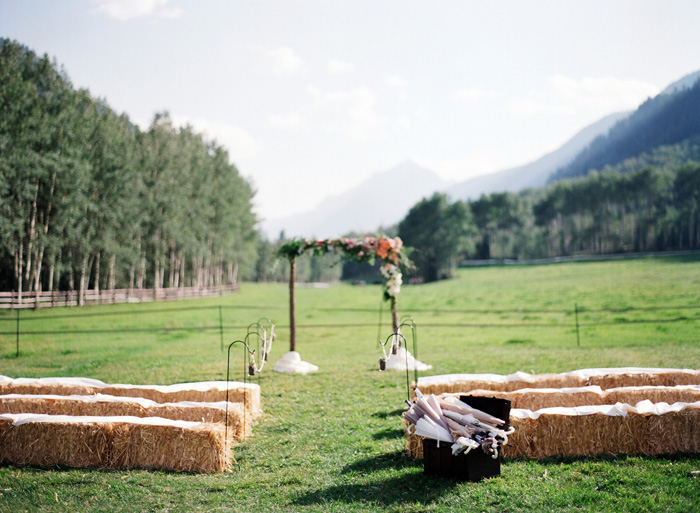
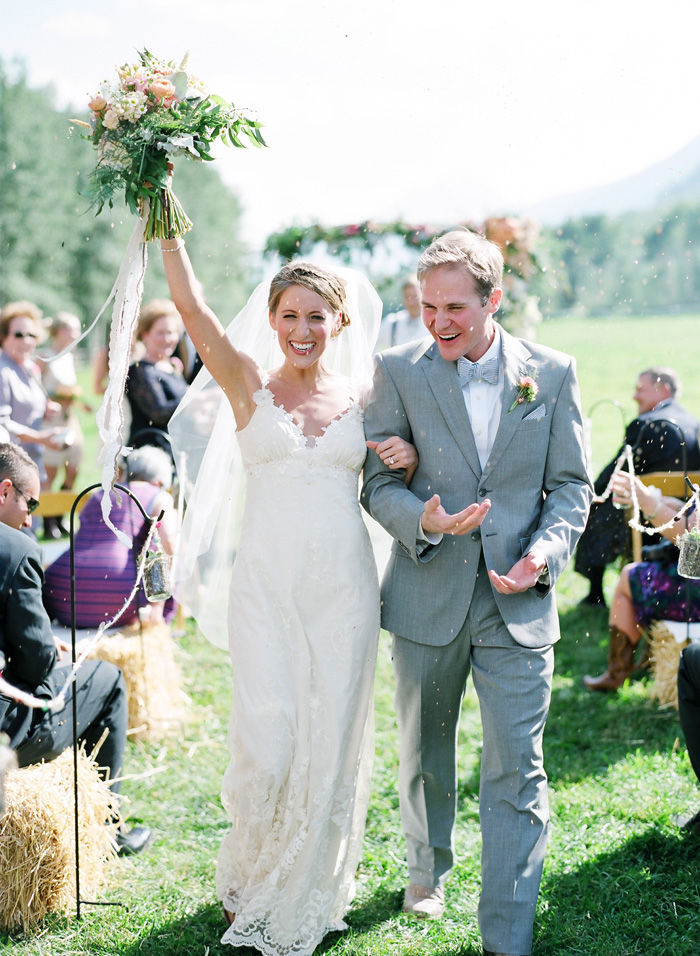
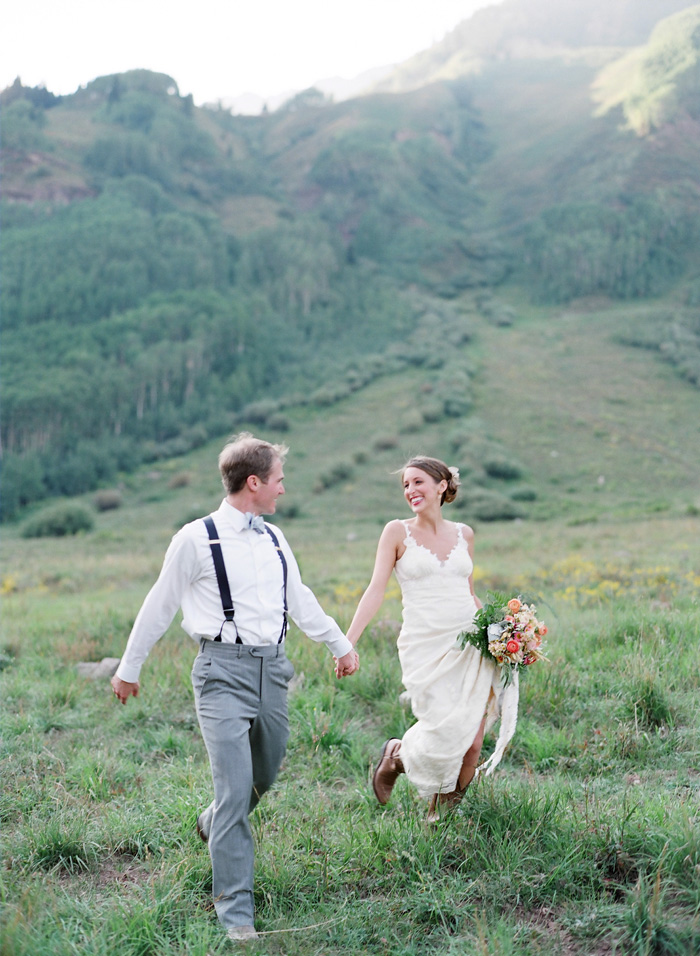
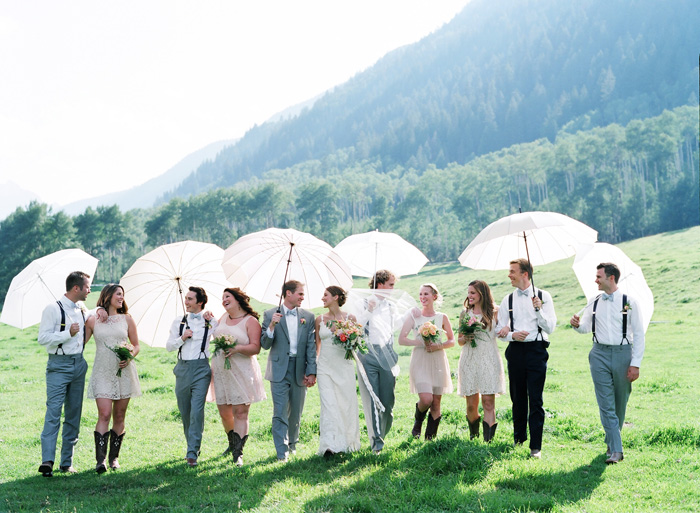
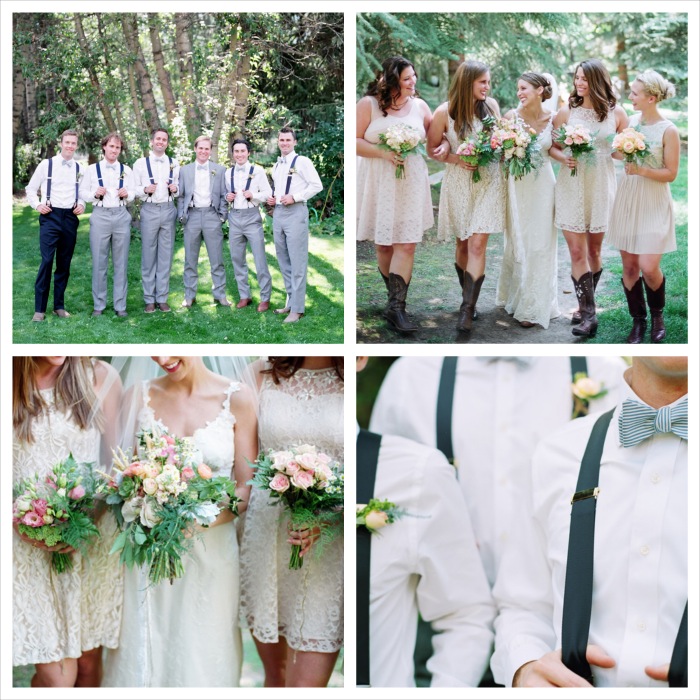
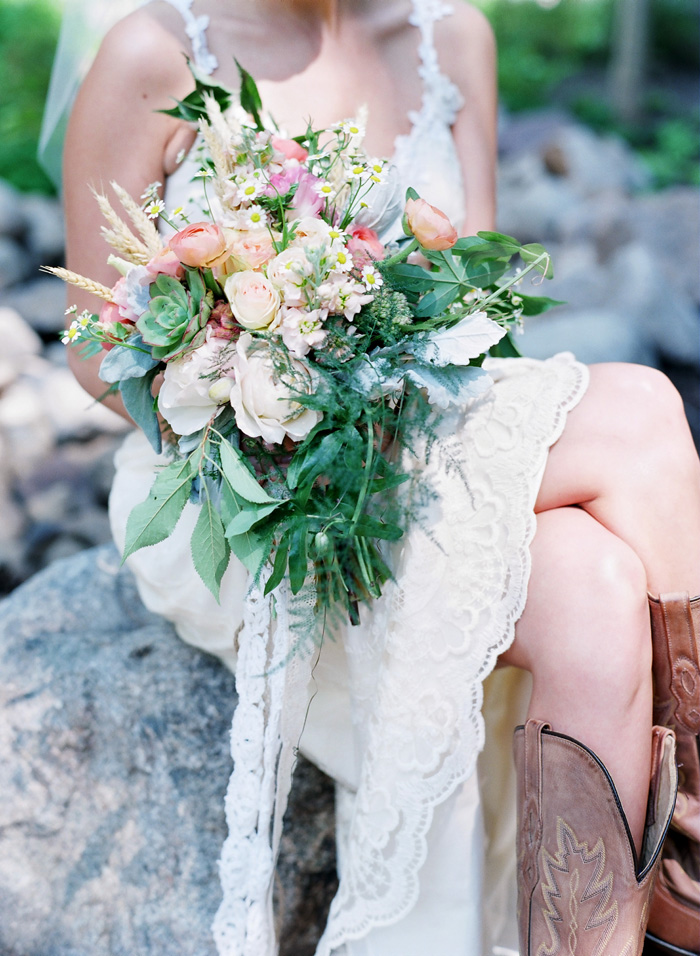
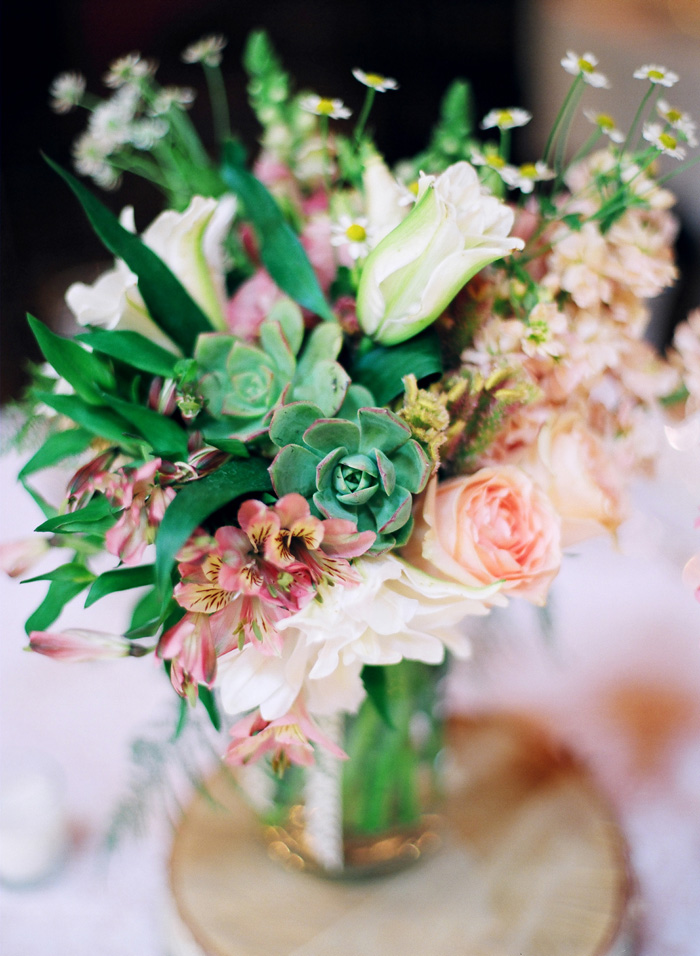
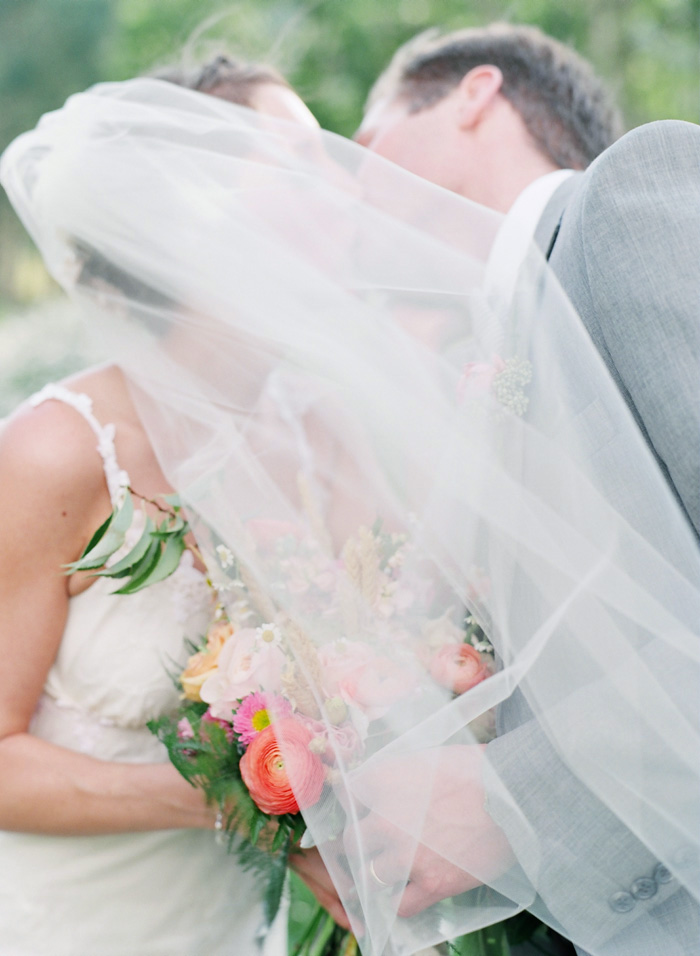
Laura Murray Photography, an incredibly talented photographer based in Colorado, played two big roles in this stunning wedding. Not only was she the bride’s sister and maid of honor, she was also one of the photographers {2nd photographer was talented Sara Hasstedt} responsible for capturing the beauty and emotion of the day. Job well done Laura. The setting is breathtaking, the details are lovely and the bride and groom radiate with pure joy. Thanks for sharing this charming mountain wedding with us Laura Murray.

VENDOR LOVE
Photography: Laura Murray Photography and Sara Hasstedt
Wedding Coordinator: pink champagne events
Floral Design: lauryl lane
Dress: Claire Pettibone ’Constance’ from little white dress
Bowties: Made by bride
Hairpiece: tessa kim
Makeup: nicole soukup
Hair: salon rua
Venue: t lazy 7 ranch, Aspen CO
Photobooth – magbooth
Umbrella Rentals: splendor for your guests
Catering: hickory house
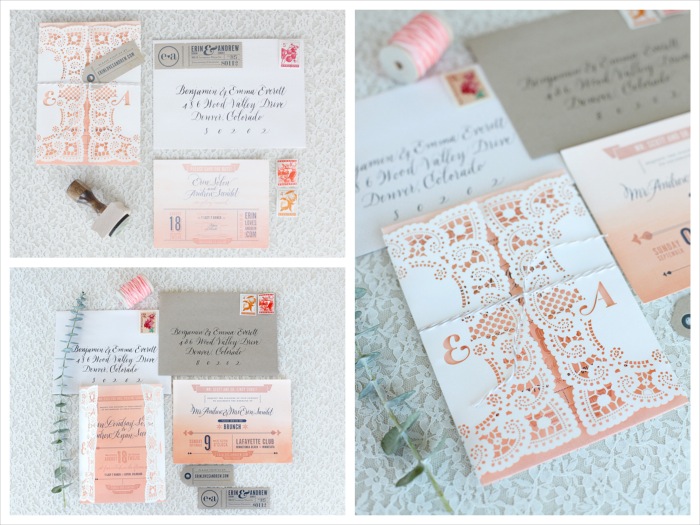
Invitations: flourish letterpress

fall inspired entry

As we get our homes ready for the changing weather, and we grieve the end of summer and try to embrace the chill of fall, we can go so many directions with fall decor. Warm, earth tones, shimmer and glam or rustic elements. Decisions. Decisions. Here’s some inspiration…tell us {e-mail, comment, facebook, etc}, what fall ‘look’ do you like best?

CHIC ENTRY


3 Wise Owls, Z Gallery {$19.95}
Gold Zag Tray, Etsy {$98}
Nate Berkus Multiple Taper Candleholder, Target {$19}
Nest Sphere, Z Gallerie {$9.95}
Parsons Console Table, West Elm {$350}
Between a Rock and a Lamp Base, Land of Nod {$79}
Clarissa Glass Drop Medium Round Chandelier, Pottery Barn {$399}
Nate Berkus Two Tone Mirror, Target {$34.99}

RUSTIC ENTRY

Jillian Totes Baskets, World Market {$24-$39} for under the table
Reclaimed Wood Console
, Hudson Goods {$695}
Birch Log Bundle, Shop Terrain {$22}
Love Nature Candle, Shop Terrain {$38}
Frame Chalkboard, How Does She {DIY tutorial here}
Sunset Quince Wreath, Shop Terrain {$98}
Rope Knot Table Lamp Base, Pottery Barn {$150}

{images via Shop Terrain, Hudson Goods, World Market, Pottery Barn, Jayson Home, Target, West Elm, Etsy via Up In The Air Somewhere, Land of Nod, How Does She}