Stay Gold DIY Pencil Pouch + Black Friday Deal

Happy Thanksgiving. May your heart be filled with gratitude today.

stay-gold-polka-dot-notebook--pen-ornament-star

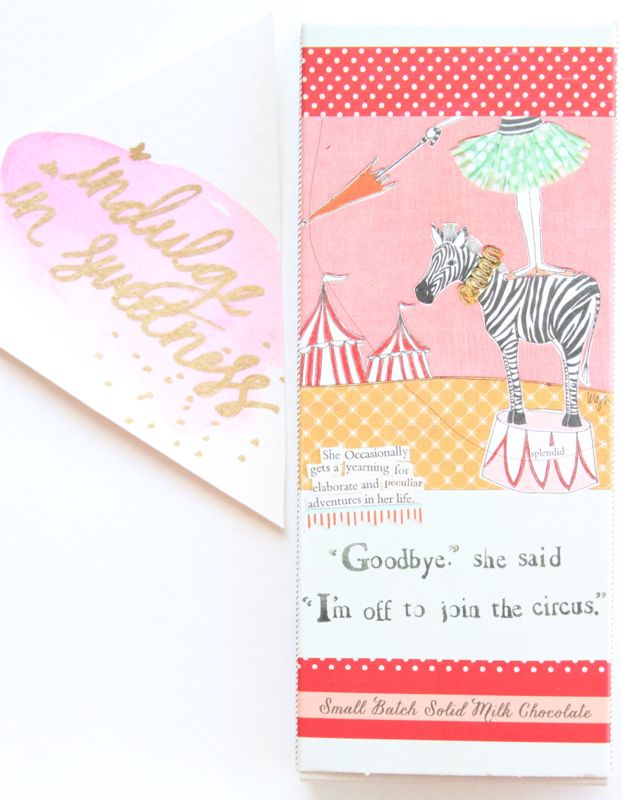
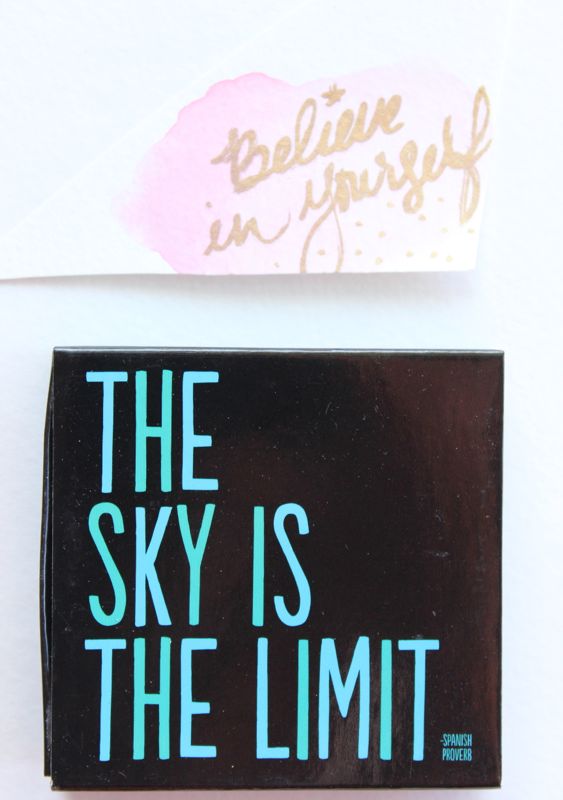
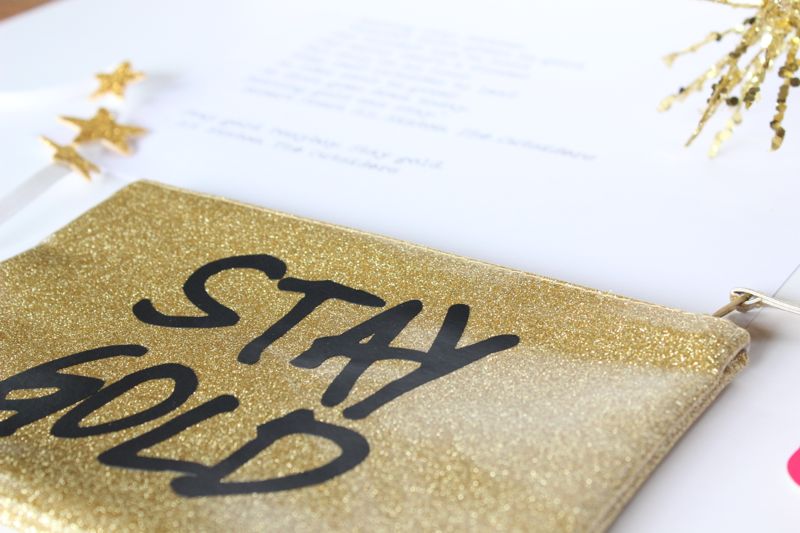
It’s that holiday time of year when gold is everywhere, so start throwing gold sparkles on everything. It’s also that time of year when Silhouette America has an amazing BLACK FRIDAY sale. We couldn’t have made this DIY Stay Gold pencil pouch {nor could we have made other amazing things this year like thisthis or this} if it weren’t for our Silhouette cutting tool from Silhouette America.

black-friday-sale-silhouette-america-design-store-electronic-cutter

Shop the Black Friday sale today through Dec. 4, 2015. The amazing machine bundles are as low as $99.00 including Silhouette Mint for $99.99, Portrait and Mint for $189.99, CAMEO for $199.99 and CAMEO and Portrait for $289.99. Plus, almost everything in the Silhouette America store is up to 40% off. Use code SORELLE when you check out. For 20% off Silhouette Design Store subscription, enter BLACK at checkout. Oh my goodness, free shipping available to the contiguous United States, too.

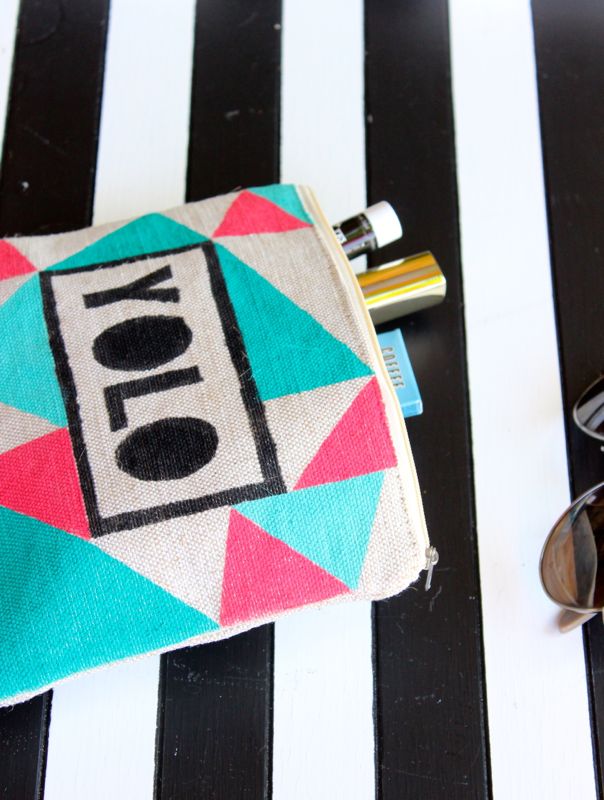
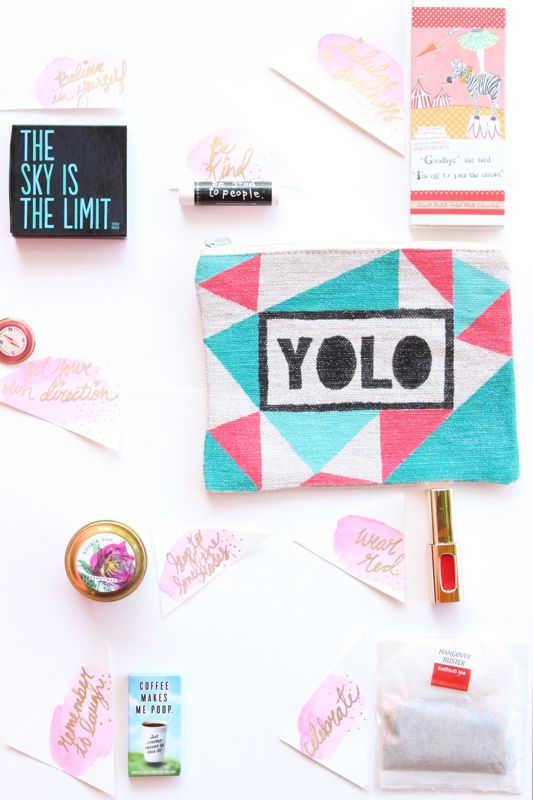
Once you receive your amazing electronic cutting tool that will change your life for the better, make this DIY pencil pouch.

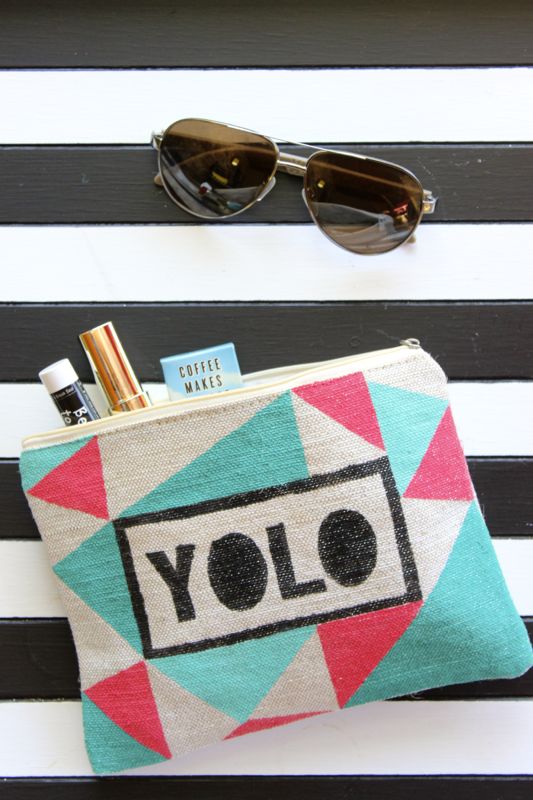
When we spotted this gold pencil pouch during back to school shopping in August, we knew it would come in handy some day.

stay-gold-diy-pencil-pouch-gift-star-headband-robert-frost-poem

The reference of “Stay Gold” comes from the book, The Outsiders. The quote in the book stems from the famous poem by Robert Frost.

Nothing Gold Can Stay
Nature’s first green is gold,
Her hardest hue to hold.
Her early leaf’s a flower,
But only so an hour.
Then leaf subsides to leaf,
So Eden sank to grief.
So Dawn goes down to day,
Nothing gold can stay.

stay-gold-robert-frost-quote-pencil-bag-diy-gift-star

This quote is powerful in our own lives. Our hope is that our children can remain young and innocent forever. As we age, our view of the world ‘hardens’ and we forget to play, imagine, and believe in the goodness in ourselves and people around us. We must always remember and teach our children to Stay Gold – stay good, and stay true!

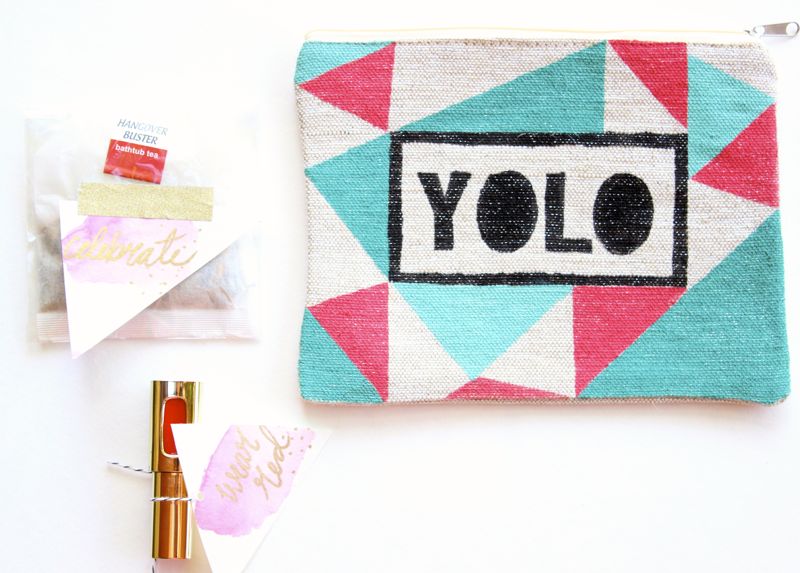
DIY Stay Gold Pencil Pouch
Silhouette Vinyl
Gold Pencil Pouch, Target
Frog’s Tape
Credit Card or straight-edge

Directions:

Create a stay gold design on Silhouette software.
Print the vinyl according to package directions.
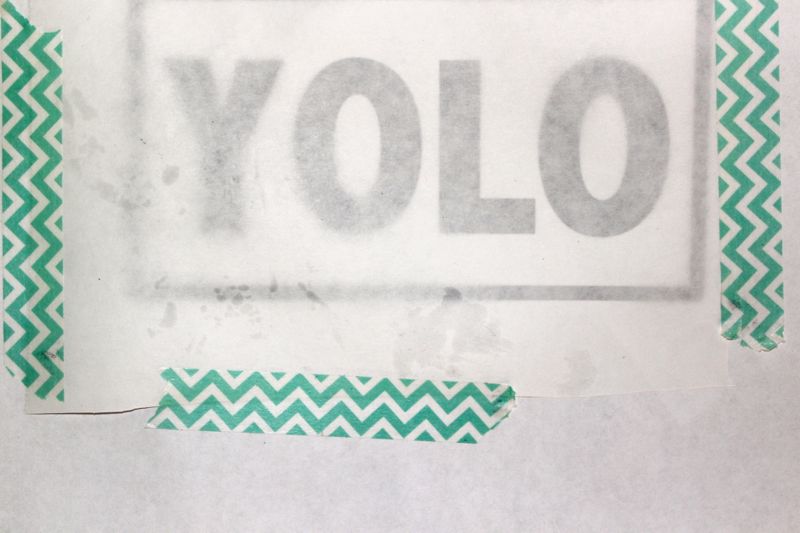
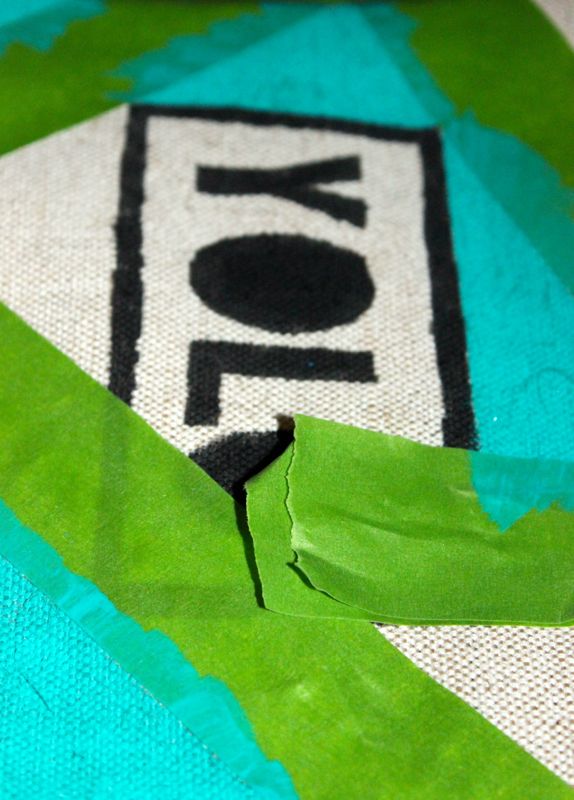
Remove the vinyl backing, and lay front side-down onto rows of Frog’s Tape {you can also use transfer paper, which we didn’t have handy}.
Use a credit card to make sure all bubbles are out, then pull the vinyl paper up. Your words should be face-down on the tape.
Pick up the tape, and place carefully on your pencil pouch. Your words should be legible now, right-side-up. Use a credit card to get out all the bubbles.
Carefully pull up each piece of tape. The vinyl should stay in place on the pencil pouch, and you’re done.

stay-gold-diy-pencil-pouch

stay-gold-diy-pencil-pouch-holiday-gift

Now, eat some turkey and pie. Hug family and friends. Rest. Sleep. Wake up. Shop.

DIY Advent Calendar

diy-advent-calendar-red-green-christmas-girl-ladder-holiday

The thought of the upcoming holidays brings us a sense of panic with all there is to do, but also great joy. It’s our favorite time of year, so bring on the cheer. We’ve been known to not put up our Advent calendar until mid-December, which may or may not defeat the purpose, so this post is our attempt to have our DIY Advent calendar up by December 1. Other than our usual tardiness, the other con to our past Advent calendar was the size…how are we supposed to fit one thing larger than a candy cane in each tiny opening? This year, we went long and tall, and got creative with ice cream pint containers!

diy-advent-calendar-red-green-christmas-girl-ladder-holiday

May we just say that had we known blogging would have been in our future, we would have an all-white wall with light floors. Since that’s not feasible with any of our homes, and we needed a well-lit area to show you our Advent Calendar, a ‘rustic Colorado ‘ rock wall was our second best option. Our 5-year-old model had a ‘make-it-work’ moment, which she didn’t seem to mind.

diy-advent-calendar-red-green-christmas-girl-ladder-holiday

diy-advent-calendar-red-green-christmas-girl-ladder-holiday

You’ll Need:

Directions:

Make or print number labels. You can use a Silhouette like we did, or buy number stickers. For number 25, we used a red star ornament since that’s the magical day. Glue the labels on the container lids.

diy-advent-calendar-red-green-christmas-girl-ladder-holiday

Drill the pint containers to the long piece of wood {totally doable, even with do drill experience}, and then fill the pint containers with goodies.

diy-advent-calendar-red-green-christmas-holiday-bear-toys

Place lids on the pint containers.

diy-advent-calendar-red-green-christmas-antler-holiday

Set up the colorful Advent calendar. You can make it a horizontal Advent calendar, or a vertical one like we did. Because ours is vertical and tall, we couldn’t resist a set up with a ladder – it makes for a fun adventure everyday for the kids and with a good lean, no nails or holes in the wall.

diy-advent-calendar-red-green-christmas-girl-ladder-holiday

diy-advent-calendar-red-green-christmas-girl-ladder-holiday

Someone special wants it to be Christmas now.

diy-advent-calendar-red-green-christmas-girl-ladder-holiday

We teamed up with Sillhouette America to give away 1 Silhouette CAMEO on Instagram. Nov. 25 the giveaway ends, and all you have to do is follow us on Instagram and tag 3 friends. Go here now.

#colorize #silhouetterocks #adventcalendar

DIY Woodland Winter Cake Topper

chocolate-cake-wood-slice-rabbit-tree-white-joy-sign-diy-cake-topper

We are experiencing a love affair with bottle brush trees and wood slices this winter. And, as usual, crushing on white and gold, too. Our kids think Christmas is tomorrow with all the holiday blog projects lying around the house – it’s a tease for them, and almost an overwhelming reminder of the upcoming holidays for us. At least they get to enjoy some of the benefits of shooting a DIY winter cake topper – shoot the cake, and eat it too.

chocolate-cake-wood-slice-rabbit-tree-white-joy-sign-diy-cake-topper

If you’re celebrating a winter birthday, or want to impress guests this holiday season with an adorable DIY winter cake or pie topper, just go out and chop a tree {you can buy them already cut from Michael’s if a lumberjack isn’t in your repertoire}, bust out the gold leaf paint, and glue.

Materials You’ll Need:
Wood slices
Cake pop sticks
Mini woodland animal figures – deer, rabbit, bear, squirrel
Thin popsicle sticks
Mini banner flags
Gold leaf paint
Hot glue gun

Directions:

Dab the ends of the  bottle brush tree with gold leaf paint. You can’t mess this up – just dab here, and there and everywhere.

Write a word, name or phrase on the paper banner.

Use a hot glue gun to glue the tree, animal and popsicle stick with paper banner on the wood slice. I cut the popsicle stick in half to make it shorter.

white-tree-rabbit-joy-sign-gold

Glue ‘legs’ on the bottom-side of the wood slice with the cake pop sticks that will stick into the cupcake, cake or pie.

rabbit-wood-slice-diy-cake-topper-tree-joy

chocolate-cake-wood-slice-rabbit-tree-white-joy-sign-diy-cake-topper


A Little Star Baby Shower

little-star-custom-button-pregnancy-belly

When one of my besties is in town for the inaugural Reintoberfest, and she is preggers, a baby shower is certainly in order. My girlfriends and I hosted a small, fabulous group of women for a Little Star baby shower. It was a surprise…and I think we pulled if off, even with a few slips.

© 2015 Meredith Moran Photography

The shower was designed after one of my most favorite art prints by The First Snow. Beautiful, isn’t it?

© 2015 Meredith Moran Photography

© 2015 Meredith Moran Photography

We re-created the art print with an antique ladder, ribbons and fresh flowers by Vail Vintage Magnolia and DIY hanging stars that were spray painted gold and white. It worked our perfectly because it’s a gender-neutral theme, and the nursery is also star themed.

white-ladder-baby-shower-flowers

© 2015 Meredith Moran Photography

baby-shower-ladder-star-lights-white-gold-flowers

© 2015 Meredith Moran Photography

Our menu consisted of homemade French Toast casserole, egg casserole, yogurt bar with fruit and granola, fresh spinach salad and for dessert we devoured mini bundt cakes. The backdrop for our Champagne and Bundt bar was a DIY Kimi’s Little Star sign. We sipped on mimosas with DIY star gummy drink stirrer and oh my goodness they were good!

© 2015 Meredith Moran Photography

© 2015 Meredith Moran Photography

© 2015 Meredith Moran Photography

I made DIY star napkin rings that also served as ornament favors guests could take home. DIY tutorial to come.

© 2015 Meredith Moran Photography

© 2015 Meredith Moran Photography

Meredith made DIY star headbands we all adorned on our heads to represent the “bouquet of stars to place around your sleeping heads” like the art print said.

© 2015 Meredith Moran Photography

© 2015 Meredith Moran Photography

© 2015 Meredith Moran Photography

© 2015 Meredith Moran Photography

© 2015 Meredith Moran Photography

© 2015 Meredith Moran Photography

In our family, we say Aunt, pronounced ‘ant.’ In MN, Kimi says Auntie, pronounced ‘on-tee,’ with a bit of a flair, of course. For the shower, we wanted to emphasize her auntie ‘thing’ with custom buttons for each guest. When baby G is born, we will all be proud aunties with gifts of our own to offer him/her. It was a good laugh for everyone. I gave myself the title of auntie of crafts. Jenna was crowned the auntie of shoes. And, Jodi proudly accepted her role of auntie of reality tv. We will take our roles seriously, Kimi!

© 2015 Meredith Moran Photography

We played a fun, non-cheesy game that I highly recommend for a smaller sized baby shower – Who’s That Baby? I asked guests to send me a baby photo under 6 months old prior to the shower, and I had the photos printed for a photo display. Everyone had to guess each sweet baby face, and the winner was awarded a prize.

© 2015 Meredith Moran Photography

© 2015 Meredith Moran Photography

Another ‘activity’ and decoration was the DIY Due Date Chalkboard. Everyone had a chance to guess baby G’s due date, and whether it was a boy or girl. If you really want to make it a game, bet $ to get a pool going. To learn how to make the DIY chalkboard, read this.

© 2015 Meredith Moran Photography

© 2015 Meredith Moran Photography

We sent the beautiful mama home with Dear Baby, often called Wishes for Baby cards. We all wrote down our hopes and dreams for baby G, which was a great baby shower activity and keepsake for Kimi. You can purchase the Little Star cards and here and the Little Star invitation here.

© 2015 Meredith Moran Photography

© 2015 Meredith Moran Photography

star baby shower-invitation

Finally, what’s a shower without a posed shot, and a tassel banner?!

© 2015 Meredith Moran Photography

© 2015 Meredith Moran Photography

Thanks to all the Vendors We Love from this Shower
Photographer: Meredith Moran Photography
Flowers: Vail Vintage Magnolia
Invitation and Dear Baby Cards: Fleur de Lis, a paperie
Mini Bundt Cakes: The Bundt Shoppe
Art Print: The First Snow
Auntie Buttons: Share Denver


YOLO DIY Cosmetic Bag

yolo-black-white-stripes-glasses-cosmetic-bag-diy-triangles

My sister-in-law and I went shopping, and I tried on a pair of designer jeans on sale for $100 from $200ish. I liked them, but didn’t really NEED them. You know, that age-old teaching we teach our children and tell ourselves – need vs. want. Do I really need this? Or, do I want this? My sister-in-law said, “Just get them. My new motto in life is YOLO.” I did a semi-smile and nod reaction, then asked, “What the heck does YOLO mean?” You may be thinking that I live under a rock, and perhaps I do, but I honestly had no idea what YOLO meant. She shared her hashtag wisdom upon me that day and told me that YOLO stands for…You Only Live Once. #YOLO

What powerful words that we often forget. You Only Live Once. We have one shot at this ONE beautiful, amazing, hard and miraculous life. Why waste it? Make the most of everyday, and live your best life…and life will give it’s best to you. YOLO!

Long story short, I bought the jeans. And, I learned what YOLO stands for.

Shortly thereafter my sister-in-law embarked on a new journey in a new city with a new job. She was nervous, but brave. I sent her off with a reminder of what she taught me that day, and some tips to go with it.

DIY YOLO Cosmetic Bag

You’ll Need:

  • Cosmetic bag {mine was $3 from Target}
  • Acrylic paint
  • Golden GAC 900 Medium, to make regular paint into fabric paint
  • Freezer paper
  • X-acto knife
  • Paintbrush
  • Gifts to go inside. I found most of my gifts {see below} from my favorite small town bookstore, The Bookworm
  • Watercolor paper
  • Watercolor paint
  • Gold sharpie or gold leaf pen

Directions:

First, I used Microsoft Word to design my YOLO to place in the middle of the bag. Print YOLO on regular computer paper, then trace it onto freezer paper.

YOLO-freezer-paper-washi-tape

 Use an X-acto knife to cut out the words and a border. Then, iron in onto the costmetic bag.

yolo-freezer-paper-trace-diy

Paint YOLO with black ink.

YOLO-black-diy

Design a pattern around YOLO. I chose to do triangles, so I randomly made a geometric triangle shape print with Frog’s Tape. Then, paint inside the triangles.

yolo-painters-tape-green-diy

yolo-bag-pink-triangles-diy-target

Shop for all your small gifts that go inside the YOLO bag.

yolo-bag-gift-diy-costmetic-bag-candle-lipstick-compass-tea-bag-chocolate

Once your YOLO bag design is complete, start to make the tags to go along with each gift. Cut watercolor paper into triangles. Freehand the words of wisdom for your friend in gold sharpie or gold leaf pen. Then, use soft watercolor over it.

pink-watercolor-tags-gold-diy

My tags read:

Wear red | red lipstick
Set your own direction | Compass button
Indulge in sweetness | Curly Girl chocolate bar
Remember to laugh | Blue Q funny chewing gum box
Celebrate | Hyrda Soap Hangover Bath Tea Bag
Stop to smell the roses | Paddywax Rose scented candle
Believe in yourself | Quotables The Sky is the Limit matchbox
Be Kind | Be Good to People chapstick

wear-red-lipstick-pink-watercolor-gold

compass-button-pink-watercolor-tags-gold-diy-gift

curly-girl-chocolate-bar-indulge-in-sweetness-pink-watercolor

remember-to-laugh-coffee-gum-pink-watercolor-diy-gift

stop-to-smell-the-roses-candle-diy-gift-pink-watercolor-tag

believe-in-yourself-pink-watercolor-tag-the-sky-is-the-limit-candle

be-kind-be-good-to-people-chapstick-pink-watercolor-tags-diy-gift

Attach the labels to each item.

YOLO-wear-red-diy-gift-watercolor-pink-tags-bath-tea-bag

YOLO-wear-red-diy-gift-watercolor-pink-tags-bath-tea-bag

Place all the fun items inside the DIY YOLO cosmetic bag and gift.

yolo-black-white-stripes-glasses-cosmetic-bag-diy-triangles