Make DIY String Light Poles with Concrete Stands for Outdoor Entertaining

concrete-globe-lights-aspen-trunk-picnic-table-wood-alfresco-dining-outdoor-entertaining-the-home-depot-diy-challenge

When we started this little blog years ago, we dreamt of working with large and reputable corporations – one of the companies at the top of our list was The Home Depot. So, needless to say, we were giddy with excitement to join the DIY concrete challenge at The Home Depot Blog.

We hadn’t worked with concrete before, and honestly, we can’t wait to work with it again. After happily spending hours in The Home Depot, we stayed in a semi-comfortable DIY zone and opted for a somewhat simple project to add outdoor lighting to Jessica’s patio.

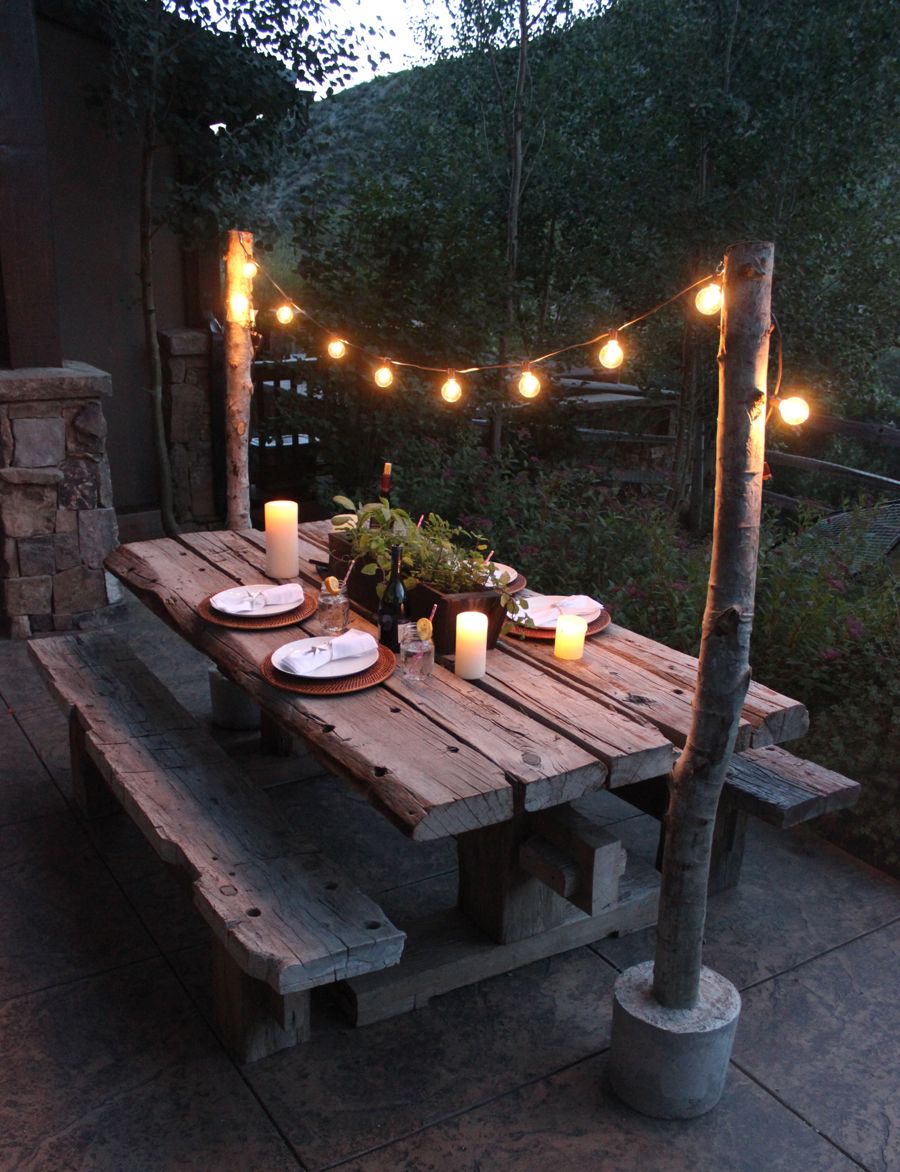
We created rustic string light poles with a concrete base.
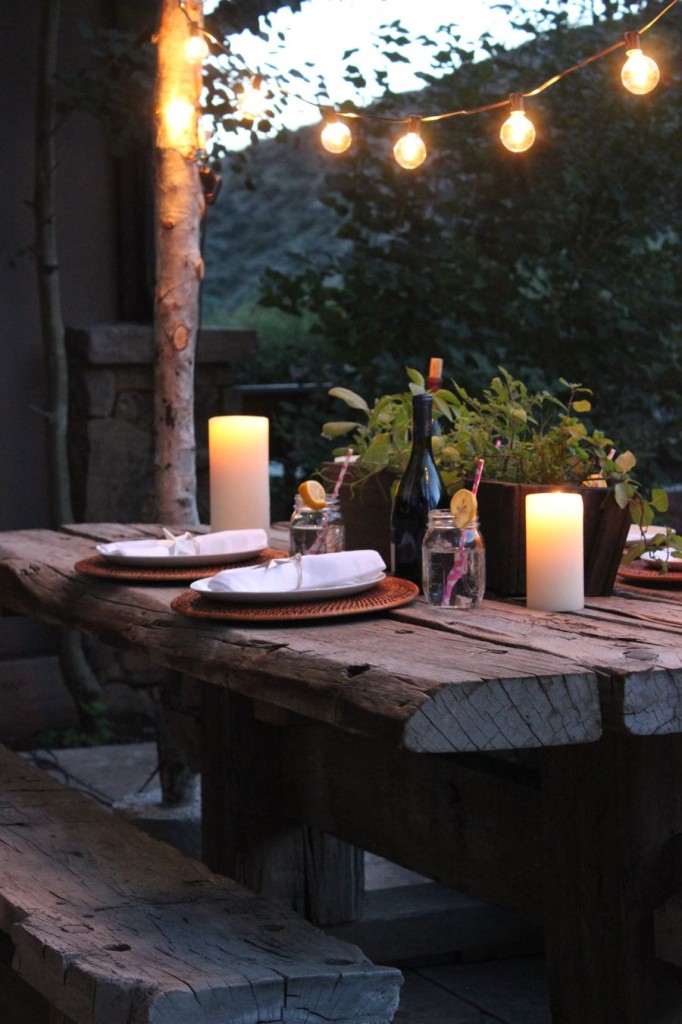
concrete-globe-lights-aspen-trunk-picnic-table-wood-alfresco-dining-outdoor-entertaining-the-home-depot-diy-challenge

Our mom was the first to see the DIY concrete project; in fact, she helped mix the concrete. She loved it so much, she requested a DIY concrete stand to string lights in her backyard, too.
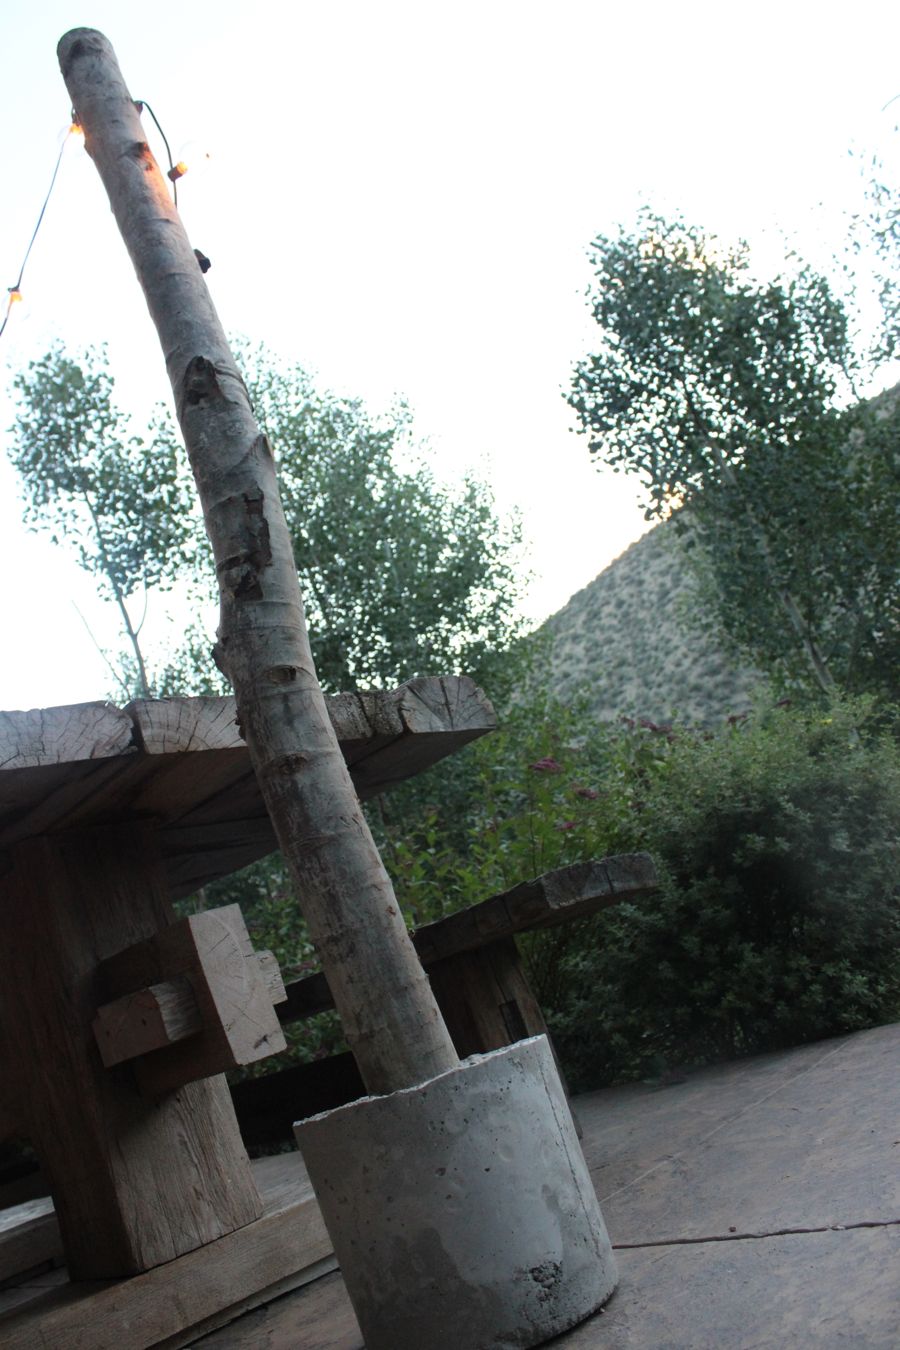
concrete-globe-lights-aspen-trunk-picnic-table-wood-alfresco-dining-outdoor-entertaining-the-home-depot-diy-concrete-challenge

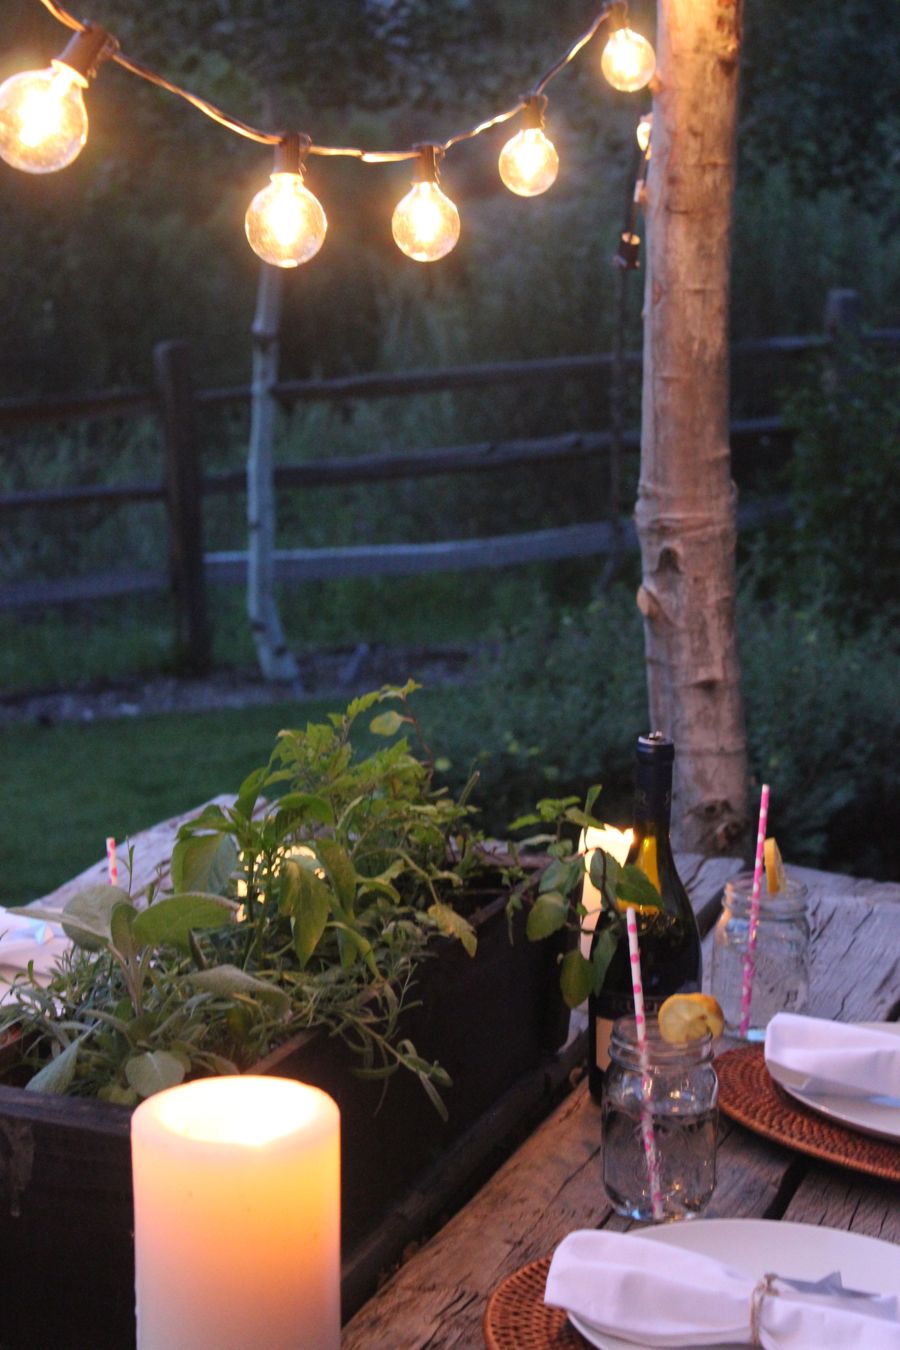
Whether you’re experienced with concrete or beginners like us, you can easily make this DIY concrete stand. It’s a high impact DIY project on a low-budget. Plus, you will take your outdoor summer entertaining to a whole new level of ambiance and warmth.

Check out the full tutorial at The Home Depot Blog.
concrete-globe-lights-aspen-trunk-picnic-table-wood-alfresco-dining-outdoor-entertaining-the-home-depot-diy-concrete-challenge

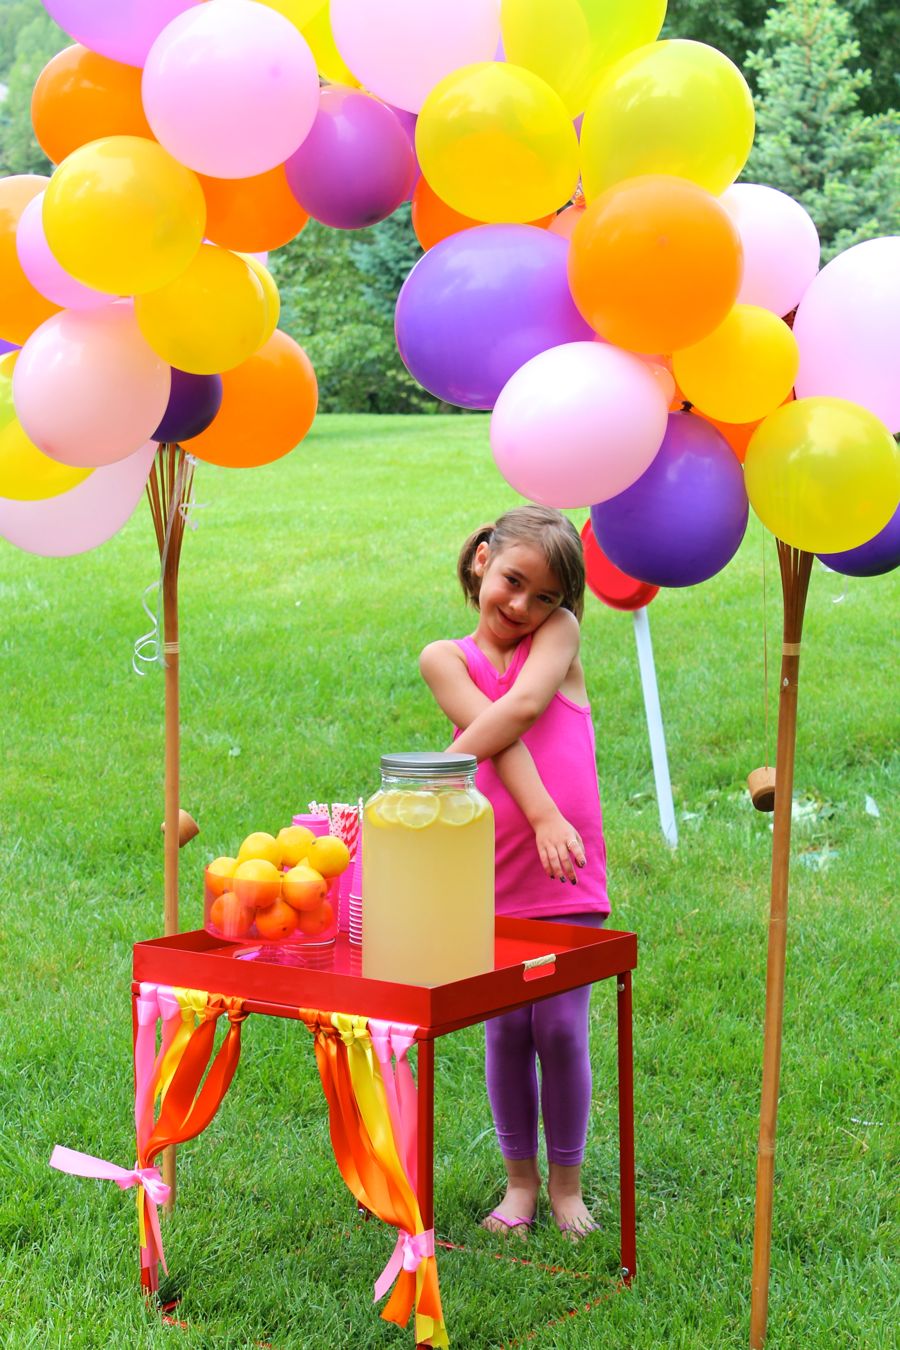
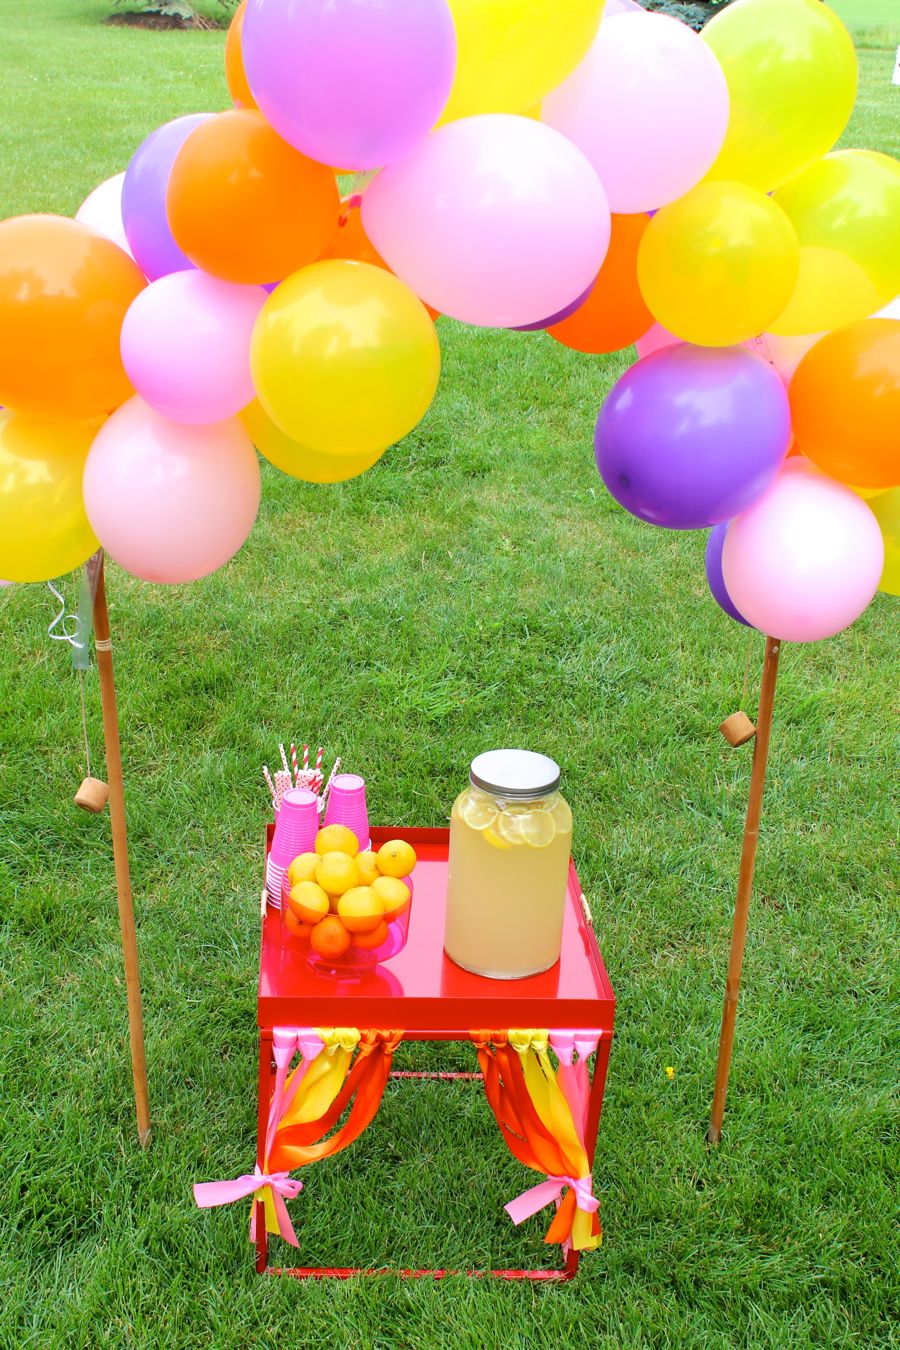
DIY Lemonade Stand with Balloons

balloon-arch-helium-lemonade-stand-diy-big-hero-6-party-lemon-pink-purple-yellow

The fact that Jessica only has to plan one party per year {yes, all three of her kids were born in July} saves all of us, especially her husband, a lot of sanity. She tends to over think everything, and loses lots of zzz’s trying to fine tune every detail. One of our favorite creative details from this year’s party was the DIY lemonade stand.

Nothing symbolizes a party more than balloons. We haven’t seen a lemonade stand made with a balloon arch before, and we think it’s sure to boost this summer’s lemonade sales!

Thanks to our friends at Balloon Time, we created a balloon arch for our Big Hero 6 Honey Lemon-ade Stand, and it was the coolest lemonade stand on the block!

balloon-arch-helium-lemonade-stand-diy-big-hero-6-party-lemon-pink-purple-yellow

We made the arch for our DIY lemonade stand the morning of the party in about 45 minutes. We have never built a balloon arch before, nor had we inflated our own helium balloons. The Balloon Time helium tank was incredibly easy to use, and before long, our amateur arch status bumped up to experienced.

We will share more details and photos from the party soon. However, the DIY lemonade stand can be seen on Momtastic, where Jessica shared all the easy-to-follow details on how to set up the balloon stand using a Balloon Time helium tank, as well as the benefits of hosting a balloon stand with your kiddos. It’s a must read, y’all.

Cheers!

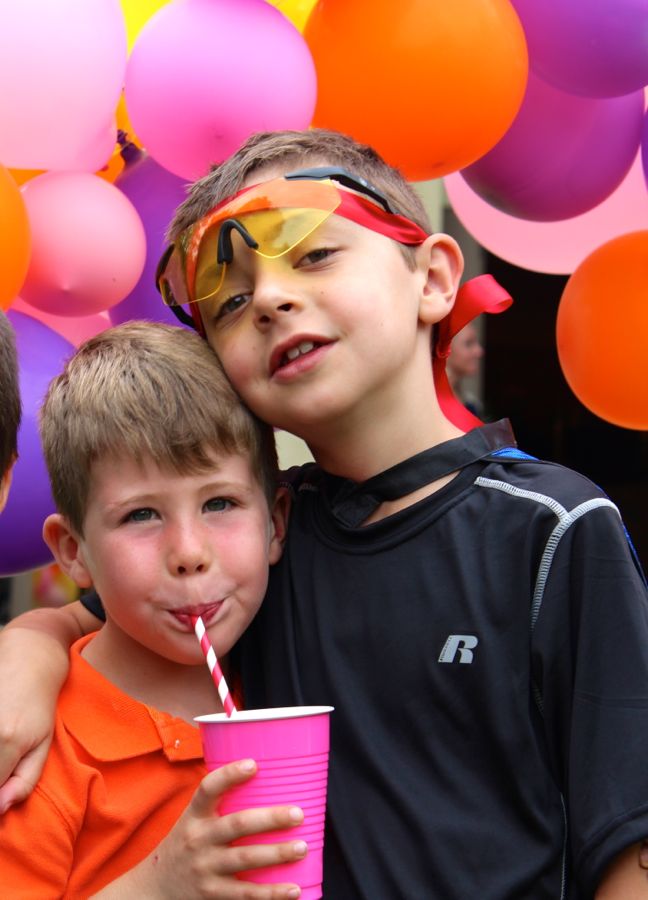
lemonade-pink-cup-red-straw-balloons

 j. sorelle received a gift card from Balloon Time, however we’d love Balloon Time, even if they didn’t send us any form of payment, and all opinions are ours, we promise. Thanks for supporting the companies that make j. sorelle possible. 

Gluten Free Pancakes {recipe}

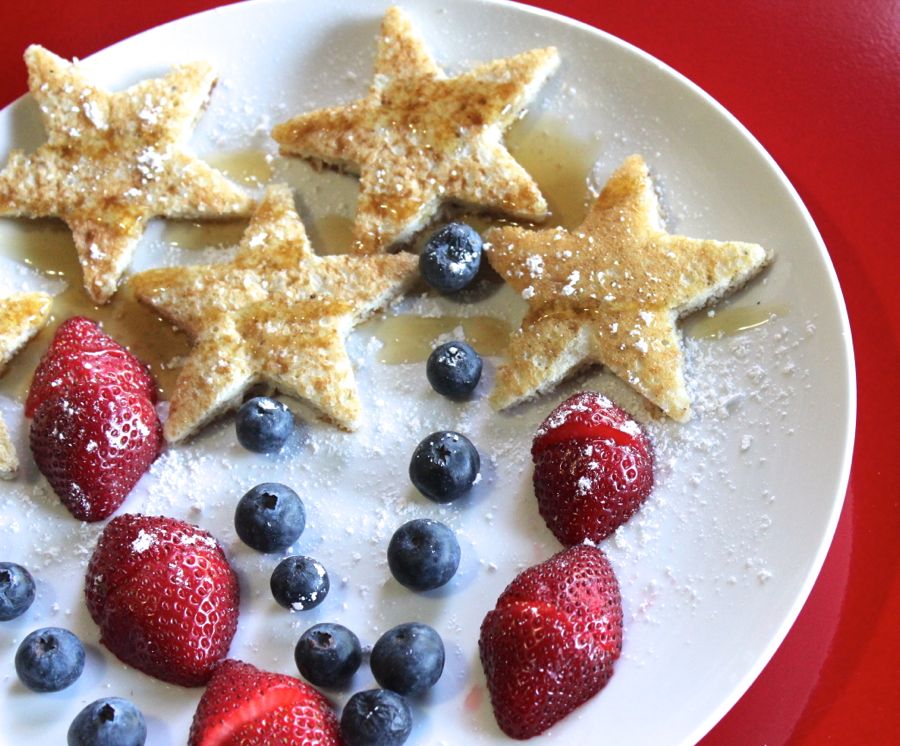
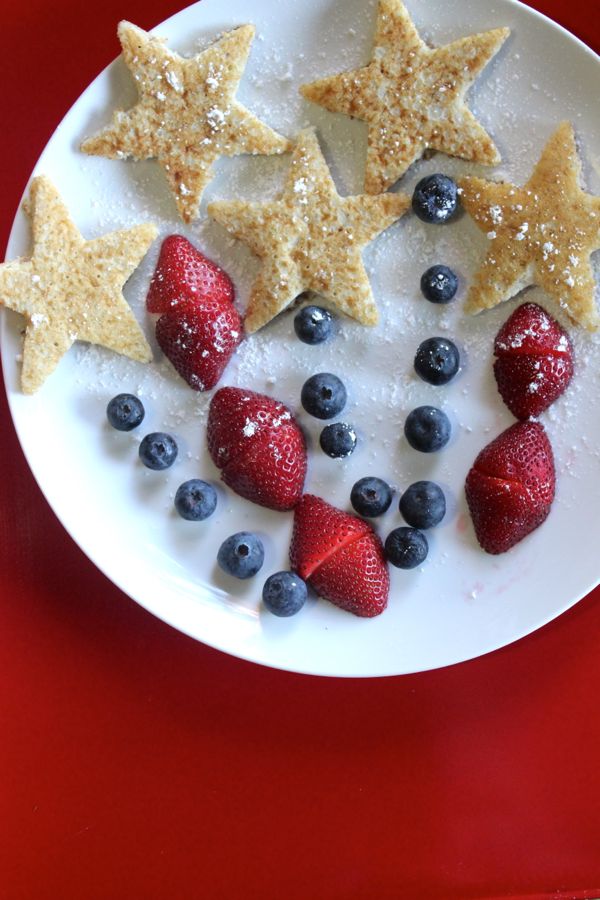
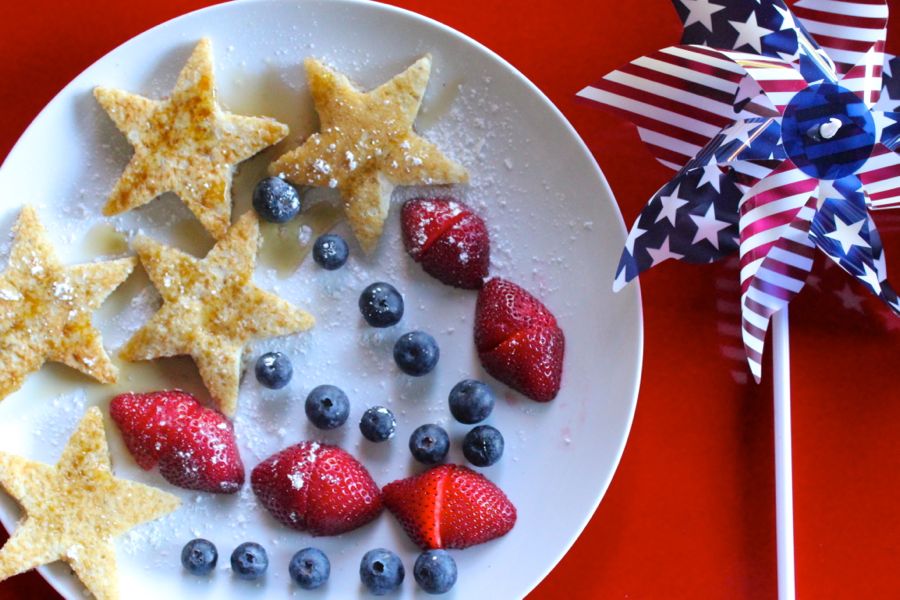
gluten-free-pancakes-july-4th-firework-breakfast-blueberry-strawberryThis 4th of July firework pancake breakfast will be enjoyed by those who are GF, and those who are not. We have found some gluten free store-bought pancake mixes to be decent. Some are better than others. This homemade, gluten free pancake recipe is easy to make, and our favorite thus far on our gluten-free venture.

gluten-free-pancakes-july-4th-firework-breakfast-blueberry-strawberry

Gluten Free Pancakes

Ingredients:

  • 2% milk {almond milk can be substituted}
  • 1/4 cup butter {4 tablespoons}
  • 2 eggs
  • 1 cup gluten free quick cooking oats, ground {we use a Magic Bullet to grind it}
  • 1/2 cup Pamela’s gluten free flour
  • 4 teaspoons baking powder
  • pinch of salt
  • 1 tablespoon sugar
  • 1 tablespoon ground flax seeds

Directions:

  1. In a medium bowl, add the dry ingredients, including flour, ground up oats, baking powder, salt, sugar and flax seeds.
  2. In a separate medium bowl, add two eggs and whisk.
  3. Melt the butter in a pan on the stove with the milk until butter melts.
  4. Stir the milk and butter into the eggs and whisk.
  5. Slowly whisk the wet ingredients into the bowl with dry ingredients.
  6. If the mixture is too thick, add more milk to make it a consistency you like.
  7. Pour and flip.
  8. To make the pancakes festive for July 4th, use a star cookie cutter to create star pancakes that can resemble fireworks.
  9. Spread butter on top, decorate your plate with blueberries and strawberries to make the stars look like fireworks, sprinkle powdered sugar on top and then pour maple syrup over the pancakes.

gluten-free-pancakes-july-4th-firework-breakfast-blueberry-strawberry

How to Make a DIY Cinnamon Bear Drink Stirrer

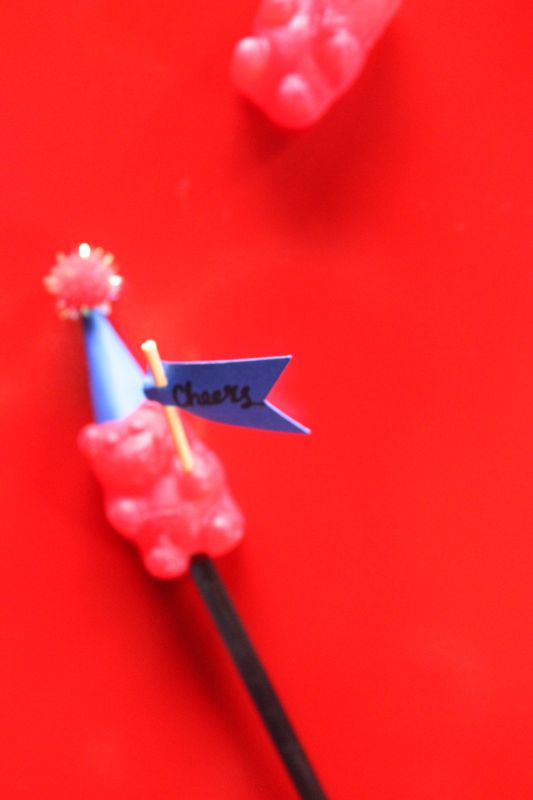
cinnamon-bears-july-4th-diy-drink-stirrer-red-party

Our grandma, also known as Nani to 14 grandkids and Great Nani to 16 great-grandchildren, is one amazing woman. Since we were toddlers, we made monthly trips to grandma and grandpa’s house for sleepovers, homemade biscuits and gravy, hair cuts in Louise’s Beauty Salon {her basement salon}…and artificially-flavored treats.

One thing we could always count on, in addition to all the hugs and kisses, was a full pot of coffee brewing {she loved to spoon-feed us coffee in the mornings}, a bag of Twizzlers in the upstairs cabinet, and a glass jar filled with cinnamon bears in her salon.

To this day, she keeps her treats in the same spot, and everyone makes a beeline straight to the cabinet and glass jar for a sugar fix.

As silly as it may be, we have a special history with cinnamon bears. Even if the memories did not exist, we could not resist the chewy, spicy and sweet goodness of cinnamon bears.

This July 4th, after half the bag makes its way into our bellies, the other half will make its way into our party decor.

First, we made them into place cards. Success!

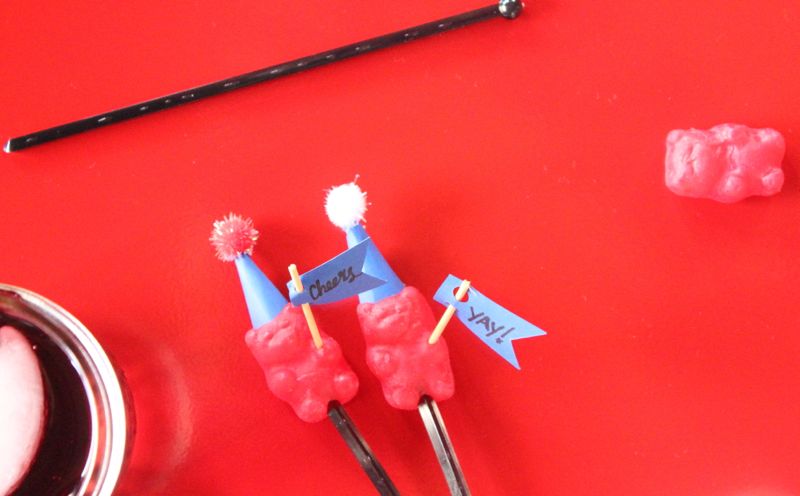
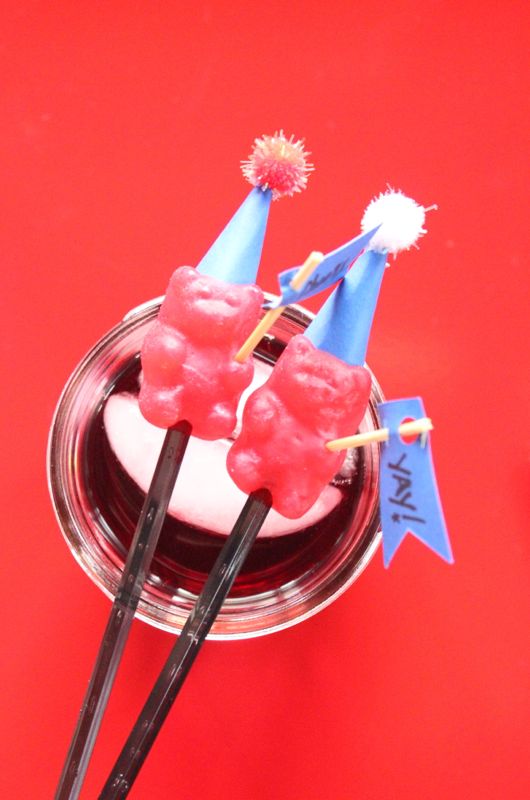
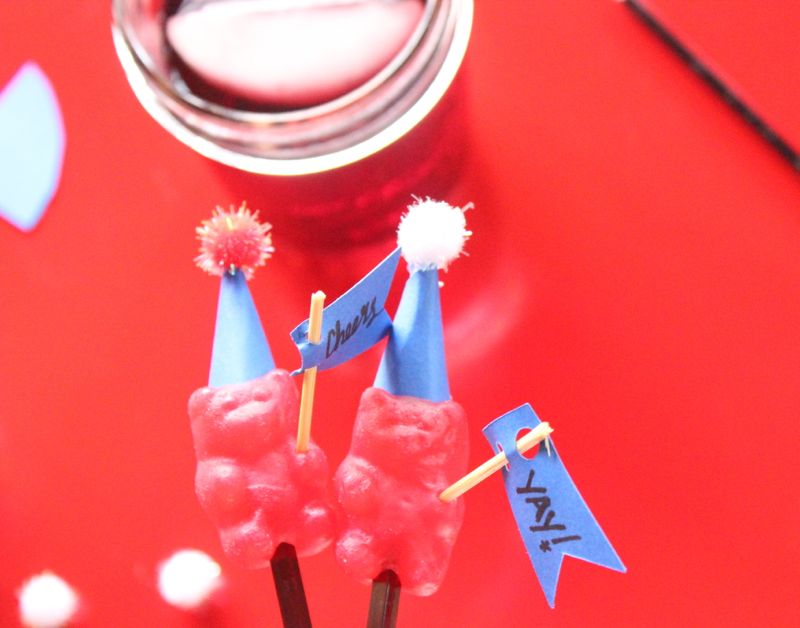
Now, we transformed them into a DIY edible drink stirrer. We think we can mark this one as a success, too.

cinnamon-bears-july-4th-diy-drink-stirrer-red-party

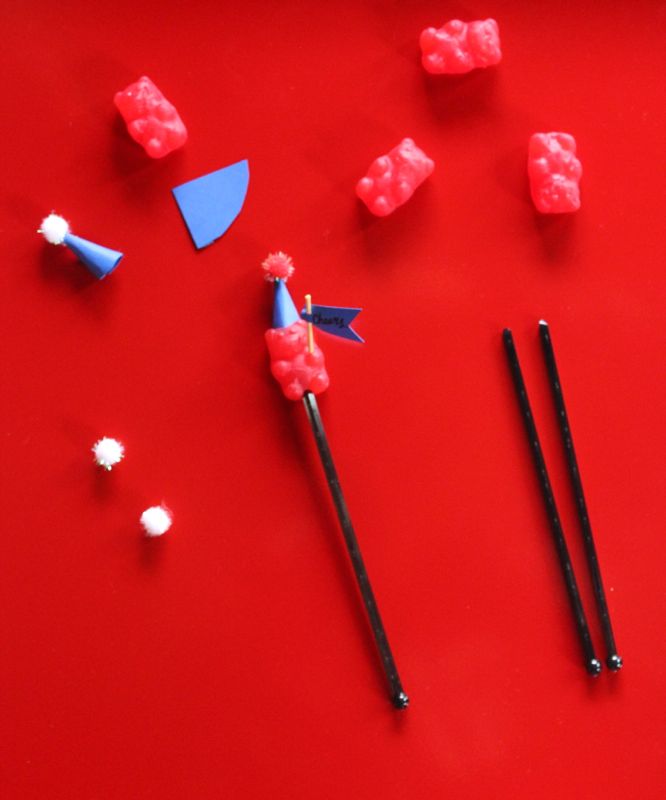
Materials:

  • Cinnamon bears
  • Red, white or blue card stock
  • Mini red pom poms
  • Toothpicks
  • Drink Stir Sticks
  • Sharpie marker
  • Hot glue gun

Directions: 

  1. Cut out mini flags and punch 2 small holes at the top.
  2. Write a name {for a drink tag}, or fun words on the flag, such as cheers! and yay!
  3. Break a toothpick in half, and then insert the toothpick through the two flag holes.
  4. Cut a mini ‘rolled out cone’ shape from the card stock.
  5. Roll the paper into a cone, and use a hot glue gun to glue the seam together.
  6. Glue a pom-pom on top.
  7. Gently push the hat into the cinnamon bears head until it’s stable.
  8. Push the toothpick with the flag into the hands of the cinnamon bear.
  9. Push the cinnamon bear onto a drink stirrer.

cinnamon-bears-july-4th-diy-drink-stirrer-red-party

cinnamon-bears-july-4th-diy-drink-stirrer-red-party

cinnamon-bears-july-4th-diy-drink-stirrer-red-party


DIY Paper Stars and Fans to Decorate for the 4th of July

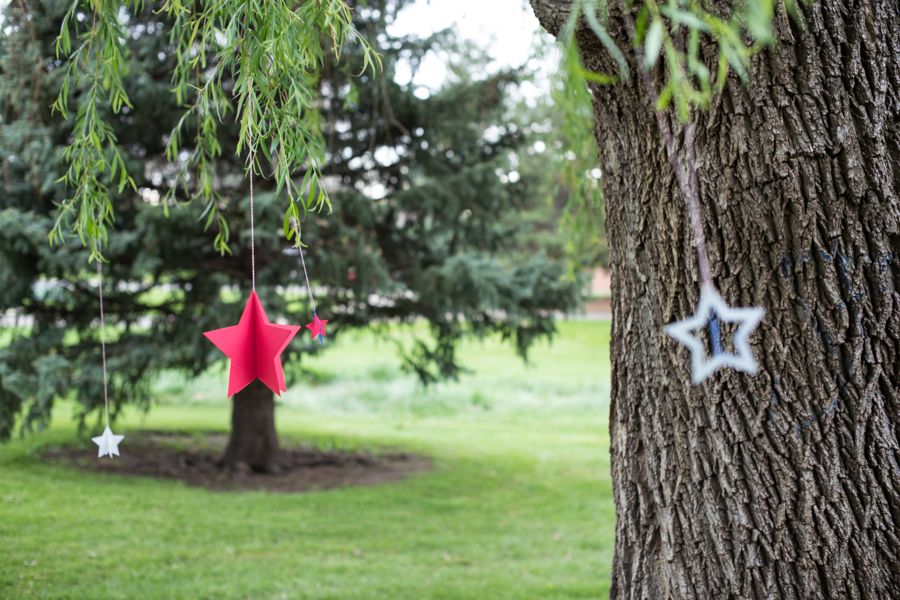
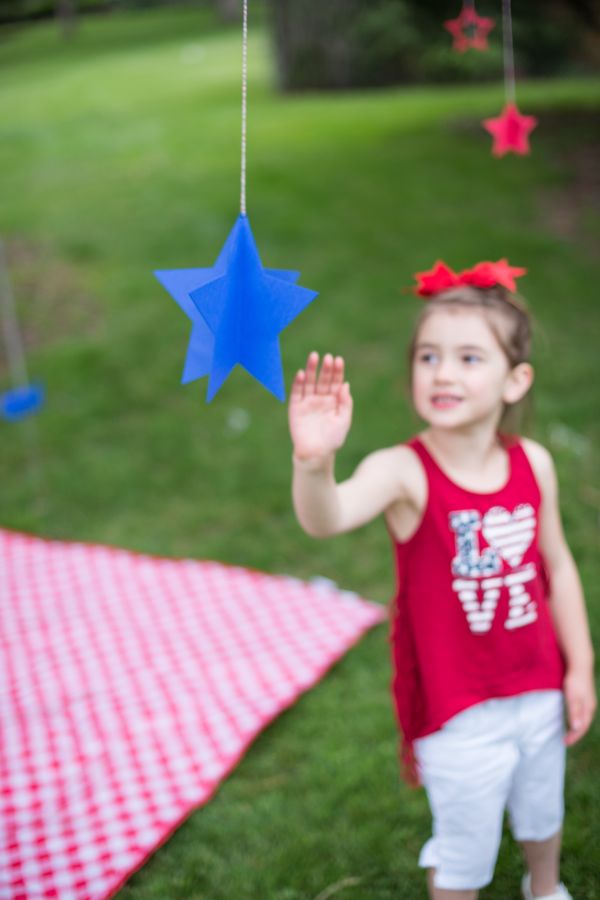
july-4th-red-white-blue-kid-family-picnic-astrobrights-paper-hanging-stars-diy

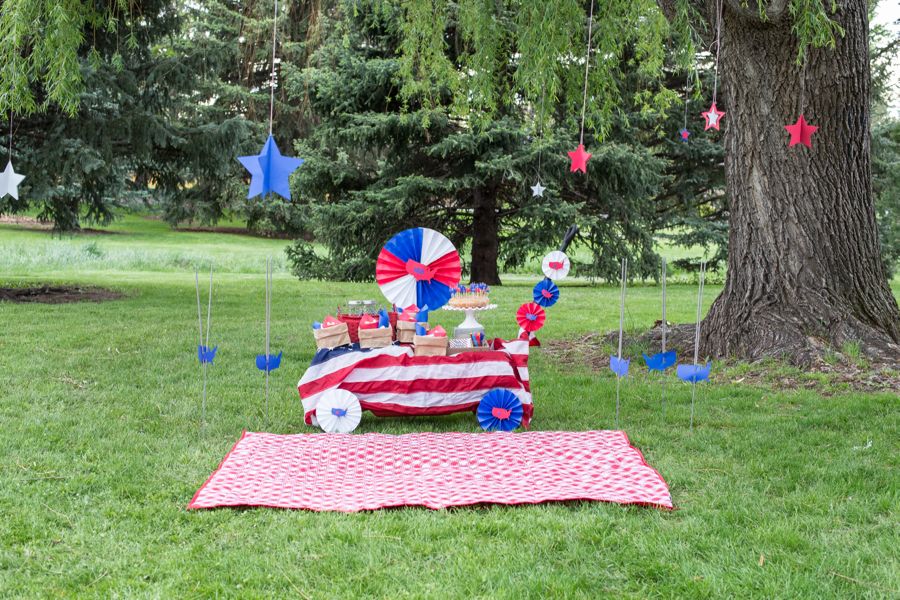
We had a blast at our #Colorize picnic with ASTROBRIGHTS® Papers, and really want you to have some red, white and blue fun under a willow tree, too, so here’s a couple DIY tutorials from the July 4th picnic. They are big impact, little effort, which means you have to do it.

Thanks to our friend and photographer, Meredith Moran Photography, for playing with us, and capturing great moments.

july-4th-red-white-blue-kid-family-picnic-astrobrights-paper-hanging-stars-diy

DIY 3D Paper Stars

Materials Needed:

Directions:

  1. Cut out 4 stars the same size.
  2. Fold each star in half.
  3. Add glue dots or dabs of glue to one folded side on the top, middle and bottom.
  4. Stack another folded star on top, and press to secure.
  5. Repeat step 4 until all stars form one, large 3D star.
  6. Punch a small hole on top of the star.
  7. Push red and white striped twine through the hole and make a hoop, then hang.

july-4th-red-white-blue-kid-family-picnic-astrobrights-paper-hanging-stars-diy

july-4th-red-white-blue-kid-family-picnic-astrobrights-paper-hanging-stars-diy

DIY Paper Fan

Materials Needed:

  • Double-sided tape
  • Hot glue gun
  • Paper
  • Cut out shape of U.S.A

Directions:

paper-fan-tutorial-red-white-blue-diy

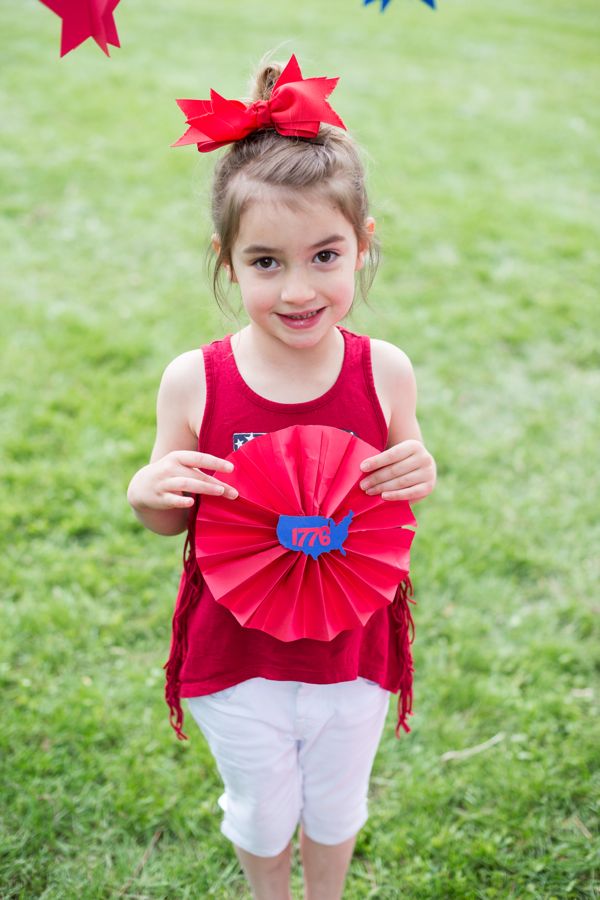
  1. Cut out all your paper squares. For the large fan, we used 6, 8×8 inch paper squares. For the smaller ones, we cut 4, 6×6 and 3, 4×4 squares. Fold the paper like a paper fan.
  2. Use double-sided tape to tape the edges of the fans together.
  3. Once all the squares are glued you will have a long stretch of ‘fanned’ or accordion paper.
  4. Glue the first and last piece of the paper together so it forms a circle.
  5. Press the circle down so it creates a fan. Add a large dab of hot glue to the middle of the fan, and press down for several minutes until it dries. Make sure the glue touches all parts of the paper.
  6. Use your Silhouette or print and hand-cut a cut out of the U.S.A. Use your hot glue gun to glue the U.S.A. outline in the middle of the fan.

july-4th-red-white-blue-kid-family-picnic-astrobrights-paper-fans-diy

july-4th-red-white-blue-kid-family-picnic-astrobrights-paper-fans-diy

Instagram media links to follow from this post:
@jsorelle3
@astrobrights
@meredithmoranphoto