You Are Enough + DIY Custom Stamp

post-it-notes-teal-pink-diy-stamp

We are all a work in progress. But, while we do our work, we need to be kinder to ourselves. Because how often do you let your mind go to that place. That judgmental, negative place? You know the one, where you are too fat, too thin, not smart enough, not rich enough, not good enough, not popular enough and not a good enough mom, wife or friend. We, especially women, barrage our minds with negative thoughts all the time. How are we supposed to be the best version of ourselves if we are our harshest critic all the time? Isn’t it time we became our own champion?

These thoughts stem from an interview we recently watched on Oprah. The New York Times best-selling author and blogger, Glennon Doyle Melton, graced Oprah’s Super Soul Sunday show. She is a beautiful woman, and as a young girl she was consistently told that she was pretty. She was told this so often, she began to believe that all she was was just a pretty face. Beauty became her sense of worth. It became an impossible standard to measure up to. Eventually it became too much, and she developed an eating disorder, and addictions. She is now sober and helping others with her new book Love Warrior and it’s predecessor, Carry On, Warrior. She tells it like it is, and she is changing lives for the better. Bravo, Glennon.

It got us thinking…how can we love ourselves more, and help our children do the same?

1. When we start the day, we need to use a love language when we look in the mirror. For example, I am powerful. I am courageous. I am amazing. At the end of the day, we need to give ourselves a break if we don’t get everything on our long to-do list done. We need to love who God made us to be – flaws and all. We are enough. YOU ARE ENOUGH.

2. We need to tell our children how brave, smart and remarkable they are every day. We need to teach them how to be kind and show compassion to others. Too often we tell our girls, “You’re so pretty.” “You look so beautiful in that dress.” “You’re hair looks perfect like that.” Just like Glennon Doyle Melton, our daughters young brains begin to associate their worth by just their beauty (similar comparisons can be said for boys). And, there’s so much more to them, including their minds, hearts and souls. Let’s tell them, “You are smart.” “You are sunshine.” “You are strong.”  We love our children, and we tell them how much we love them ALL THE TIME. But, as we go about our busy days reminding them to pick up their toys, finish their homework, fix this and do that, we rarely take the time to stop and remind them just how special and extraordinary they are. So, we put together a phrase that is a game-changer for us.

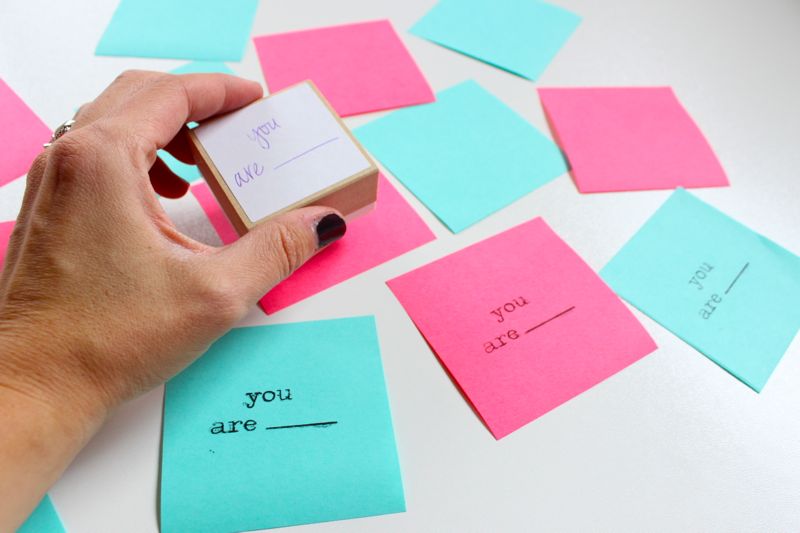
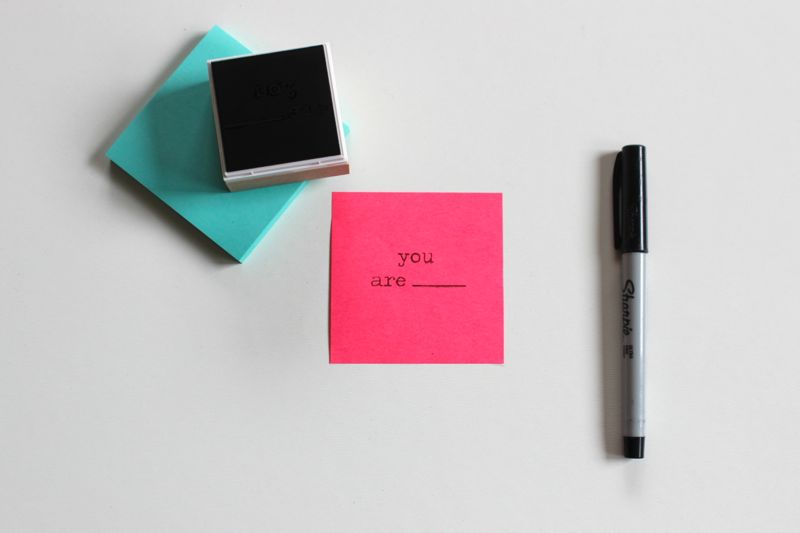
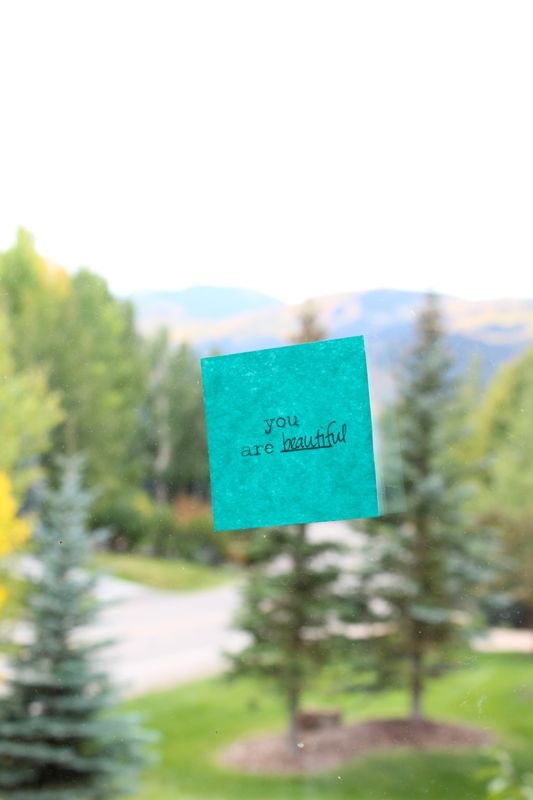
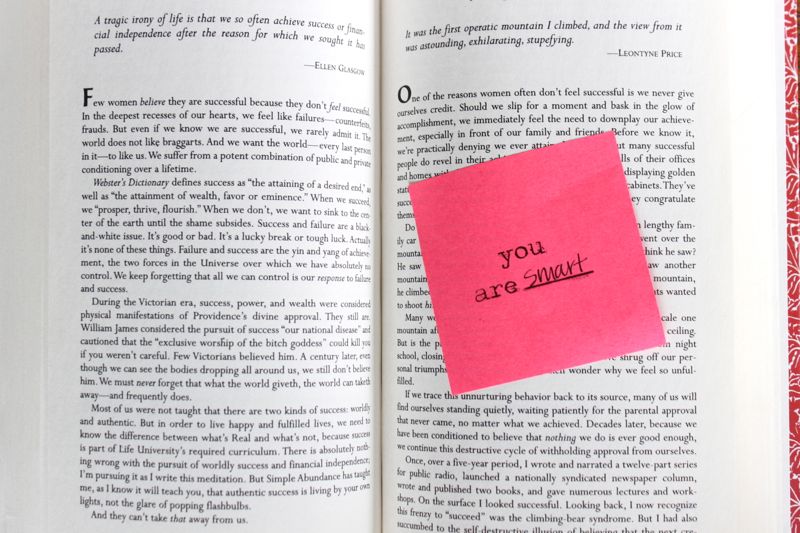
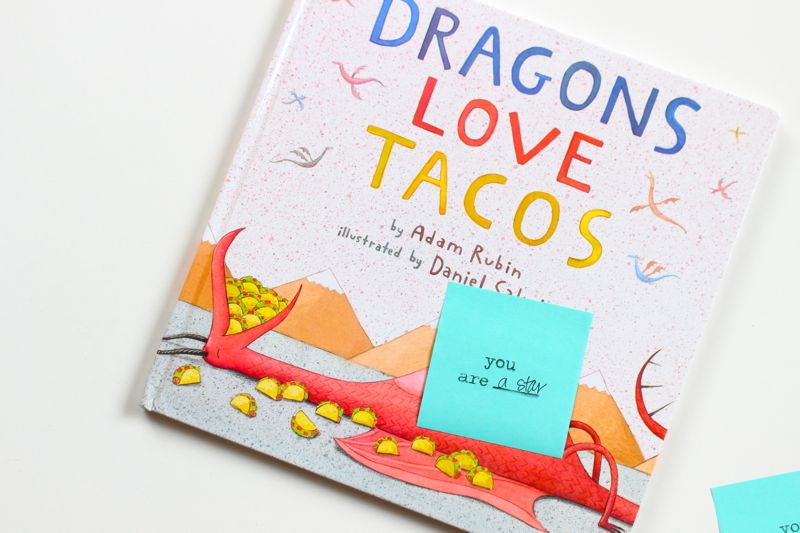
The simple and power phrase is: You are ______ (fill in the blank).

It should be said everyday, and we’ve learned it should also be in writing.

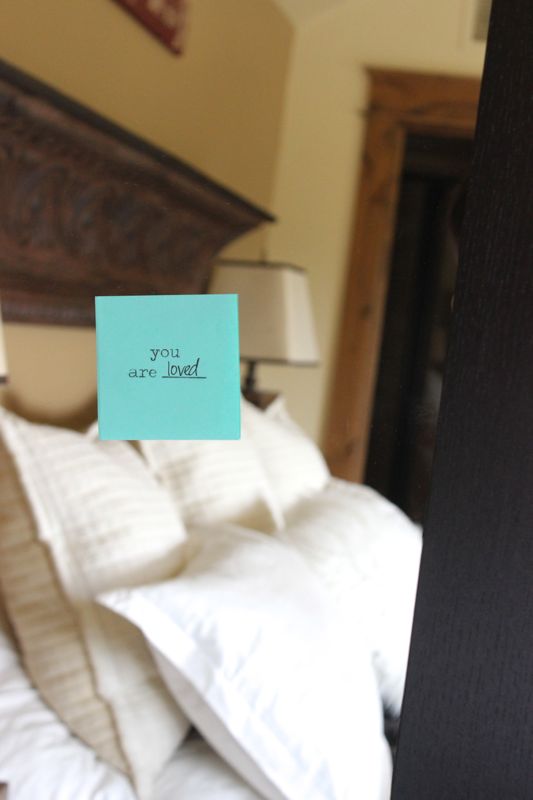
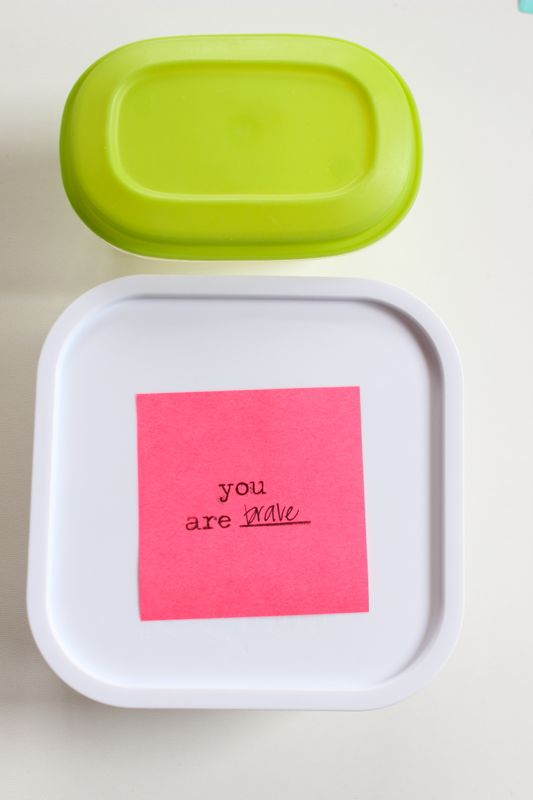
To help us with our efforts, we made a stamp. With our Silhouette Mint custom stamp maker, we designed the stamp to say, you are_________. Every day we stamp a Post-It note, and find a word that describes and compliments our children to fill in the blank. We hide the notes in our kids lunches, bathroom mirrors, inside pages of books and on their wall next to their bed. Honestly, it brings the biggest smile to their faces and a joy to their hearts. They love it so much, they ask us daily for more surprise notes. Now, their friends at school are asking for notes. We’ve seen what a boost of confidence it can be. What a blessing to wake up everyday and tell our children how wonderful they really are! Thanks to Silhouette for helping us do that.
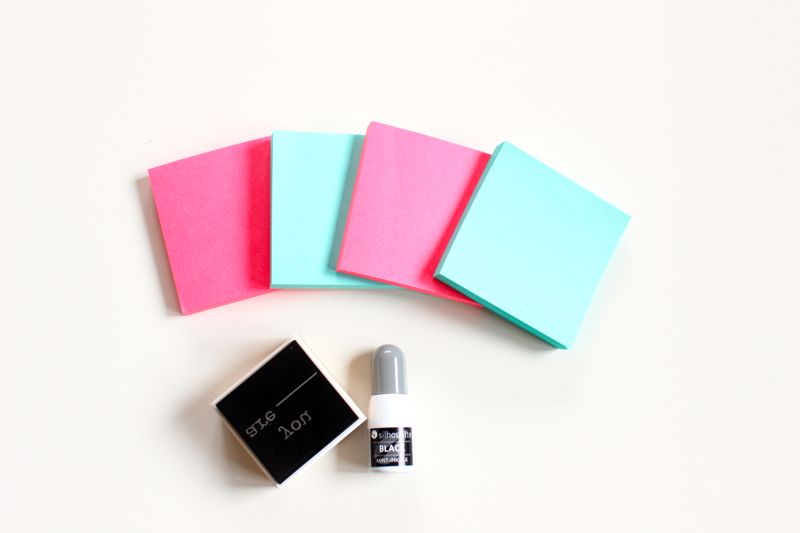
Materials:

  • Silhouette Mint custom stamp maker, stamp kit and ink
  • Post-It notes
  • Pen or Sharpie

Directions:

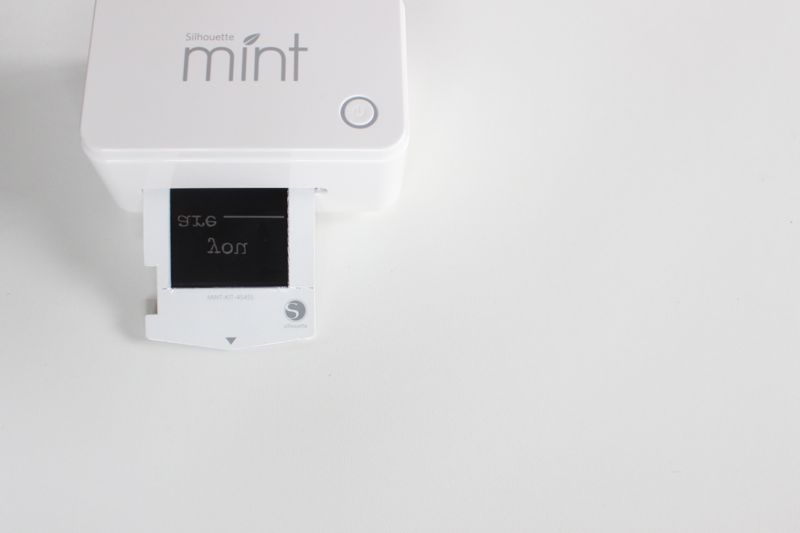
Step 1: Follow the directions included in the Silhouette Mint pamphlet for the best results, but we’ll tell you how we did it. It was really quite easy. First, design the stamp with the Silhouette Mint software. Make sure the right size stamp is selected.

Step 2: Print the stamp. This took about 10 seconds. Amazing!

silhouette-mint-stamp

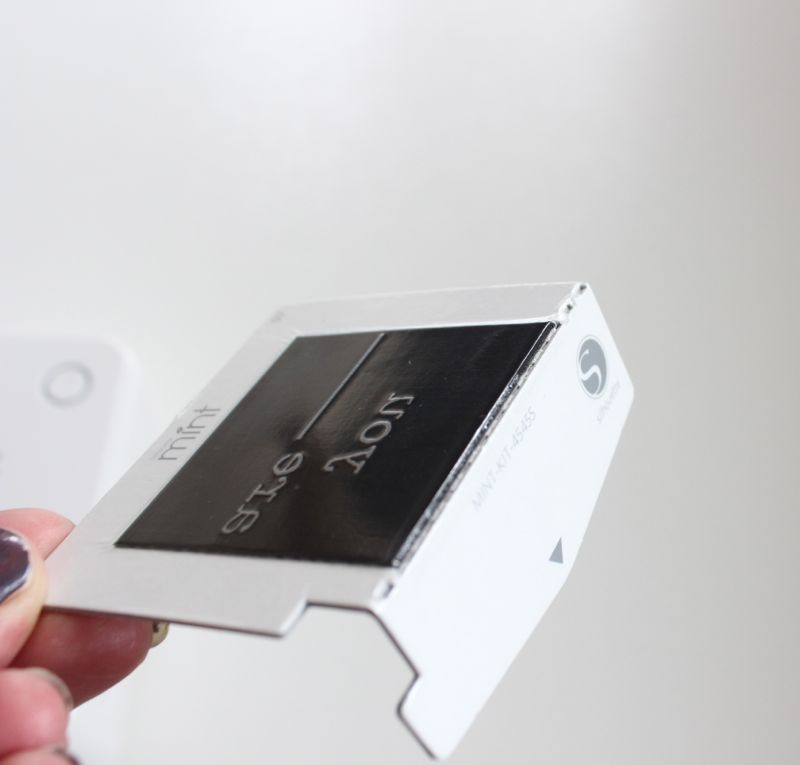
Step 3: Bend the stamp at the perforated edge to remove the stamp.

silhouette-mint-stamp

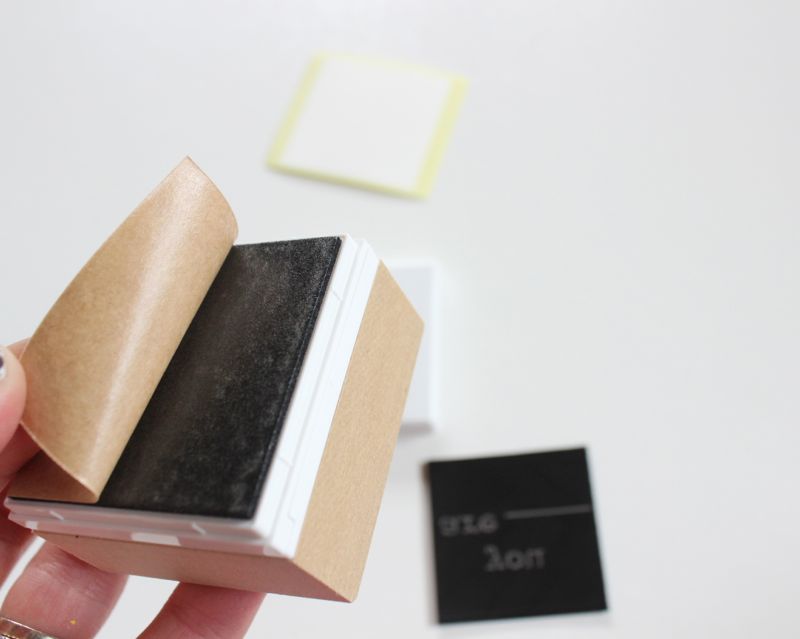
Step 4: Remove the sticker on the stamp base, and add the new stamp to the base.

silhouette-mint-stamp

silhouette-mint-stamp

silhouette-mint-stamp-machine

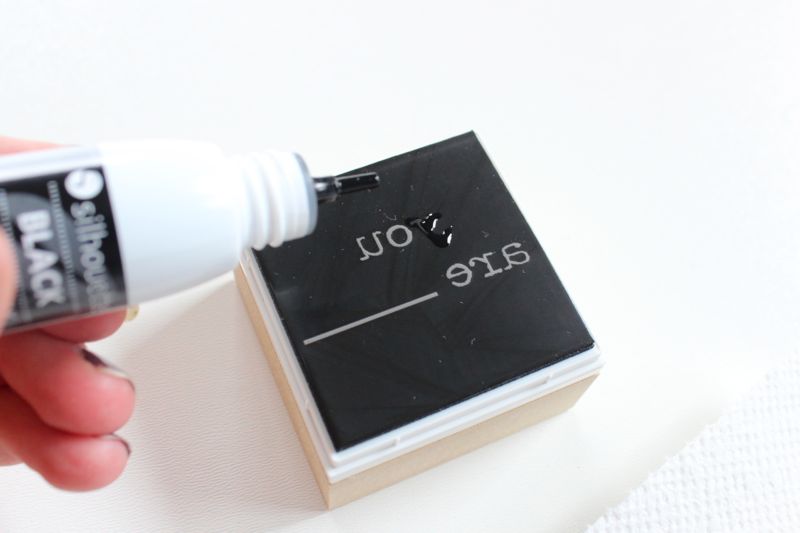
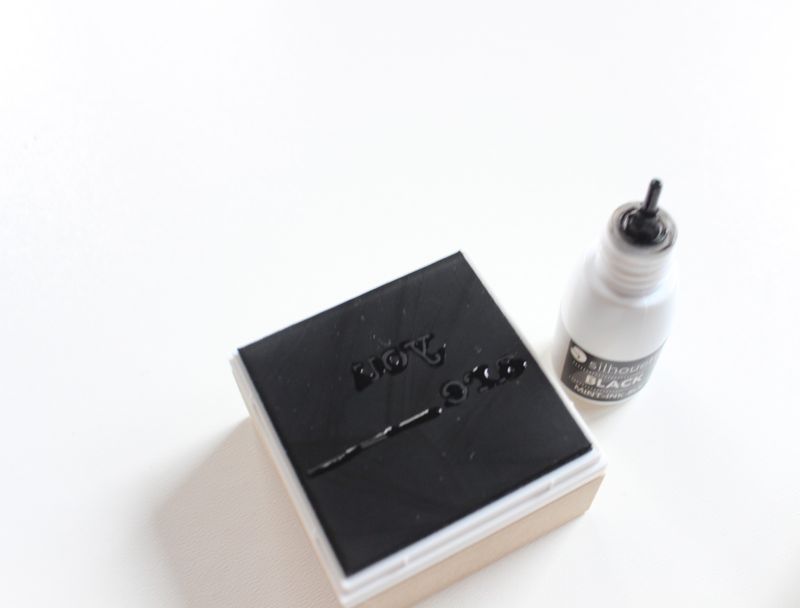
Step 5: Add ink to the stamp’s design. Wait for about 5-10 minutes so it can soak in, and then do a couple tests stamps.

post-its-silhoeutte-mint-stamp-machine

silhouette-mint-stamp-black-ink

silhouette-mint-stamp-black-ink

Step 6: Stamp away, and then fill in the blank.

post-it-stamps-with-silhouette-mint-machine-pink-teal-notes

pink-post-it-note-silhouette-mint-stamp-machine

you-are-stamps-pink-teal-post-it-notes

diy-you-are-loved-stamps-made-with-silhouette-mint-machine

diy-you-are-loved-stamps-made-with-silhouette-mint-machine

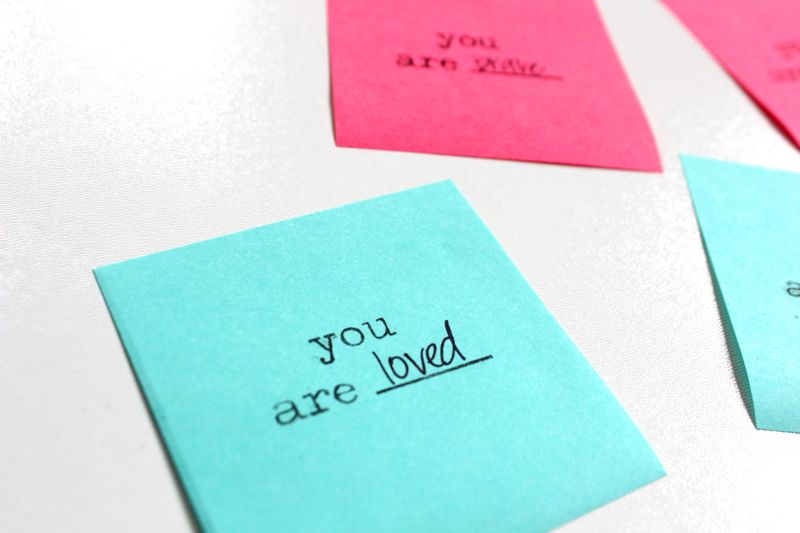
Step 7: Get creative. Leave notes for your kids to find, and remind them how loved and special they are.

diy-you-are-loved-stamps-made-with-silhouette-mint-machine

diy-you-are-brave-stamps-made-with-silhouette-mint-machine

diy-you-are-beautiful-stamps-made-with-silhouette-mint-machine

diy-you-are-smart-stamps-made-with-silhouette-mint-machine

diy-you-are-a-star-stamps-made-with-silhouette-mint-machine

Thanks for supporting the companies like Silhoeutte America that support our creativity. We received product for this post, but all opinions expressed are our own, and we would love Silhoeutte regardless. 

DIY Marble and Copper Tray Hack

marble-and-copper-tray-west-elm-hack-vase-palm-leaf

We love, love, love to shop West Elm. But, we often love a good home decor hack even more. Our DIY side is totally satisfied when we successfully pull off a home décor hack that looks almost identical to the real thing sold in stores, at a fraction of the price.

One can never have enough trays, especially pretty ones like the Copper and Marble serving board at West Elm. So, one must make this DIY version of the Copper and Marble tray and West Elm hack. It’s so simple, and stunning.

marble-and-copper-tray-west-elm-hack-vase-palm-leaf-flower-wallpaper

Materials:

  • Copper Coil, 1/4 inch, Home Depot
  • Marble Tile, Home Depot
  • Super glue or Epoxy glue, Home Depot
  • Pliers and wire cutter, Home Depot

marble-and-copper-tray-west-elm-hack-vase-palm-leaf

 Directions:

Step 1: Cut the wire to approximately 8 inches long for the handles. Adjust the size according to your preference. Round the copper coil to the shape of a handle – it’s easy to bend and can be done with your hands.

marble-and-copper-tray-west-elm-hack-vase-copper-coil

Step 2: Insert the ends of the copper into the pliers and press firmly. This will flatten the round shape of the copper coil.

marble-and-copper-tray-west-elm-hack-vase-copper-coil

marble-and-copper-tray-west-elm-hack-vase-copper-coil

Step 3: Add glue to the ends of the copper coil and press it into the back of the marble tile. The flat sides of the copper should not show on the top side of the tray because it should be glued directly to the back of the tile.

marble-and-copper-tray-west-elm-hack-vase-copper-coil

Important note: if you use super glue, be extremely careful when pressing the copper ends down because your finger will get glued to the copper almost immediately. Wear gloves and/or be aware of the glue.

marble-and-copper-tray-west-elm-hack-vase-copper-coil

After holding the handles in place for several minutes, I got wise, and flipped the tray over, and placed heavy books on the tile where the copper was glued.

marble-and-copper-tray-west-elm-hack-vase-copper-coil

Step 4: Let it dry overnight.

This tray can be used as a cheese appetizer tray because it’s food safe, but we prefer it on a shelf with pretty jewelry, a bud vase or perfume.

 marble-and-copper-tray-west-elm-hack-vase-palm-leaf

marble-and-copper-tray-west-elm-hack-vase-palm-leaf

marble-and-copper-tray-west-elm-hack-vase-palm-leaf

marble-and-copper-tray-west-elm-hack-vase-palm-leaf

If your eyes go straight to the Bourbon and Bowties bracelet, we’re a lot alike, because we love them! Buy one at Nordstrom {and while you’re there, shop the sale} – your arm will thank you.

DIY Let Love Grow Plant

let-love-grow-plant

Dolly Parton said it best, Let Love Grow.

When we really look around, in spite of the horrific hatred we see daily on the news, we find that love still exists. In fact, love is all around. But, sometimes we need a little reminder. To us, the heart shape, whether big or small, signifies love. Inside of us, it represents this beautiful life with every heart-pumping beat; but outside of us, the shape represents love, goodness and kindness. When we open our eyes, minds and hearts, we find that not only is love everywhere, but hearts are, too. And, with every heart we spy with our eyes, it’s an opportunity to reflect on the love in our lives, and how we can share it with others.

Last week, we saw a heart designed on the top of our latte. Everyday, as our children learn to draw hearts, we pause to think about the love and joy that lives in their hearts {and the role we play in shaping what love looks like in their world}. Every time we send and receive a handwritten note from a loved one, it’s signed with a heart. And, just the other day, one of our kids saw a heart-shaped cloud in the sky.

Recently, we used our green thumbs to create a green heart to remind us to let love grow. The plant can be transplanted outdoors if it outgrows the container, and good news – it’s a perennial – so it will come back year after year.

let-love-grow-plant-yellow

Materials:

  • Plastic Pot Saucer, Home Depot
  • Sedum Tile Ground Cover
  • Scissors, sharp {garden scissors}
  • Potting Soil
  • Chalkboard sign, small stick and pen

Directions:

Drill several holes into the plastic saucer. We drilled one in the center and four evenly spaced around the saucer.

planter-drill-yellow

planter-yellow

Fill the planter 1/2-3/4 full with dirt.

planter-with-dirt

Remove the entire square tile of Sedum from the container and flip it over. Use chalk to draw your design, or eye-ball it. We chose a heart, and without lines to follow, we began to cut.

greenery-ground-cover-plants

plants

Place the heart in the center of the saucer with dirt, and then fill in all the surrounding space with dirt.

heart-plant-greenery-yellow-ombre

Make a sign – Let Love Grow or Love Lives Here – and insert it in the dirt.

let-love-grow-chalkboard-sign

let-love-grow-planter-yellow

let-love-grow-greenery-planter


DIY Sunglasses Picture Frame

one-cool-dad-sunglasses-photo-frame

We have one cool Dad. He’s more than that – he’s honorable, loving, admirable and extraordinary. We have been so incredibly blessed. Tommy and Will are amazing father’s, too, that astound us everyday with their love and dedication. On Father’s Day, as we celebrate the men who rise up to the occasion to be not only a good father’s, but also good men, we have a DIY in mind for their all around cool vibes and picture perfect memories.

DIY Sunglasses Picture Frame

Materials:

  • Sunglasses {a pair from Target’s Dollar section would work great}
  • Photos
  • Scissors
  • Pen

Directions:

Punch out the glasses from the frame.

sunglasses-photo-pen

Trace the frame on the photo.

sunglasses-frame-photo

Cut out the photo.

sunglasses-frame-photo

Insert the photo in the sunglasses frame, and the image should fit right where the glass was {in between the ridges}.

sunglasses-photos-gift

Place on Dad’s favorite shelf or bring them to his office for an extra cool accessory.

one-cool-dad-sunglasses-photo-frame

diy-sunglasses-photo-frame

DIY Travel Mug for Your Favorite Teacher

you-taught-me-a-latte-travel-mug-teacher-gift

We run out the door every morning with a coffee in hand, so a good travel mug is a worthy investment. Teachers who choose to nurture, teach and discipline our children on a daily basis also deserve a good travel mug. Whether its tea or coffee, we want to make sure our teachers are fueled throughout the day with a memorable mug in hand. In the summer, when they are not in the classroom, they will be reminded of the difference they made in our children’s lives.

Instead of, “You taught me a lot,” we played with fun coffee lingo and turned it into, “You taught me a latte.”

Materials:

Directions:

Design and print your words on Silhouette software and print according to package instructions.

you-taught-me-a-latte-travel-mug-teacher-gift

Place painter’s tape over the design, and pull it up. The words should now be on the tape.

you-taught-me-a-latte-

Press the tape {with the words} onto the mug and use a straight-edge to smooth out any bubbles.

blue-tape-white-travel-mug

Remove the tape, strip by strip, to reveal your design.

you-taught-me-a-latte-travel-mug-teacher-gift

Insert a gift card to Starbucks or a local coffee shop and voila.

teacher-gift-for-the-teacher-diy-you-taught-me-a-latte-coffee-mug


Thanks to Silhouette America for providing the vinyl for this DIY project. We would love them even if they didn’t. Thank you for supporting the companies that support us. 

[show_shopthepost_widget id=”1617295″]