Our grandma, also known as Nani to 14 grandkids and Great Nani to 16 great-grandchildren, is one amazing woman. Since we were toddlers, we made monthly trips to grandma and grandpa’s house for sleepovers, homemade biscuits and gravy, hair cuts in Louise’s Beauty Salon {her basement salon}…and artificially-flavored treats.
One thing we could always count on, in addition to all the hugs and kisses, was a full pot of coffee brewing {she loved to spoon-feed us coffee in the mornings}, a bag of Twizzlers in the upstairs cabinet, and a glass jar filled with cinnamon bears in her salon.
To this day, she keeps her treats in the same spot, and everyone makes a beeline straight to the cabinet and glass jar for a sugar fix.
As silly as it may be, we have a special history with cinnamon bears. Even if the memories did not exist, we could not resist the chewy, spicy and sweet goodness of cinnamon bears.
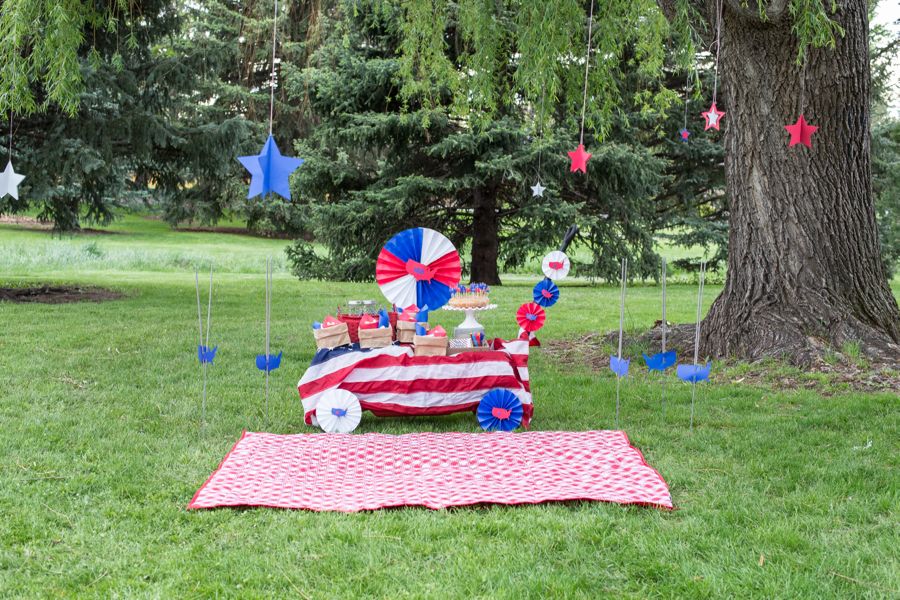
This July 4th, after half the bag makes its way into our bellies, the other half will make its way into our party decor.
First, we made them into place cards. Success!
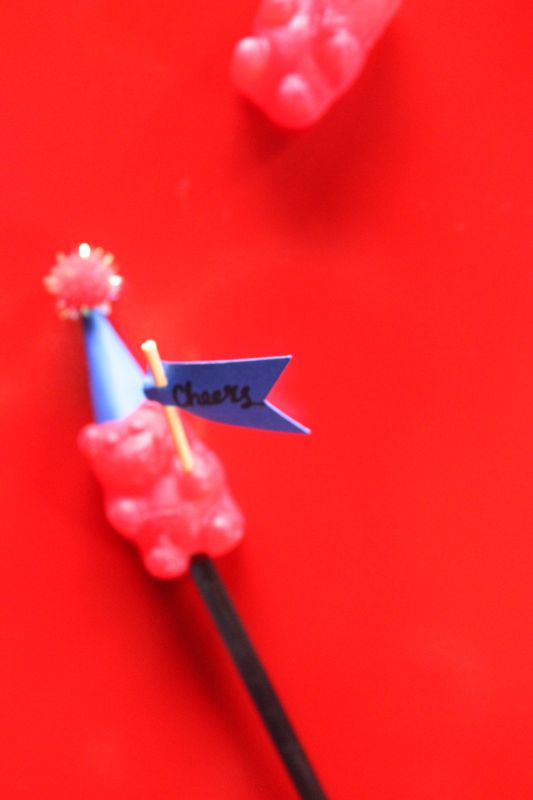
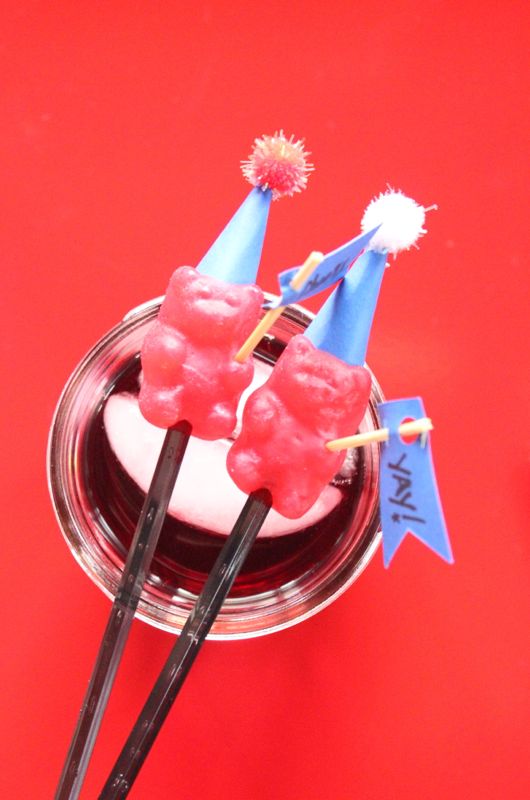
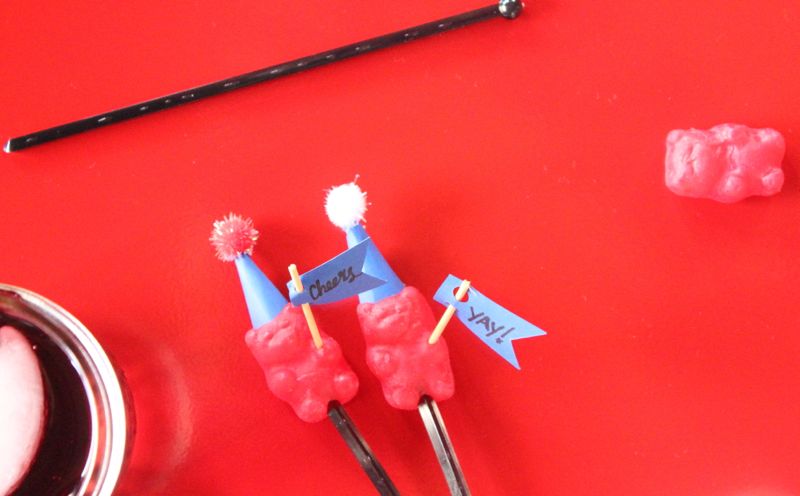
Now, we transformed them into a DIY edible drink stirrer. We think we can mark this one as a success, too.
Materials:
- Cinnamon bears
- Red, white or blue card stock
- Mini red pom poms
- Toothpicks
- Drink Stir Sticks
- Sharpie marker
- Hot glue gun
Directions:
- Cut out mini flags and punch 2 small holes at the top.
- Write a name {for a drink tag}, or fun words on the flag, such as cheers! and yay!
- Break a toothpick in half, and then insert the toothpick through the two flag holes.
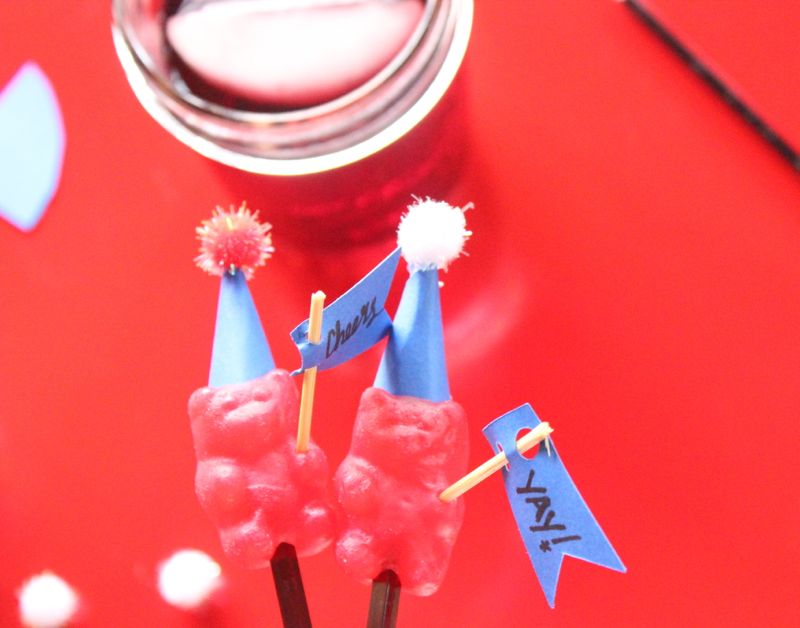
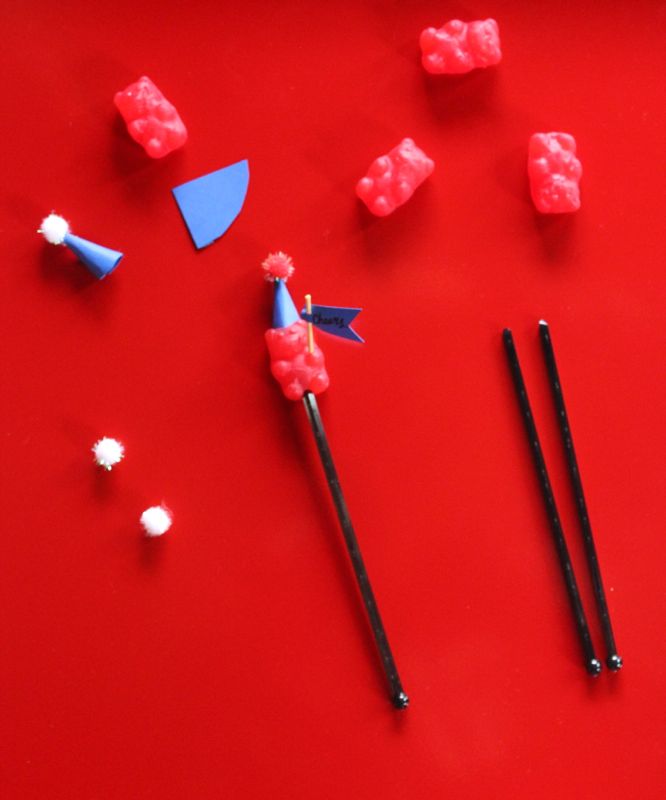
- Cut a mini ‘rolled out cone’ shape from the card stock.
- Roll the paper into a cone, and use a hot glue gun to glue the seam together.
- Glue a pom-pom on top.
- Gently push the hat into the cinnamon bears head until it’s stable.
- Push the toothpick with the flag into the hands of the cinnamon bear.
- Push the cinnamon bear onto a drink stirrer.