DIY Retro Camper Planter

hello-adventure-retro-camper-planter-flowers-flamingo

Summer is on our minds. We can taste the refreshing sweetness of watermelon, and feel long summer nights in the air. In the summer, adventure awaits! Whether the adventure is at the pool, in the woods, on the road or in the air, we like to go, see and do with our kids.

In addition to the sense of adventure we’re feeling, we are also slightly obsessed with retro campers and airstream trailers. No, camping is not our forte. We take after our dad on that one, but if we had a retro camper, we may be convinced to venture into the wilderness. Jenna would most definitely have a pair of heels in tow.

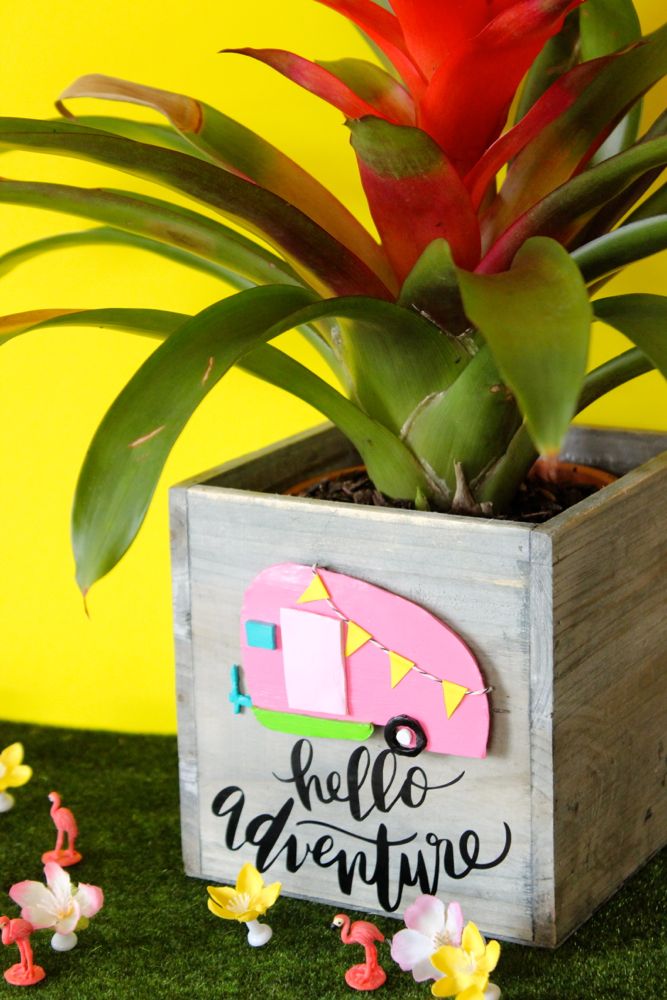
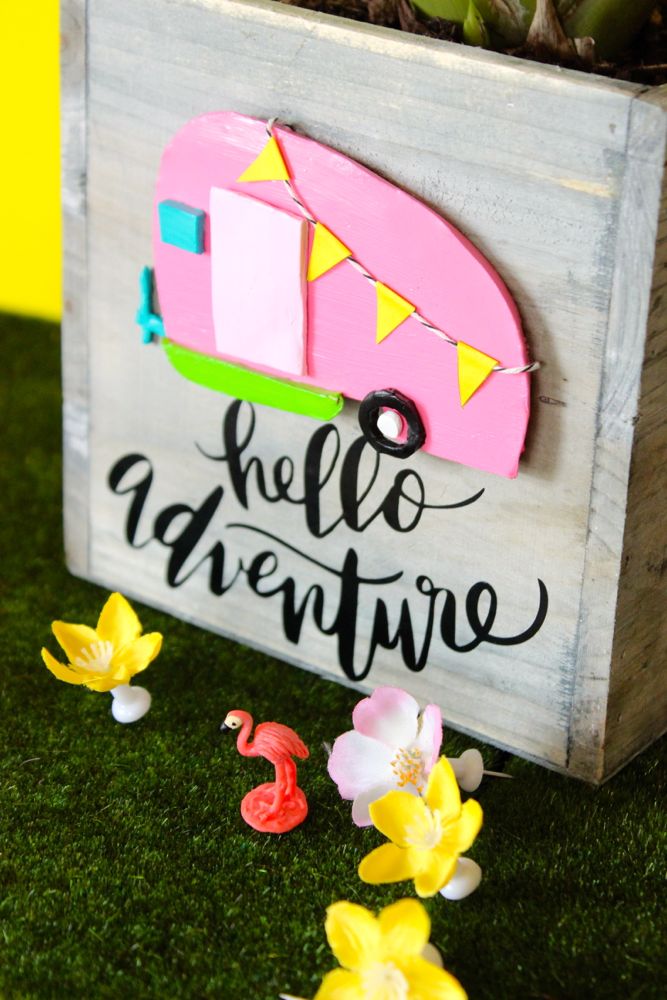
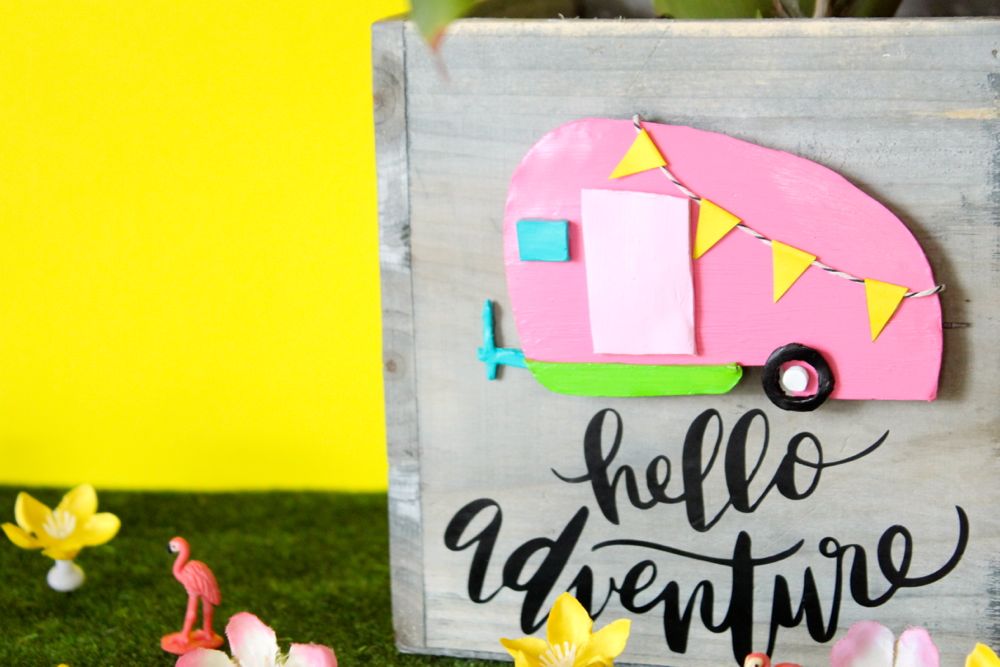
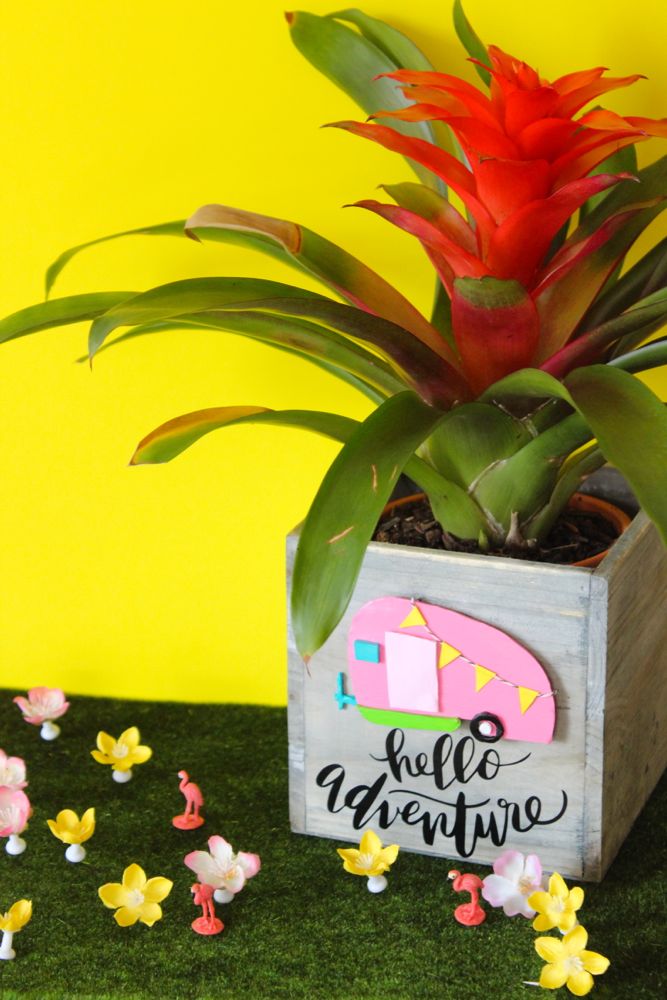
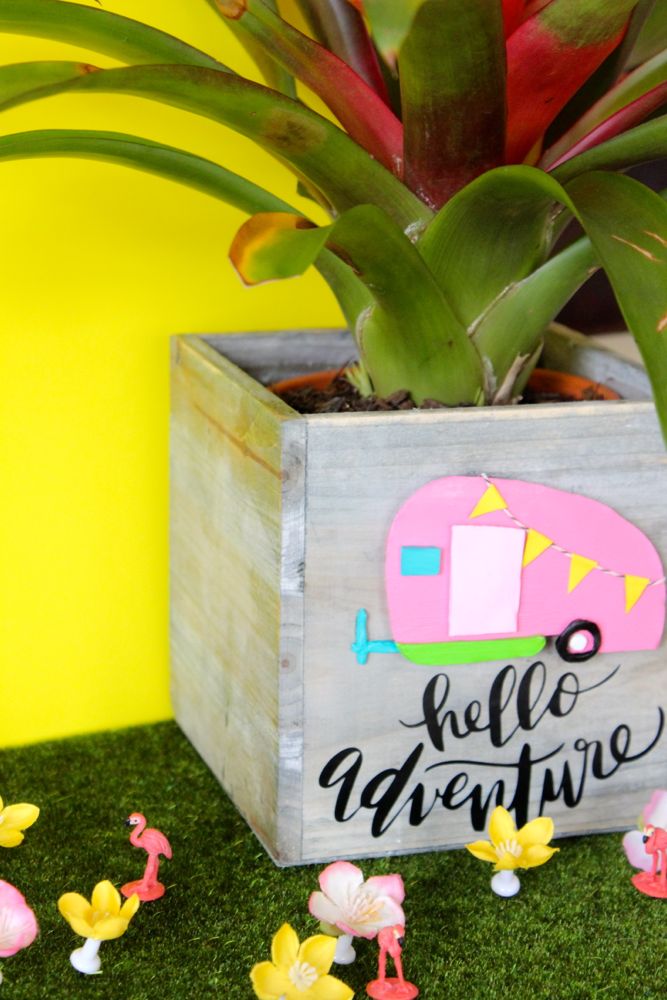
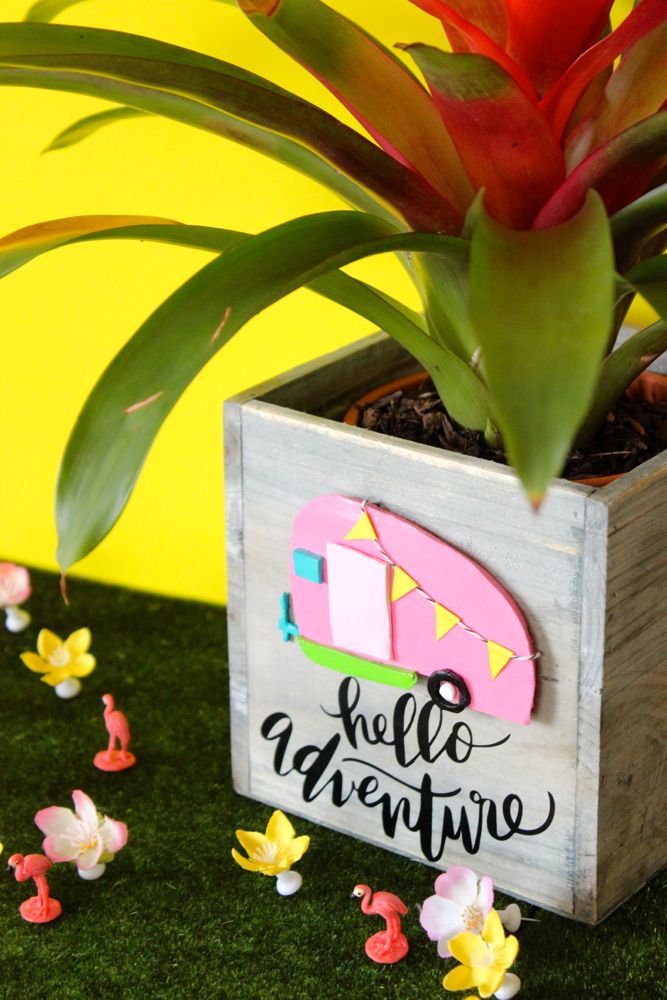
Until that pretty, retro camper comes along, we will have to create our own DIY versions of them. This pink one is going to a special teacher about to venture out to a new school and job. This would also make a great gift for graduates and friends who love to travel.

hello-adventure-retro-camper-planter-flowers-flamingo

Materials:

Directions:

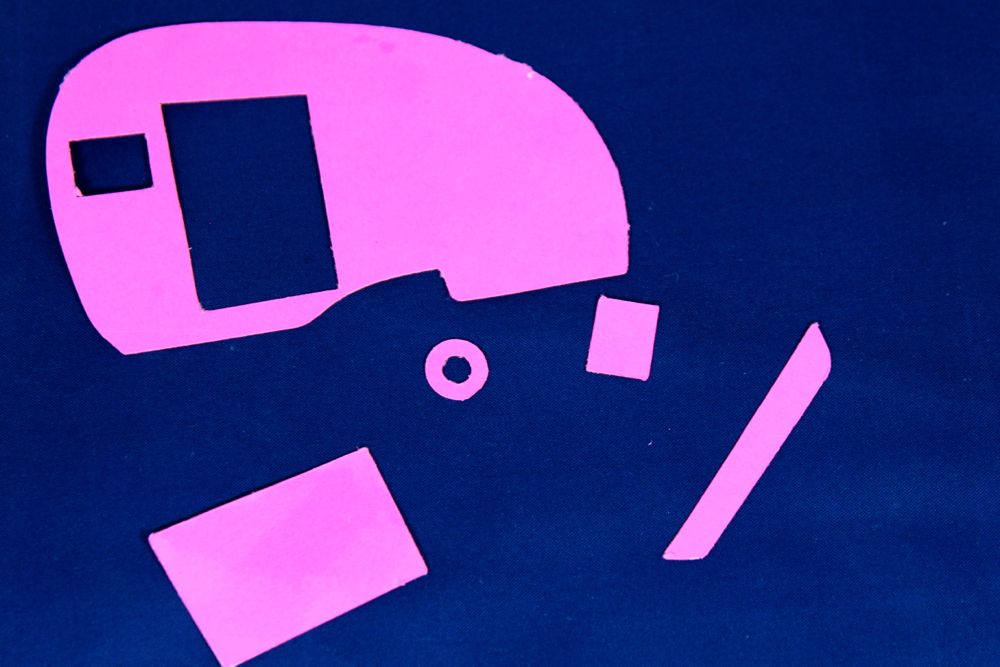
Print a retro camper, designed by the Silhouette America store. If you don’t have an electronic cutter, you can find one online, print, cut and trace.

pink-shapes-retro-camper

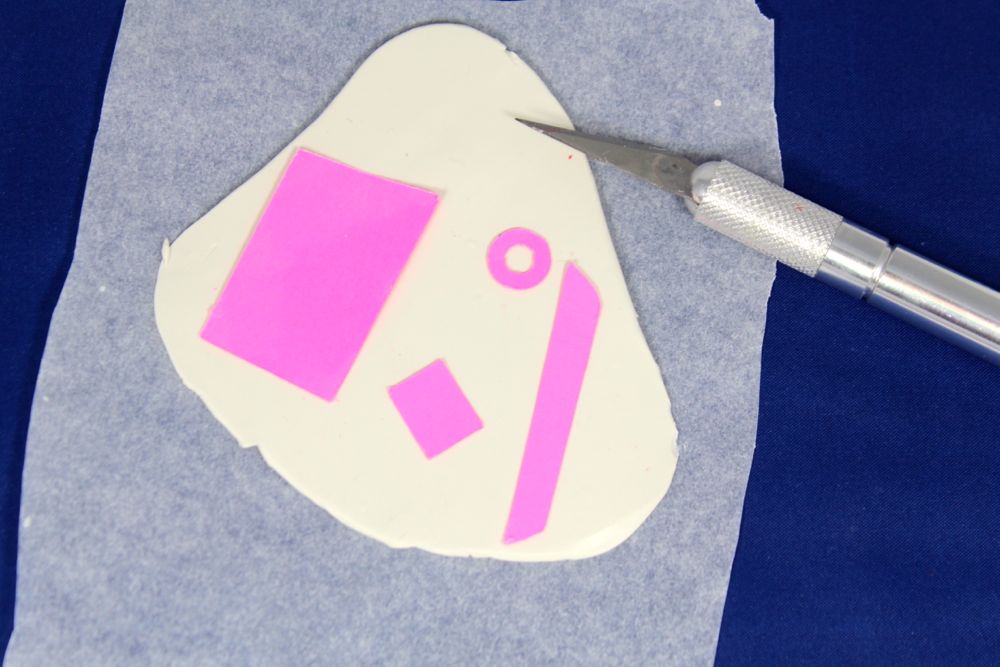
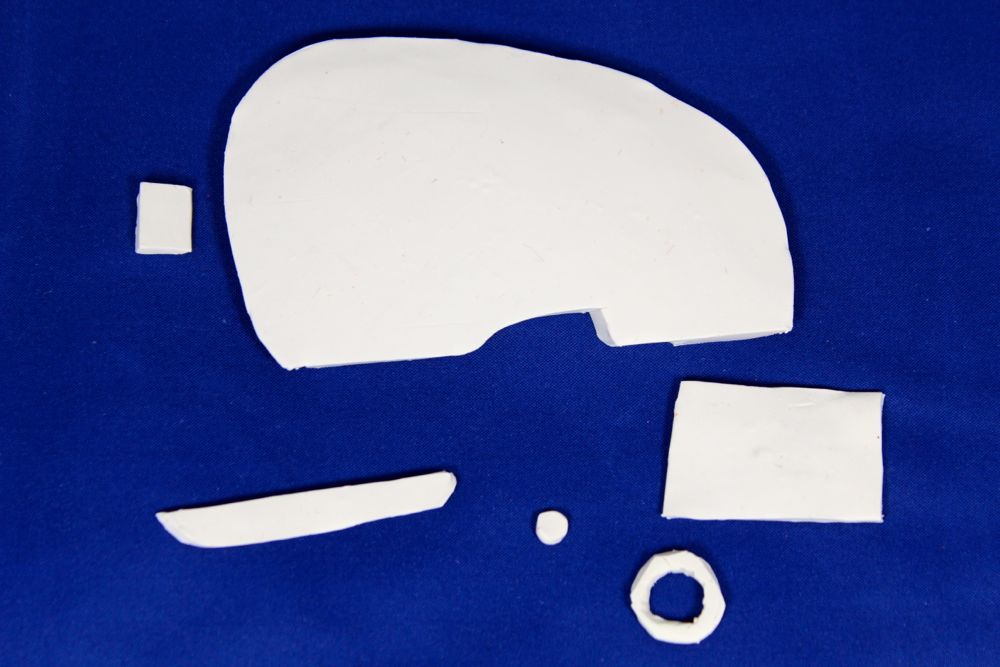
Roll out the clay, place camper shapes on the clay, and trace with an X-acto knife.

white-clay-knife-pink-shapes

Set the shapes on a cookie sheet lined with parchment paper, and bake in the oven according to package directions.

white-retro-camper-shapes-blue-diy

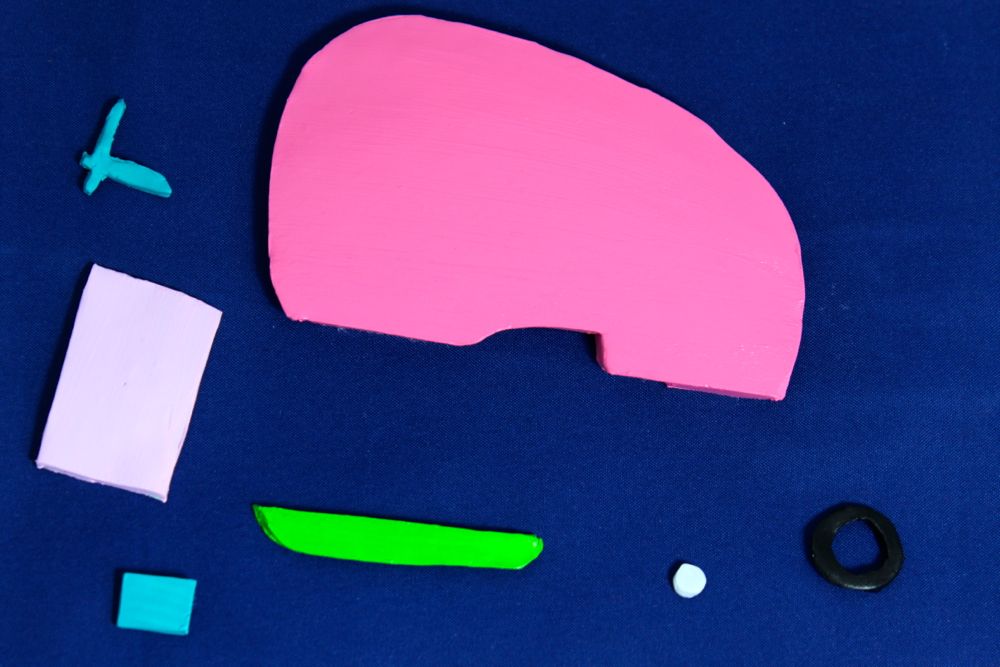
Once shapes are cool, paint them.

colorful-shapes

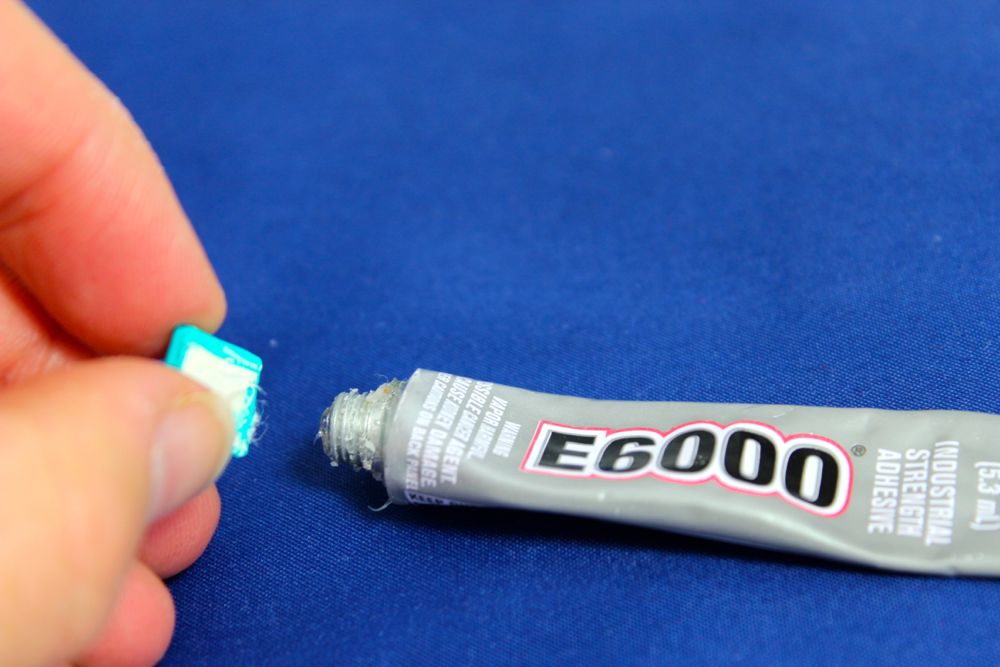
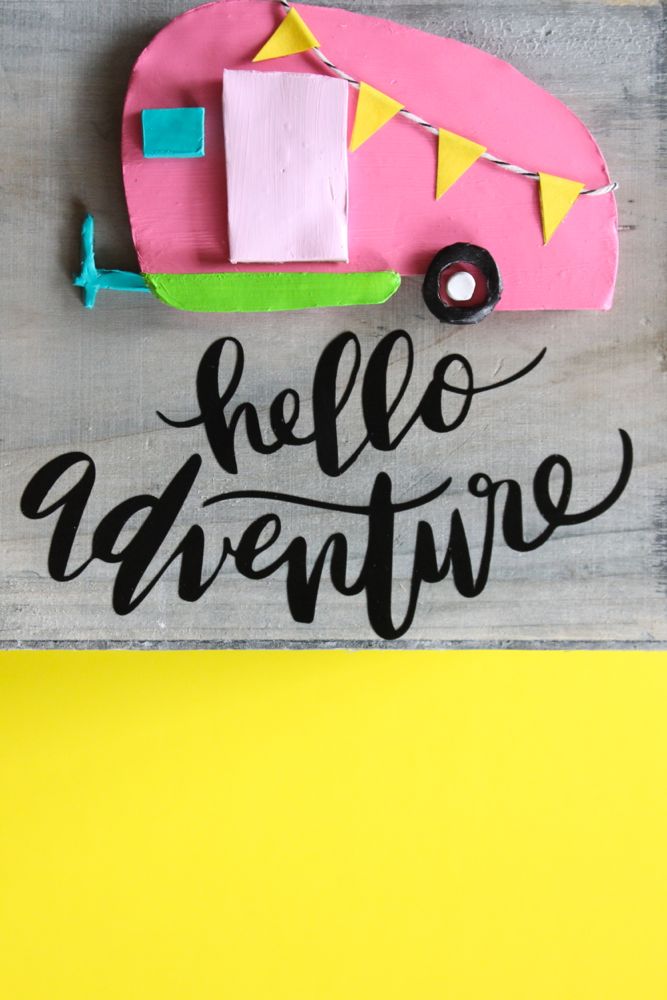
Let the paint dry. Assemble the retro camper with all the shapes and E-6000 glue. We made a yellow pennant flag banner, and love the playful look it adds to the camper.

glue-art-project

colorful-retro-camper-pink-yellow-pennant-banner

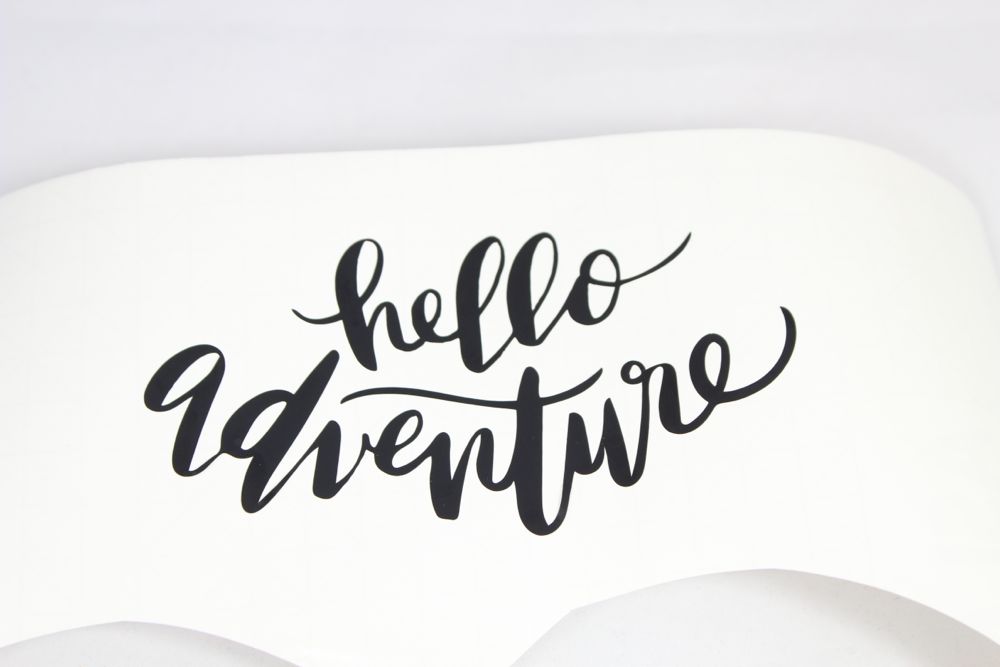
Buy or design a Hello Adventure design from Silhouette, and print the vinyl design according to package instructions.

hello-adventure-black-and-white-sign

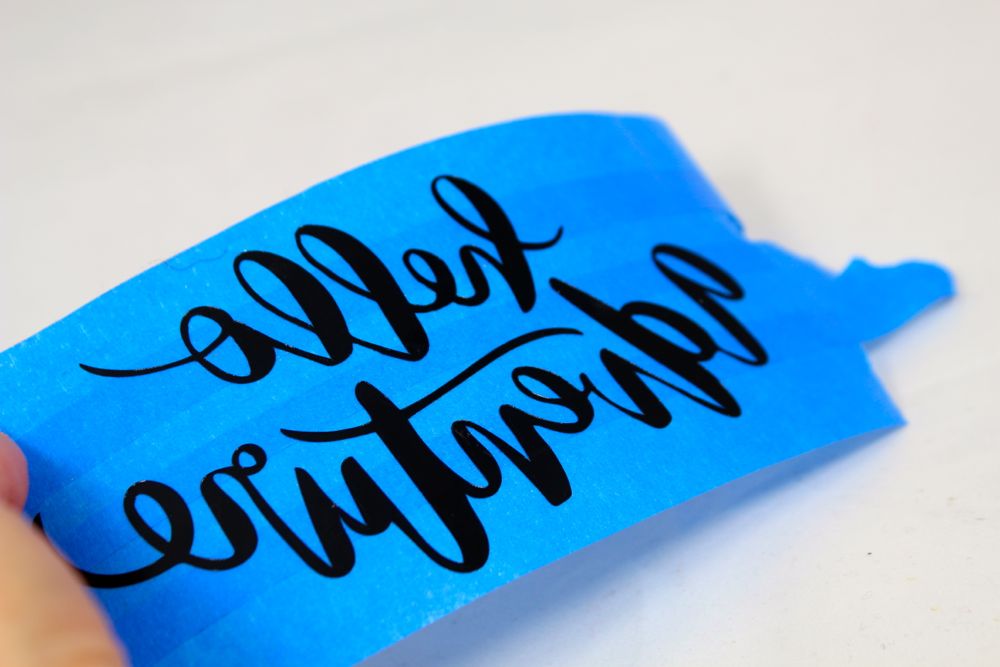
Place strips of painter’s tape over the top of the design, and remove. The text should now be on the tape.

blue-tape-calligraphy-font

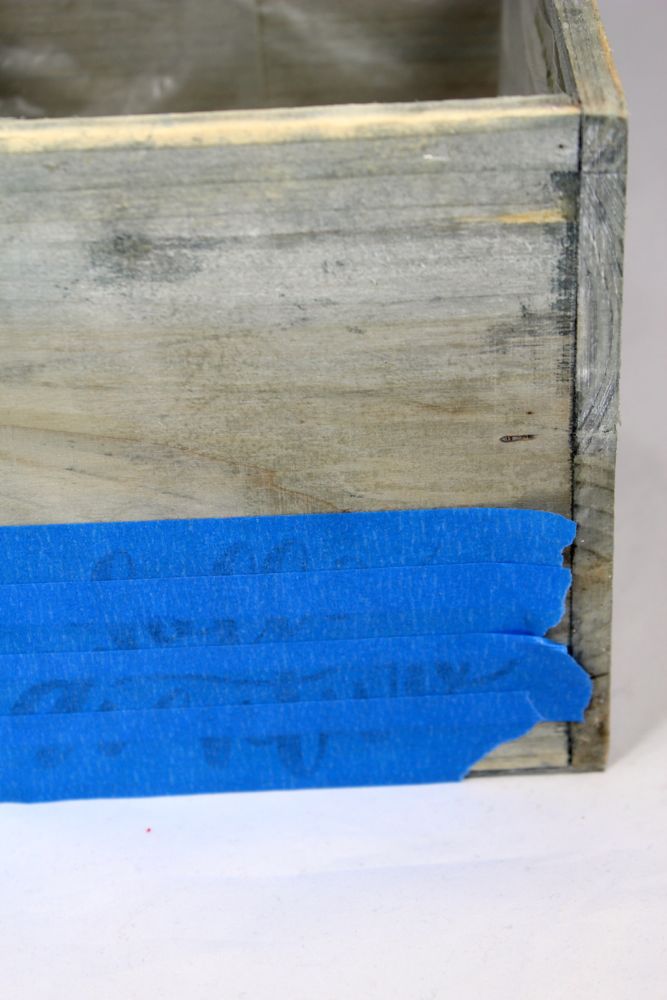
Place the tape {with text} sticky-side down on the planter, and use a straight-edge to remove any bubbles.

blue-tape-grey-box

Piece by piece, remove the painter’s tape, and the vinyl should stay on the planter. If your planter is wood like ours, you may have to use one finger to hold the vinyl in place as you pull the tape up.

hello-adventure-grey-box

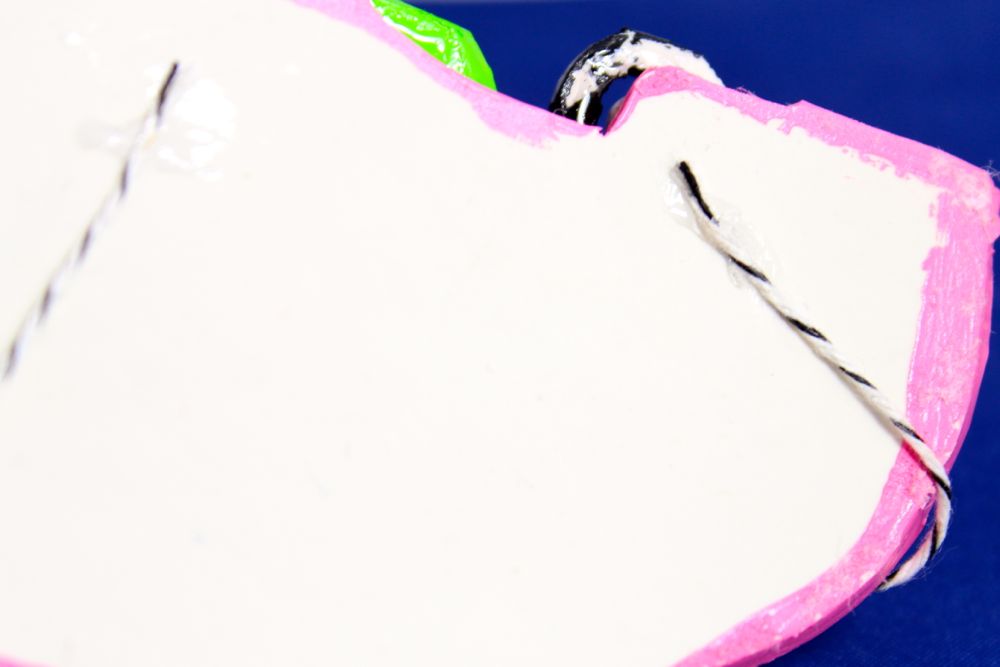
Add a liberal amount of glue to the back of the retro camper, and glue it to the planter. Let it dry for 12-24 hours so it doesn’t slide down.

glue-art-project

hello-adventure-retro-camper-planter-flowers-flamingo

Plant a pretty plant.
hello-adventure-retro-camper-planter-flowers-flamingo


hello-adventure-retro-camper-planter-flowers-flamingo

hello-adventure-retro-camper-planter-flowers-flamingo

hello-adventure-retro-camper-planter-flowers-flamingo

DIY Tropical Leaf Coasters

We took our minds on a trip to paradise recently. It didn’t cost much, and no flight was necessary.

OK, it’s not the real thing, but our DIY tropical leaf coasters have tropical vibes written all over them, and they take us back to wonderful memories on the beach. Curbly has all the details here.

tropical leaf coasters with a yellow background

[show_shopthepost_widget id=”1604944″]

DIY Coffee Ring Coasters

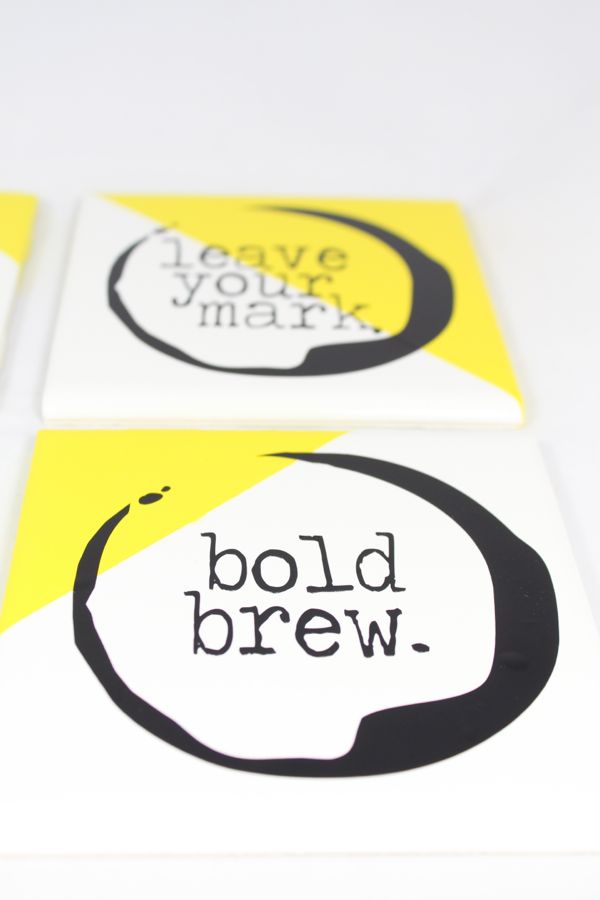
coffee-stain-coasters-yellow-white-black-mug-no-filter-bold-brew

We understand why coasters are necessary, and we love them just like every other mom out there that doesn’t want a coffee ring stain on her table. But, sometimes the imperfection of a table {the dings, scratches, paint and coffee ring stains} give it character. They tell a story of the lives and memories that lived there.

It’s difficult to do, but perhaps it’s better to embrace the mess and save ourselves the exhaustion of always wanting it to look perfect?! Yes, embrace the imperfection!

Maybe, it’s better to beat the coffee ring stain to the table with DIY coffee ring stain coasters?! Think about it – it’s the easiest stain to remove because you just have to put them away in a drawer. Plus, they are imperfect right from the start so no need to worry about messing them up.

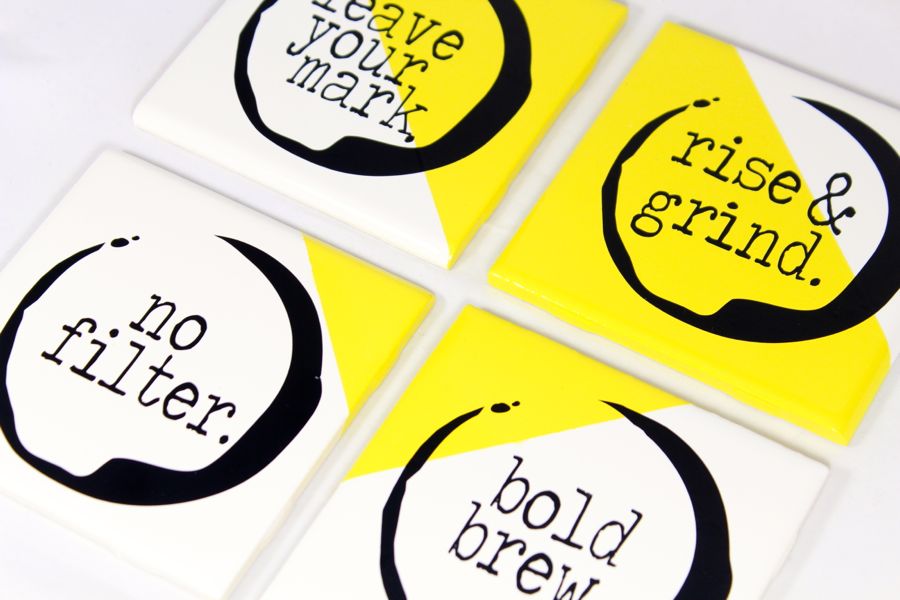
Our new coasters have inspired us to live according to our coasters. Every day we are going to rise & grind. We have always been and will always be a bold brew {after all, we are Sicilian}. We are not going to hide or cover-up the truth, so it’s a no filter zone here. And, finally, everywhere we go, people will know one of the j. sisters will have been there. Yes, we will leave our mark.

Tell us {email, hello@jsorelle.com or instagram, @jsorelle3} what your imperfect coffee stain coasters would say to inspire you throughout the day. And, of course, read below to learn how to make them.

coffee-stain-coasters-yellow-white-black-mug-no-filter-bold-brew

Materials:

Directions:

Paint your coasters the color of your choice. We went with a happy, bright yellow and chose to make a random color-block pattern.

yellow-paint-blue-tape

yellow-white-color-block-coasters

Design your coasters, the coffee stain and words in the Silhouette software. We chose to play off fun and strong coffee phrases such as: no filter. bold brew. leave your mark. rise & grind.

Follow the printing direction on the vinyl packaging. Once it’s cut, remove the excess vinyl around the phrase and coffee stain.

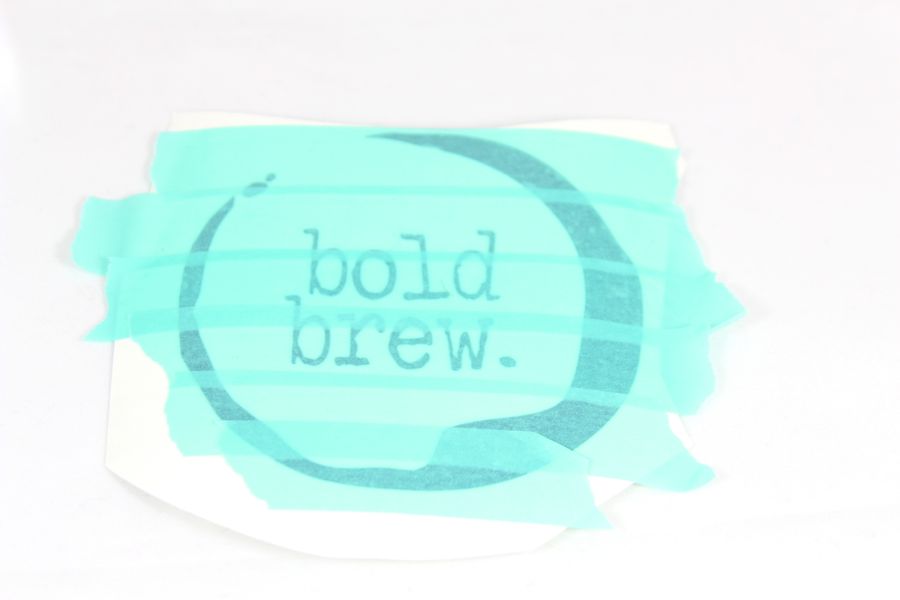
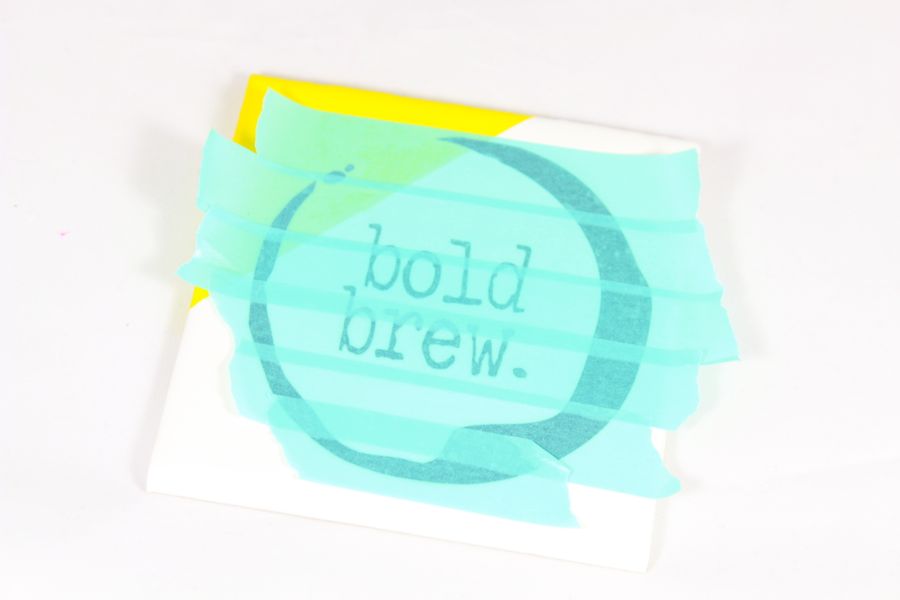
Place washi tape {or vinyl transfer paper if you have} over the design.

bold-brew-coffee-coasters-washi-tape

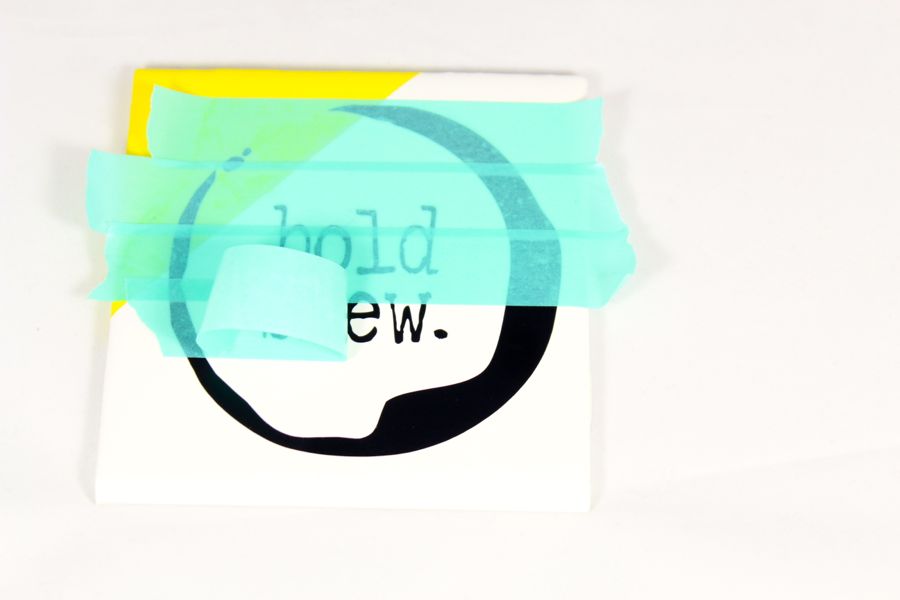
Remove the tape in one piece, and the design of your coaster should stick to it.

bold-brew-black-vinyl

Place the washi tape and vinyl down on the coaster where you want it to be. Use a straight edge to remove any bubbles.

bold-brew-coffee-coasters-washi-tape

Pull each piece of tape up, one by one, and the vinyl should stick to the coaster.

bold-brew-coffee-coasters-washi-tape

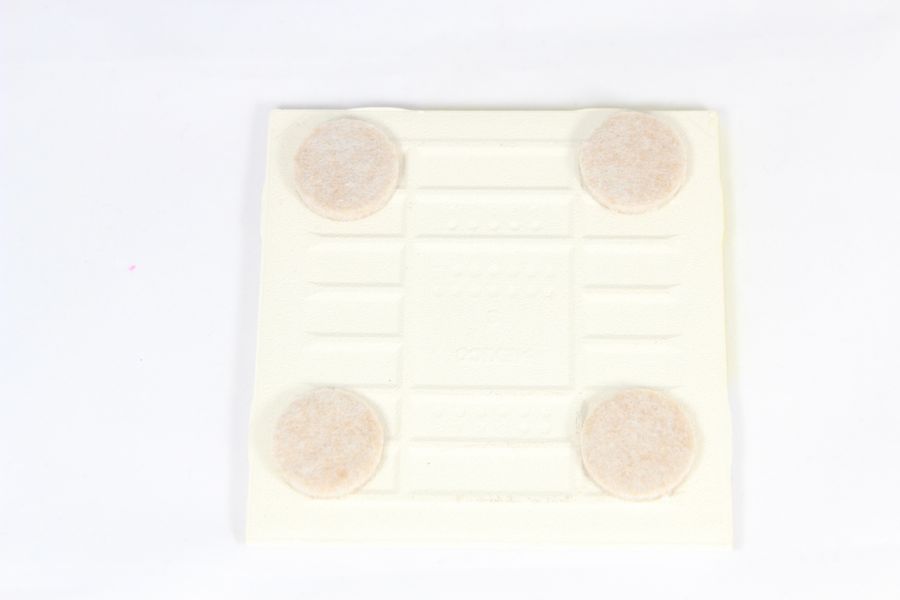
Press felt pads on all four corners on the bottom of the tile.

felt-pads-coaster

Repeat the steps for all four coasters.

coffee-stain-coasters-yellow-white-black-mug-no-filter-bold-brew

coffee-stain-coasters-yellow-white-black-bold-brew

Drink, cheers and make all the coffee ring stains you want.
coffee-stain-coasters-yellow-white-black-mug-no-filter-bold-brew

coffee-stain-coasters-yellow-white-black-bold-brew

coffee-stain-coasters-yellow-white-black-mug-no-filter-bold-brew


DIY Summer Beach Towels

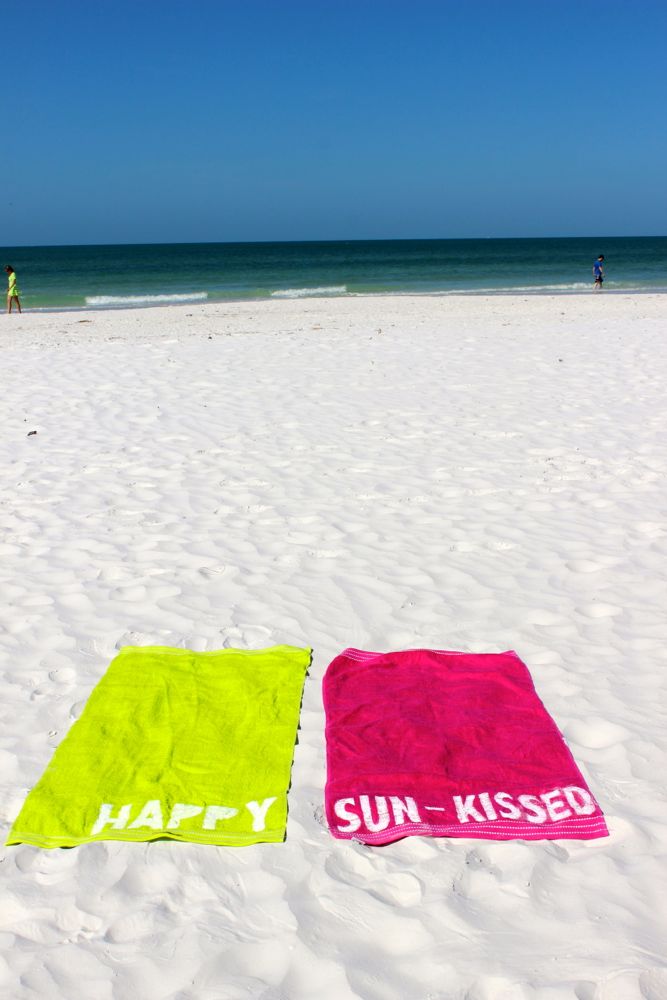
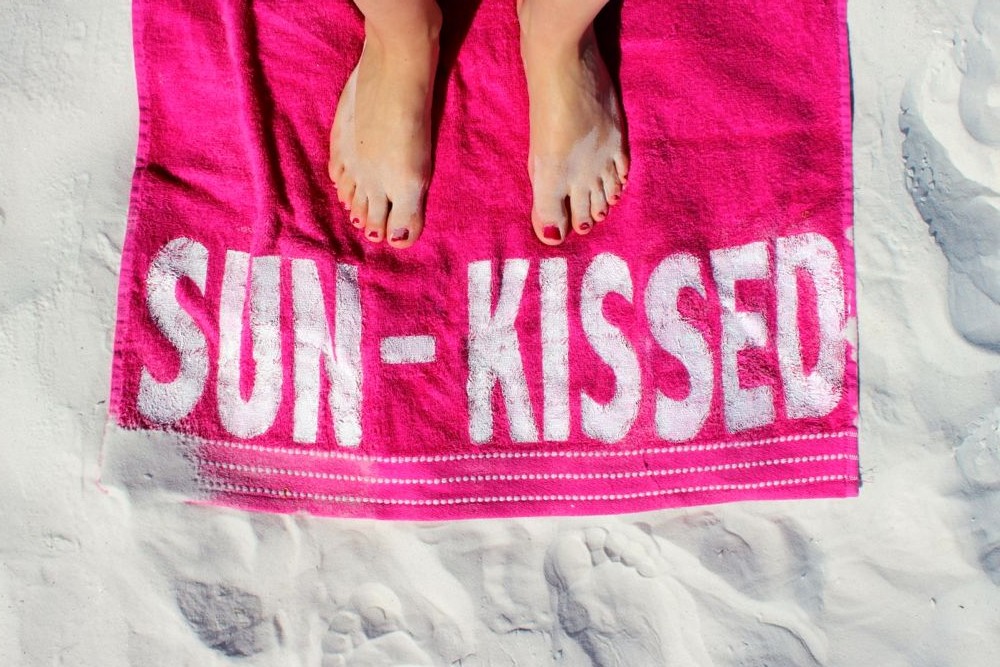
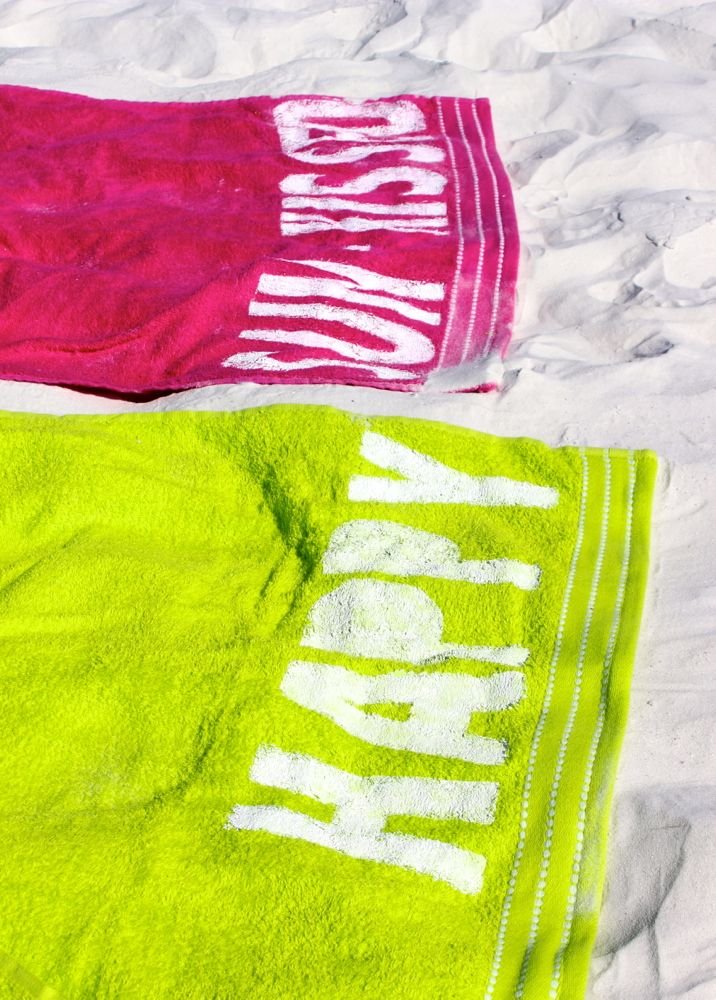
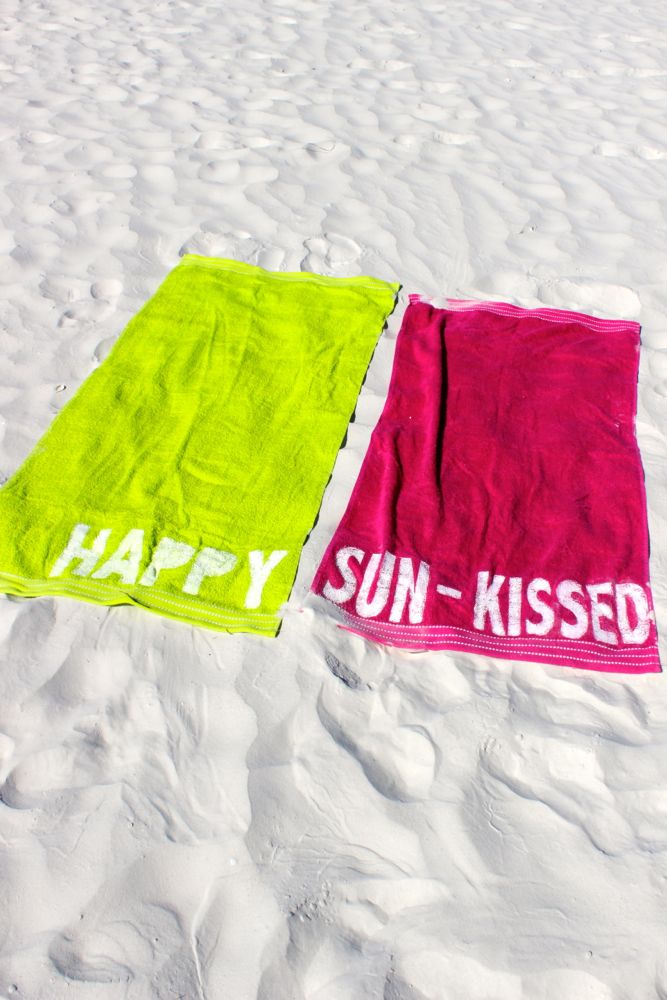
green-pink-beach-towels-sand-ocean-sun-kissed-happy-diy

Before a week of no blogging, nowhere to be but the pool or the beach and no DIY projects allowed {aka vacation}, Jessica had to get in one last DIY project. With towels invincible to Bleach {we still have no idea why the color didn’t bleach}, she couldn’t make them like Studio DIY.

Plan B was to spray lemon juice on the towels, and lay them in the sun. Nope, it too, was unsuccessful.

Plan C was dependable fabric paint, and it worked just fine!

These towels make for a great gift for teachers as school’s out for summer, birthday party favors with names, as well as hostess gifts for those who live on the beach.

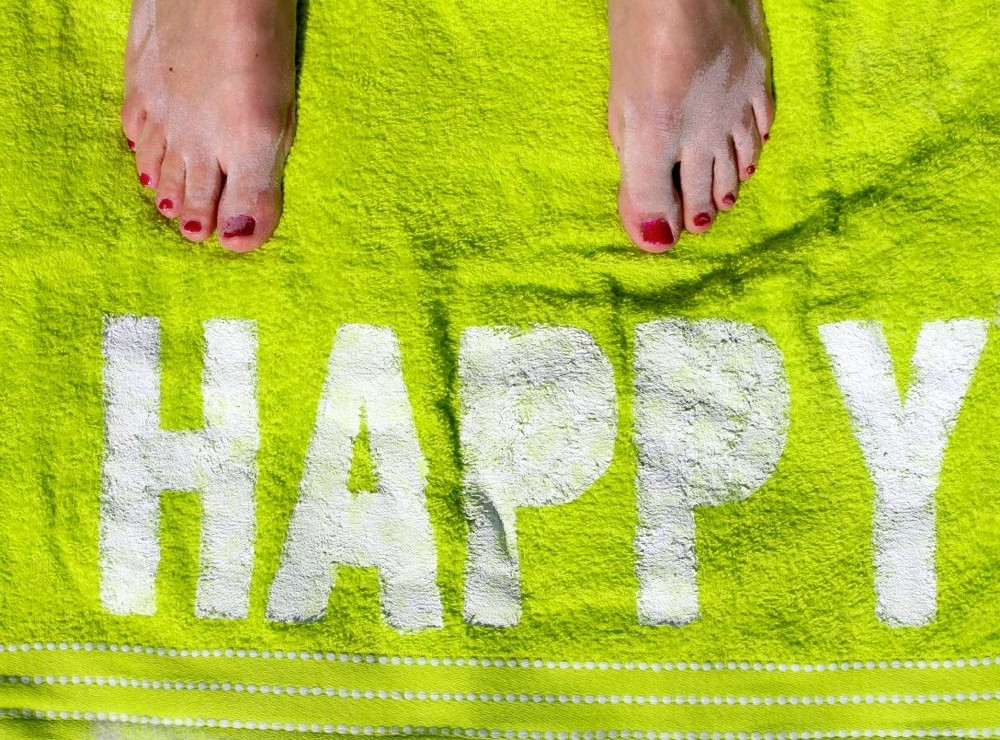
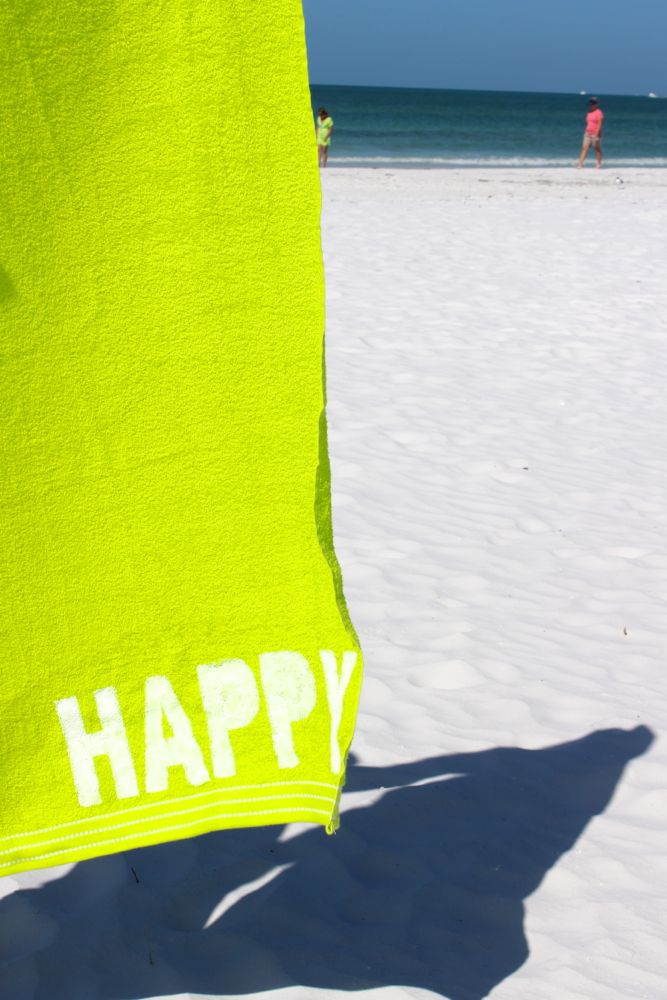
happy-feet-towel-beach-white-green

Here’s how we did it.

Materials:

  • Towels
  • White fabric paint {or white acrylic paint combined with gel medium}
  • Contact paper to make stencil or stencil {we used our Silhouette America Portrait to cut the letters on contact paper}
  • Stencil Paintbrush {round, flat tip}

Directions:

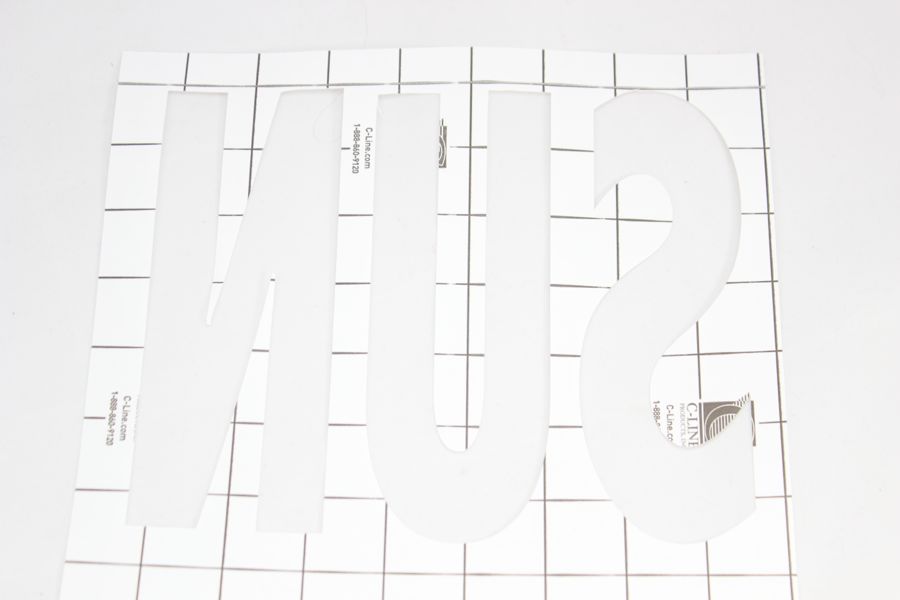
Design your words with Silhouette software, and use the electronic cutting machine to cut the contact paper. Make sure the words are mirrored, so they appear correctly on the towel, and not backwards.

sun-contact-paper

Prep your painting space. Make sure to place a cardboard under your towels for paint that may bleed through.

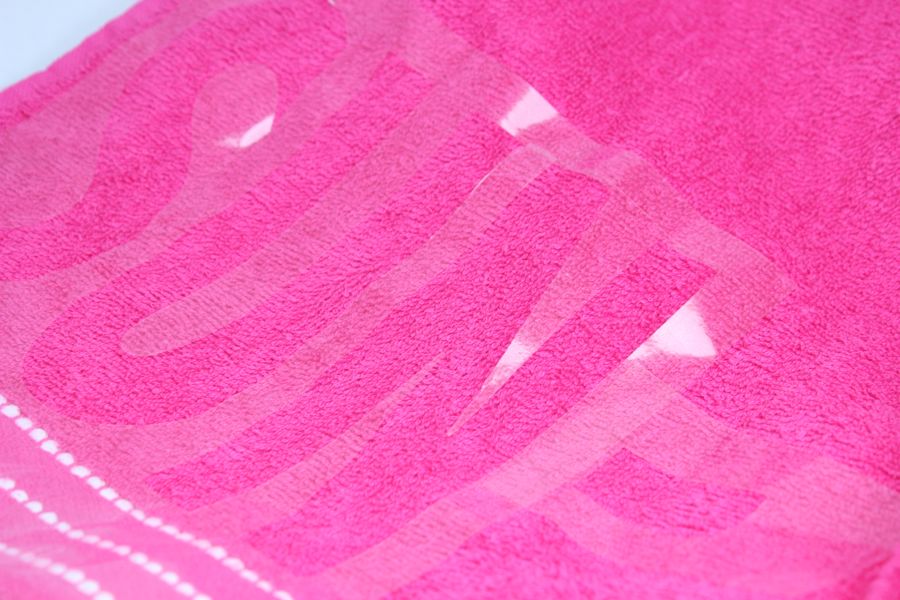
Remove the back of the contact paper. Lay the stencils or words on the towels. We really liked the contact paper because it stuck to the towels, just enough to work as a stencil, but not too much so it was easy to remove.

sun-pink-towel

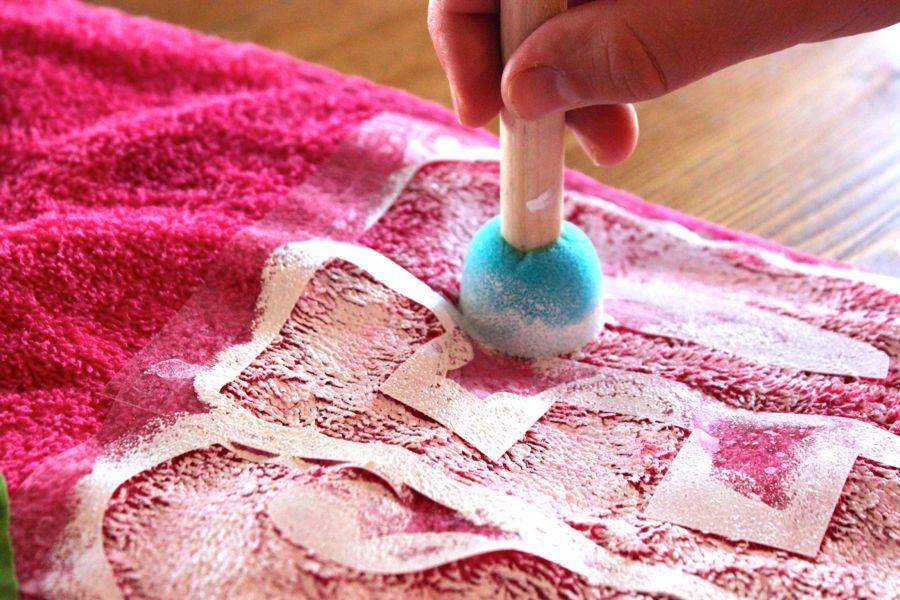
Dab the paint onto the towels.

pink-towel-white-paint-art

After about one hour, remove the stencil. Let the towel dry for 24 hours.

Have some fun in the sun.

sun-kissed-pink-towel-feet-on-the-beach

happy-sun-kissed-pink-green-towels-white-letters

happy-sun-kissed-pink-green-towels-on-the-beach

happy-green-towel-beach-white-sand

[show_shopthepost_widget id=”1604944″]

Good Vibes

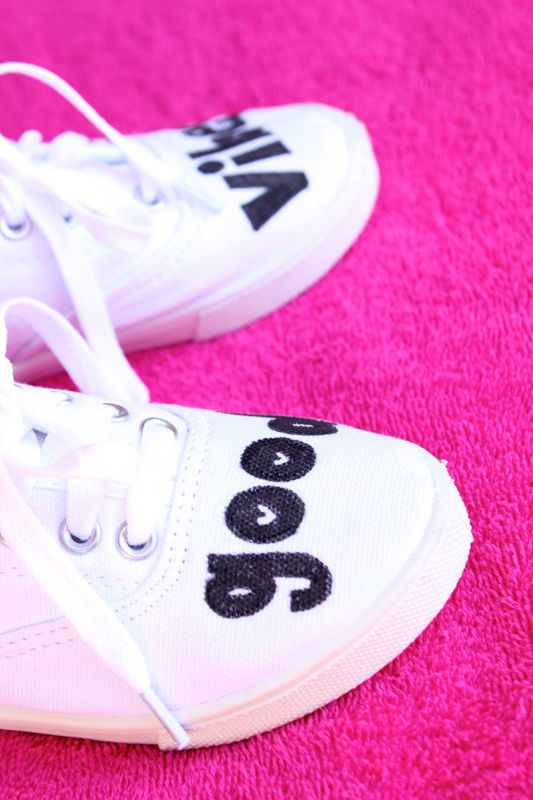
good-vibes-white-shoes-pink-floor

We believe that what you put out into the world, you get back.

If you think and radiate happiness and good thoughts, it invites goodness and positivity into your life.

When a good friend, or a stranger in line at the grocery store exudes joy and good energy a magical thing that happens – he/she lifts our spirits. Good vibes just feel good. It feels good to give them, and it feels good to be the recipient of them. Plus, good energy is contagious, so we have the power to shift the vibrations of a room. It’s an invisible force, but it is felt, and can also be brought to life by smiles, laughter and acts of kindness.

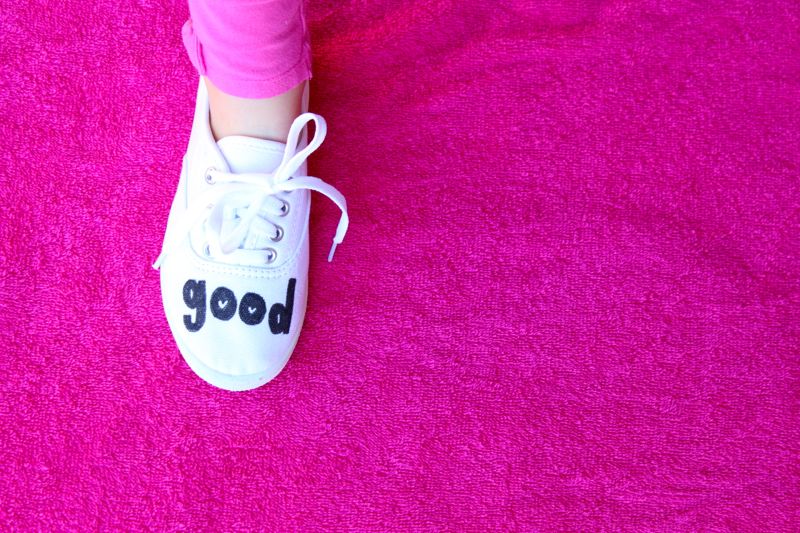
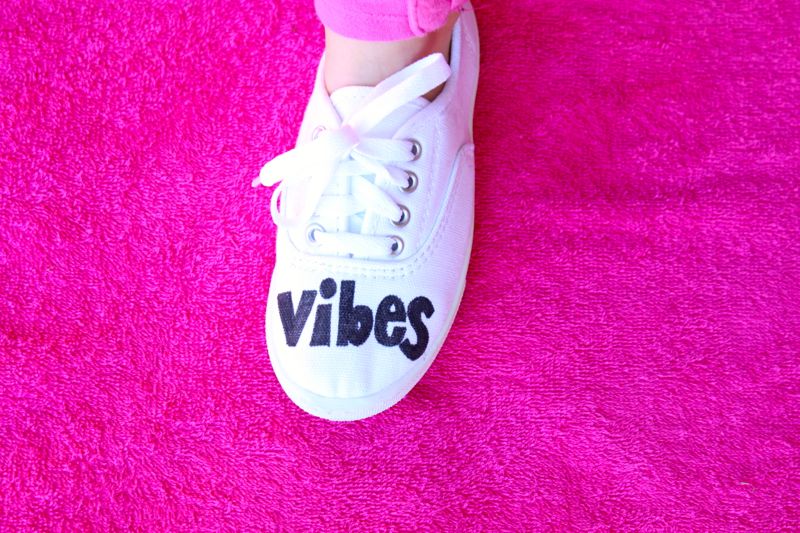
We are going to make a conscious effort to practice good energy in our own lives, and set positive intentions. We are going to be responsible for the energy we bring into a room. In fact, Jessica’s daughter is literally going to step into the room with good vibes because we made her DIY good vibes shoes. And, she is going to rock them!

good-vibes-white-shoes-black-typography-pink

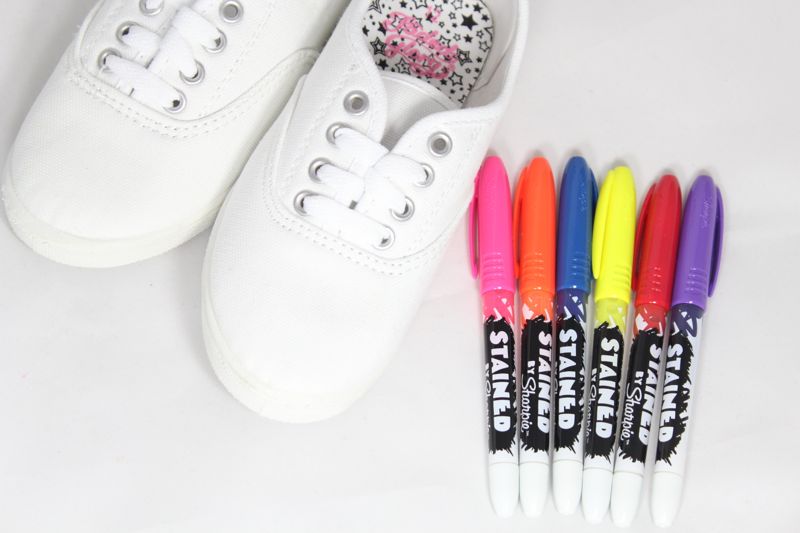
Materials:

Instructions:

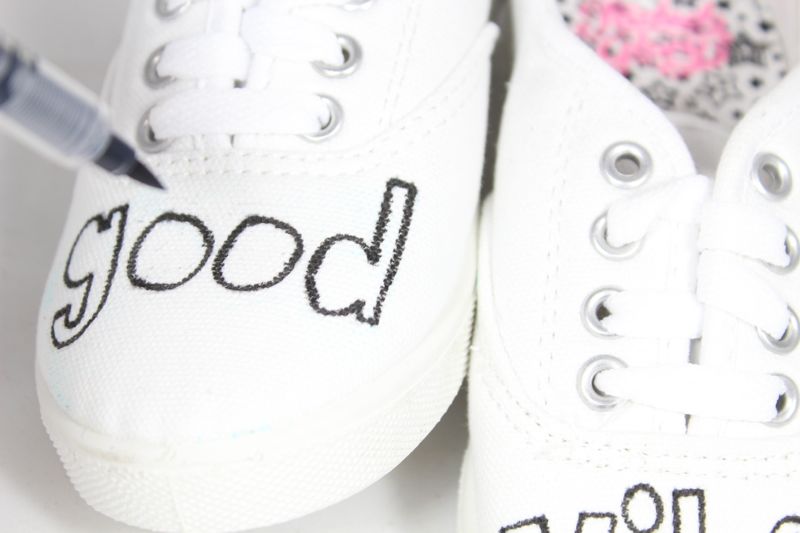
Step 1: Use a pencil to draft your words or design on your shoes.

white-shoes-colorful-fabric-pens

Step 2: Color, color, color. We kept it a classic black and white shoe, but make it as colorful as you want.
white-shoes-black-words-good

white-shoes-good-pink

white-shoes-diy-for-kids-good-vibes-pink

Step 3: Go spread some goodness.